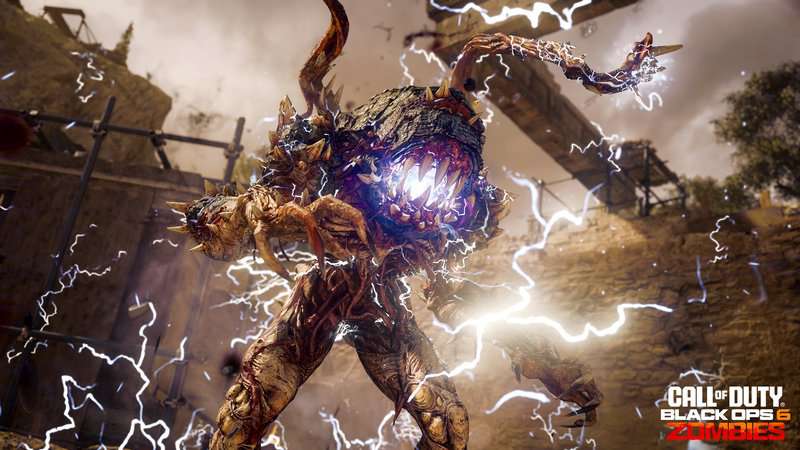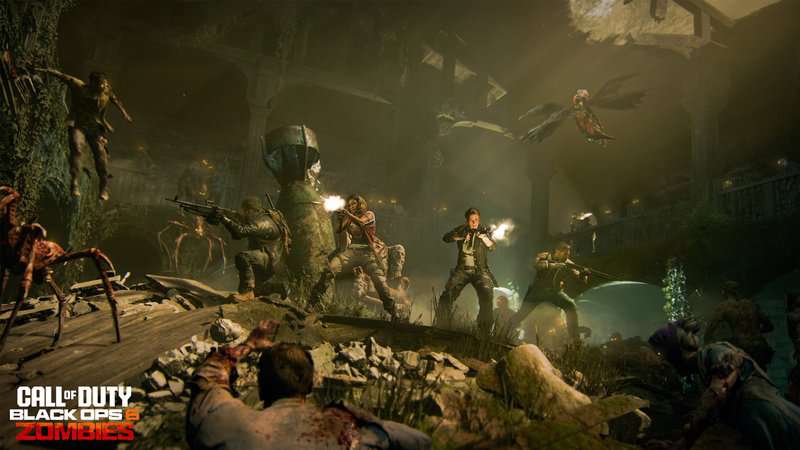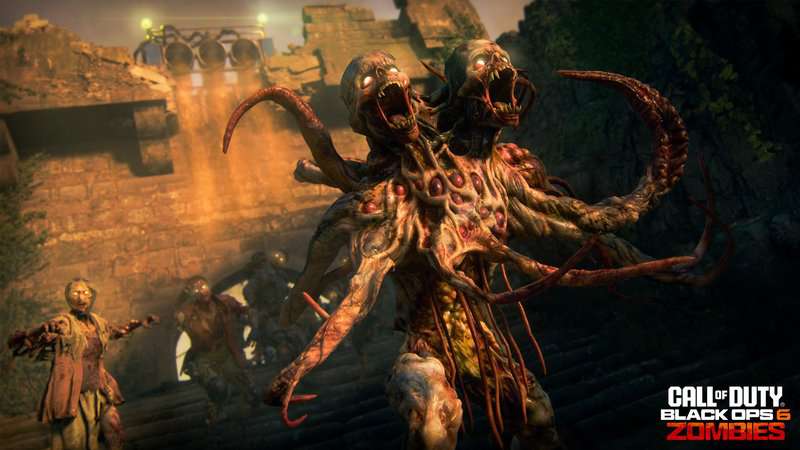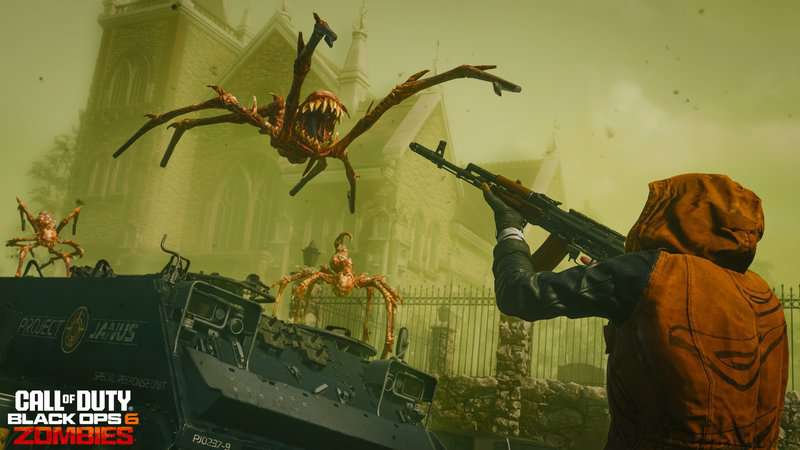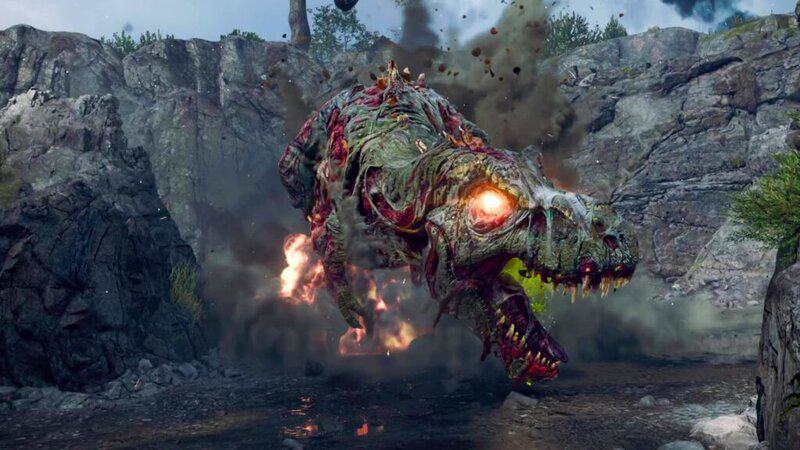
The final battle of the Black Ops 6 Zombies map, Shattered Veil, is very unique as players will need to take down an undead dinosaur known as the Z-Rex. Players who want to make sure they don’t stumble at the quest’s conclusion will want to know how to take down this prehistoric horror. This guide will show players how to beat the Z-Rex Boss Fight on Shattered Veil in Black Ops 6 Zombies.
How to Beat The Z-Rex Boss Fight On Shattered Veil
Before starting your run at the Shattered Veil boss fight, it’s important that I lay out a few things you should make sure you equip in the pre-game lobby. You will want to make sure you have some good Augments equipped to your Perks and Field Upgrade to make the game and especially the final boss fight easier.
Juggernog is a Perk you are going to get every game of Shattered Veil, not just when you’re running the Easter Egg. The Probiotic Major Augment for Juggernog is one of the most important ones for you to get an extra 50 HP. Speed Cola is necessary because when you face off with the boss, you will be given a small window of opportunity to do damage to the boss so making sure you are able to reload quickly can save your run. Speed Cola’s Supercharged Major Augment is great here since it will charge your Field Upgrade faster. For the Minor Augment, I suggest Quick Swap to increase weapon change speed since you will be changing between the Wonder Weapon and your bullet weapon of choice.
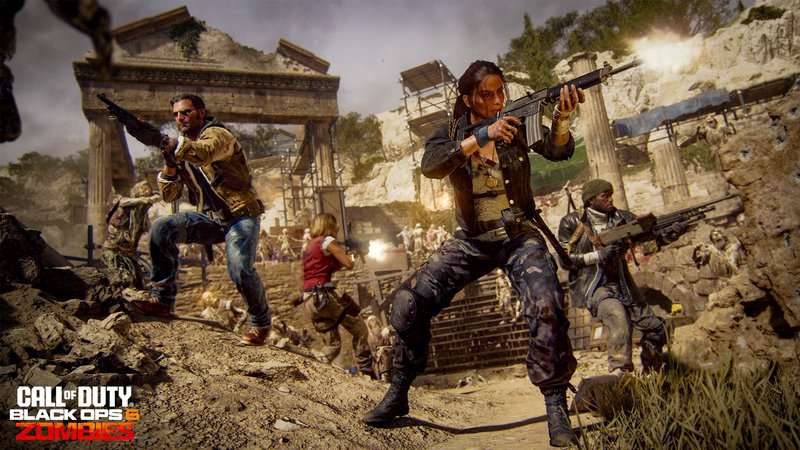
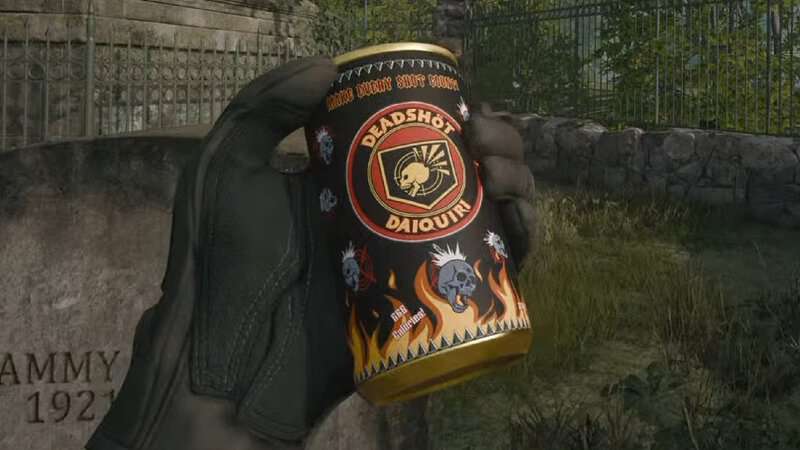
The boss fight of Shattered Veil can be difficult in its latter phases, mostly because of the creature’s quick movement speed and series of bite attacks. This, coupled with the Zombies in the battle arena and the hazards that slow your movement, can quickly get you and your team killed. So I suggest bringing in Stamin-Up to improve your sprint speed. The Dasher Major Augment will give you a longer Tactical Sprint Duration and the Hot Foot Minor Augment will give a speed boost for a short time after killing a Zombie with Equipment, which can quickly get you out of a jam. PhD Flopper with the Tribologist is also a must-have since it will increase your distance and speed when sliding, allowing you to get away from the boss even at its max speed.
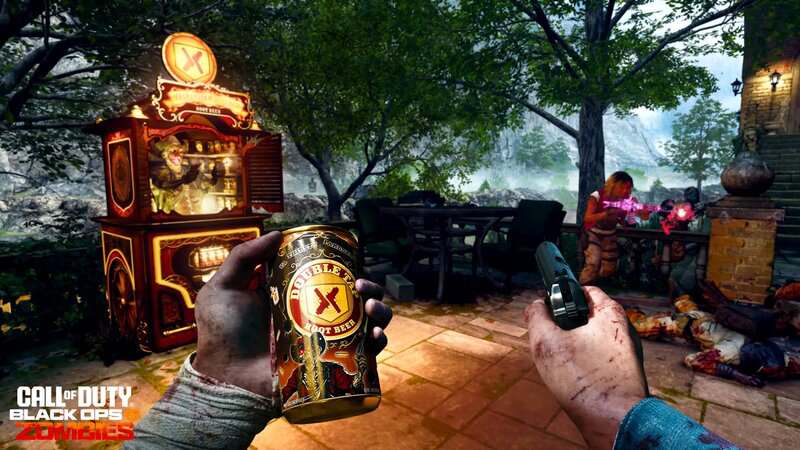
Quick Revive is great for making sure you heal quickly from damage. Use the Dying Wish Major Augment since it will basically give you an extra down during the boss fight. Any Minor Augment is fine here but I suggest the Karmic Return Augment if you’re playing co-op since it heals you if you revive a teammate. The newly introduced Double Tap Root Beer Perk is also a great choice to double your rate of fire. While I am going to suggest weapons later on that negate this Augment, the Double Impact or Double Standard Major Augments are great choices if you decide to use a bullet weapon during the final boss fight. The former will deal more damage on double hits that target the same enemy while the latter will give all non-critcal hits double damage when using a bullet weapon. The Double Time Minor Augment will further increase your rate of fire, also making it a great choice.
When it comes to your Field Upgrade, Aether Shroud must be equipped for the Easter Egg, so feel free to keep it on and use it to vanish and catch your breath during the fight. The Extra Charge Minor Augments are great here. I suggest the Burst Dash Major Augment to get through the horde if you find yourself in trouble or need to get close to the boss. If you’re playing with a team, the Group Shroud Major Augment is also great. Another good option is Frenzied Guard so that you can replenish your Armor Plates. You can change your Field Upgrade in the pause menu. The Retribution will trigger an explosion when your armor breaks and can be a great way to get Zombies away from you. Use the Repair Boost Minor Augment to repair more armor per kill. If you’re playing in a team, consider the Phalanx Major Augment and Rally Minor Augment. The former will allow your teammates to repair their armor when getting kills during the Field Upgrade’s duration, while the latter will repair your team’s armor upon activation.
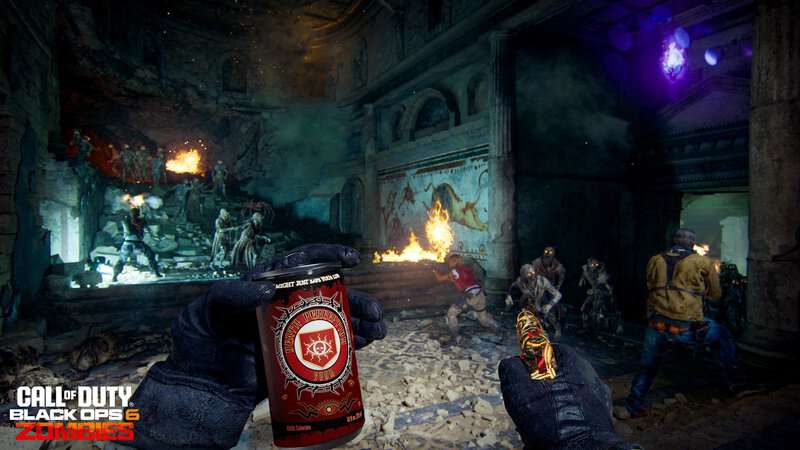
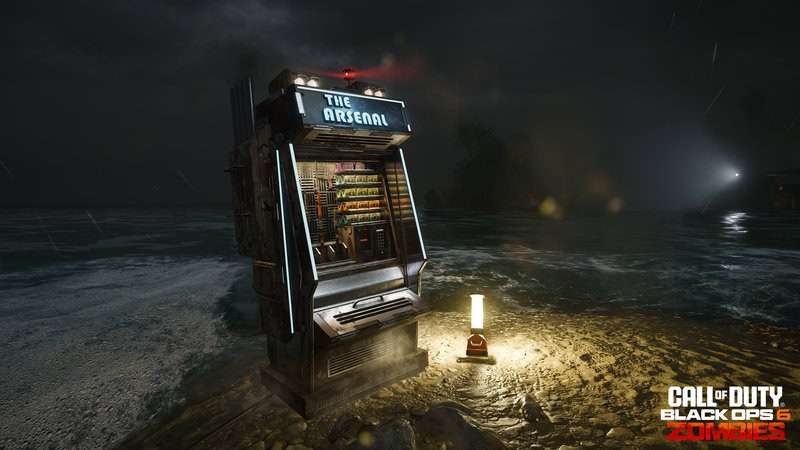
If you also want to use Gobblegums, here are a few suggestions. Cache Back is extremely important since, unlike other bosses in Black Ops 6, the boss fight doesn’t have a phase that gives you a free Max Ammo, so you will need to buy ammo to keep yourself from running out. Having a Cache Back in your back pocket can save a run if you run low on points and ammo. Arsenal Accelerator is great to keep your Field Upgrade charged and Shields Up will give you a fresh set of armor and make it strong for a short time to make it harder for the enemies to down you. Free Fire will give you unlimited ammo for a minute so this can be great to make sure you don’t fail to take down a phase of the boss because you need to reload. Idle Eyes is also great because it will cause all Zombies to just stand still for 30 seconds, giving you an opening to just focus on the boss. If you’re playing co-op, Phoenix Up and Near Death Experience are great for making sure your team stays alive.
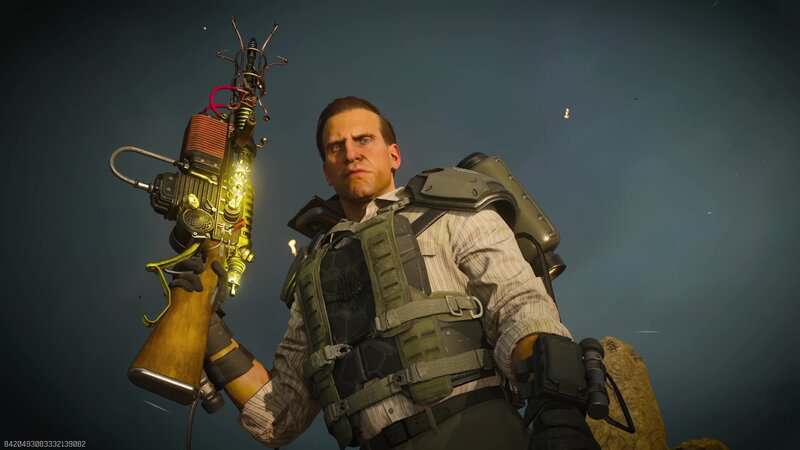
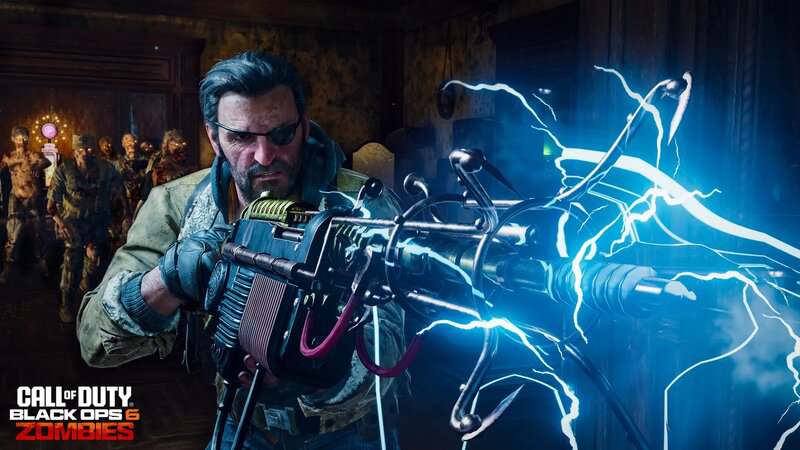
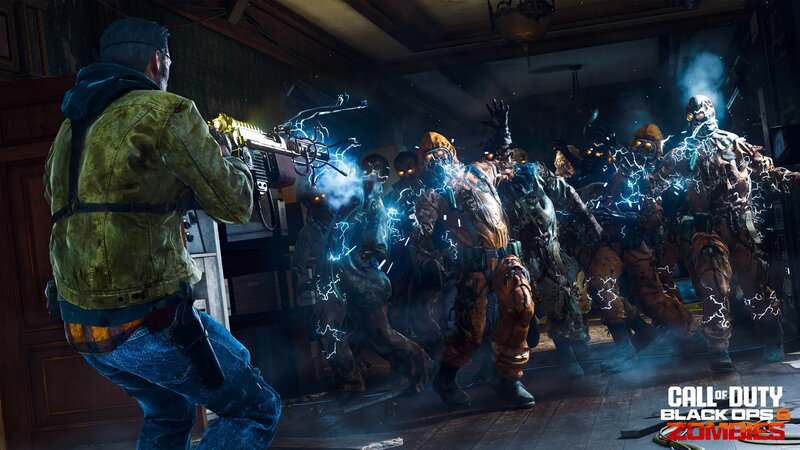
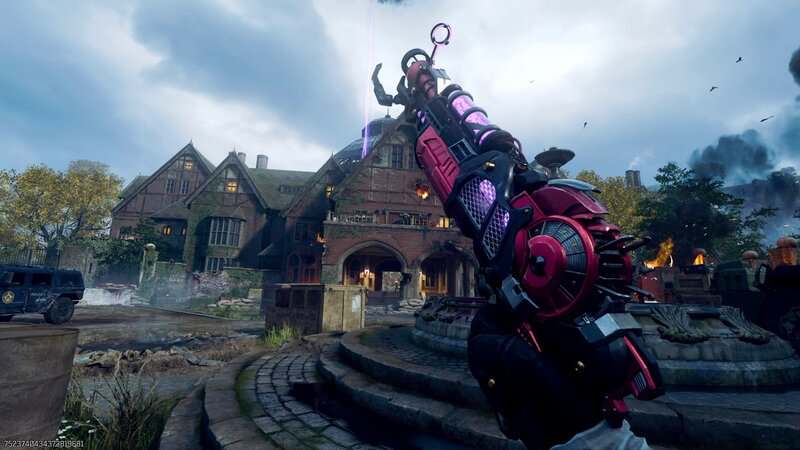
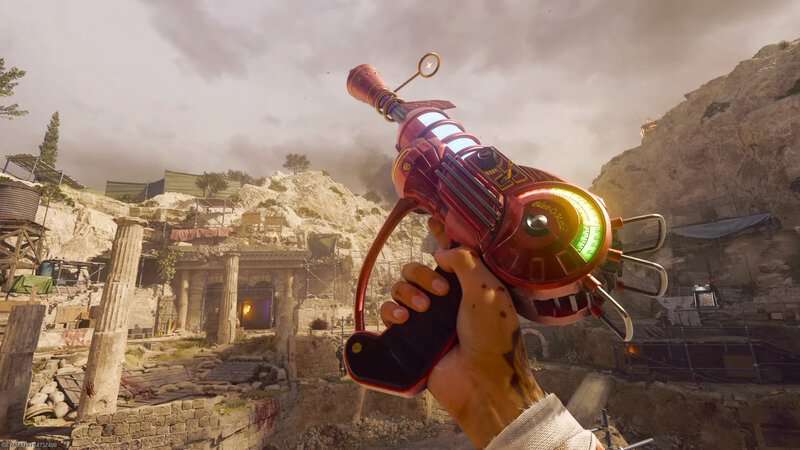
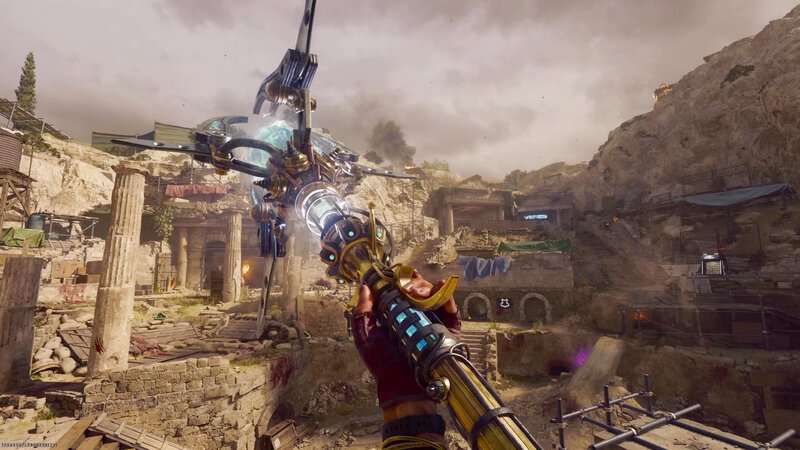
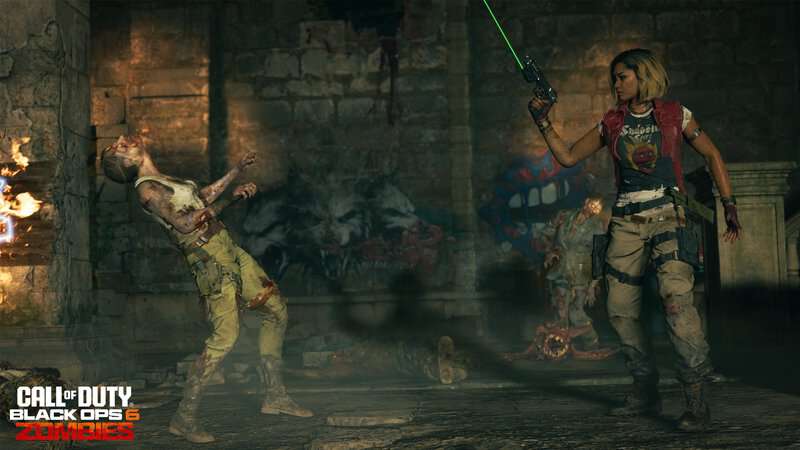
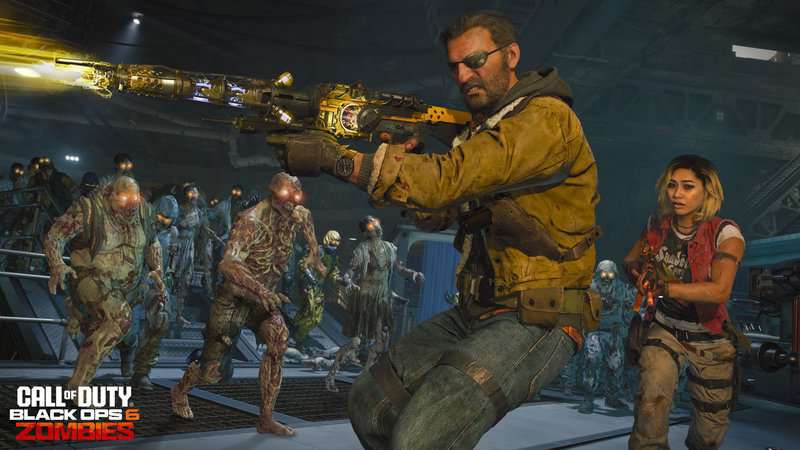
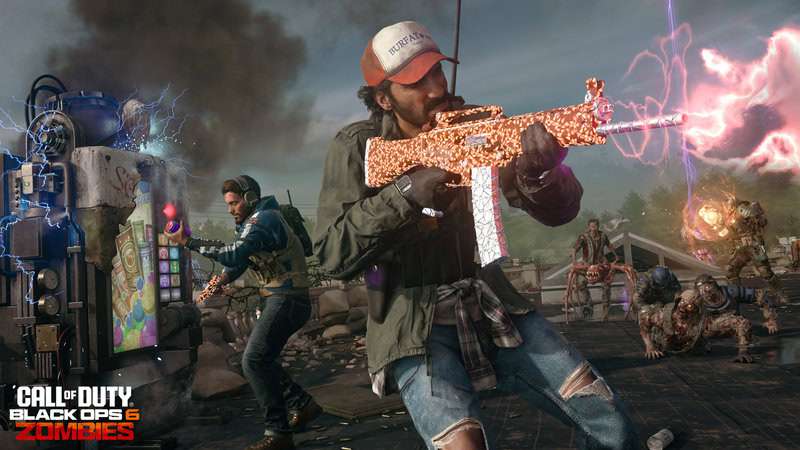
As you progress through the Easter Egg quest, you will want to make sure you get the right weapons to prepare yourself for the final battle. I suggest getting the Ray Gun Mark II-W and the Wunderwaffe DG-2 as your weapons since these Wonder Weapons are great against the boss. The former will allow you to do massive damage while the latter is great for dealing with the Zombies that attack along with the boss.
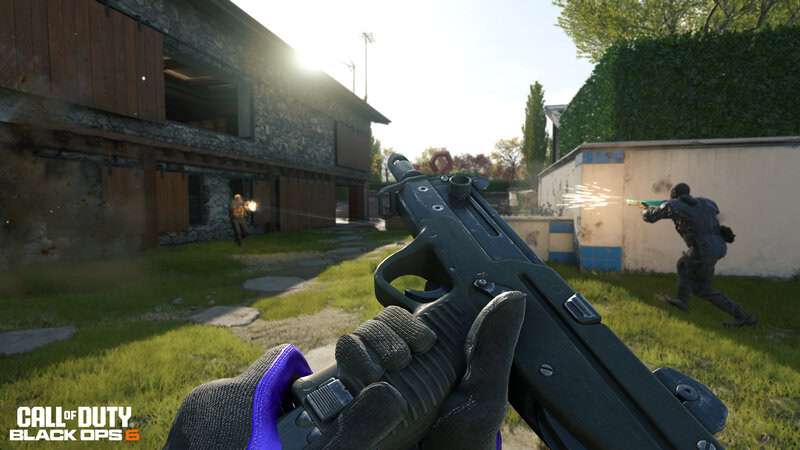
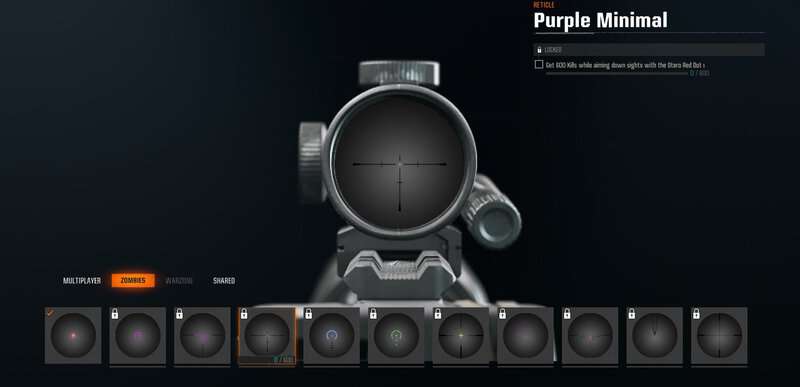
While using both Wonder Weapons is great, there is a bullet weapon that can actually give you the highest damage output. While it doesn’t have the best handling, its damage can quickly whittle down the health of the boss. This weapon is the AMR Mod 4 Sniper Rifle. When Pack-a-Punched, this weapon gets a very quick rate of fire and deals massive damage. I suggest putting on a low-magnification Optic since you will be engaging enemies in close quarters during the fight. There are a few other attachments that you can throw on, but Rapid Fire and Extended Mag II are the main focus, along with the Optic. Couple this with the Double Tap Perk and Augments mentioned earlier, and this weapon can destroy the boss and any Zombies alongside it.
You will use either the Ray Mark II-W or the AMR Mod 4 as your primary weapon against the boss. Get this weapon to Level 3 Pack-a-Punch and get the Sniper to Legendary Tier if you decide to bring it. Use the Wonderwaffe as your secondary weapon to help with crowd control.
With all that said, it’s time to talk about the boss.
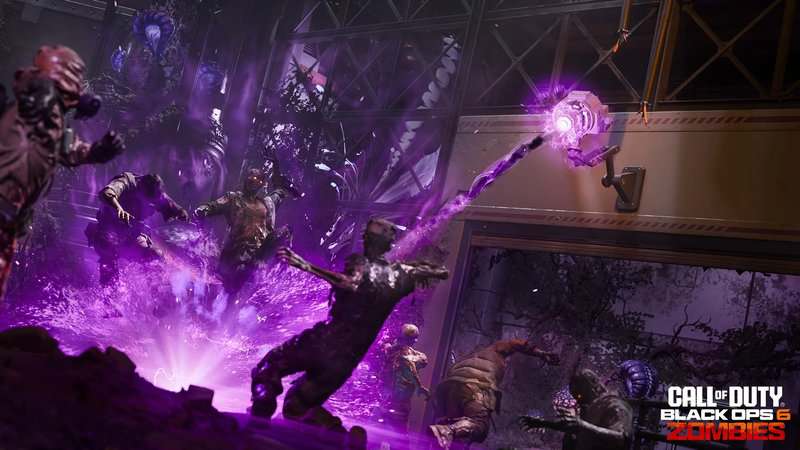
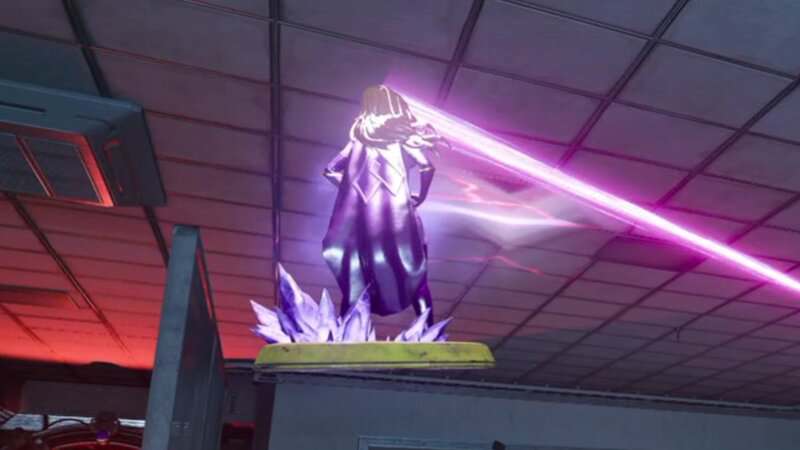
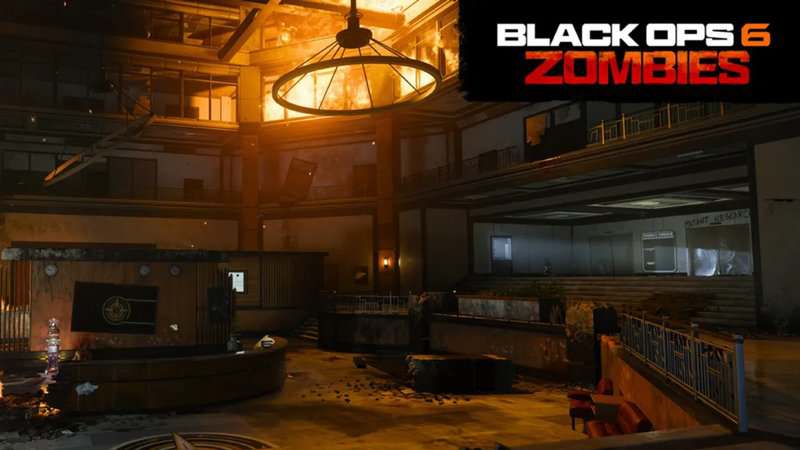
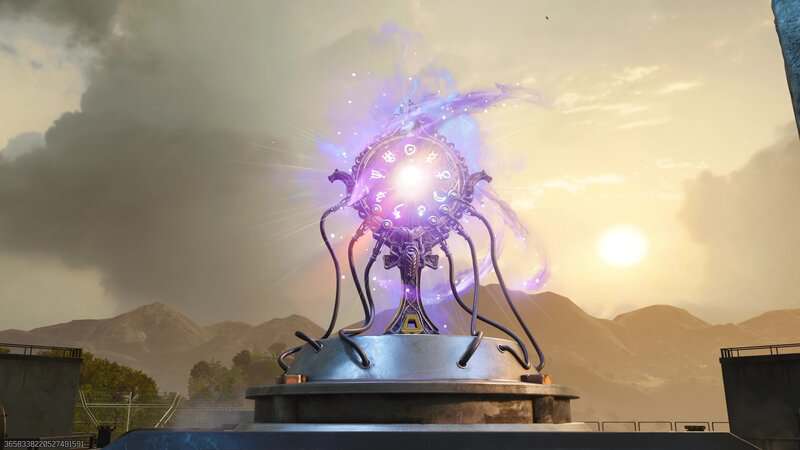
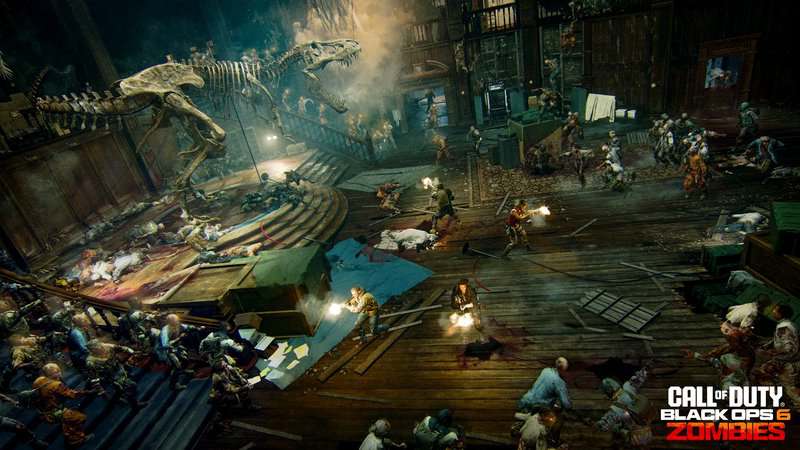
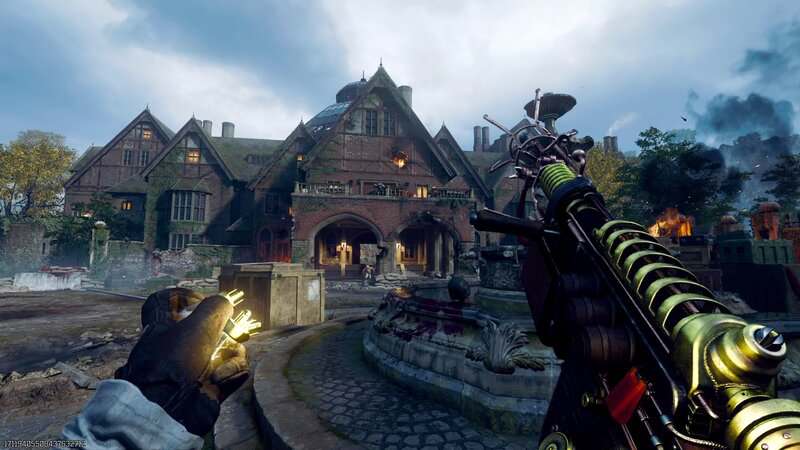
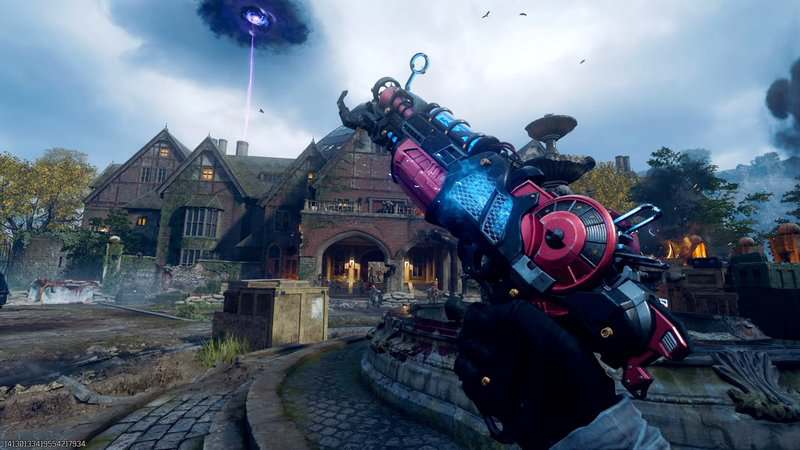
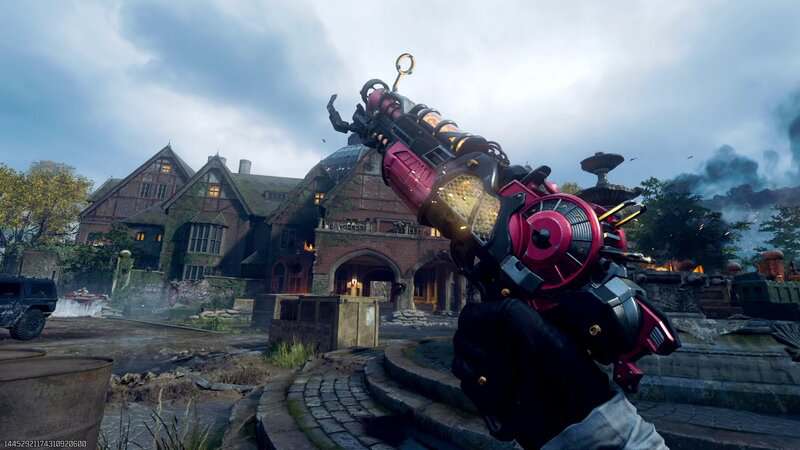
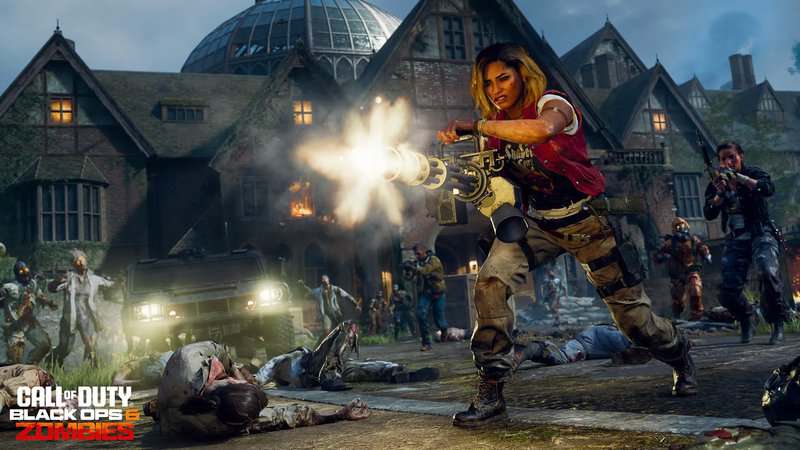
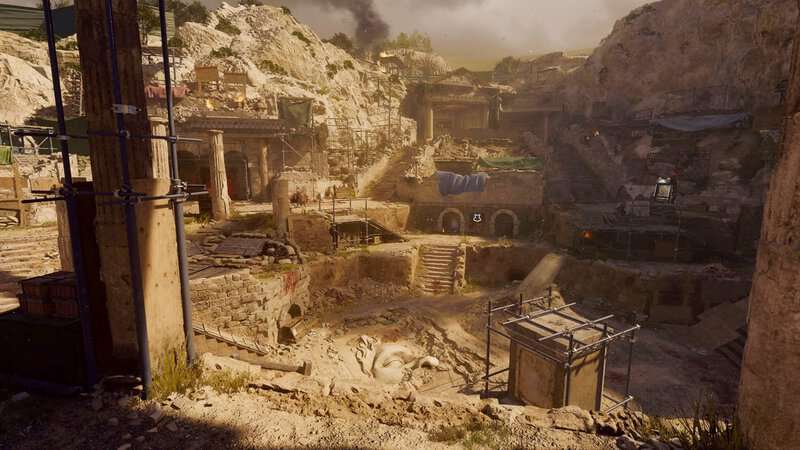
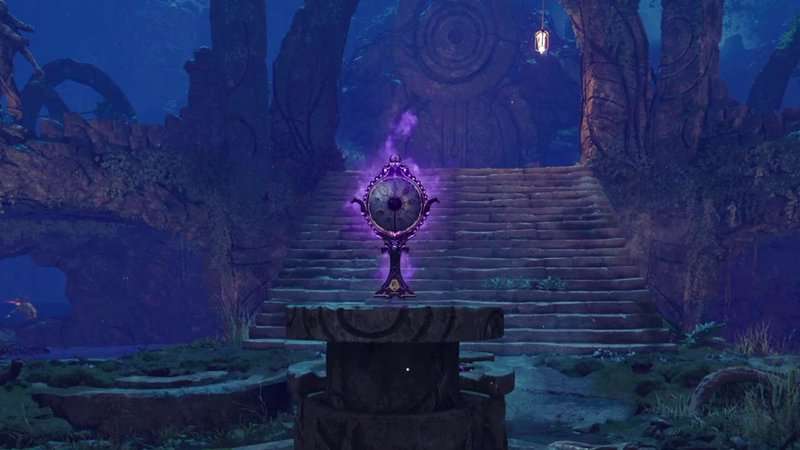
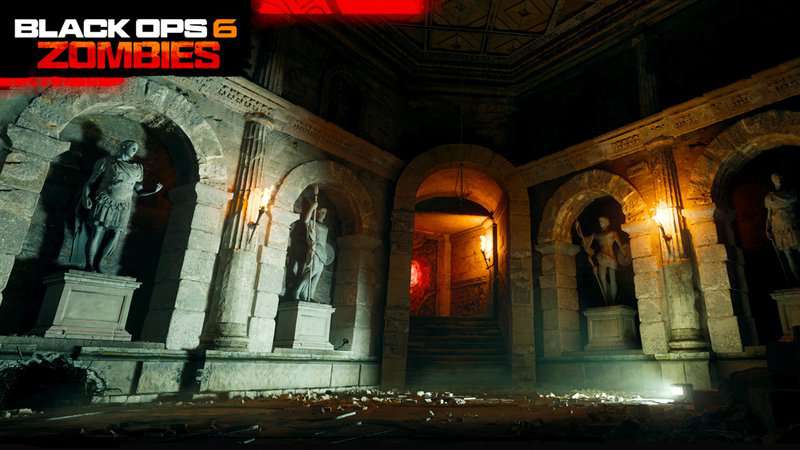
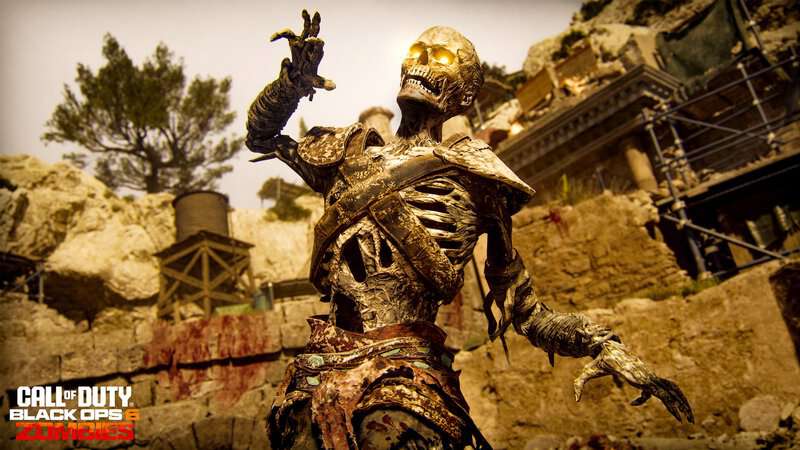
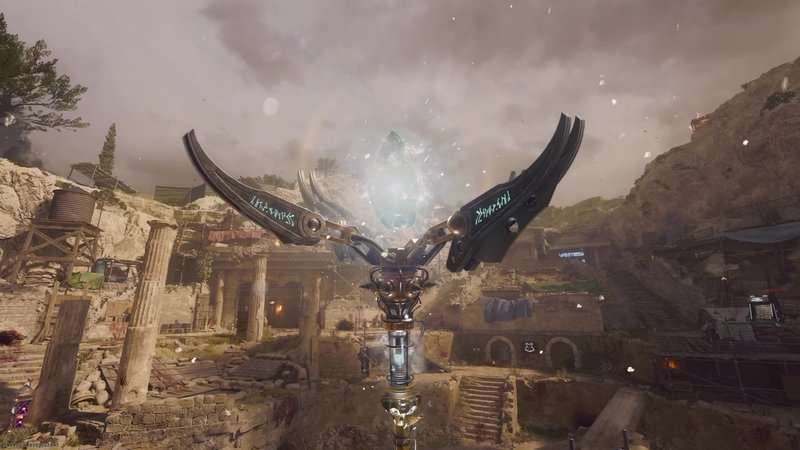
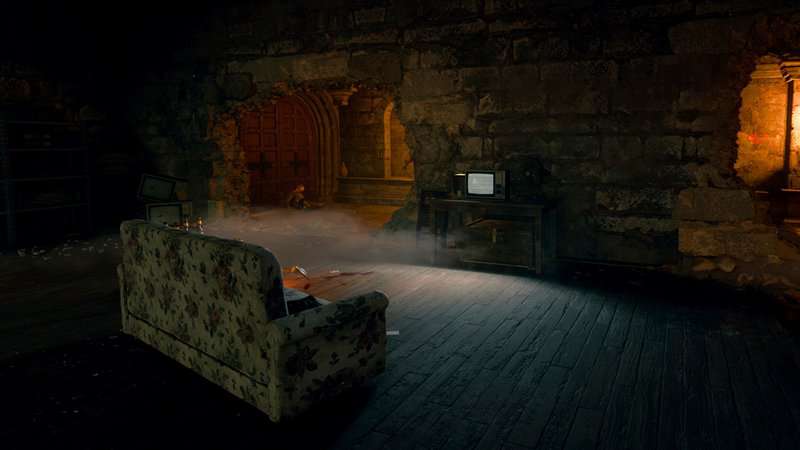
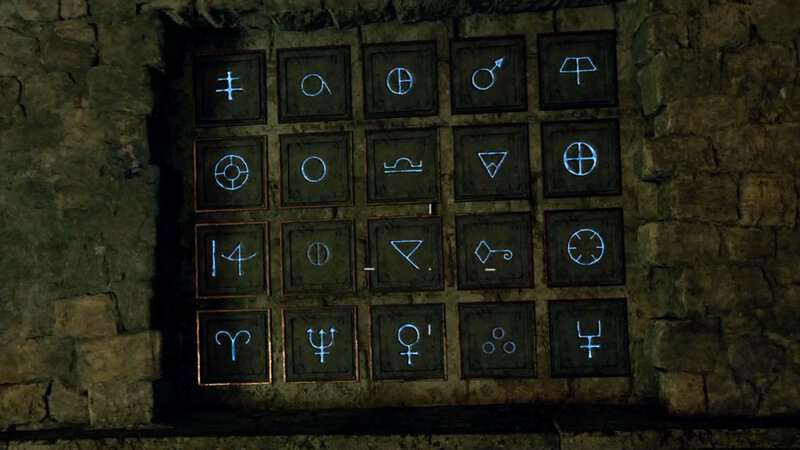
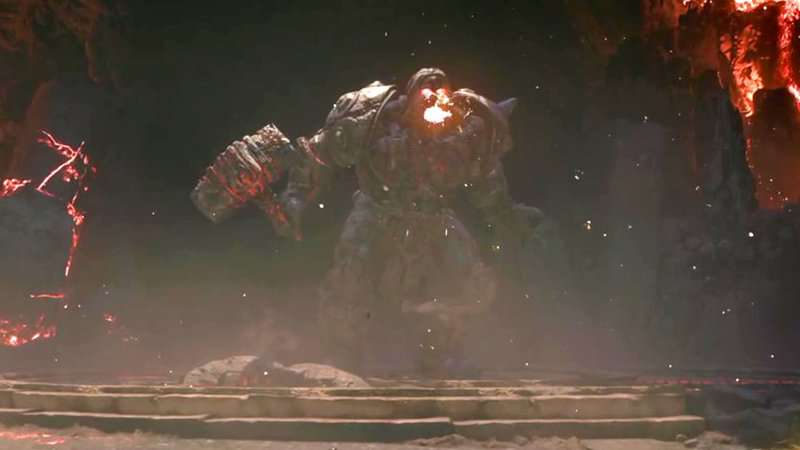
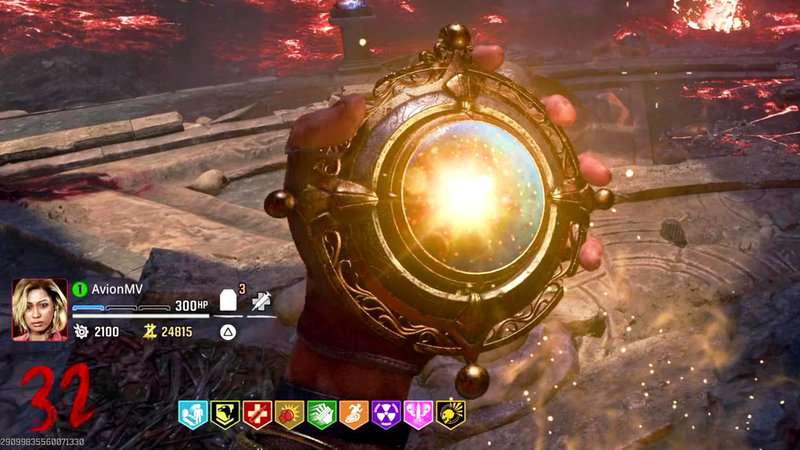
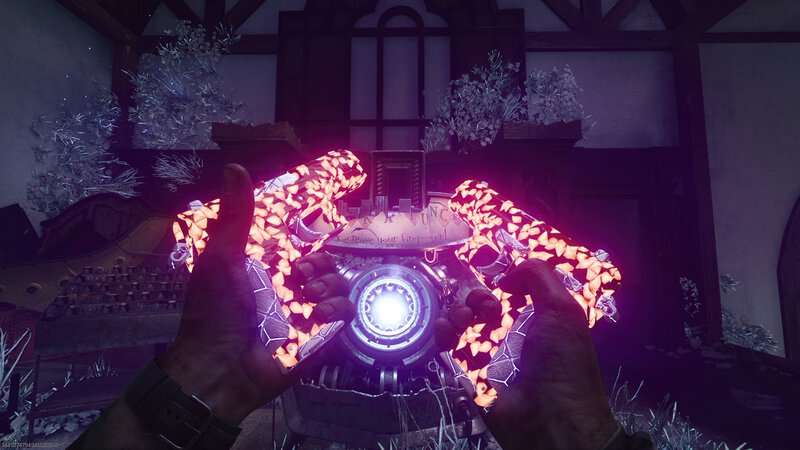
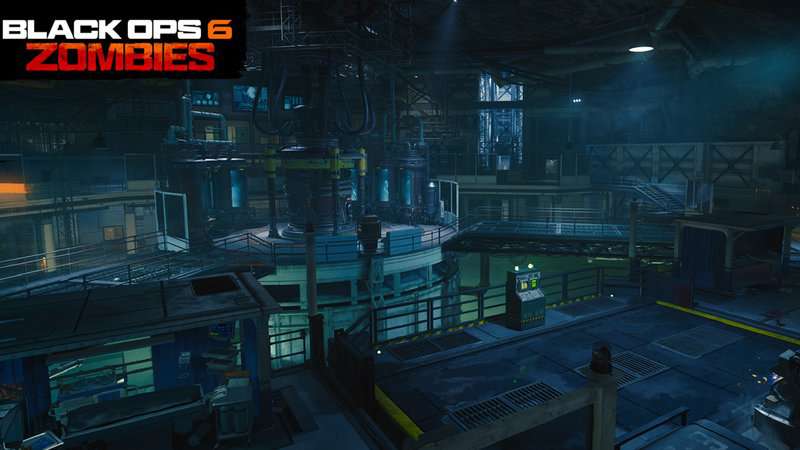
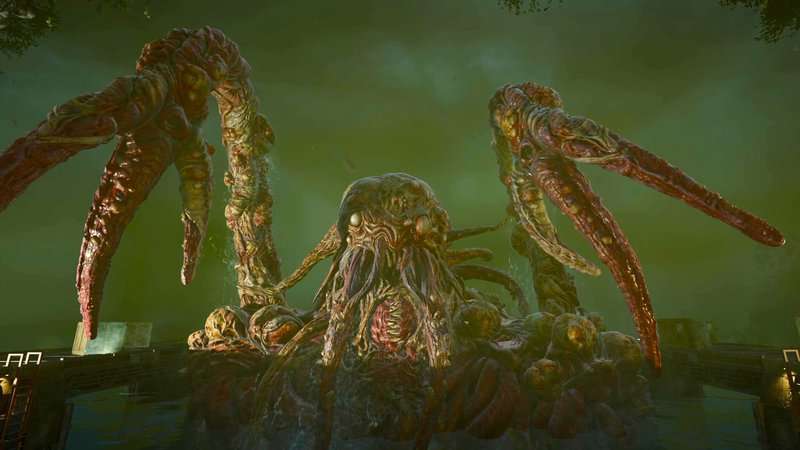
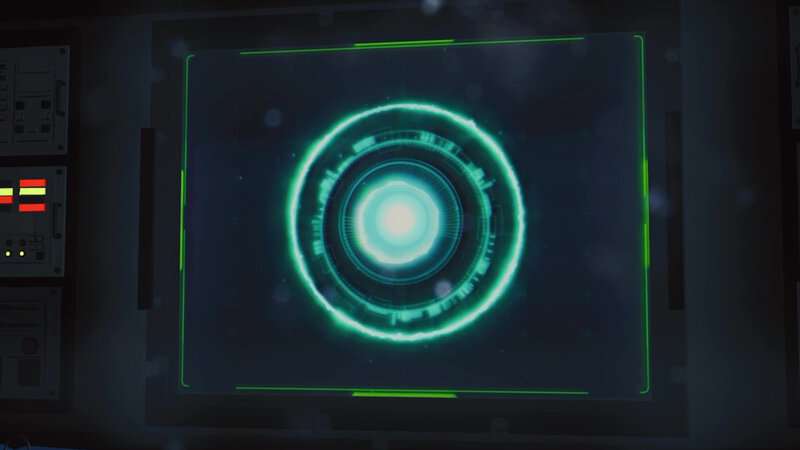
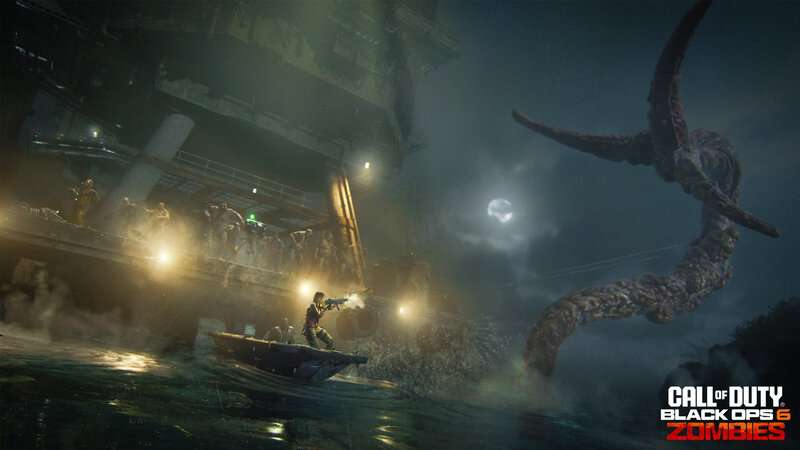
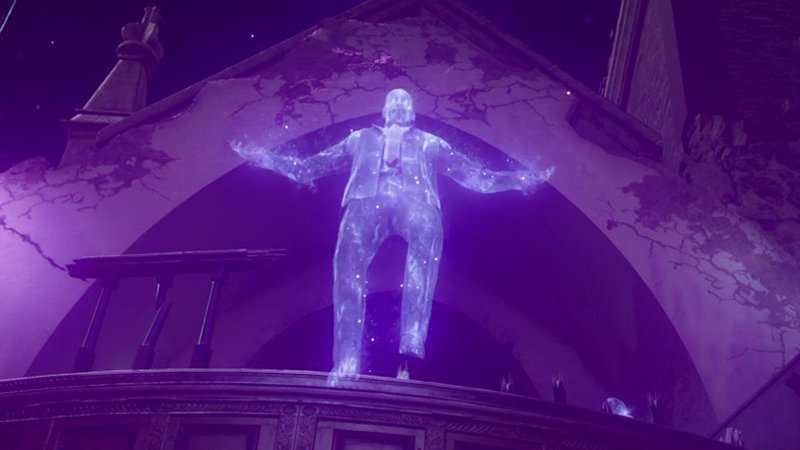
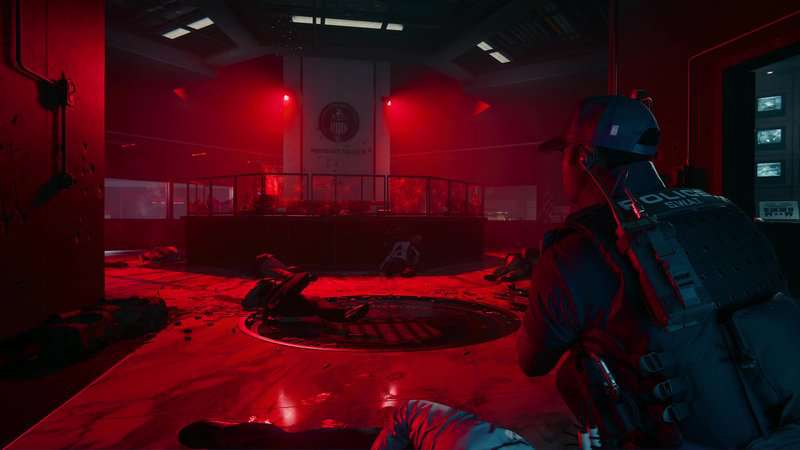
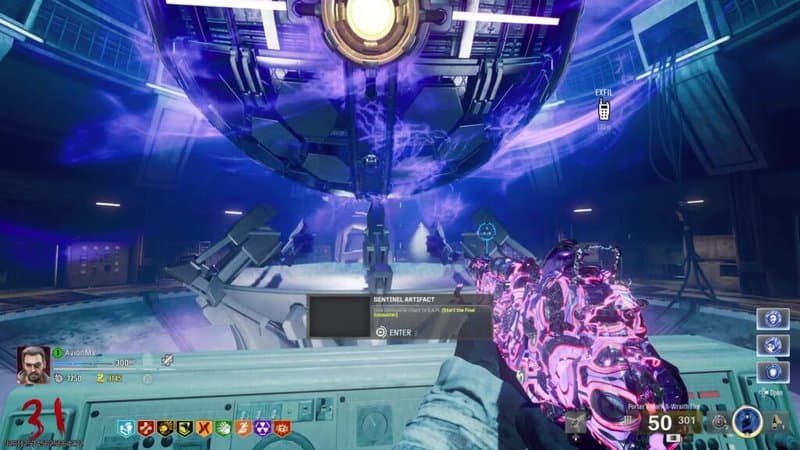
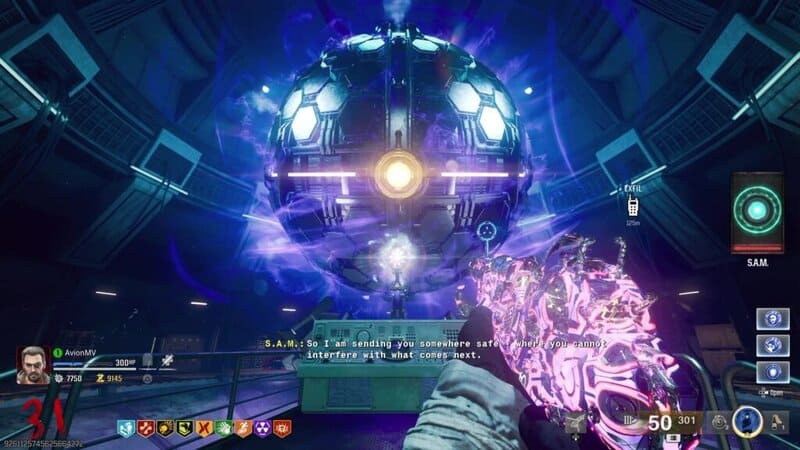
After completing all of the liminal space rituals and charging the Sentinel Artifact, go down into the Mainframe Chamber. At the north and south ends of this room is a terminal that you interact with to give S.A.M. the Artifact. S.A.M. will take the Artifact and trap you in a liminal space with Richtofen. After the cutscene, you will enter an outdoor arena where you will find the undead T-Rex known as the Z-Rex.


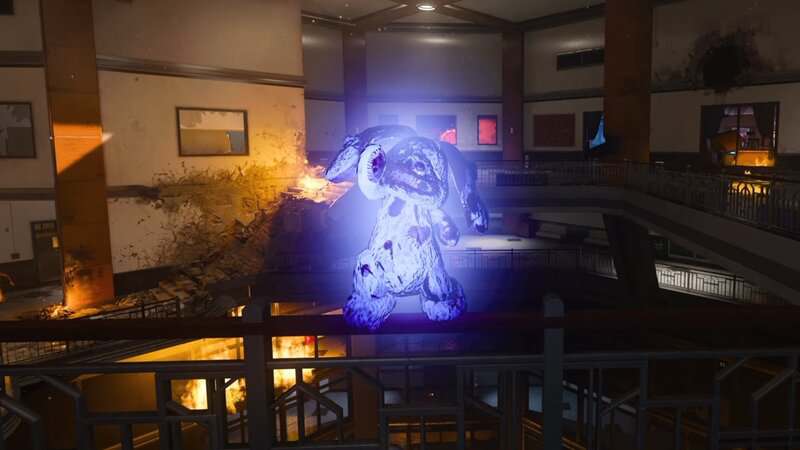
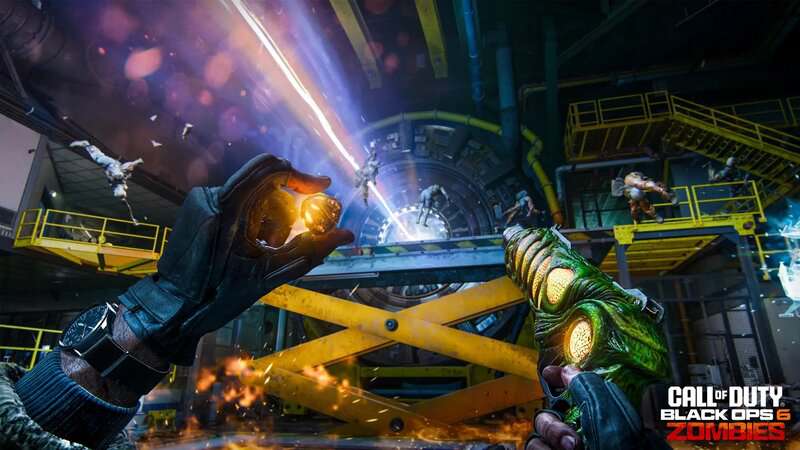
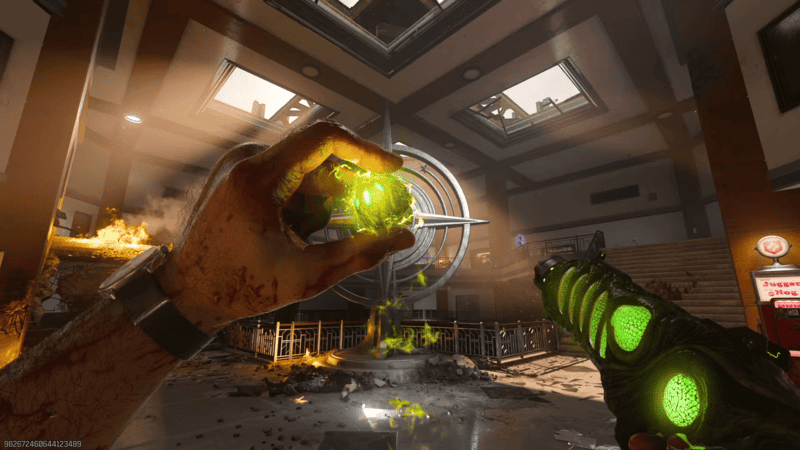
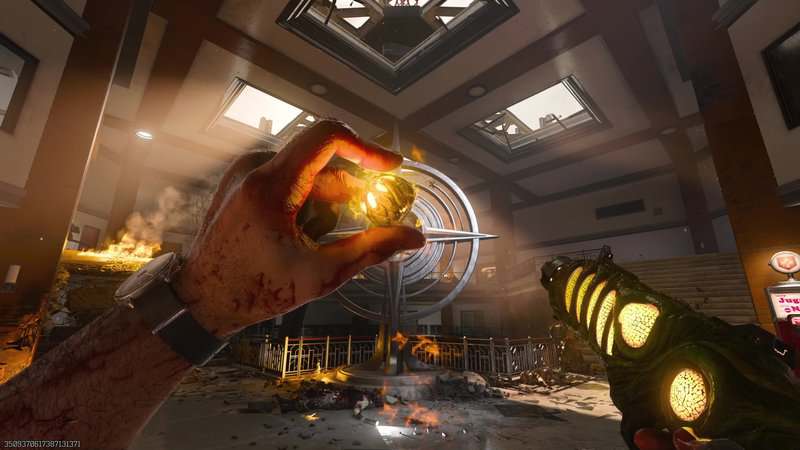
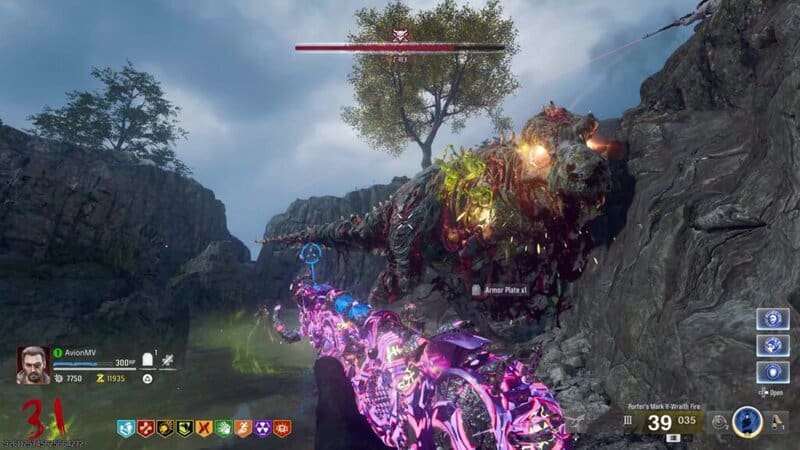
You can do damage to the boss by shooting it with any weapon but there are two primary targets you will need to aim for. The Z-Rex will eat Zombies around the area, which will cause them to protrude from its open ribcage. These Zombies sticking out of the ribs of the boss are the Z-Rex critical spots. Shoot these Zombies with either the Mark II-W or the AMR Mod 4 to deal massive damage. When there aren’t any Zombies coming out of the ribs, the other critical spot is the eyes of the Z-Rex. As you move around the arena, there will be green circles on the ground that will do damage and slow you down, so you will need to avoid these circles as you move around.
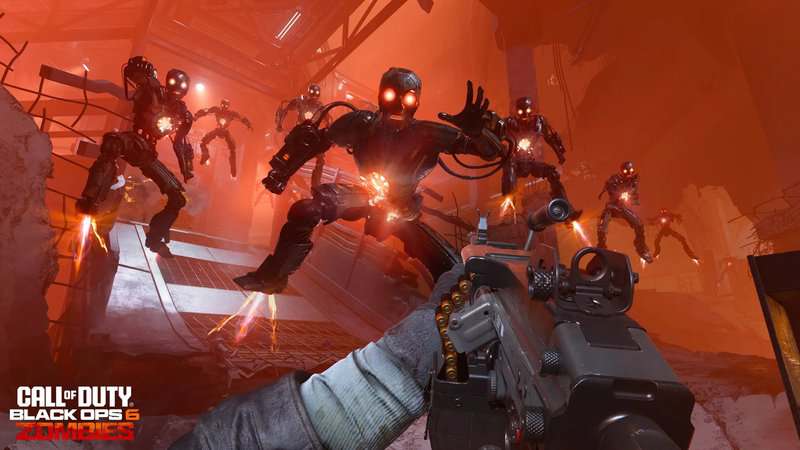
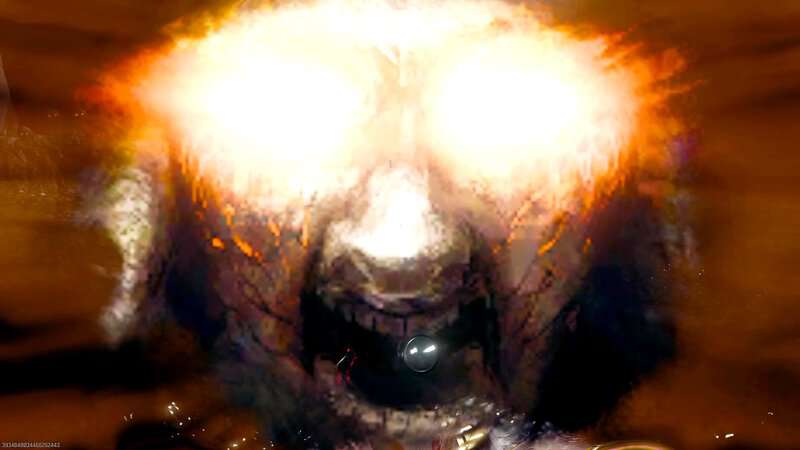
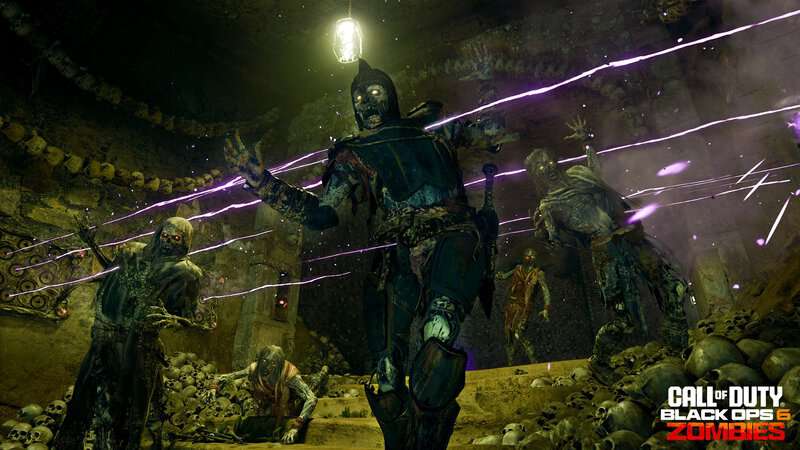
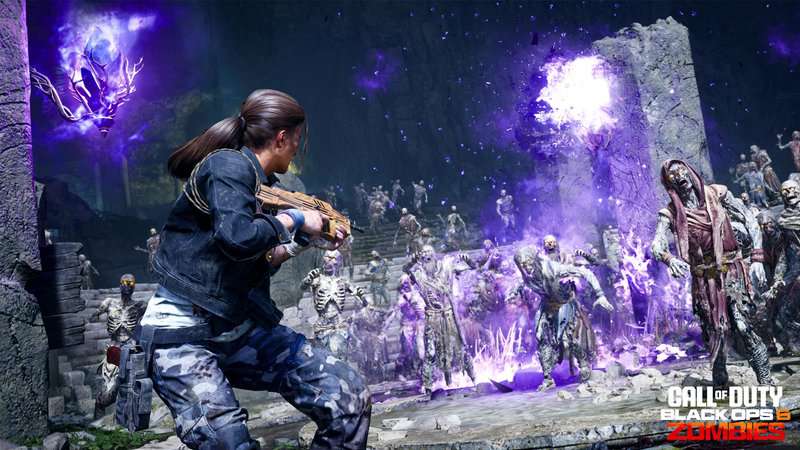
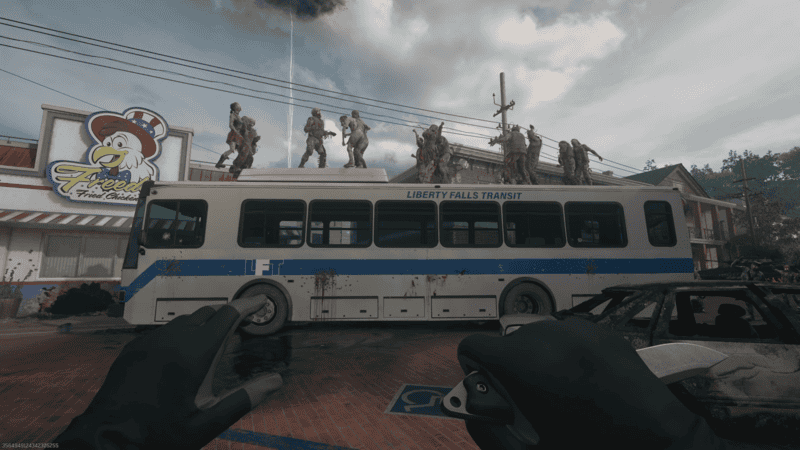
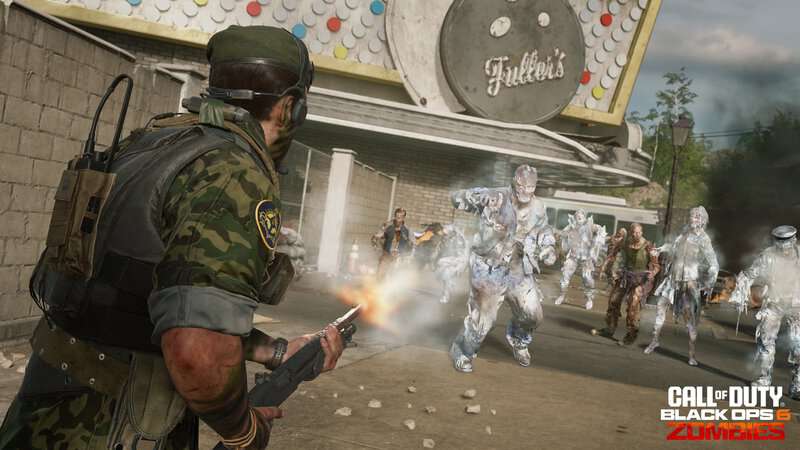
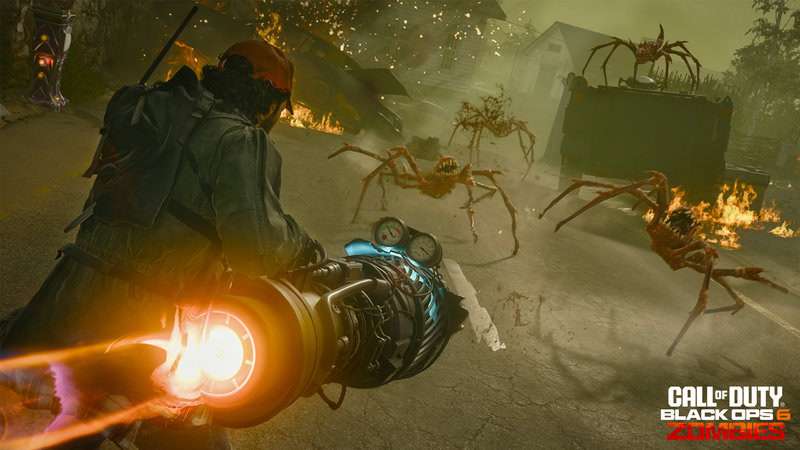
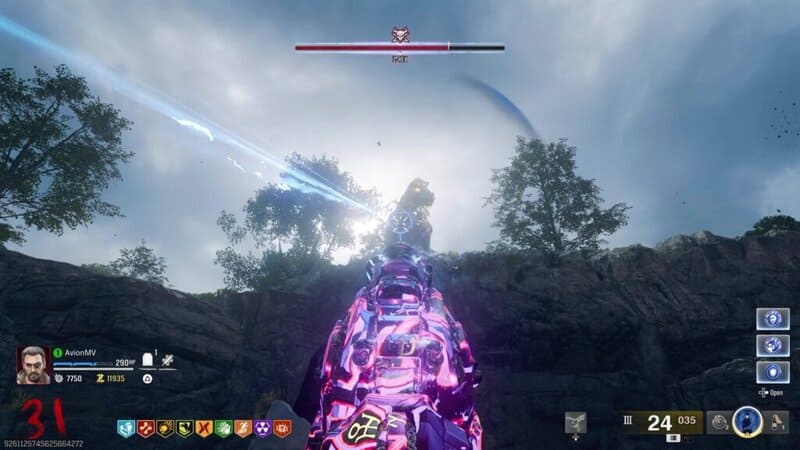
Once the boss loses a quarter of its health, it will jump up onto the nearby cliff, making it invisible to damage and spraying poison down in the area below. This will create new green circles and spawn a wave of very fast Zombies. Use your Wunderwaffe to survive this onslaught. This wave ends with a Max Ammo drop, so make sure you save your AMR Mod 4 or Mark II-W ammo. After about a minute, the Z-Rex will hop down and continue the next phase.

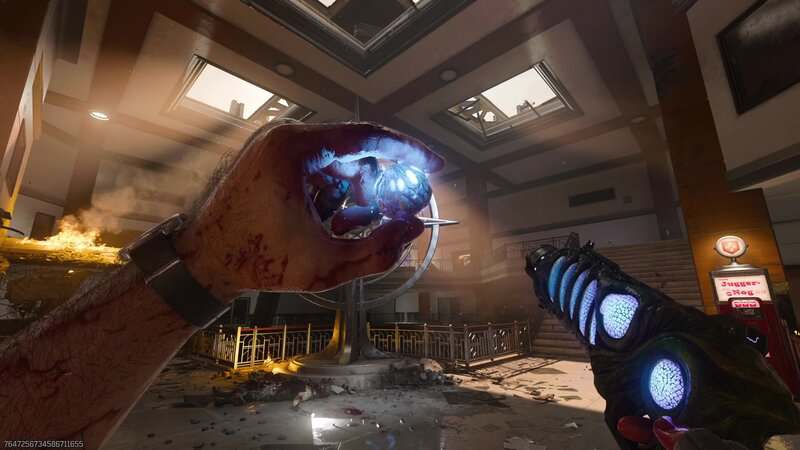
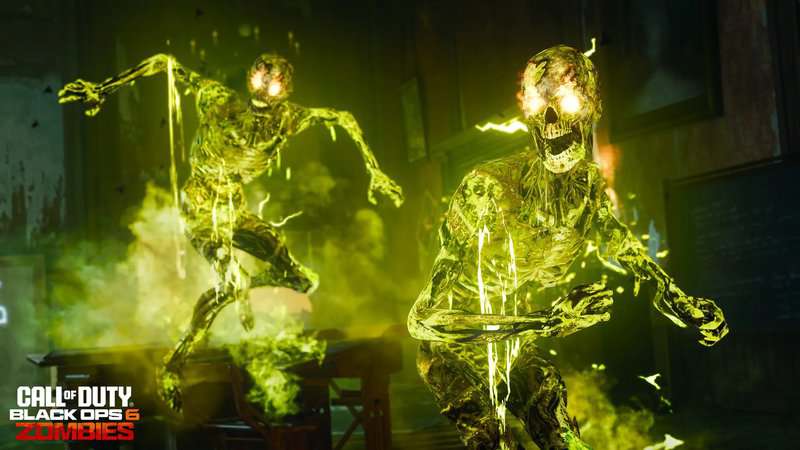
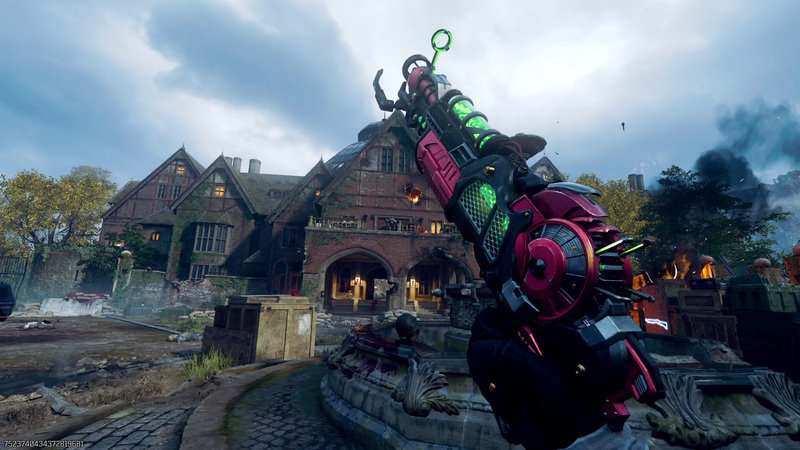
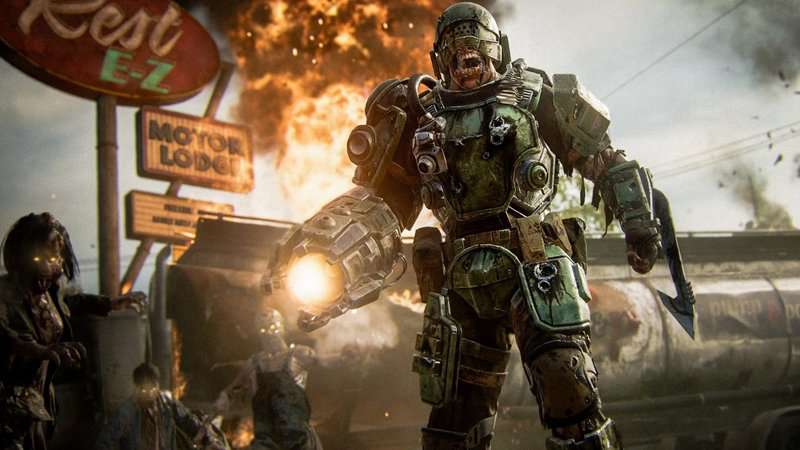
The second phase is very similar to the first one so just repeat the same game plan mentioned above. When the boss reaches half health, it will evolve, turning green. It will then hop up to the cliff again. Survive this phase until the boss hops down.

The Z-Rex will now be much faster and will do increased damage. This is where Stamin-Up and PhD Flopper perks will help outpace the dinosaur. Avoid his stops and bites while still targeting the weak points to deal damage.

Repeat this process in the last two phases. If you still have your Chopper Gunner, use it during the final phase and you should be able to do enough damage to bring the boss down.
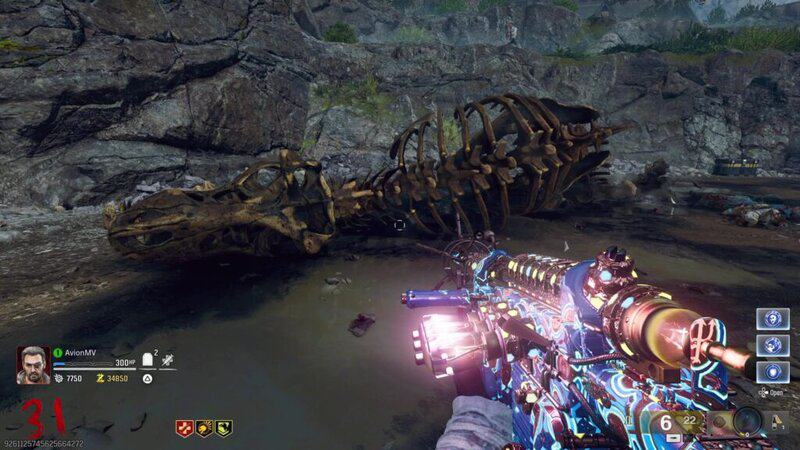
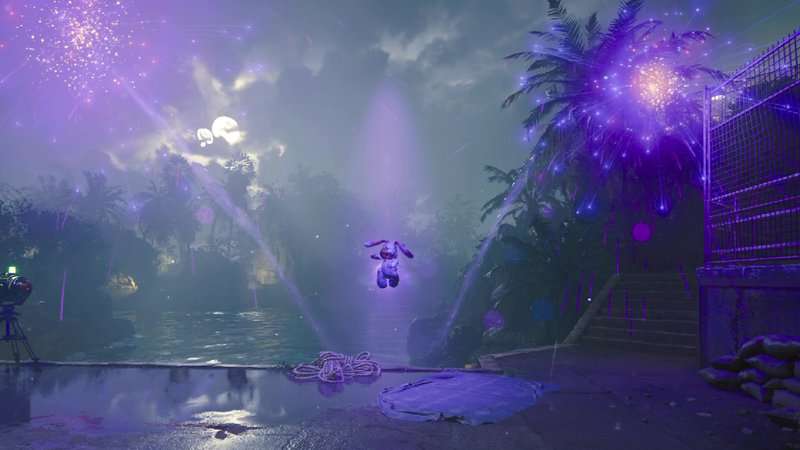
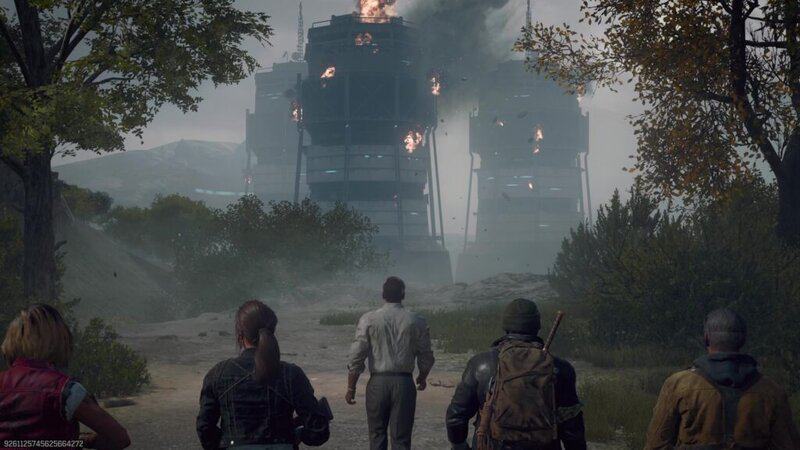
Once the Z-Rex is defeated, the ending cutscene will play and will show our crew heading toward Janus Towers, the next map in the Dark Aether story. When the cutscene concludes. You can choose to leave the match immediately or continue to play. Returning to the game of Shattered Veil will reward you with Points, several Legendary Tier weapons, Legendary Aether Wrenches, Flawless Aetherium Crystals, and all the Perks in the game.
You can now take down the Z-Rex and finish the Shattered Veil Main Quest Easter Egg boss fight in Black Ops 6 Zombies. Stay tuned to Gameranx for more news, updates, and guides for Black Ops 6 as well as other great games in the future.