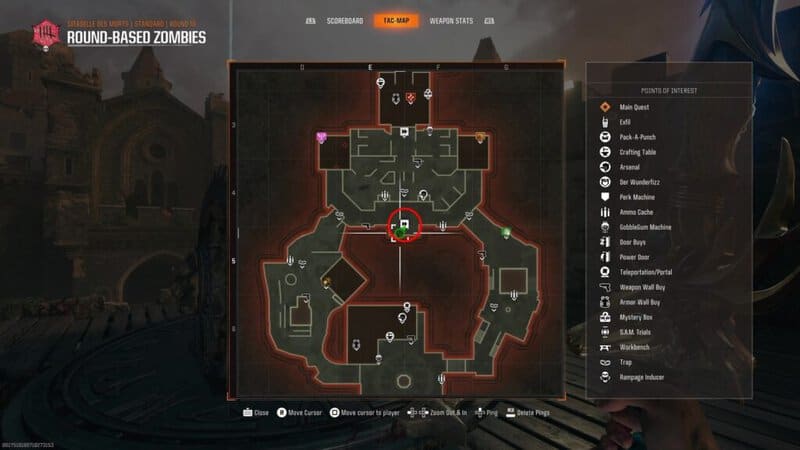
Table of Contents[Hide][Show]
- How to Complete the Citadelle Des Morts Main Quest Easter Egg in Black Ops 6 Zombies
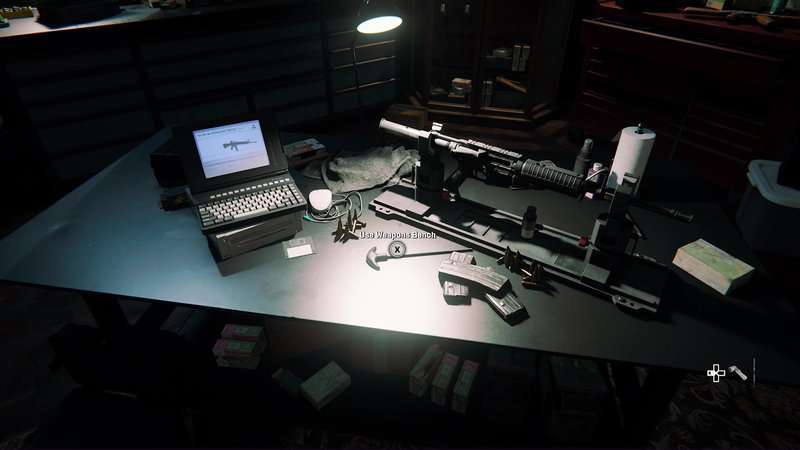
- Activate Pack-a-Punch
- Talk to Krafft
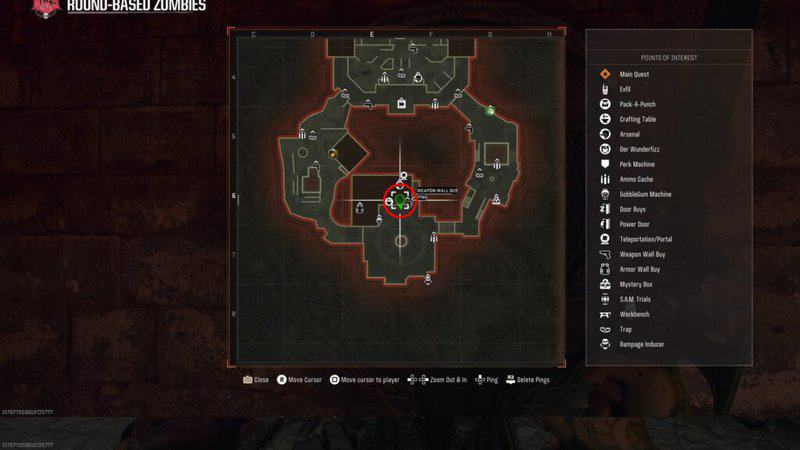
- Complete the Glyph Wall Puzzle
- Repair the Alchemist’s Book
- Charge the Point of Power Traps
- Honor the Knights and Get the Mystic Orb
- Charge the Mystic Orb
- Get the Guardian Key
- Prepare for the Boss Fight
- The Guardian Boss Fight
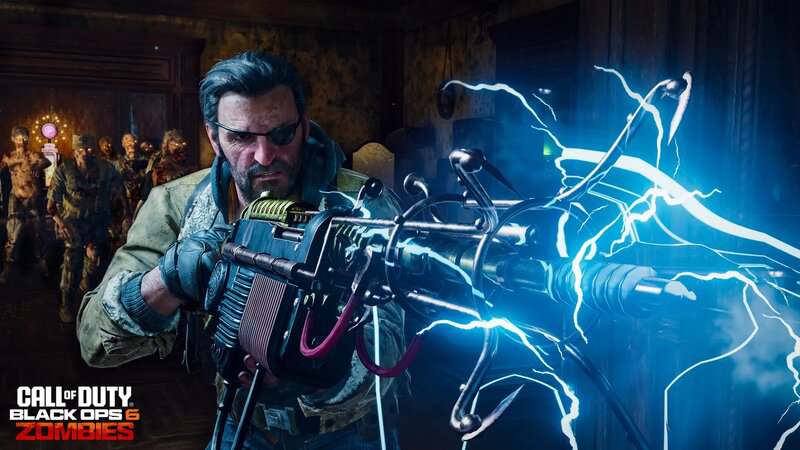
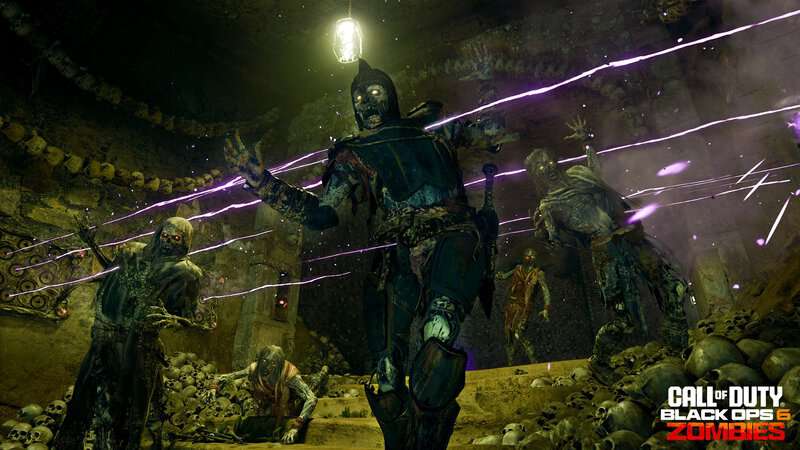
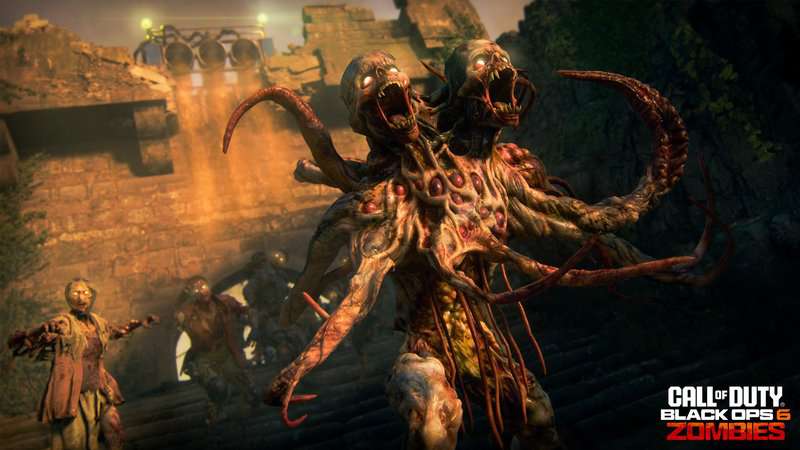
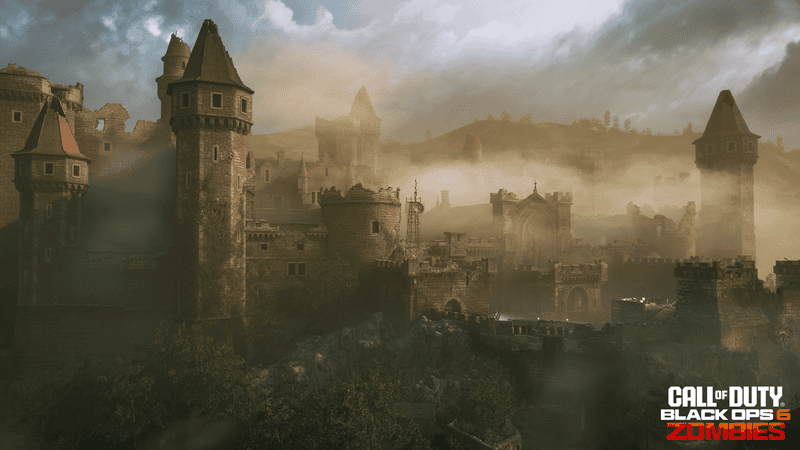
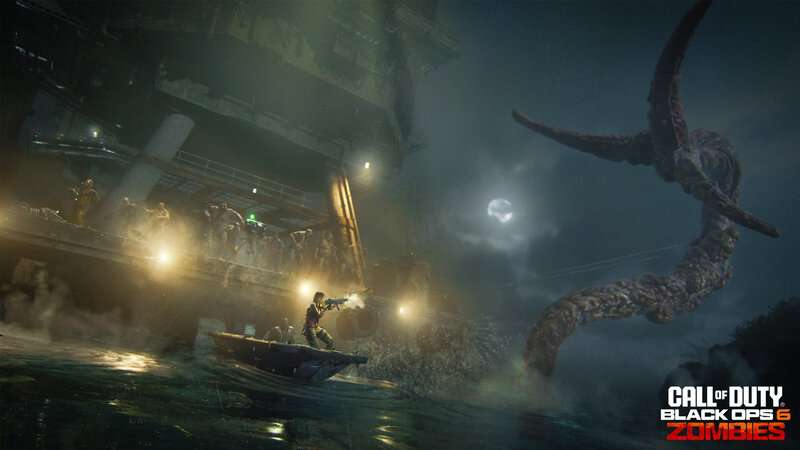
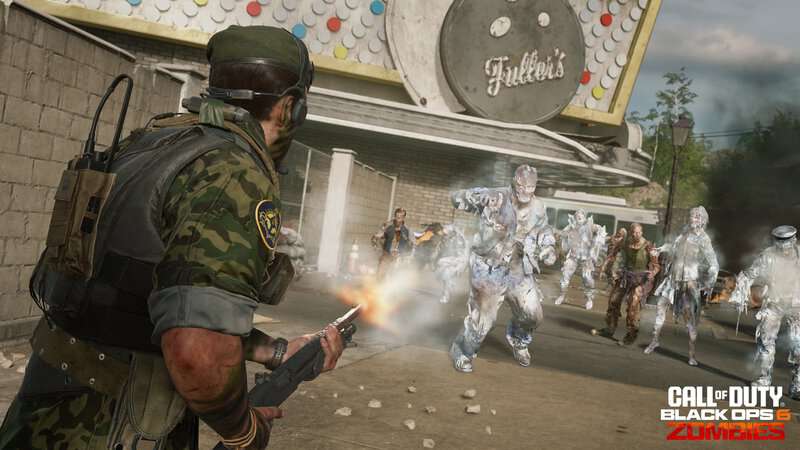
Citadelle Des Morts is the latest map added to Black Ops 6 Zombies and with it comes an all-new Main Quest Easter Eggs. A man named Krafft wishes to help you find the pieces to the powerful Sentinel Artifact and make sure that Richtofen can’t use it for his mysterious plans. To do this, you will first need to find an ancient amulet hidden among the castle’s many secrets. This quest will include magical swords and spells that you will need to use to take down a deadly stone giant boss fight. This guide will show players how to complete the Citadelle Des Morts Main Quest Easter Egg in Black Ops 6 Zombies.
How to Complete the Citadelle Des Morts Main Quest Easter Egg in Black Ops 6 Zombies
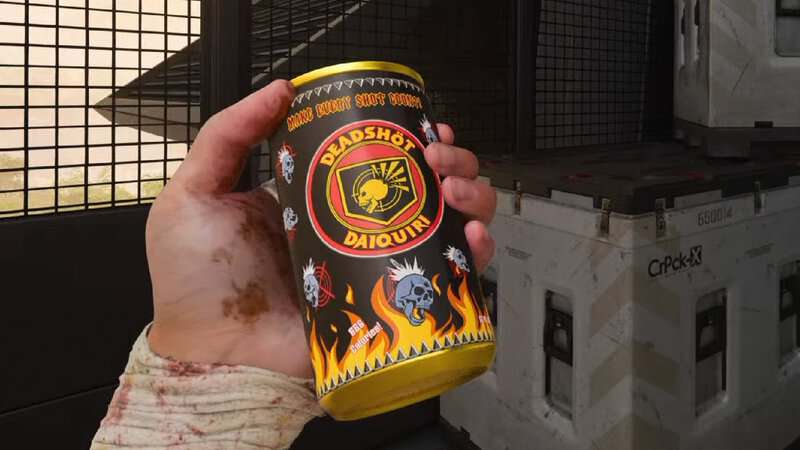
Before starting your run at the Main Quest Easter Egg, its important I lay out a few things you should make sure you equip in the pre-game lobby. You will want to make sure you have some good Augments equipped to your Perks and Field Upgrade to make the game and especially the final boss fight easier. The Probiotic Major Augment for Juggernog is one of the most important ones for you to get an extra 50 HP and the Supercharged Major Augment on Speed Cola for faster Field Upgrade charges. Put on the Dead Head Major Augment to Deadshot Daiquiri to fourth increase Critical Damage as well as the Dead Break Minor Augments for improved increased damage to armor pieces. Since the boss has armor at the start of the fight this is a great bonus to have in the battle.
When it comes to your Field Upgrade, there are a few to choose from. Aether Shroud was the go-to option but a recent patch that has made the Power Drill and Shroud combo much weaker means this Field Upgrade is still useful but not necessary in your fight. If you stick with this Field Upgrade, I suggest using any Major Augment that isn’t Void Sheath. That Augment forces you to use your melee weapon and after the recent update mentioned before, melee attacks are much weaker against the boss. Use either the Extension or Extra Charge Minor Augments are great here. If you’re playing with a team, the Group Shroud Major Augment is also great. The Frenzied Guard is also a great choice since it will fully replenish your armor and getting kills while it is active will also give you more armor. I suggest using the Retribution Major Augment and the Repair Boost Minor Augment.
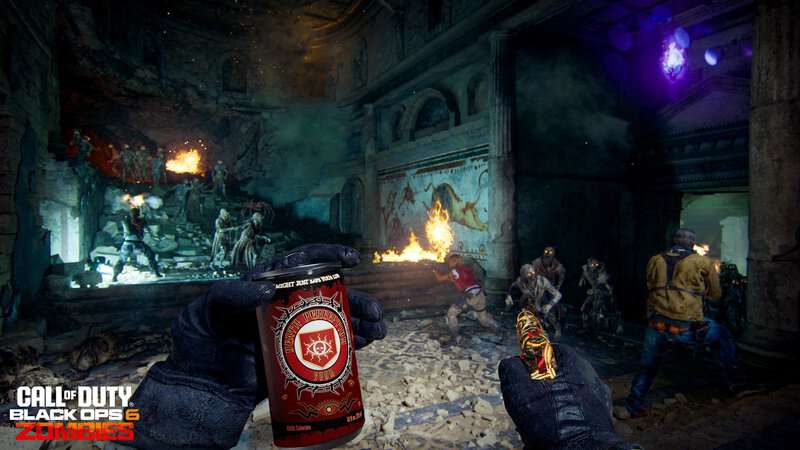
For Gobblegums, put on Arsenal Accelerator and Power Keg to make sure you can get your Field Upgrade back quickly. Cache Back is also extremely beneficial since it can get you a free Max Ammo if you find yourself low on Ammo. Getting a Max Ammo also fully charges your Elemental Swords Special Attack so this can come in handy. Also, consider bringing in Shields Up to replenish your armor and make it twice as strong for 3 minutes.
With all that covered, you can load up Citadelle Des Morts.
Activate Pack-a-Punch
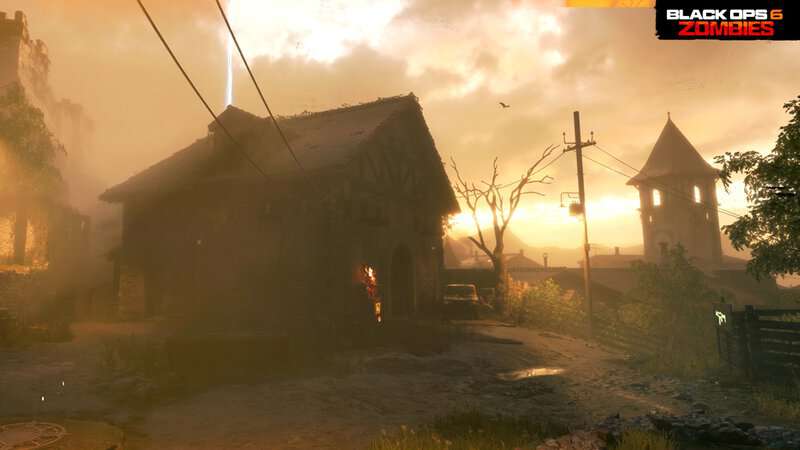
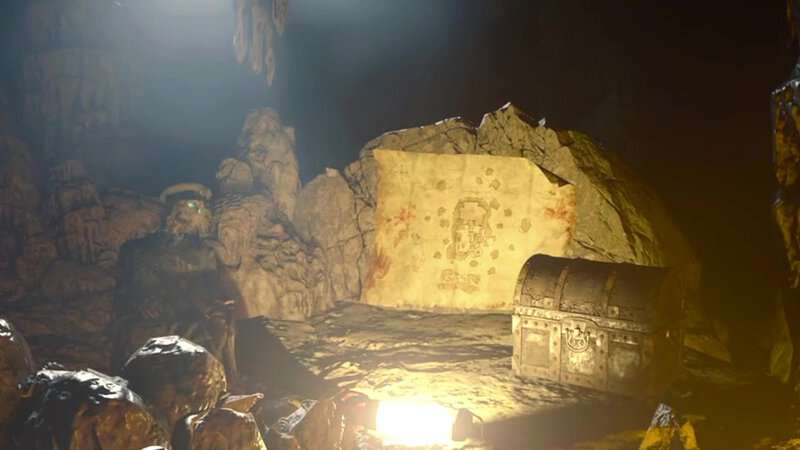
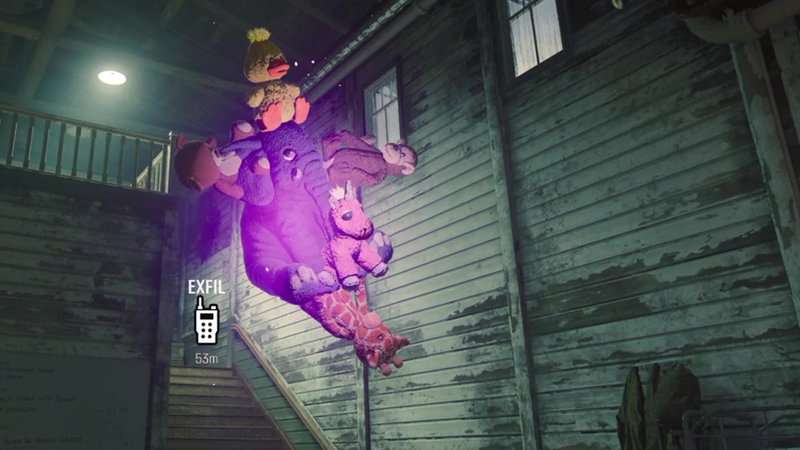
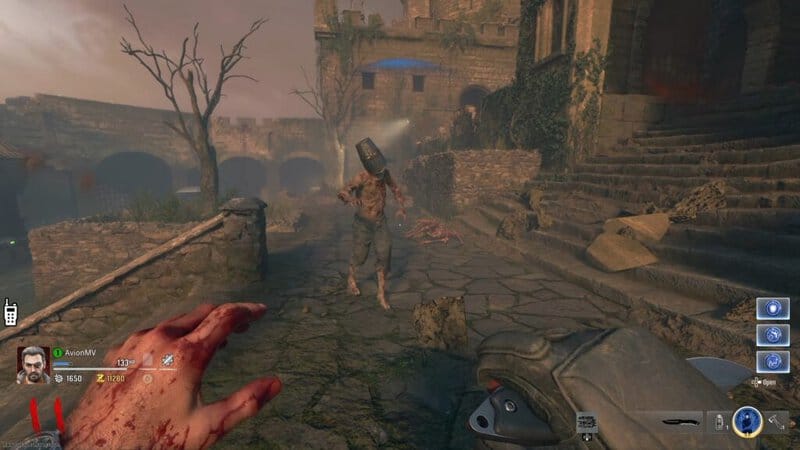
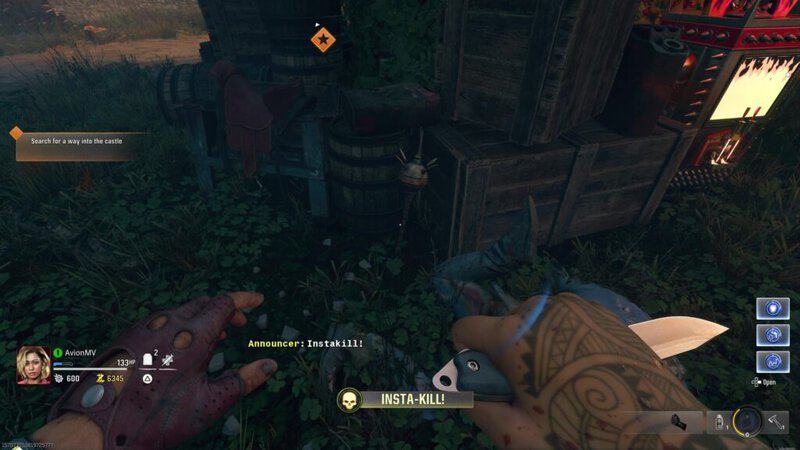
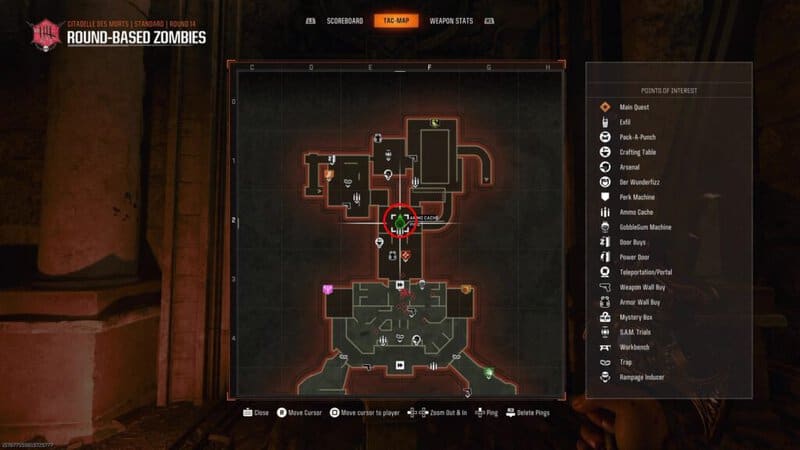
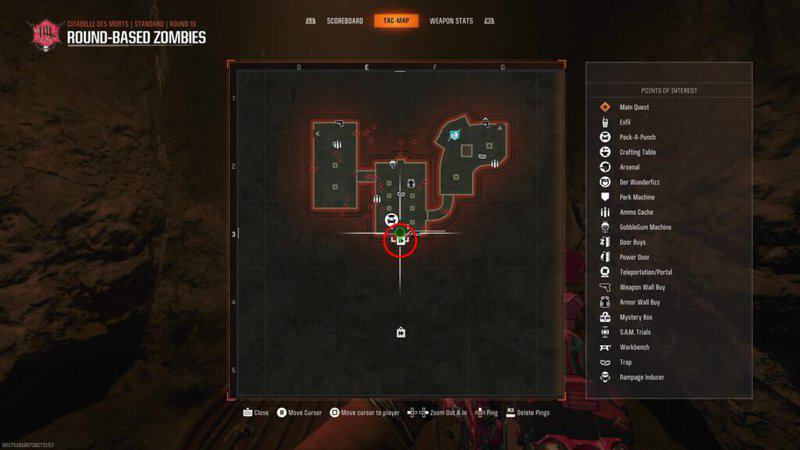
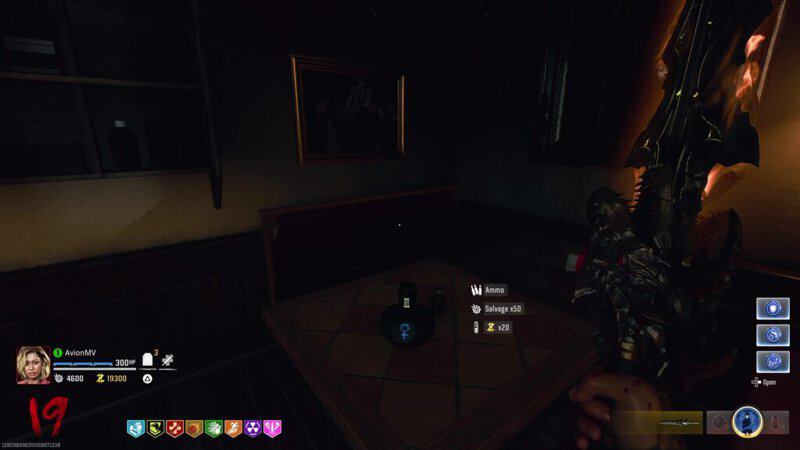
Upon starting your game of Citadelle Des Morts, your first objective is going to be to activate the Pack-a-Punch machine. Follow the objective marker into the castle’s Courtyard and make your way up onto the wall that has a large cannon. Turn it around and shoot it at the entrance. Go into the depths of the castle until you reach the Oubliette Room. Shoot the padlocks off the giant container to release a Doppelghast Special Zombie. Defeat this enemy to get the Blood Aetherium Crystal. Put the Crystal into the portal found in the container to unlock the Pack-a-Punch machine.
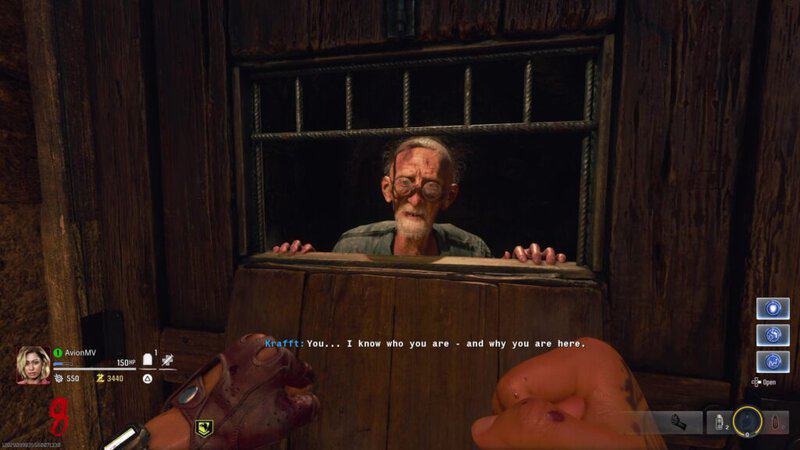
Talk to Krafft
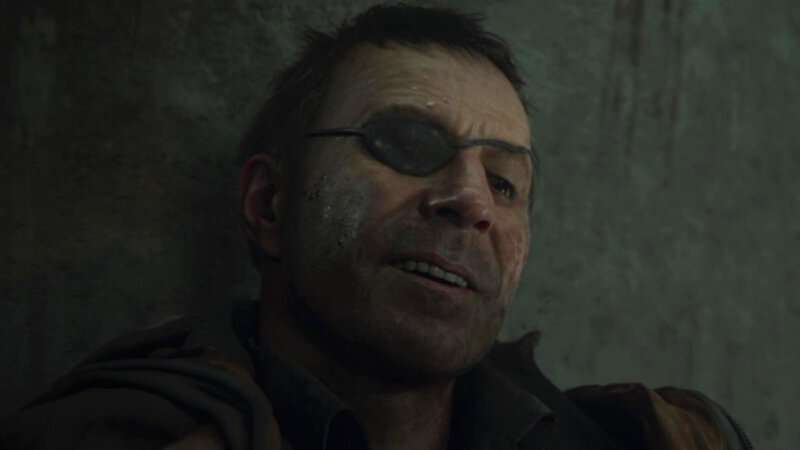
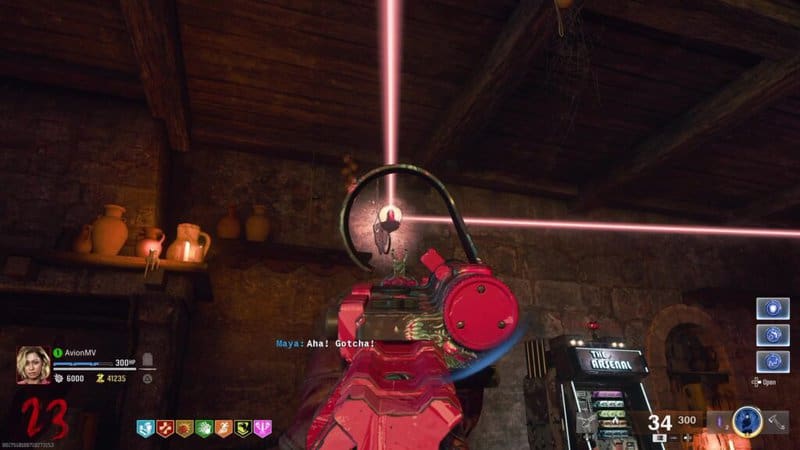
Go into the Dungeon, the area to the east of the Oubliette Room. There is a small path behind the Quick Revive Machine that has a wooden door. Interact with it to find Krafft, an aging Demonologist that you are here to rescue. He will cast a spell that allows you to see the magic hidden within the castle and progress through the Main Quest Easter Egg.
Unlock All Elemental Swords
The first thing you will need to do is unlock all of the Elemental Swords hidden within this castle. Once meant for the Bastard sons of The Owl, the castle’s former owner, you will need to complete a quest for each sword in order to acquire them. There are a total of 4 elemental swords to unlock.
Bastard Sword
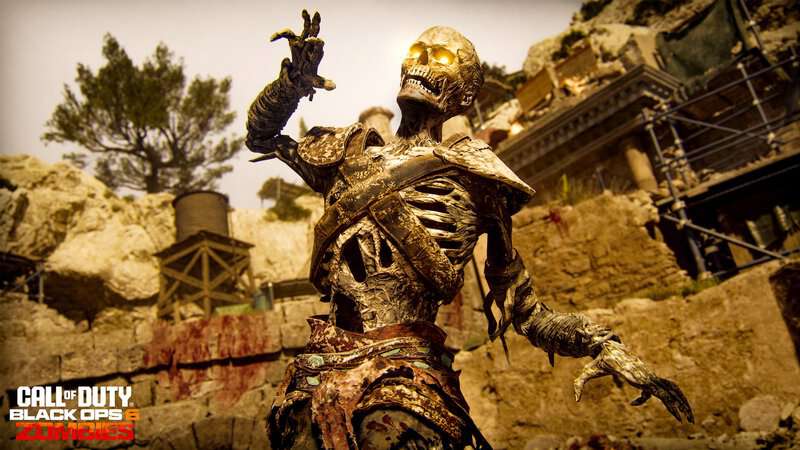
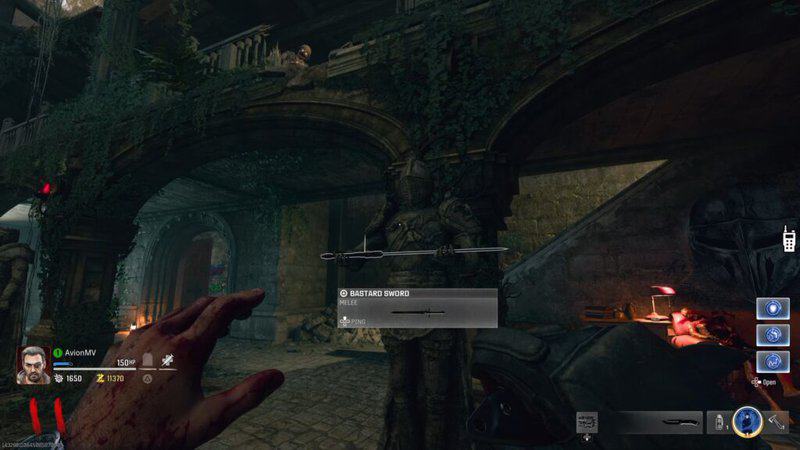
Before you are able to get any of the Elemental Swords, you will first need to get the basic version of the blade known as the Bastard Sword. Progress to Round 10. At this round and any beyond it, unique Templar Zombies that wear a knight helmet will spawn among the horde. Killing one of these Zombies will see it drop an item called a Stamp.
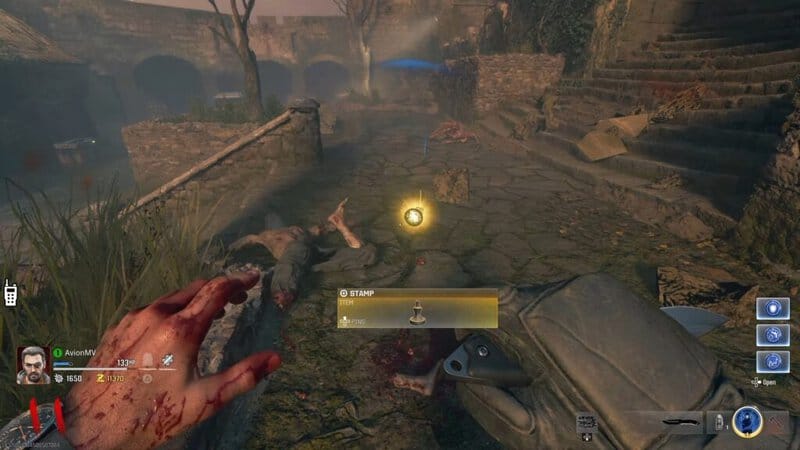
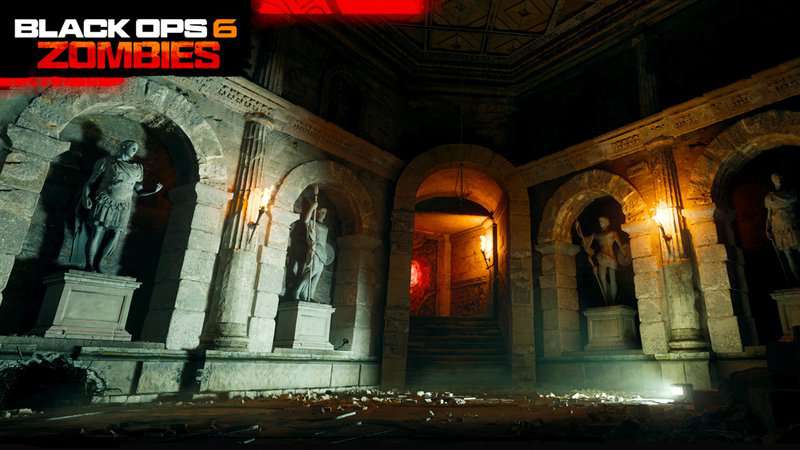
Go to the Dining Hall in the castle at the northeast corner of the first floor where you find the Vulture Aid Perk Machine. There are 4 Suits of Armor in this room that you can now use the Stamp on. Interacting with one of these Knights will see them move and give you the Bastard Sword they are holding. You can only use one Stamp per Knight but more Templar Zombies will appear in the next few rounds so you will eventually be able to get all the swords. When any of the Knights give you their sword you can start to get the Elemental Swords on Citadelle Des Morts.
Each Knight is tied to a specific Elemental Sword so you will need to take the sword from the Knight that represents the Wonder Weapon that you want to acquire. If you are standing in the middle of the 4 suits of armor, the Void Sword is to the northeast, the Light Sword is to the northwest, the Lightning Sword is to the southeast, and the Fire Sword is to the southeast.
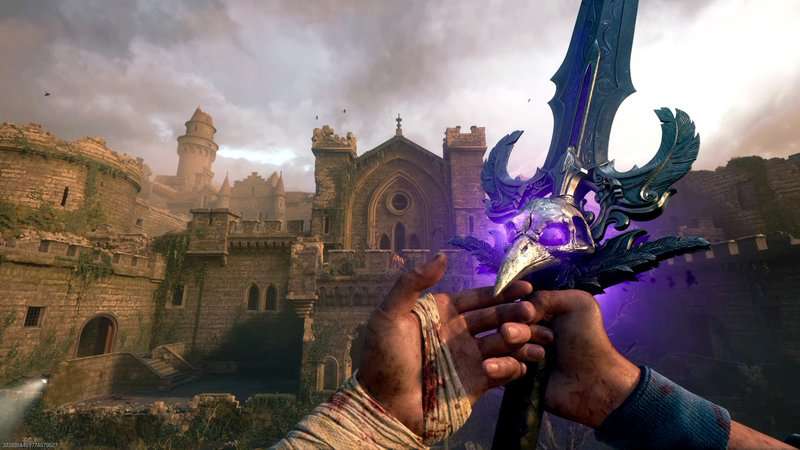
Balmung: The Raven’s Dark Sword
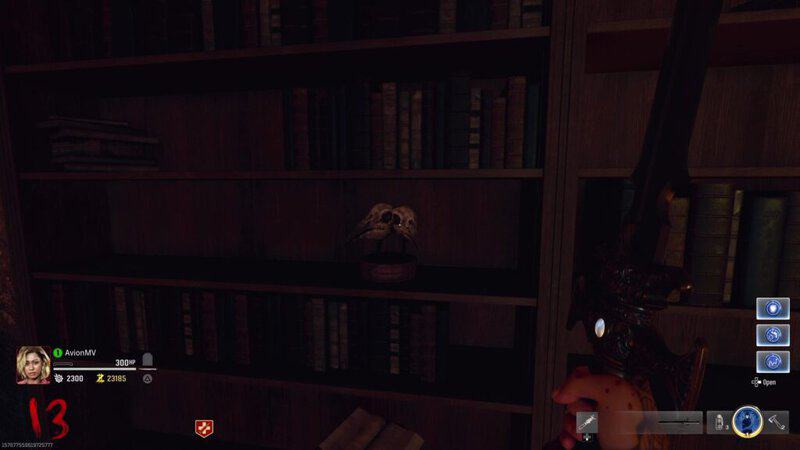
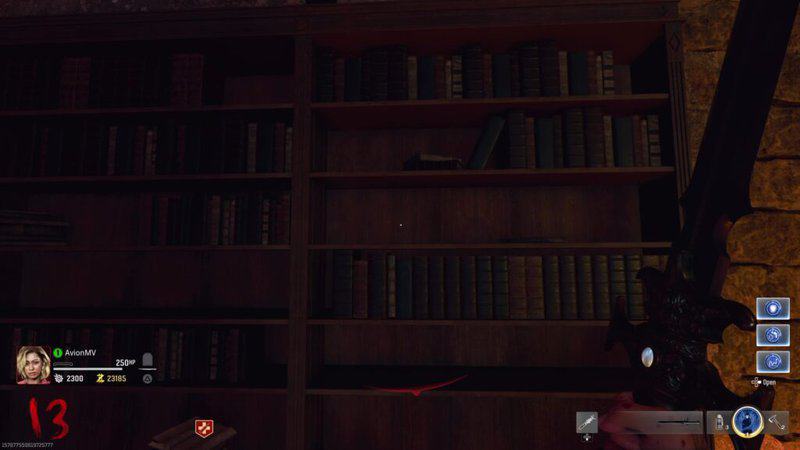
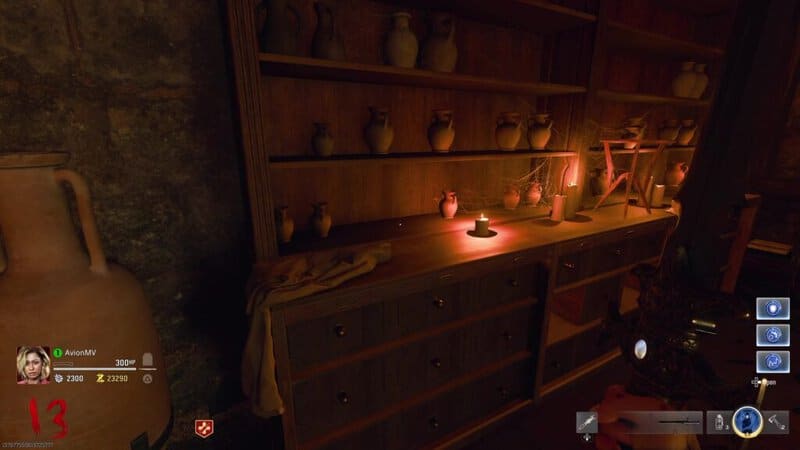
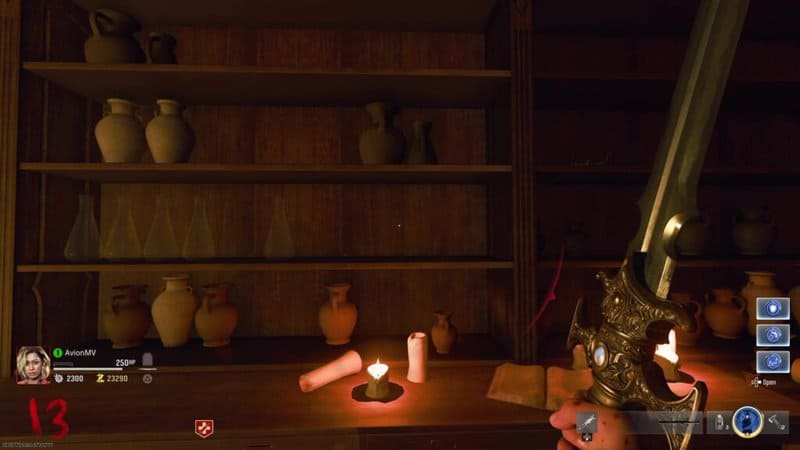
Take the Bastard Sword from the Raven Knight and go into the Alchemical Lab hidden behind an illusionary wall found behind the suit of armor that is revealed after opening Pack-a-Punch. You will need to find 1 of the 5 possible Antiquities that spawns and changes every game of Citadelle Des Morts. While the item might change, the location for each item is the same, so you can visit each location to see if the item is there and find the one in your game.
- Raven Skulls: On the shelf to the left of the door that connects the Alchemical Lab and Sitting Room.
- Jaw: On the same bookshelf, just one row up and to the right from the skulls
- Fish: Sitting on the counter to the right of the door that connects the Alchemical Lab and Sitting Room.
- Scorpion: On the table at the north end of the Alchemical Lab.
- Horn: On the shelf along the west wall of the Alchemical Lab.

Once you have the Antiquity, go to the Tavern Cellar in the basement of the building to the northeast of the Town Square spawn room. Here is a circle on the wall that will light up with symbols when you put your Antiquity in it. Interact with it again to put your Bastard Sword in the slot at the bottom of the circle.
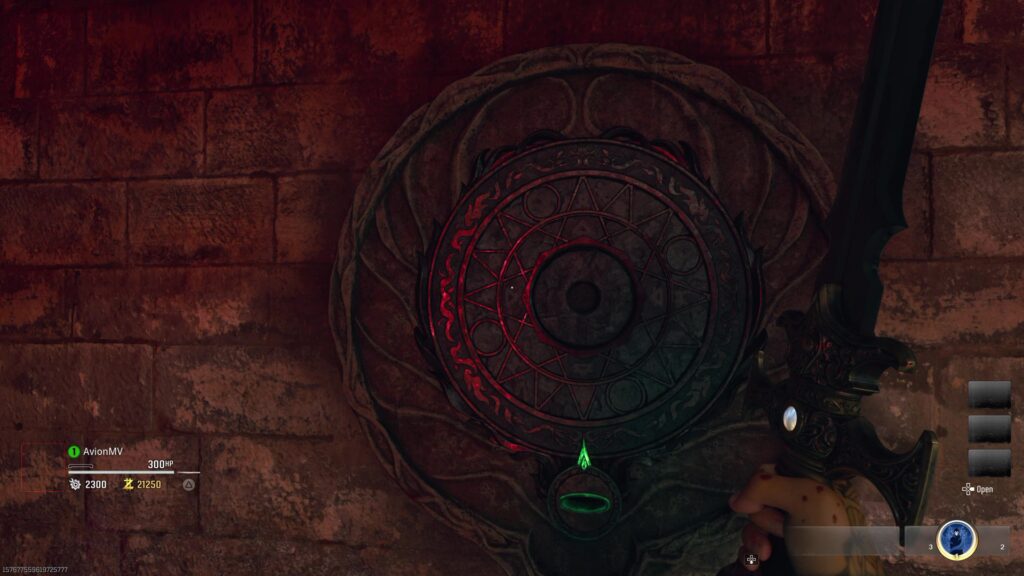
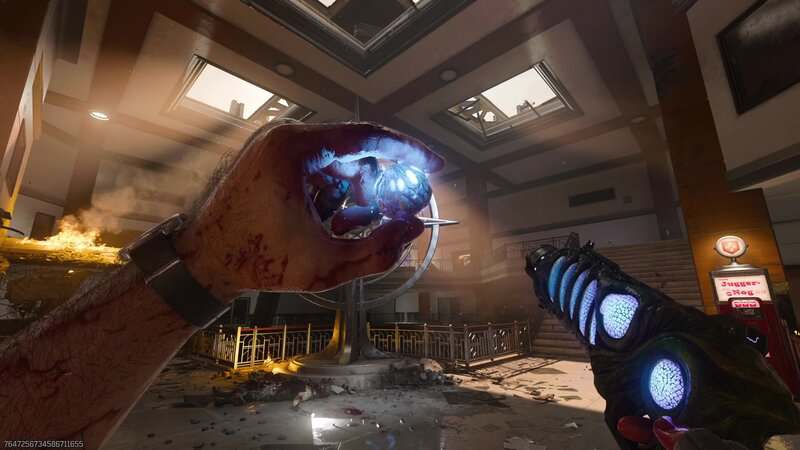
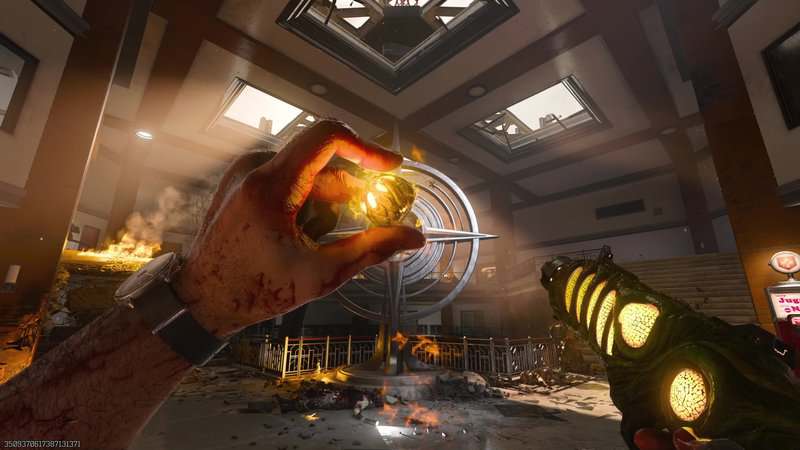
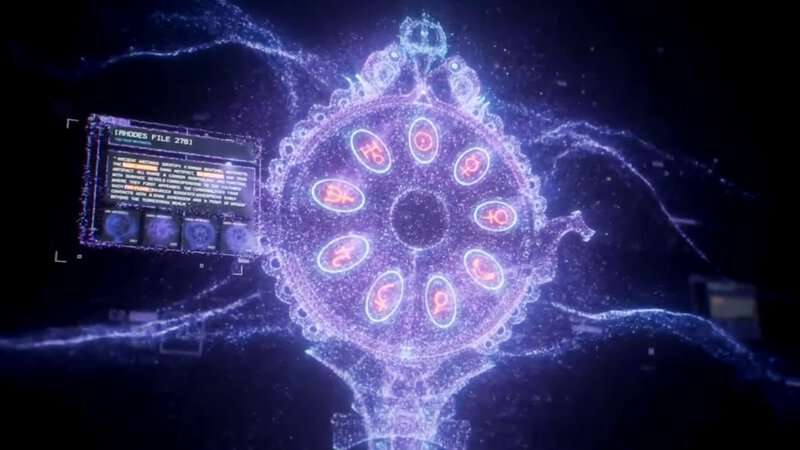
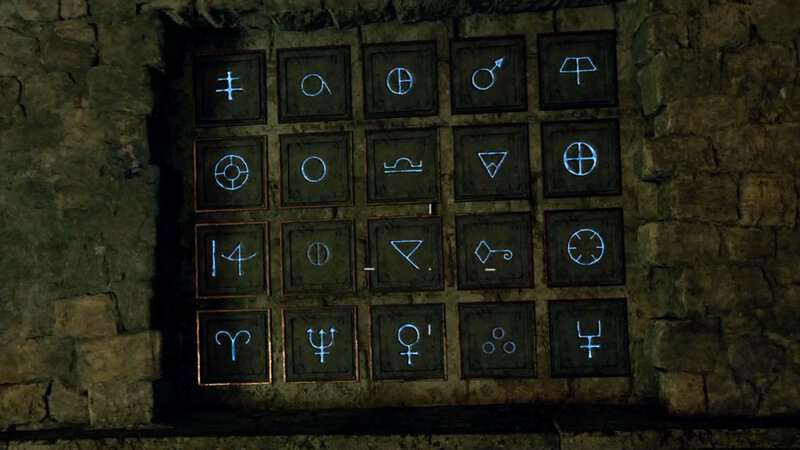
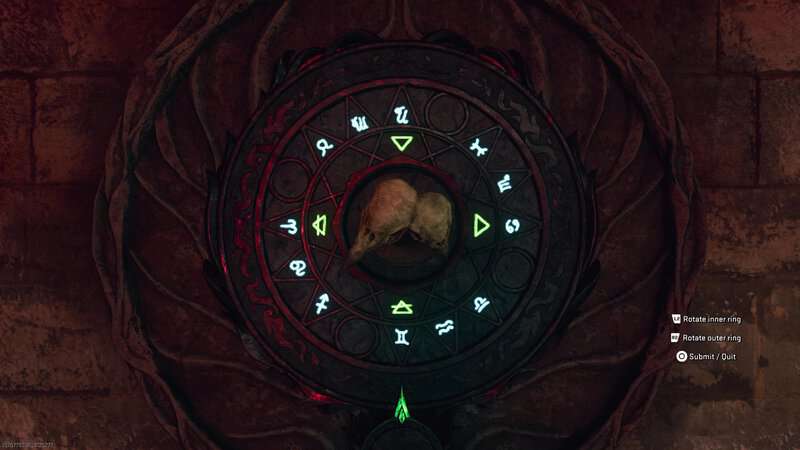
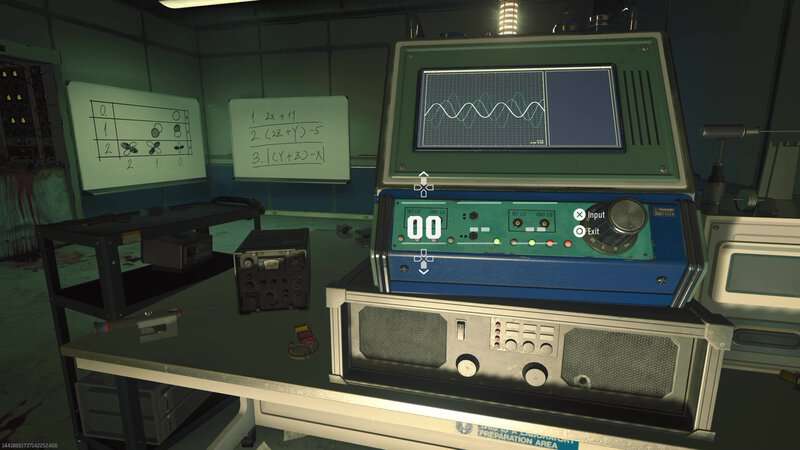
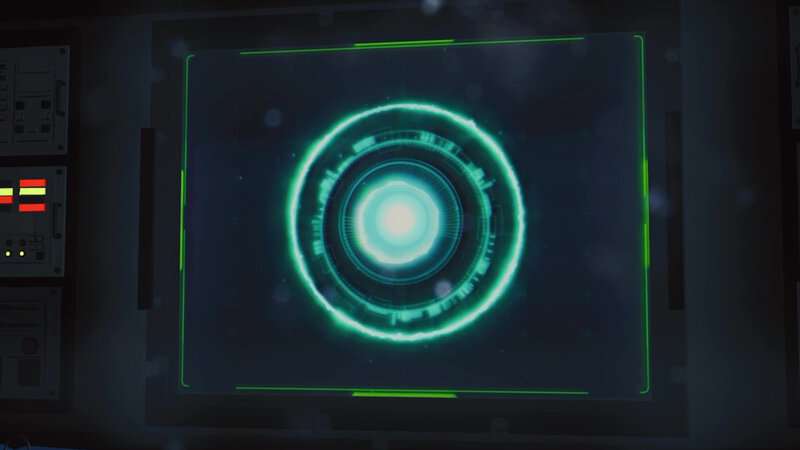
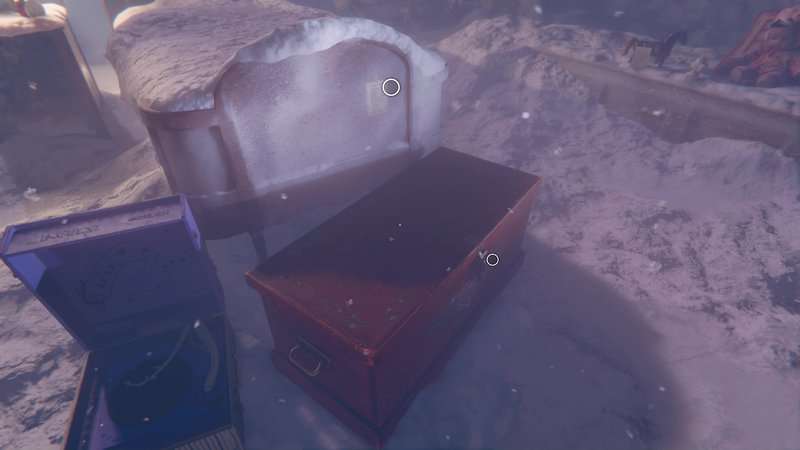
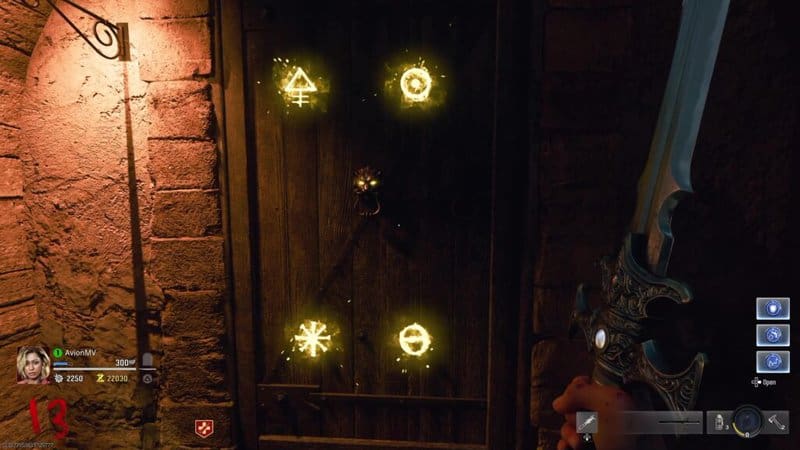
You will need to figure out what two symbols correspond with your Antiquity. The circle closest to the item represents the 4 symbols of elements: water, earth, fire, and air. The bigger circle consists of 12 different astrological symbols. Each astrological symbol can be tied to an Antique so you will need to find out which one your item is related to. After that, figure out which elemental sign that astrological symbol falls is tied to. Line these two symbols up with the green arrow at the bottom of the circle and then submit it to complete this step. There are 5 possible answers, one for each antique. Refer to the photo below to figure out what each symbol represents. Here are all the possible answers to the symbol puzzle.
- Ravens: Air-Gemini
- Jaw: Fire-Leo
- Fish: Water-Pisces
- Scorpion: Water-Scorpio
- Horn: Fire-Aries

Once you have correctly entered the combination, a rift will open on the floor of the Cellar. Slow-moving orbs will begin to come from the antique circle and they will start to head towards you. Lead 3 orbs to the rift to get them to enter the rift. After 3 orbs enter the rift, it will move to the first floor of the Tavern and after having 3 more orbs enter this rift it will move one more time to the second floor of the Tavern. Once 3 more orbs enter the rift, the portal will close and the spark will return to the circle. Don’t let these orbs get too close to you since they will explode if they touch you.

Once the spark touches the circle, interact with it and a rift will open beneath it. Your Bastard Sword will sink into the Dark Aether and when it emerges, will will now be Balmung.

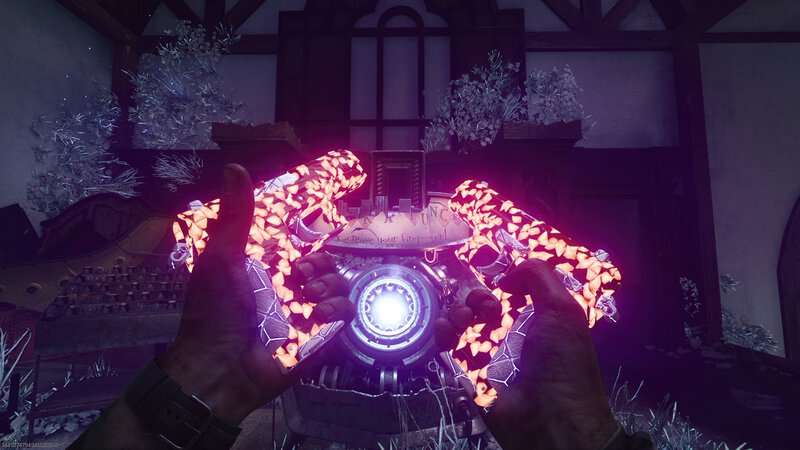
Solais: The Lion’s Light Sword
When you are holding the Lion Knight’s Bastard Sword, 4 glowing Parasite enemies will appear. Kill a glowing Parasite and their light will be transferred to your sword. Go to the Village Ascent area, the eastern path that connects the spawn room and the castle. There is a door with a lion’s head on it along the sloped path to the southwest of the Speed Cola Perk Machine. Melee the door with your glowing sword and a symbol will appear. Do this 4 times to unlock the door. If you accidentally kill a Parasite without using the weapon or the sword loses its glow, another set of 4 glowing Parasites will spawn at the start of the next round. Once the door has 4 symbols on it, interact with it to enter the room.
Put the sword into a pedestal at the end of the room and shoot the symbols that start to fly around the air in the order shown on the pedestal. You will have 1 minute to complete this before being kicked out of the room and having to wait until the next round to try again.

Once all the symbols are shot, all the light will return to the sword and you can now pull Solais from the pedestal.

Durendal: The Stag’s Lightning Sword
For the Lightning Sword, you will need to find Lightning Rods hidden around the map. There are a total of 3 Rods that can be found in any order, two of which can be picked up before you even get the Stag’s Bastard Sword. Here is where to find each Lightning Rod.
- Leaning against a crate next to the Deadshot Daiquiri Perk Machine in the Nature Path area.
- Go to the same sloped path you found the lion door and shoot the electrical box on the wall opposite the door with a weapon that has the Dead Wire Ammo Mod. The Lightning Rod will drop down from the antenna to the ground where you can now pick it up.
- While holding the Stag’s Bastard Sword, go down to the Dungeon which is the area where you can find the Quick Revive Perk Machine. While here, an Armored Zombie with the Lightning Rod sticking out of his chest will spawn. Kill the Zombie to pick the rod up off the ground.
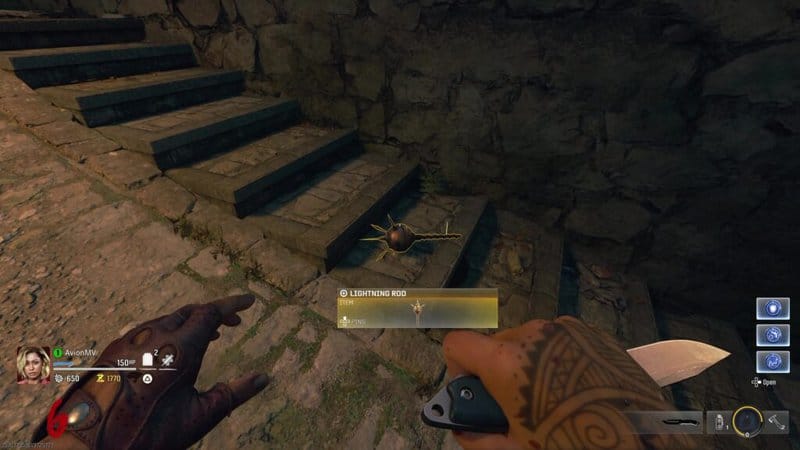
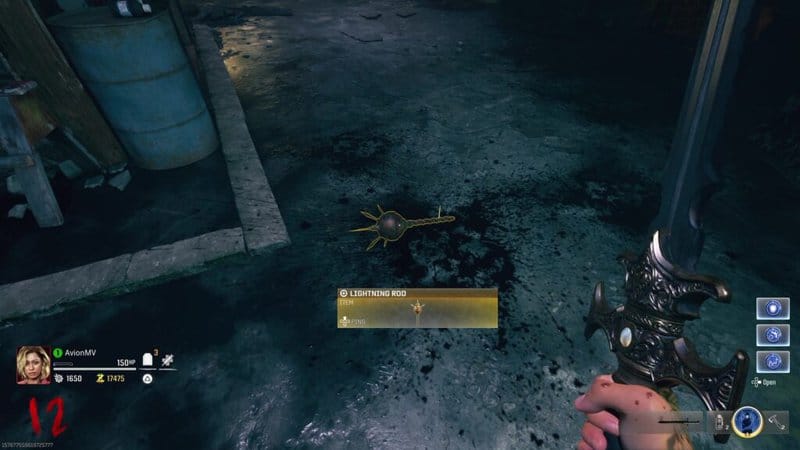
With all Lightning Rods acquired, go to the Hillside Rampart right outside the room with the Electric Cherry Perk Machine. There is a machine that you can place the 3 Rods in by interacting with it. When all the Rods are inserted, a storm will surround the area.
Stand in the storm and kill Zombies until your sword is struck by lightning and is charged with electricity. When this happens, melee the Lightning Rods. Do this a total of 3 times and get all the Rods electrified.

When all the rods are charged, press the interact button on the machine to put the sword into the pedestal, and after a brief animation, the Bastard Sword will become Durendal.

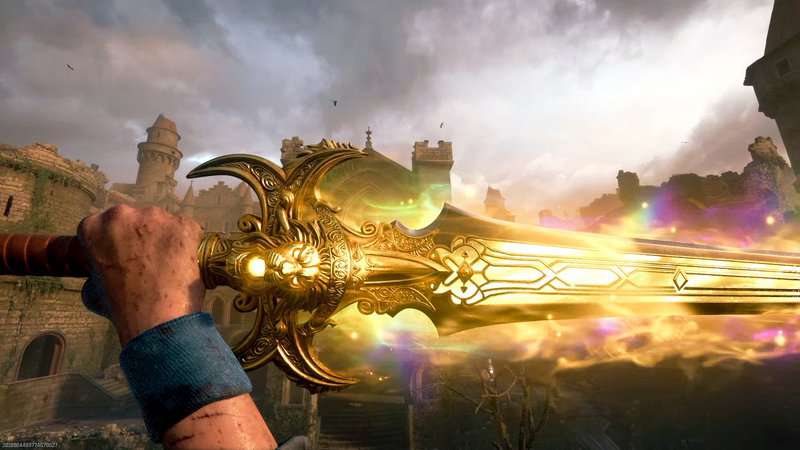
Caliburn: The Dragon’s Fire Sword
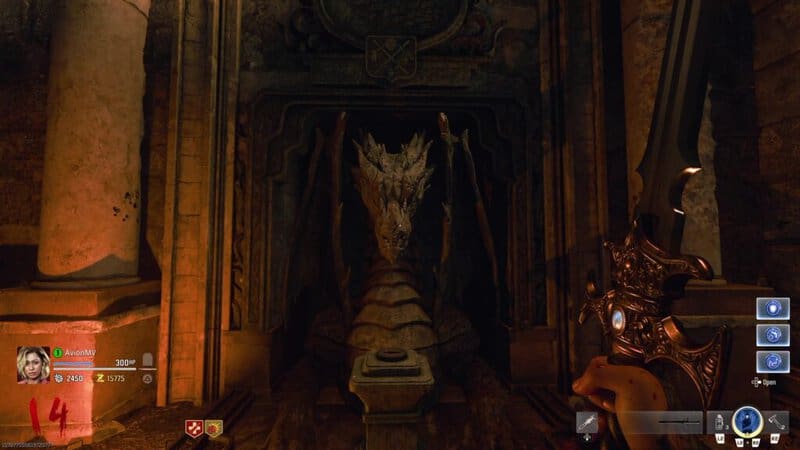
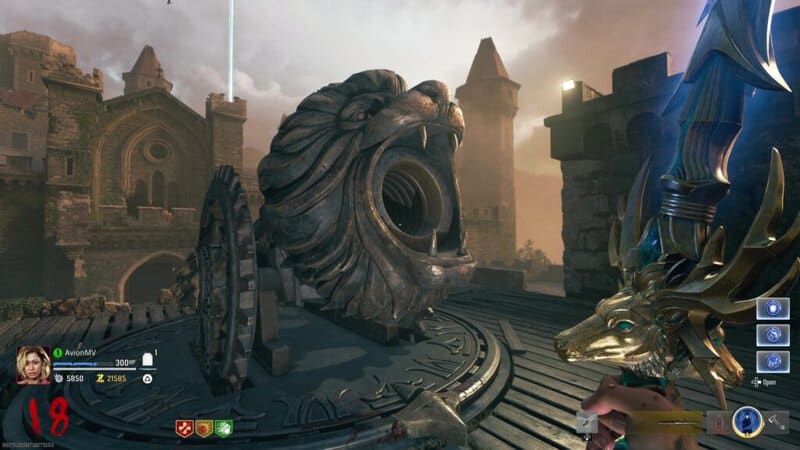
To get this final Elemental Sword on Citadelle Des Morts, take Dragon Knight’s Bastard Sword to the Entrance Hall and interact with the pedestal in front of the dragon statue at the top of the stairs. The statue will fill with fire as you put the sword into the altar.
You will need to find 3 fire braziers around the map and take the fire in them back to the dragon. If you look at the wall above the dragon, you will see a map of Citadelle Des Morts with 3 small glowing dots. These are the locations where you can find the braziers. You can do this in any order.

Here is where you can find the 3 braziers:
- Next to the Oil Trap on the Village Rampart.
- Next to the gate in the Nature Path area right out of Town Square.
- Next to the Rampage Inducer in Town Square.
Interact with a brazier to pick up the fire. This will give you a massive speed boost but will also chip away at your health. You can regain health by sliding into any Zombies that get in your way. Run the fire all the way back to the Dragon Statue and interact with it to place the flame in the sword. Do this for all 3 fire braziers.

Once the final flame is added to the sword, the statue will breathe fire on the sword, turning it into Caliburn.

Unlock All Elemental Incantations
Along with getting all of the Elemental Swords, you will need to get the Elemental Incantation scrolls as well. These special items allow players to cast spells similar to Ammo Mods effects in the place of their Tactical Equipment. Just like the Swords, there are 4 Incantations with each one matching the element of one of the swords and they all also require their own small quests to be unlocked. Here is the full breakdown of how to get all of the Incantations.
Dark Incantation
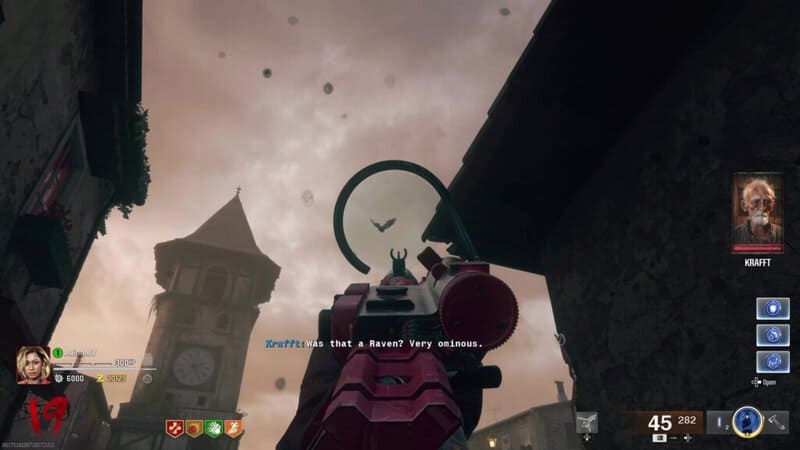
Go back to the Oubliette Room, aka the Pack-a-Punch room, and go to the south end of the room. There is a Fast Travel Cave Slide that you can use for 500 Essence to quickly get back to the Town Square.
While on the slide, look to the right when you are near the end to see a raven sitting on a rock. Shoot the raven and it will fly out of the tunnel and into the sky. While it circles the exterior part of the map, shoot the raven again to have it drop the Raven’s Talon item to the ground.
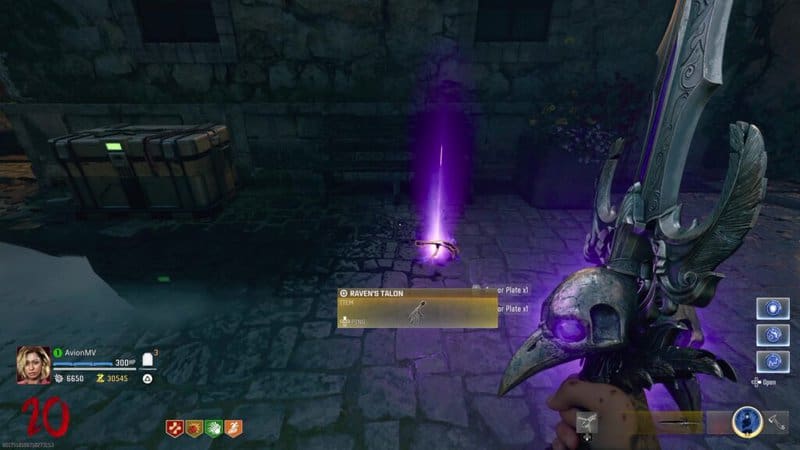
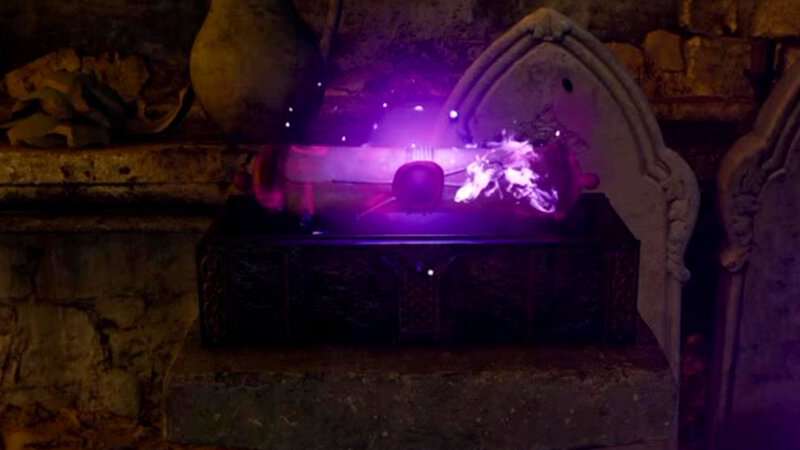
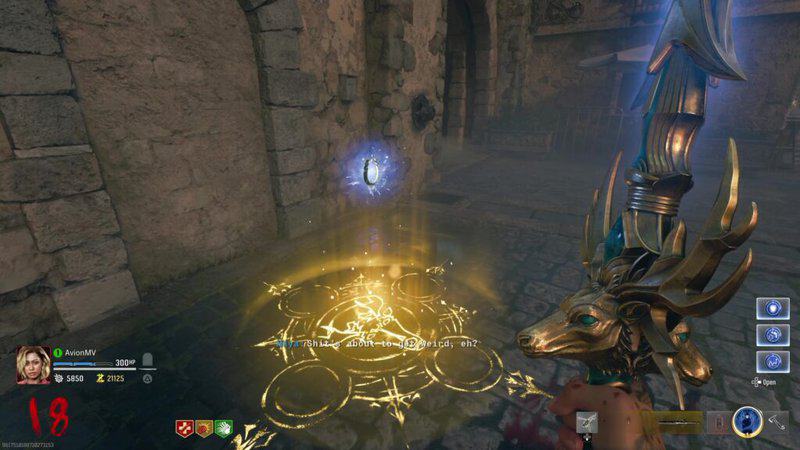
With the Talon in your inventory, go down to the Undercroft to the east of the Oubliette Room a go to the eastern wall. A golden circle will appear on the ground. Interact with it and Raven’s Talon will begin to float in the circle. Kill Zombies near the circle to charge it. When this step is done, an explosion will be let off by the item and kill the nearby Zombies. A golden chest will rise from the ground.
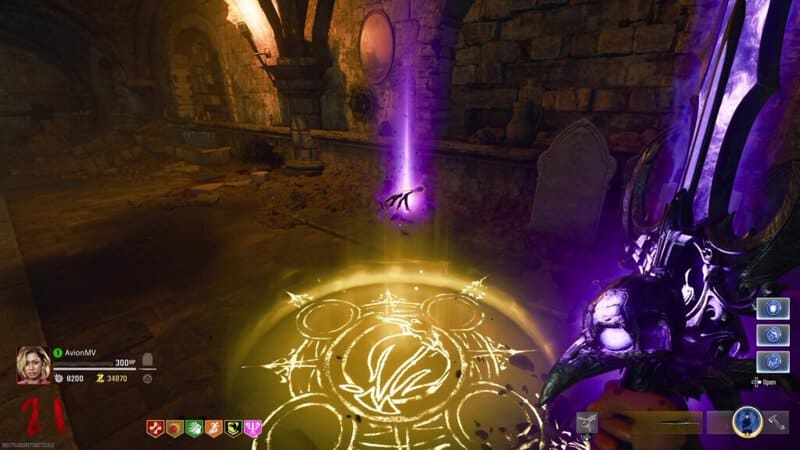
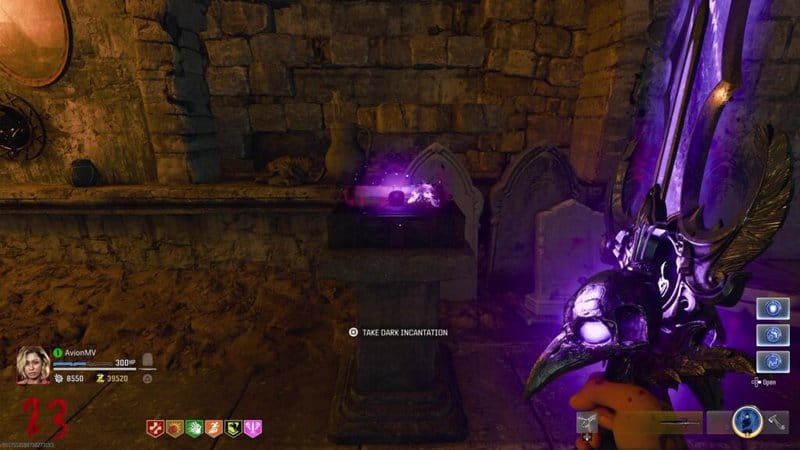
Hit the chest that comes out of the ground with Balmung, the Raven’s Dark Sword and it will open. Inside, you will find the Dark Incantation scroll.
Light Incantation
There are several gems hanging from the walls of the Dining Hall and the Alchemical Lab. By shooting these gems in the correct order, you can reflect light between them and eventually reveal the Ritual Item needed to get this Incantation. After shooting the gem that starts this sequence, a translucent light will come out of the gem. Shoot the gem to rotate it until it hits the next gem in the sequence. You will know that this succeeded when the light becomes solid instead of translucent.
Here is the order of all the gems you need to shoot to connect the light:
- Above the Vulture Aid Perk Machine.
- Above the doorway that connects the Entrance Hall and Dining Hall.
- Above the Lion Knight’s suit of armor.
- Above the bookshelf to the left of the door that connects the Alchemical Lab and Sitting Room
- On the southern wall of the Alchemical Lab.
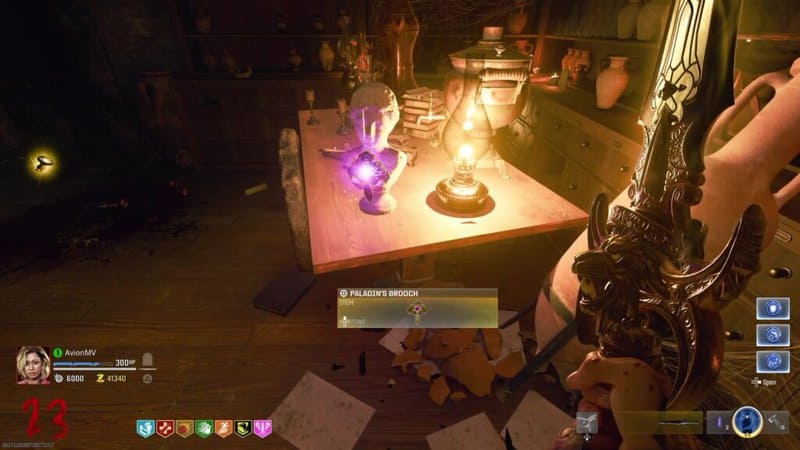
The beam will land on a bust on the table in the northwest corner of the Alchemical Lab if all the gems are connected. The Paladin’s Brooch Ritual Item will be revealed on the bust.
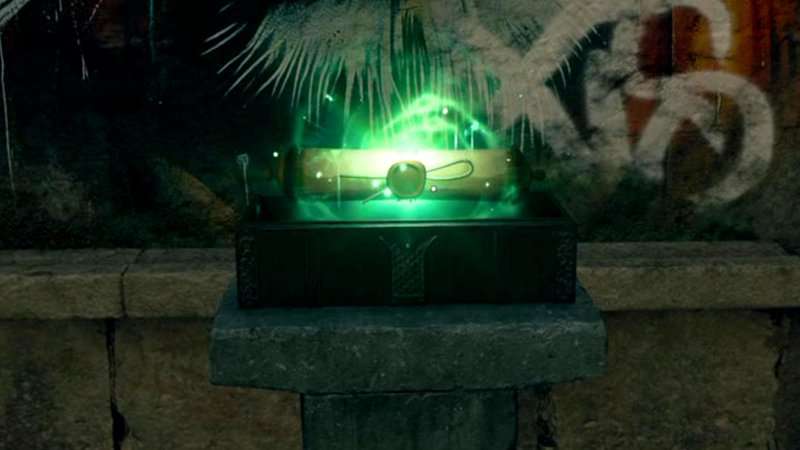
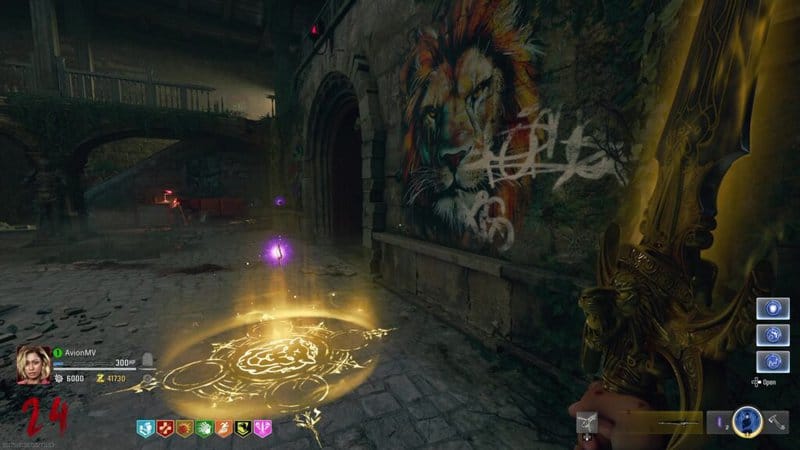
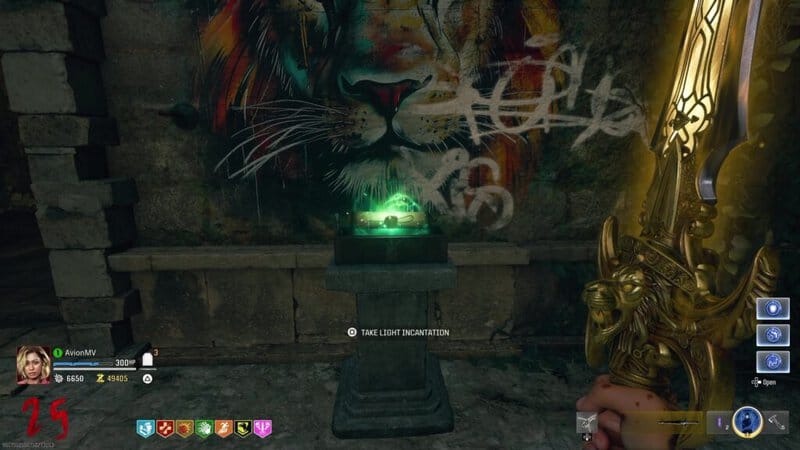
Look for the graffiti of a lion on the wall in the southeast corner of the Dining Hall and place the Brooch in the golden circle. Fill the circle with Zombie souls until the golden chest rises from the ground.
Solais, the Lion’s Light Sword is the weapon required to open this chest. Hitting the chest with the sword will open it and you will be able to get the Light Incantation scroll.
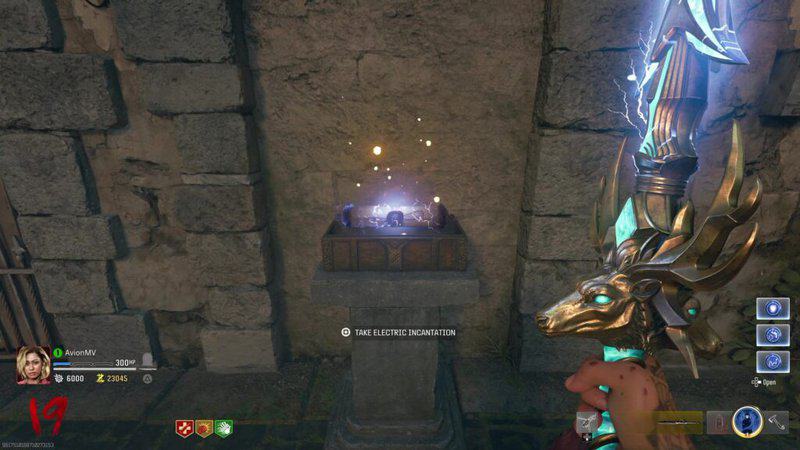
Electric Incantation
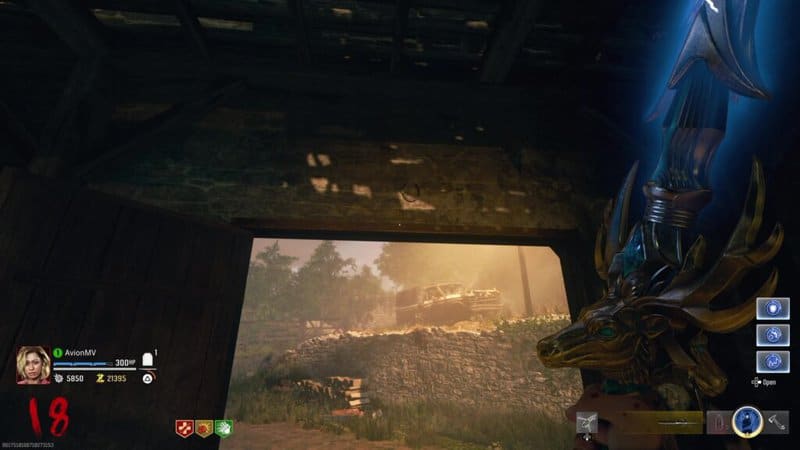
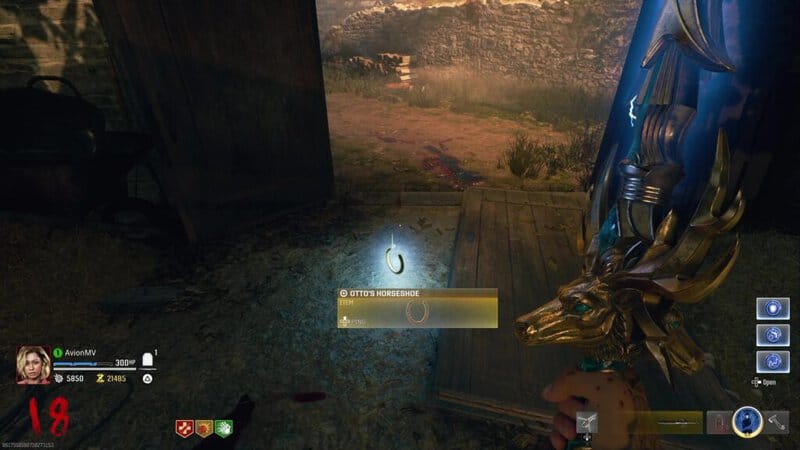
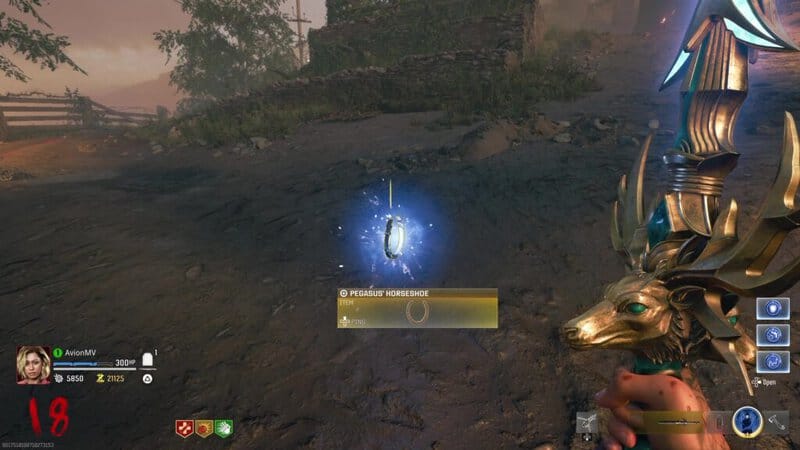
Go into the barn near Deadshot Daiquiri in the Nature Path area and look above the northeast door to see a horseshoe pinned to the wall. Shoot it to knock it down. You can now pick up Otto’s Horseshoe.
Take this Horseshoe to the cannon that you used to enter the castle. It will be facing toward Town Square and if you approach the mouth, you can use the cannon as a fast travel by being shot out of it for 500 Essence. If you use this cannon while the Horseshoe is in your Inventory, you will be struck by lightning while in the air.

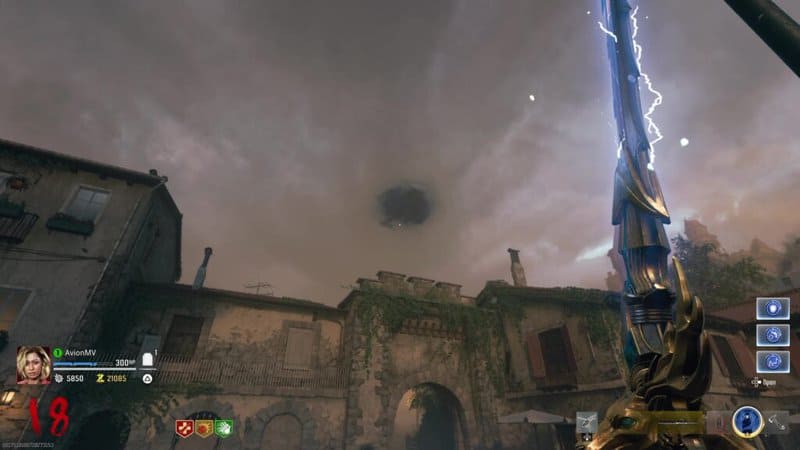
Look into the sky above the Nature Path and Village Ascent areas to find a storm cloud. Under the cloud is Pegasus’ Horseshoe. You know have the ritual item required to get the Electric Incantation.
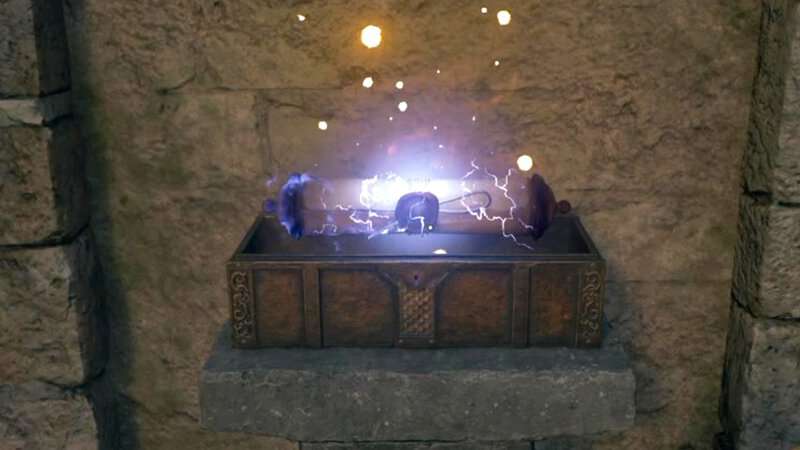
Go to the southeast wall of Town Square to find this golden circle. Place the Horseshoe in the circle and kill Zombies near it to get the golden chest to appear.
Hit the chest with Durendal, the Stag’s Lightning Sword to get the Electric Incantation scroll.
Fire Incantation
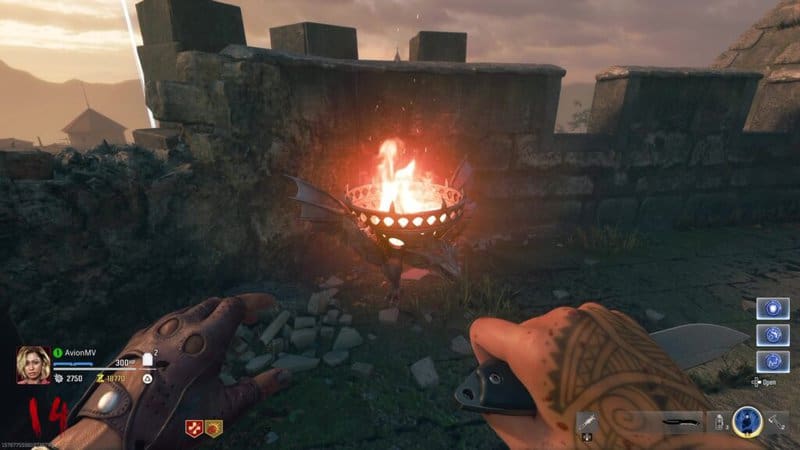
Go to the castle’s Courtyard and look for 3 pyres in this area. You will need to use fire-based weapons to light these pyres. This can be done with Thermo Grenades, Molotovs, or even the Fire Sword’s Special Attack. You can activate these pyres in any order. When each pyre is lit, you will need to kill a few Zombies that spawn and then move on to the next one. Here is where all the pyres are located.
- Above the Elemental Pop Perk Machine.
- On the hill above the Speed Cola Perk Machine and to the left of the southeast Oil Trap.
- Above the entrance to the castle’s interior
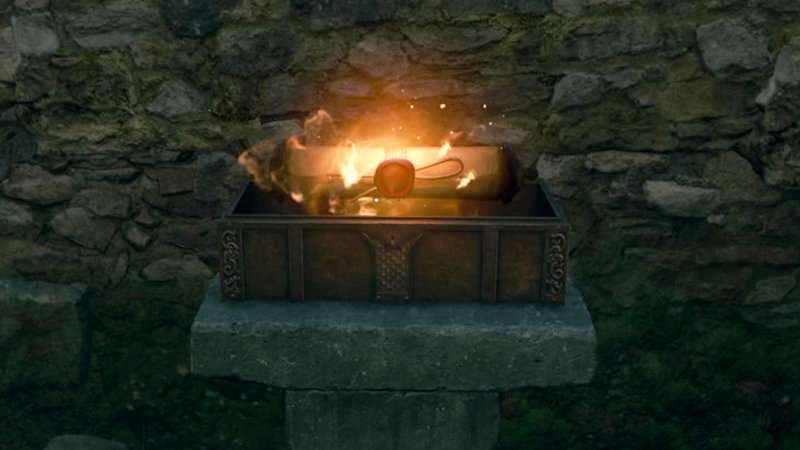
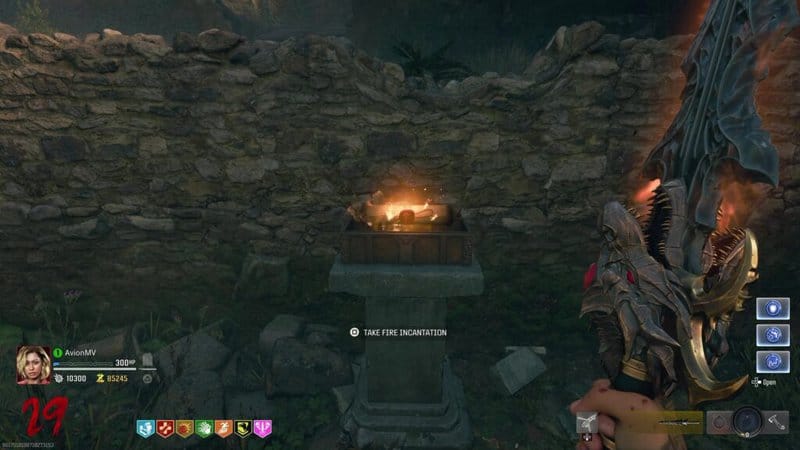
When all 3 pyres are lit, a Doppleghast Special Zombie will spawn. Kill this enemy and they will drop the Ra’s Ankh Ritual Item.
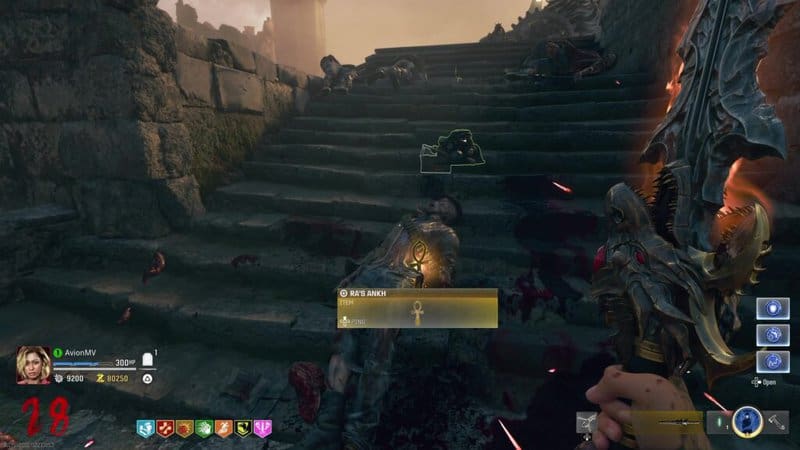
Go to the area at the top of the stairs leading up from the gate that connects the Upper Village area and the castle’s Courtyard to find this scroll’s golden circle. Kill Zombies near the circle until the golden chest rises from the ground.

Use Caliburn, the Dragon’s Fire Sword to open this final chest and get the Fire Incantation scroll.
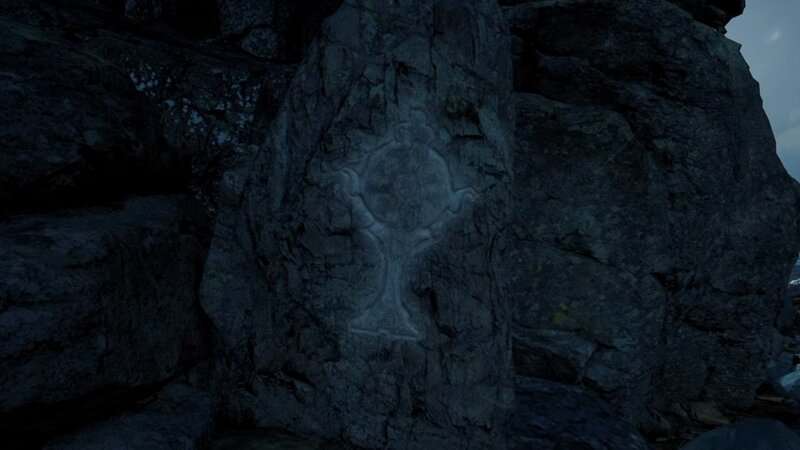
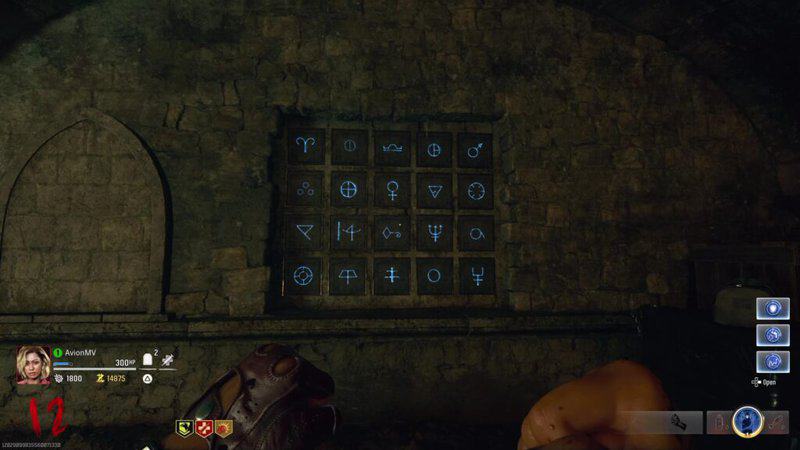
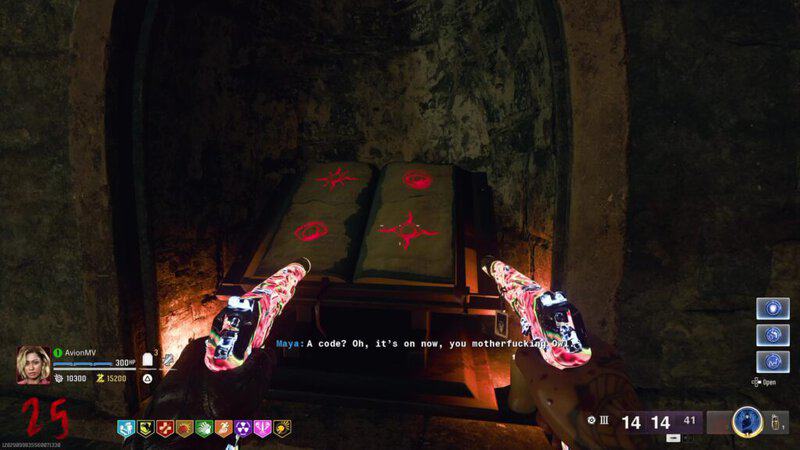
Complete the Glyph Wall Puzzle
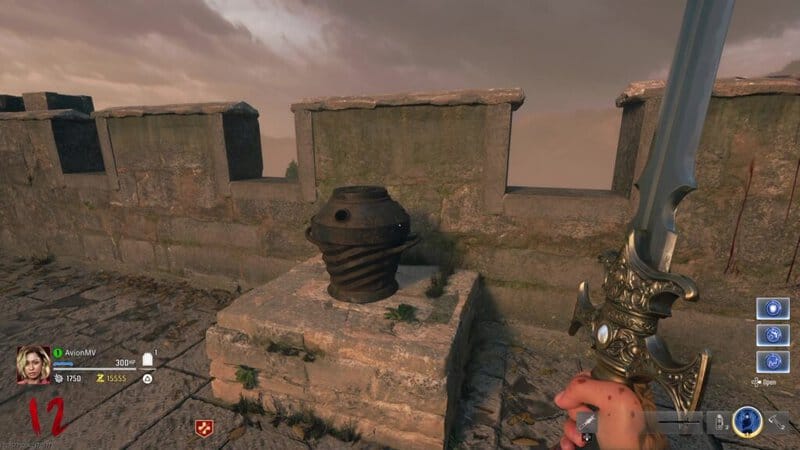
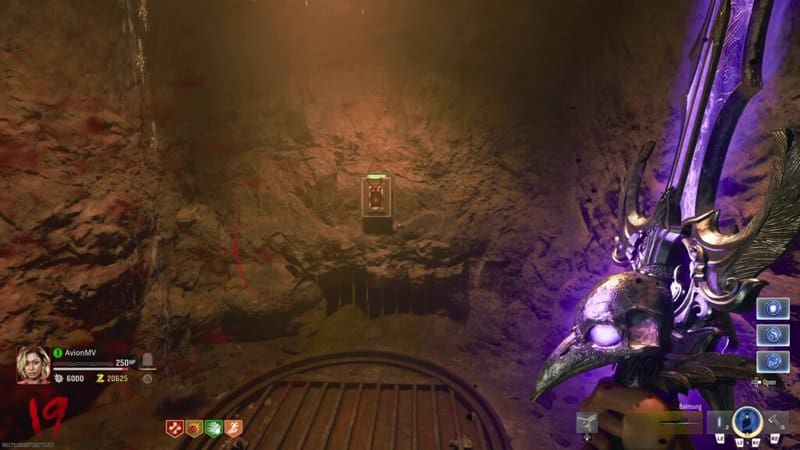
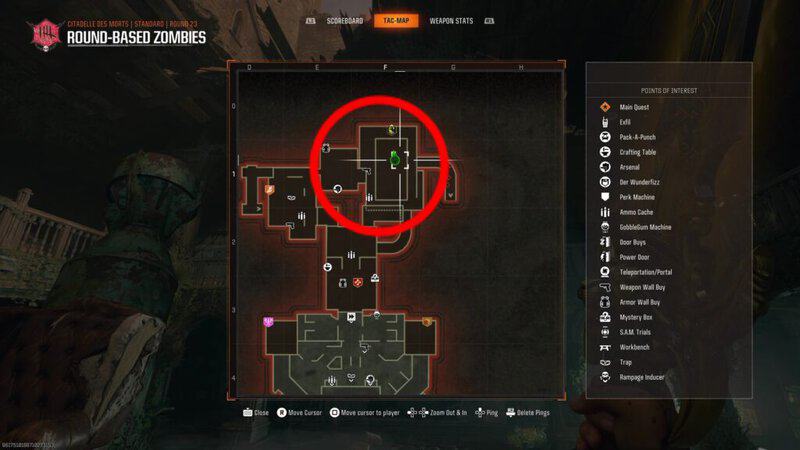
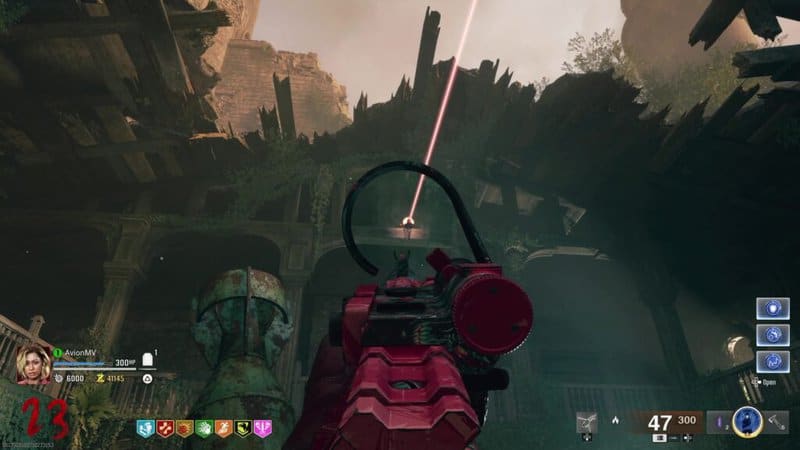
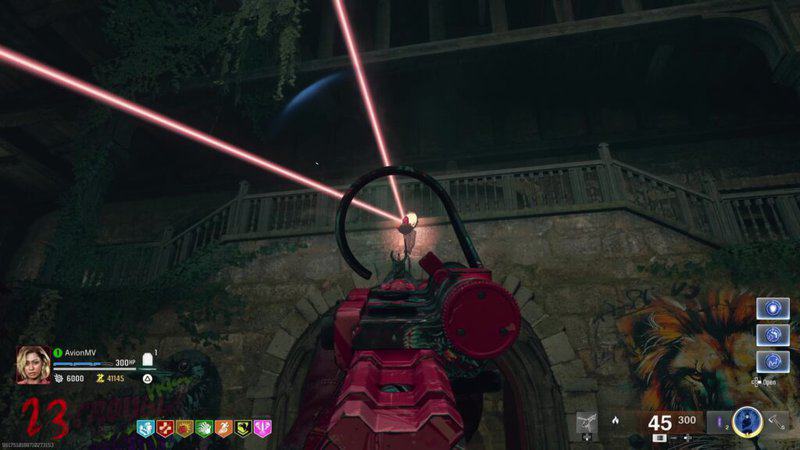
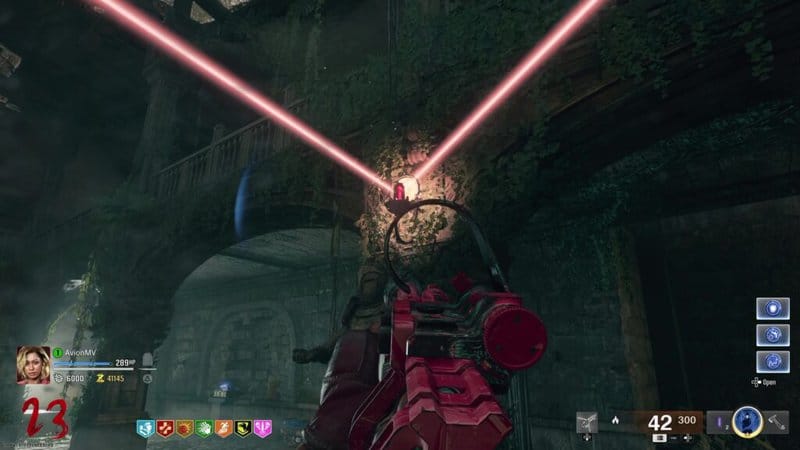
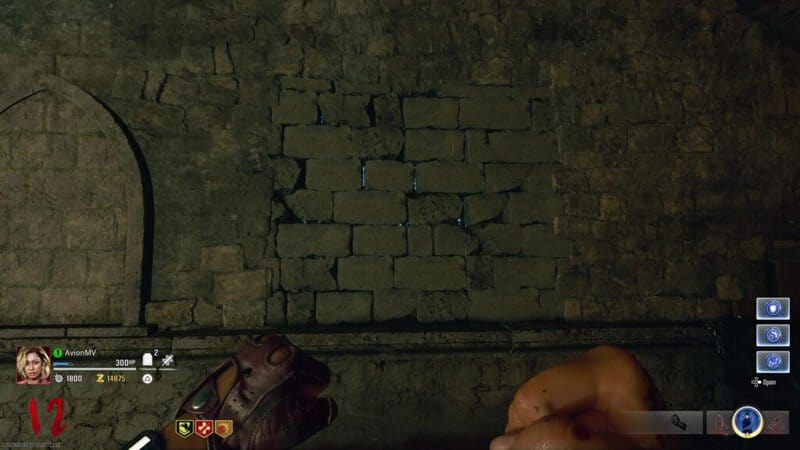
Get the Melee Macchiatto Perk and go down into the Undercroft. At the south end of the room near the eastern corner is a wall that has some space between the bricks. Eagle-eyed players will be able to see some blue light coming from behind the bricks. Punch the wall with Melee Macchiato to knock down the bricks and reveal a wall filled with blue glyphs carved into it. You will need to shoot 6 of these glyphs in the right order to complete this step.
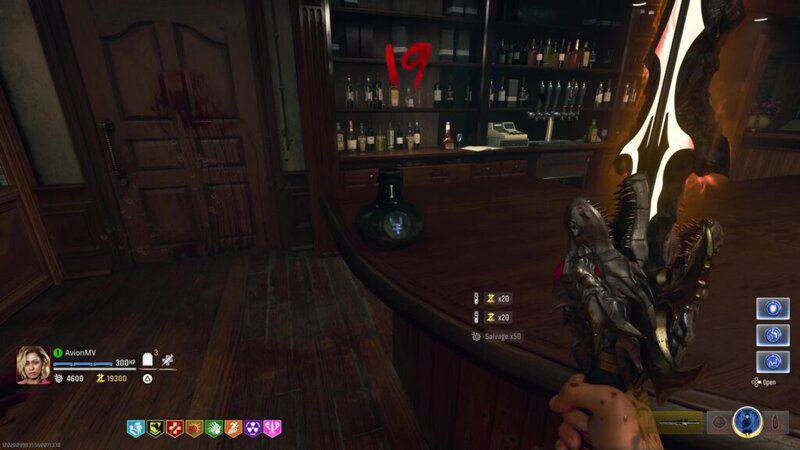
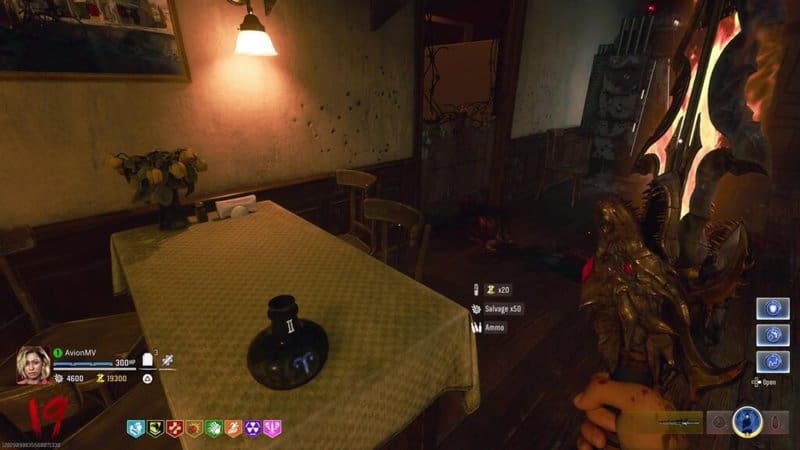
You can find the order of the glyphs in the Tavern. In this building, there are 6 urns with Roman numerals on them going from 1 to 6. Interacting with one of these urns will reveal a glyph. Here is where to find all the urns in the Tavern:
- Urn #1: On the south end of the bar.
- Urn #2: On the table next to the Arsenal machine.
- Urn #3: On the table in the corner of the Tavern next to the bar.
- Urn #4: On the second floor on a shelf next to the pool table.
- Urn #5: On a table across from Urn #2.
- Urn #6: On a small table next to the southern entrance of the Tavern.
Once you have all the glyphs revealed, remember or write down the order and go back to the Undercroft. Shoot the glyphs in the order provided by the urns. After shooting the first glyph, the remaining symbols will start to move around so make sure you don’t shoot the wrong symbol. Once all 6 of the correct glyphs are shot, the wall will turn off and a small red spark will float out of it. The spark will remove a small wall to the left of the glyphs, revealing a book with its pages removed.

Repair the Alchemist’s Book
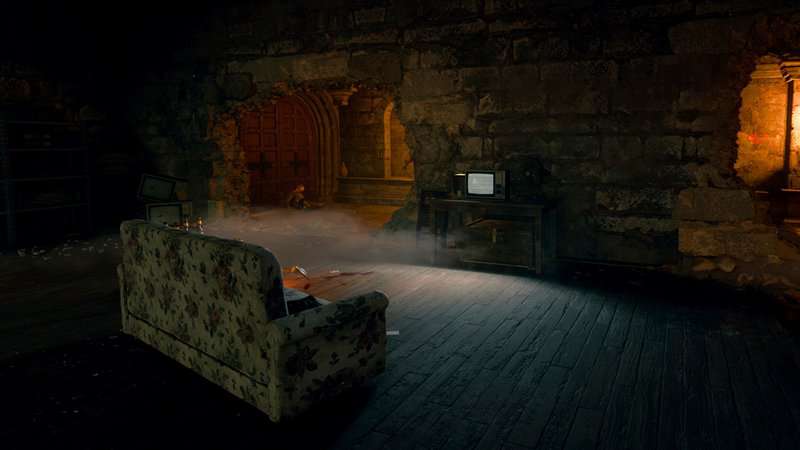
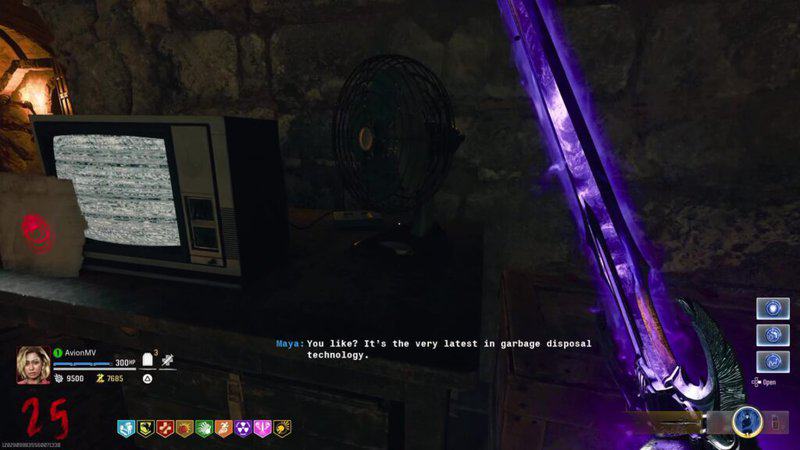
There are 4 Page Fragments that can be found in the Sitting Room to the west of the Alchemical Lab. Here is where to find all the Fragments:
- In the southeast corner of the Sitting Room hallway.
- Near the beds.
- Near the TV.
- In the hallway near the door that leads down to the Undercroft.

With all the fragments, go back to the book and interact with it to put the pages back in. The book will now display 4 icons of eyes with either arrows, an eyelash, and nothing sounding it. All of them will be glowing red.
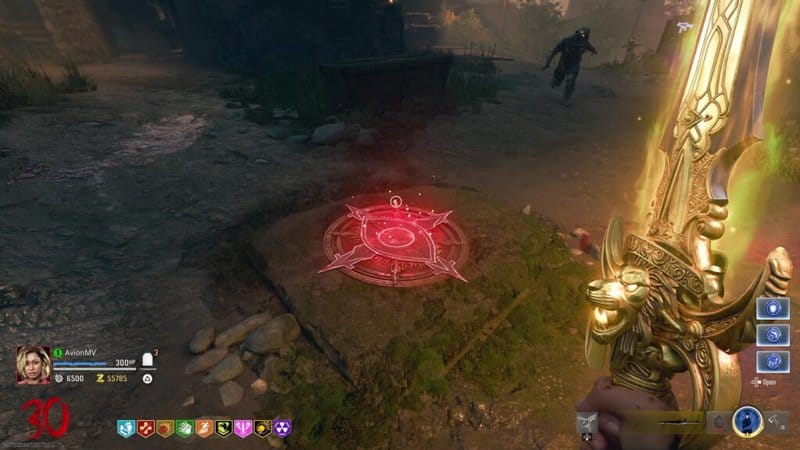
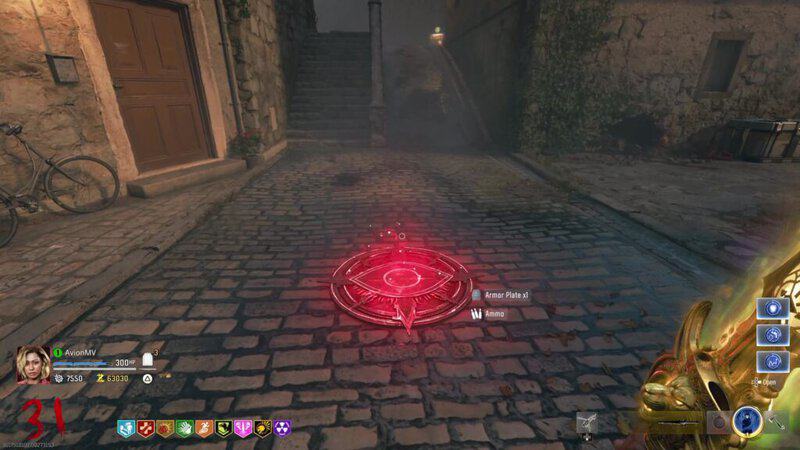
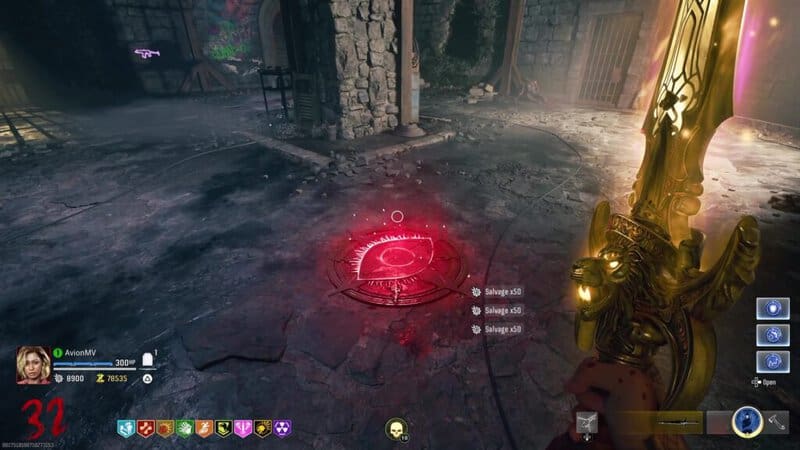
Charge the Point of Power Traps
Each of these eyes corresponds to one of the Point of Power Traps found around the map. All of these traps glow red and have an eye in the center with some of them having the same arrows or eyelashes shown in the book. You will need to get kills with these traps in the correct order. The order is top left eye, bottom left eye, top right eye, and bottom right eye. You will know that you have completed one of the Traps if you go back to the book and the icon has turned gray.
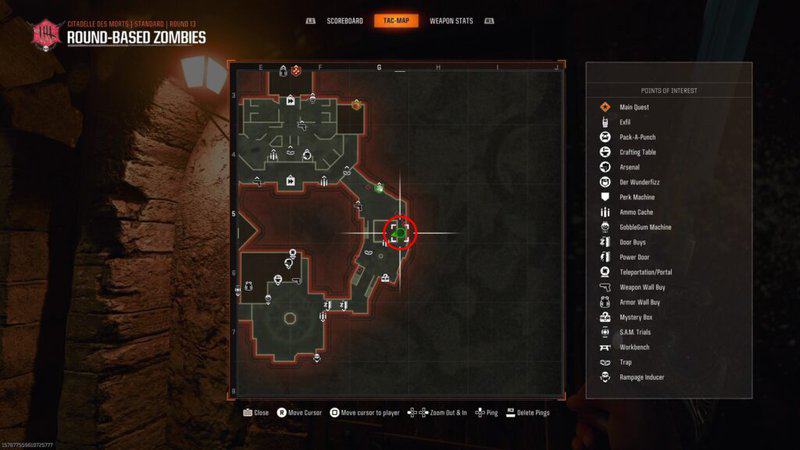
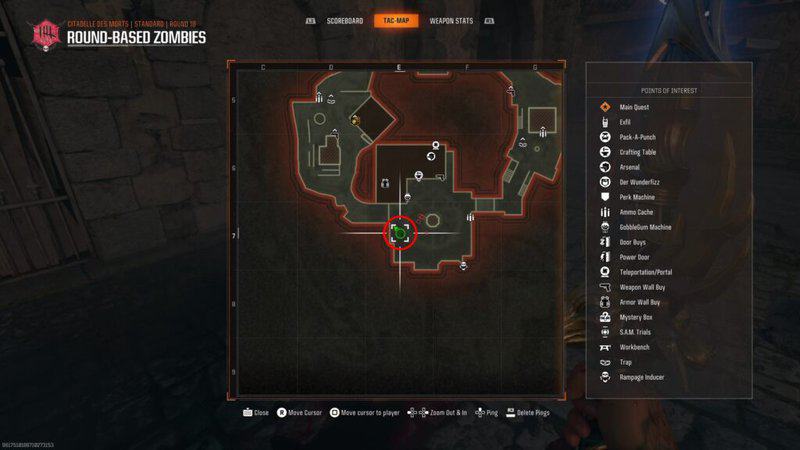
This is where you can find all of the Point of Power Traps on Citadelle Des Morts.
- Outside the barn in the Nature Path area.
- Next to the wishing well in the Village Ascent.
- At the center of the castle’s Courtyard.
- In the Dungeon.
- In the center of the Pack-a-Punch room.
- In the center of the Sitting Room near Stamin-Up.

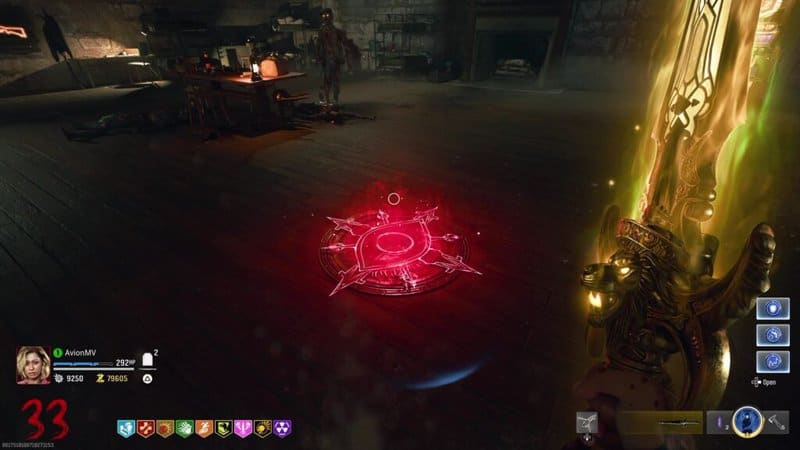
While which traps have the icons and the order they must be interacted with changes every game, the last icon will always be in the Sitting Room. After getting the required kills at the Sitting Room trap and completing all the other ones, a red spark will rise out of the trap and go into the wall at the bottom of the first set of stairs that leads towards the Undercroft.
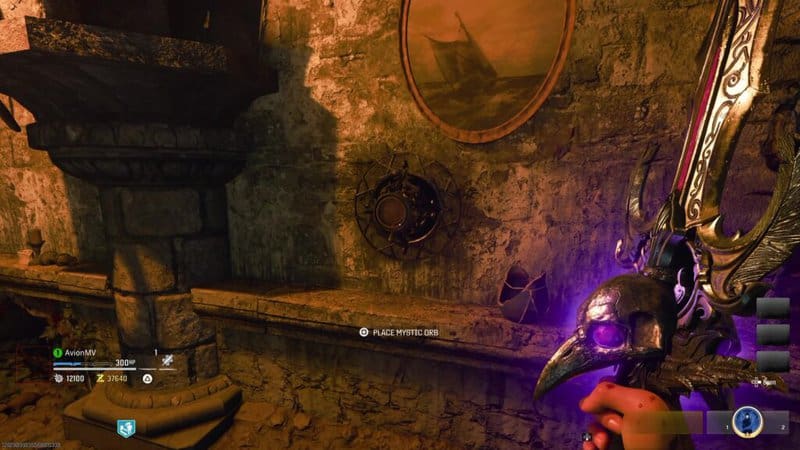
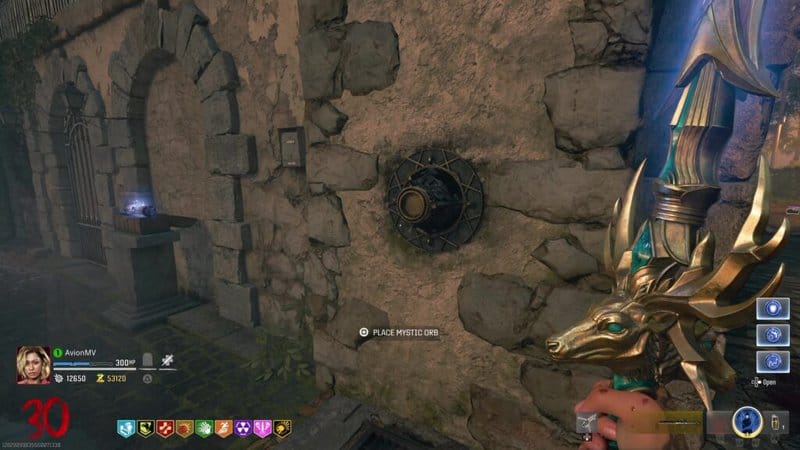
Honor the Knights and Get the Mystic Orb
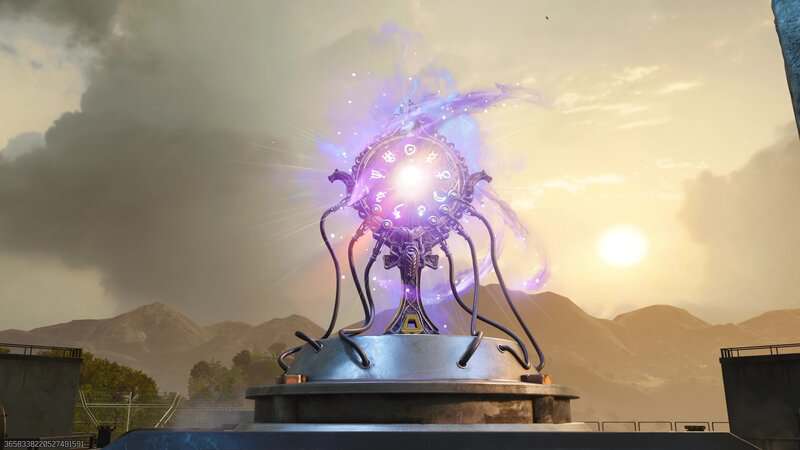
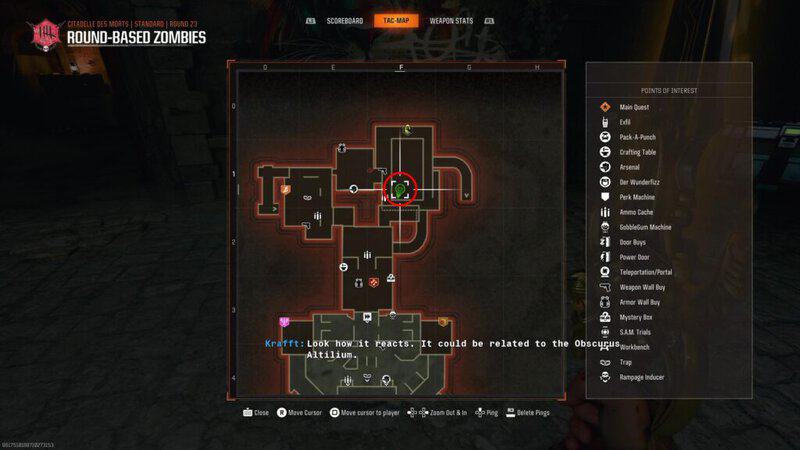
The spark will reveal 4 symbols on the wall along with Roman numerals next to them. These symbols show animals that relate to each of the Swords that you have upgraded. You will need to remember the order of the symbols going clockwise and starting at the top. For example, in the game I used for the screenshot shown below, the order was Dragon (Fire), Stag (Lightning), Lion (Light), and Raven (Dark).

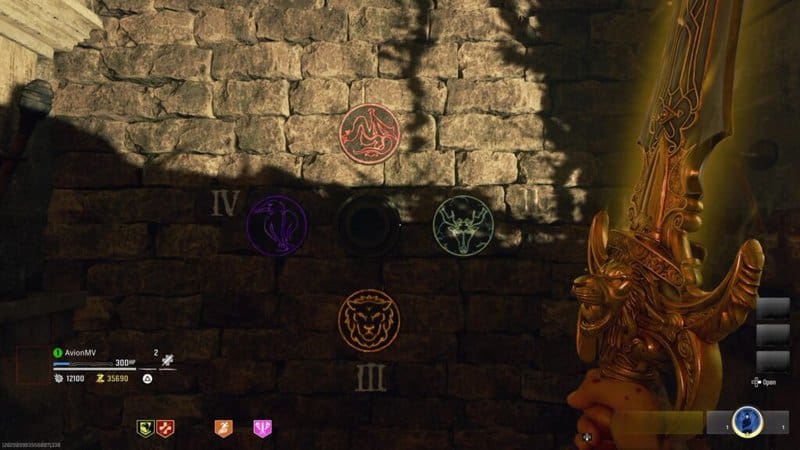
Once you know the order, go to the Dining Hall. Approach each Knight with their sword and the Incantation that corresponds to it. Use an Incantation on the armor. If done correctly, they will glow with the color of the Incantation for a moment. Then, perform the sword’s Weapon Inspect while standing in front of the suit of armor. When the animation concludes, the Knight will salute you back and will start to glow. Do this process in the order shown on the wall to complete this step.
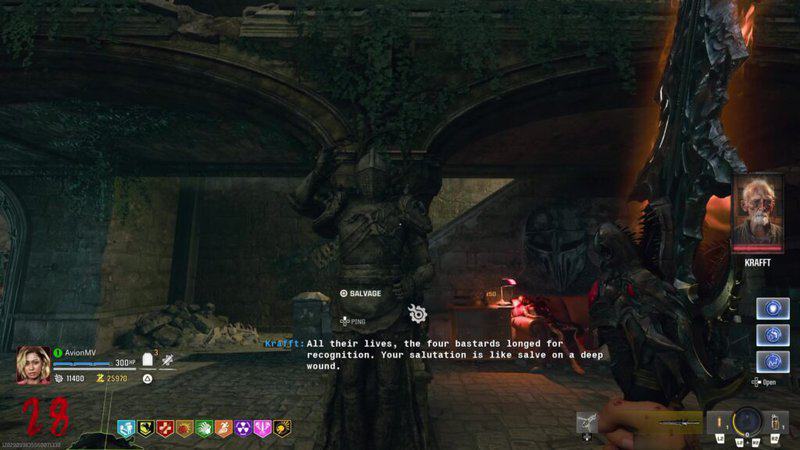
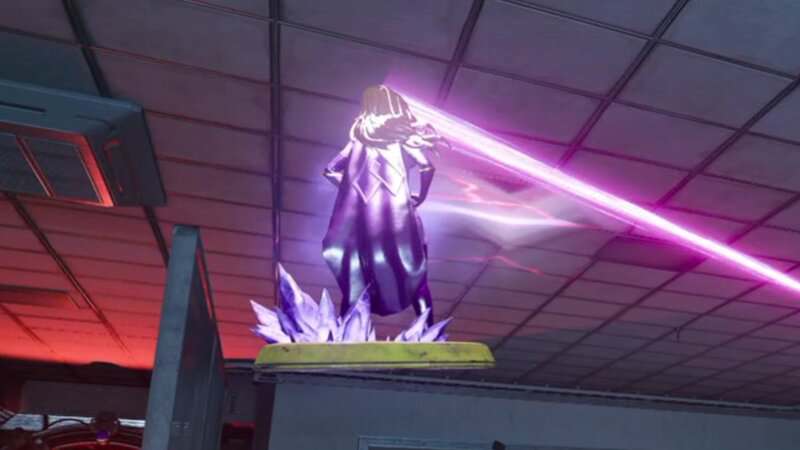
When all armor is glowing, they will all shoot a white beam, joining in the sky at the center of them. The light will descend down to the ground, at which point you will be able to pick up the Mystic Orb item.
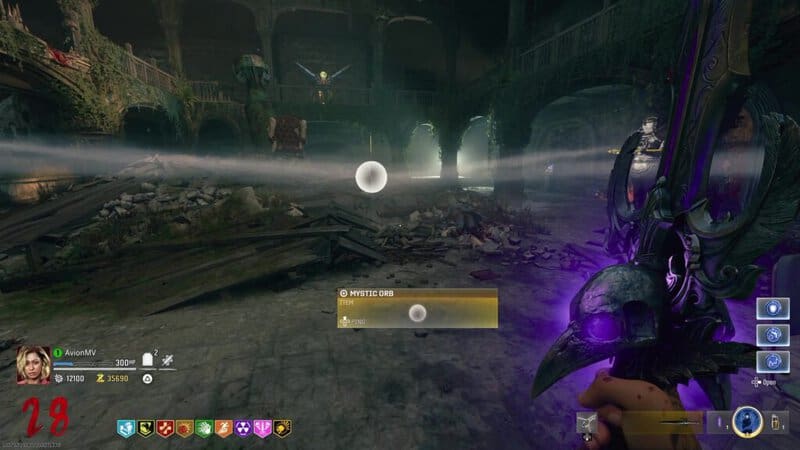
Charge the Mystic Orb
You will need to bring the Mystic Orb to 4 ports around the map and charge it. At 3 of these locations, you do this by getting kills with that location’s corresponding element. This can be with either the Sword or Incantation tied to that port. This can be done in any order.
The Dark Elemental Challenge is in the Undercroft to the left of the Incantation scroll.
The Fire Elemental Challenge is near the center of the Courtyard.
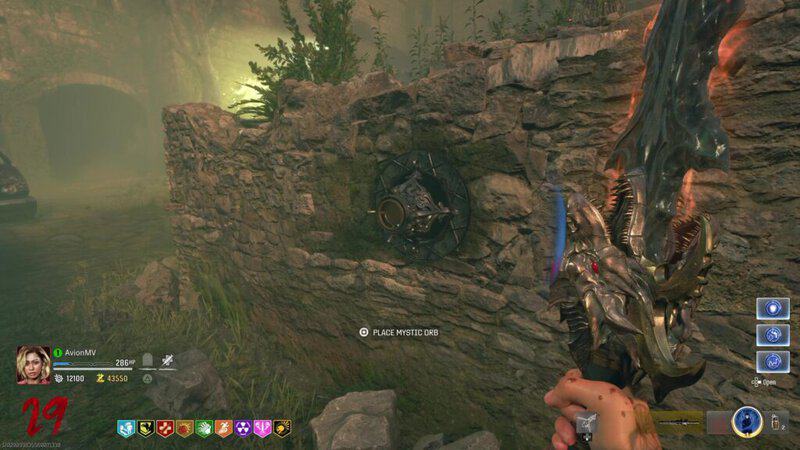
The Electric Elemental Challenge is to the left of the Incantation scroll in Town Square.
The Light Elemental Challenge is found on the second floor of the Dining Hall above the door that leads to the Entrance Hall.
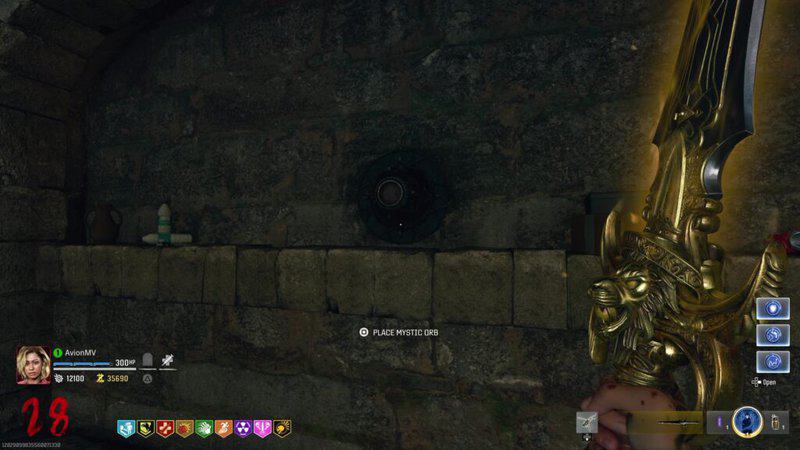
The Light Elemental Challenge is unique from the other challenges. Instead of getting kills, you will need to run through several glowing orbs that appear around the Dining Hall.
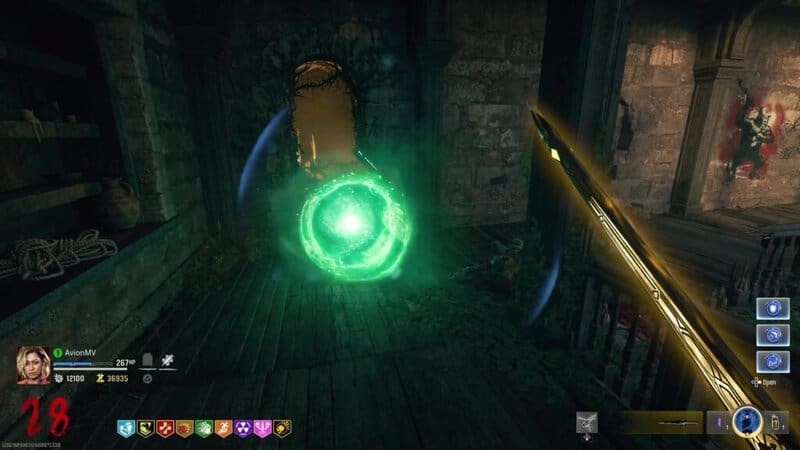
Once all of these challenges are done, the Mystic Orb will now be charged.
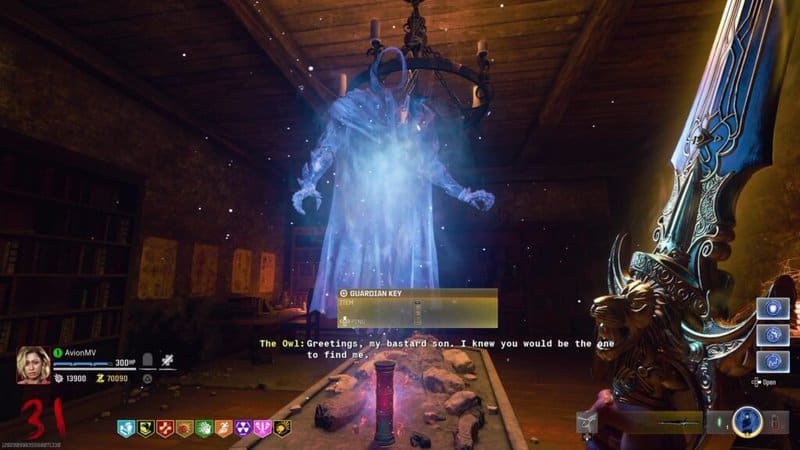
Get the Guardian Key
Go back to the wall with the Knight icons and put the Mystic Orb in the slot in the middle of all the symbols. This will open the wall to reveal a secret room. Interact with the cylinder at the center of the table to play an ancient recording from The Owl, the father of the Bastard Knights that the swords you have been using were once meant. After The Owl completes his dialogue, pick up the cylinder, now called the Guardian Key. This is needed to start the boss fight, but let’s make sure you are ready to take down this powerful foe before rushing into the battle.
Prepare for the Boss Fight
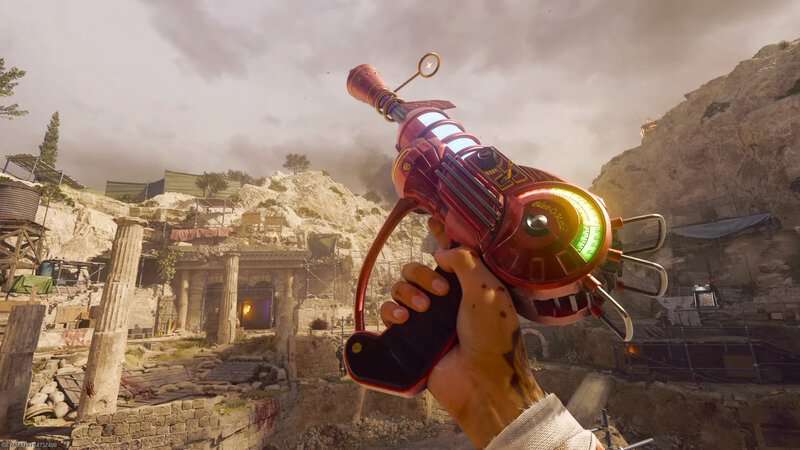
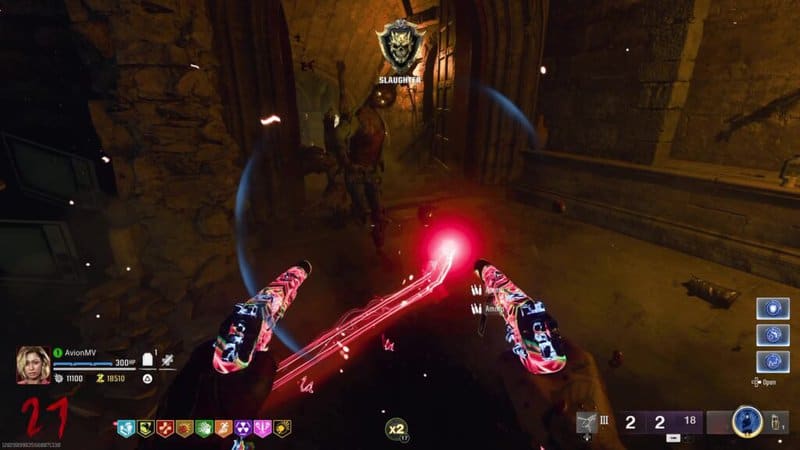
You will need to have the right weapons fully upgraded if you hope to take down this giant foe. I suggest getting the akimbo GS45 pistols to at least Akimbo GS45 Pistols at Pack-a-Punch Level 3 and Epic Rarity to help deal with the Zombies that are helping the boss. These are great weapons against the boss and when Doppelghasts and Amalgams start to appear in the boss fight, these explosive pistols will be extremely helpful in taking them out. Consider also bringing in a bullet weapon that is also maxed out to deliver some more focused attacks on armored parts of the boss and any weak points that appear. As for the Elemental Sword you should bring, Solais the Light Sword is probably the best choice as its Special Attack surrounds you in light and kills any Zombie that touches you but also fully replenishes your armor which can be a lifesaver. I recommend getting a Mutant Injector Scorestreak as well to function as a get-out-of-jail-free card if you find yourself near death or surrounded.
For Perks, get as many as you want but the ones you will want to prioritize are Juggernog and Deadshot Daiquiri. The former provides extra health and is the foundation of any Zombies game and the latter is also super helpful since it increases Critical Damage. With the Augment mentioned earlier, can be made even stronger. Speed Cola is great since it won’t only make your reload faster but with the previously mentioned Supercharged Major Augment, you will get your Field Upgrade back quicker. PHD Flopper is required if you plan on using explosive weapons since the perk will make you immune to self-inflicted explosive damage.
Finally, make sure any Gobblegum you want to use is equipped. With all that covered, it’s time to start the final encounter.
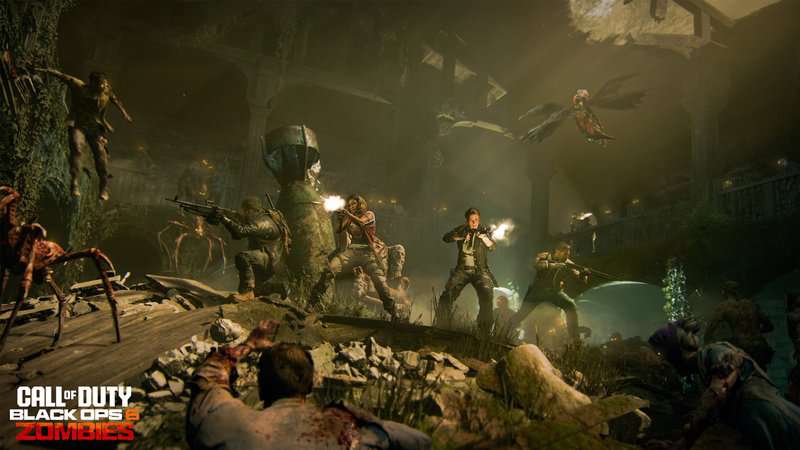
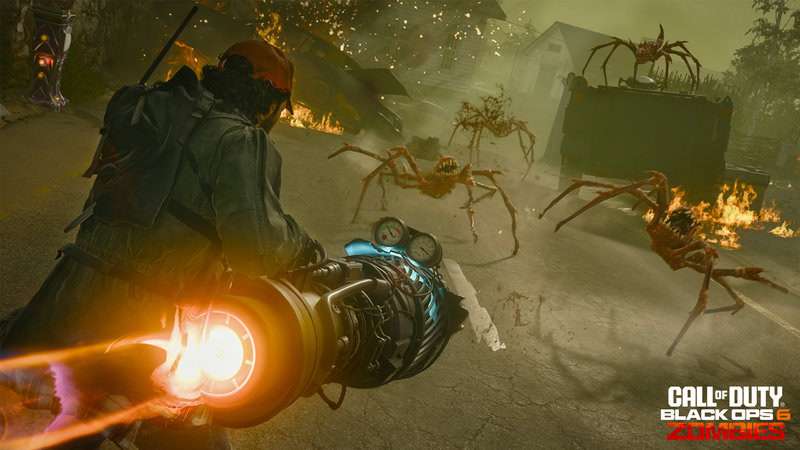
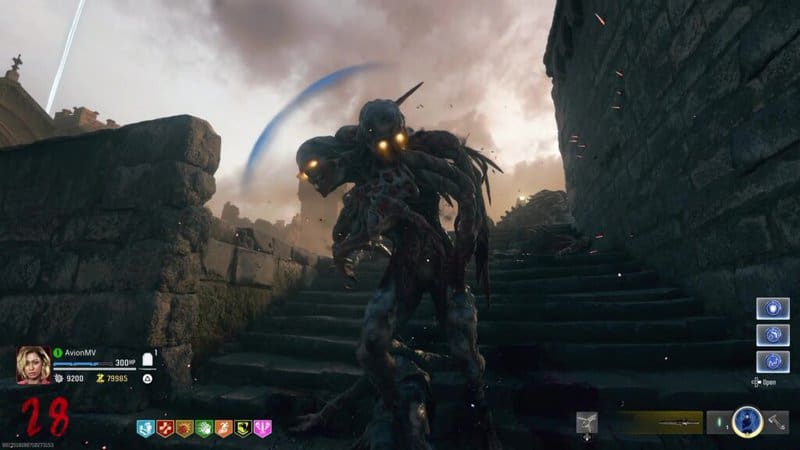
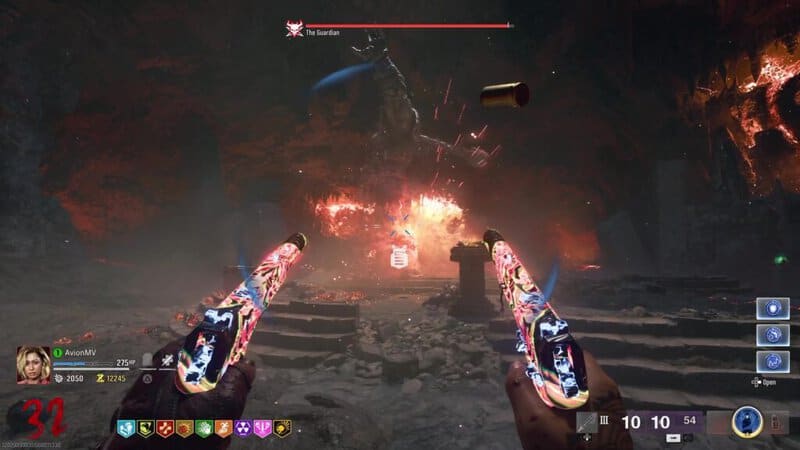
The Guardian Boss Fight
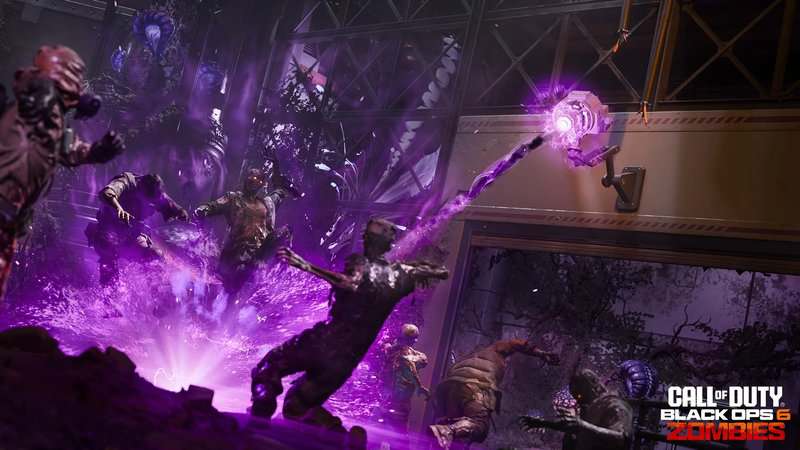
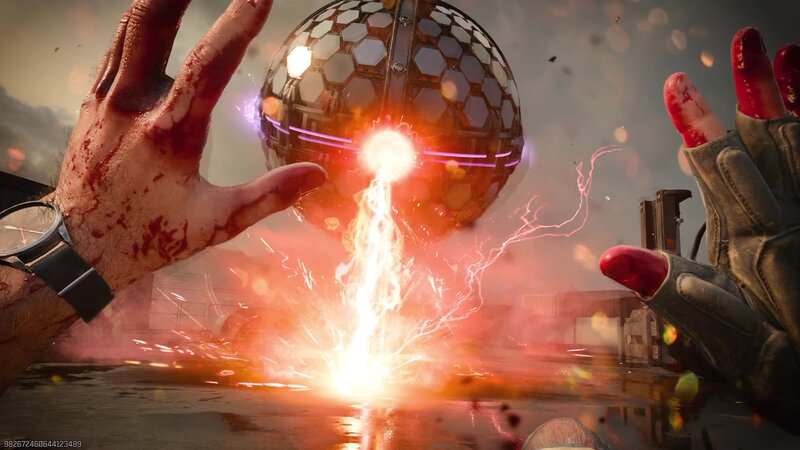
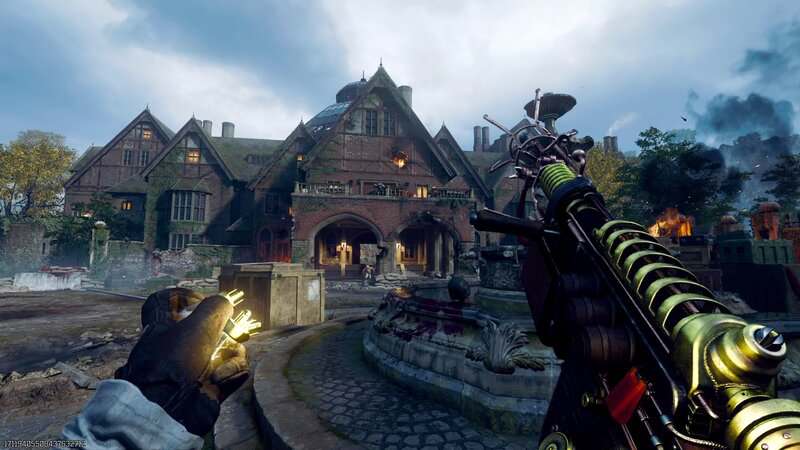
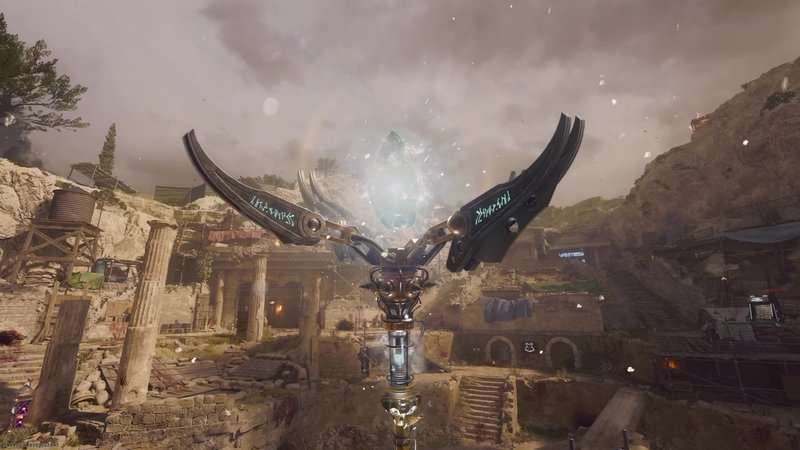
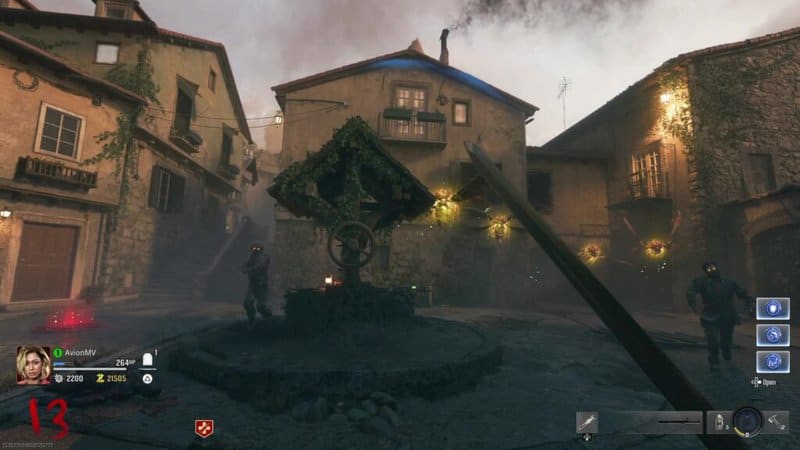
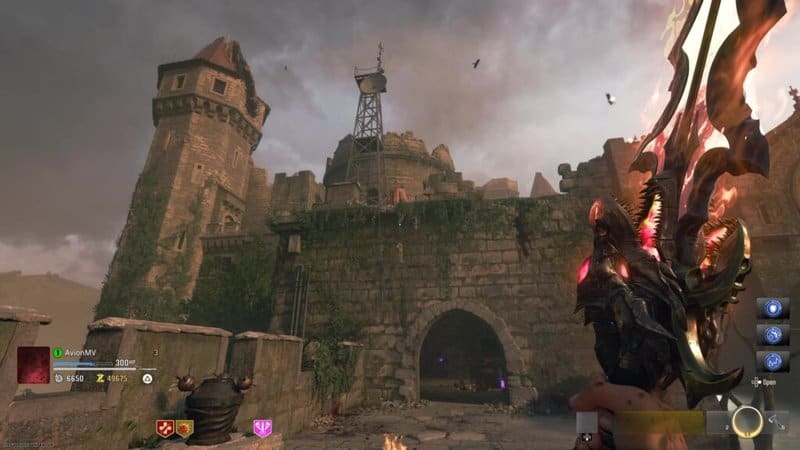
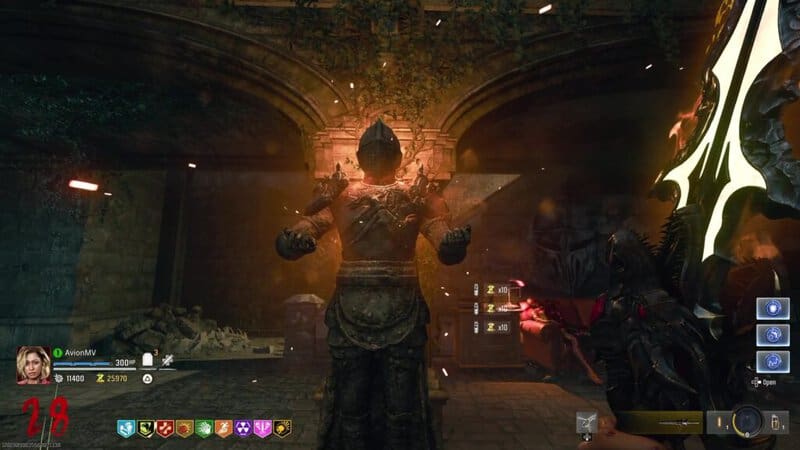
Bring the Guardian Key to the fountain in the Town Square. There is a hole at the south part of the fountain right under the giant stone golem where you can place the Key to start the final fight. The giant statue that stands above you will come alive and slam its hammer down on the ground, teleporting you to an underground area where you will need to battle against this giant known as The Guardian.
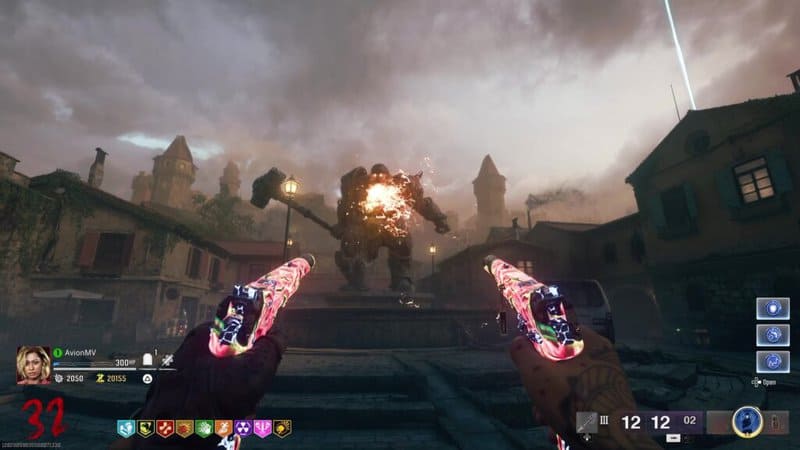
The Guardian’s moveset includes attacks that can hit you hard from just about any range. One of his moves is that he will shoot fireballs from his mouth. He has another move where he slams his hammer down and shoots lava in a straight line towards you. Both of these attacks leave some fire on the ground that will do damage to you if you stand in it so it can also limit the playspace for a short time. He also has a stomp move that will deal devastating damage if he gets right on top of you. All these moves along with the hordes of Zombies targeting you mean there is a lot here that can kill you.
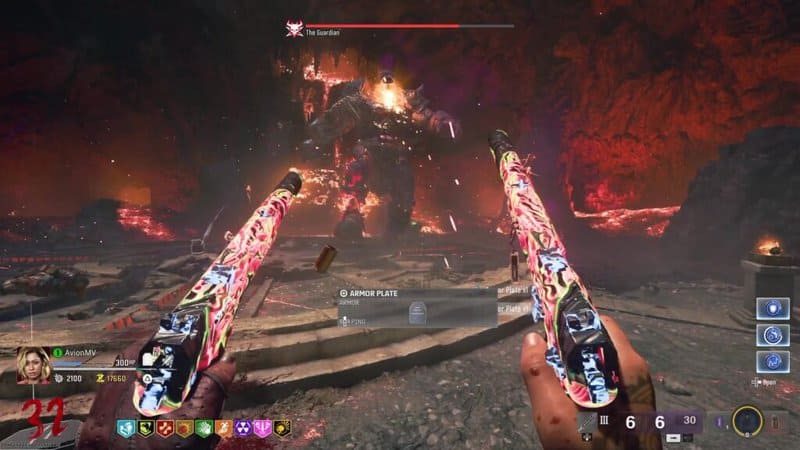
The boss starts the fight covered in armor that you will need to destroy before you can really start doing damage to him. Just focus your fire on him and break through his shield. He also has a few glowing spots under his armor that act as critical spots so you can target those pieces of armor to get some hits on his weak points. Breaking armor and attacking these weak spots will stagger the boss, giving you time to get some free hits.
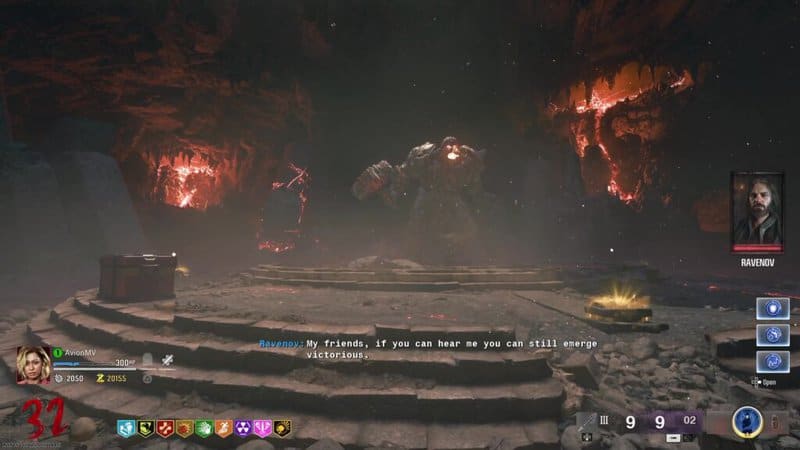
Target the glowing red spots of The Guardian and break through the armor as much as you can. When the boss loses a third of its health, it will go to the center of the arena and slam its hammer down to become invincible. During this time, lava will pour in from the ceiling to make the area smaller. A wave of Zombies which includes Doppelghasts will spawn that you will need to survive until a Max Ammor appears and the boss awakens from its slumber.
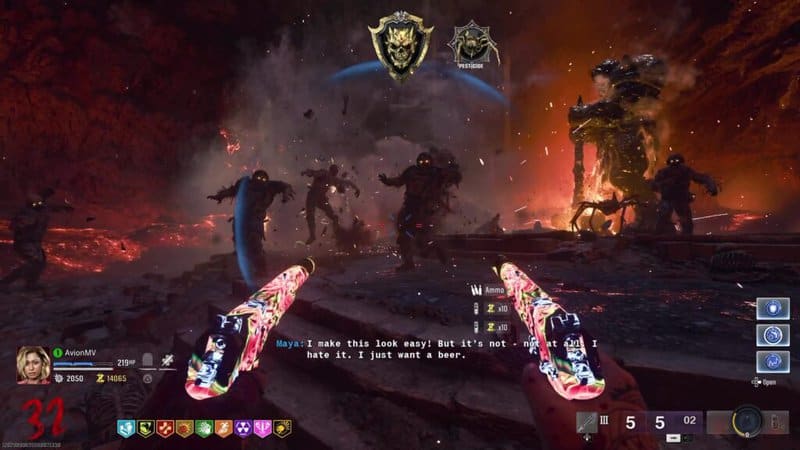
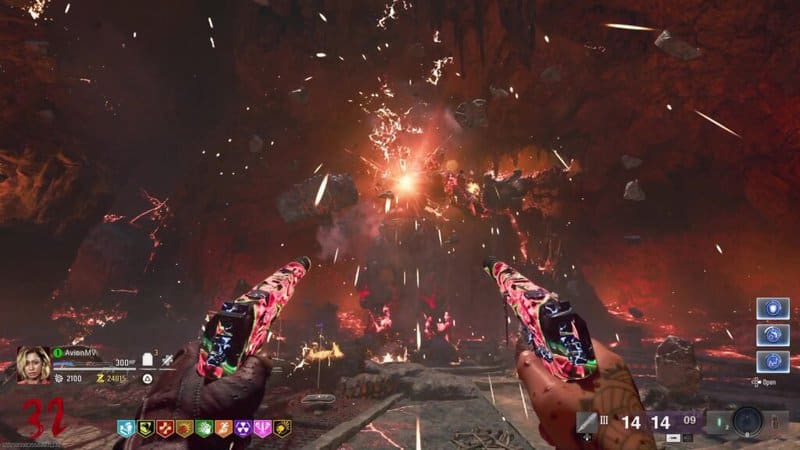
The Guardian has a few improved moves like its fireball attack now shooting out 3 balls and it also gets a new jumping slam attack. The boss also gets a speed boost. If you are able to break all of his armor and take out all of his critical points, his chest will start to glow and become a massive weak point that will quickly cut through his health. Keep breaking through the armor and weak spots until it gets down to its last third of health. It will go back to the center of the room and you will need to survive another wave of Zombies which now includes Amalgams as more lava comes in to make the room even smaller.
When you finish the waves of Zombies and the boss becomes active again, use your GS45s to finish off any remaining armor and then target the weak spot on its chest. The boss will be even faster, hit harder, and the arena is extremely small so make sure you are able to dodge any damage that comes your way. Just keep shooting the chest until the boss is defeated.
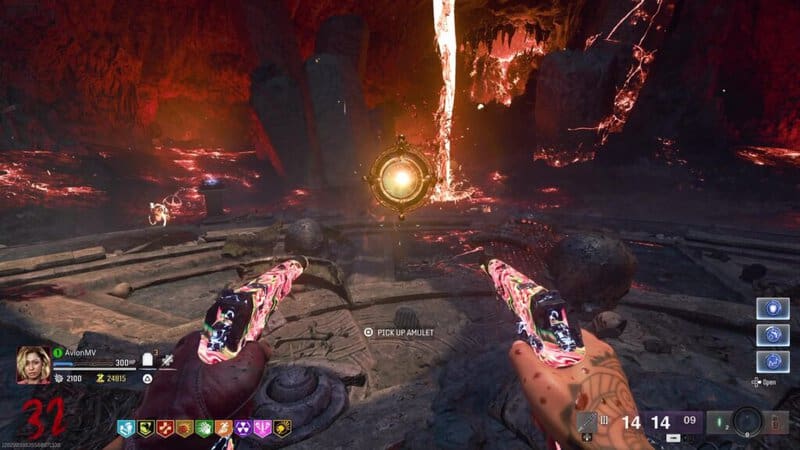
When the boss is defeated, you will be able to pick up the Obscurus Altilium amulet, an important piece of the Sentinel Artifact. Picking this item up will officially complete the Easter Egg.
Picking up the Obscurus Altilium will play the ending cutscene which reveals things about our enemies and teases the location of the next map in the Dark Aether story. When the cutscene, concludes. You can choose to leave the match immediately or continue to play. Returning to the game of Citadelle Des Morts will reward you with Points, several Legendary Tier weapons, Legendary Aether Wrenches, Flawless Aetherium Crystals, and all the Perks in the game.

You can complete the Citadelle Des Morts Main Quest Easter Egg in Black Ops 6 Zombies. Stay tuned to Gameranx for more news, updates, and guides for Black Ops 6 as well as other great games in the future.