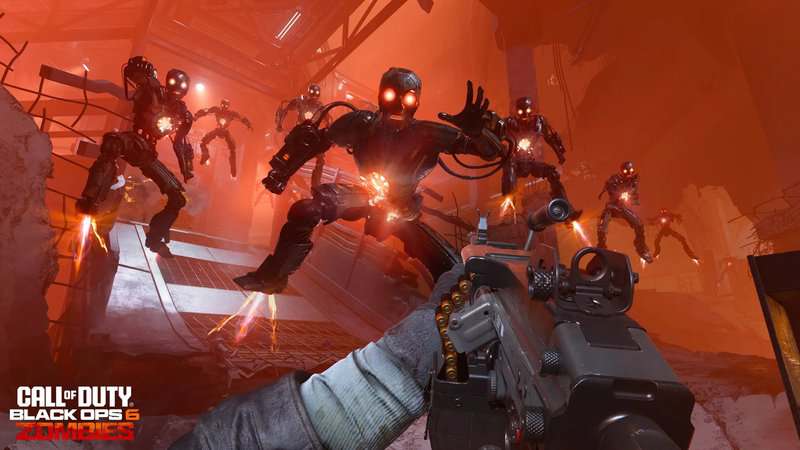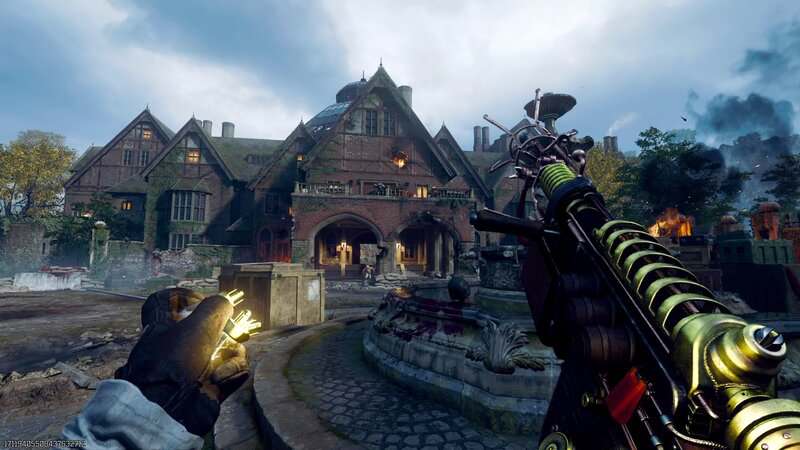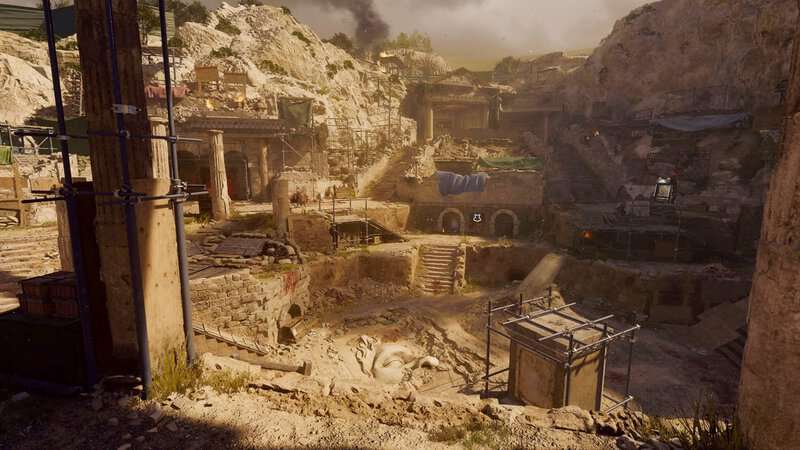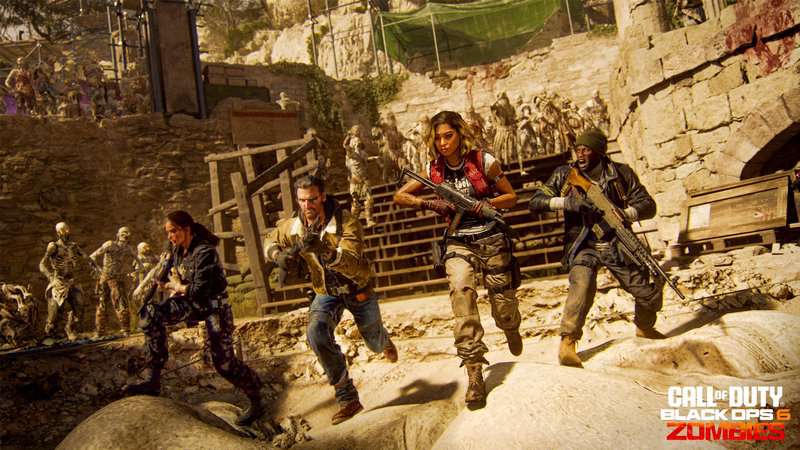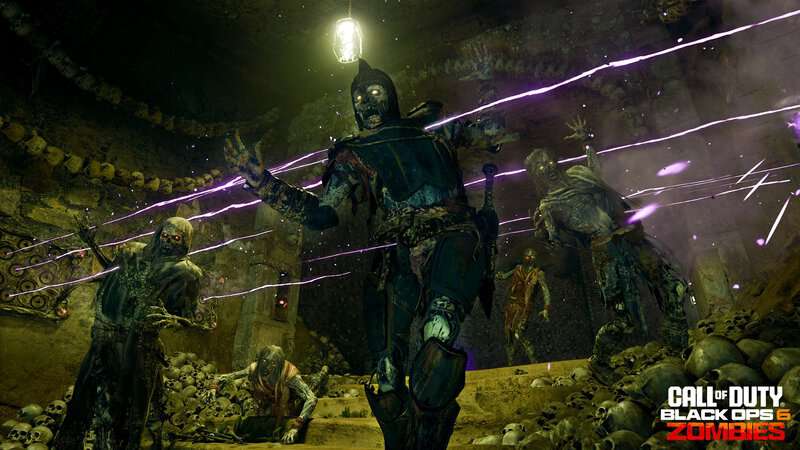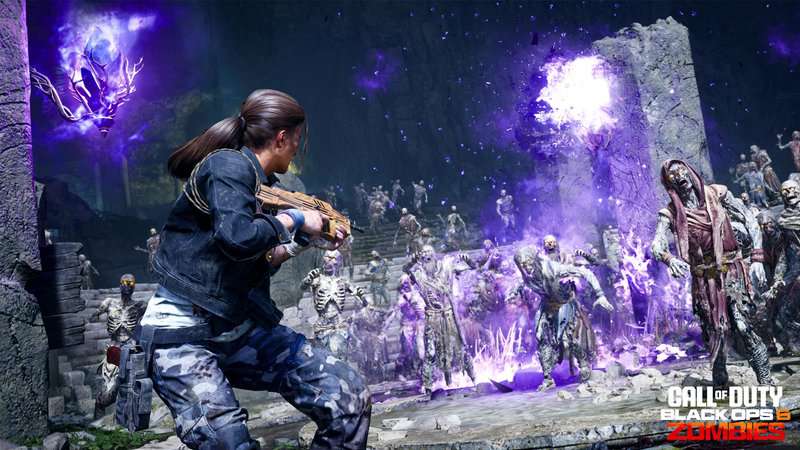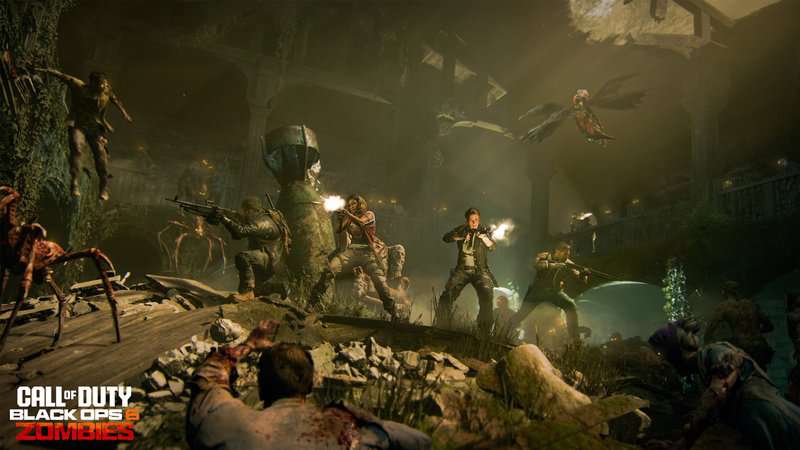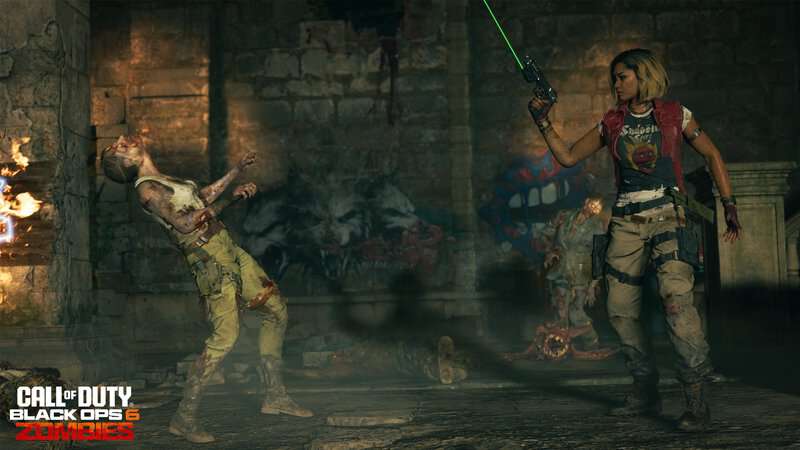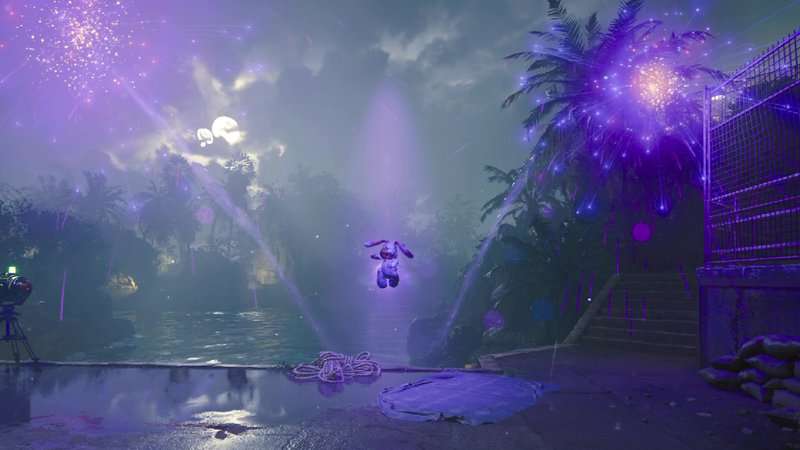
The story of Black Ops 6 Zombies continues with The Tomb, an old excavation site that contains the legendary Sentinel Artifact. The crew will need to dive deep into this long-abandoned dig site and cross over into the Dark Aether to obtain this relic since it might be the only way to save Maxis from the Realm Below Creation. With the echoes of the dead calling out and a staff from doomed universes at their disposal, players will need to complete a set of trials if they hope to contain the chaos and obtain the Articact. This guide will show players how to complete The Tomb Main Quest Easter Egg in Black Ops 6 Zombies.
How to Complete The Tomb Main Quest Easter Egg in Black Ops 6 Zombies
Before starting your run at the Main Quest Easter Egg, it’s important I lay out a few things you should make sure you equip in the pre-game lobby. You will want to make sure you have some good Augments equipped to your Perks and Field Upgrade to make the game and especially the final boss fight easier.
Juggernog is a Perk you are going to get every game of The Tomb, not just when you’re running the Easter Egg. The Probiotic Major Augment for Juggernog is one of the most important ones for you to get an extra 50 HP. Speed Cola is necessary because when you face off with the boss, you will be given a small window of opportunity to do damage to the boss so making sure you are able to reload quickly can save your run. Speed Cola’s Supercharged Major Augment is great here since it will charge your Field Upgrade faster. For the Minor Augment, I suggest Quick Swap to increase weapon change speed since you will be changing between the Wonder Weapon and your bullet weapon of choice.
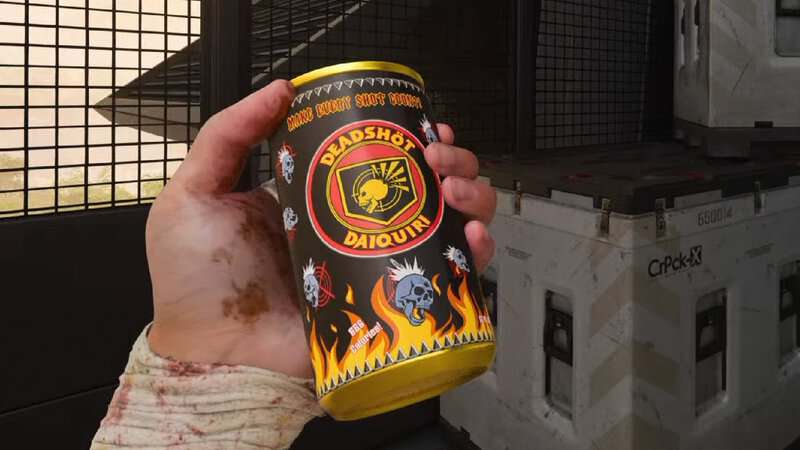
Quick Revive is great for making sure you heal quickly from damage. Use the Dying Wish Major Augment since it will basically give you an extra down during the boss fight. Any Minor Augment is fine here but I suggest the Karmic Return Augment if you’re playing co-op since it heals you if you revive a teammate. The final Perk you definitely need is Deadshot Daiquiri to get extra damage on those critical attacks. Use the Dead Head Major Augment to get even more critical damage and the Dead Break Minor Augment to increase damage to armor plates.
When it comes to your Field Upgrade, Aether Shroud is the go-to option. As we said before, you aren’t given a lot of time to damage the boss so Aether Shroud is extremely useful if you find yourself needing to get enemies away so you can focus on the target. The Extra Charge Minor Augments are great here. I suggest the Burst Dash Major Augment to get through the horde if you find yourself in trouble or need to get close to the boss. If you’re playing with a team, the Group Shroud Major Augment is also great.
If you also want to use Gobblegums, here are a few suggestions. Arsenal Accelerator is great to keep your Field Upgrade charged and Shields Up will give you a fresh set of armor and make it strong for a short time to make it harder for the enemies to down you. Free Fire will give you unlimited ammo for a minute so this can be great to make sure you don’t fail to take down a phase of the boss because you need to reload. Idle Eyes is also great because it will cause all Zombies to just stand still for 30 seconds, giving you an opening to just focus on the boss. If you’re playing co-op, Phoenix Up and Near Death Experience are great for making sure your team stays alive.
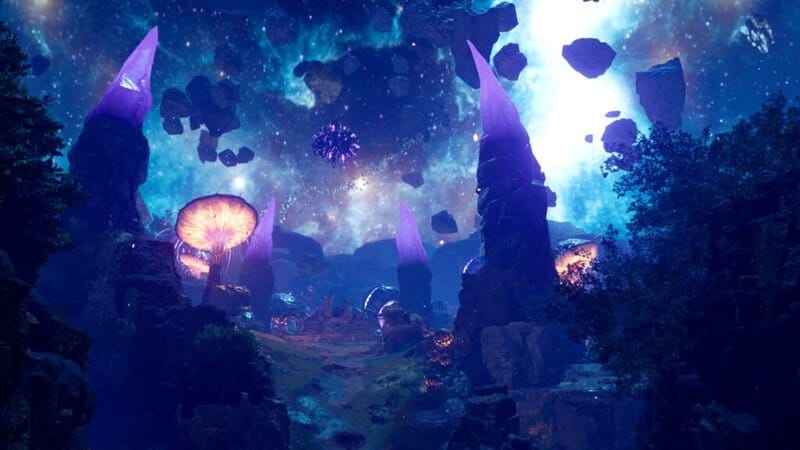
Enter the Dark Aether Nexus
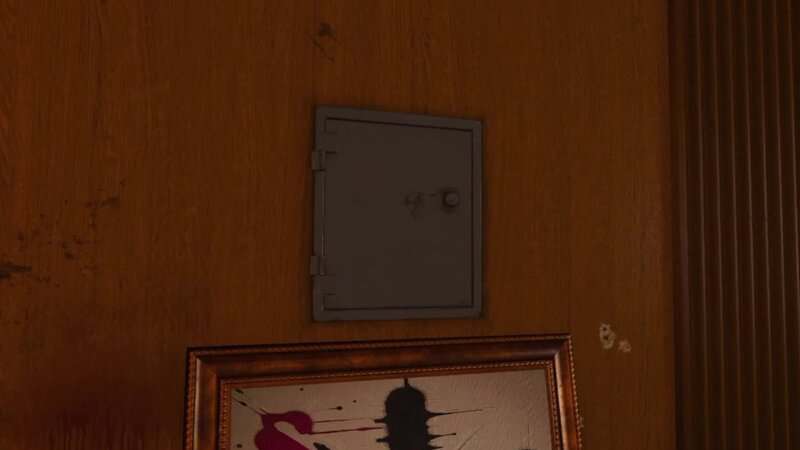
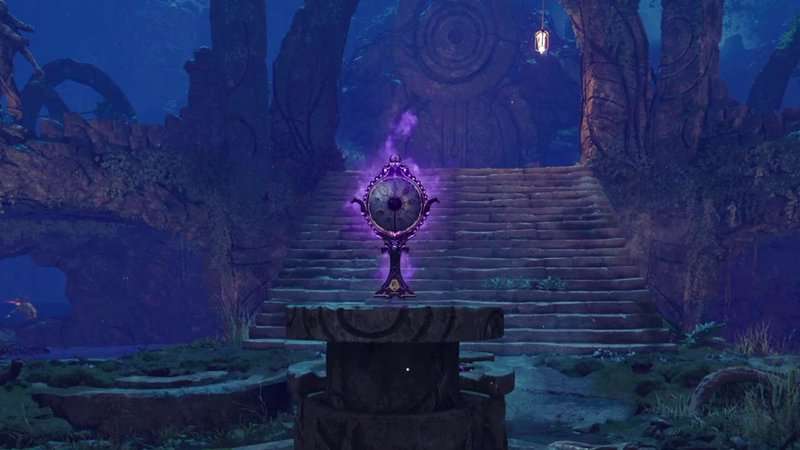
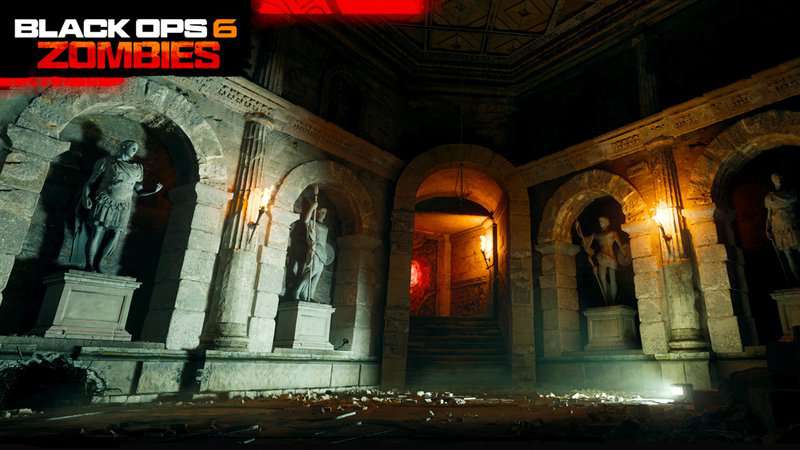
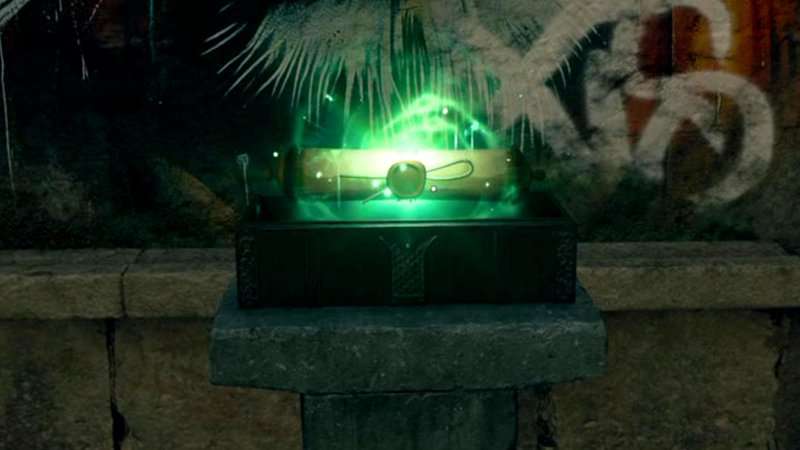
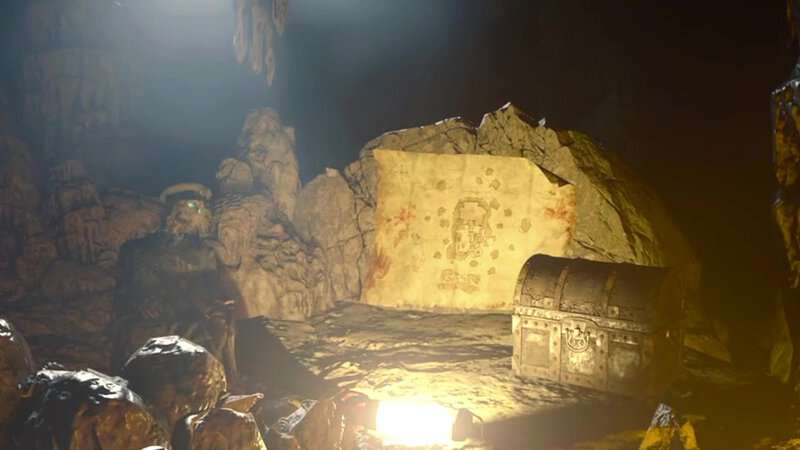
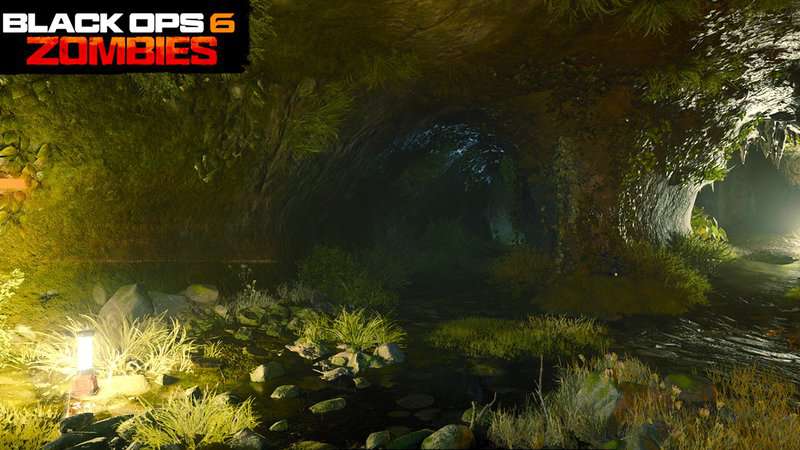
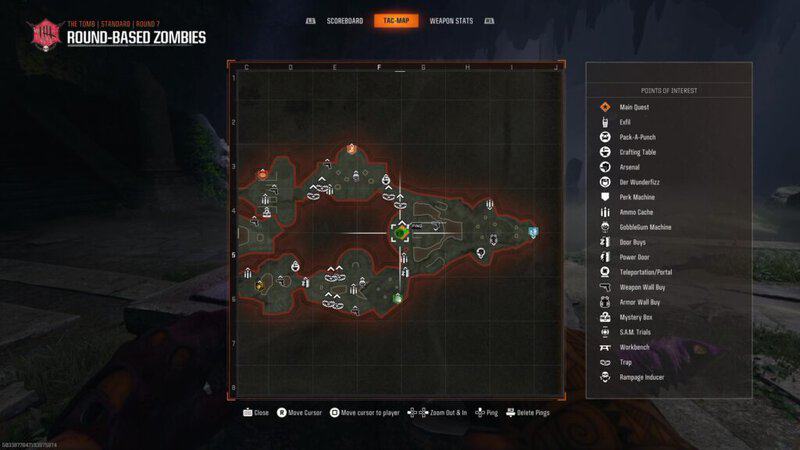
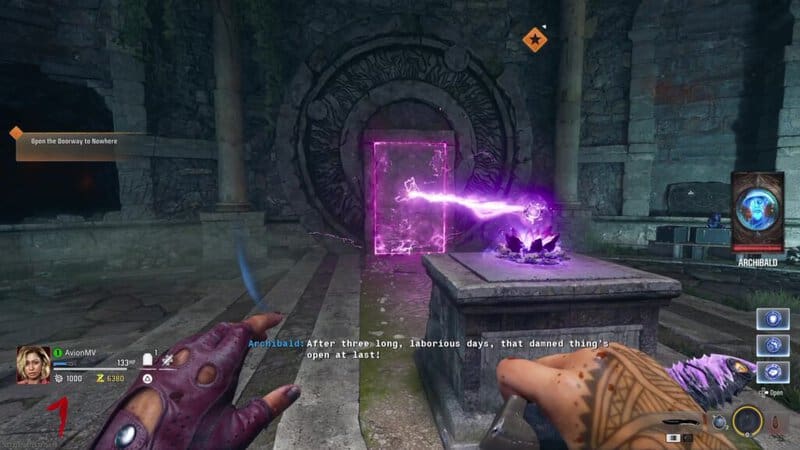
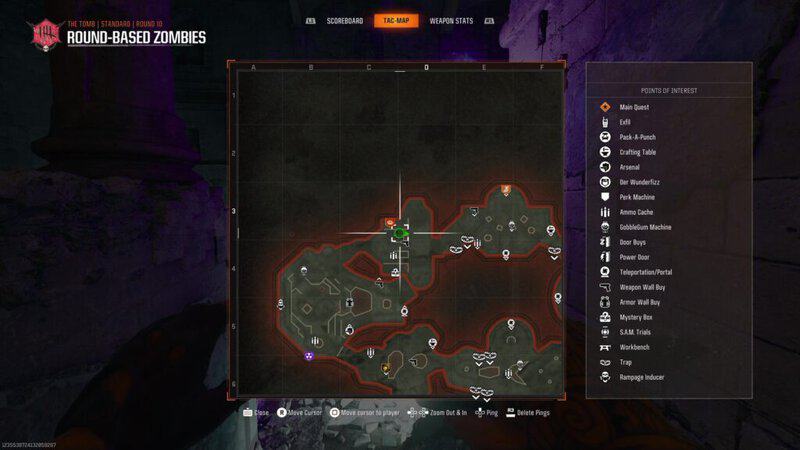
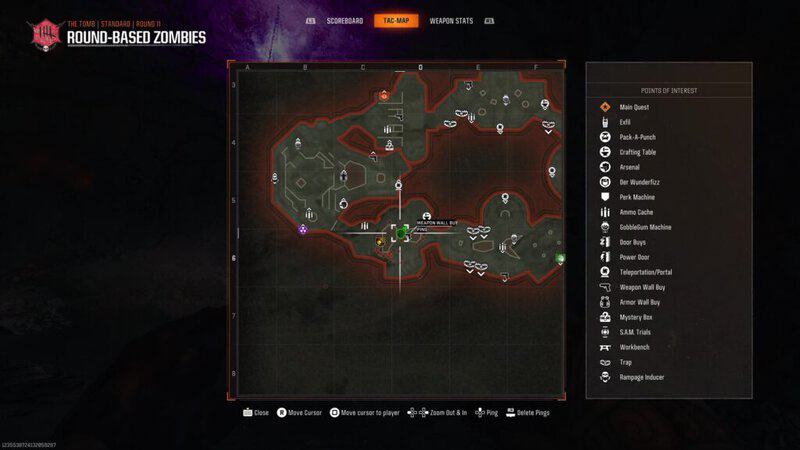
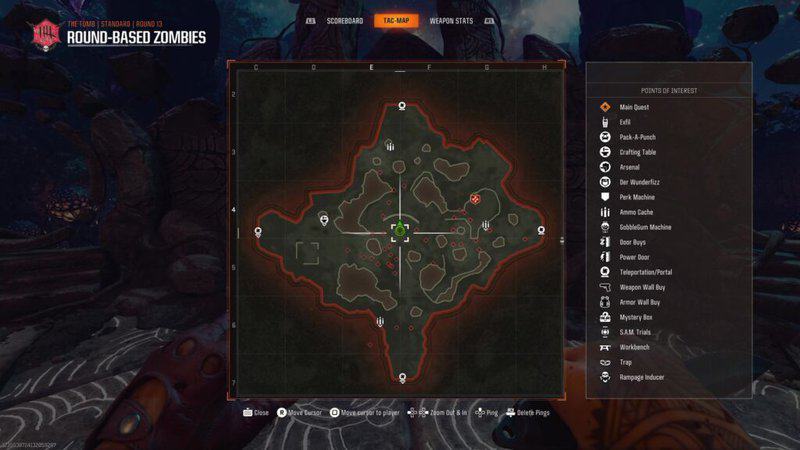
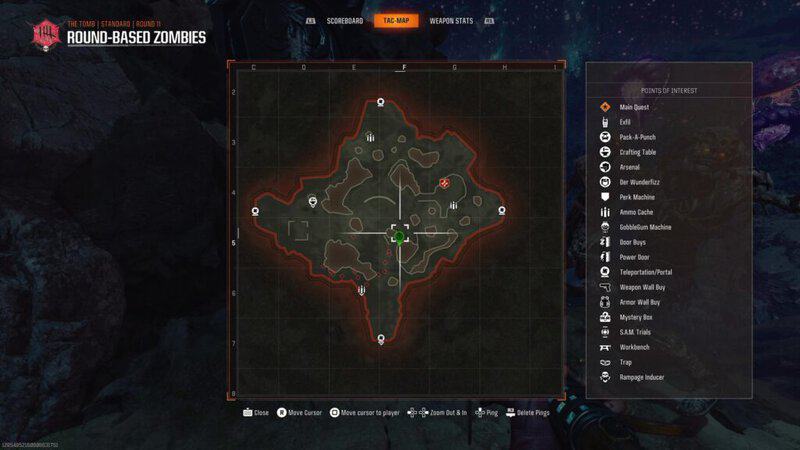
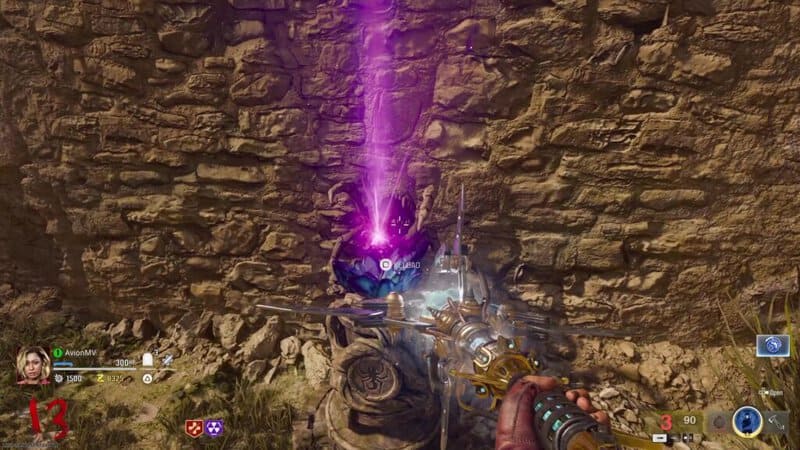
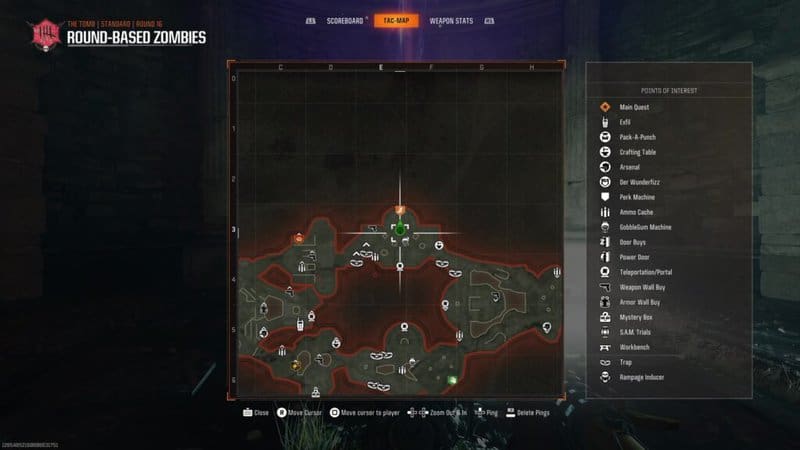
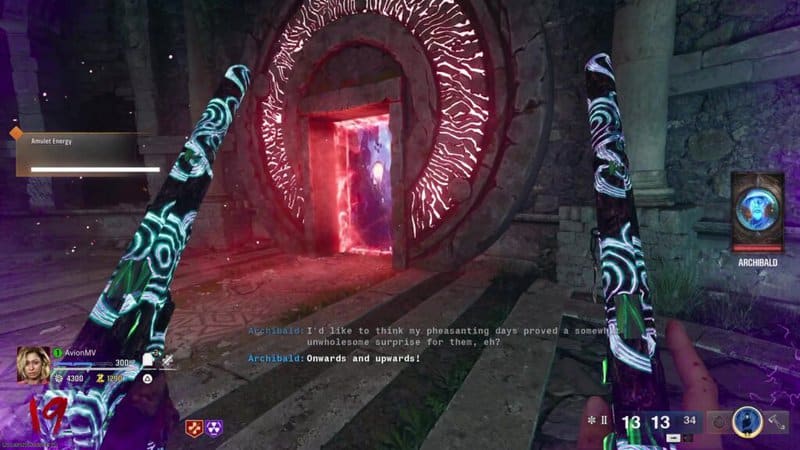
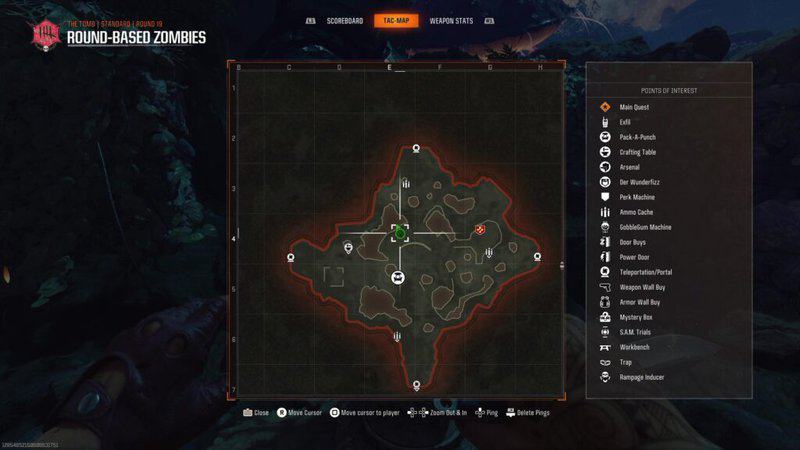
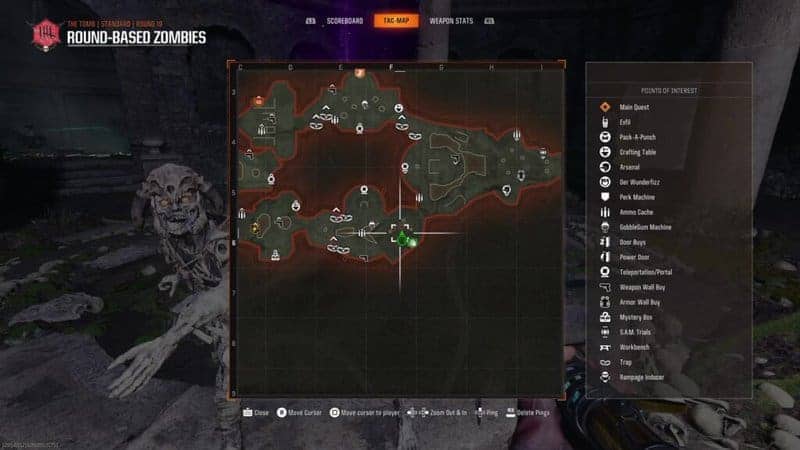
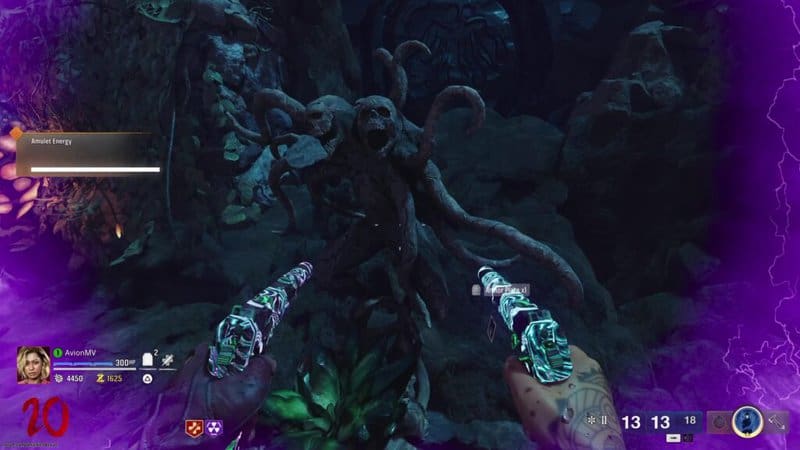
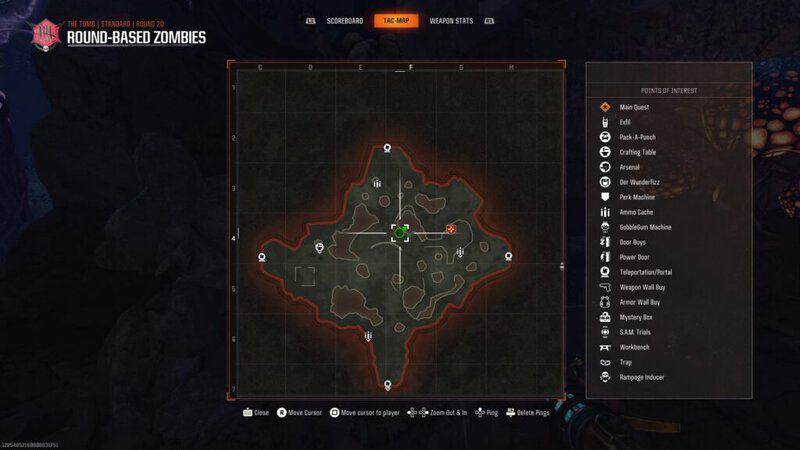
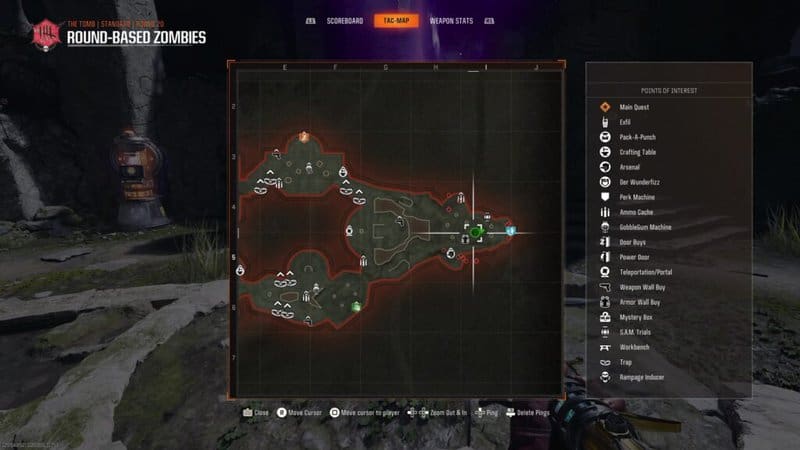
Just like the other Easter Eggs in Black Ops 6 Zombies, the first step is to find the Pack-a-Punch machine which can be found in the Dark Aether Nexus. To open these portals, you will need to go to the Subterranean Temple area at the east end of the map. You can reach this area by descending into the dig site from either the north or south path since they will converge. At the west end of the Subterranean Temple is an altar with a small Dark Aether crystal on it. Interact with the crystal to place the Obscurus Altilium amulet from Citadelle Des Morts on the altar. This will see the amulet shoot a beam at a nearby wall and open the portal to the Nexus.
Get the Ice Staff
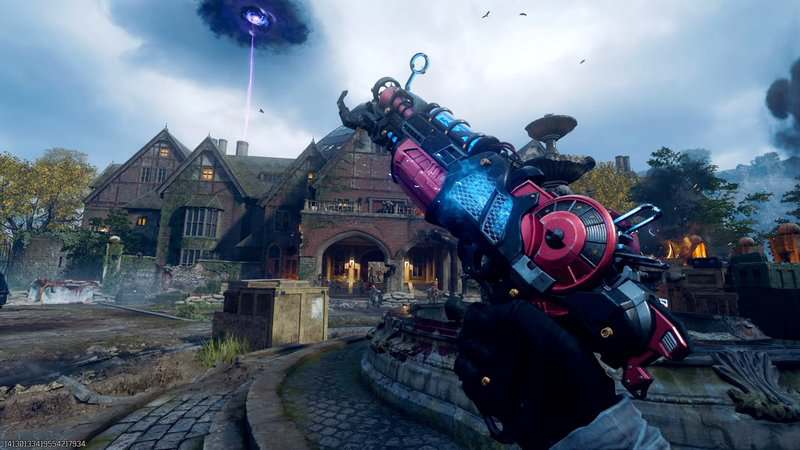
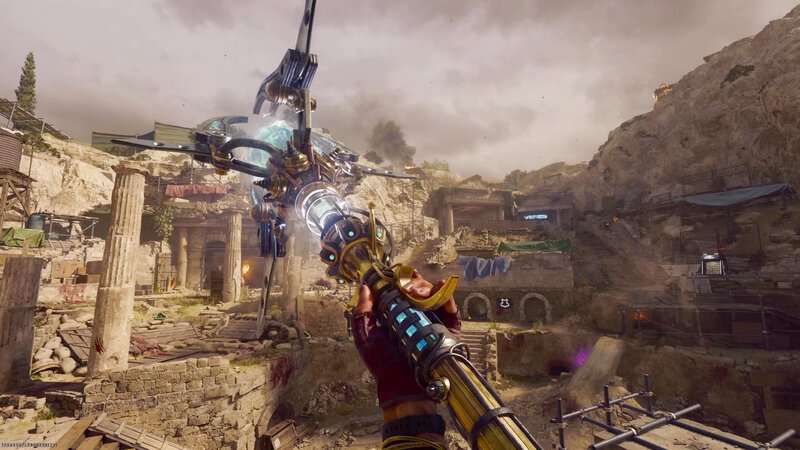
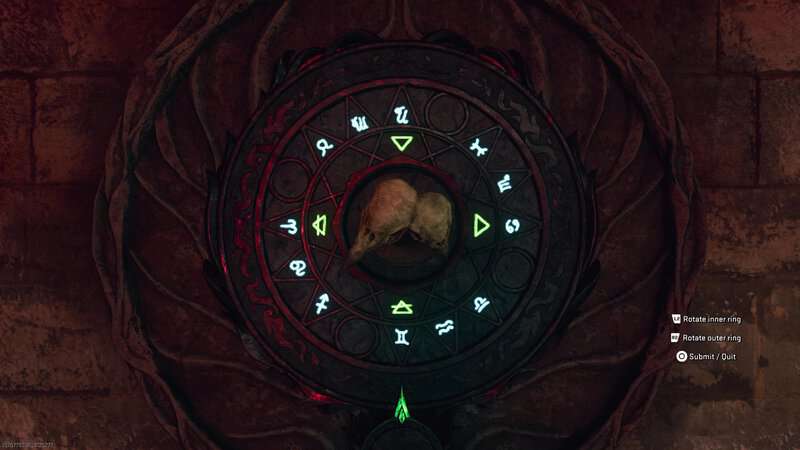
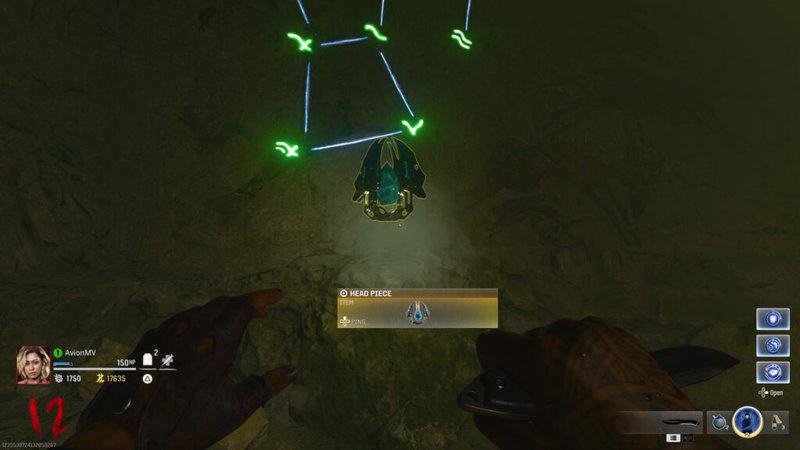
With the Dark Aether now accessible, you will need to get the map’s exclusive Wonder Weapon, the Staff of Ice. This weapon can be found in the Mystery Box but there is an Easter Egg that allows one player to get this weapon guaranteed and for free. You will need to collect 3 items found around the map. These items are the Monocle, the Staff, and the Head Piece.
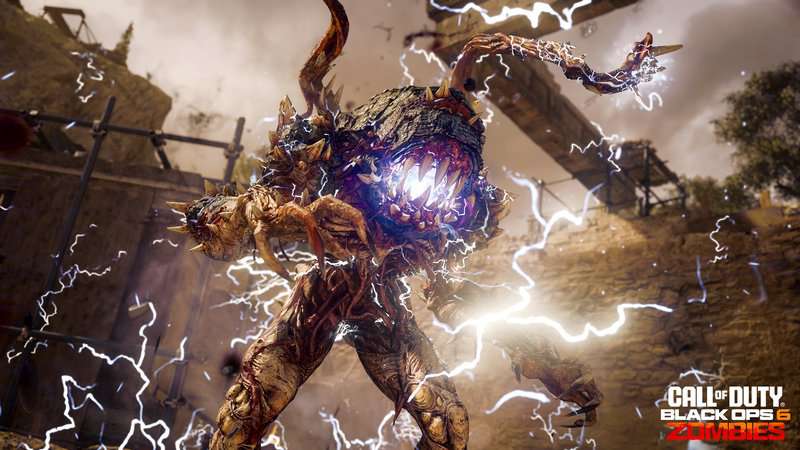
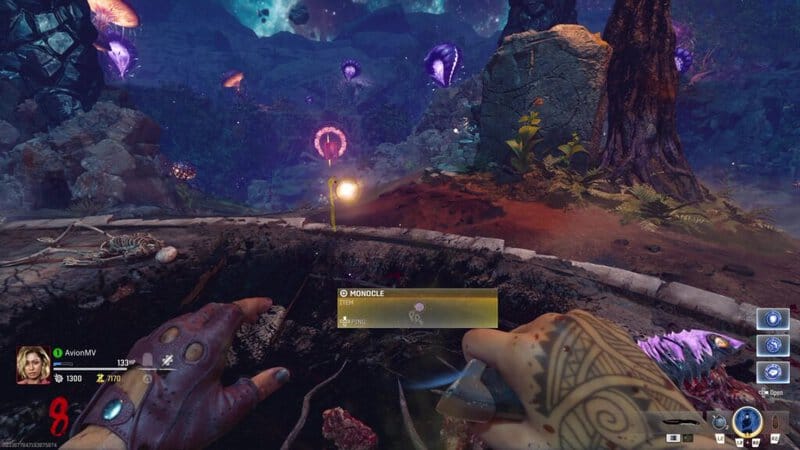
The Monocle is dropped after you defeat the first Shock Mimic. The Shock Mimic will spawn for the first time on Round 8 of every game of The Tomb. When you defeat this special enemy, just walk up to its body and you will be able to pick up the Monocle. This will allow you to see certain Alchemical symbols in certain parts of the map to get actual pieces of the Staff of Ice.
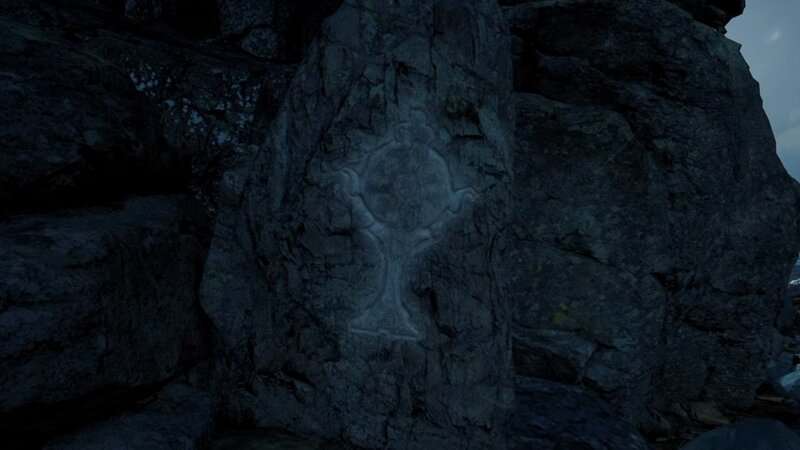
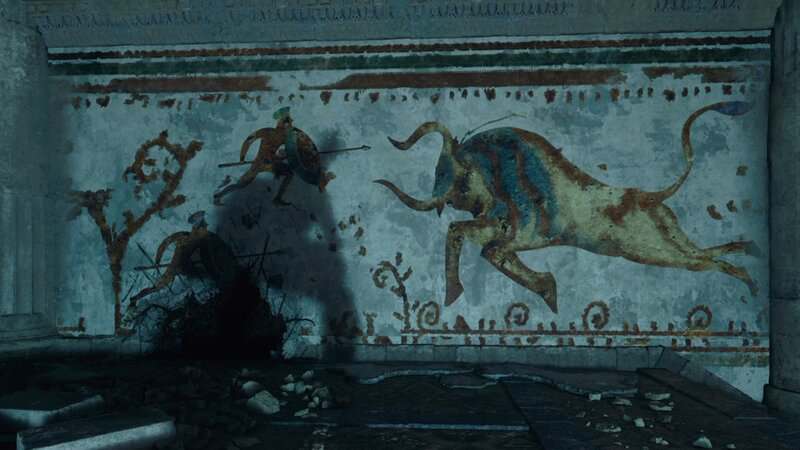
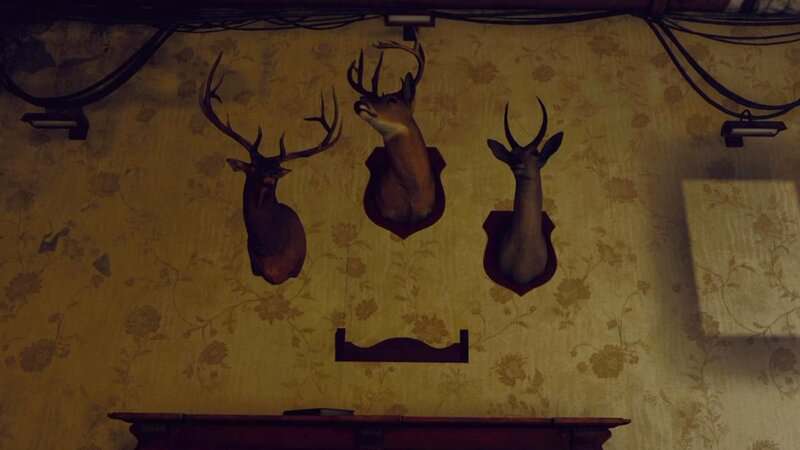
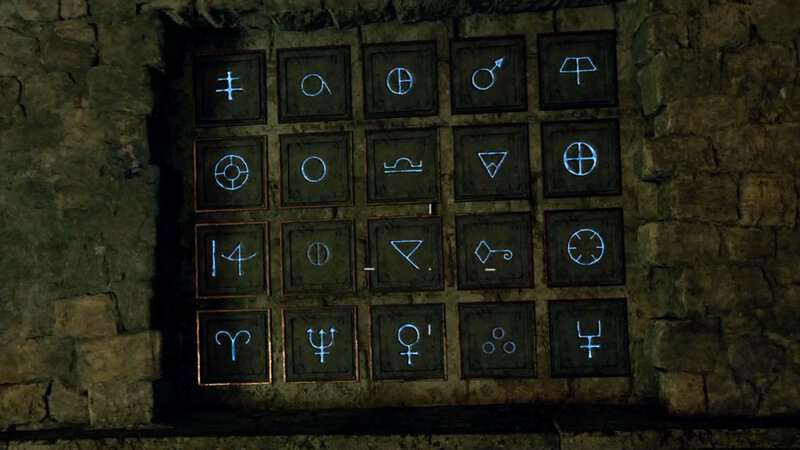
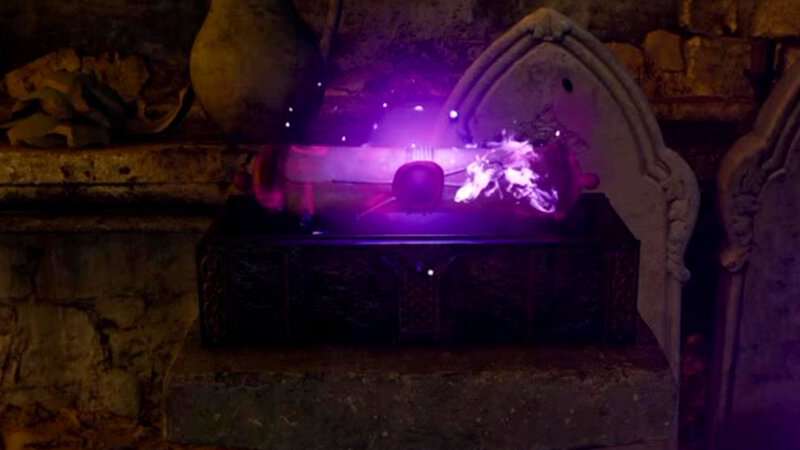
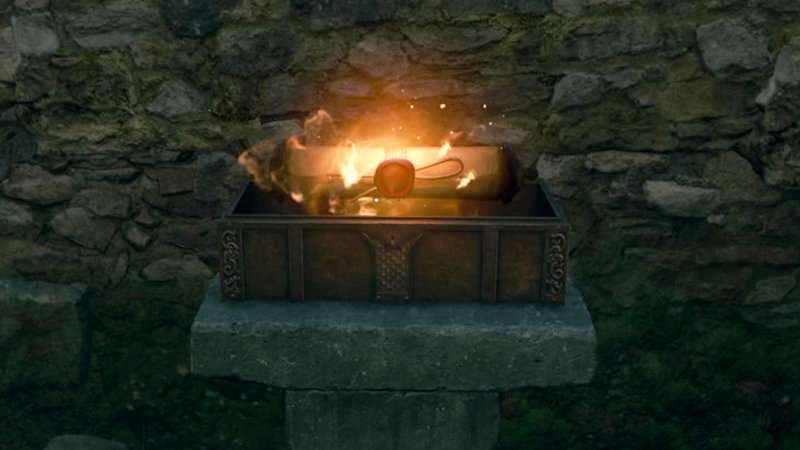
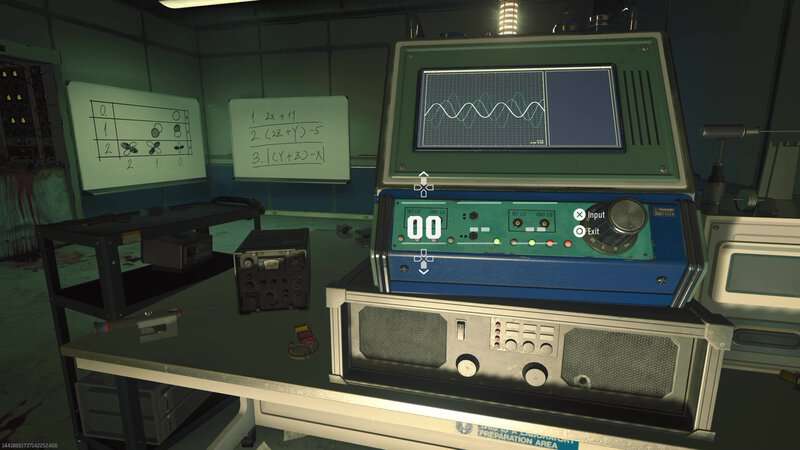
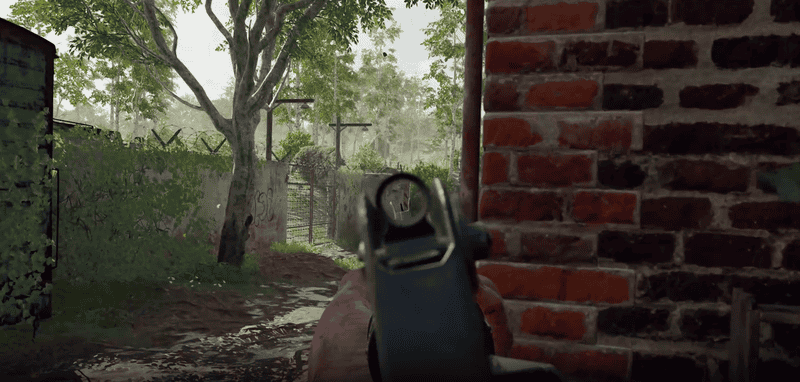
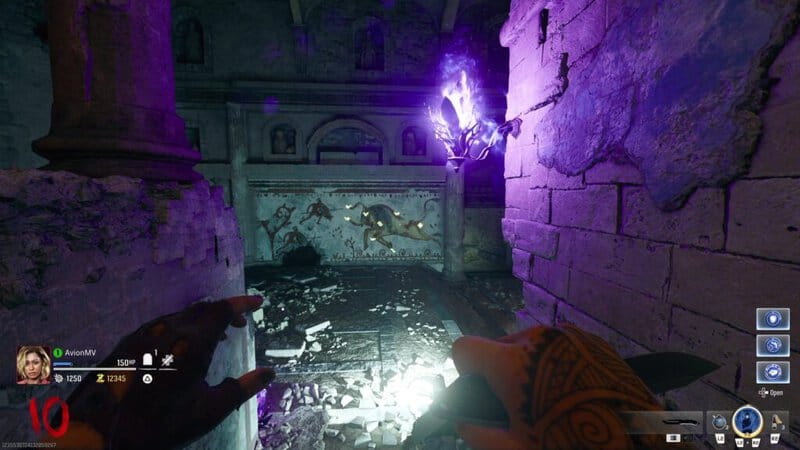
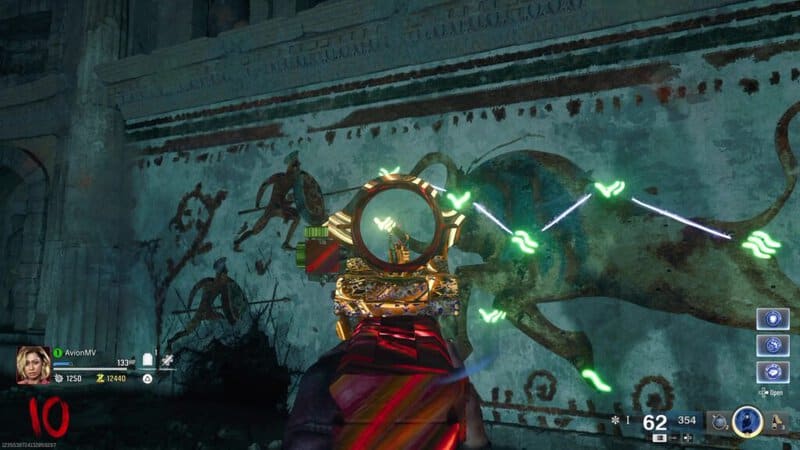
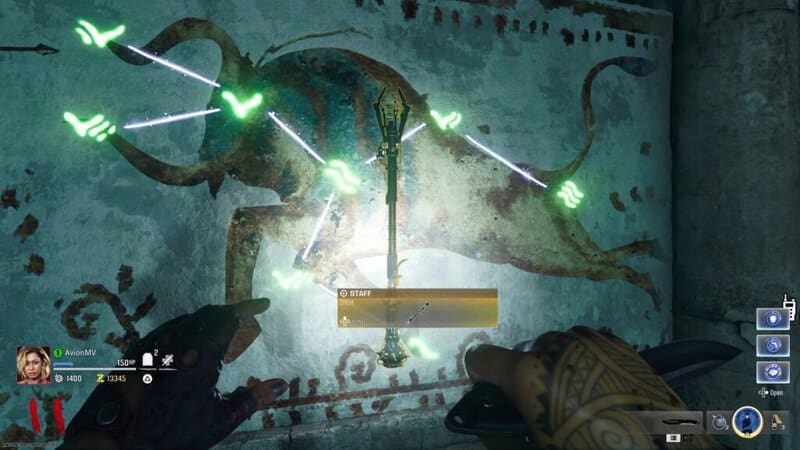
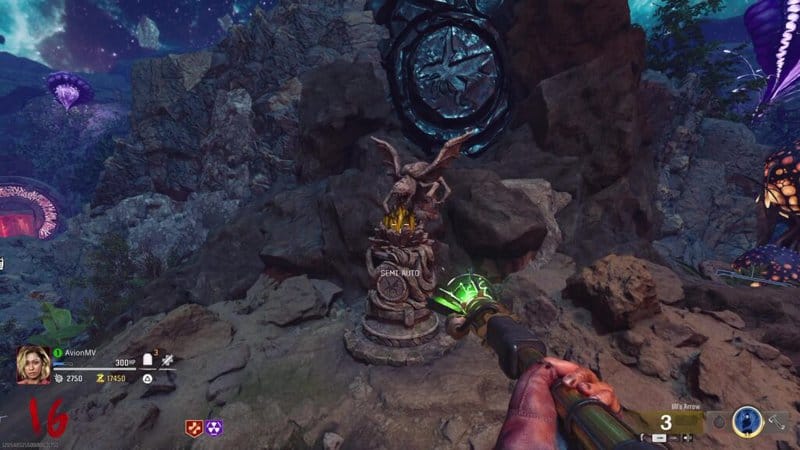
The Staff piece can be seen by shooting a set of symbols in the Tombs area, the northwest corner of the map between the Dig Site spawn room and the Shrine of the Hierophants. There is a mural of a bull on the wall to the left of the door that leads to the Shrine of the Hierophants. To get the markings to appear, you will need to get an Aetheric Lantern in the lantern holder that is over the staircase opposite the mural. You can do this by shooting the other lanterns around the map. Eventually, the lantern will appear in the holder. Once the lantern is here and you have the Monocle, you will see 8 markings on the mural with each one representing a Roman Numeral. Shoot them in ascending order, starting from 1 to 8. When this is done correctly, a purple orb will come out of the mural. This orb will fly around the room and spawn 5 waves which will include several Doppleghasts and Shock Mimics.
After completing the fifth wave, the Staff will appear on the mural.

To get the Head Piece, you will need to repeat the same process mentioned above but in the Neolithic Chamber. This is the room between the Dig Site and Ossuary in the southwest corner of the map. Go to the northeast corner of the room to find a mural on the wall. Get an Aetheric Lantern in the holder hanging from the ceiling of the room to see Roman Numerals going from 1 to 10. Once they are all shot in ascending order, the purple orb will spawn and you will need to go through 5 waves of enemies. After completing the fifth wave, the Head Piece will appear on the mural.
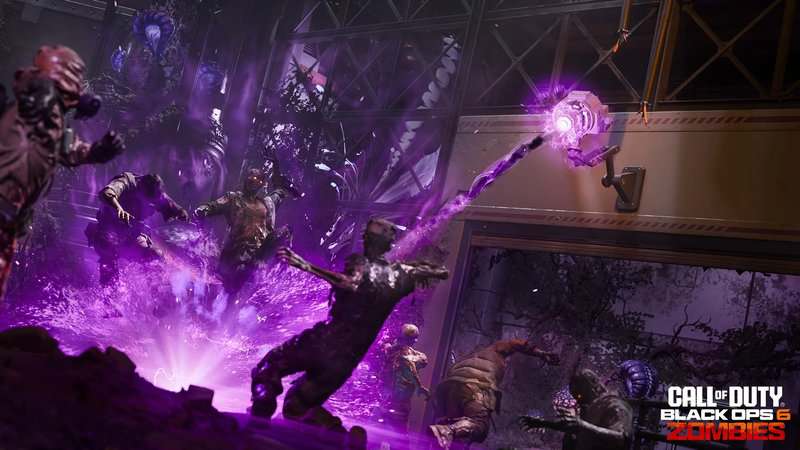
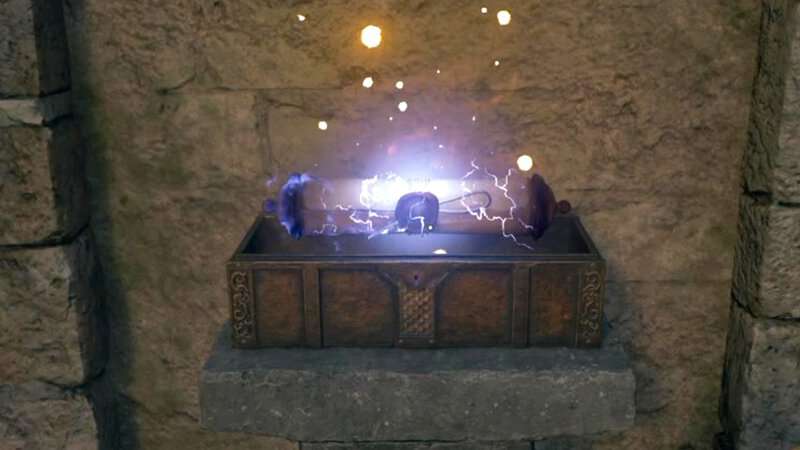
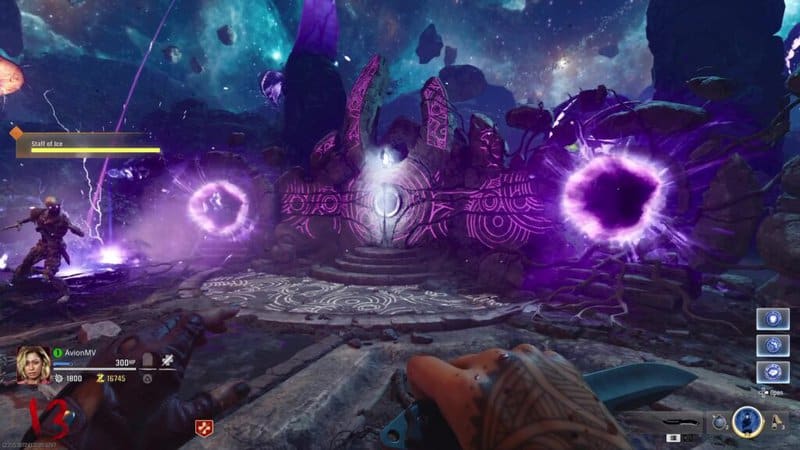
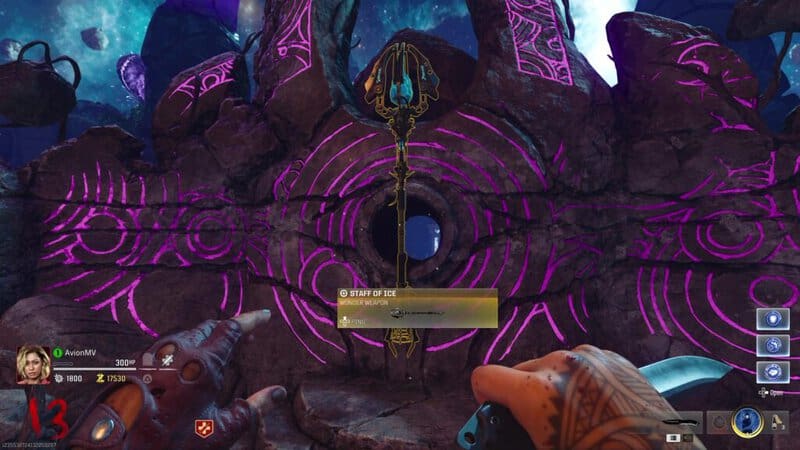
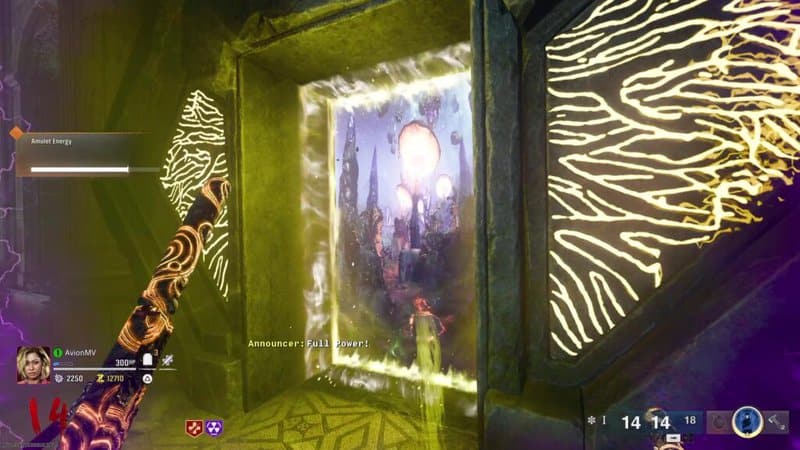
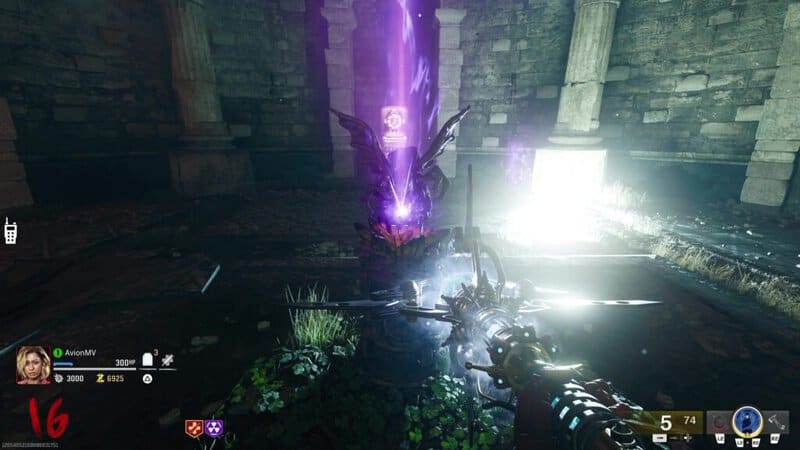
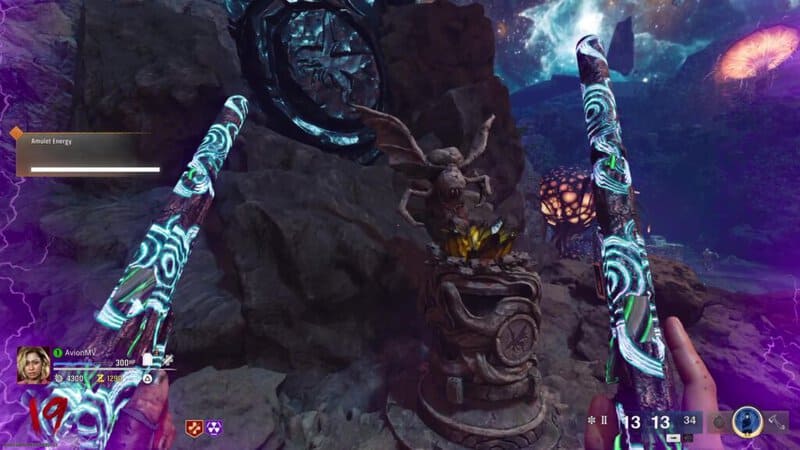
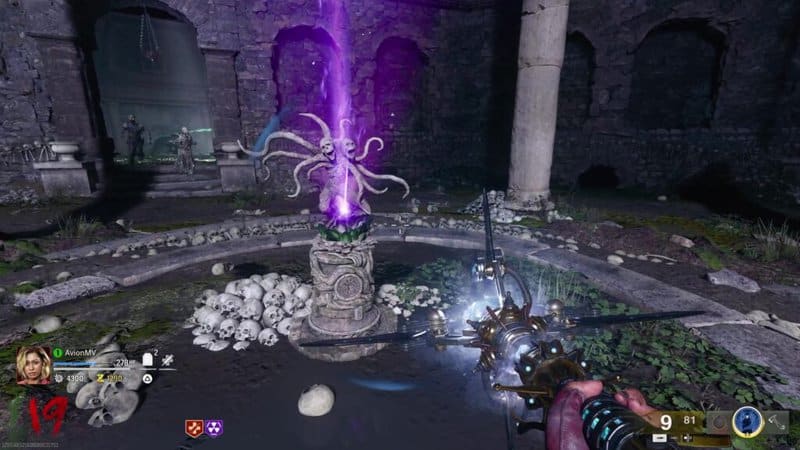
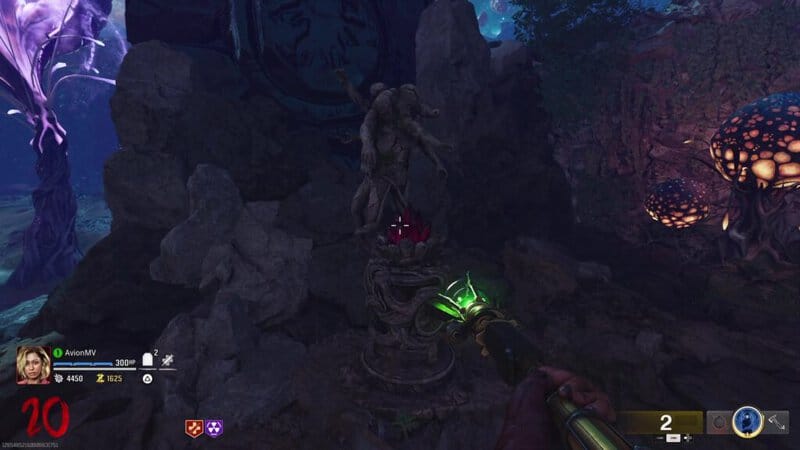
With the Staff and Head Piece, go back to the Dark Aether Nexus and interact with the stone structure at the center of the area. This will place the pieces in the structure. Portals will appear on either side staff and waves of Zombies will start to spawn. Certain Zombies will flow purple and target the staff. You will need to protect the staff and kill the purple Zombies. If the staff runs out of health, you will need to wait until the next round to try again. After you have killed enough purple Zombies, the screen will flash white, the portals will close, and the Staff of Ice will be able to be picked up.
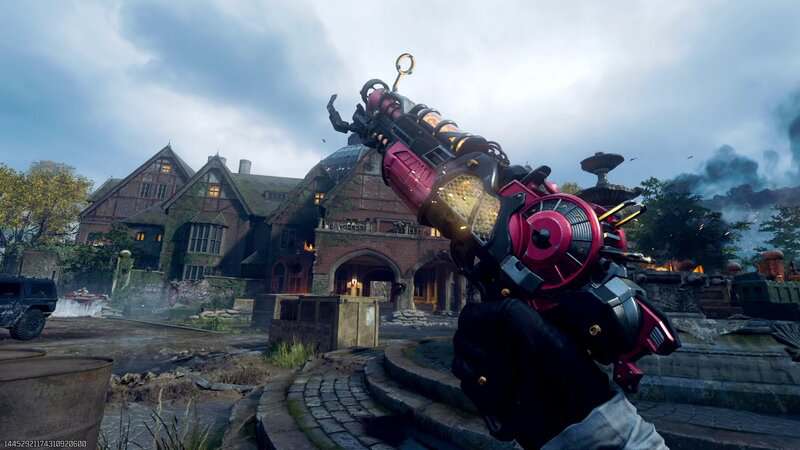
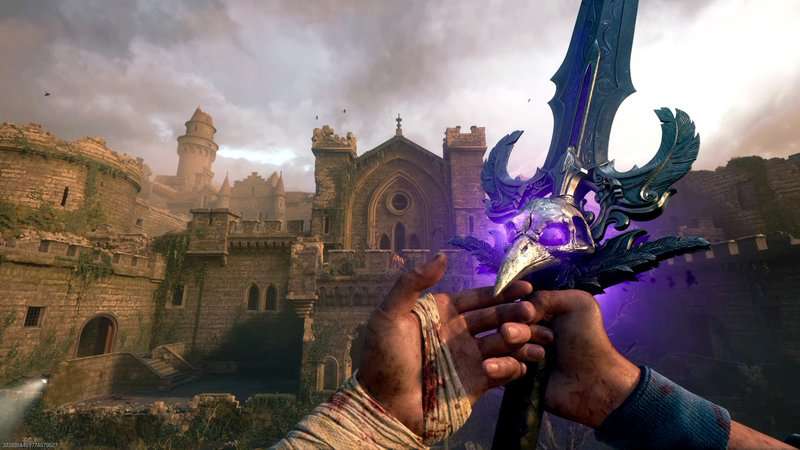
Upgrade the Ice Staff
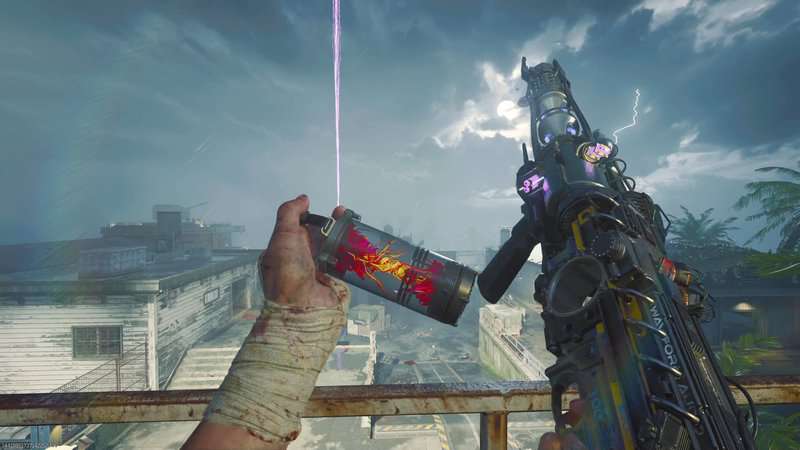
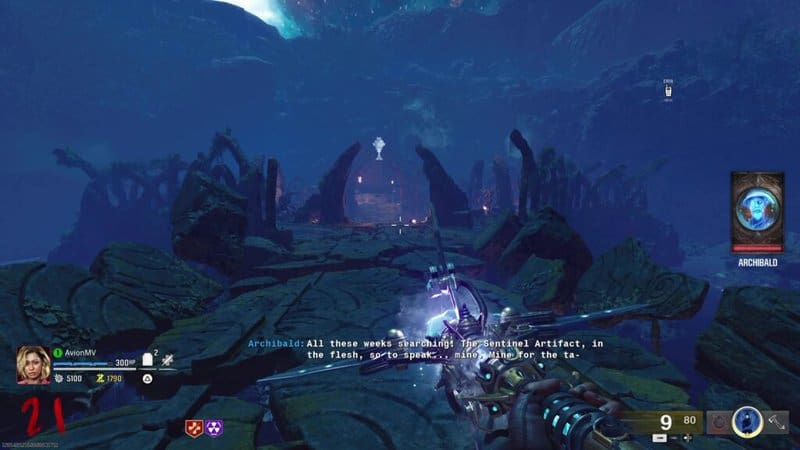
Now that you have the Ice Staff, you will need to upgrade the Wonder Weapon to the Ull’s Arrow. To start this upgrading process, leave the Dark Aether and look for the Aetheric Lanterns found around the map. You will need to freeze 3 of the lanterns very quickly. Shoot 3 lanterns within 10 seconds to complete this step. You will know this has worked when you get a voiceline from Archibald.

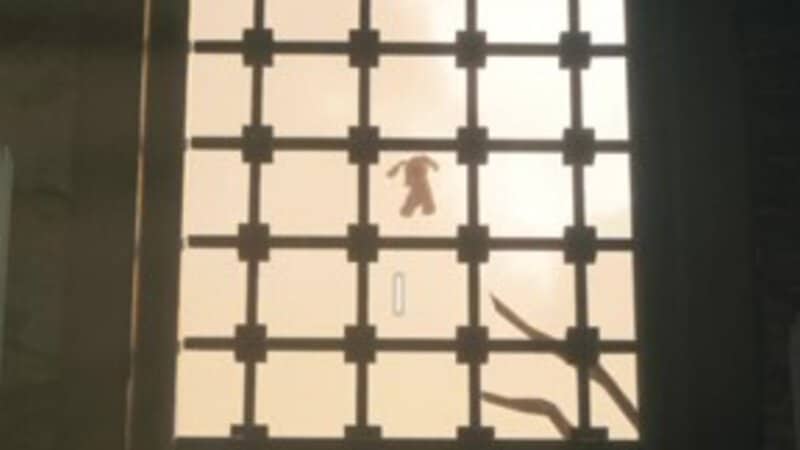
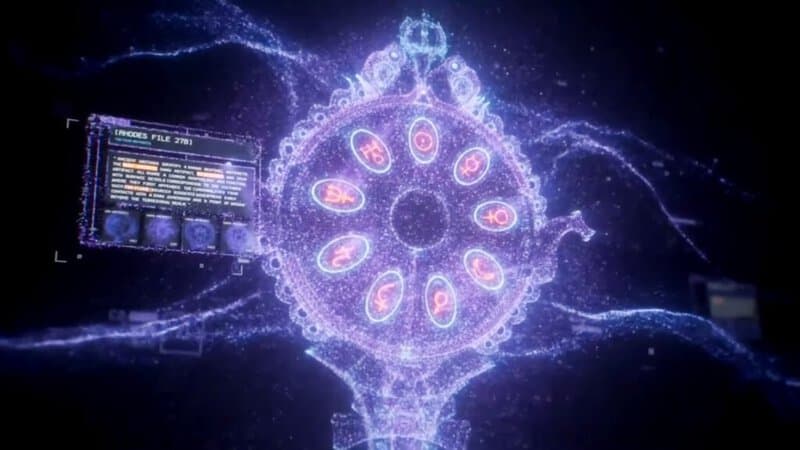
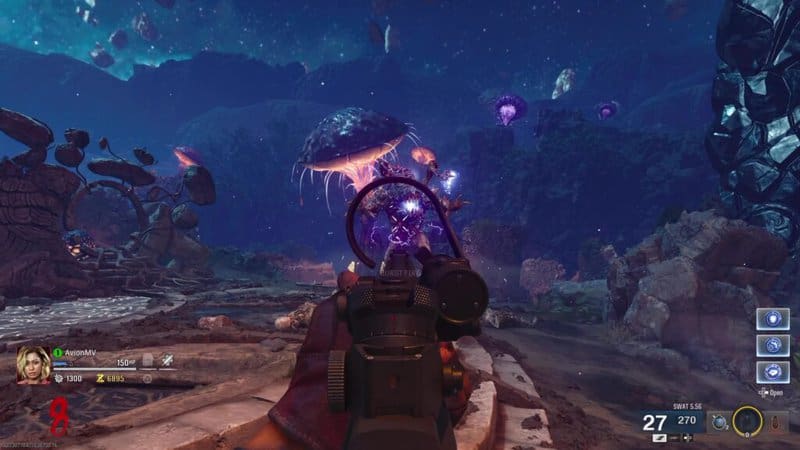
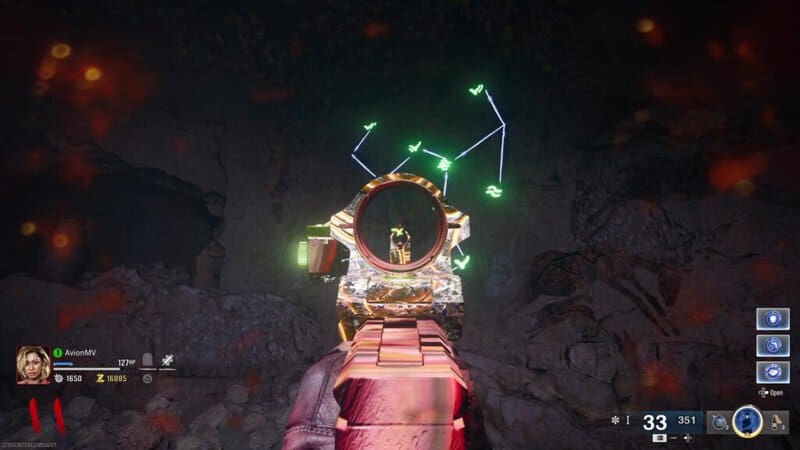
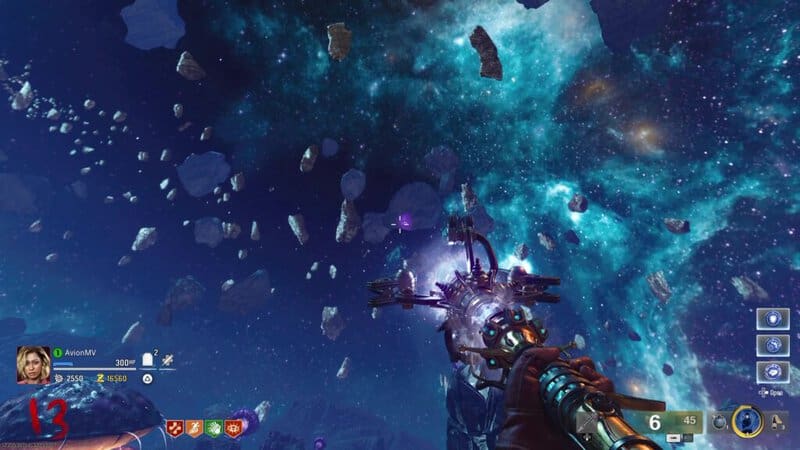
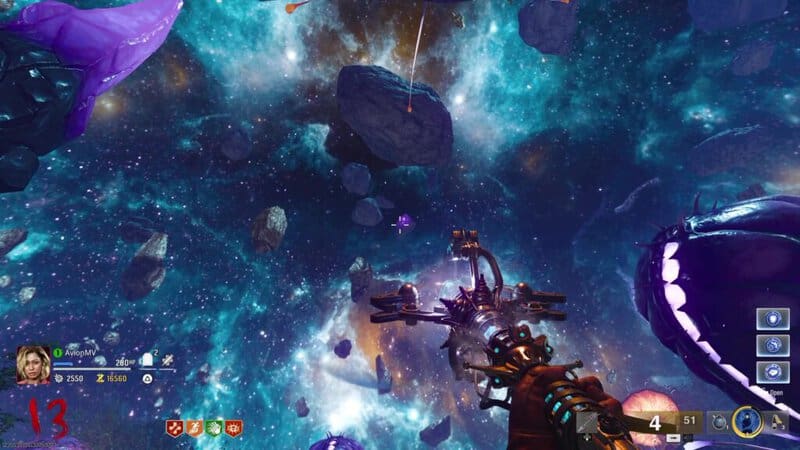
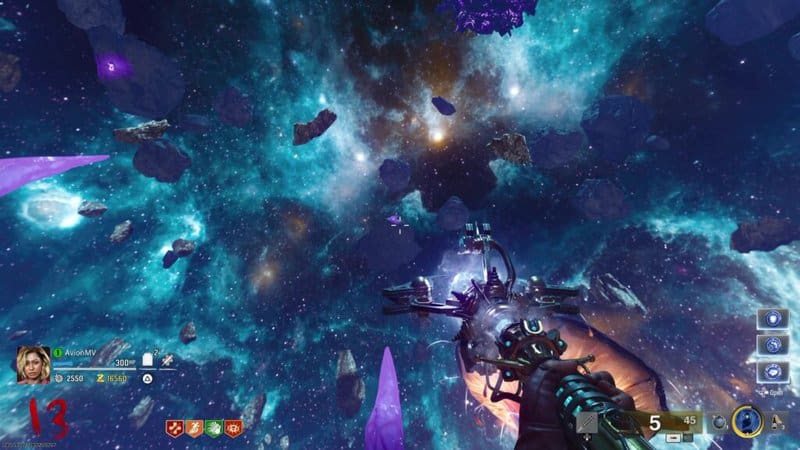
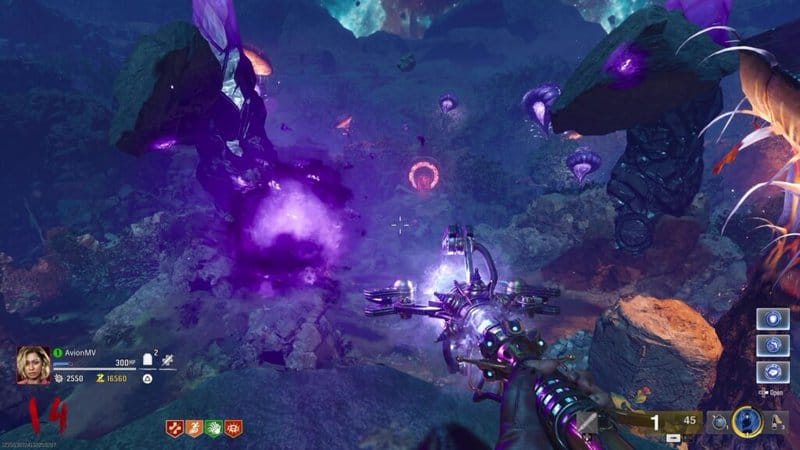
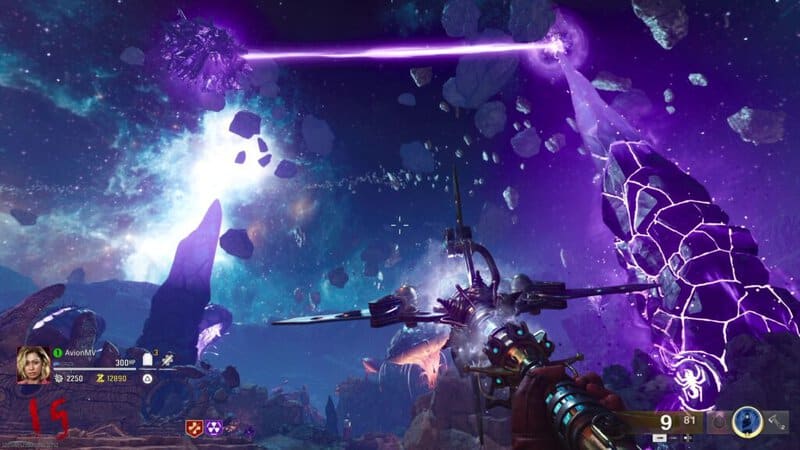
Go back to the Dark Aether Nexus and look at the rocks in the sky. 3 of these rocks will have a glowing purple glyph on them. Shoot these glyphs with the Ice Staff to lower the rocks and get the glyph to glow. Remember each of these symbols because you will need them for the next step.
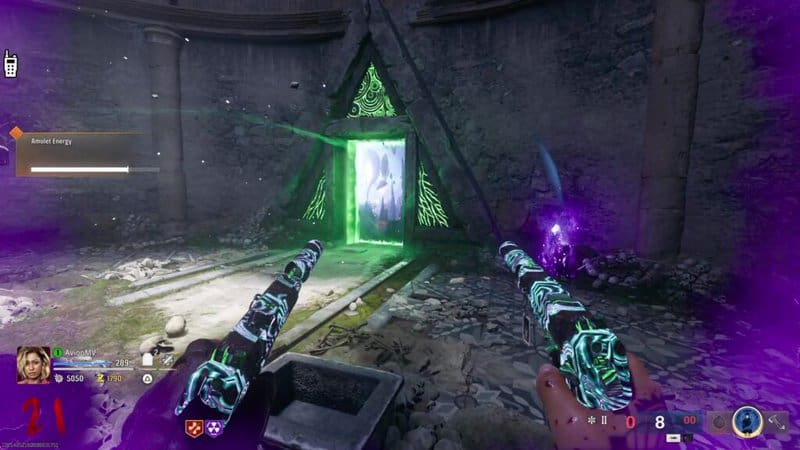
Once all 3 of the glyphs have been shot, one of the portals that connect reality and the Dark Aether will close. Go through one of the open portals and then go to the closed portal to find a set of glyphs on the door. Shoot the symbols that were on the rocks with the Ice Staff and the portal will open. You can shoot the glyphs in any order. You will know that you have entered them correctly if you see the symbols appear on the ground. If you have entered the wrong symbols, you will go through the portal, fall to your death, and will need to try again the next round.
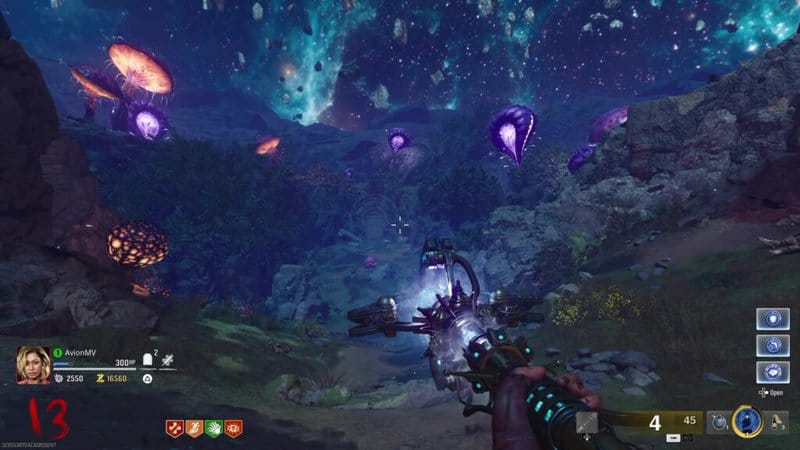

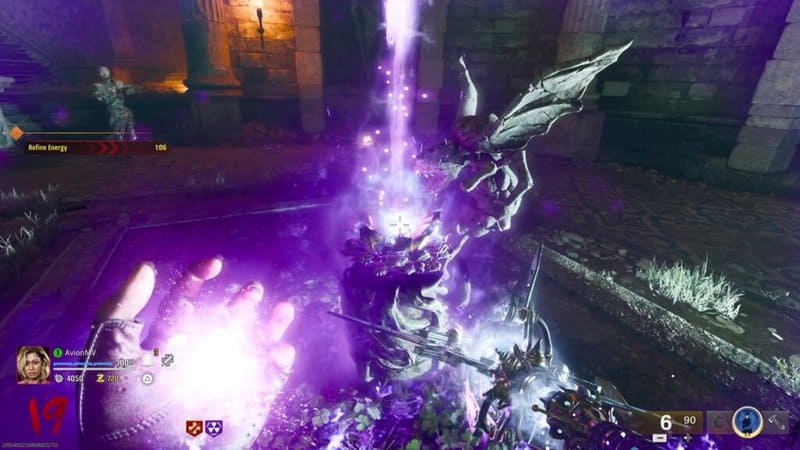
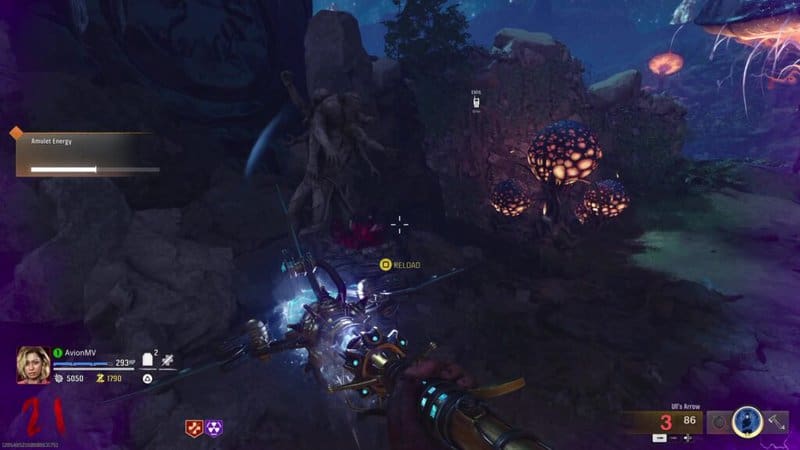
If you’ve shot the correct glyphs and go through the portal, you will appear on a rock above the center of the Dark Aether Nexus. There is a purple orb on this platform. Interact with the orb and you will start an escort of the orb around the Dark Aether. All players will need to stay close to the orb. If any player gets too far from the orb, the escort will fail and you will need to try again next round by finding the portal that closes at the start of the following round and then shooting the glyphs.

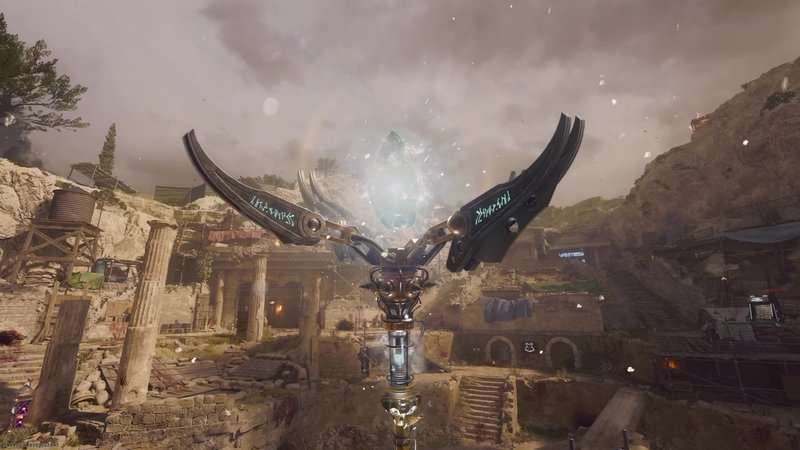
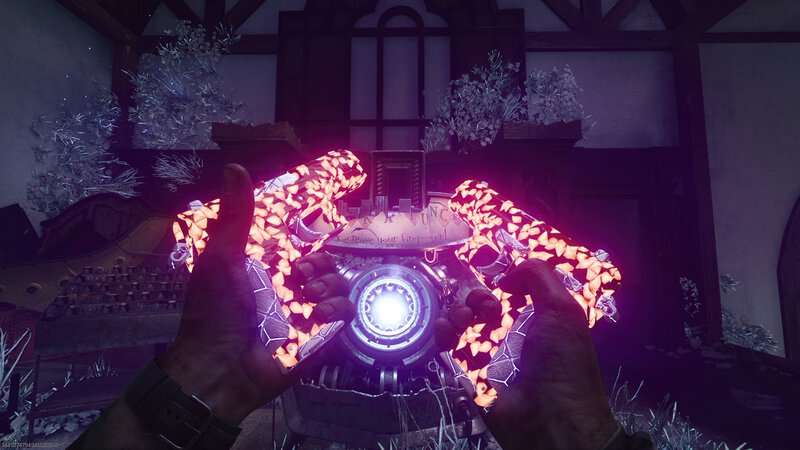
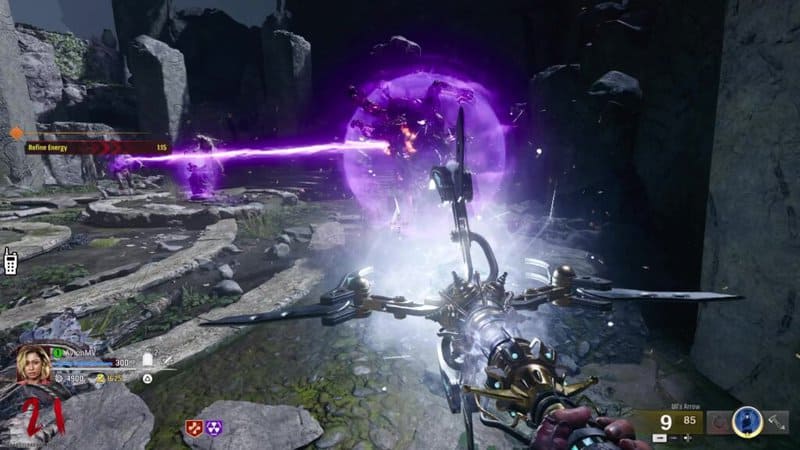
At the end of the escort, the orb will fly into the hole in the center of the stone wall in the middle of the Dark Aether Nexus. Once the orb has entered the hole, interact with it to absorb its power into the Ice Staff. The staff will be upgraded and become Ull’s Arrow.

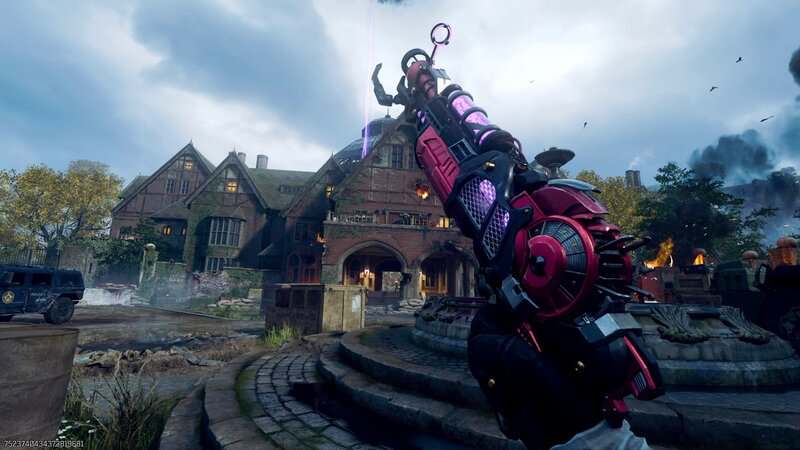
Charge the Altars
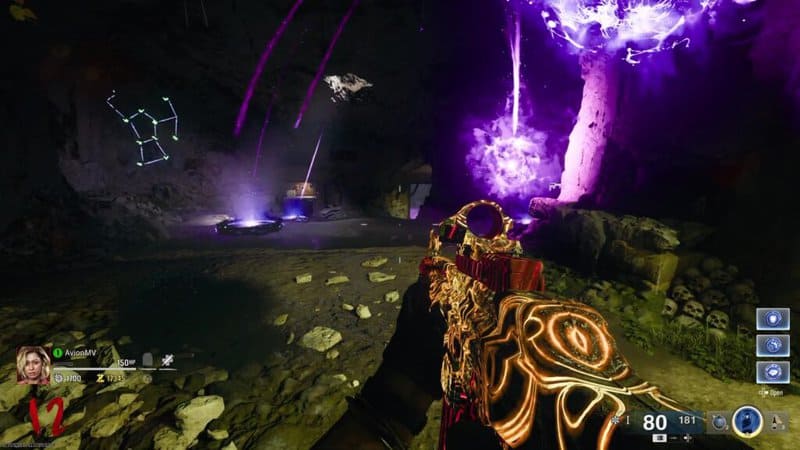
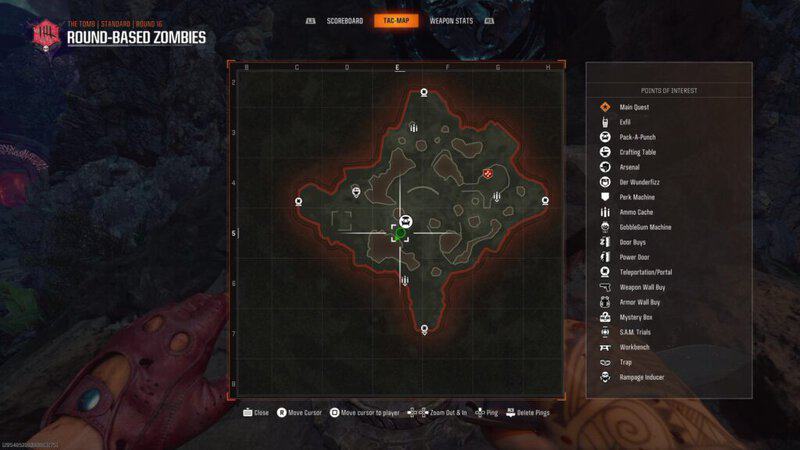
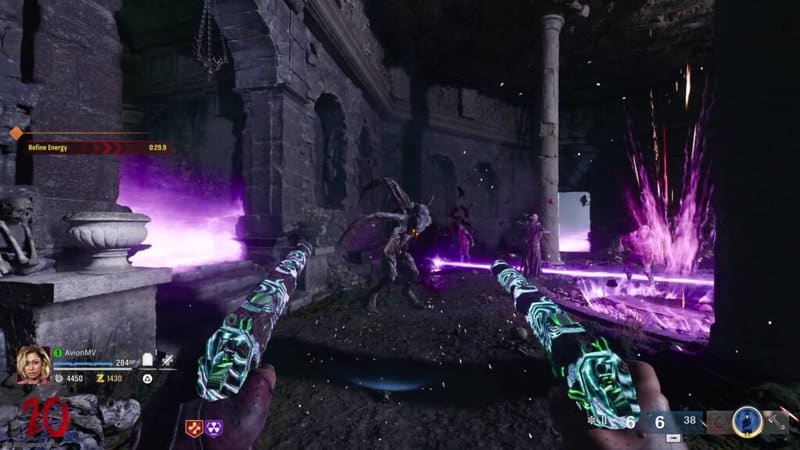
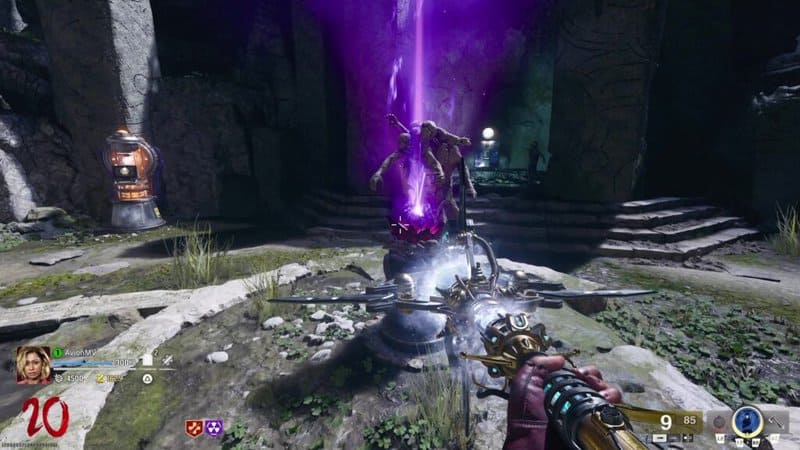
Now that you have Ull’s Arrow, you need to charge 4 altars found around the center of the Dark Aether Nexus. To do this you will need to shoot the altars with the Sekhmet’s Vigor alternate fire mode of the staff and then carry the energy from the Dark Aether Altar to a similar altar in The Tomb, complete a lockdown. You need to do these altars in a specific order and upon completing one, a beam will shoot out from the pillar behind the altar to hit the the Aeterium Crystal above the center of the Nexus.
Vermin
The Vermin altar is found to the southeast of the Nexus center. Shoot the blue crystals in the altar with the Sekhmet’s Vigor. Dark Aether Energy will appear on the altar. Interact with the altar to pick up the energy.
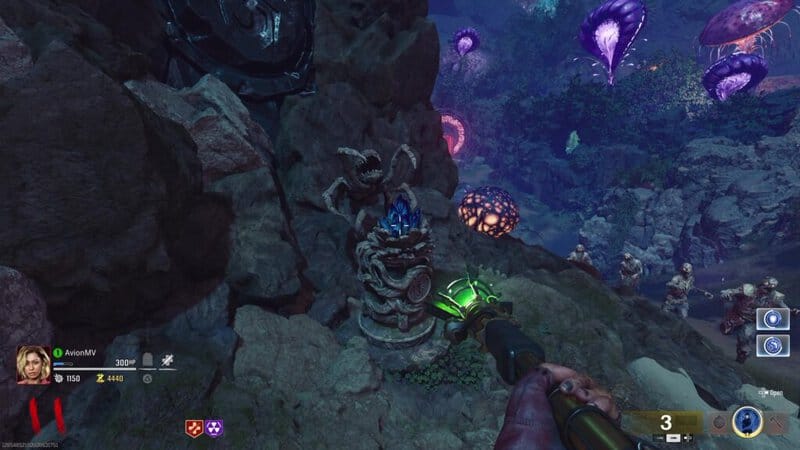
Take this Dark Aether Energy in the Dig Site spawn room and you will find another Vermin altar along the wall in the lower part of the spawn room. Interact with the altar to put the Dark Aether Energy on the altar.
This will start a lockdown where a whole horde of Vermin will spawn. Killing these Vermins will charge the altar. Upon getting enough kills, the screen will flash white and you can now pick up the Dark Aether Energy from the altar.

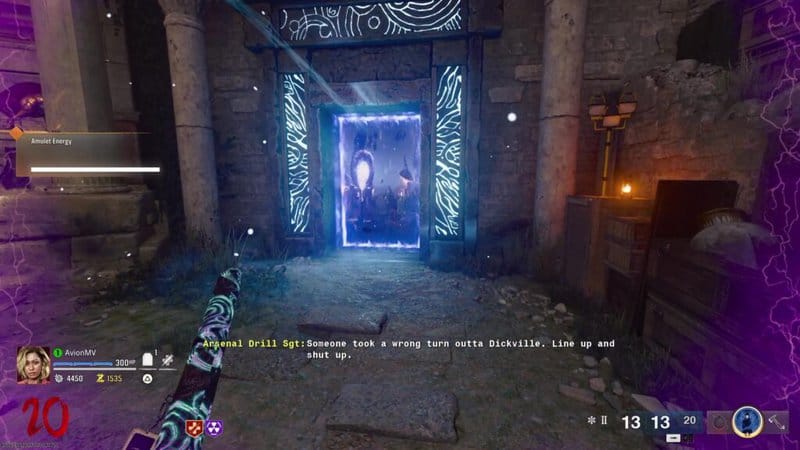
When you pick up the Dark Aether Energy, all the portals to the Dark Aether Nexus will close. The portal that is in the room clockwise from the altar you just completed will now be open. For the Vermin step, it will be the yellow portal in the Shrine of the Hierophants. Just know that you can only be hit by Zombies a few times or the Dark Aether Energy will return to the altar in The Tomb. You won’t need to repeat the lockdown but will just need to go back and pick up the Energy. Use this portal to return to the Dark Aether Nexus and put the Dark Aether Energy on the Vermin altar to finish this step.
Parasite
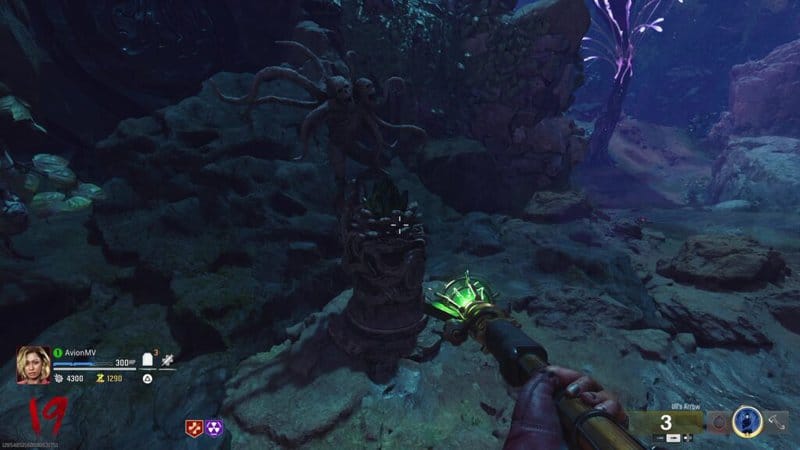
The Parasite statue is found southeast of the center of the Nexus and next to the Pack-a-Punch location. Shoot it with the Sekhmet’s Vigor and take the Dark Aether Energy.
Go to the Shrine of the Hierophants and you will find the second altar in front of the Stamin-Up Perk Machine. Interact with it to put the Energy in the crystal and start the lockdown.
For this step, several purple-glowing Parasites will start to spawn. Kill them and they will drop an orb that you will need to pick up and carry to the altar. Repeat this process until the screen flashes white to complete this challenge.
Pick up the charged Dark Aether Energy and go to the red portal clockwise from the Parasite altar in the Subterranean Temple. Take the energy to the Dark Aether Parasite altar to complete this step.
Doppleghast
The Doppleghast altar is northwest of the center of the Nexus. Shoot the altar with Sekhmet’s Vigor and take the Dark Aether Energy.
Take the Energy to the Ossuary and you will find the second altar in front of the Speed Cola Perk Machine.
Several Doppleghast will spawn while a beam shoots the Elite’s spike attack from the ground. Just keep killing the Doppleghast and when you have killed enough, the screen will flash white and the step will be complete.
Pick up the charged Dark Aether Energy and go to the blue portal clockwise from the Doppleghast altar in the Dig Site. Take the energy to the Dark Aether Doppleghast altar to complete this step.
Amalgam
The final altar is the Amalgam altar to the northeast of the Nexus center. Shoot it with Sekhmet’s Vigor and take the Dark Aether Energy.
Take the Energy to Deep Excavation and you will find the second altar in front of the Quick Revive Perk Machine.
When you place the Energy in the altar, an HVT Amalgam will spawn. While you attack it, it will sometimes be surrounded by a shield that is bound to nearby Zombies. You will need to kill the Zombie to drop the shield and allow you to continue attacking the HVT. Once this Amalgam is dead, the screen will flash white and the step will be completed.
Pick up the charged Dark Aether Energy and go to the green portal clockwise from the Amalgam altar in the Ossuary. Take the energy to the Dark Aether Amalgam altar to complete this step.
With all the altars now charged, 4 beams will be shot at the floating Aetherium Crystal. This means you are now able to enter the boss fight. But before that, it’s time to make sure you are fully prepared.
Prepare for the Boss Fight
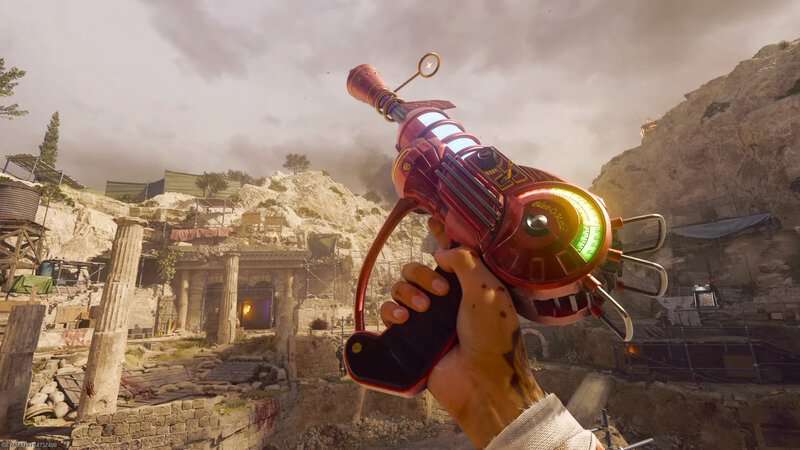
Before entering the boss arena, here are some suggestions for weapons that you will want to make sure you get. The GS45 and Ray Gun will not help you here since the boss won’t take explosive damage so you will need to make sure you have a bullet-based weapon. This boss and the surrounding HVT enemies that spawn during it are very tough so make sure you bring in one of the game’s strongest guns. I suggest the ASG-89 Shotgun since it hits hard and has a quick fire rate. Make sure you have the Rapid Fire or Dragon’s Breath Fire Mod attachment since these will increase the speed the gun fires and increase the damage dealt, respectively. You can only put one of these on but both are good choices so feel free to equip your favorite. Also, make sure you put on the Extended Mag II to decrease the amount of reloading you will need to do when attacking the boss. Another strong option is the AMR Mod 4 Sniper Rifle. When Pack-a-Punched, this weapon gets a very quick rate of fire and deals massive damage. I suggest putting on a low-magnification Optic since you will be engaging enemies in close quarters during the fight. Also, put on the Extended Mag II and the Rapid Fire Mod for the same reasons mentioned with the ASG-89.
Get your weapons to Level 3 Pack-a-Punch and Legendary Tier and bring the Ice Staff as your secondary weapon to help with crowd control. Make sure you get the Perks mentioned at the start of the guide and you are just about ready to go into the fight. If you’re willing to try a dangerous Easter Egg for a little extra help, you can do the Blood Sacrifice Easter Egg to get the Golden Armor Vest which will recharge your armor for free.
With all that said, it’s time to talk about the boss.
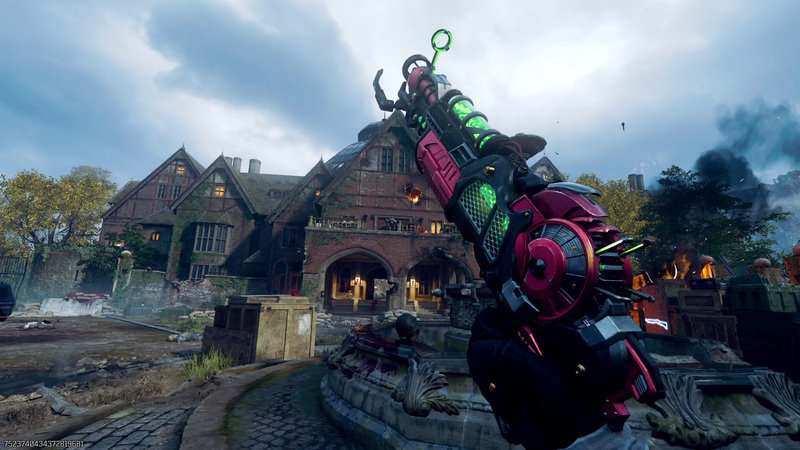
Sentinel Artifact Boss Fight
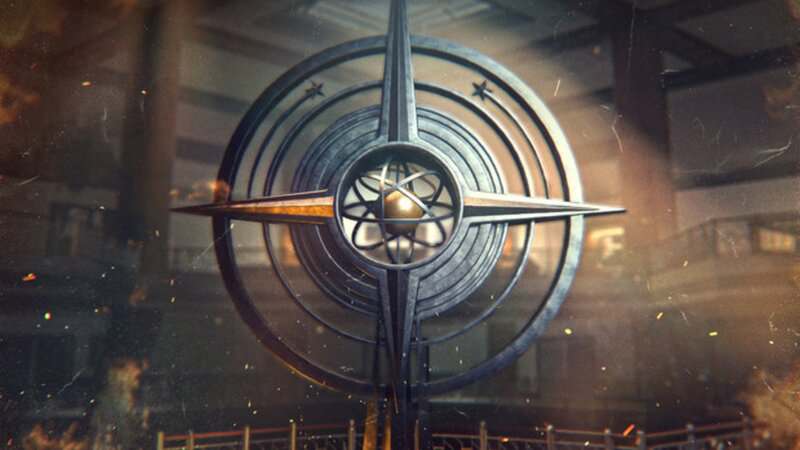
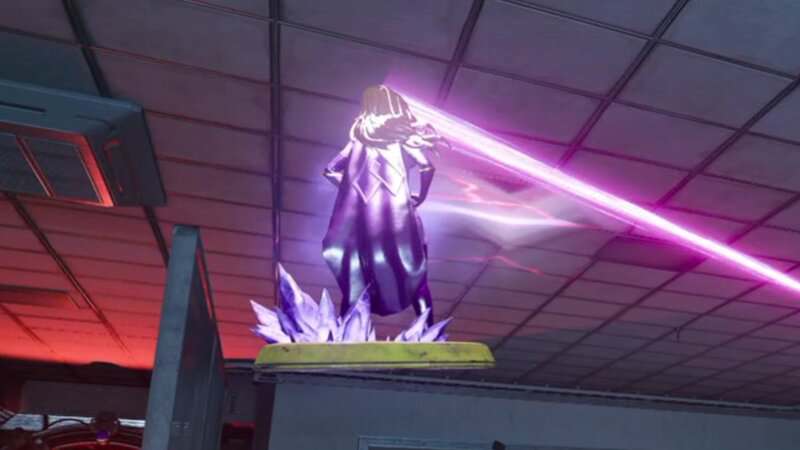
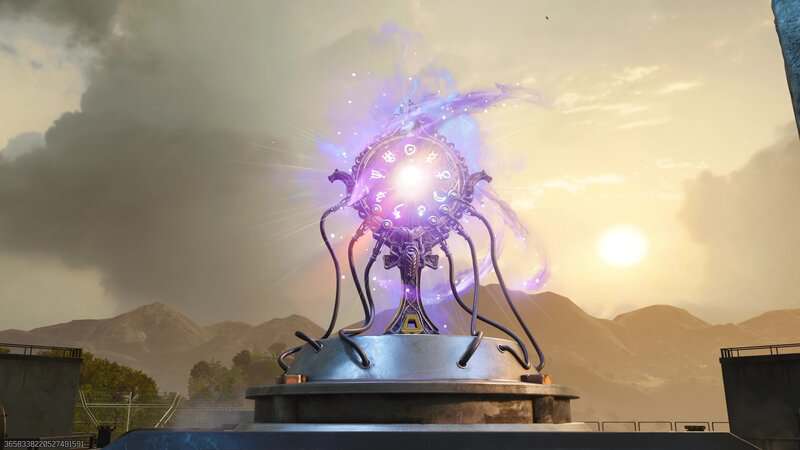
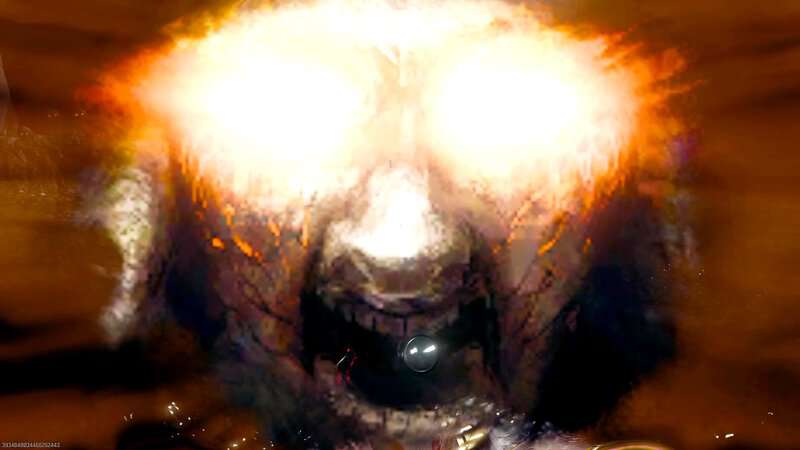
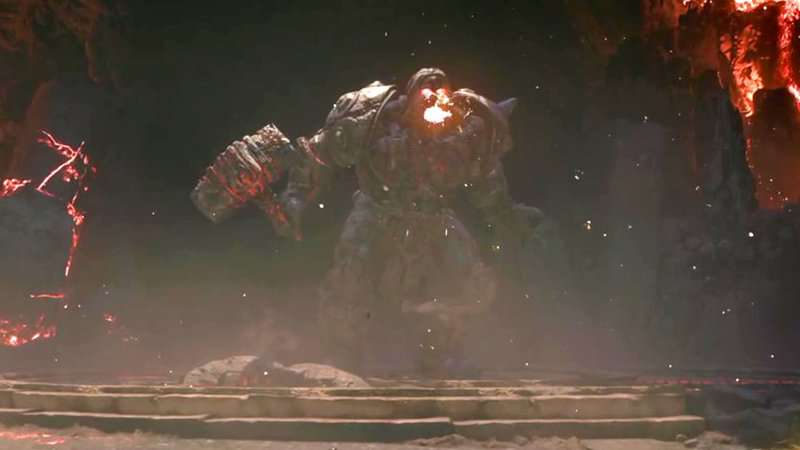
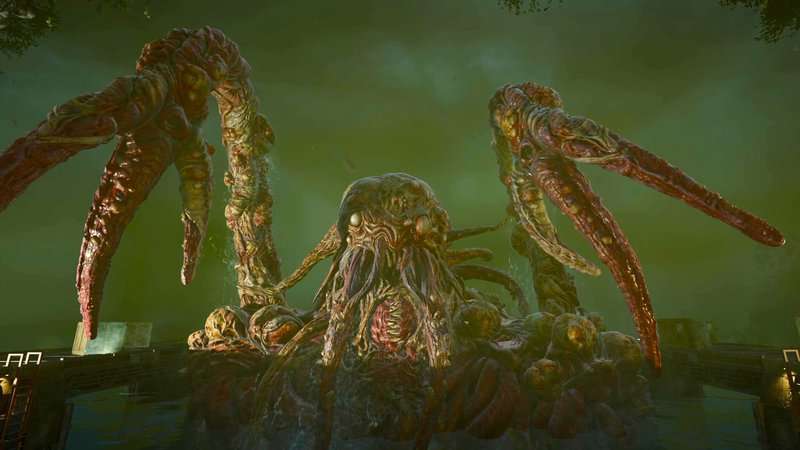
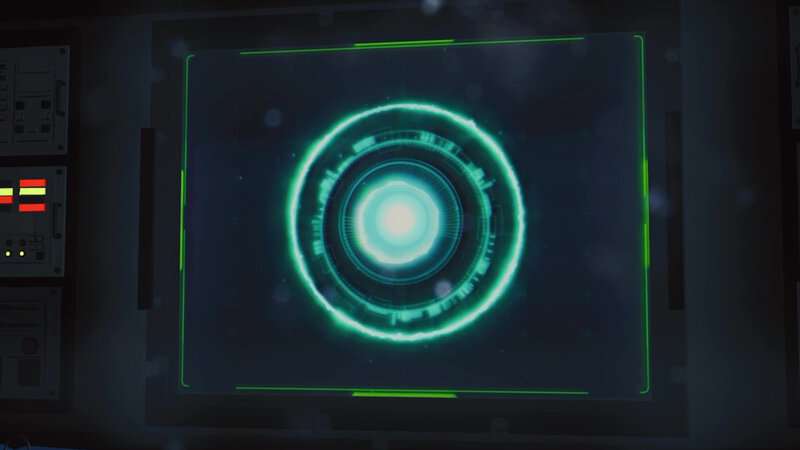
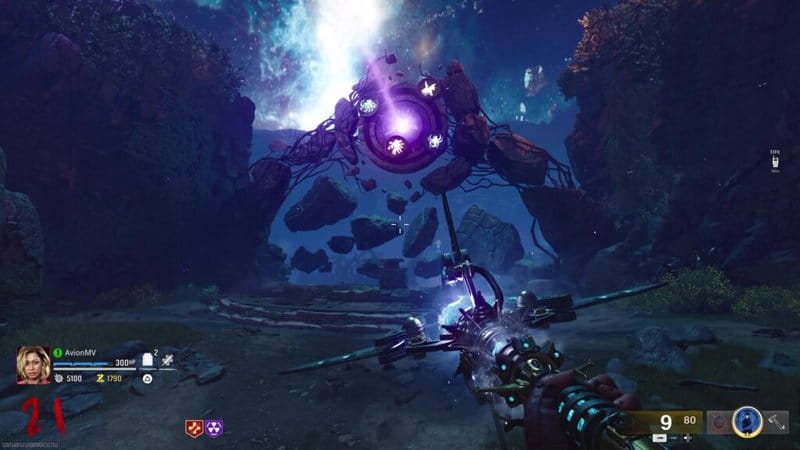
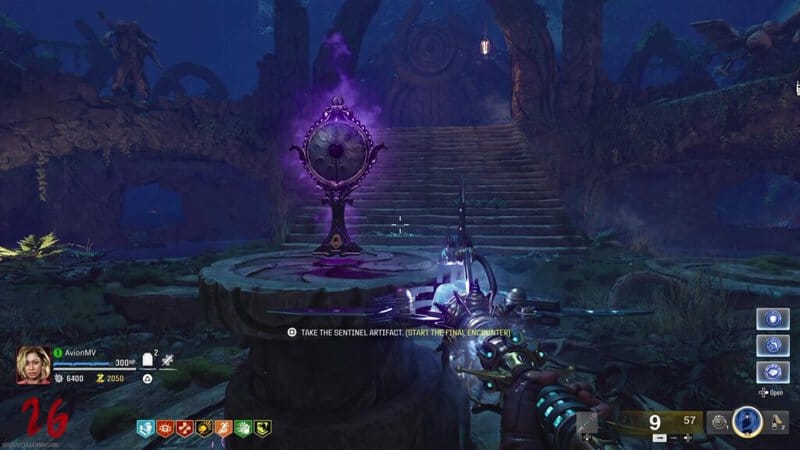
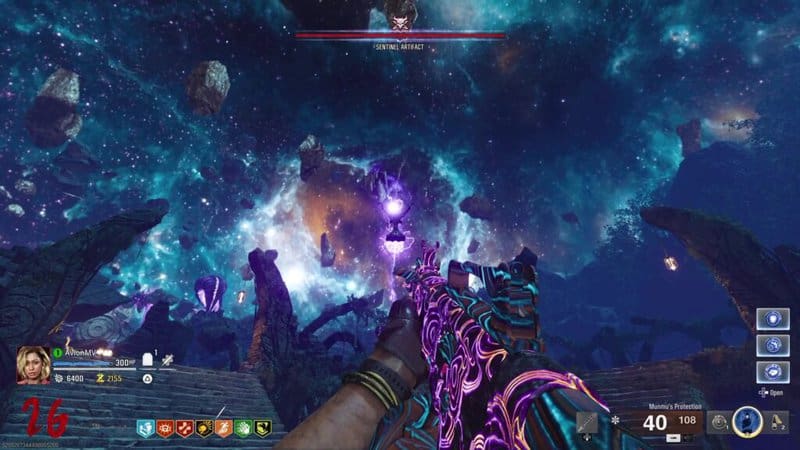
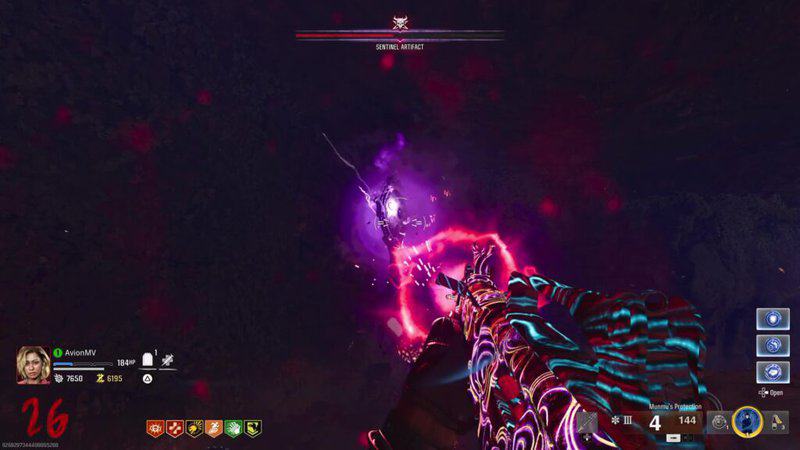
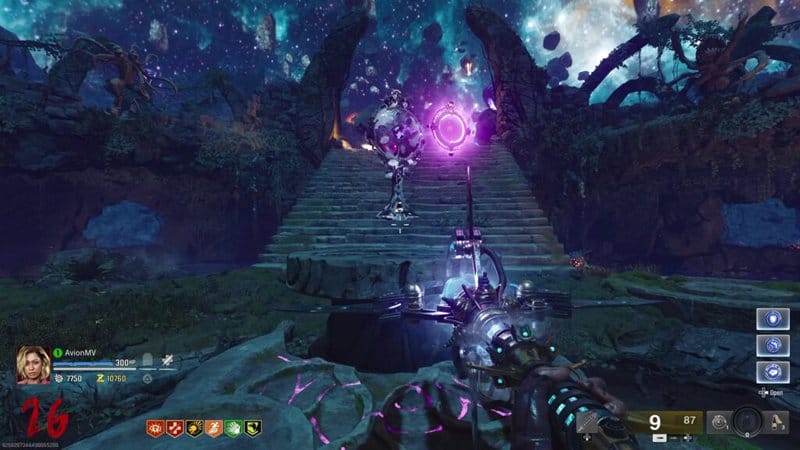
The Aetherium Crystal will fire a laser at an archway in the northeast corner of the Dark Aether Nexus and light up a circular crest above an altar. Interact with the altar to reconstruct the bridge and create a path to a small area beyond the Nexus area. In the center of this area is the Sentinel Artifact. Interact with the artifact to start the boss fight.
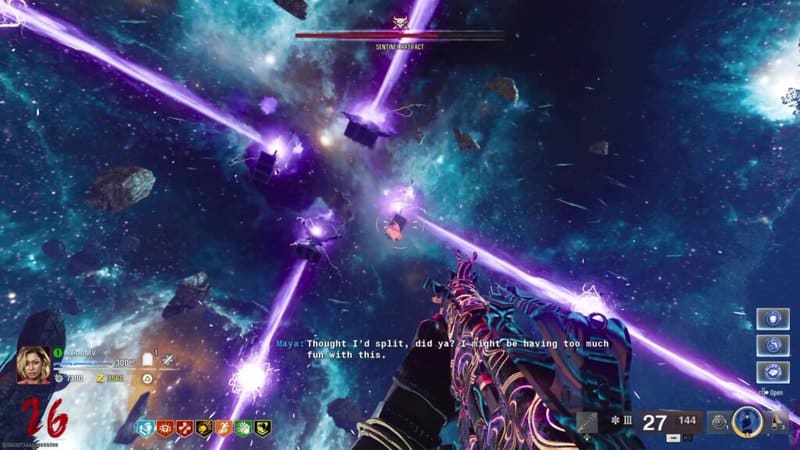
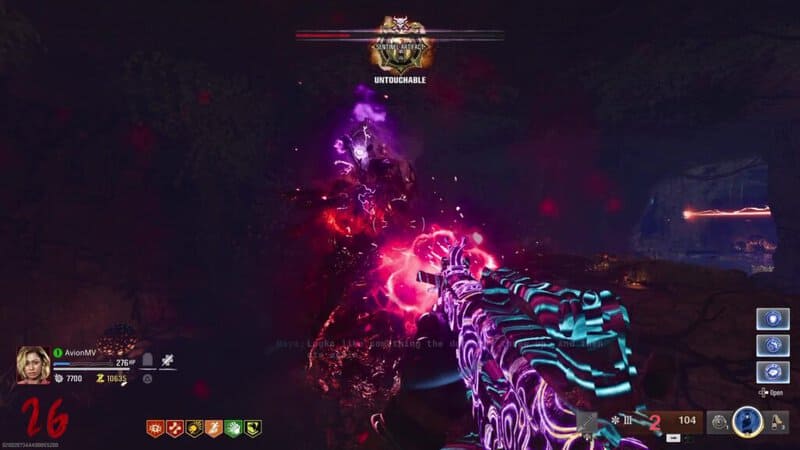
The Sentinel Artifact will become hostile and you will be stacked with stopping it. The Artifact will become translucent and glow red, flying around in a circle while shooting a beam. This beam will deal massive damage to you if you get hit and will also greatly slow you down for a few seconds, leaving you open for Zombies to finish you off. I suggest you stand near the altar that the Artifact was on and crouch since the laser won’t hit you and just keep shooting Ice Storms at the ground to take care of the Zombies. Eventually, the Artifact will stop moving and will aim at one of the Elite enemy statues found at each corner of the arena. The Artifact will then become solid again and start to push a small purple orb toward the statue it is aiming at. If the orb reaches the statue, a wave of those Elite enemies will spawn so you need to stop it. Put down an Ice Storm to protect yourself and then target the Artifact. If you deal enough damage, the Artifact will explode and take out a chunk of its health bar.

When you break the Artifact, it will duplicate into two Artifacts. These Artifacts will repeat the same process of spinning and shooting lasers. Go back to the altar and just keep shooting the ground with the Ice Staff. When the Artifacts stop, you will have a chance to attack both of them. When you break an Artifact, a third one will appear and you will get a Max Ammo on the altar. This should lead to a third phase with 3 Artifacts but if you do this quick enough, you can break both Artifacts in a single go and skip a phase. If both are broken, there will now be 4 Artifacts.
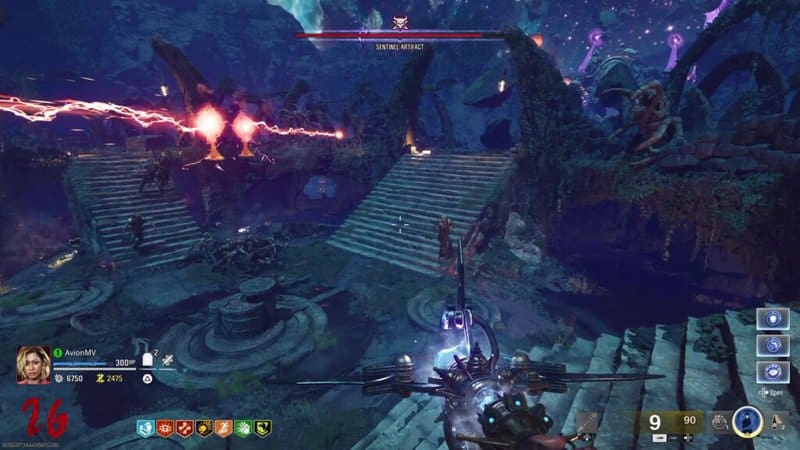
Repeat the same thing you’ve been doing and wait for the 4 Artifacts to become targetable. You can only break one of these Artifacts since the other 3 will become translucent to move on to the fifth phase. This means 3 Elite enemy waves are going to spawn so I suggest you target the Artifact that is aimed at the Amalgam statue just to avoid having to fight that enemy. A Max Ammo will spawn on the altar.
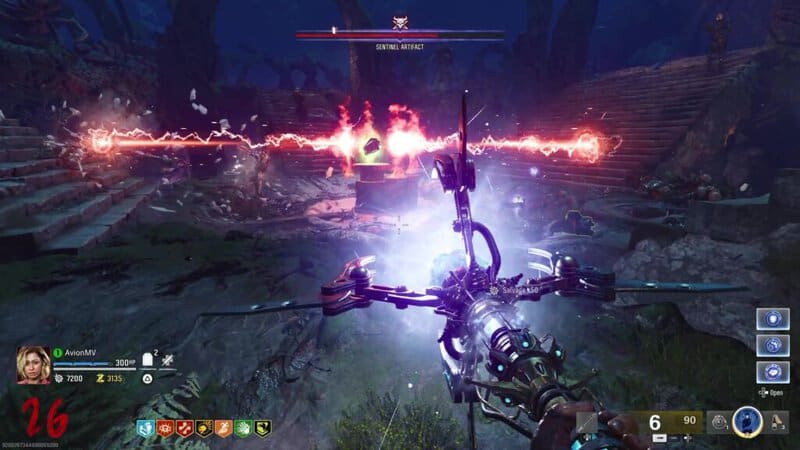
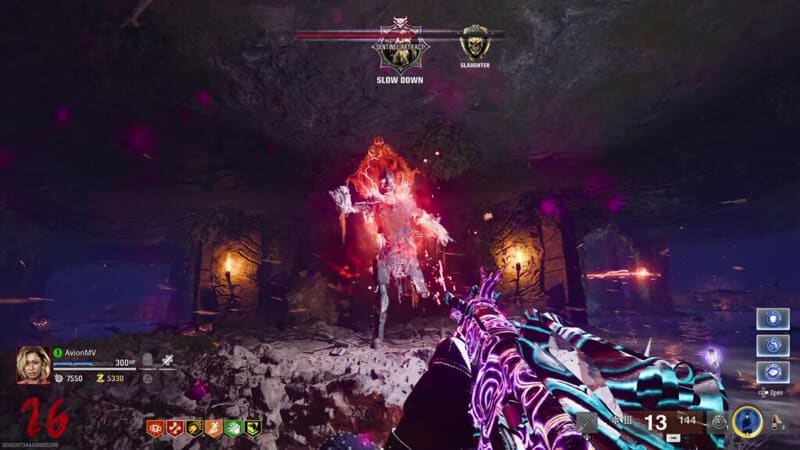
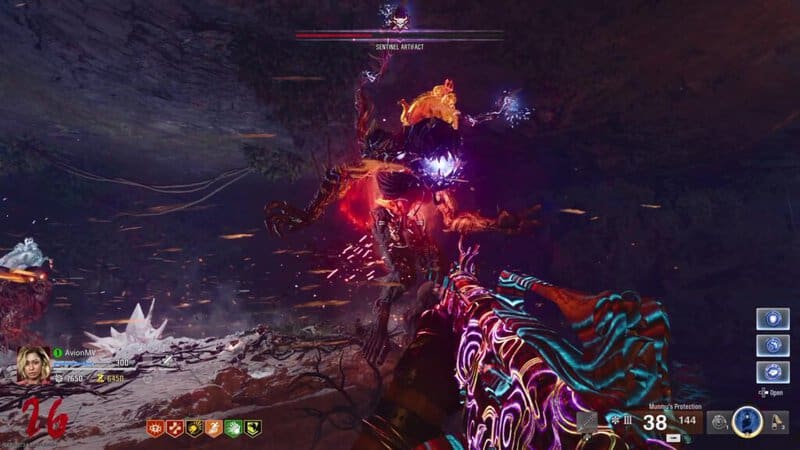
The Artifacts in the center will no longer become solid even when they aim at statues. Instead, the fifth Artifact will attach itself to an HVT armored Zombie. Since you don’t need to worry about the circling Artifacts, I suggest setting yourself up in the underground parts of the arena to avoid the lasers and get the enemies to more easily funnel towards you. To attack the Artifact, you need to defeat this enemy. The armored Zombie can down you in just two hits and will affect you with the same shock effect as the other Artifact lasers. Use the Ice Staff to slow down the armored Zombied and then switch to your other weapon and lay into the enemy. Once the enemy is dead, break the Artifact and a sixth one will spawn. A Max Ammo will spawn on the altar.
The Artifact will now bind itself to an HVT Doppleghast. The Ice Staff won’t slow down this enemy so make sure to use your Field Upgrade if you find yourself getting overrun by the enemy. Take down the Doppleghast and break the Artifact to advance to the next phase. A Max Ammo will spawn on the altar.
The next enemy the Artifact bounds itself to is an HVT Shock Mimic. Use the same strategy mentioned above and then target the Artifact once the Mimic is dead. A Max Ammo will spawn on the altar.
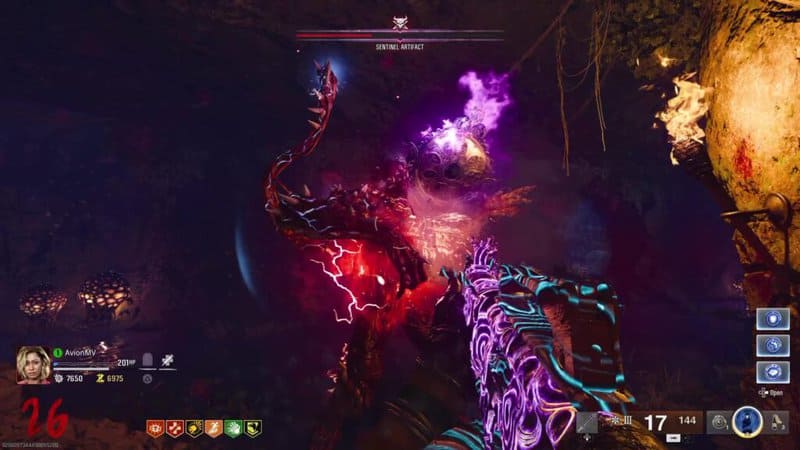
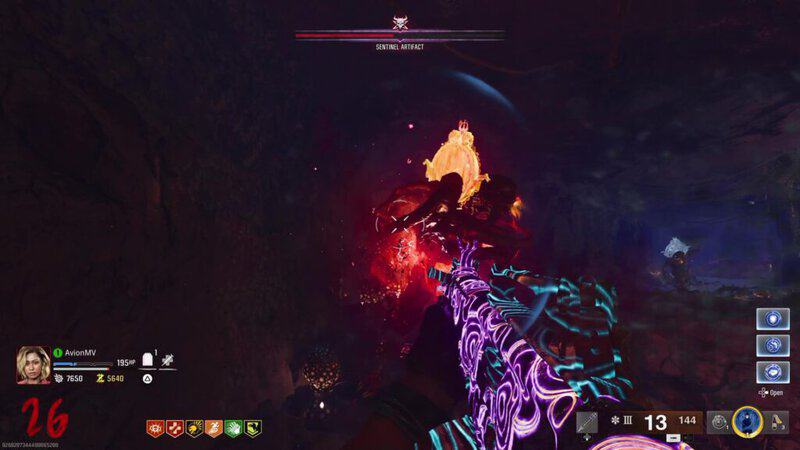
The final enemy the Artifact bounds to is an HVT Amalgam. This is the most dangerous enemy so be ready to use everything you can from equipment to Gobblegums to Field Upgrades. Defeat the HVT and take out the Artifact to enter the last phase of the battle.
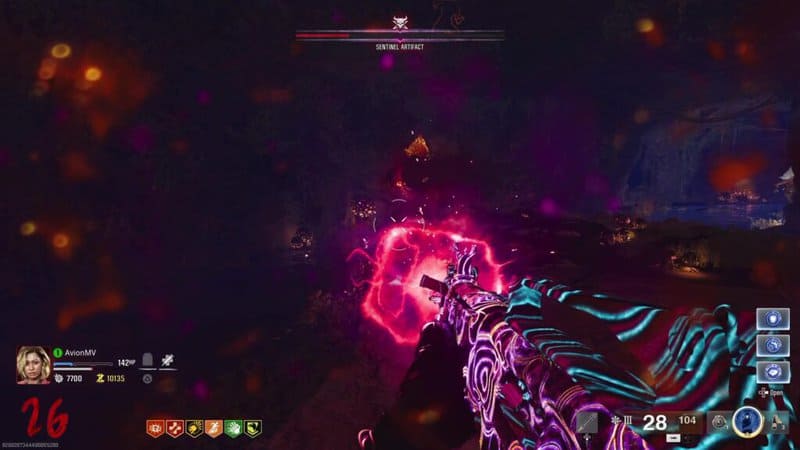
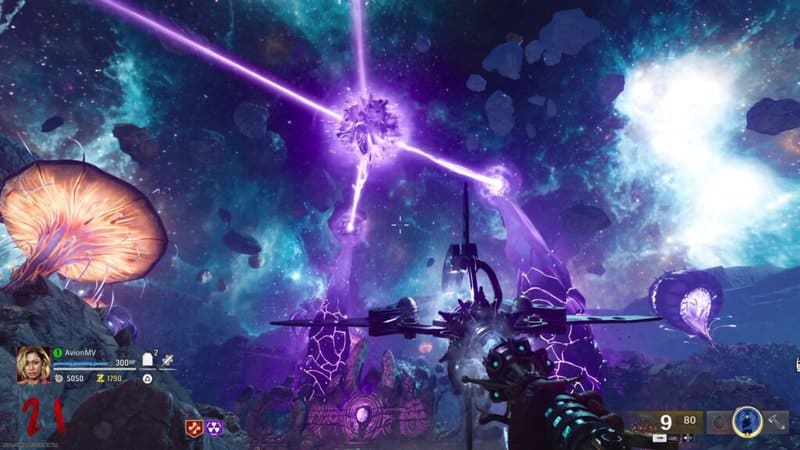
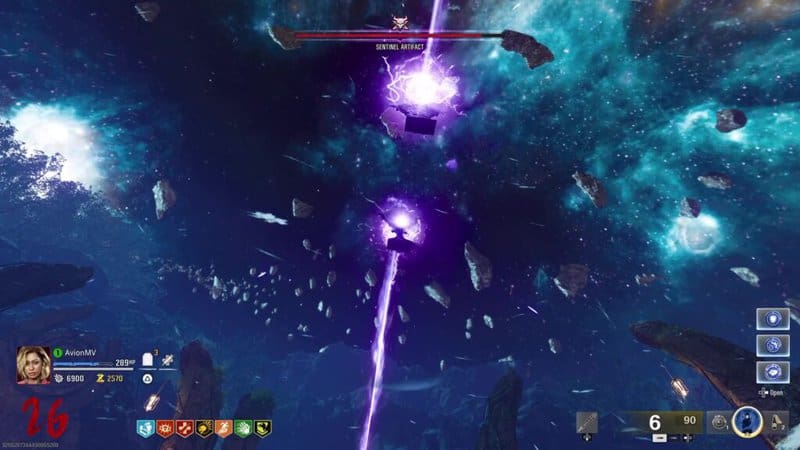
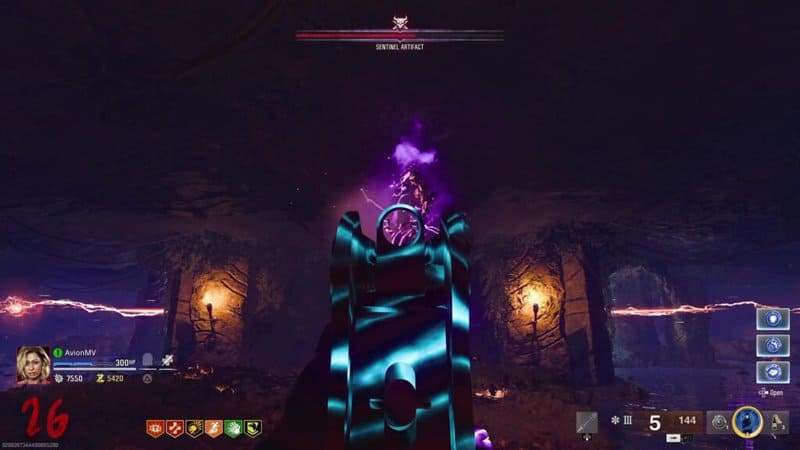
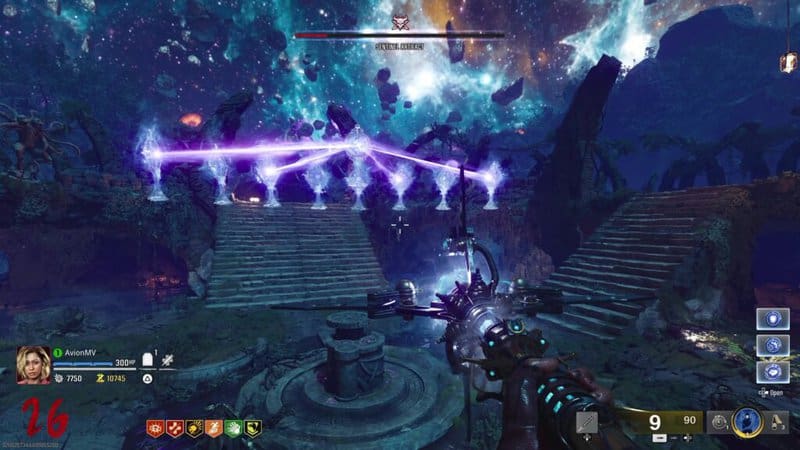
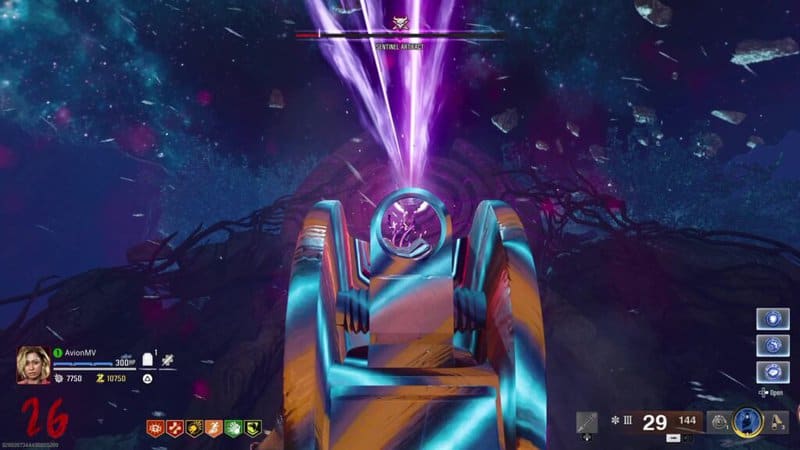
All enemies will die and the Sentinel Artifacts will line up around the altar. All 8 of them will shoot a beam that joins together into one true Sentinel Artifact. It will fly into a slot above a door that is opposite the arena’s entrance. The beams will start to charge the Artifact and you will need to take out the remainder of the health quickly. If you don’t do it fast enough, the Artifact will let out a blast that will down all players, instantly ending your run. Put down a few Ice Storms and use Field Upgrades or Gobblegums you still have and just pump the Artifact full of damage.
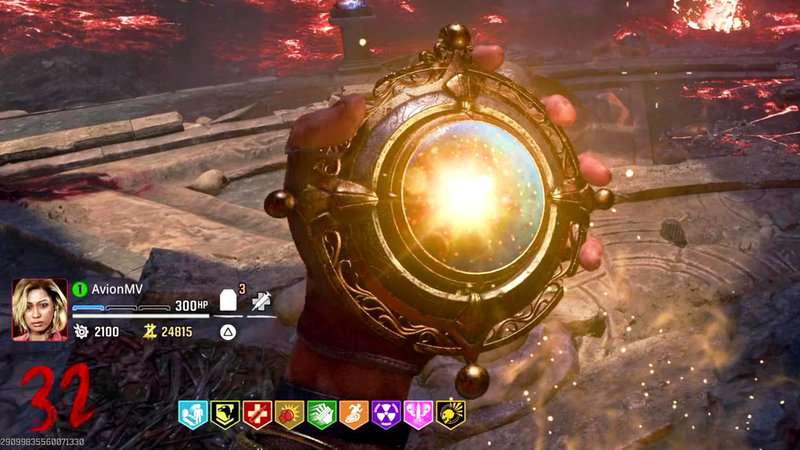
When the boss is defeated, The Sentinel Artifact will float back down to the altar. Interact with it to place the Obscurus Altilium next to the Artifact. The two items will merge together. Interacting with this item will officially complete the Easter Egg.
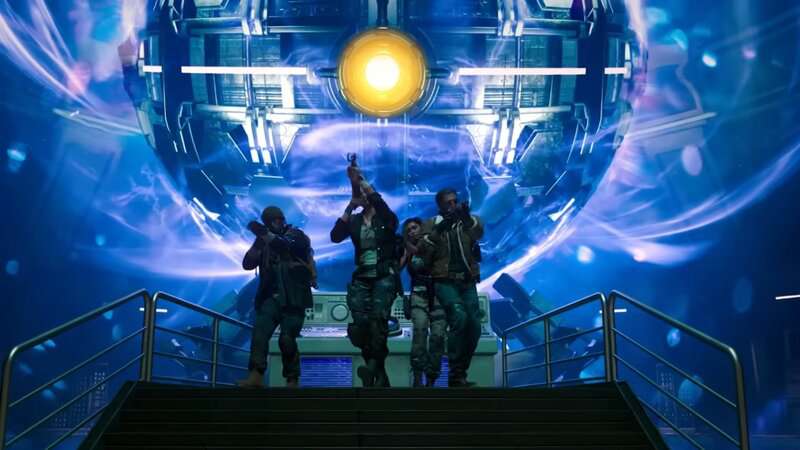
Picking up the Sentinel Artifact will play the ending cutscene which teases the location of the next map in the Dark Aether story. When the cutscene, concludes. You can choose to leave the match immediately or continue to play. Returning to the game of The Tomb will reward you with Points, several Legendary Tier weapons, Legendary Aether Wrenches, Flawless Aetherium Crystals, and all the Perks in the game.
You can complete The Tomb Main Quest Easter Egg in Black Ops 6 Zombies. Stay tuned to Gameranx for more news, updates, and guides for Black Ops 6 as well as other great games in the future.