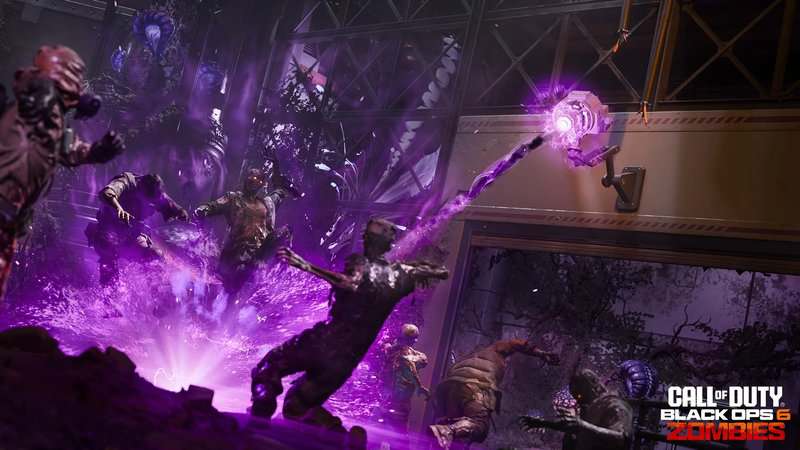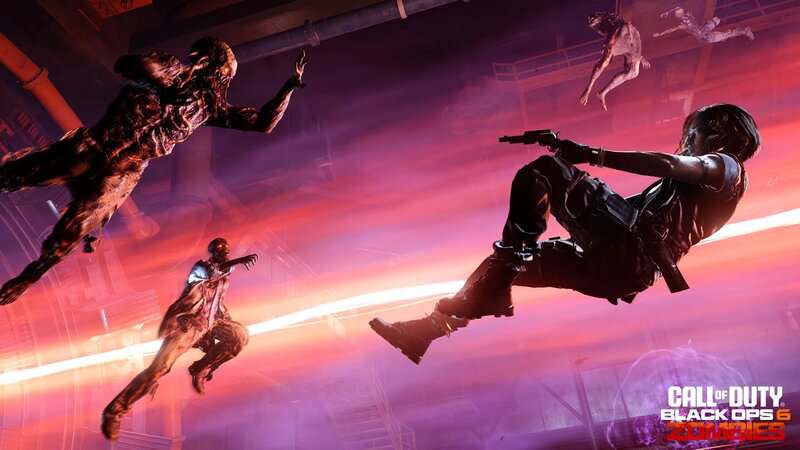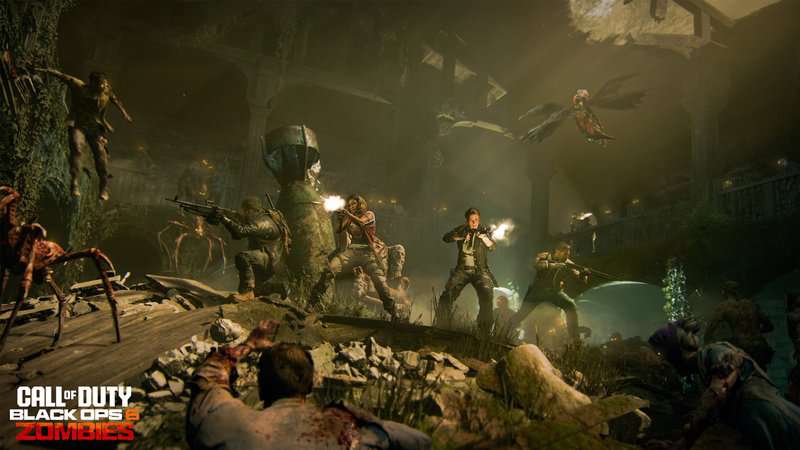
The ending of Reckoning in Black Ops 6 Zombies has two different boss fights that players can choose to fight against. If players decide to help Richtofen get his family back and try to redeem their past mistakes, then the rogue A.I. S.A.M. will be the final boss of this year’s Zombies experience. This flying orb can be deadly, so players will want to know what weapons to use and how to avoid her attacks if they hope to defeat our crew’s former friend. This guide will show players how to beat the S.A.M. Boss Fight on Reckoning in Black Ops 6 Zombies.
How to Beat The S.A.M. Boss Fight On Reckoning
Before starting your run at the S.A.M. boss fight on Reckoning, it’s important that I lay out a few things you should make sure you equip in the pre-game lobby. You will want to make sure you have some good Augments equipped to your Perks and Field Upgrade to make the game and especially the final boss fight easier.
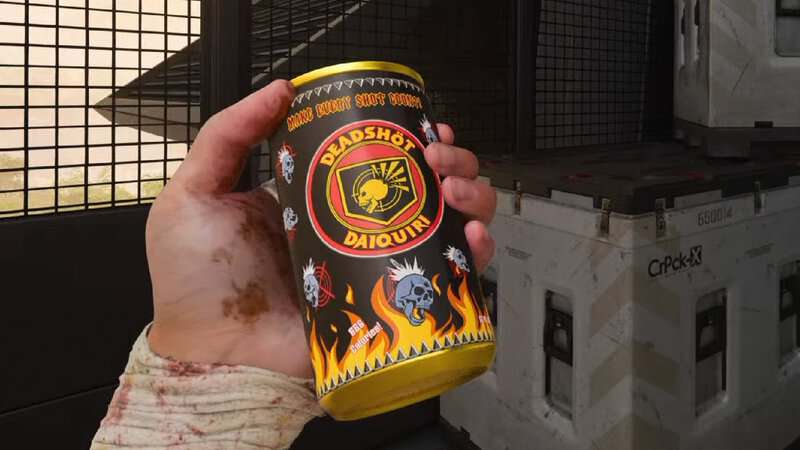
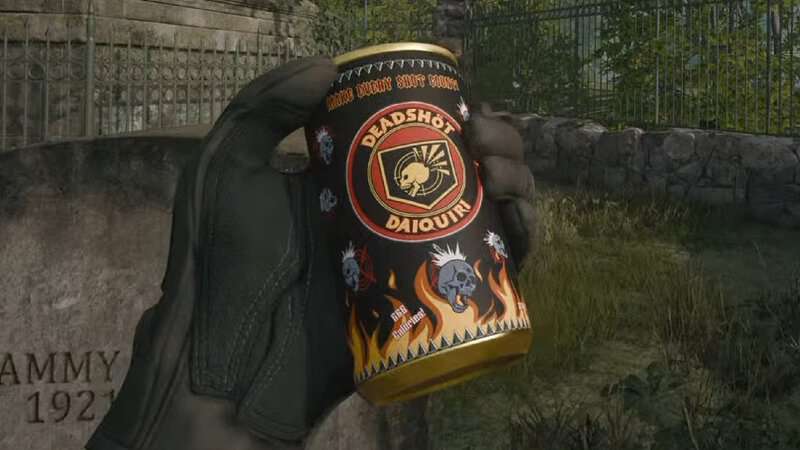
Juggernog is a Perk you are going to get every game of Reckoning, not just when you’re running the Easter Egg. The Probiotic Major Augment for Juggernog is one of the most important ones for you to get an extra 50 HP. Deadshot Daiquiri is also a great choice to get extra damage on those critical attacks. Use the Dead Head Major Augment to get even more critical damage and the Dead Break Minor Augment to increase damage to armor plates.
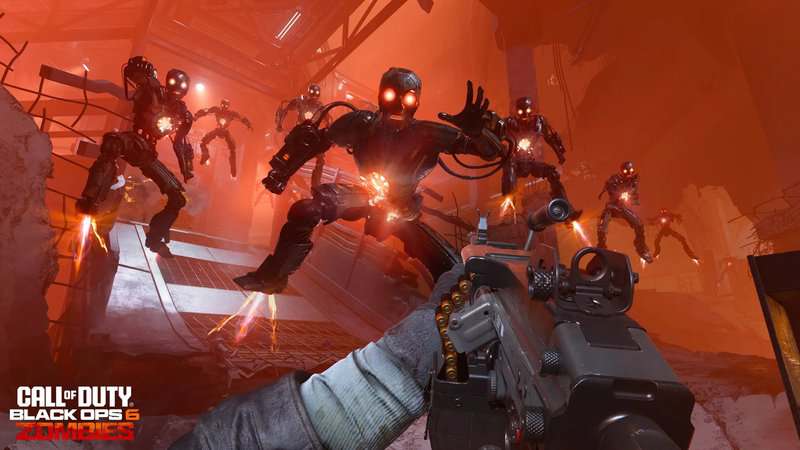
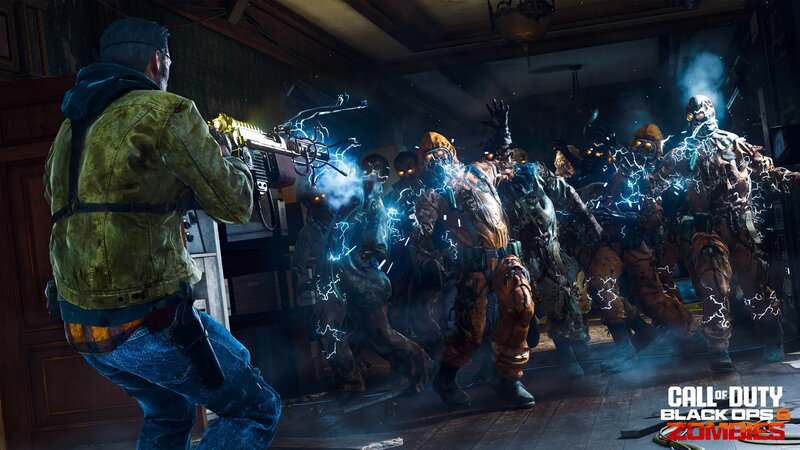
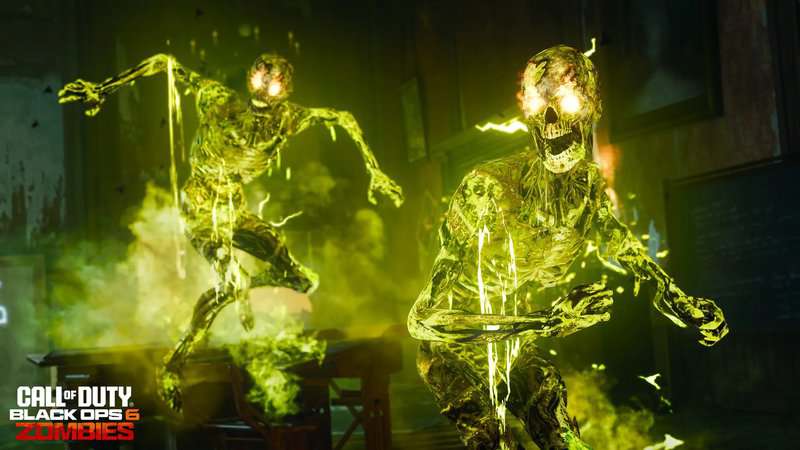
S.A.M. uses several attacks that you will need to be moving around to dodge along with a lot of super-sprinting Zombies acting as her adds in the battle. All of her attacks are projectiles as well, so that means Stamin-Up is really useful. This perk is already great for increasing your movement speed but the right augments can make this perk invaluable. The Dasher Major Augment will give you a longer Tactical Sprint Duration. Couple that with the Hard Target, the Minor Augment that decreases projectile damage while you’re tactical sprinting, and you will be able to run through many of the boss’s attacks without worrying about going down.
Speed Cola’s Supercharged Major Augment is great here since it will charge your Field Upgrade faster. Field Upgrades are important for both fights, but especially the Rictofen fight, so this Augment is really useful, making the perk a must-have even if you use a weapon that doesn’t need to be reloaded. For the Minor Augment, I suggest Quick Swap to increase weapon change speed. Whether you use the Wonder Weapon for crowd control and need to quickly switch to your other weapon to damage the boss or decide to get two powerful weapons to fight the boss and need to switch between them instead of reloading, this Minor Augment is great for both approaches.
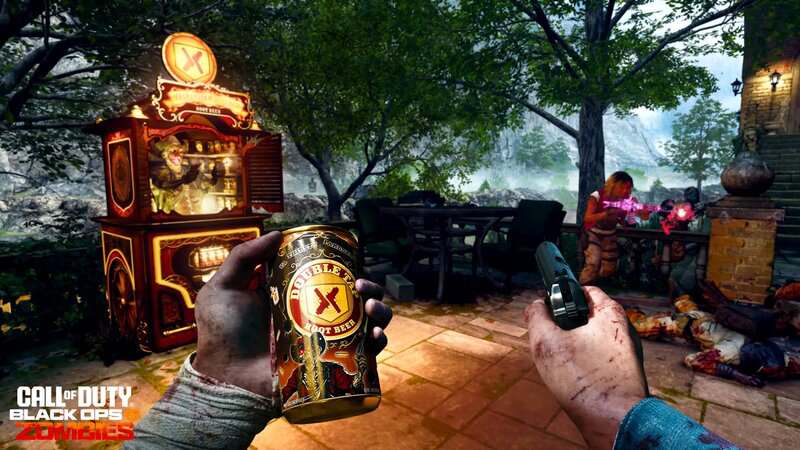
Double Tap Root Beer Perk is also a great choice to double your rate of fire. I suggest the Double Standard Major Augment since will will provide double damage to all non-critical hits when using a bullet weapon. The Double Time Minor Augment will further increase your rate of fire, also making it a great choice. Quick Revive is great for making sure you heal quickly from damage. The Dying Wish Major Augment works well against the S.A.M. boss fight since it will basically give you an extra down during the boss fight. Any Minor Augment is fine here but I suggest the Karmic Return Augment if you’re playing co-op since it heals you if you revive a teammate.
PhD Flopper with the Tribologist Minor Augment is also a must-have since it will increase your distance and speed when sliding, allowing you to get away from the boss even at its max speed. This boss fight is all about constantly moving to avoid the Zombies and the deadly attacks from S.A.M.. This ability to slide far distances is great for getting you from cover to cover.
These last few perks aren’t really required but can both be very useful. Vulture Aid is a great get since it will allow you to get more Salvage and Essence while playing the game, which means you will be able to Pack-a-Punch and upgrade your weapon’s Rarity quicker. This can get you to the boss fight at lower rounds, which can make the battles a bit easier. You should get Carrion Luggage as your Minor Augment so that you get a higher chance of getting Salvage to drop. Your Major Augment should be Smell of Death. This Augment gives Zombies a chance to drop a cloud of gas that makes you temporarily invisible while standing in it. S.A.M. has a special laser beam attack that, when finished, will reveal her weak points so that you can do massive damage. There is a small trick that can skip this attack. If all players in the game are no longer visible while she is shooting the beam, the attack will immediately end. This means a well-timed Smell of Death cloud can skip her attack and allow you to immediately get to the damage phase.
Finally, Death Perception, despite its lackluster reputation, can be useful when you equip the Death Stare Major Augment. This Augment will give you a chance to do massive damage when an enemy gets low on health.
When it comes to your Field Upgrade, Aether Shroud is, as always, a great choice for this boss fight. As we said with Vulture Aid’s Smell of Death Augment, S.A.M.’s laser beam attack can be skipped if your team becomes invisible while she is shooting it. This means that you can use Aether Shroud to skip this attack and immediately target her weak points. The Burst Dash Major Augment will also allow you to blast through the hordes and get close to S.A.M. as quickly as possible. If you’re playing with a team, the Group Shroud Major Augment is also great since you will be able to make your whole squad invisible and stop her laser with just a single Field Upgrade use. For the Minor Augment, Extra Charge is the best option since it will allow you to use your Field Upgrade more times before needing to recharge, making it more likely that you will have a charge on standby when she starts her attack.
Now, while Aether Shroud is useful for skipping S.A.M.’s laser, there are a few other ways to become invisible. We already covered Smell of Death, but the other way to become invisible is to use Smoke Grenades. If you throw down the grenade and stand in the middle of the smoke, enemies won’t be able to see you anymore, allowing you to skip her attack and get you to the damage phase immediately.
If you decide to use Smoke or Vulture Aid’s Smell of Death, you can replace Aether Shroud with Frenzied Guard. While this does draw agro from the Zombies, you will also get a full set of Armor Plates when it is used, making it very useful if you run out of Armor. The Retribution Major Augment will trigger an explosion when your armor breaks and can be a great way to get Zombies away from you. Use the Repair Boost Minor Augment to repair more armor per kill. If you’re playing in a team, consider the Phalanx Major Augment and Rally Minor Augment. The former will allow your teammates to repair their armor when getting kills during the Field Upgrade’s duration, while the latter will repair your team’s armor upon activation.
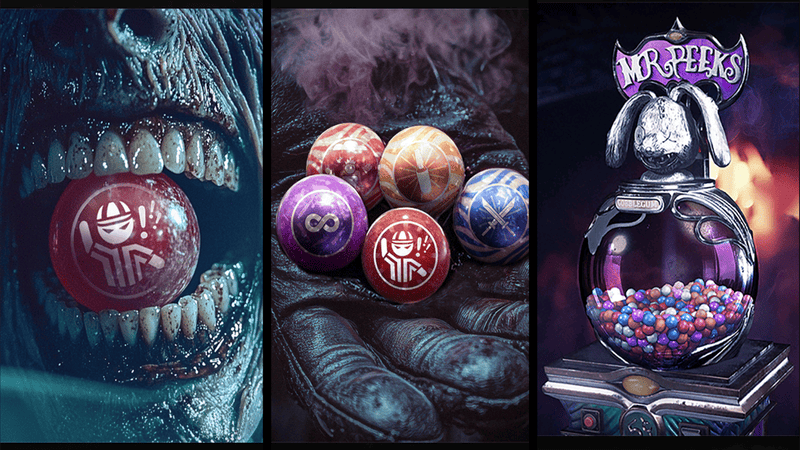
If you also want to use Gobblegums, here are a few suggestions. Having a Cache Back in your back pocket can save a run if you run low on points and ammo. Arsenal Accelerator is great to keep your Field Upgrade charged and Shields Up will give you a fresh set of armor and make it strong for a short time to make it harder for the enemies to downs you. Free Fire will give you unlimited ammo for a minute, so this can be great to make sure you don’t fail to take down a phase of the boss because you need to reload. Idle Eyes is also great because it will cause all Zombies to just stand still for 30 seconds, giving you an opening to just focus on the boss. If you’re playing co-op, Phoenix Up and Near Death Experience are great for making sure your team stays alive.
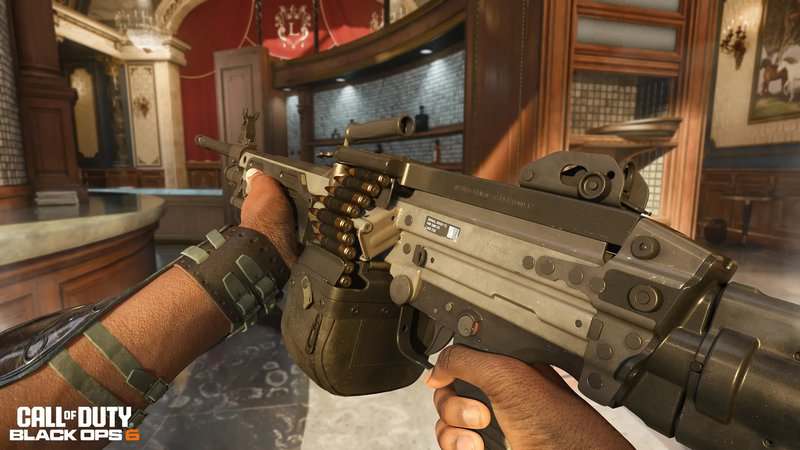
There are a few powerful weapons that you want to consider when going against the boss. Just like previous boss fights, the AMR Mod 4 Sniper Rifle is a great choice for dealing massive damage. When Pack-a-Punched, this weapon gets a very quick rate of fire and deals massive damage. I suggest putting on a low-magnification Optic for quicker aiming and strafing with this heavy weapon. There are a few other attachments that you can throw on, but Rapid Fire and Extended Mag II are the main focus, along with the Optic. There are a few other attachments that you can throw on, but Rapid Fire and Extended Mag II are the main focus, along with the Optic. Another good option is the GPMG-7 with the Belt-Fed Magazine attachment. This will allow you to shoot the quick-firing without having to reload, guaranteeing you get the most out of the weapon.
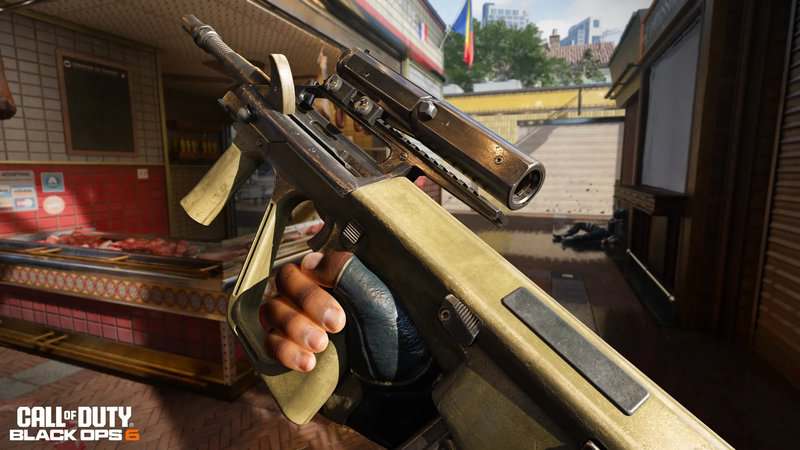
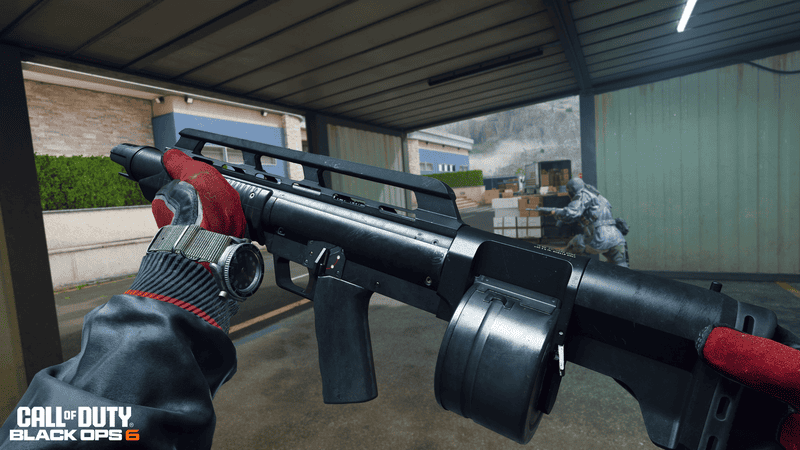
The trade-off with these two weapons is that they are very slow and both of these fights focus on your ability to move around the arena. Some lighter options that are really good are the new ABR A1 and AS VAL. Make sure you have Extended Mag on these guns to cut down on the number of reloads. The Maelstrom shotgun is also great. Make sure you have Extended Mag as well as either the Dragon’s Breath or Rapid Fire Fire Mod to get the most damage out of the weapon.
Overall, I think the best weapon for these boss fights is the DM-10 Marksman Rifle. Firstly, this weapon has the special ability when Pack-a-Punched to shoot two times with a single button press: Once when you pull the trigger and another when you release it. With Double Tap Root Beer, the DPS you can get from this weapon. Put on a lower magnification Optic and Rapid Fire to get a clear view of the boss as well as an even faster firerate, respectively. I also suggest getting a Compensator and an underbarrel to help with recoil control since the double shot and crazy firerate can make it easy to lose control of the gun. With the right build, equipment, Perks, and Field Upgrades, you will be able to completely destroy S.A.M. with this weapon.
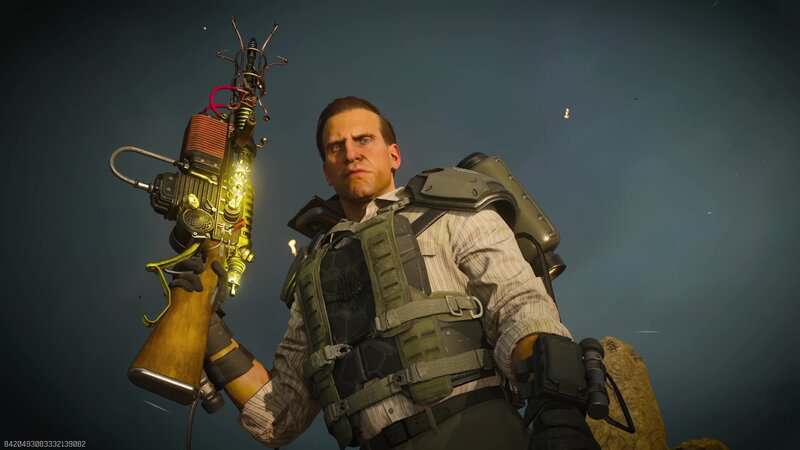
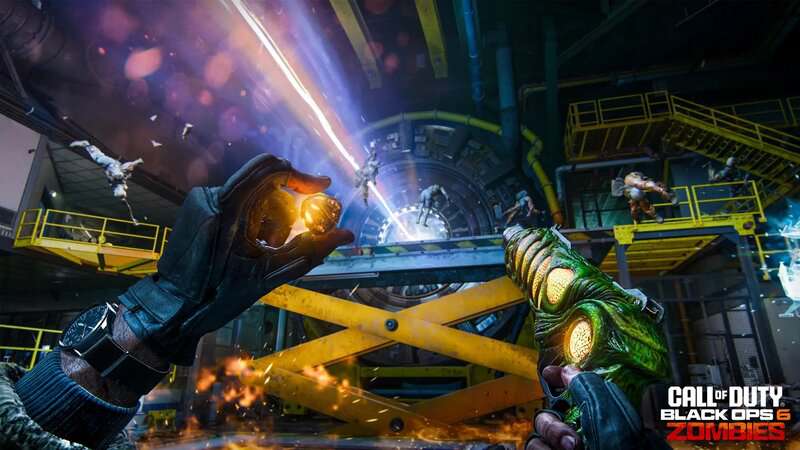
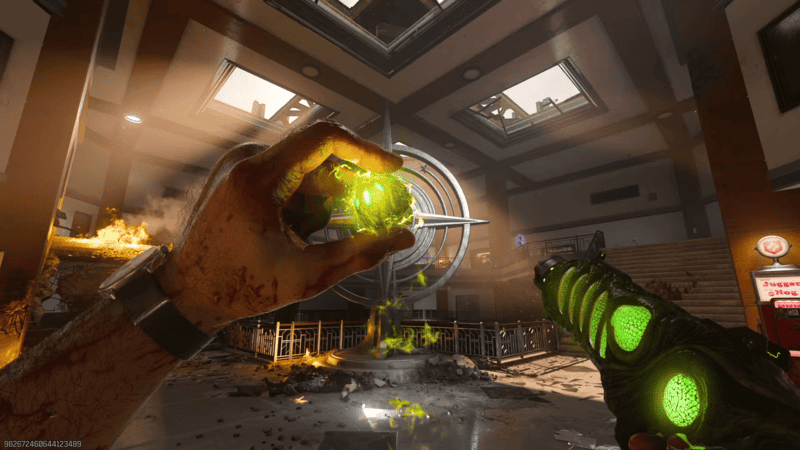
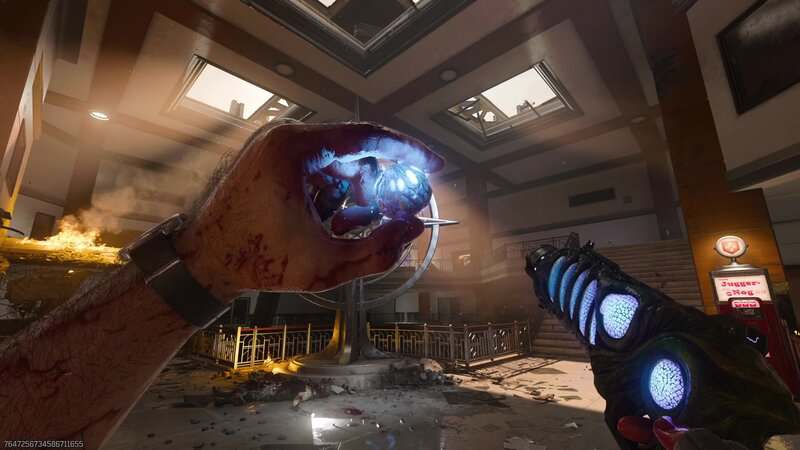
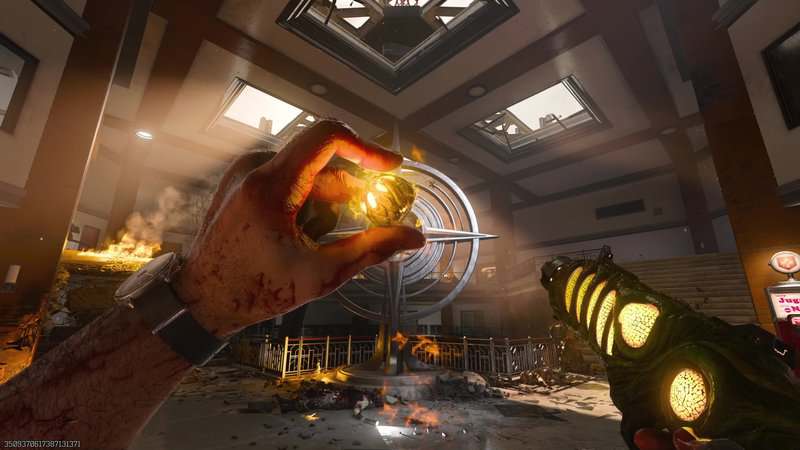
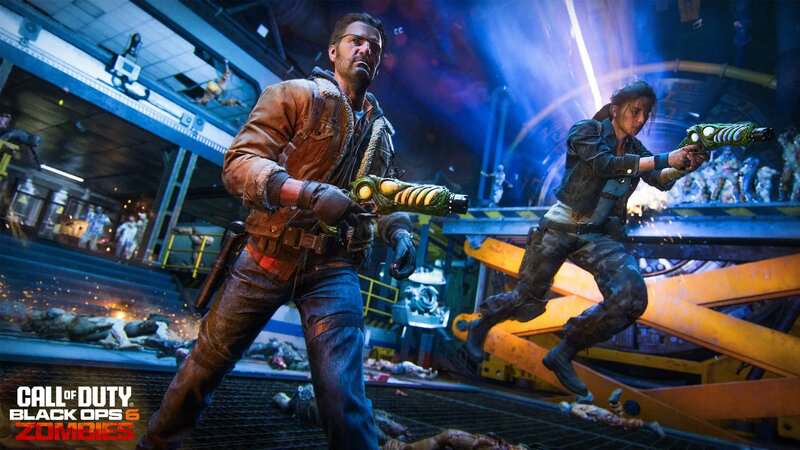
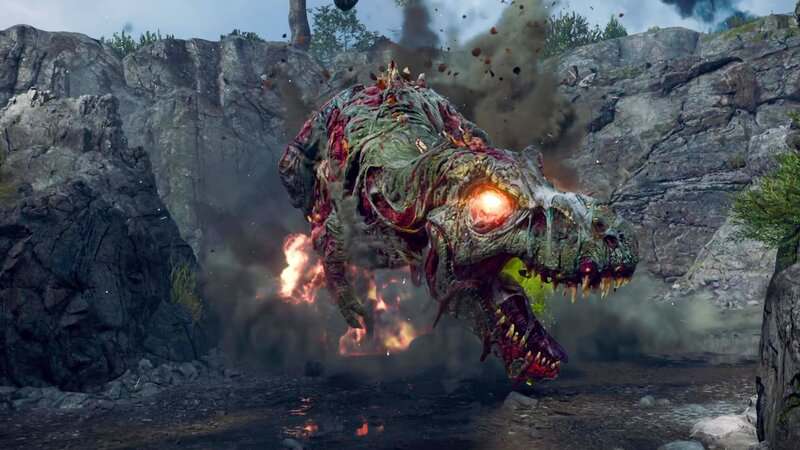
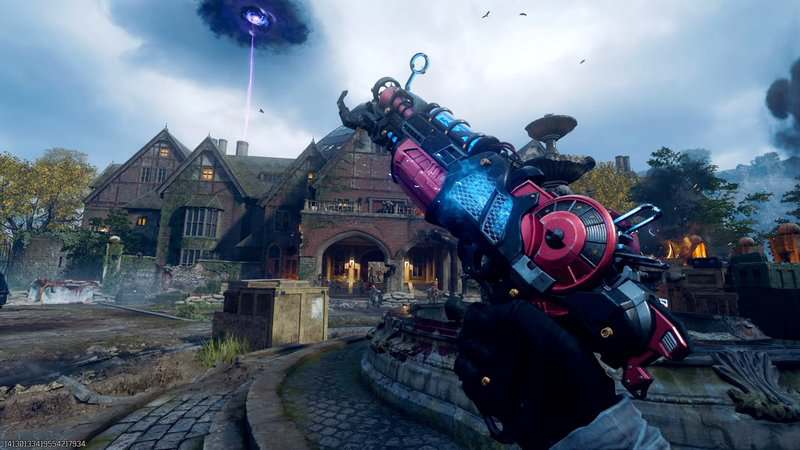
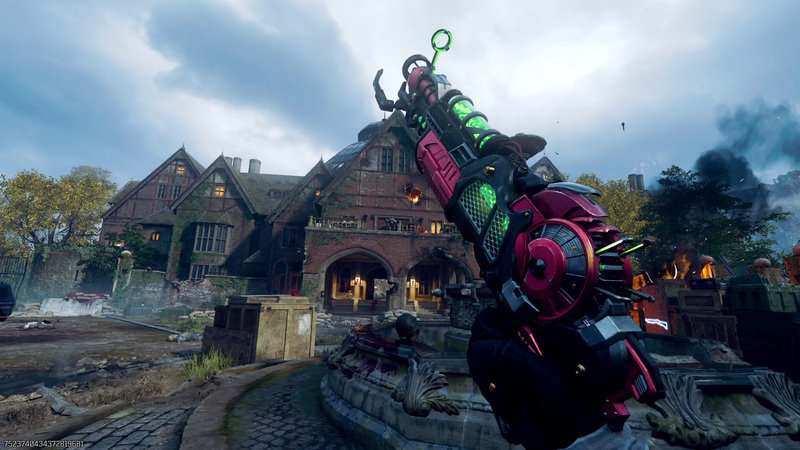
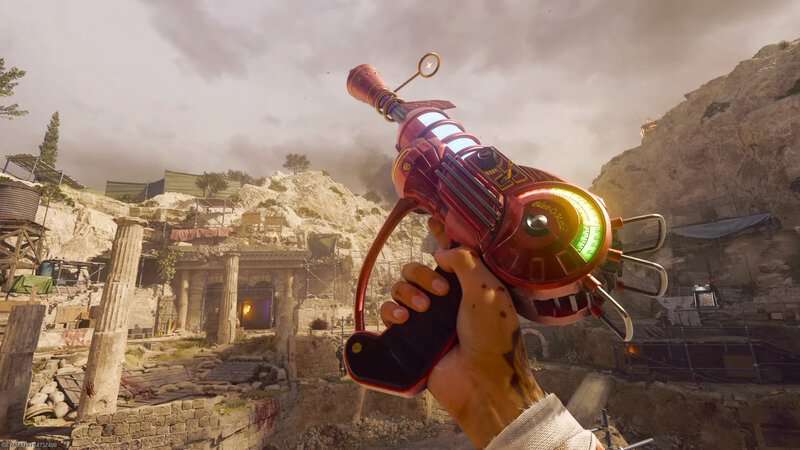
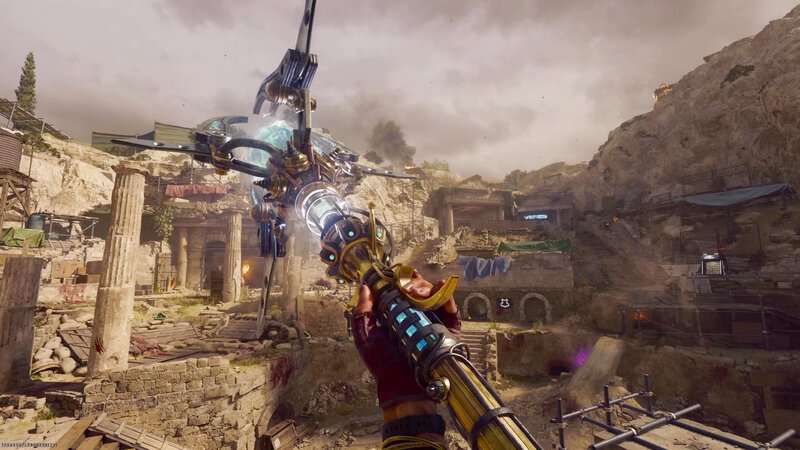
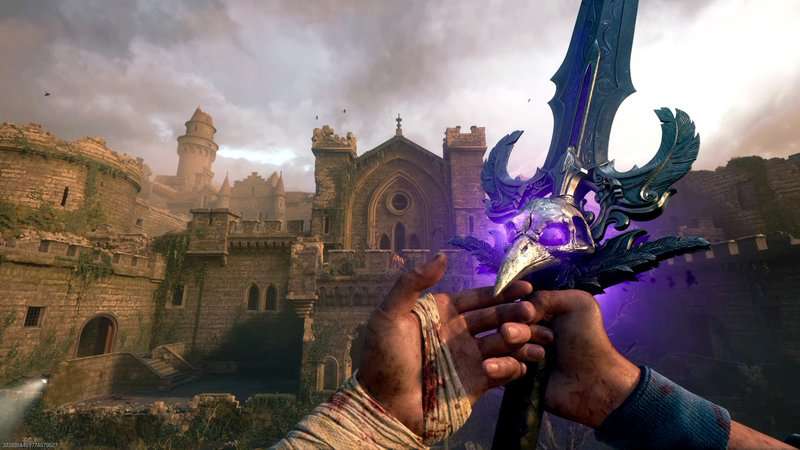
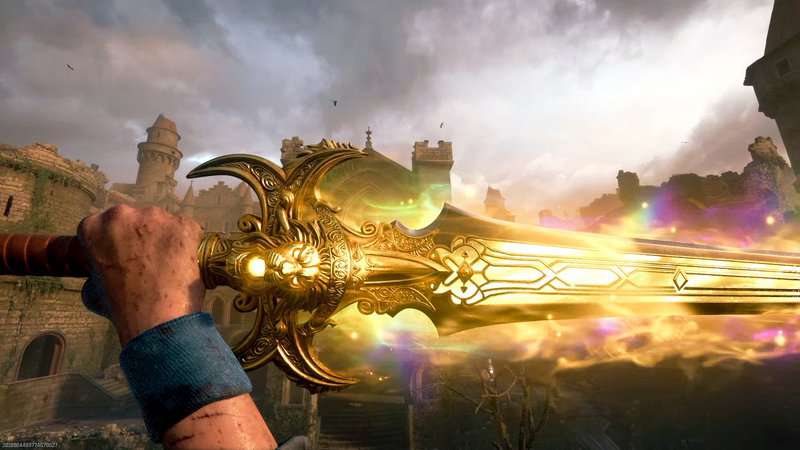
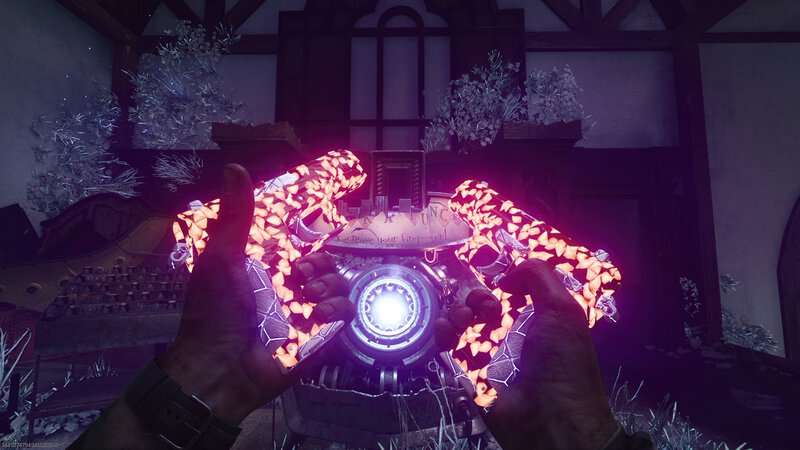
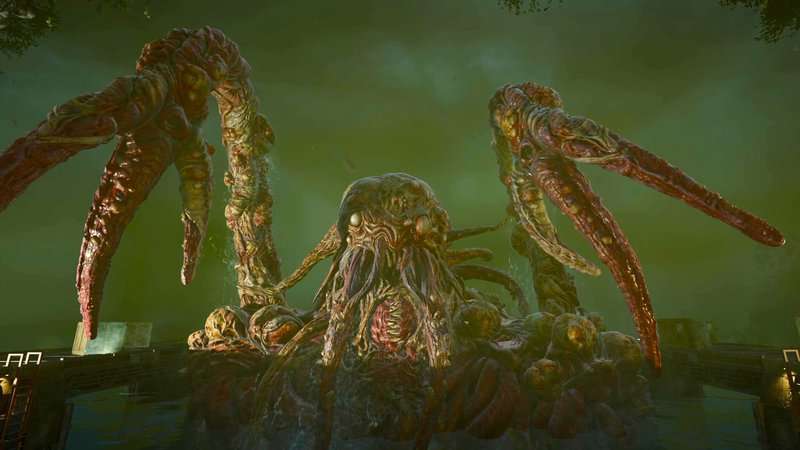
During the Easter Egg, you will need to get the Gorgofex Wonder Weapon, which can be upgraded in one of two ways. You can get rid of this weapon when you complete the steps of the Easter Egg where it’s required to get another heavy damage-dealing gun but it can be useful against the Zombies that help S.A.M..
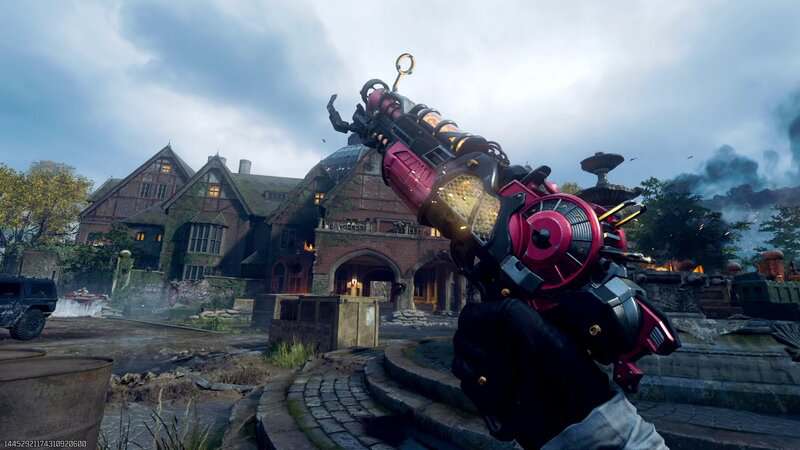
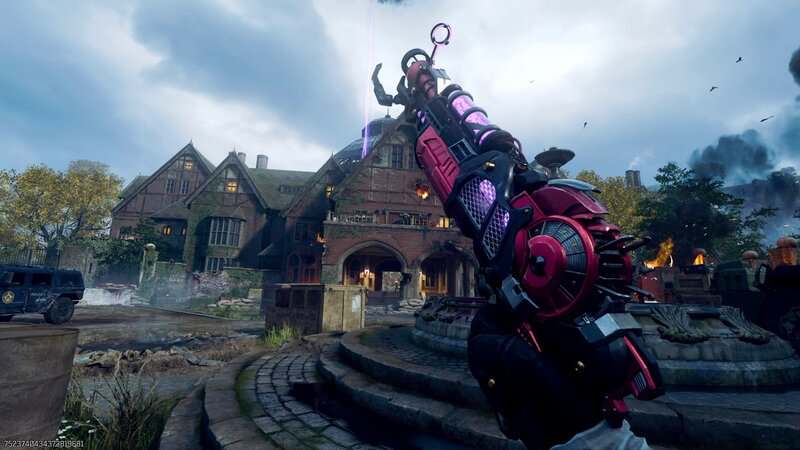
Whatever weapon you decide to use, your main damage-dealing weapon should be at Pack-a-Punch Level 3 and Legendary Rarity. If you stick with the Gorgofex as your secondary, make sure that you have one of the upgraded variants (The Gorgofex C or Gorgofex N) that is at least at Pack-a-Punch Level 1. You won’t be using this weapon for the boss fight, but it can be useful for crowd control against the hordes. And of course, make sure you have the 3-Plate Armor Vest.
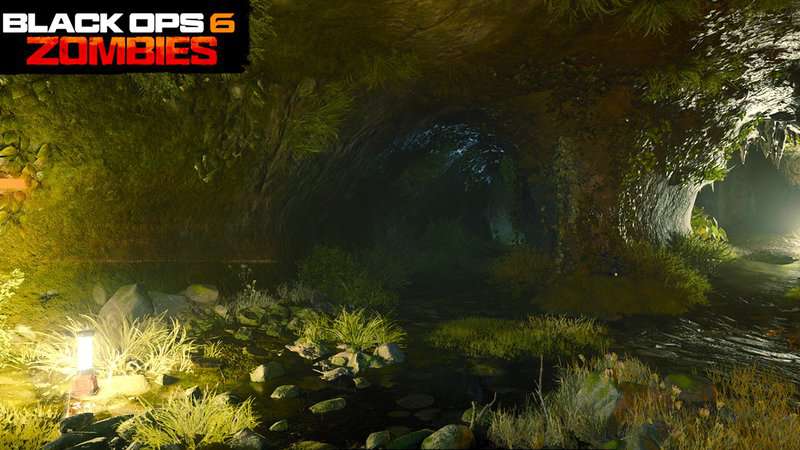
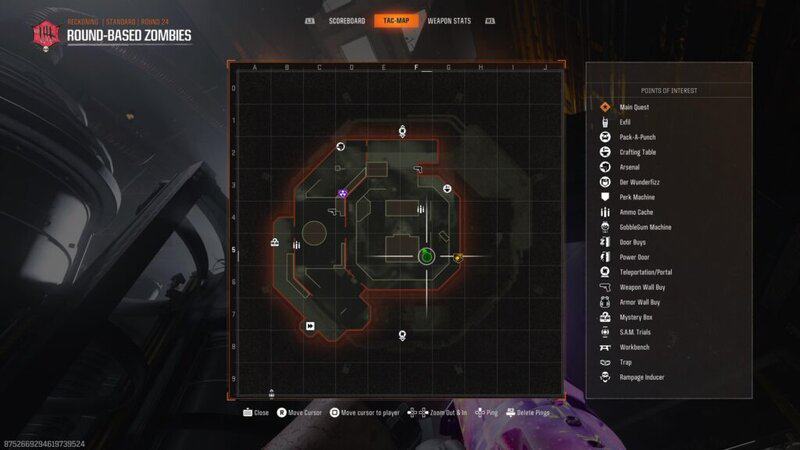
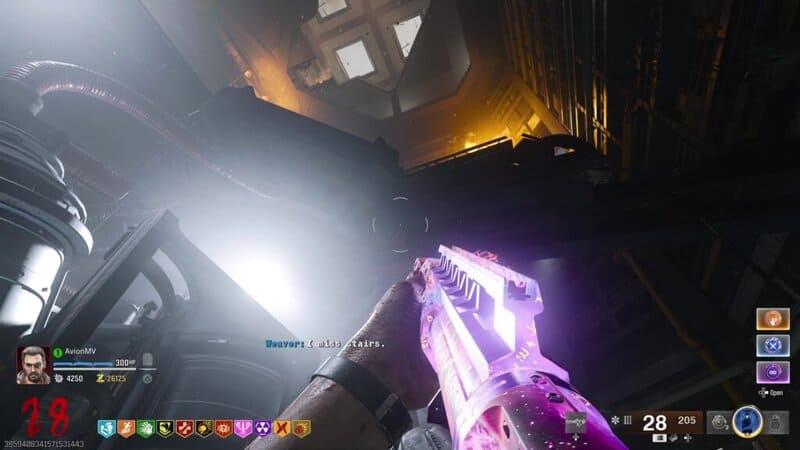
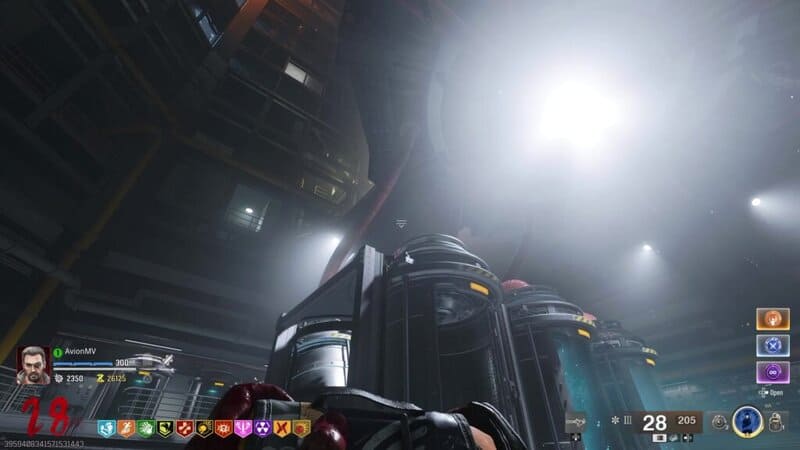
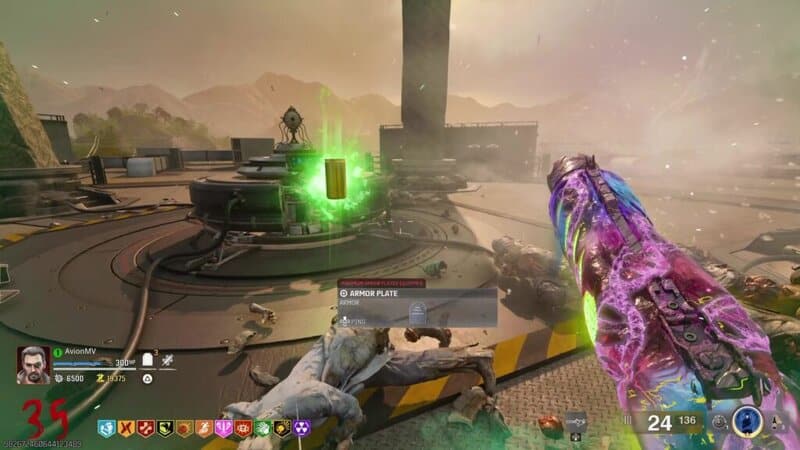
One final tip is to set up a C4 near the Full Power powerup statue found in Mutant Research. You can find this powerup on the machinery that is above the center of the room. You can find it om the eastern part of this machine near Deadshot Daiquiri. Put a C4 on a nearby tube. You can detonate the C4 during the fight to spawn a Full Power.
With all that said, it’s time to talk about the boss.
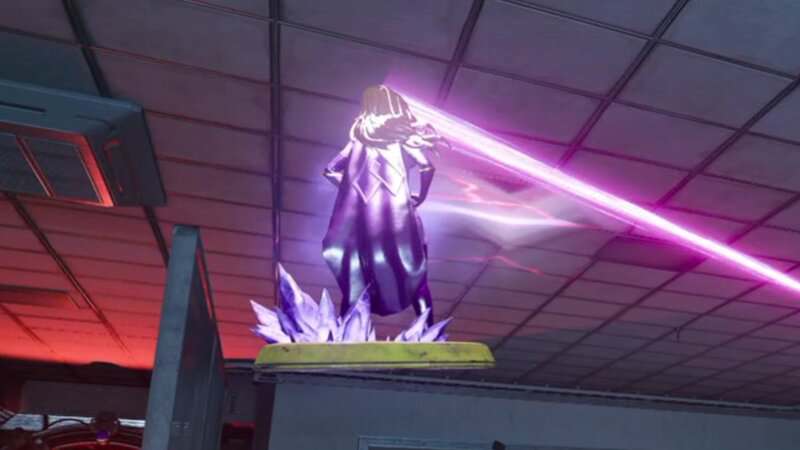
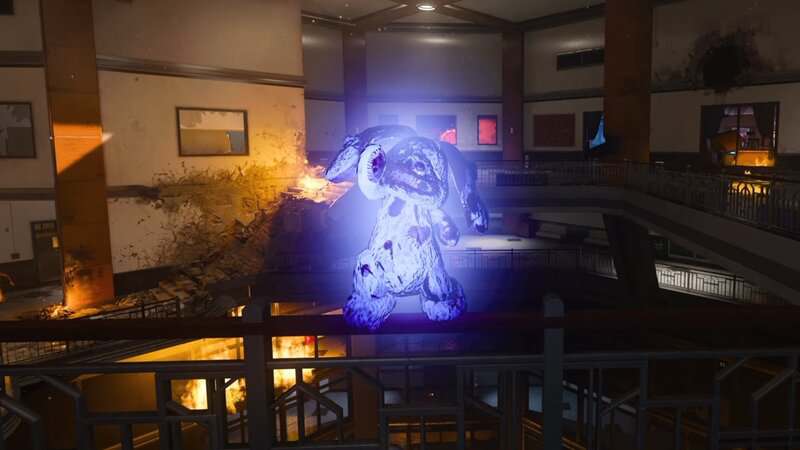
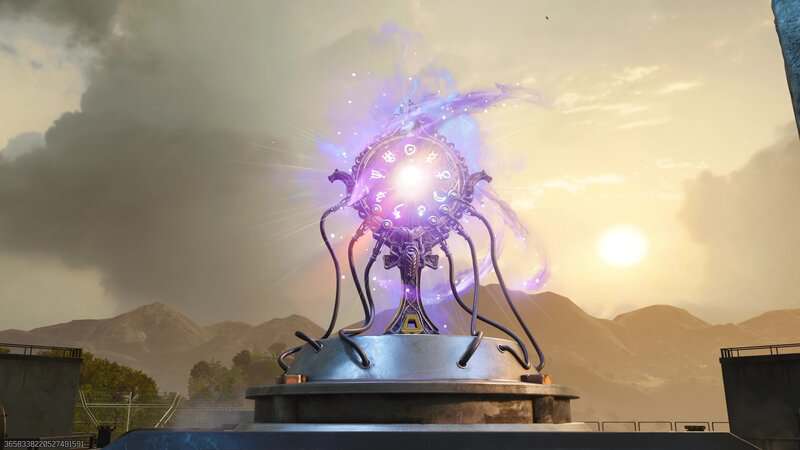
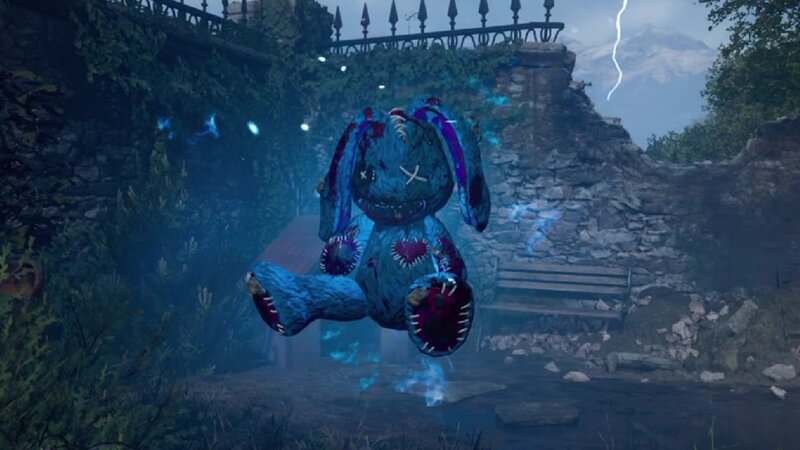
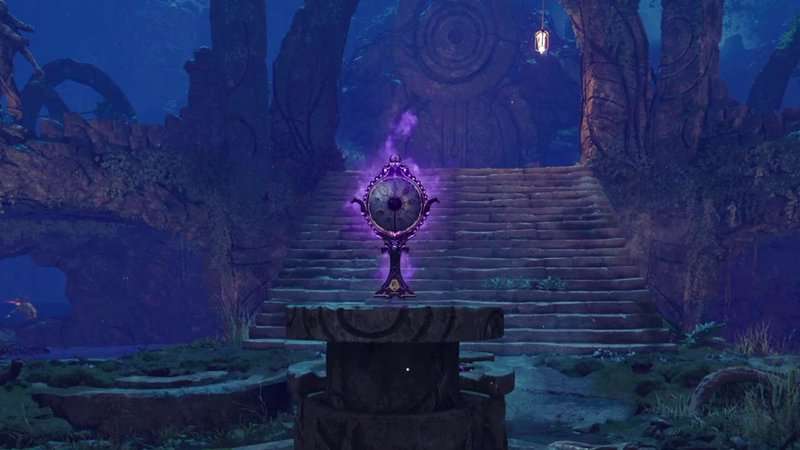
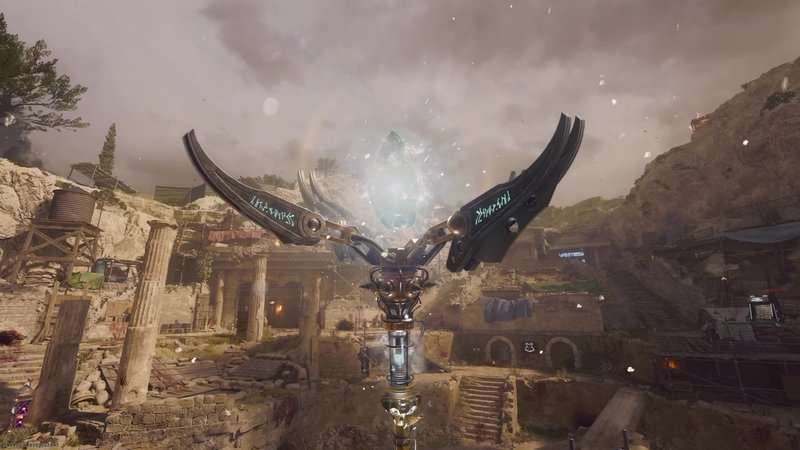
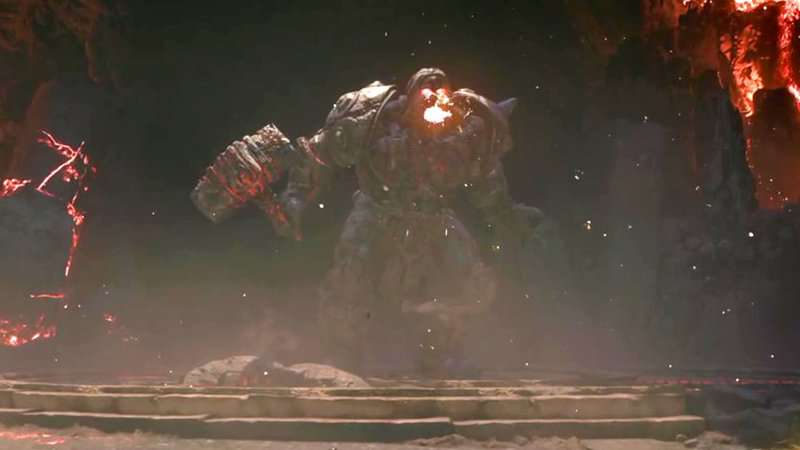
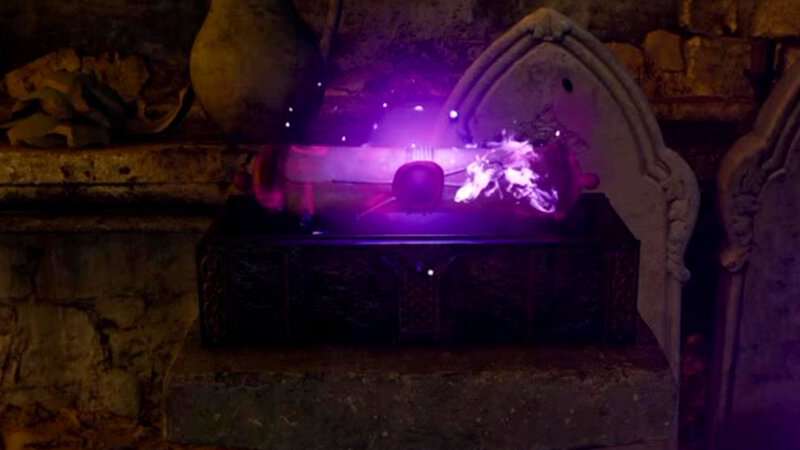
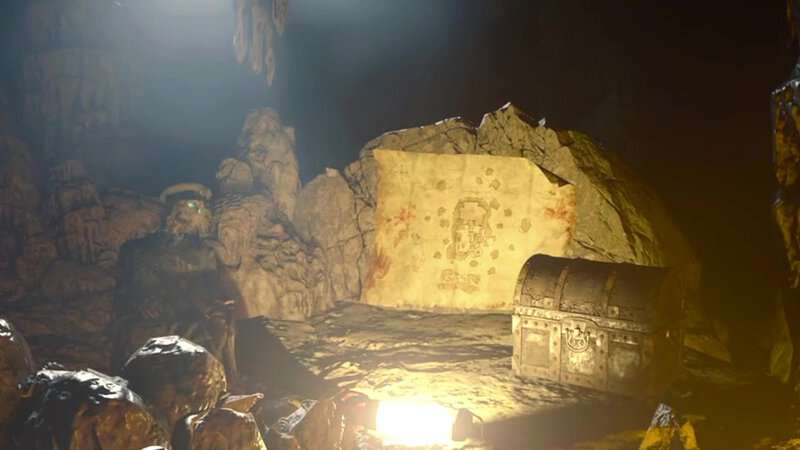
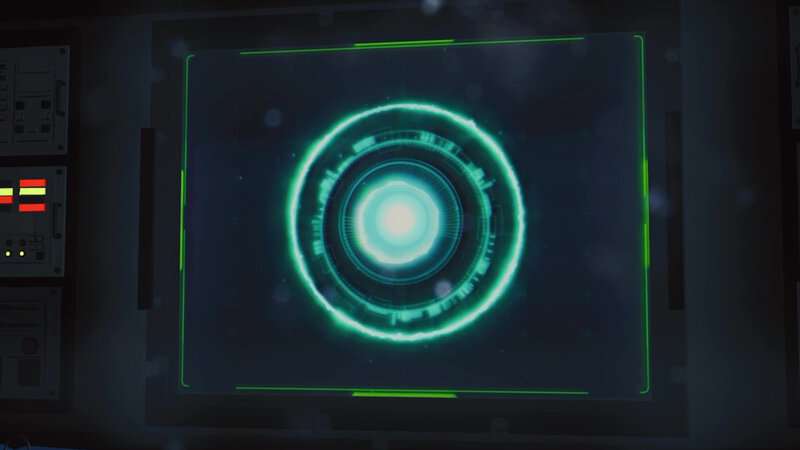
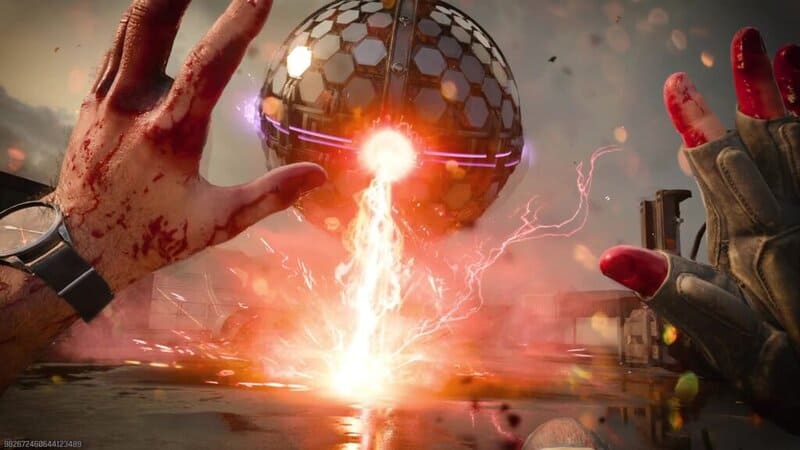
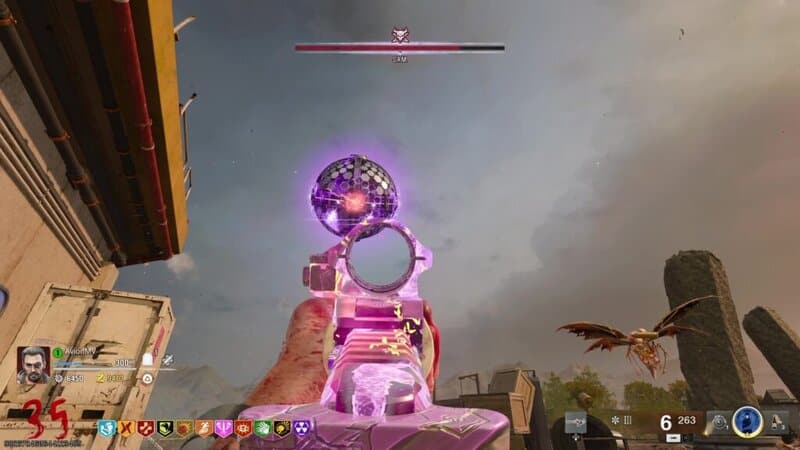
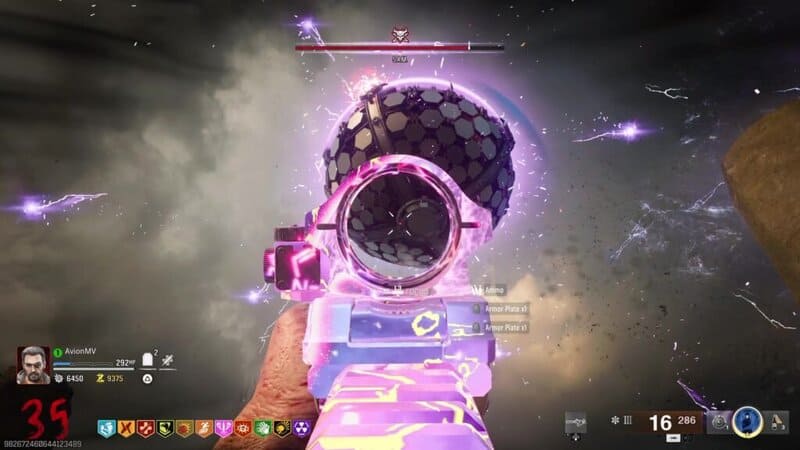
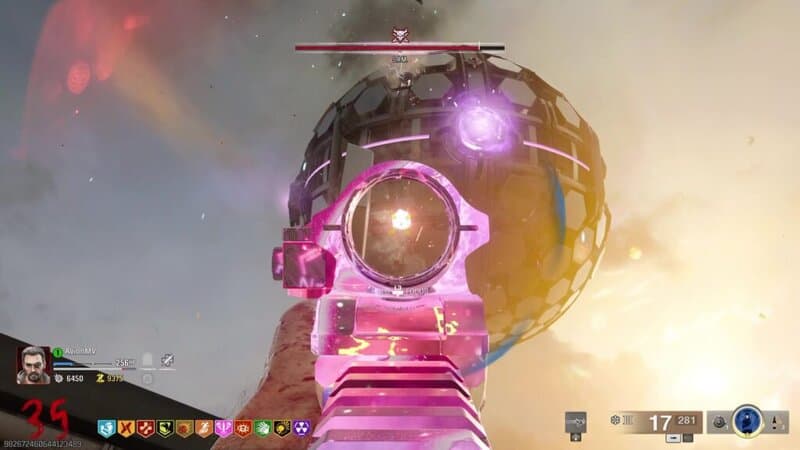
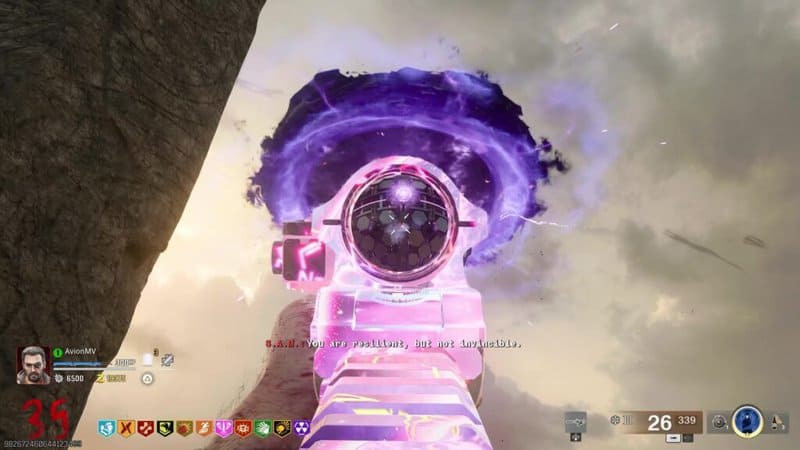
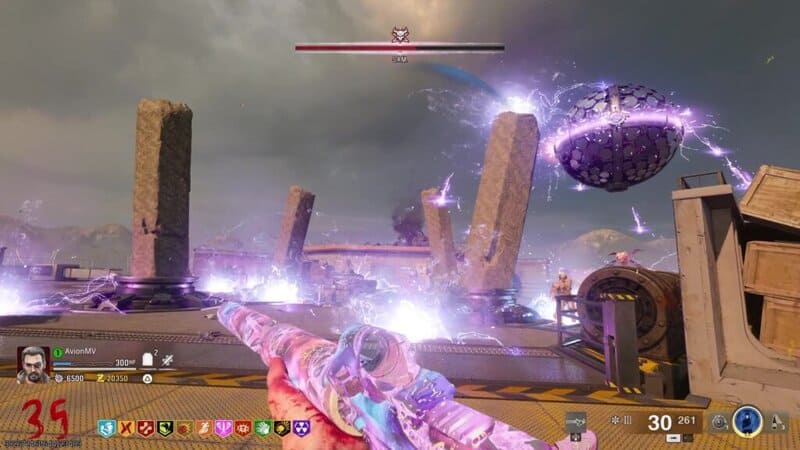
S.A.M. will descend through a portal. While you can damage her while she is coming out of the portal, she will quickly activate a shield, making it possible to damage her as she flies around.

S.A.M. has several beam attacks that you will need to look out for. Her most basic attack is when she shoots a series of bolts toward you. These blasts are usually directed right where you’re standing when they are fired, so its easy to just run or PhD slide away to avoid them.
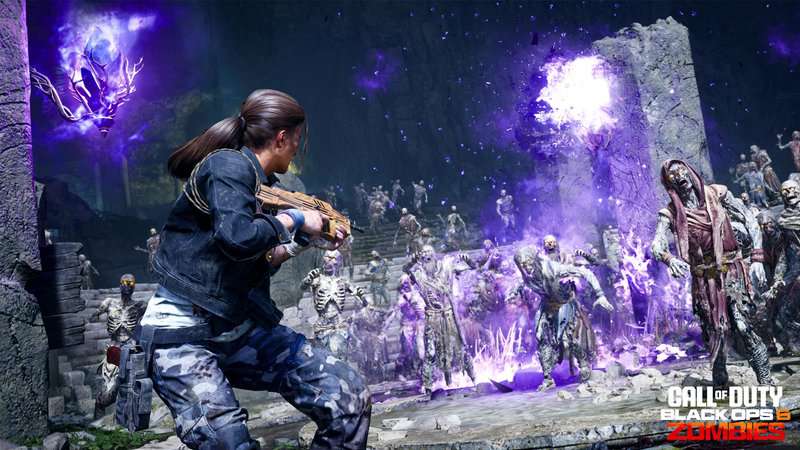
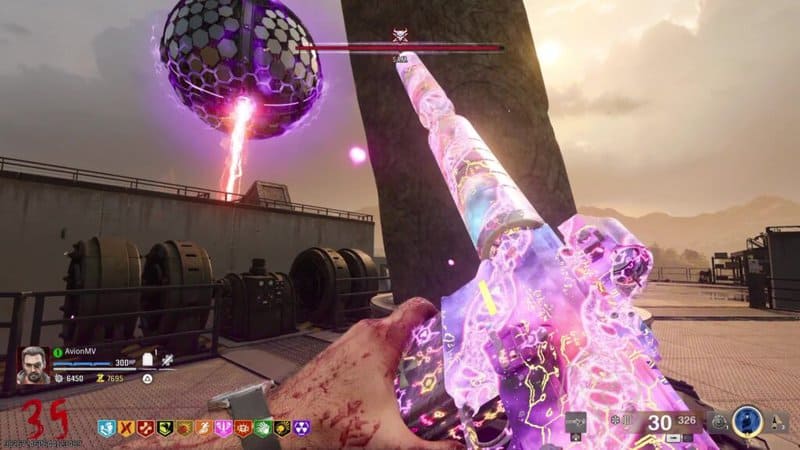
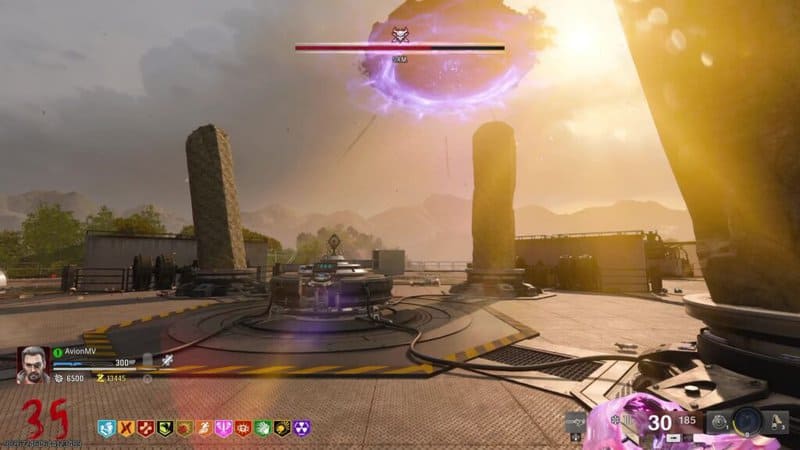
Another major attack and the one that will pose the biggest threat to you is her spin move. S.A.M. will go to the middle of the combat arena and spin around, shooting out orbs of Aetherial energy around the rooftop. These orbs will linger on the ground and do damage to you if you stand in them. Your best chance to avoid these orbs is to stand in the middle of the map, directly under S.A.M.. She also drops her shield during this attack. This means you can do some damage to her before she starts to fly around with her shields active again.
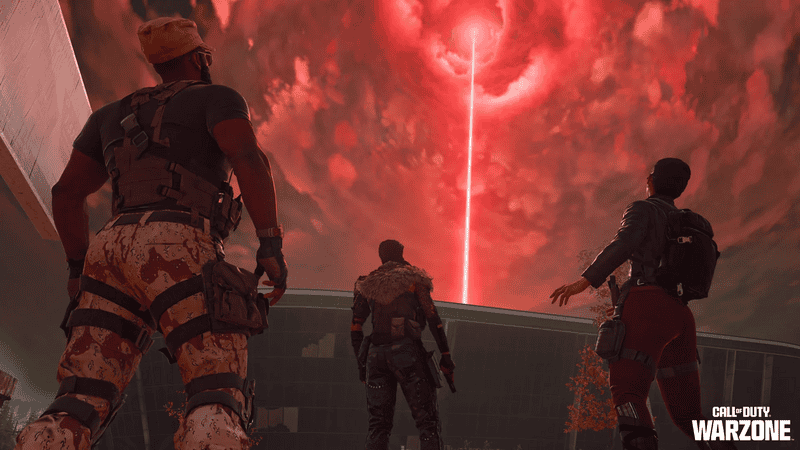
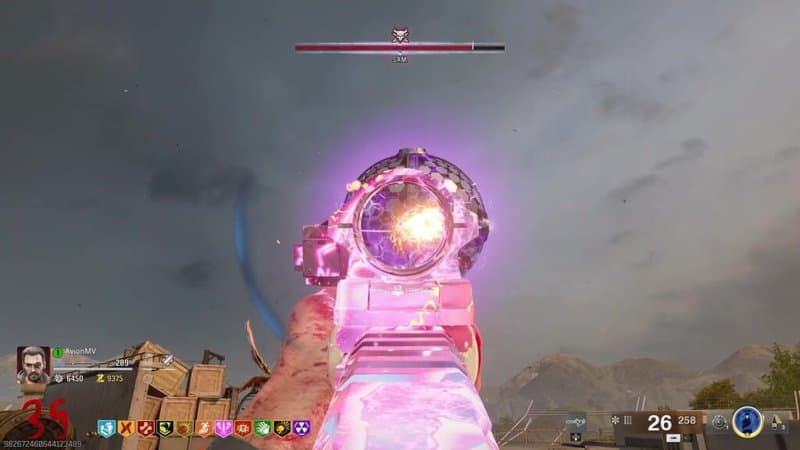
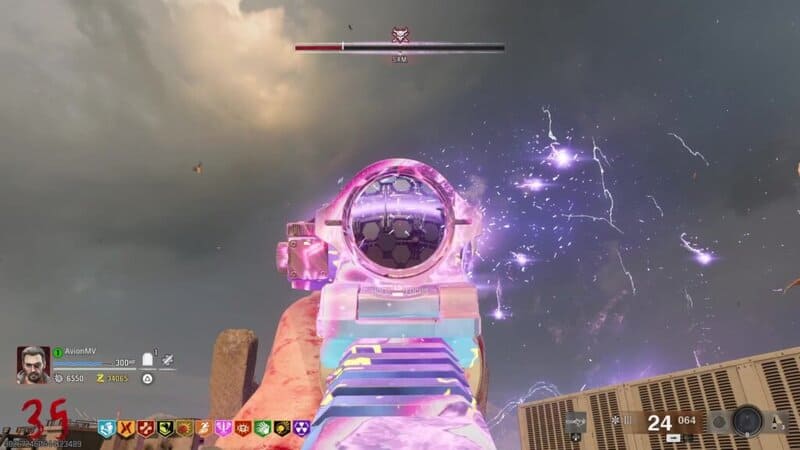
S.A.M.’s big attack is the red laser. She will aim at the ground and drag the laser toward you. Stand behind cover, use PhD Slider to dodge around the laser, or use one of your vanishing abilities mentioned earlier to avoid this attack.
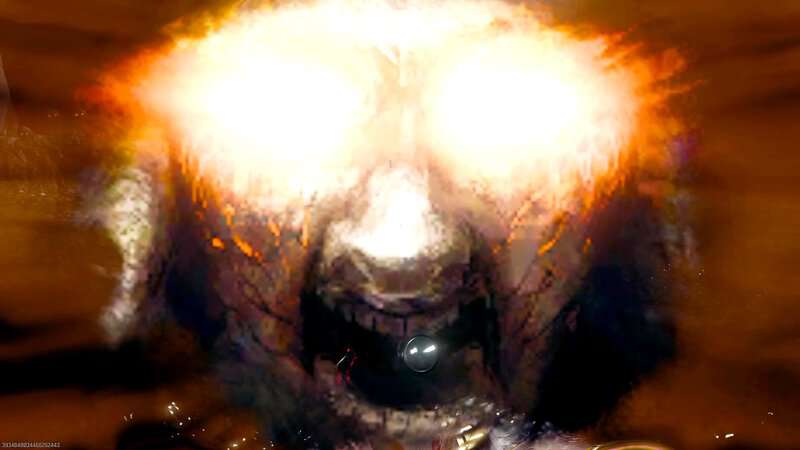
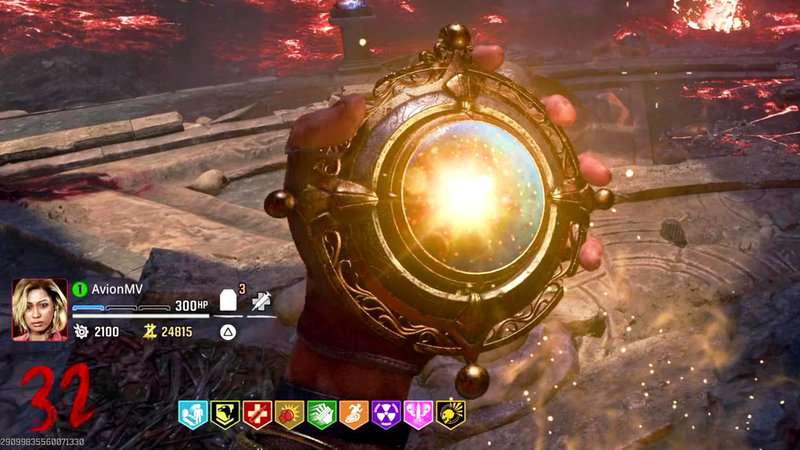
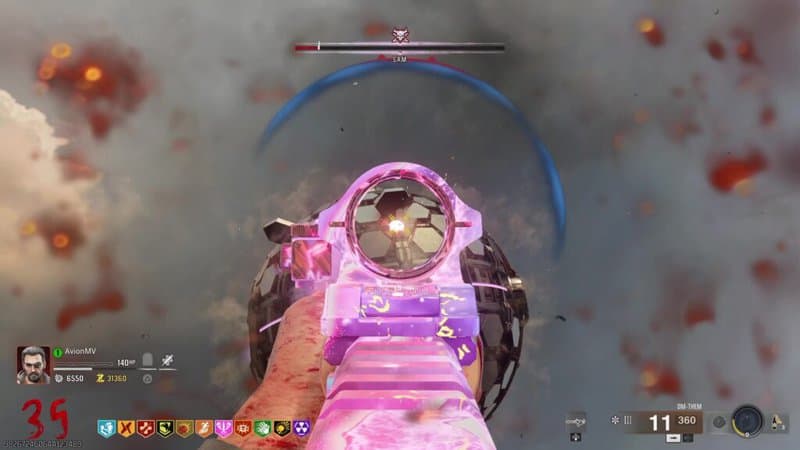
After the red laser, S.A.M. will stay still for a few seconds and open 4 ports around her central eye. Shoot these critical points to do big damage. When you do enough damage to a port, it will explode.
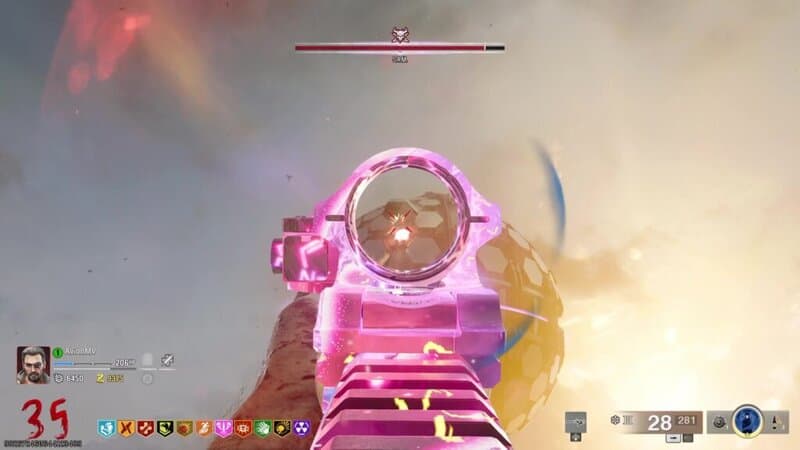
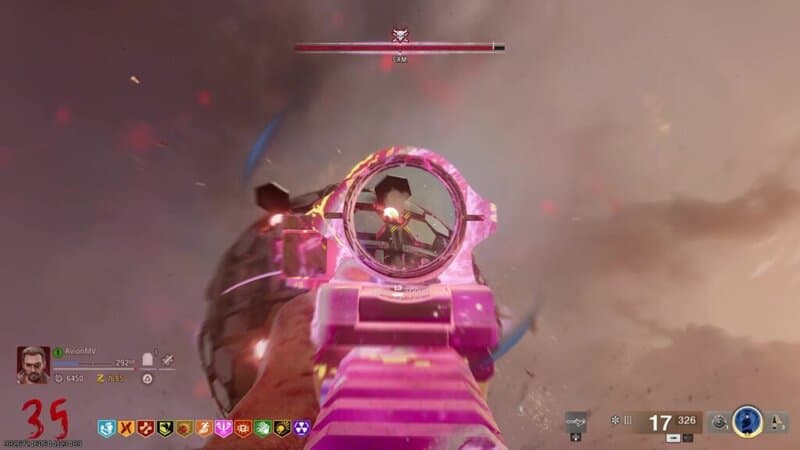
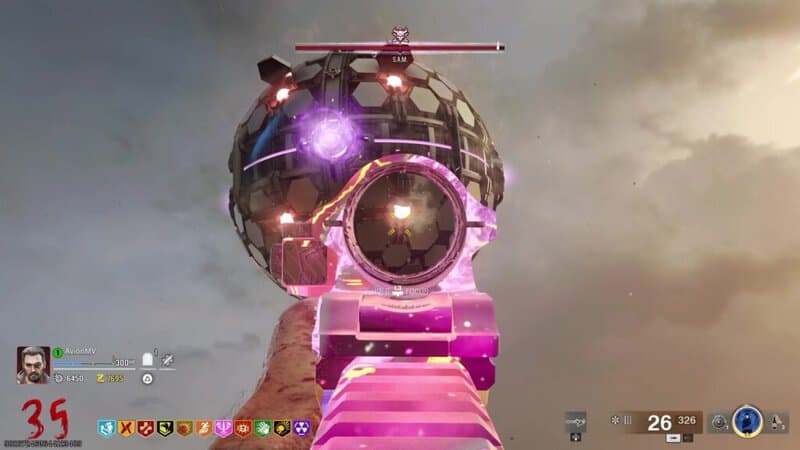
When all 4 ports are busted, S.A.M.’s central eye will become a weak point. You can shoot her eye even when her shield is active. When you do enough damage, her eye will explode and return to her original version. You will need to break all the ports once again to target her eye again.
When you get through the first quarter of S.A.M.’s health bar, a portal will appear and she will vanish. Just like when she appeared, she is vulnerable when she goes through the portal. Use this opening to get a little bit more damage before she disappears.
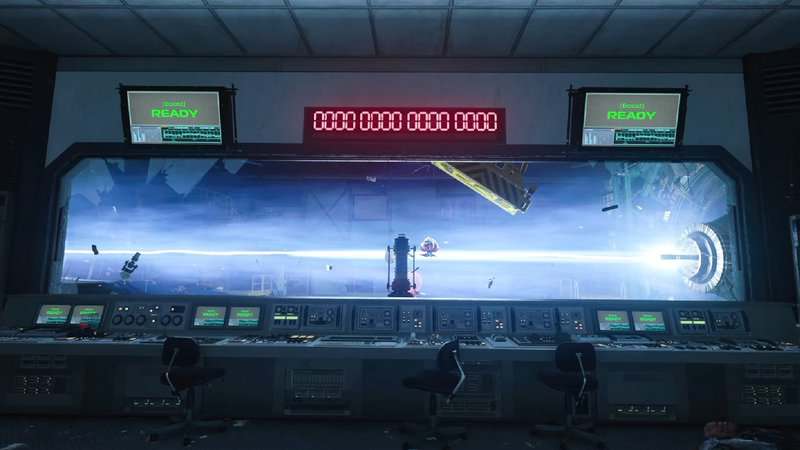
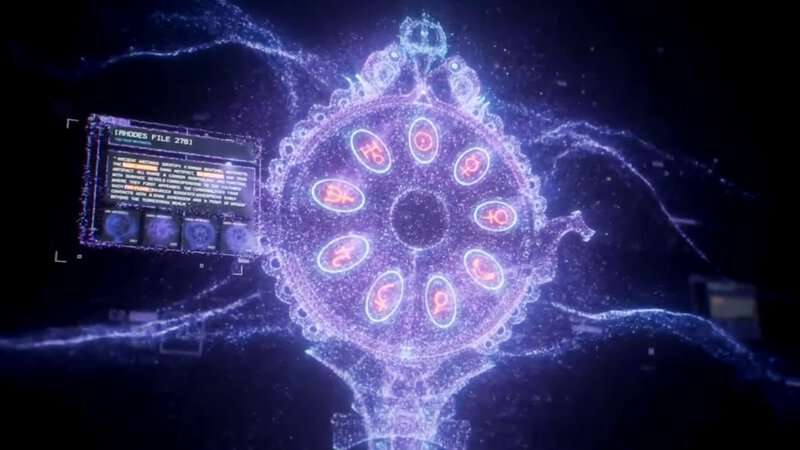
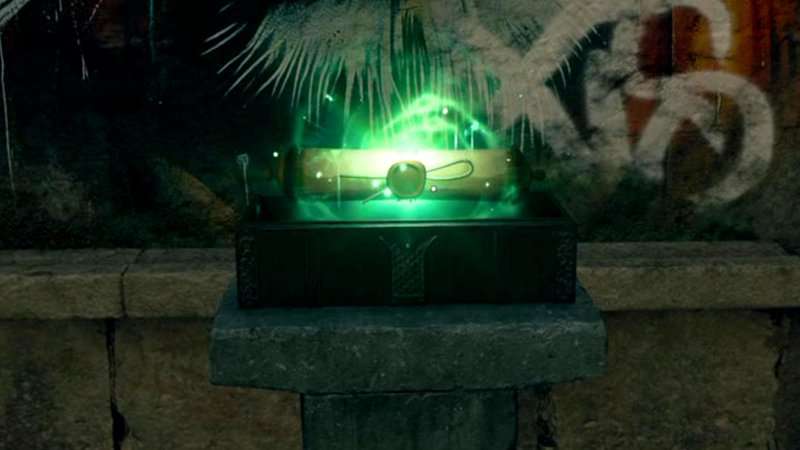
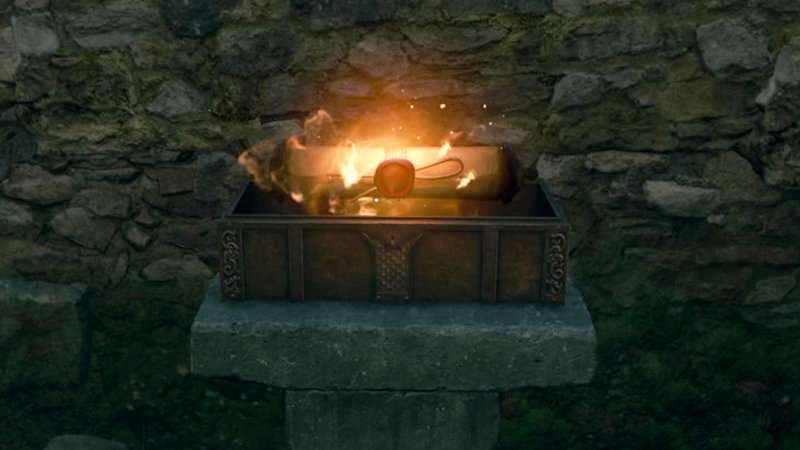
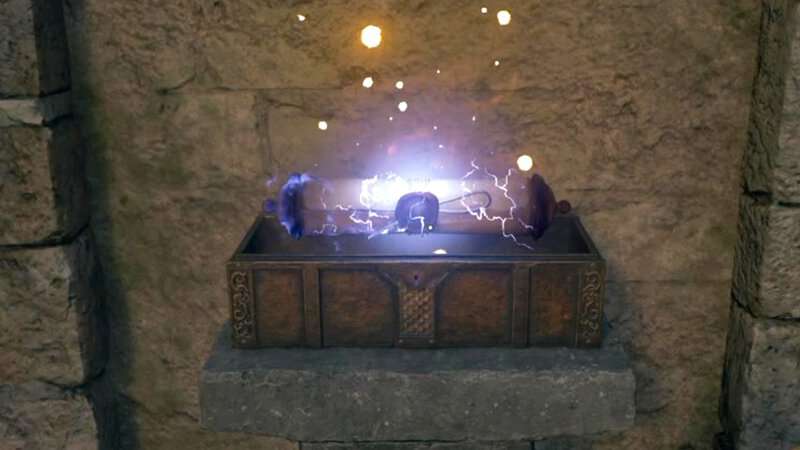
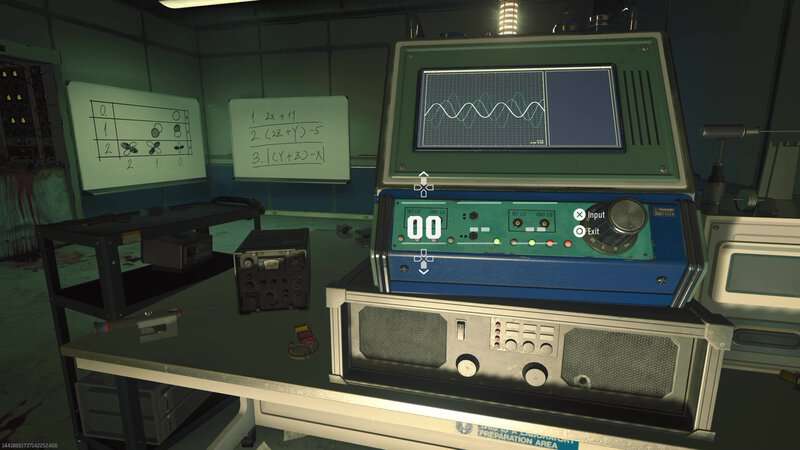
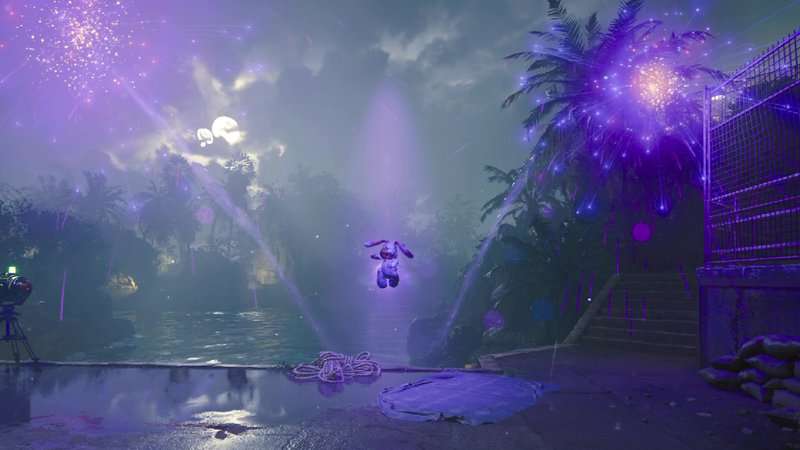
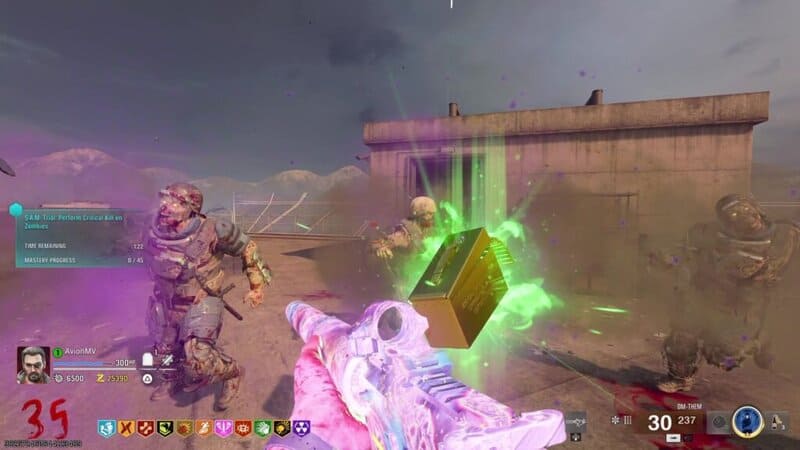
After S.A.M. leaves the area, a S.A.M. Trial computer will spawn. You will need to complete this challenge. If you successfully reach the Legendary tier reward, you will get a Random Perk drop. If you fail to complete this challenge, you will be given a Grief debuff for a short period of time. During this section, a Max Ammo will also spawn.

After the trial is complete, S.A.M. will reappear and her second phase will begin.
Her second phase is very similar to her first one. The difference is that all of her moves are extended, with her bolt attack getting more shots and being stronger. The major change is her spin move which now moves around the arena instead of staying in the center. This means there is a larger range of locations that the orbs can land. The best way to avoid this version of the attack is to go to the perimeter of the map and watch which direction S.A.M. goes and then go to the opposite side of the arena. She can still be damaged during this attack so take advantage of that.
After reaching half health, S.A.M. will vanish for a little while before returning to the arena to continue Phase 2. When you get her to her last quarter of health. She will go through a portal and you will need to complete another S.A.M. Trial with the same rewards and punishments as before.
When S.A.M. returns, Phase 3 begins. She once again gets extended versions of all of her moves, including a deadlier spin attack. While these moves are longer, combating them is exactly the same as Phase 2.
Just keep targeting her when she does her spin move and destroy her ports and eye when they are shown and you will be able to take down your old friend.
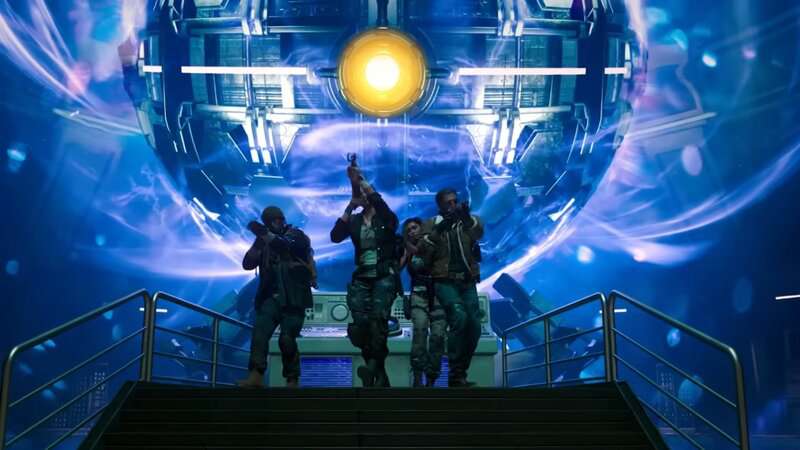
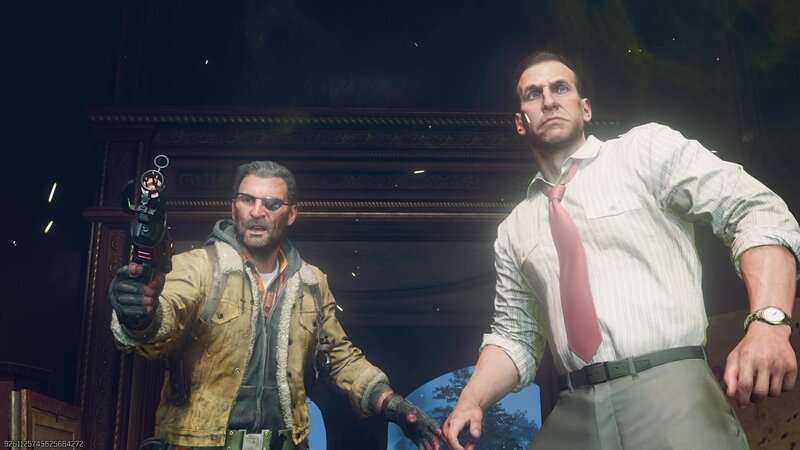
After taking down S.A.M., the crew will be teleported away by the Sentinel Artifact as Rictofen reunites with his family.

You can now take down S.A.M. and finish the Reckoning Main Quest Easter Egg boss fight in Black Ops 6 Zombies. Stay tuned to Gameranx for more news, updates, and guides for Black Ops 6 as well as other great games in the future.