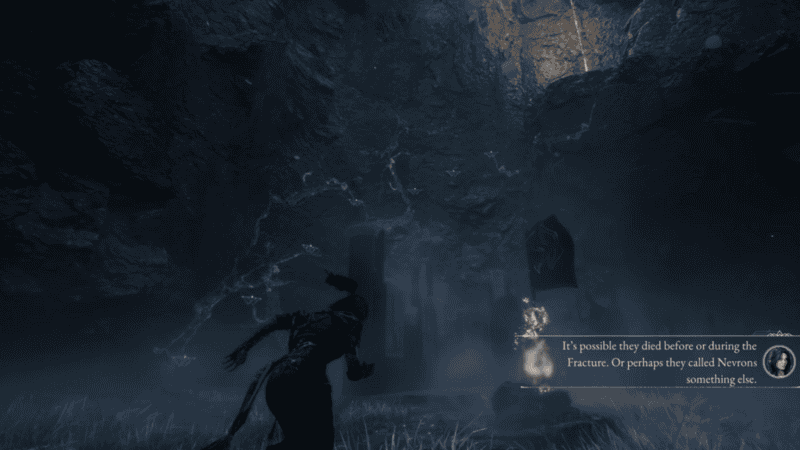
The Nevrons are the monsters that players will come across during the story of Clair Obscur: Expedition 33. While players will slay hundreds of these creatures on their way to the Monolith, there are a few white variants of these monsters that don’t fight and instead provide unique side quests to be completed. These are known as Nevron Quests, and not only do they provide players with rewards upon their completion, but finishing them all will unlock the Aiding the Enemy Achievement and Trophy. Whether you want to just provide a helping hand to these Nevrons or need to complete these missions to take one more step toward a Platinum, allow me to break down where to find and how to complete all of these quests. This guide will show players how to complete all Nevron Quests and unlock the Aiding the Enemy Achievement in Clair Obscur: Expedition 33.
How to Complete All Nevron Quests in Clair Obscur: Expedition 33
There are a total of 10 Nevron Quests that you can discover in Clair Obscur: Expedition 33. When you complete each of these quests, you will be given a reward and will be given the chance to interact with the Nevron and learn more about the game’s lore, and you can also decide to attack it if you’d like to get some extra XP and rewards. I suggest not killing them because keeping them all alive will give you a bigger reward when you talk to one of the final Nevrons you meet. Here is the breakdown for all 10 of the Nevron Quests.
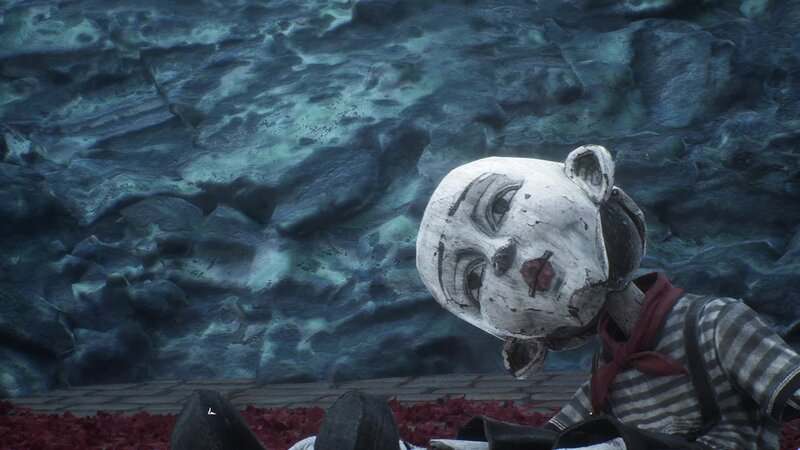
Jar
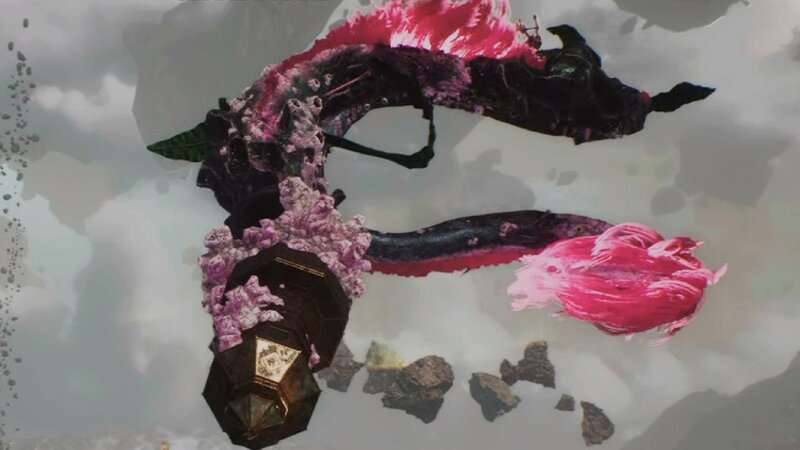
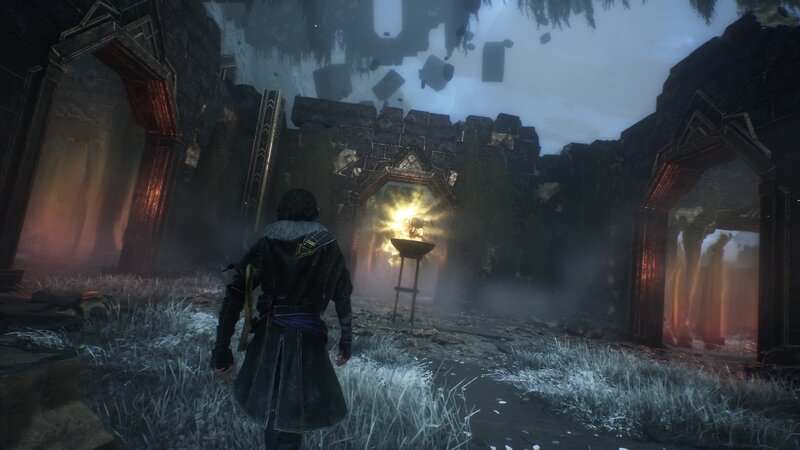
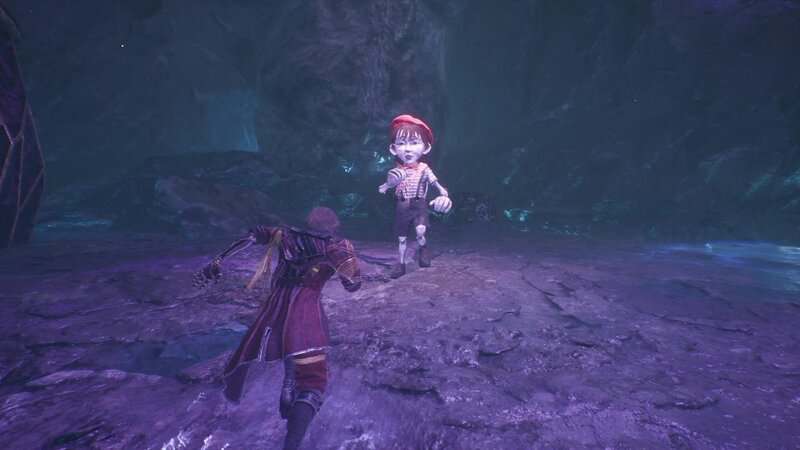
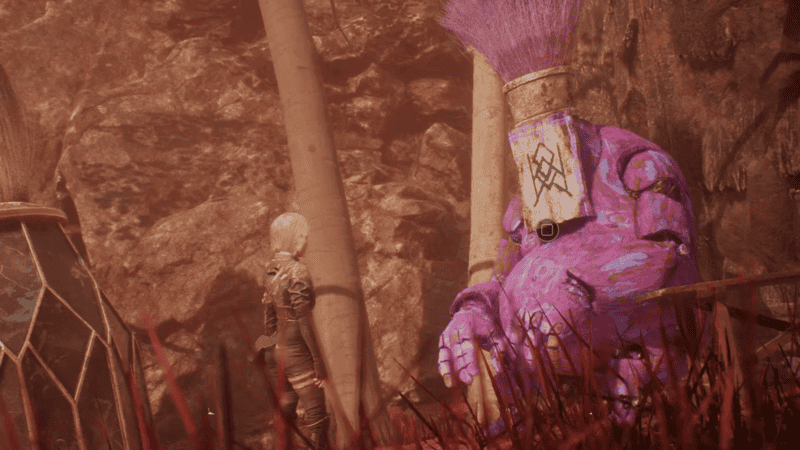
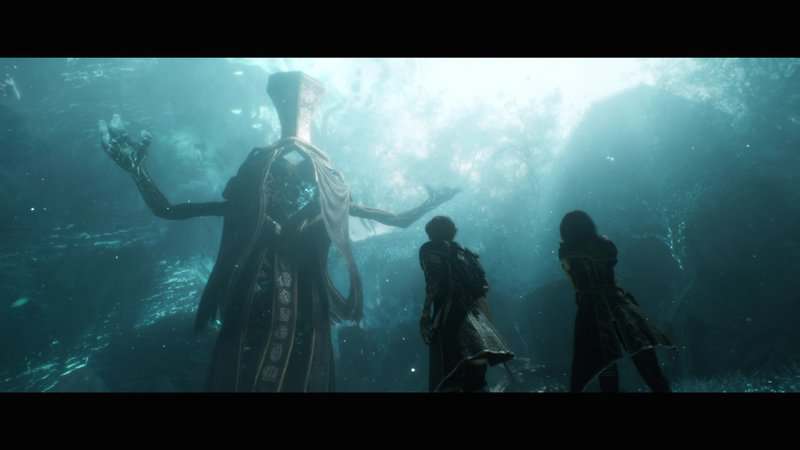
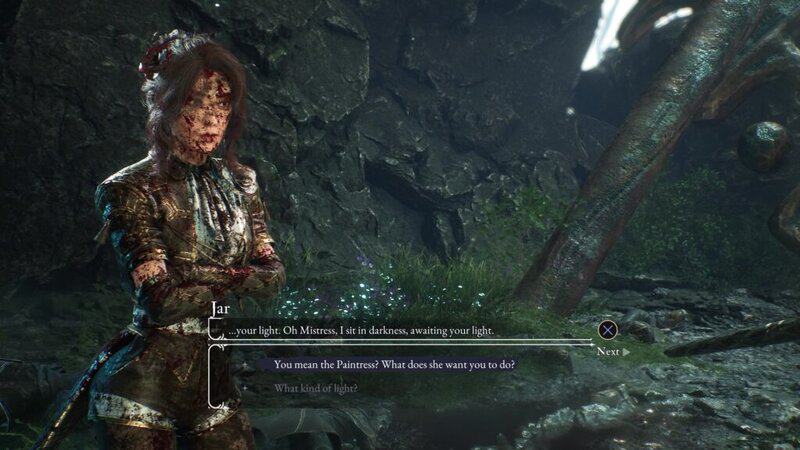
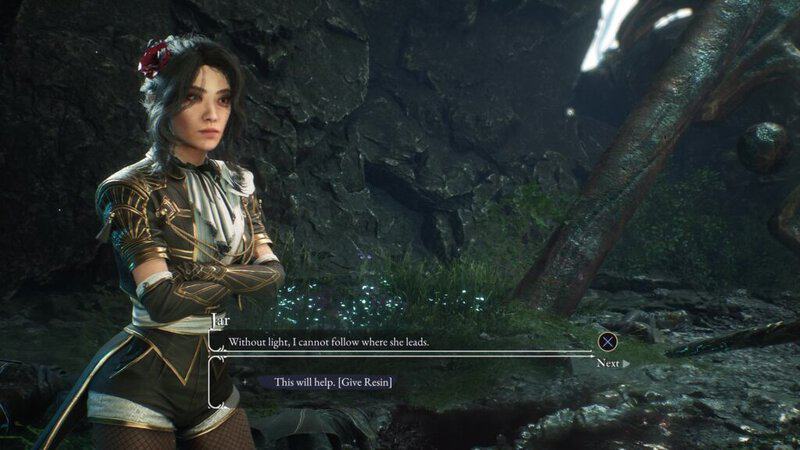
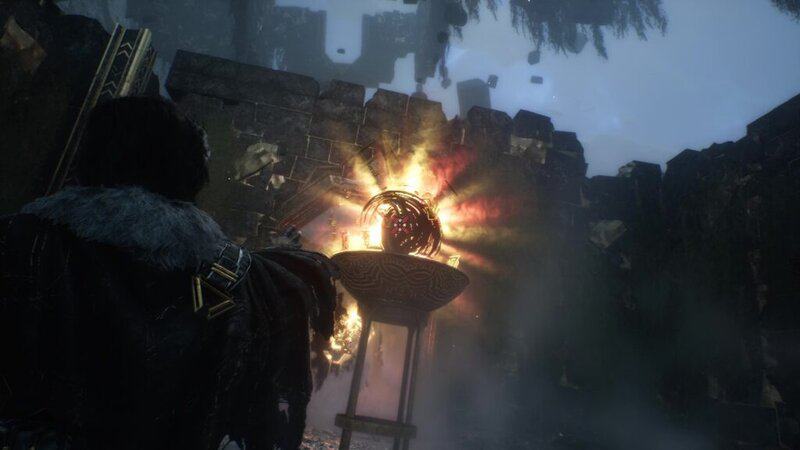
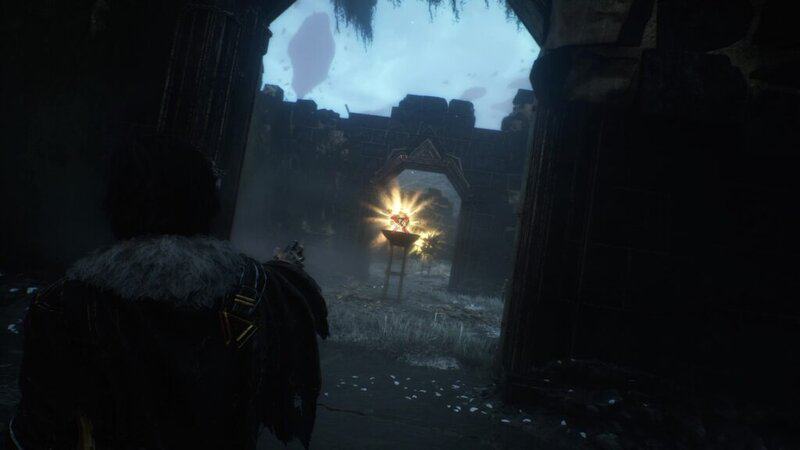
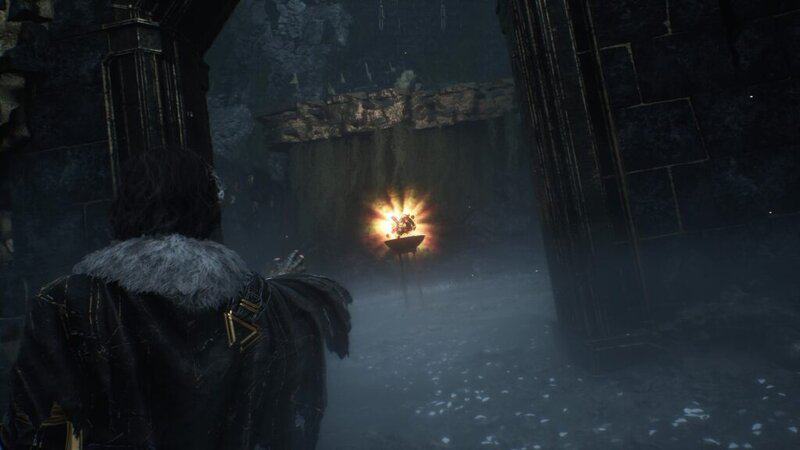
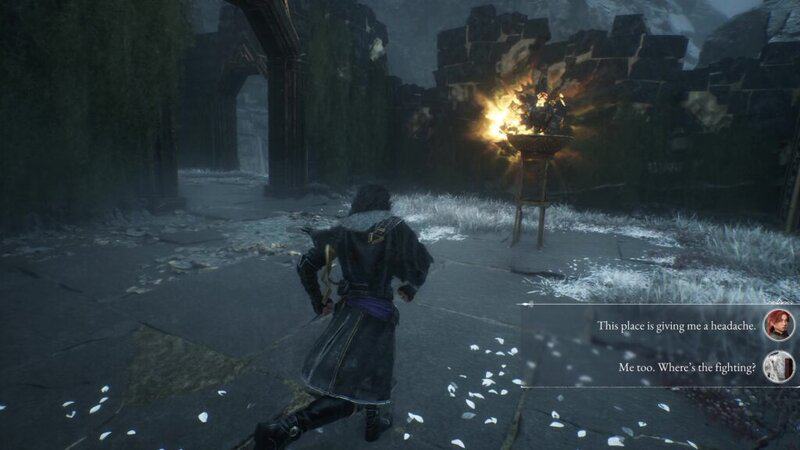
The white Jar can’t be missed since you will see it during a cutscene after making your way through the Grand Meadows of the Spring Meadows area. During the cutscene where you find your first Expedition Log, you will find the white Jar. Talk to the Jar and at the end of the dialogue, you will be told to bring the Jar a light.
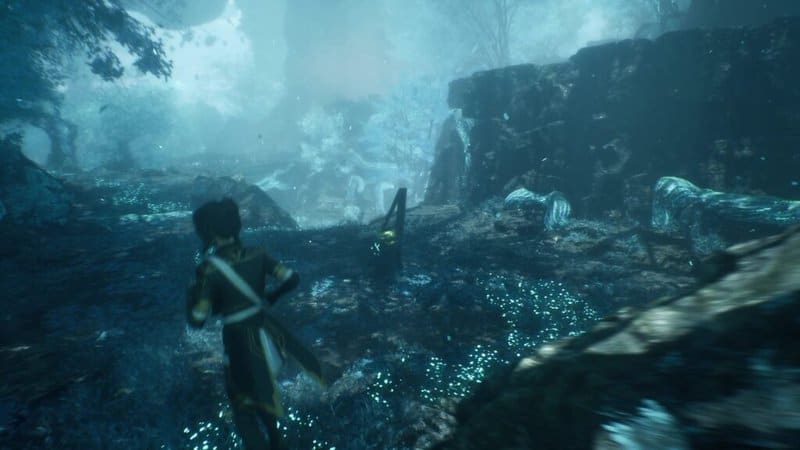
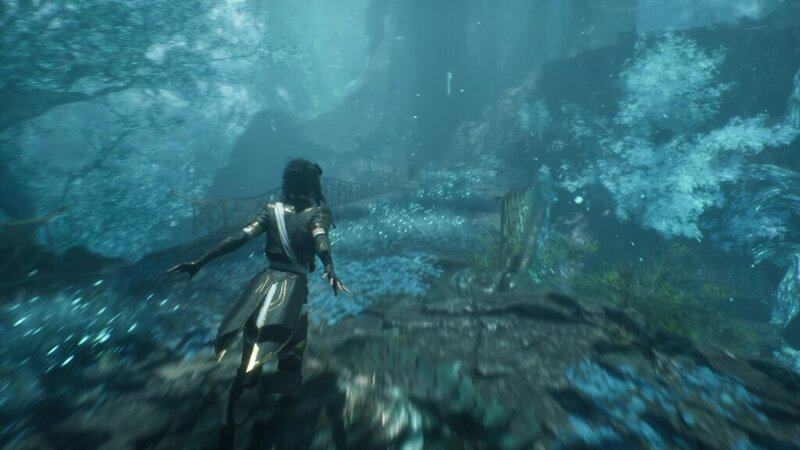
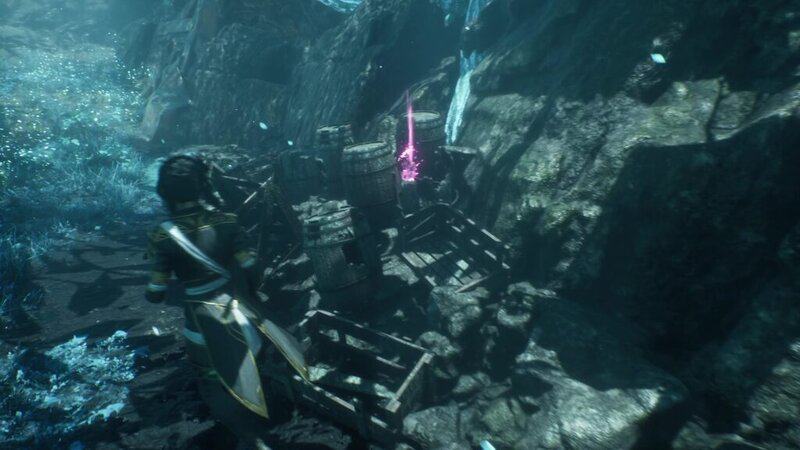
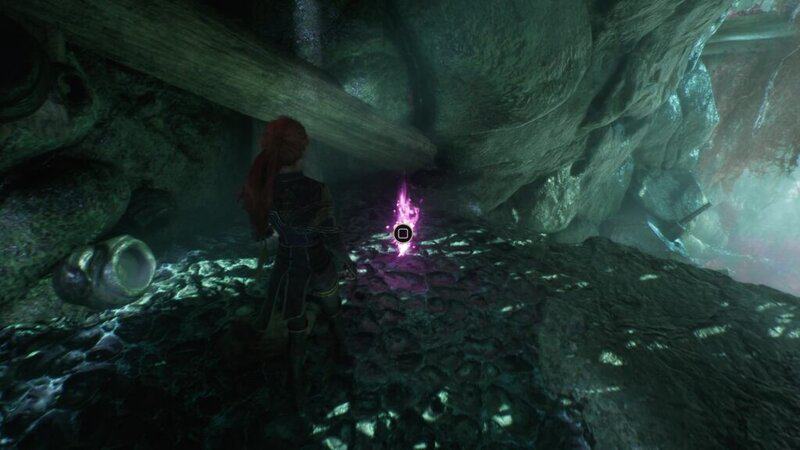
Go into the underground cave to the left of the Jar. Once in the blue cave, turn to the right and go down the path. At the bottom of the path, turn right to see a bridge. Go across the bridge and follow the path and you will see a pile of crates and barrels to the right. In the pile is a purple item that you can pick up. This is the Resin that you need to give to the Jar.
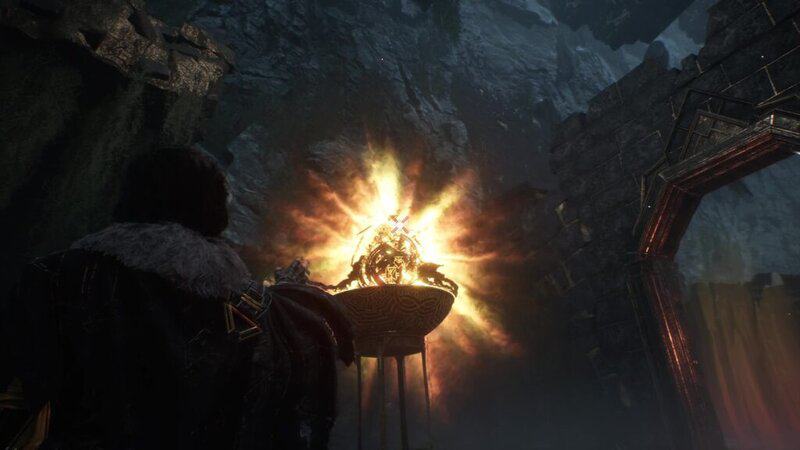
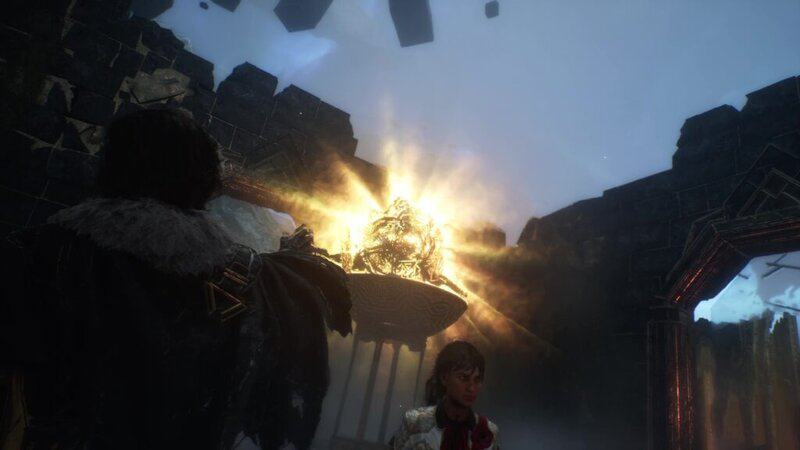
Go back to the Jar and give them the Resin. The Jar will stand up but their lantern still won’t be lit. Use your Free Aim and shoot the lantern to light it. You will get a dialogue scene where you can learn about the Paintress. After a short time, the lantern will go out. While it doesn’t have a light anymore, the Jar will reward you for helping it by giving you a Healing Tint Shard, which you can use to increase the number of Healing Tint items.

Demineur
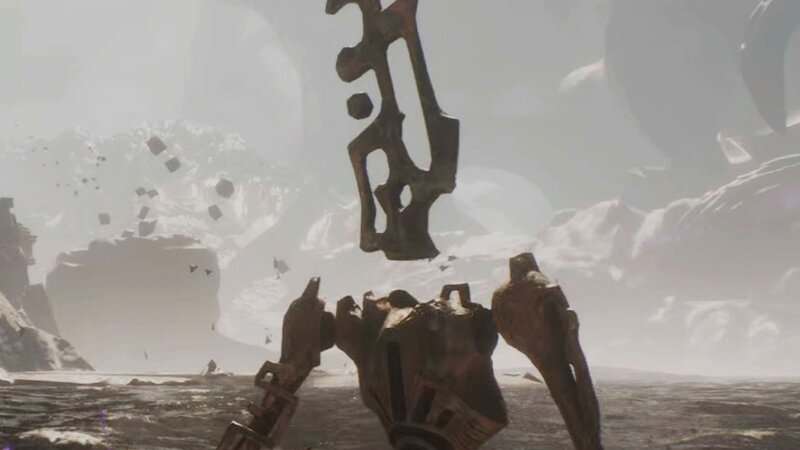
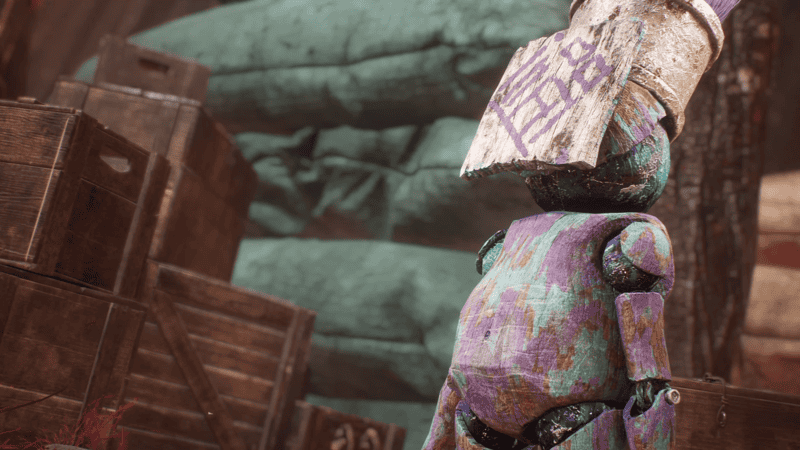
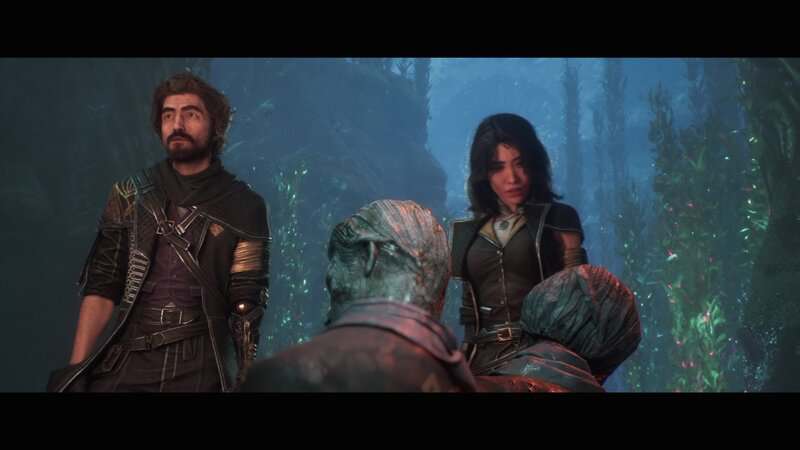
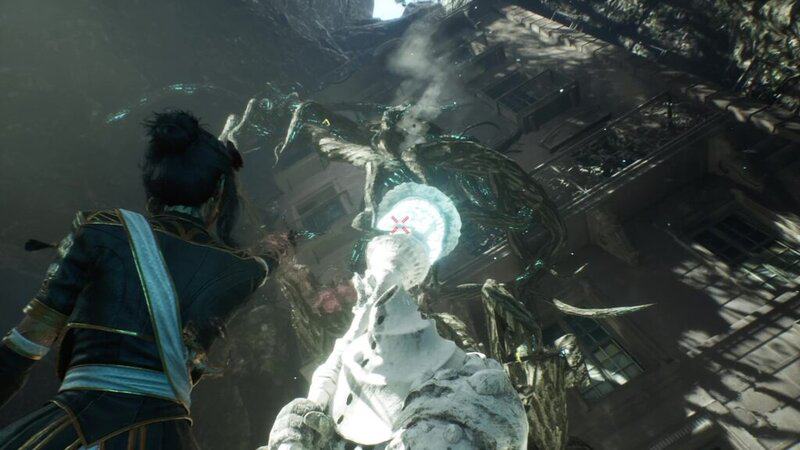
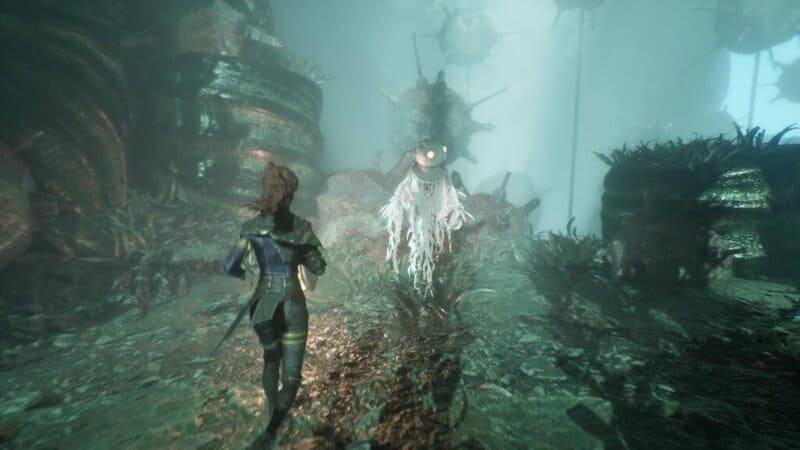
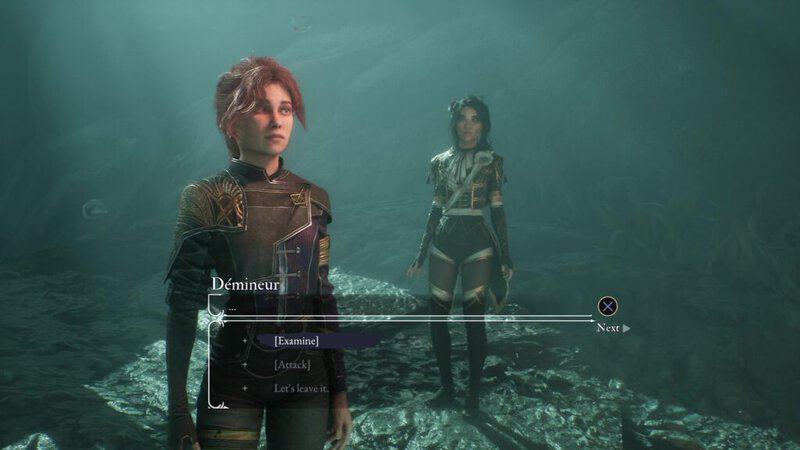
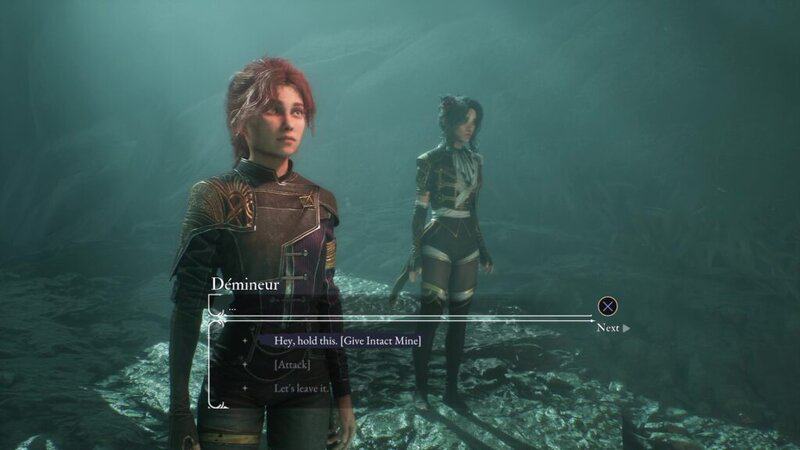
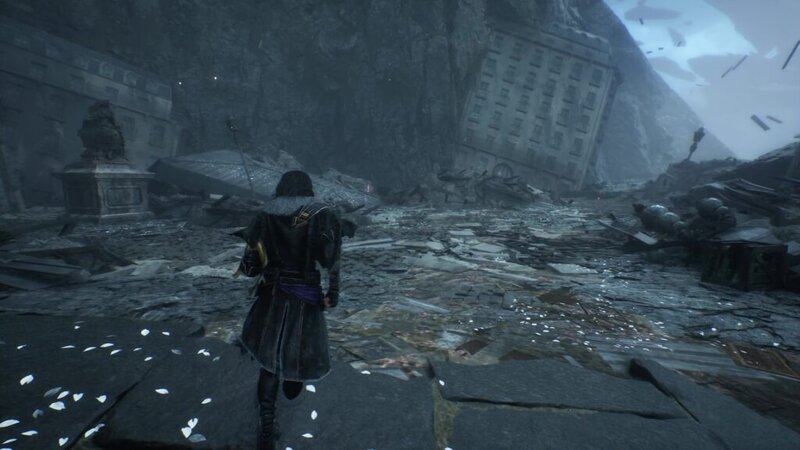
The white Demineur is found to the right of the destroyed boat that you are meant to travel through after reuniting and recruiting Maelle to the party. After meeting with Maelle and Noco, the Gestal merchant, go down the path behind Noco and left of the Expedition 59 Flag to find a large opening with a serpent that flies overhead. Go to the left to find the destroyed ship and then turn right. You will find a circular passage that leads up to the top of a cliff. You will find the Demineur. Talk to them and select the Examine option to learn that the Nevron is missing its mine. You will need to find the mine to restore the Demineur.

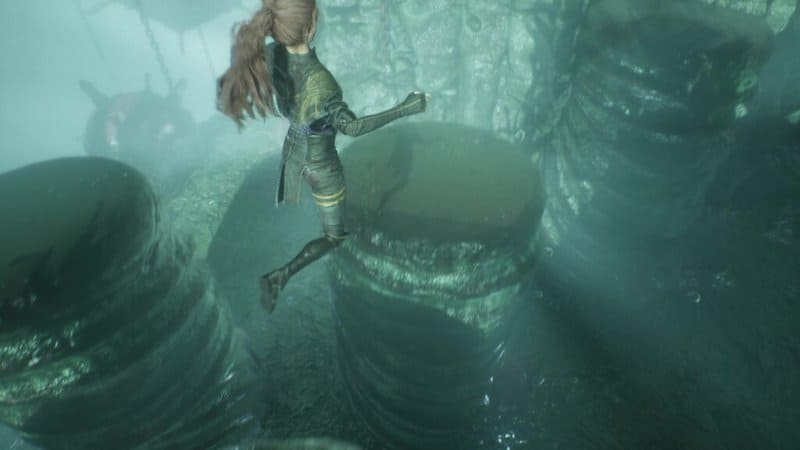
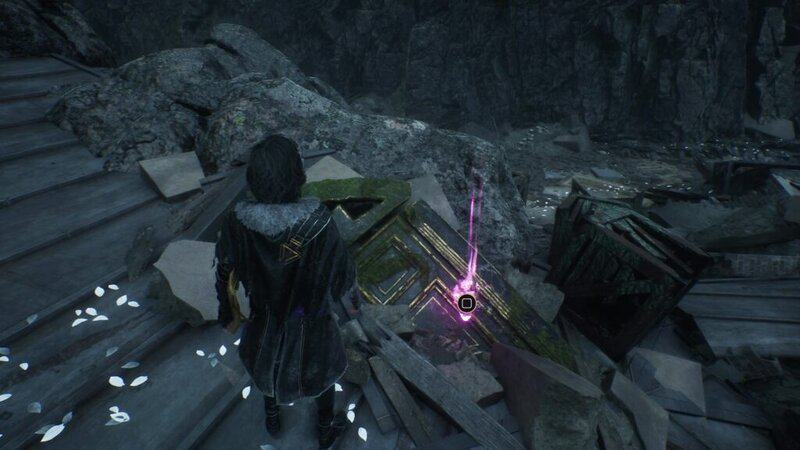
Look to the right of the Demineur to find a series of platforms that you need to jump across. Once you reach another cliff across the series of cylinders, turn to the right and you will see a purple item off in the distance. Make another series of jumps over to another nearby cliff and you will be able to reach the item. This is an Intact Mine.

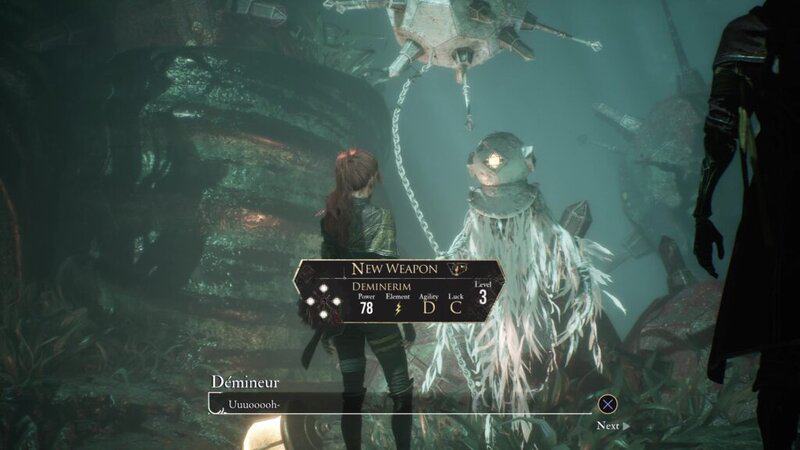
Go back to the Demineur and give them the Intact Mine. You will be given the Deminerim weapon for Lune.
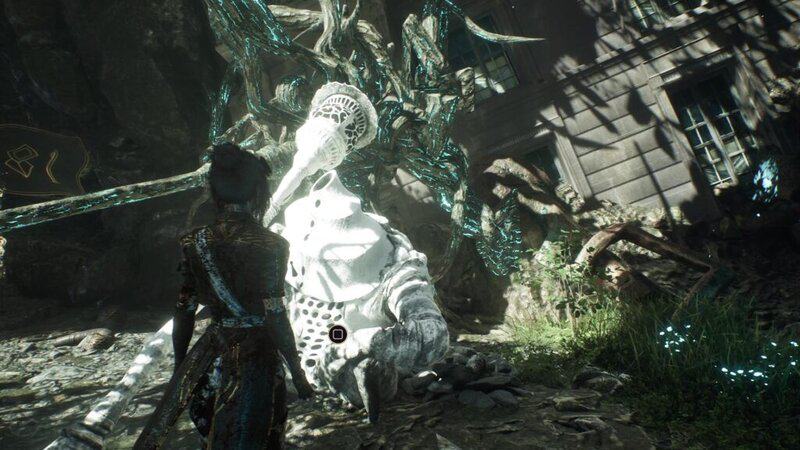
Bourgeon
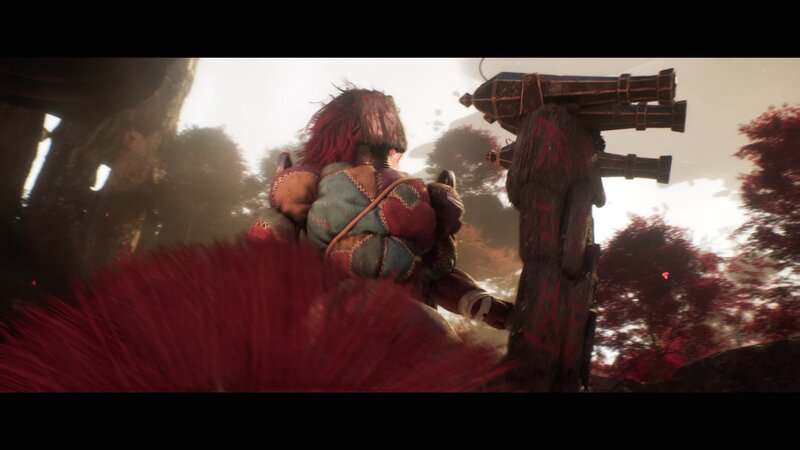
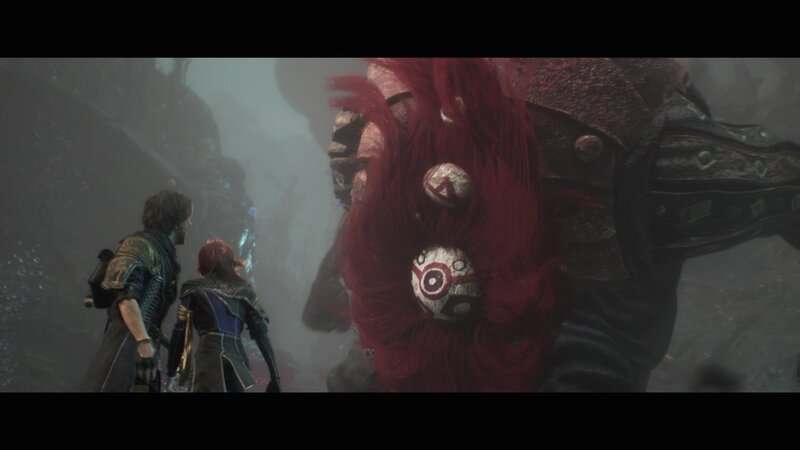
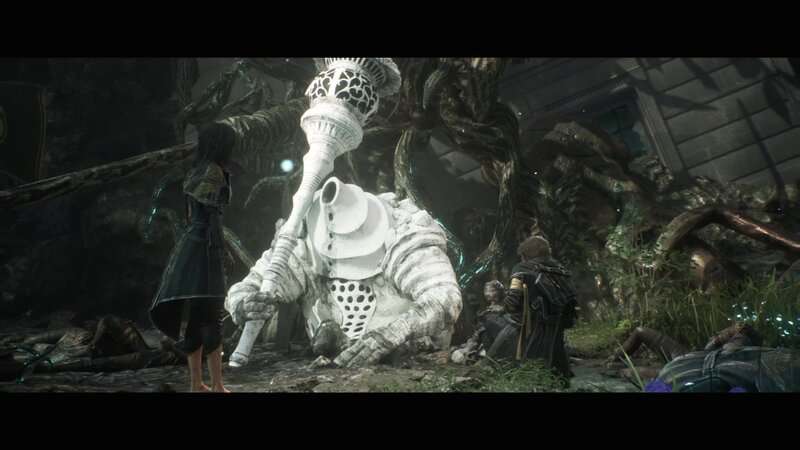
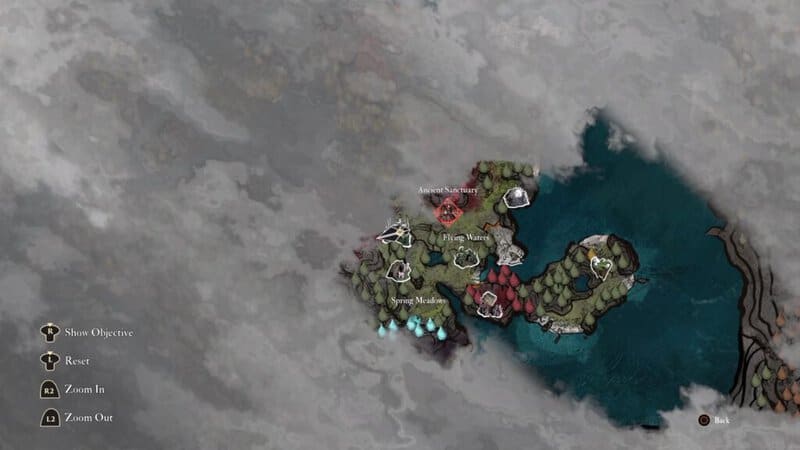
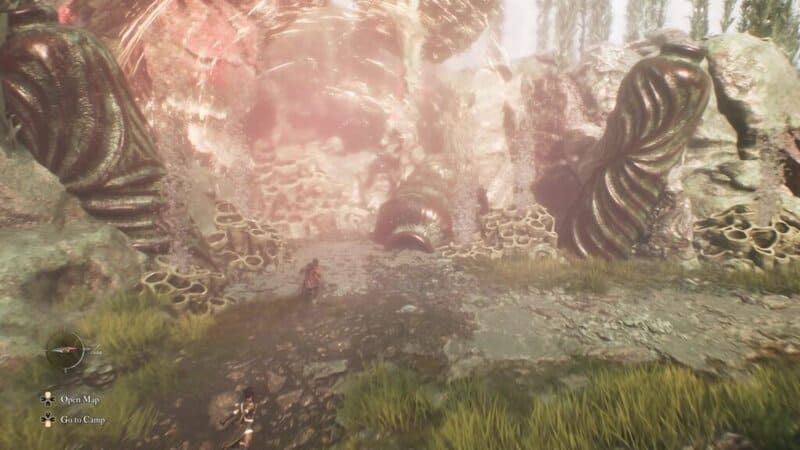
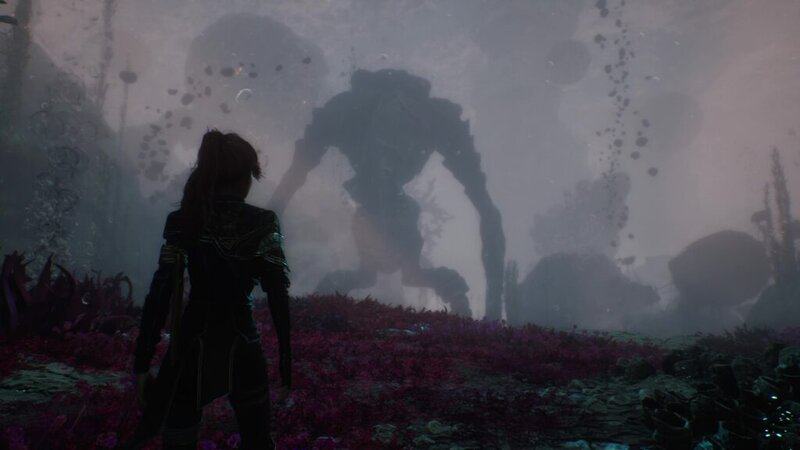
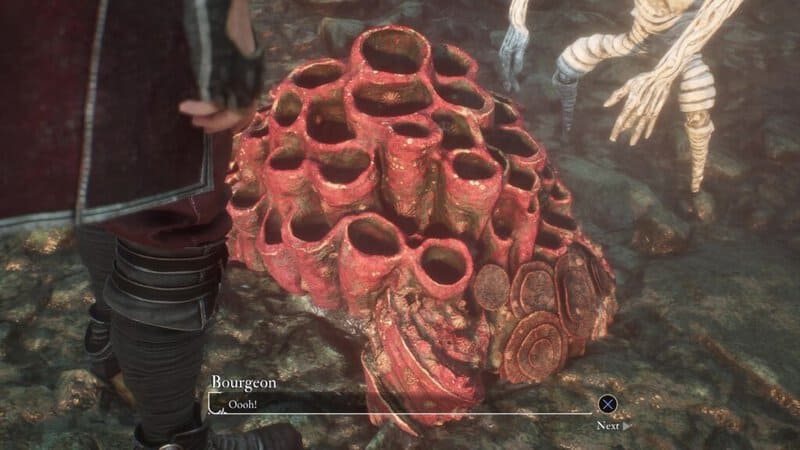
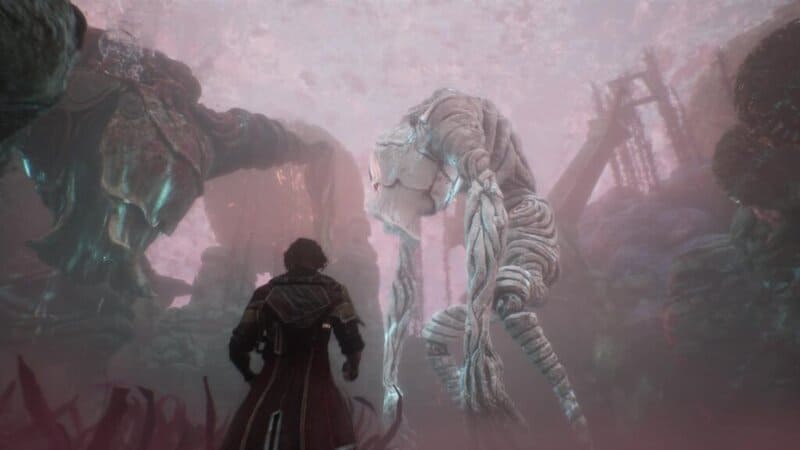
The white Bourgeon can be found in The Small Bourgeon area to the west of the Flying Waters area. This is a small single room area that has the corpse of a giant Bourgeon in it and a much smaller white Bourgeon underneath it.
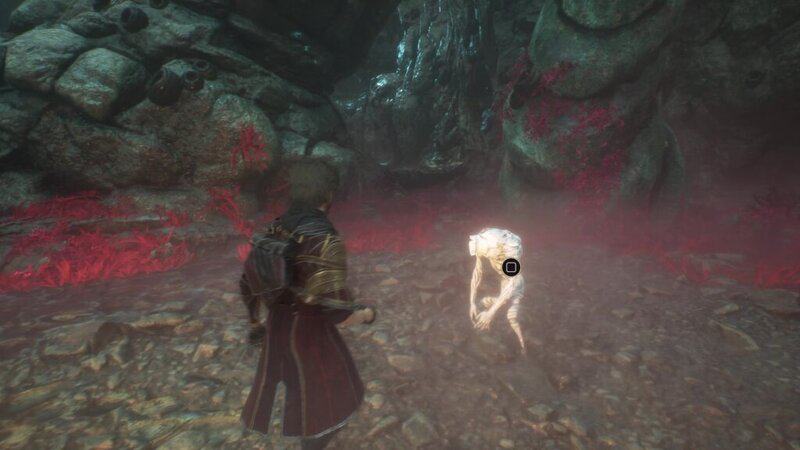
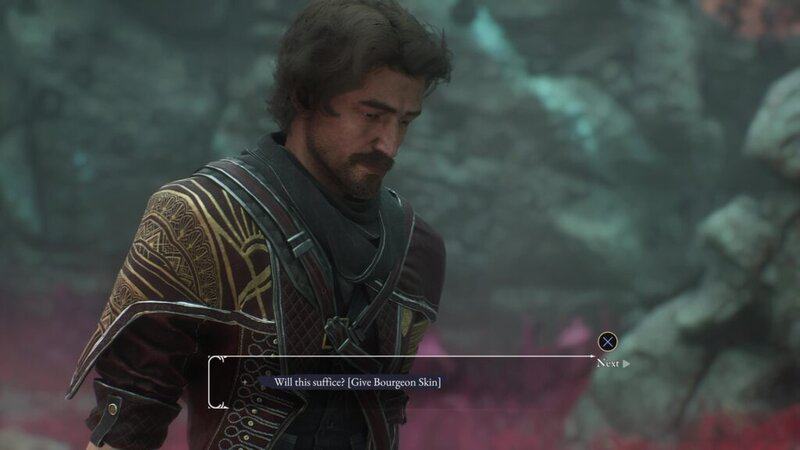
You can talk to the small Bourgeon who wants to be big like his dead brother. To do this, it needs to eat Bourgeon Skin.
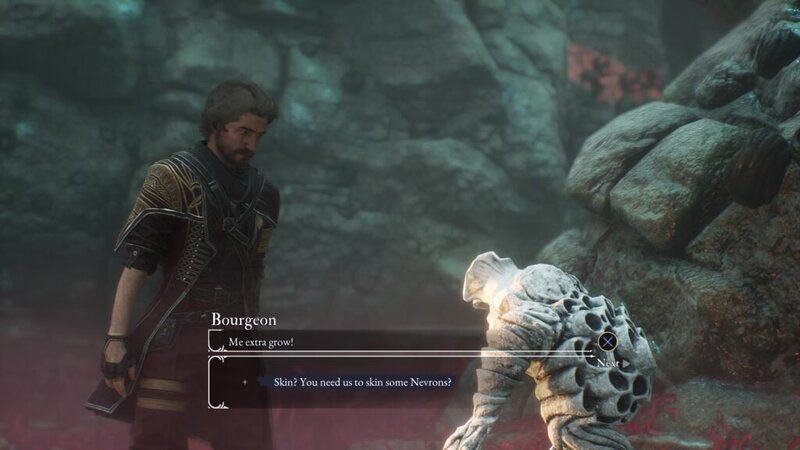
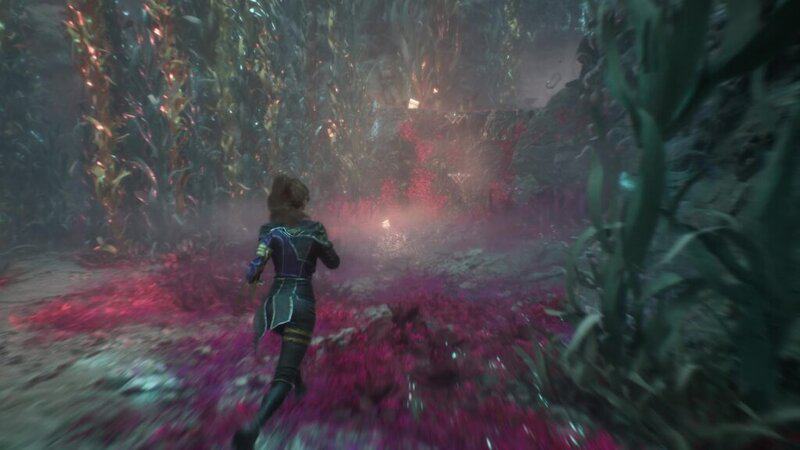
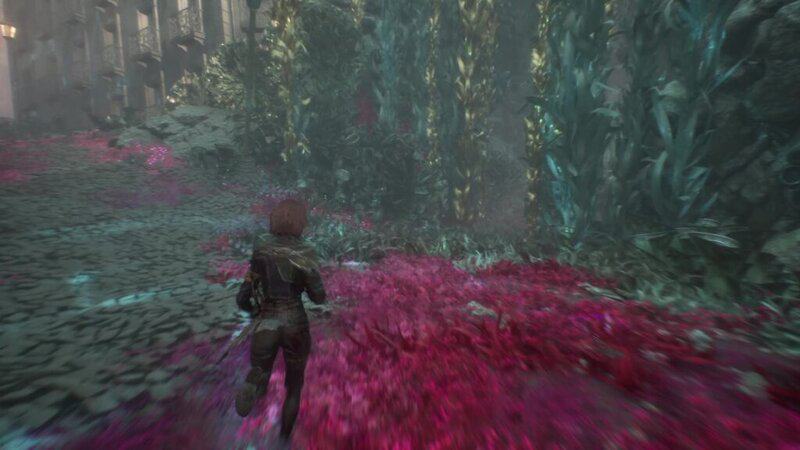
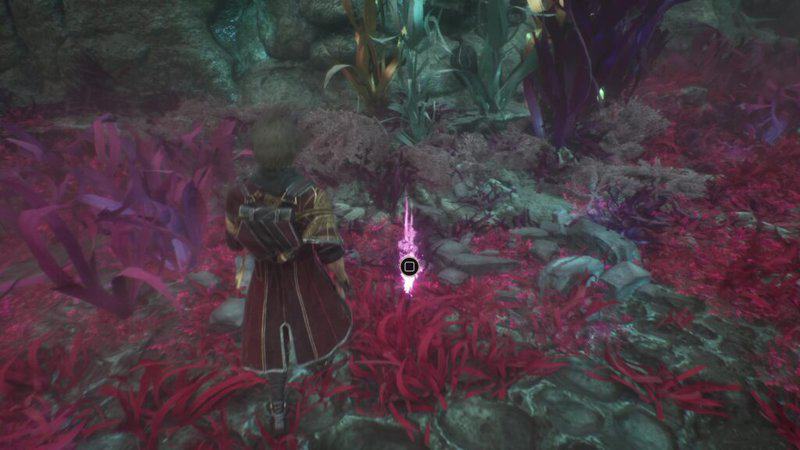
Bourgeon Skin can be collected by defeating any Bourgeon in the game. These are recurring mini-bosses that can be found at multiple locations. The earliest one you can fight is in the Flying Waters. After going past the Expedition 68: Coral Cave Flag, you will exit the cave and see a giant Bourgeon off in the distance. To reach this enemy, turn to the right and climb the wall at the end of the path. At the top of the wall, the path will split with some buildings and street lamps on the left and a seaweed-covered path on the right. Follow the seaweed path and you will reach a Bourgeon.

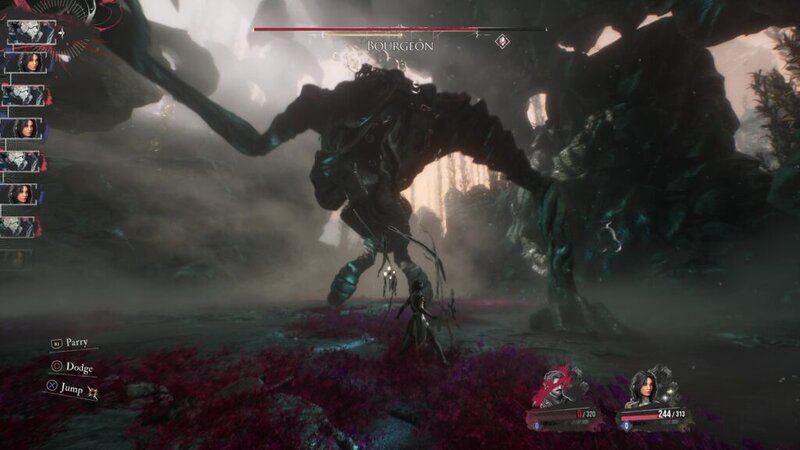
The Bourgeon has a pretty sizable moveset but these combos that the boss can throw at you actually just combine several pretty easy to recognize attack patterns. The only difference is that the length of the combo changes the order of the attacks. Once you recognize this, countering the Bourgeon becomes super easy. The Bourgeon has 4 combo attacks: a 3-hit combo, a 4-hit combo, a 5-hit combo, and a “crushing combo” which has a total of 6 attacks.
To counter these combos, you will need to watch for which hand the Bourgeon is using. The Bourgeon’s right hand will perform 3 rhythmic fist slams while the left hand opens with a palm slam and then a fist slam that has a bit of a delay before quickly coming down. The boss also has a head slam where it pulls its head back before quickly slamming it on the ground. These are the moves that are mixed and matched in the combo. The 3-hit combo is just the right-hand attacks. The 4-hit combo opens with the head slam before going into the right-hand sequence. The 5-hit combo is the right-hand sequence before switching over to the left hand. The “crushing combo” is all the moves in one. This combo goes right-hand sequence, left-hand sequence, then head slam. Learn these combos and you’ll be able to counter them in no time.
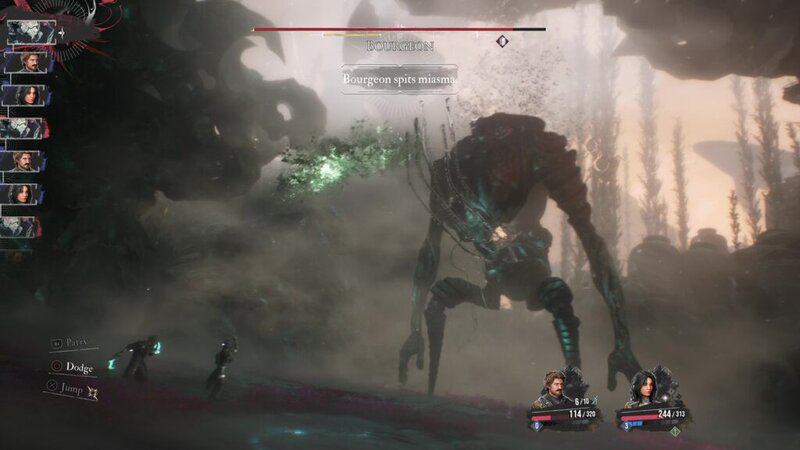
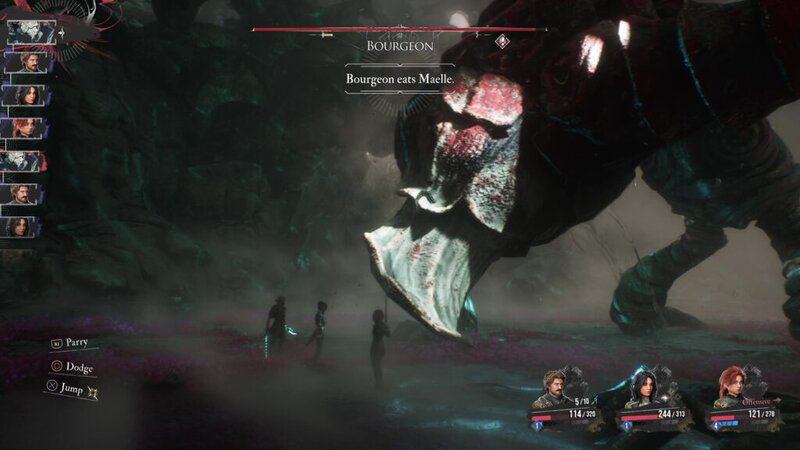
There are two other moves that you need to look out for. The first one is the Miasma Spit. This will see the Bourgeon shoot out a ball of spit in an arch toward a party member. There will be a total of 4 spits which will change targets during the sequence. The other move is when Bourgeon eats a party member. This cannot be dodged or parried and will remove the party member from the battle. You can get your party member back by Breaking the Bourgeon.
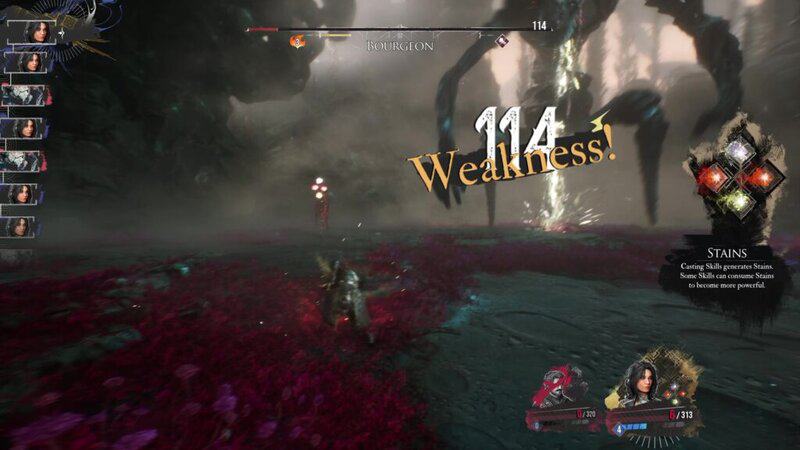
Now that you know how to defend yourself, it’s time to learn how to take down the Bourgeon. This enemy doesn’t have any Resistances or Immunities so any attack will do damage to it, but it is weak to Lightning damage. So, I suggest equipping any Lightning-based weapons and using Lune’s Thunderfall attack to deal massive damage. While dealing Lightning damage, build up Gustave’s Overcharge gauge and use Overcharge to Break the Bourgeon. Once broken, just keep exploiting the enemy’s weakness and you should be able to take the enemy down.
Once the Bourgeon is defeated, you will collect the Bourgeon Skin. Take it back to the Small Bourgeon and give them the skin. They will thank you and tell you to come back later.
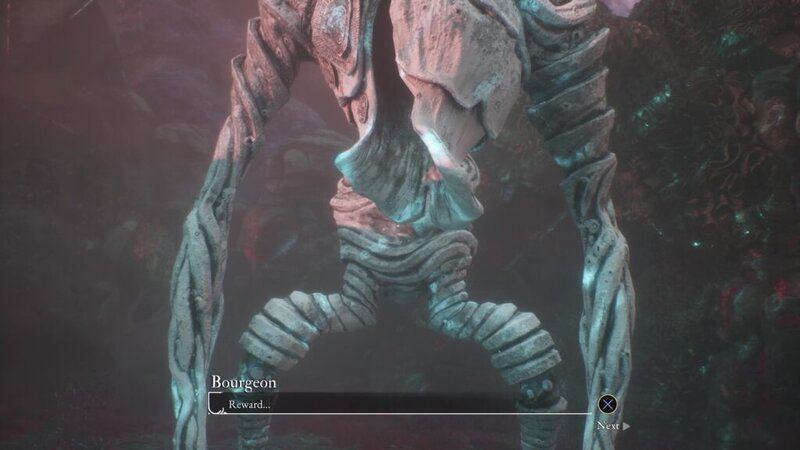
You don’t need to wait for any time for this quest to progress. Just leave The Small Bourgeon area and then immediately reenter. You will find the once small Bourgeon has grown to full size. Talk to the Nevron and they will thank you. They will then spit up a Colour of Lumina upgrade material as a reward.
Hexga
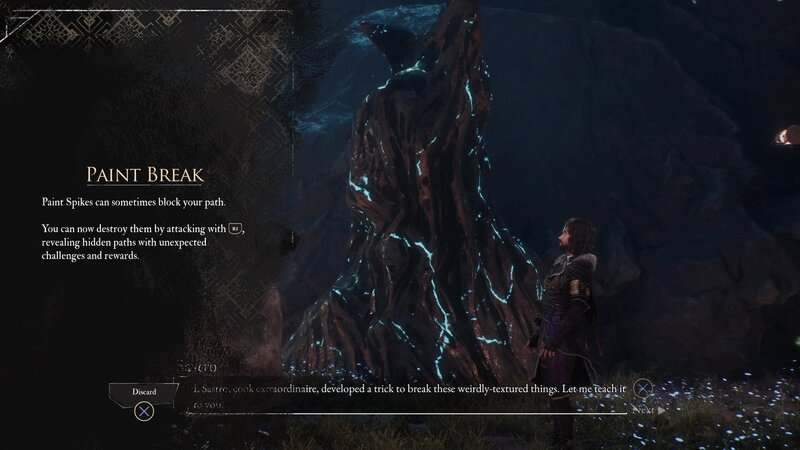
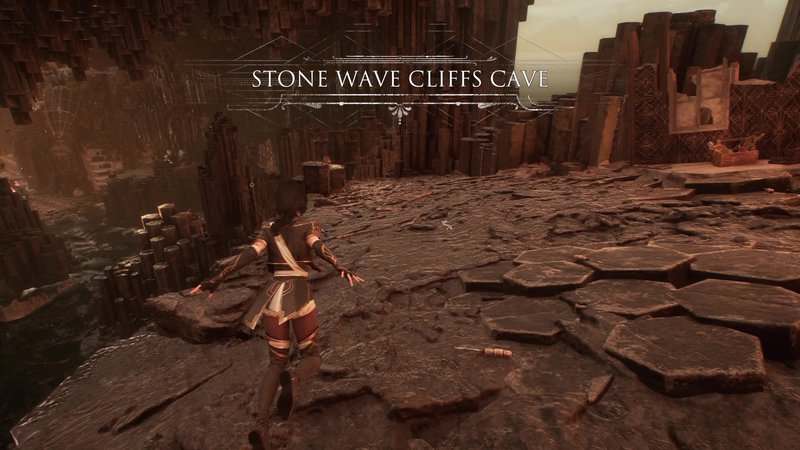
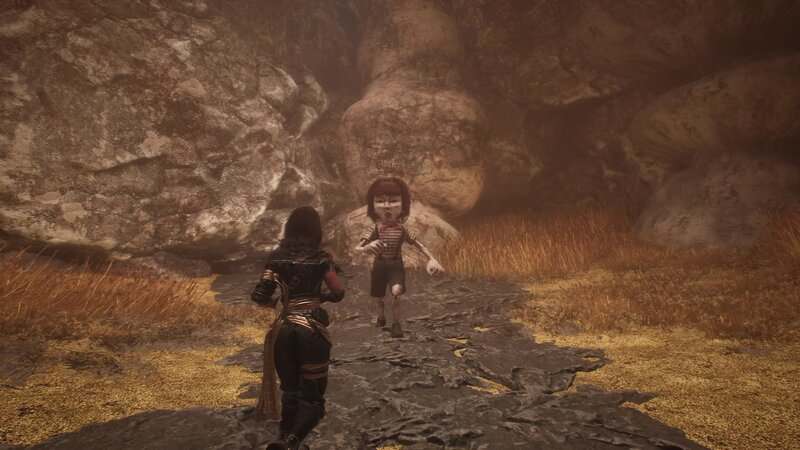
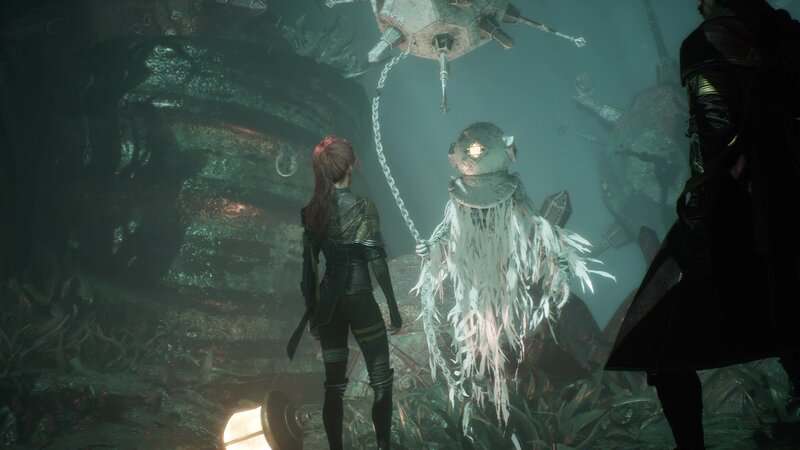
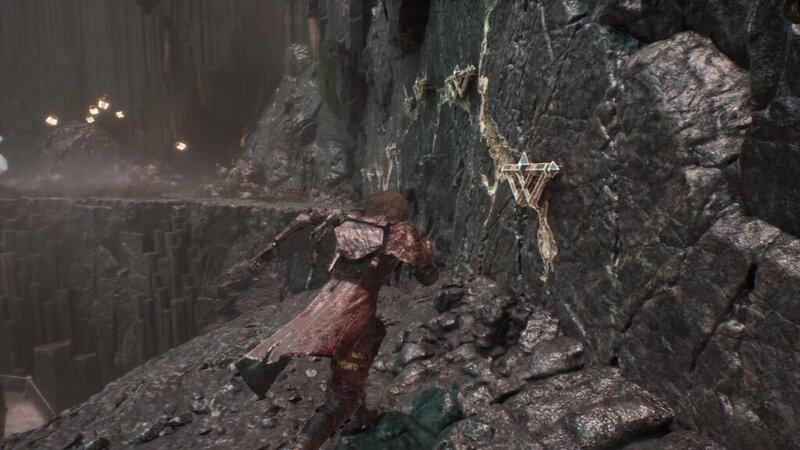
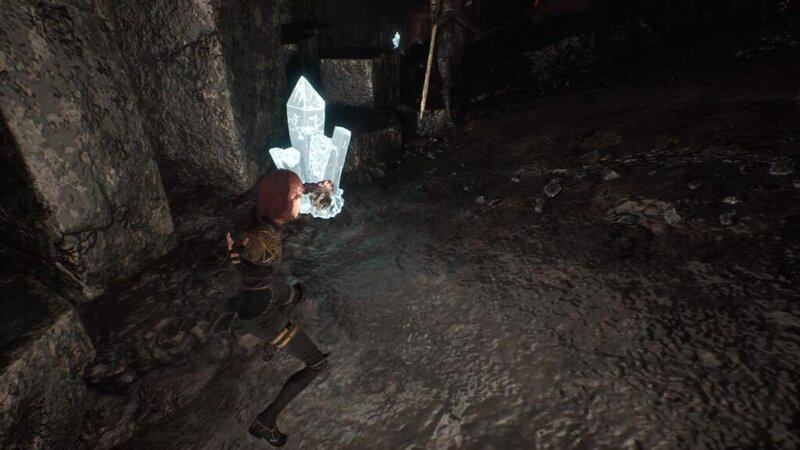
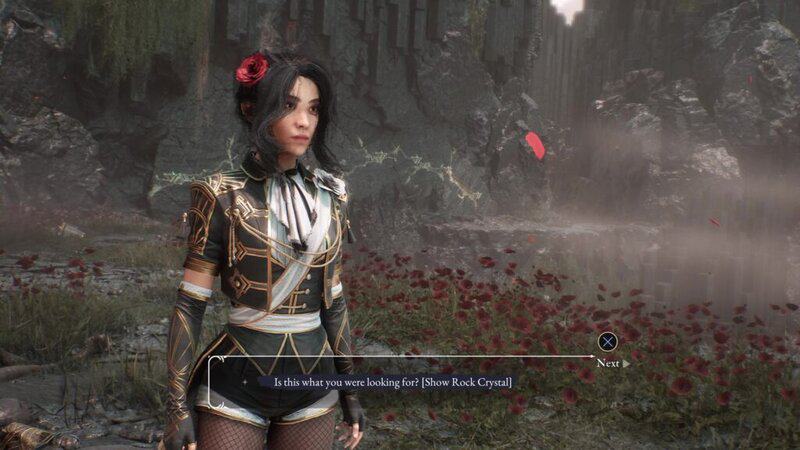
The white Hexga Nevron can be found in the Stone Wave Cliffs area and is found beyond the Old Farm region near the Expedition Flag of the same name. After passing the farm, you will need to climb across a cliff wall. To the left of the end of this climb is a Hexga that is buried in the ground. This creature will tell you to collect 3 Crystals from a nearby cave. Go through the passage to the right of the Hexga to reach the Tide Caverns Expedition Flag and to go down into the caverns below via a light rope.
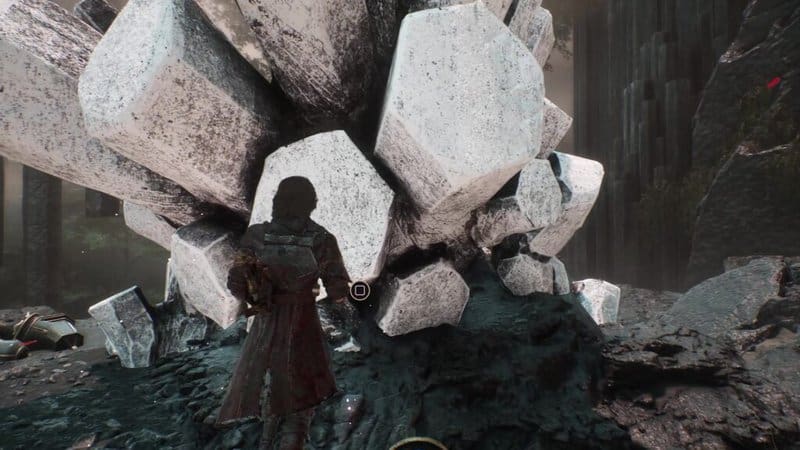
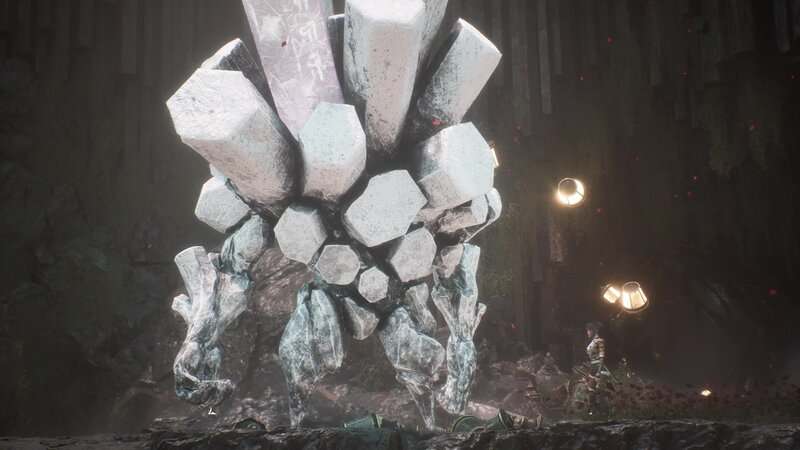
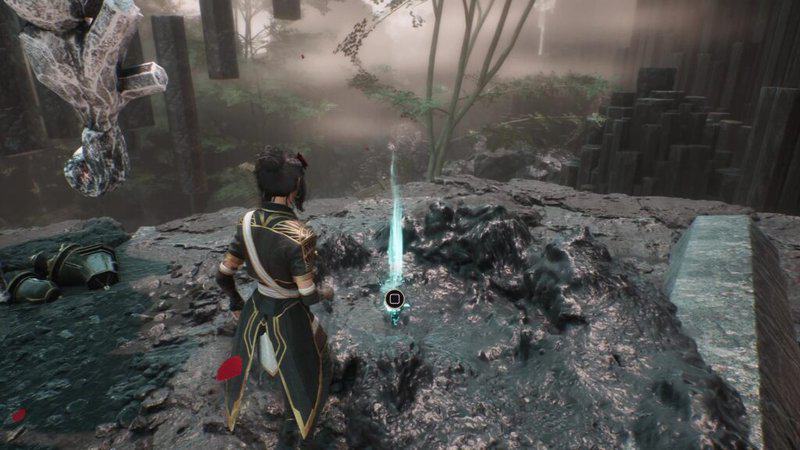
Once you reach the bottom of the rope, you will be able to see a crystal along some black rocks. Use your attack button to break this crystal and pick up a Crystal Shard.
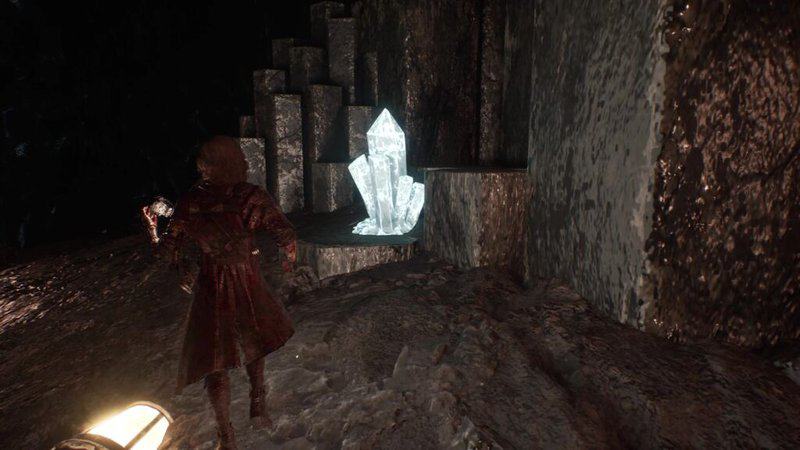
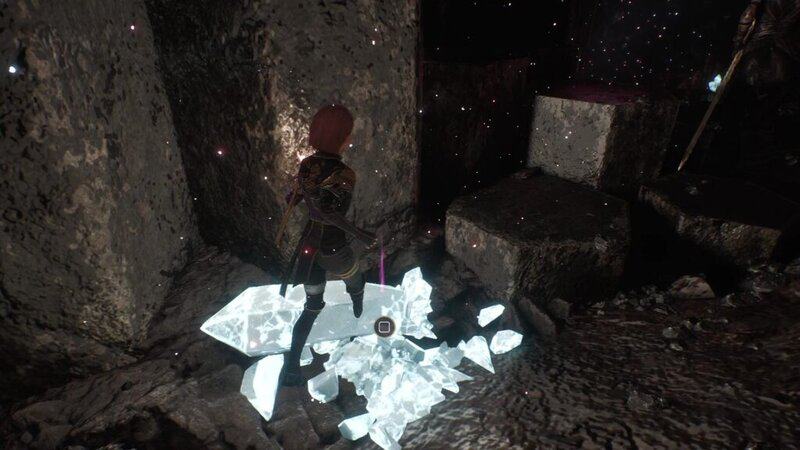
To the right of the crystal are two slopes, one going up and the other going down. Follow the ascending slope and stick to the rocks on the left to find another crystal. Break it and pick up the shard.
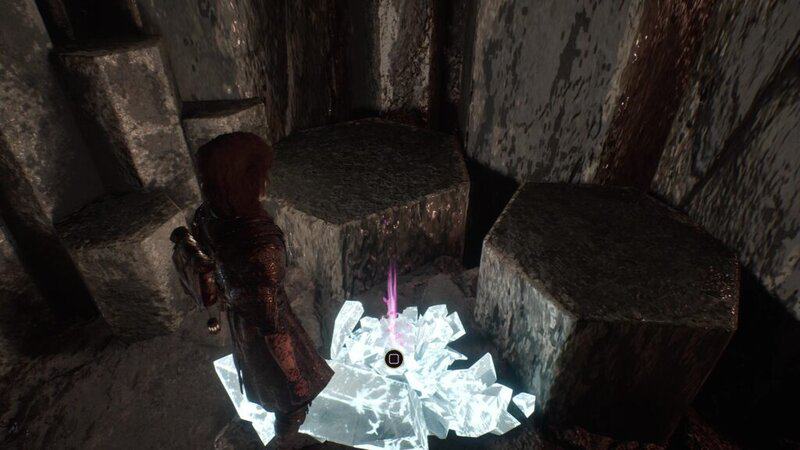
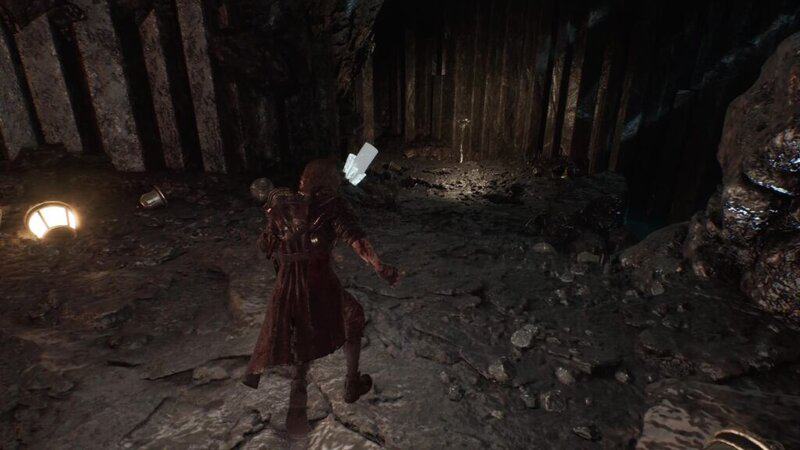
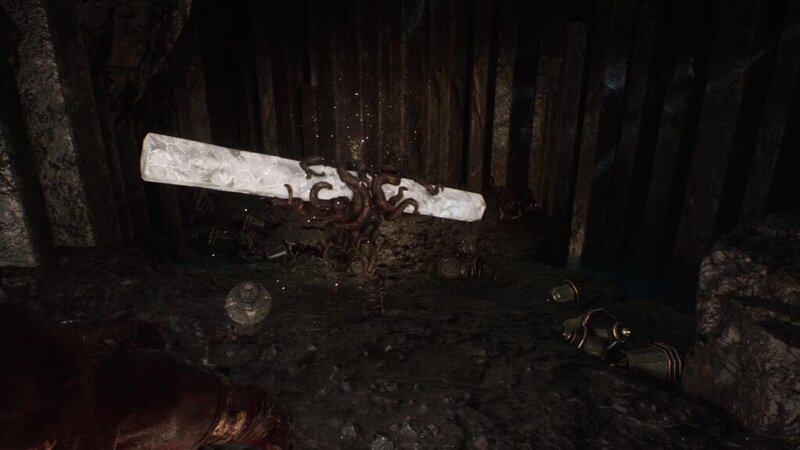
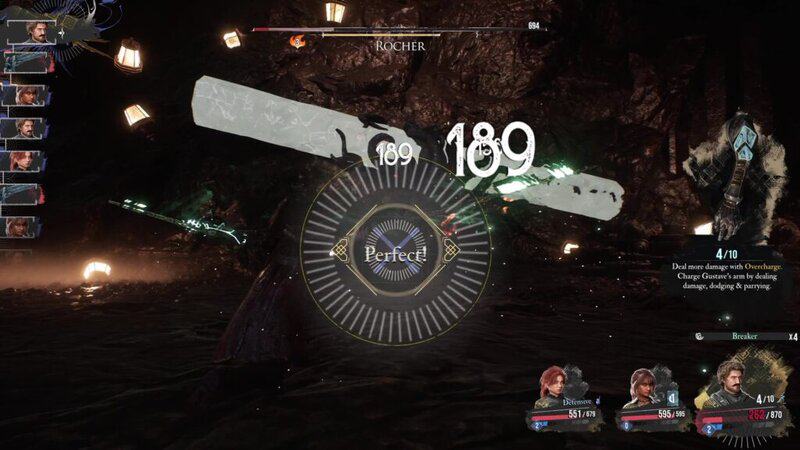
Go back to the first crystal and follow the descending slope. You will see a crystal sticking out of the ground, but unlike the others, this one will jump out of the ground. The Rocher that this crystal is attached to will attack you. Defeat the Rocher to get the Crystal Shard.
Now that you have the 3 crystals, return to Hexga and give them to the Nevron. Hexga will then jump out of the ground and allow you to take the Auto Shell Pictos from the hole that the Nevron was stuck in.
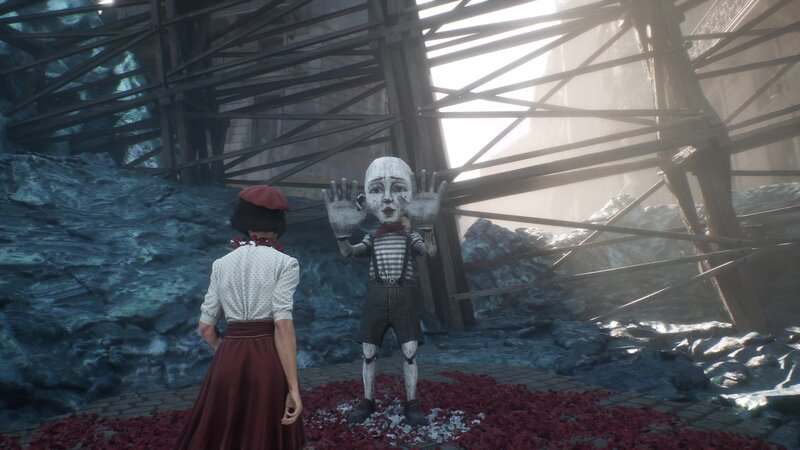
Troubadour
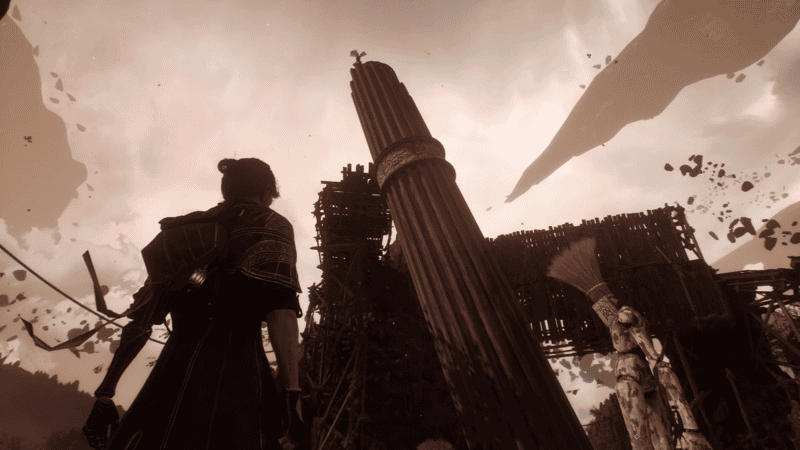
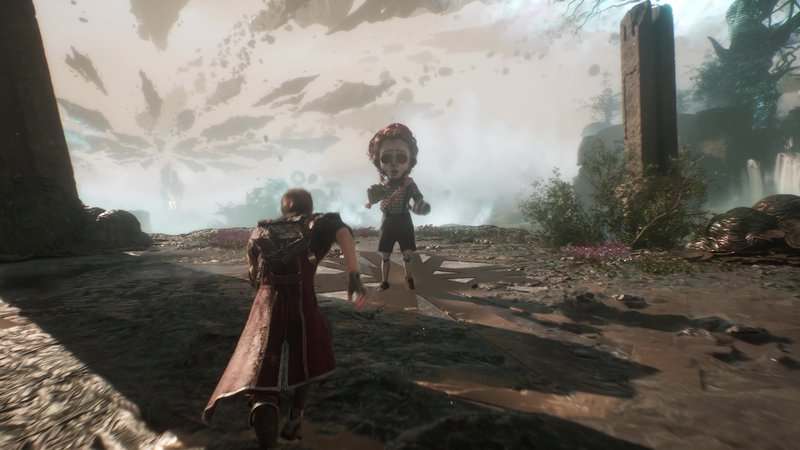
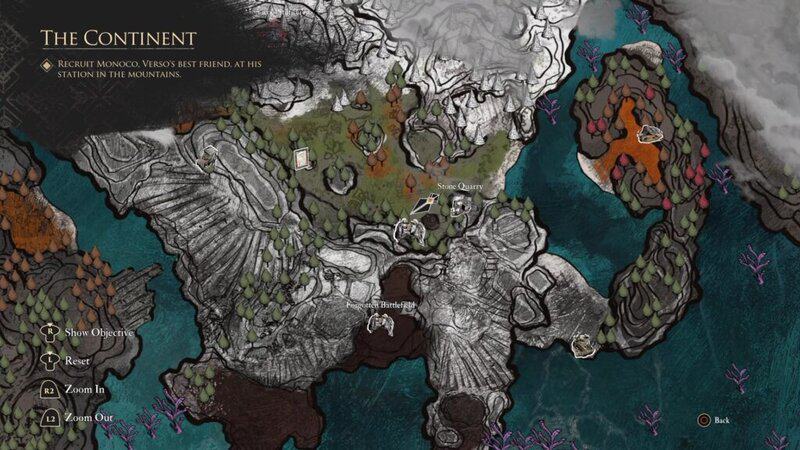
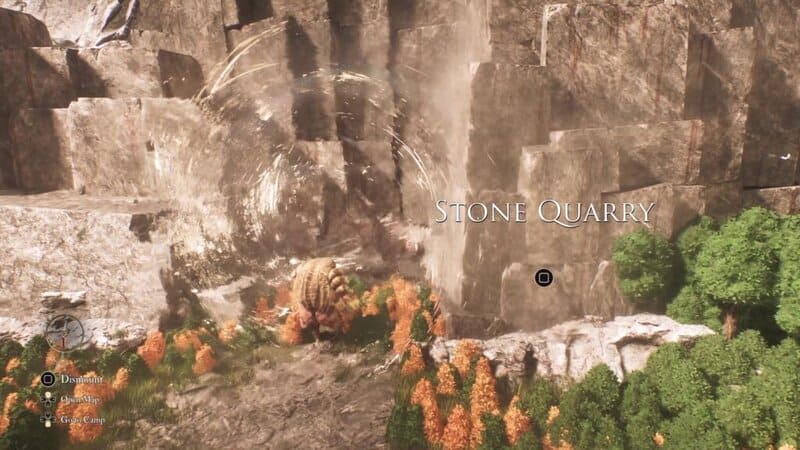
The white Troubadour is found in the Stone Quarry, the area to the east of the northern entrance to the Forgotten Battlefield.
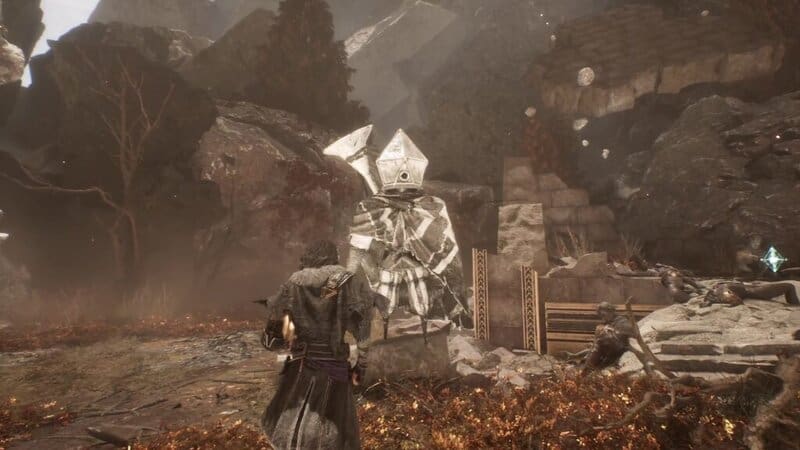
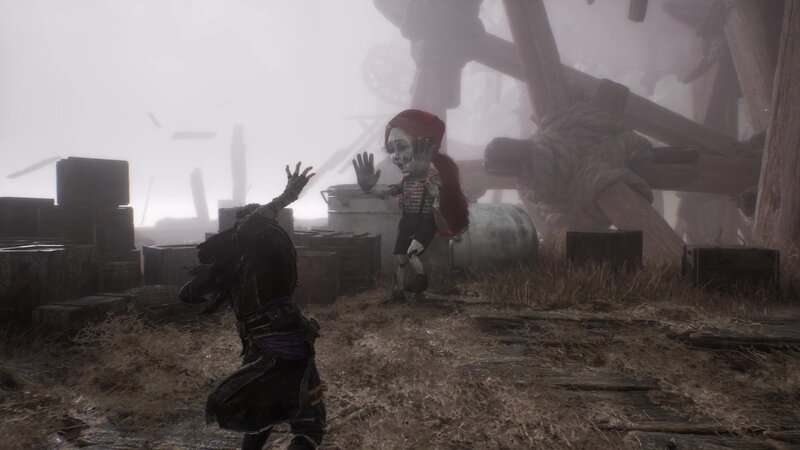
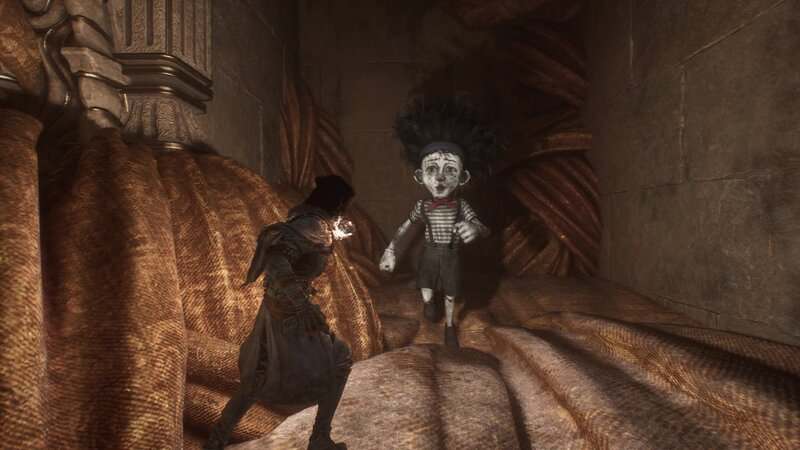
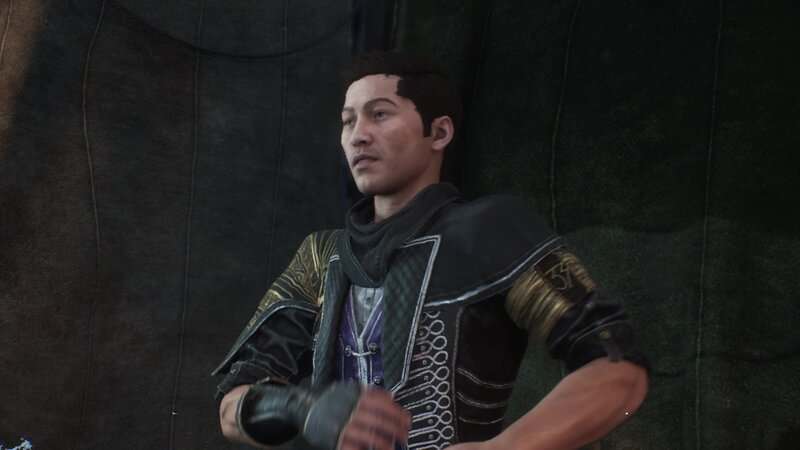
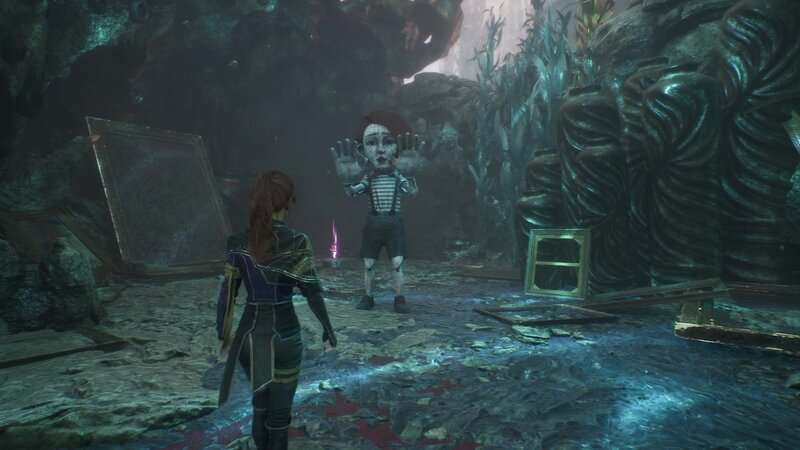
This is a small area that is filled with dead Troubadours, with the only living one being the white Troubadour. Talking to the Troubadour will reveal that he is trying to learn how to play his trumpet and you can offer to help.
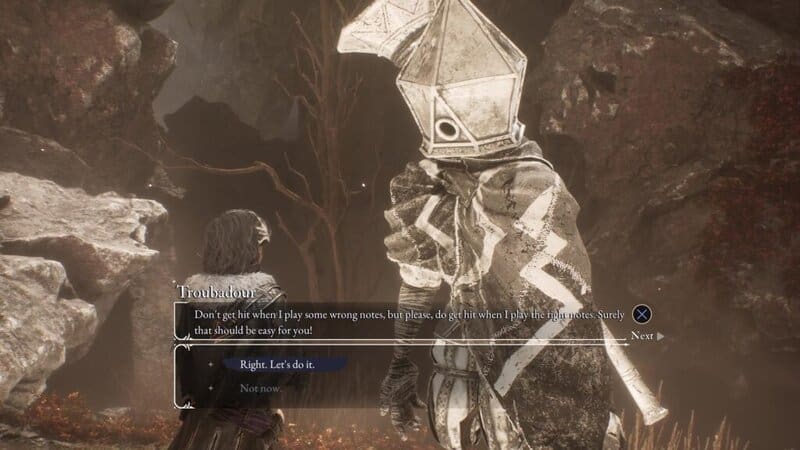
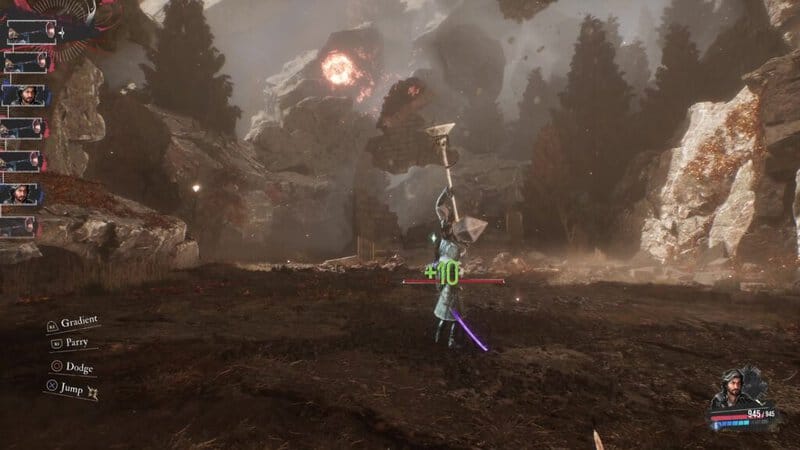
You will need to complete 3 trials where the Troubadour will shoot orbs from this trumpet at you. Some of these orbs will be red, and some will be green. Your job is to dodge out of the way of the red orbs and get hit by the green ones. If you get hit by any red orbs or dodge any of the green orbs, you will need to repeat the trial. Once you complete 3 trails, you will complete this challenge.
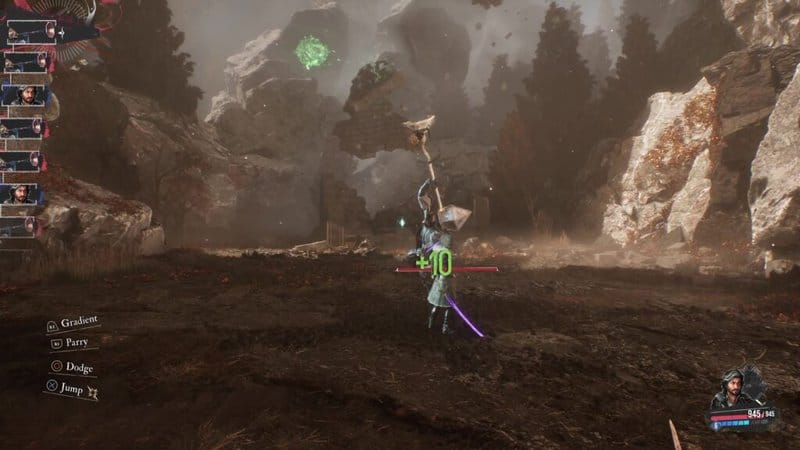
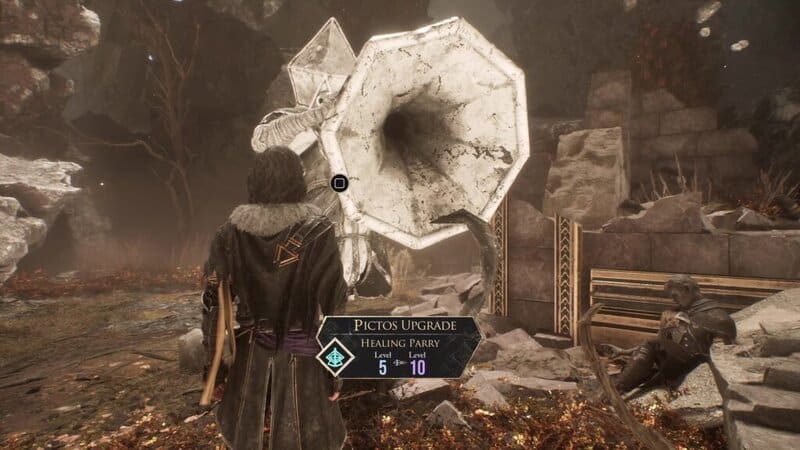
When you complete the trials, the Troubadour will now be able to play music from his trumpet. Talk to the Nevron and you will be given the Healing Parry Pictos as a reward.
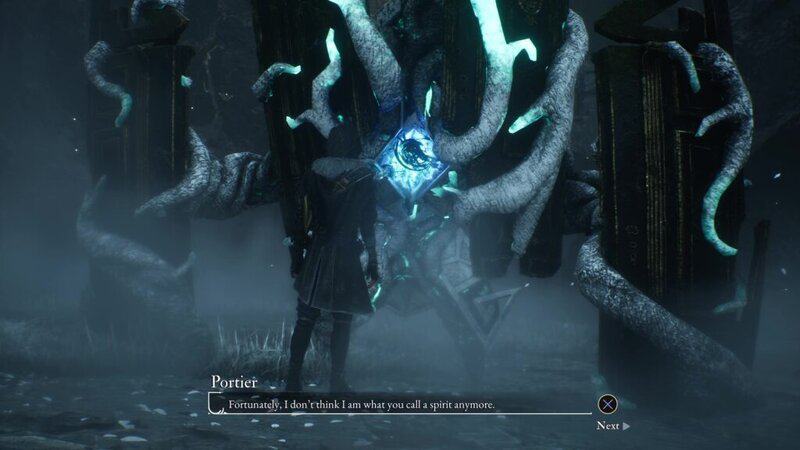
Portier
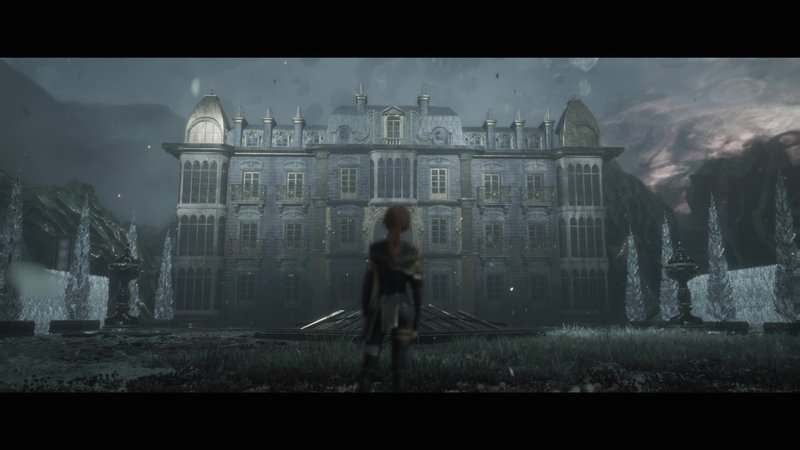
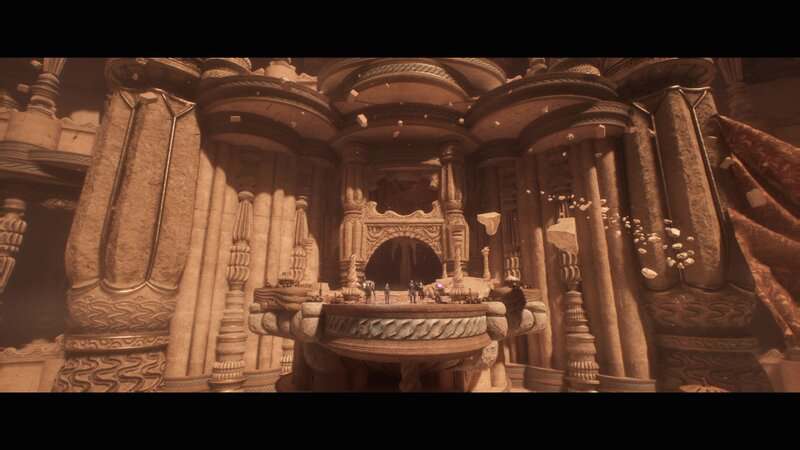
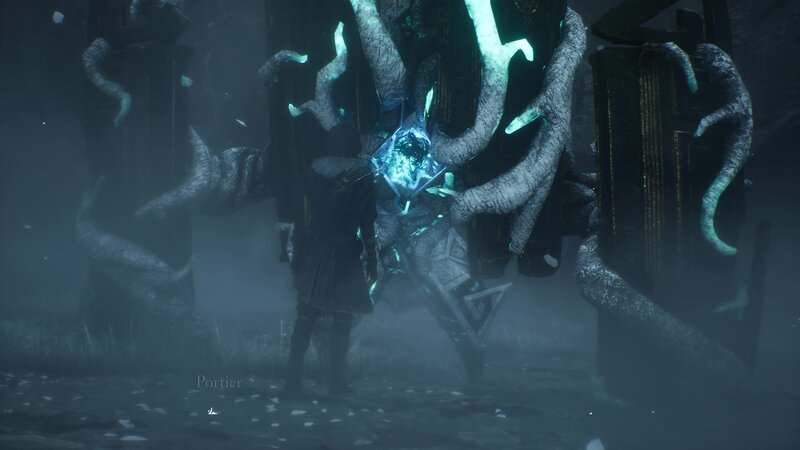
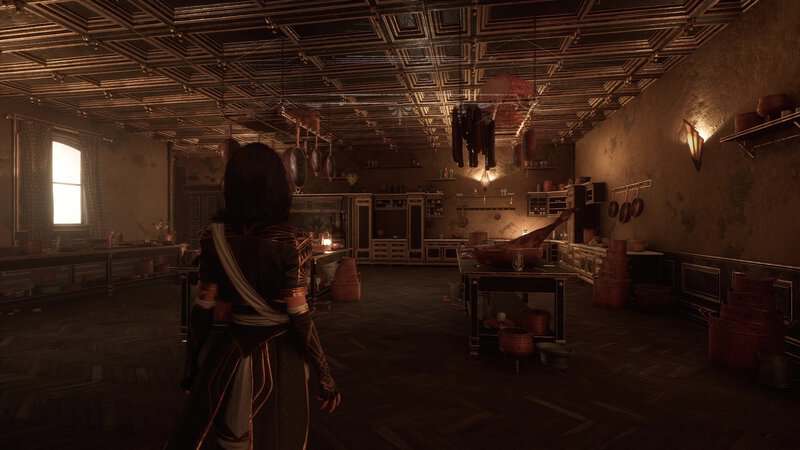
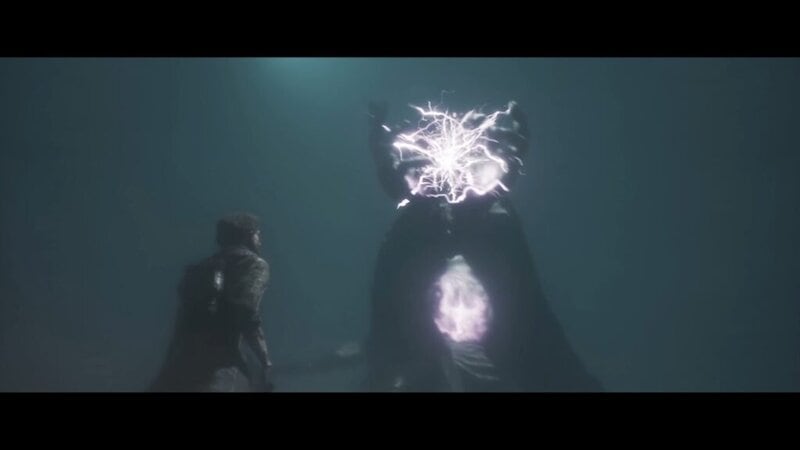
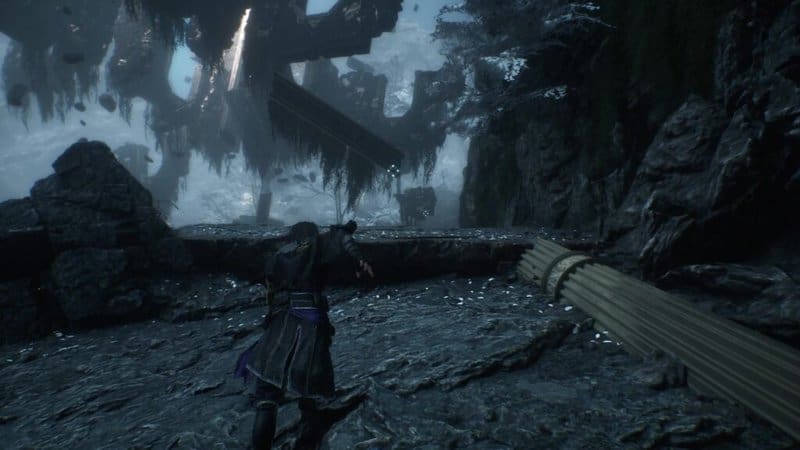
The white Portier can be found in the Esoteric Ruins, a location found to the west of Old Lumiere’s southern entrance.

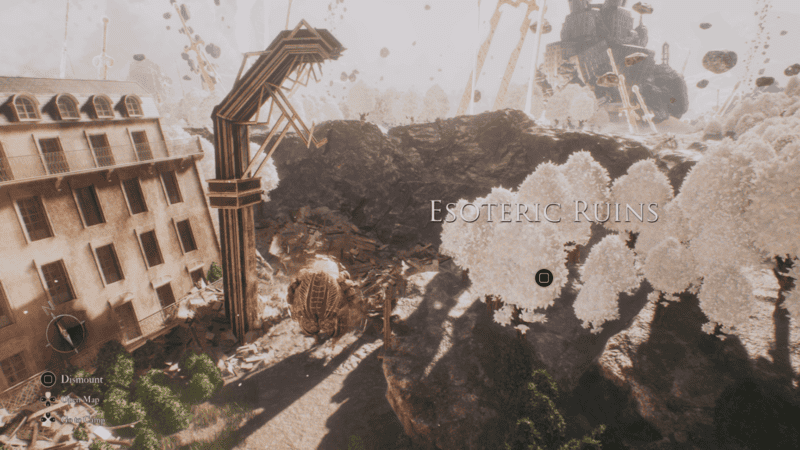
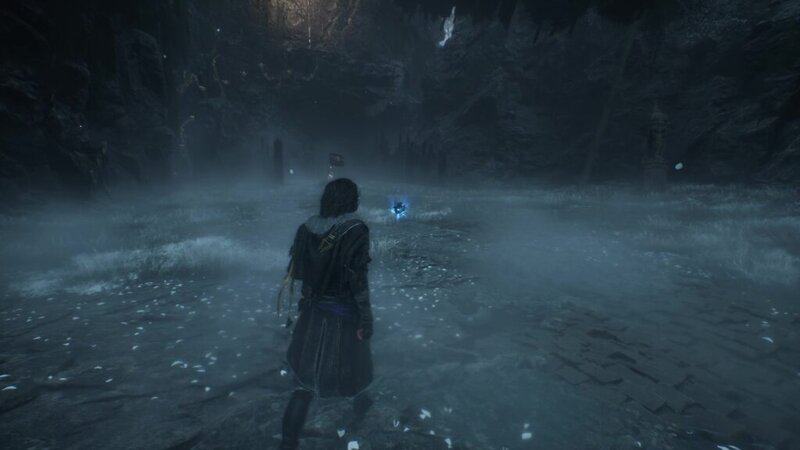
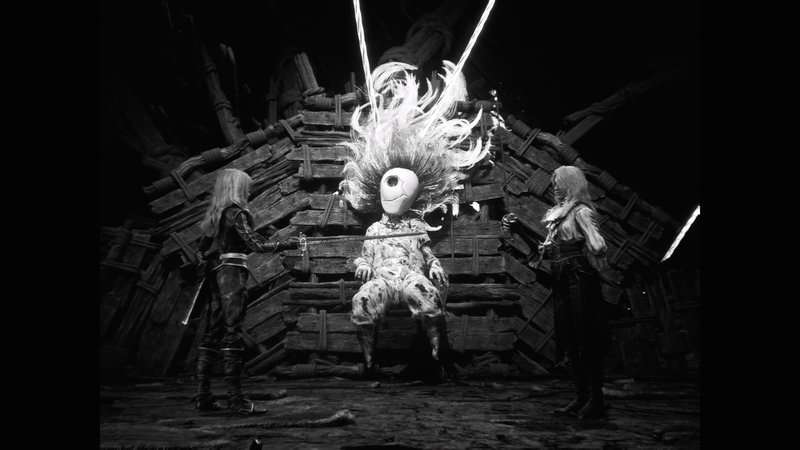
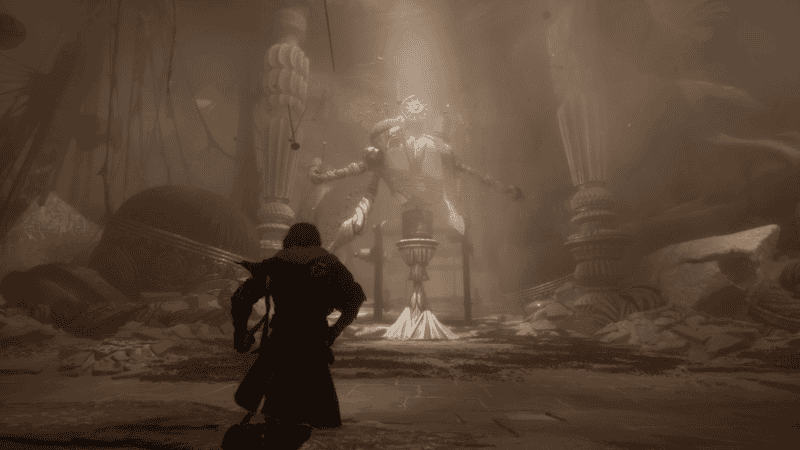
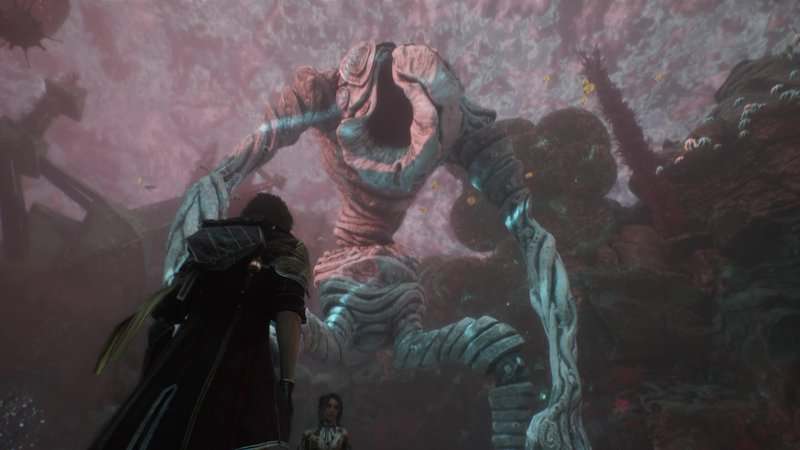
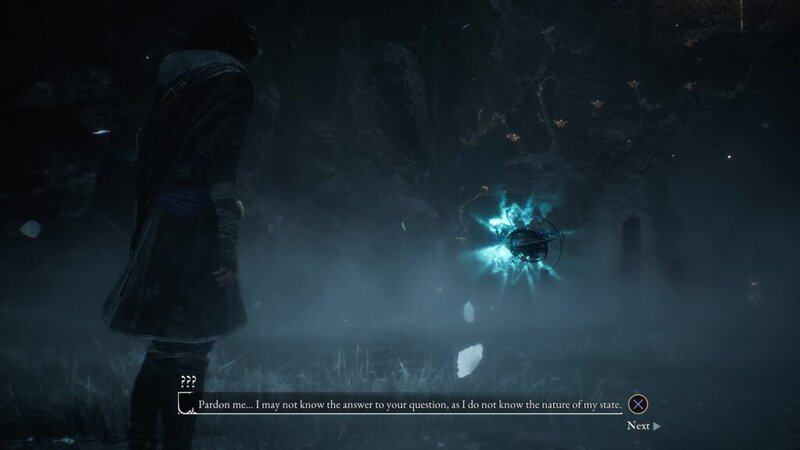
After following the path near the entrance of the Esoteric Ruins, you will find a flowing blue orb in the center of the clearing referred to as “???”, who doesn’t have any memories and needs help restoring its body. You can do this by finding some boards deeper in the ruins.
You can find the boards by climbing up the wall behind the blue orb that you can talk to and near the Expedition Flag. Use the climbing handles on the wall and once you are on top of the cliff, follow the path ahead and then turn left. You will then be able to drop down to an area below and you will find the entrance to a large maze.

When you enter the maze, you will see several rooms blocked by energy fields. In the center of each of these small, square rooms are altars with glowing orbs on them that, when shot, will open and close specific doors. You will need to shoot the orbs and pass through these rooms in a specific order to reach the other side. Here is the order of rooms and orbs that you will need to pass to reach the exit.
- Shoot the orb in the center of the first room to open the door to the left.
- Go through the left door and then shoot the orb in the first room again to close the door you just came through.
- Shoot the orb in the room that you are currently in to open the door behind the orb.
- Go through the open door and then through the door on the right to enter the room at the center of the maze. Shoot the orb through the door you just came through.
- Shoot the orb in the room to the right of the center room.
- Shoot the orb in the center of the maze.
This will open the path to the end of the maze. Go through the door to the right of the center and then go through the opening behind the orb. In this room, go through the door to the left and you will reach the exit of the maze.
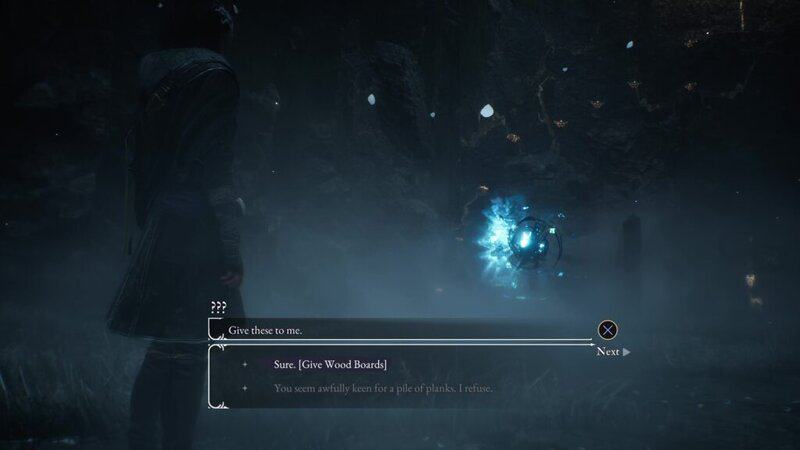
Now that you have the Wooden Boards, go to the left and use the series of grappling points to get back to the other side of the maze and then head back to the blue orb. Talke to the orb and give it the boards to return the Portier back to its normal form. You will be given the Protecting Heal Pictos as a reward for completing this quest.

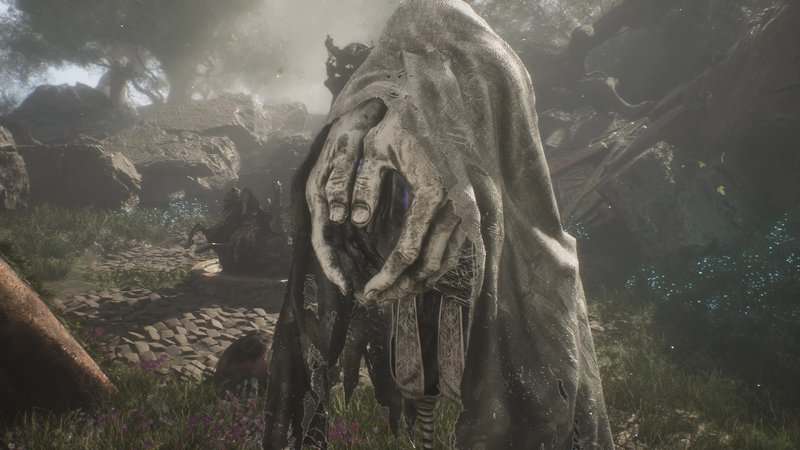
Benisseur
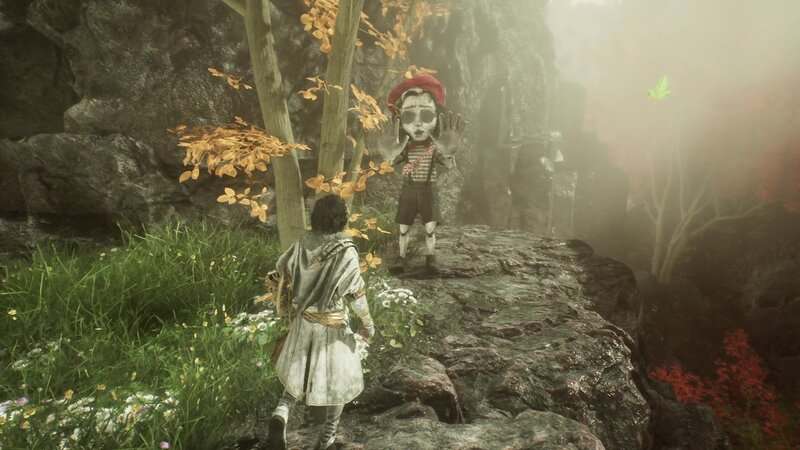
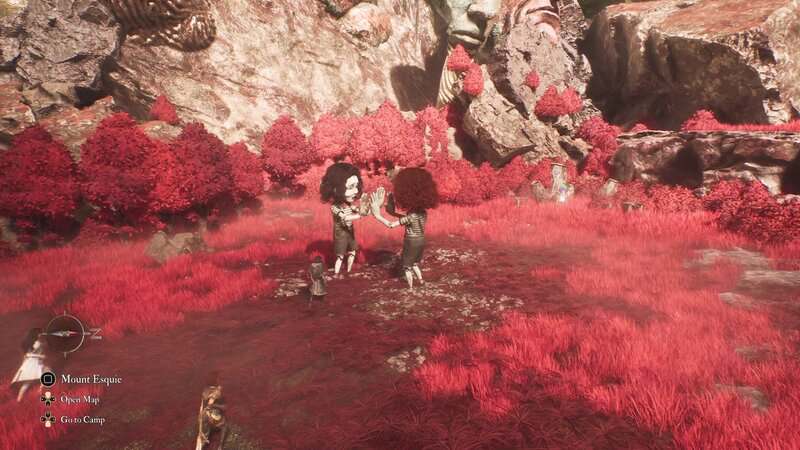
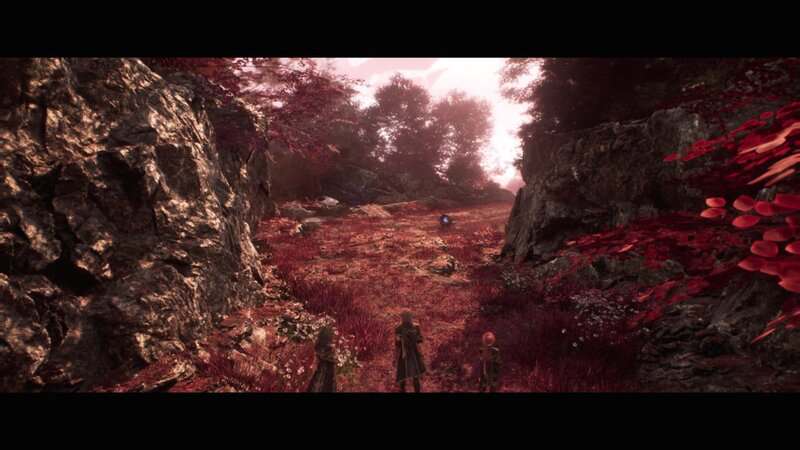
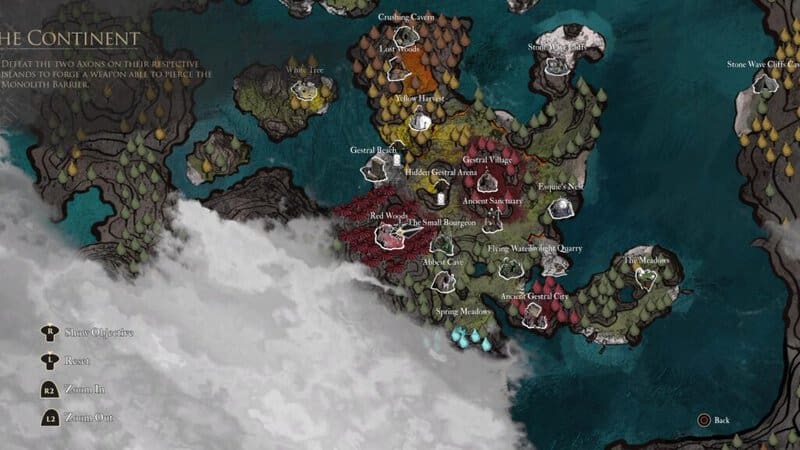
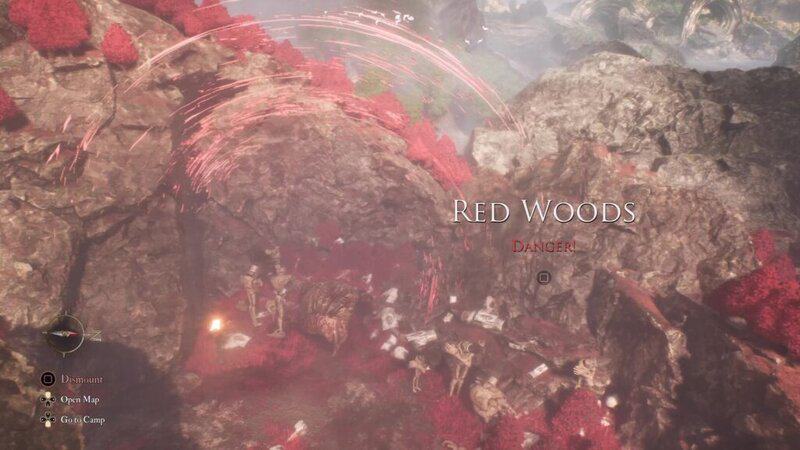
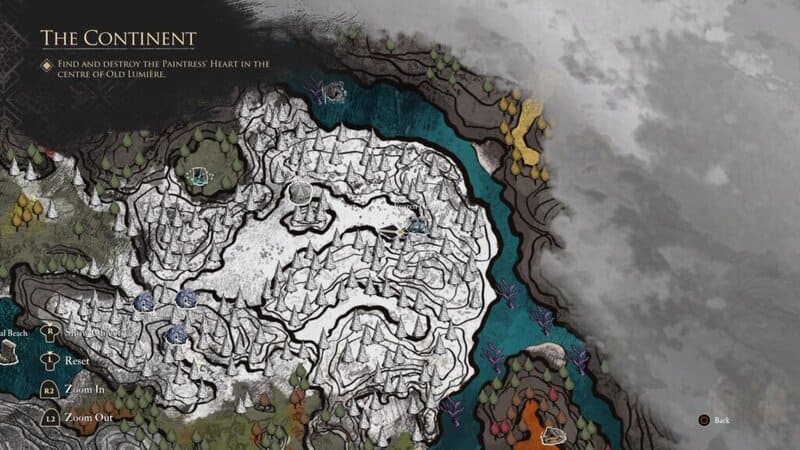
The white Benisseur can be found in the Red Woods area in the western part of the first island between the Hidden Gestral Arena and the Small Bourgeon areas.
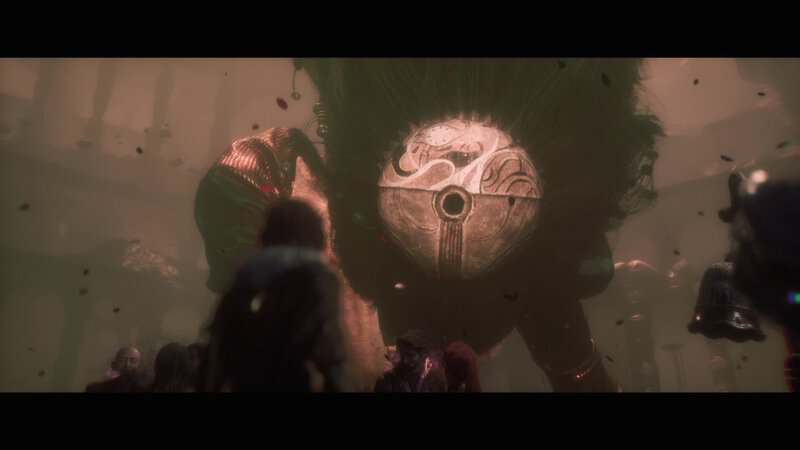
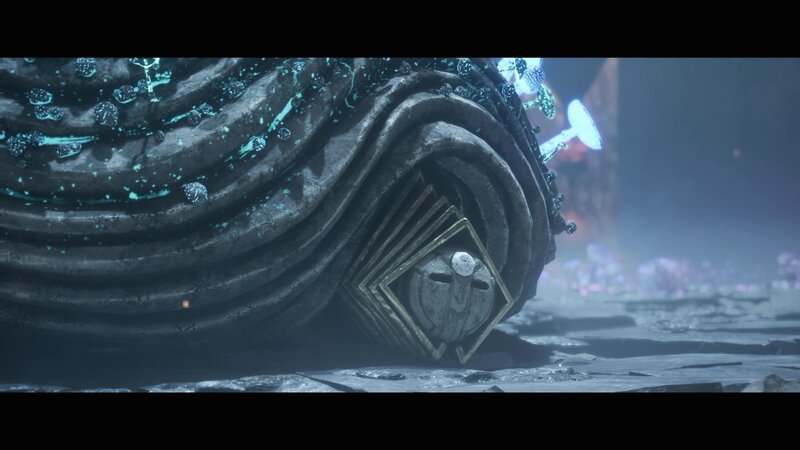
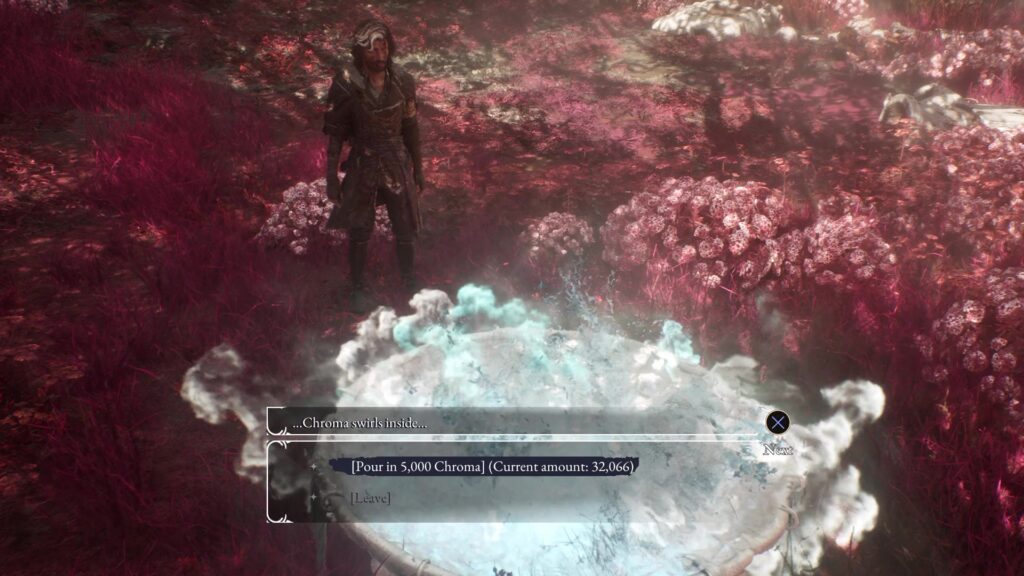
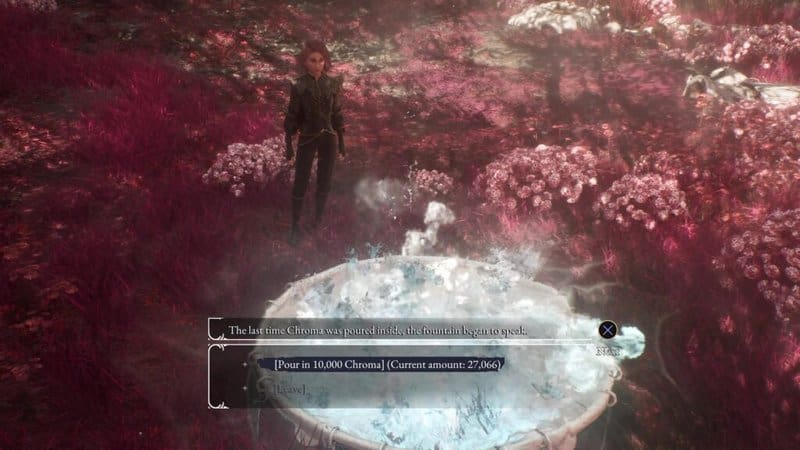
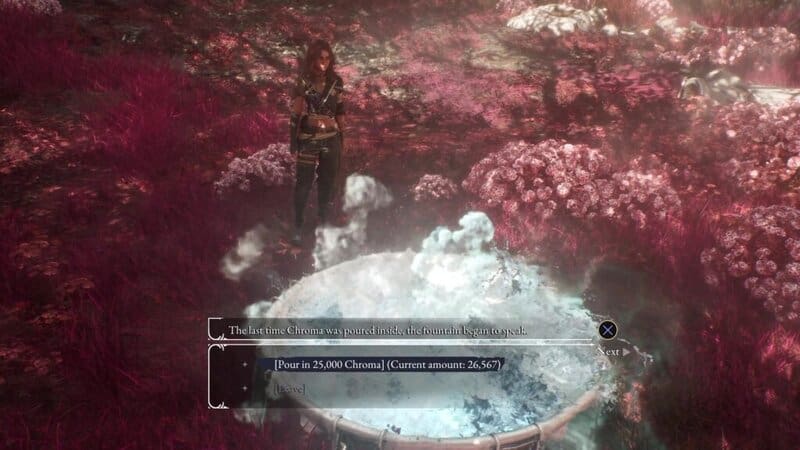
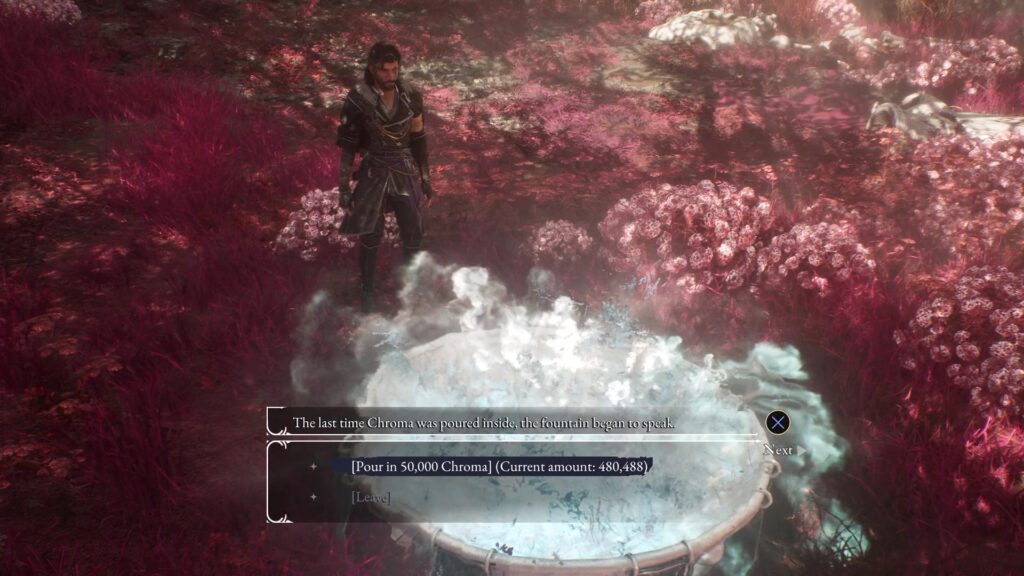
This is a small area that only contains a single interactable object: a strange fountain. When you interact with the fountain, you will be asked to deposit Chroma, your currency. You will be asked to first deposit 5,000 Chroma and will then need to add 10,000, 25,0000, and 50,000. After each deposit, you will hear some quotes from the fountain. Keen-eyed players might recognize this fountain is the same one seen on the head of the Benisseur enemy. So, to help the white Benisseur, you need to deposit all of Chroma it asks for, coming out to 90,000 Chroma in total.
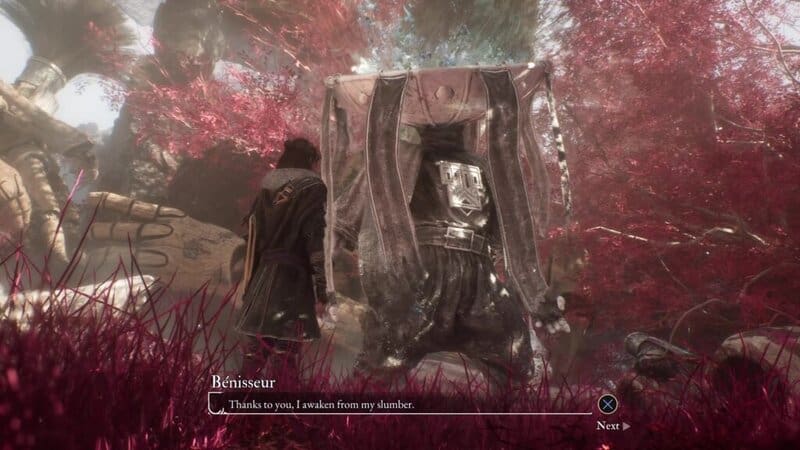
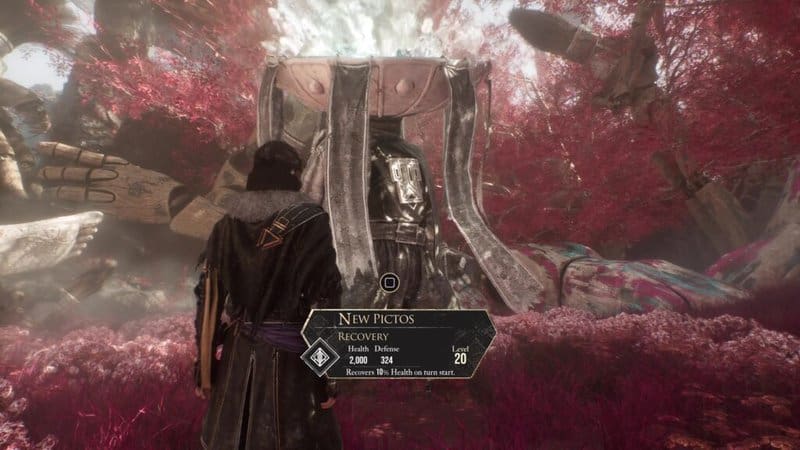
When you deposit the required amount of Chroma, the white Benisseur will emerge from the ground and thank you. As a reward, you will be given the Recovery Pictos.
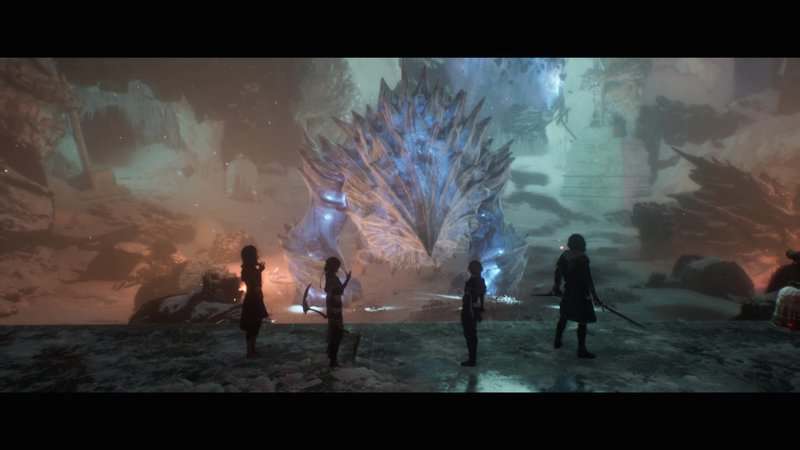
Danseuse
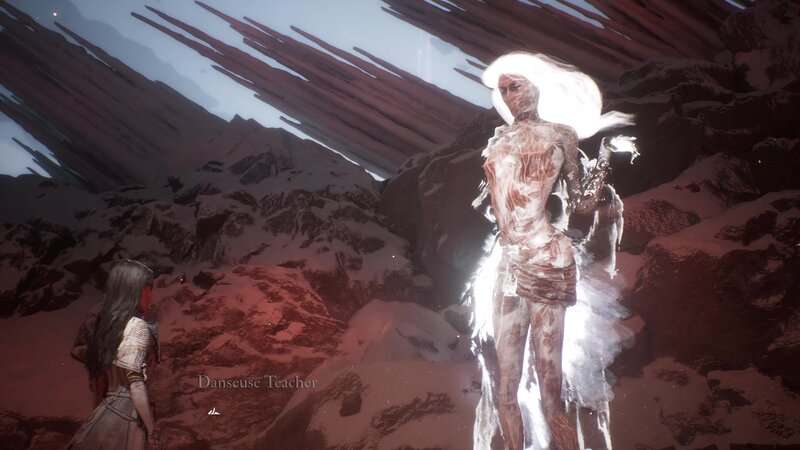
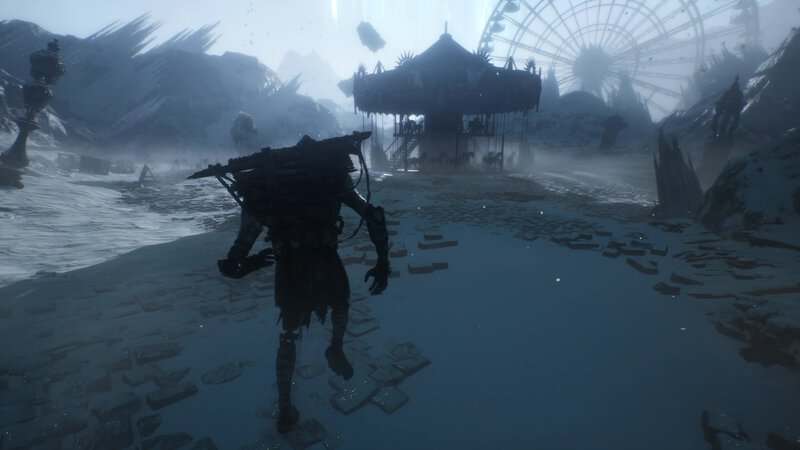
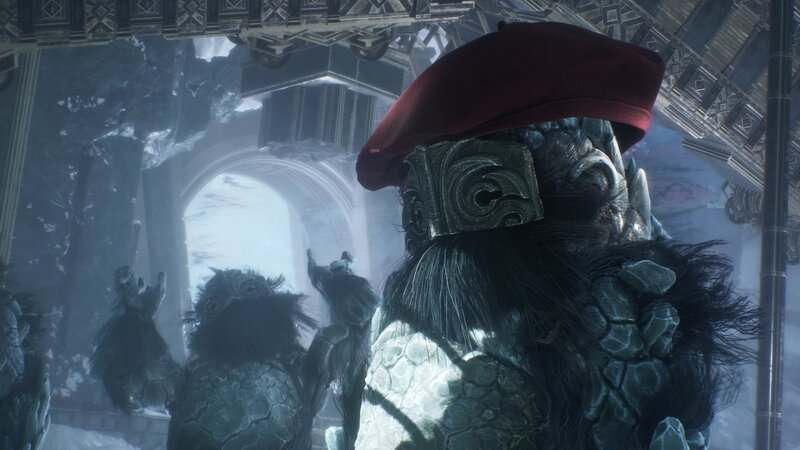
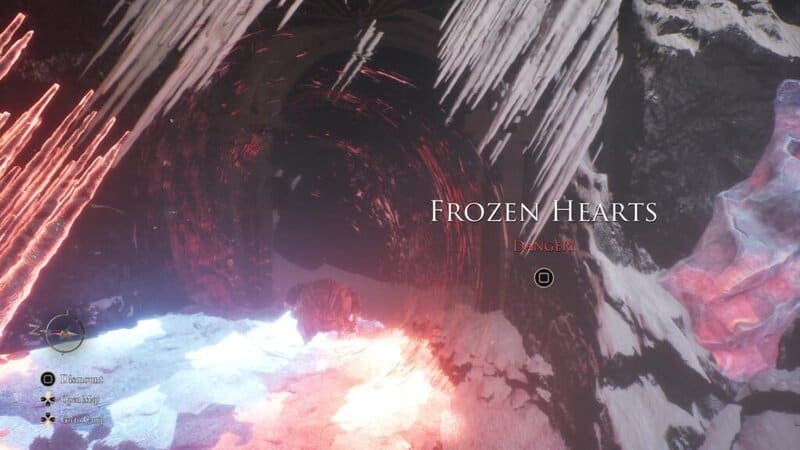
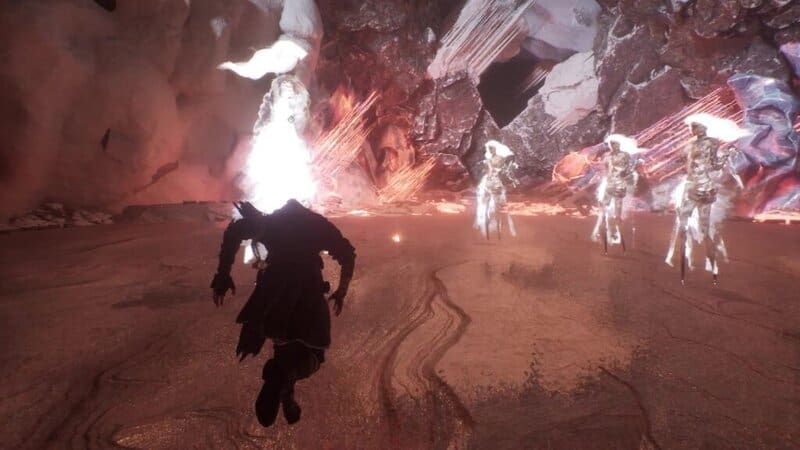
The white Danseuse can be found in the Frozen Hearts area to the east of Monoco’s Station. To reach this area, go through the Monoco Station exit behind the Grandis Fashionist. Pass through an icy region and you can find the entrance to Frozen Hearts at the east end of this area.
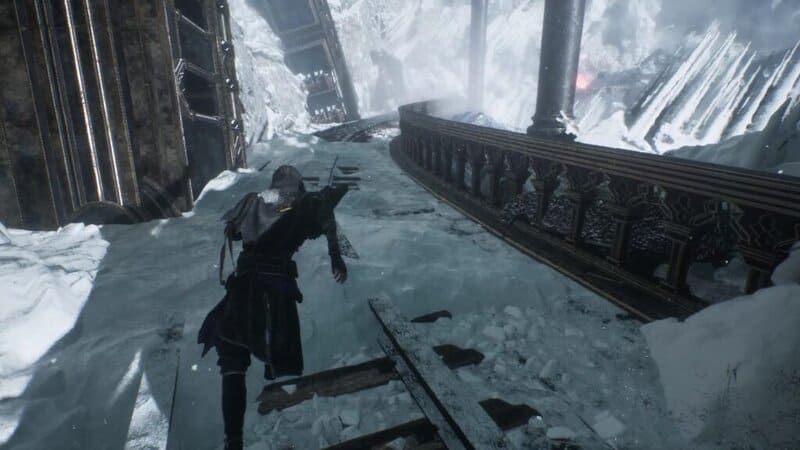
Once you are in Frozen Hearts, progress through the area until you reach the Glacial Falls Expedition Flag. From the flag, turn left and follow the path until you find a staircase. Go up the stairs to find some train tracks. Turn left and follow the tracks to their end. Once at the end of the tracks, look to the left to find a group of Danseuses in a clearing below.
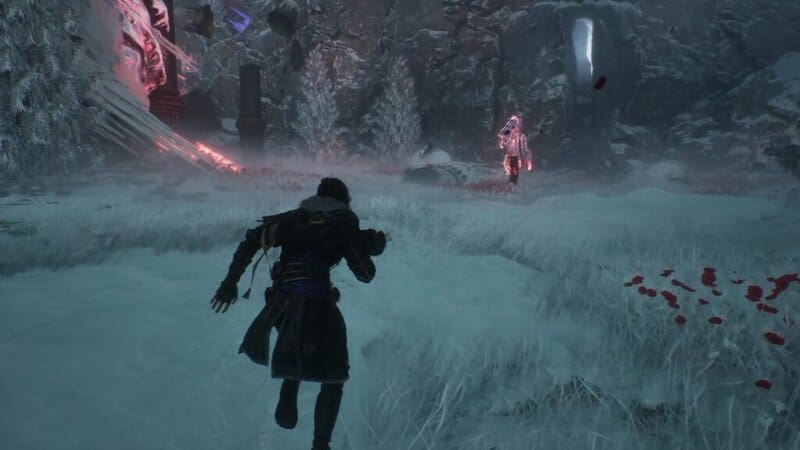
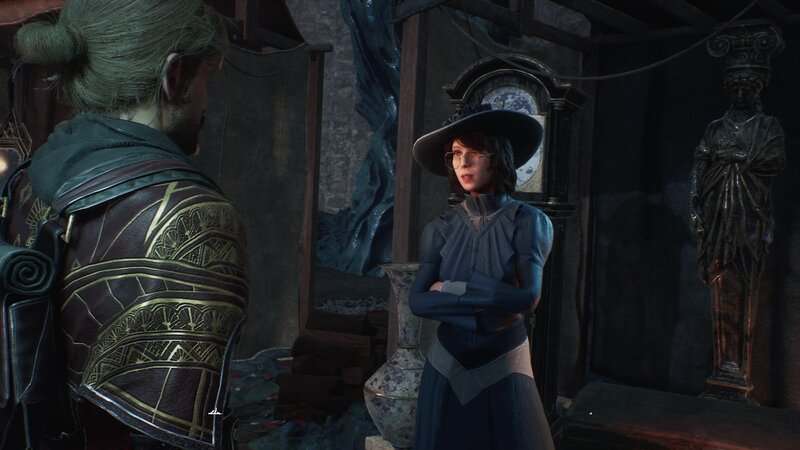
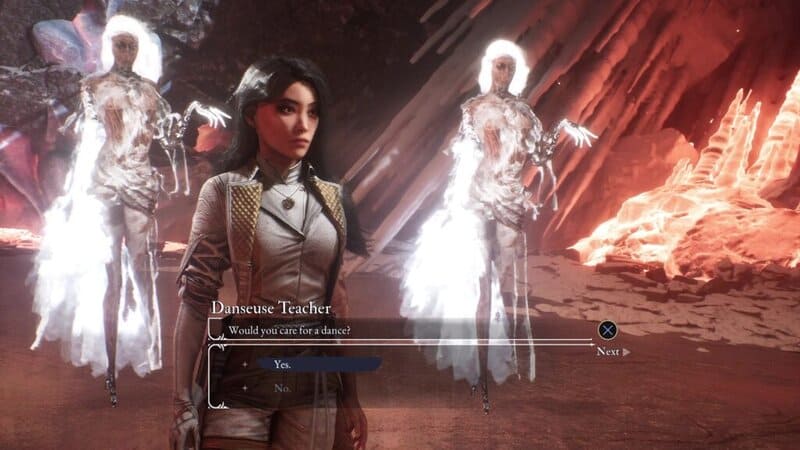
Talk to the biggest Danseuse, known as the Danseuse Teacher, to begin her quest. She will ask Lune for a dance, which you can accept by accepting this request.
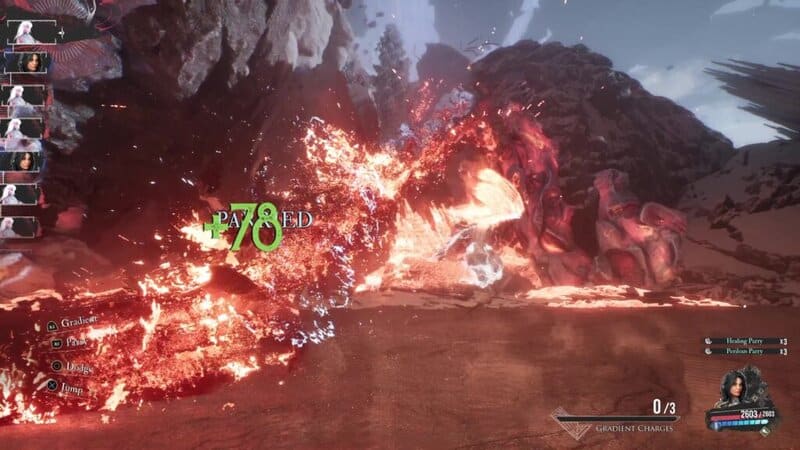
When you accept the Danseuse Teacher’s dance, you will be tasked with parrying 15 attacks from the enemy. These are faster versions of the enemy’s usual Dance Combo attack. This combo is a 3-hit sequence, so you will need to parry 5 of this combo back to back with no breaks in between.
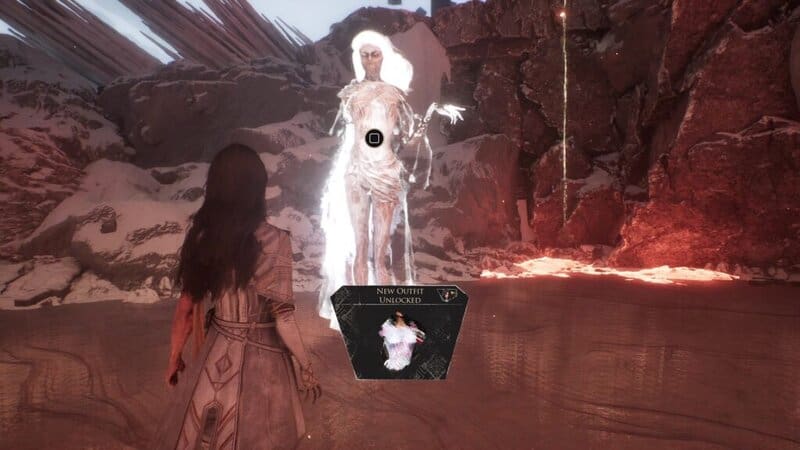
When you complete the dance, you will unlock the Danseuse Outfit for Lune. You can edit your characters’ appearances by going into the pause menu, selecting a character, and going over to “Wardrobe.”
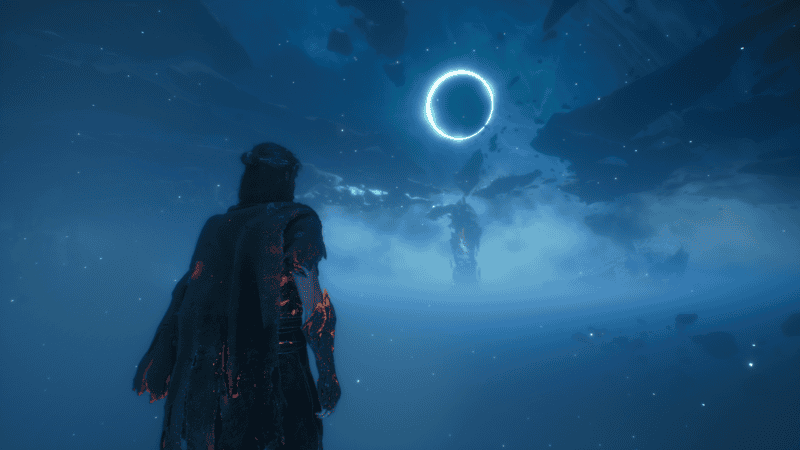
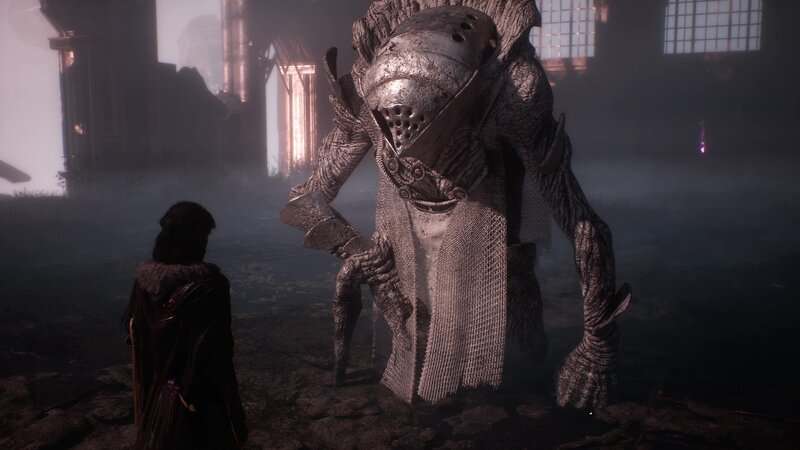
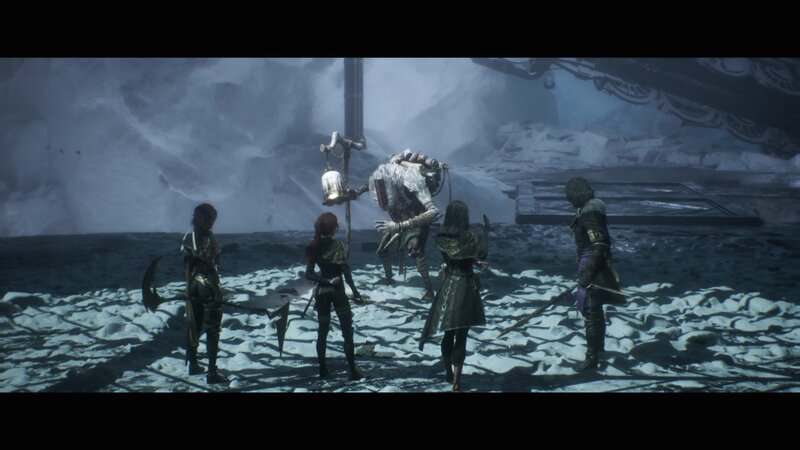
Chalier
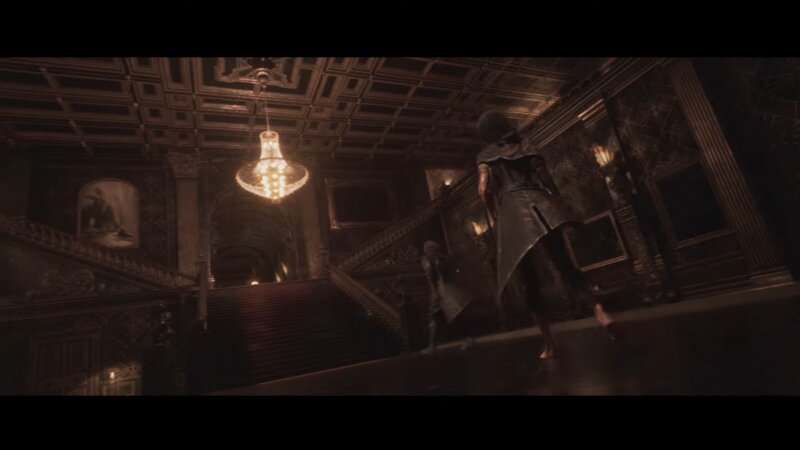
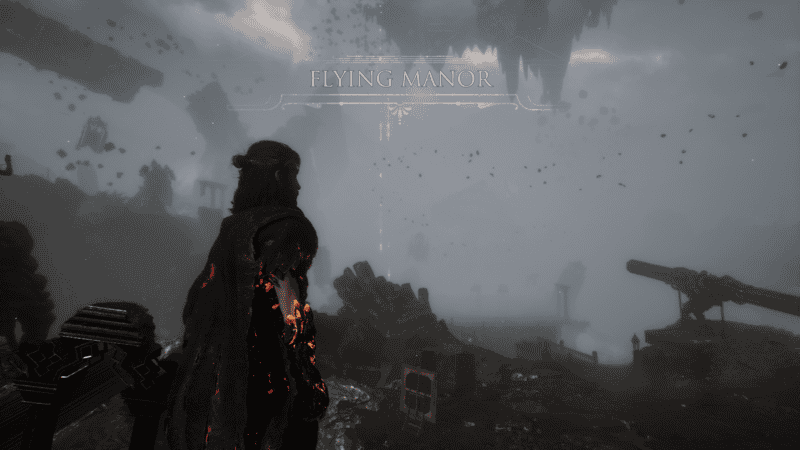
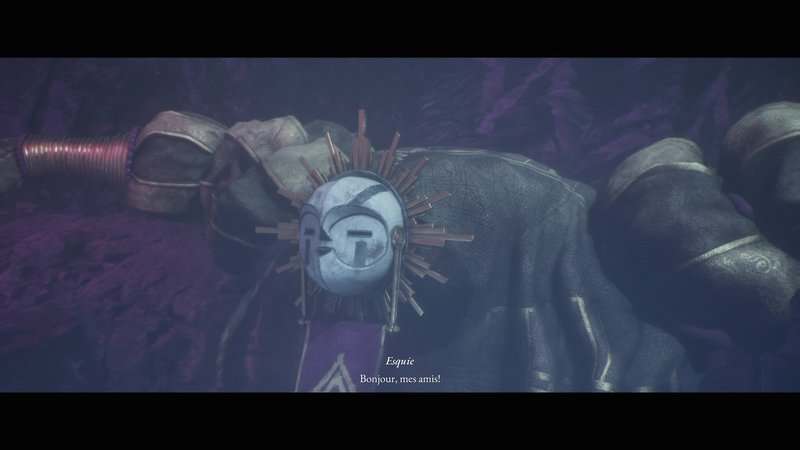
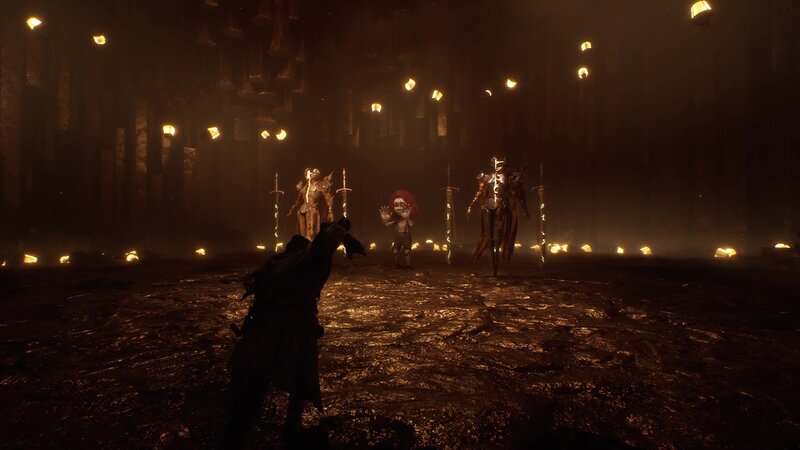
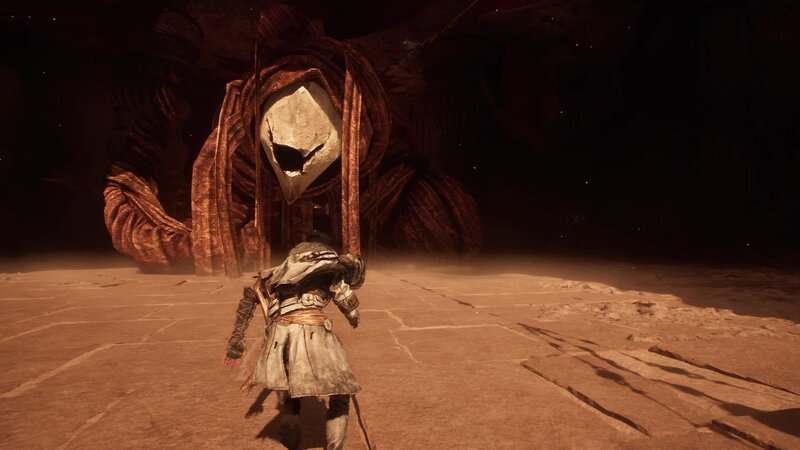
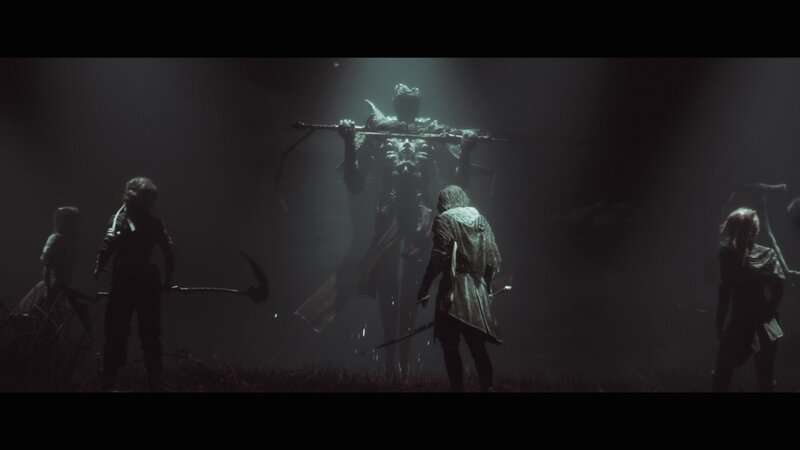
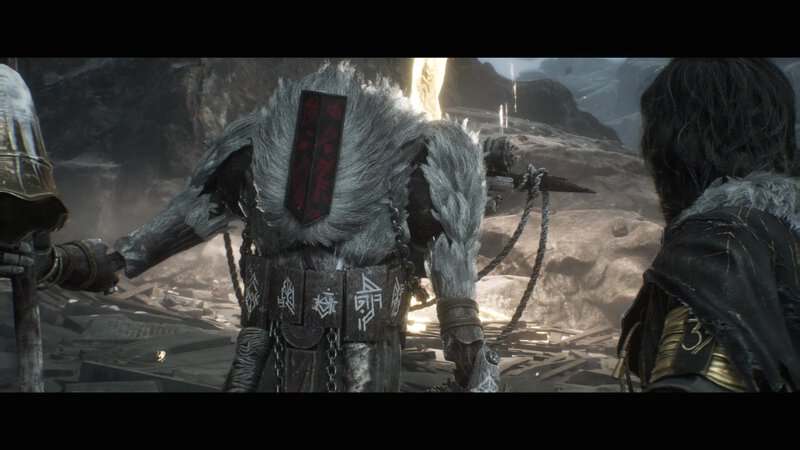
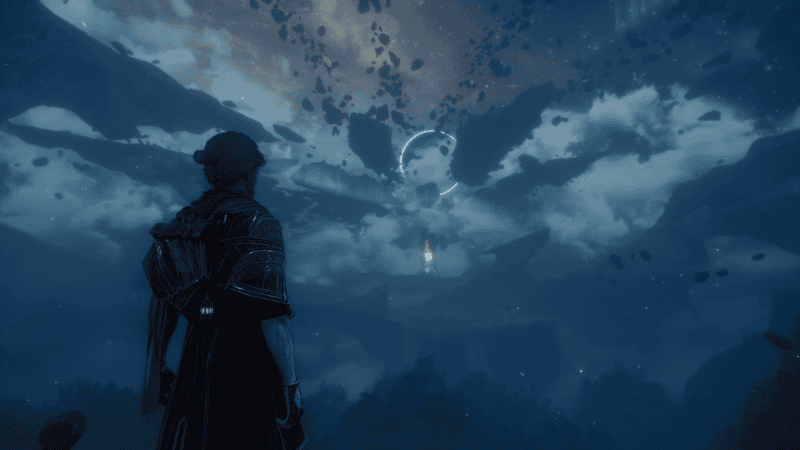
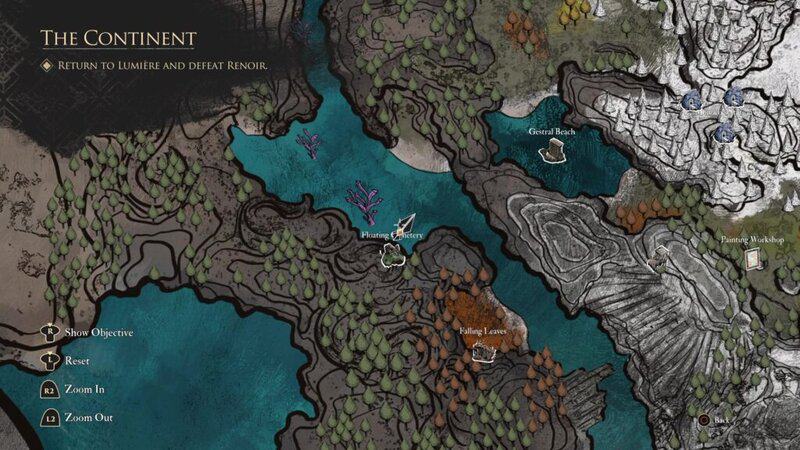
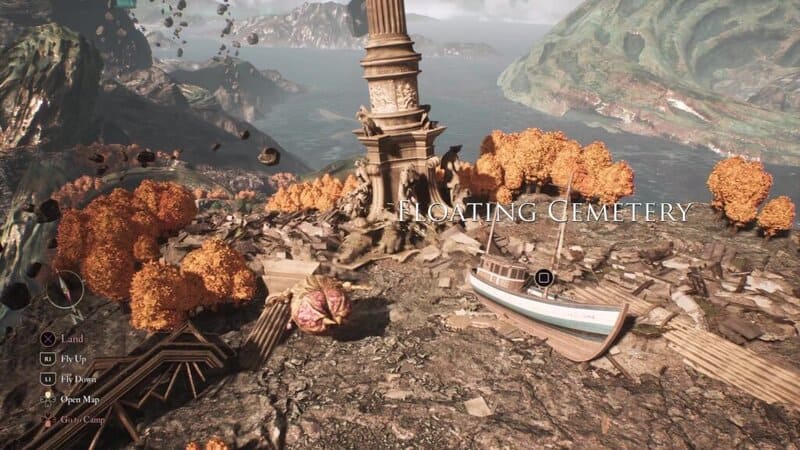
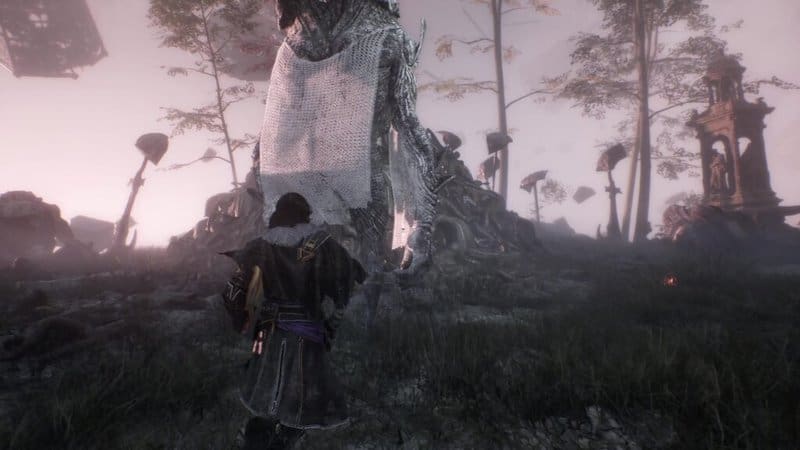
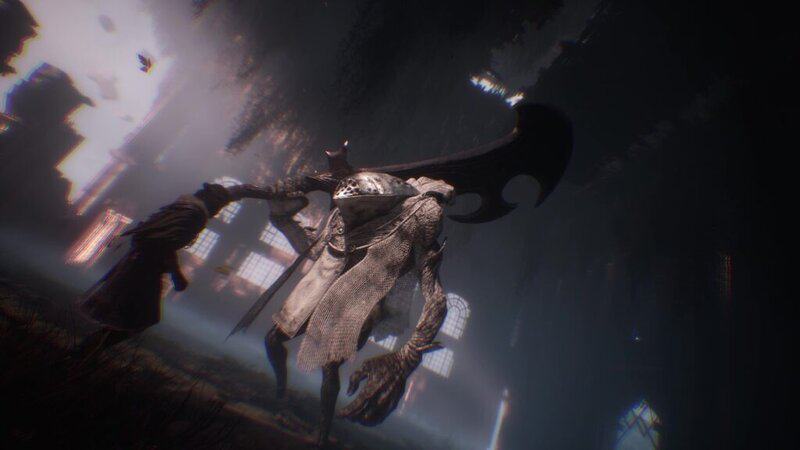
The white Chalier can be found in the Floating Cemetery, an area that you can only reach after unlocking Esquie’s Fly ability at the start of Act III. Once Esquie learns Fly, go to the floating rock to the northeast of the Fallen Leaves area along the east part of the map. Once here, you will find the Chalier standing next to a pile of corpses.
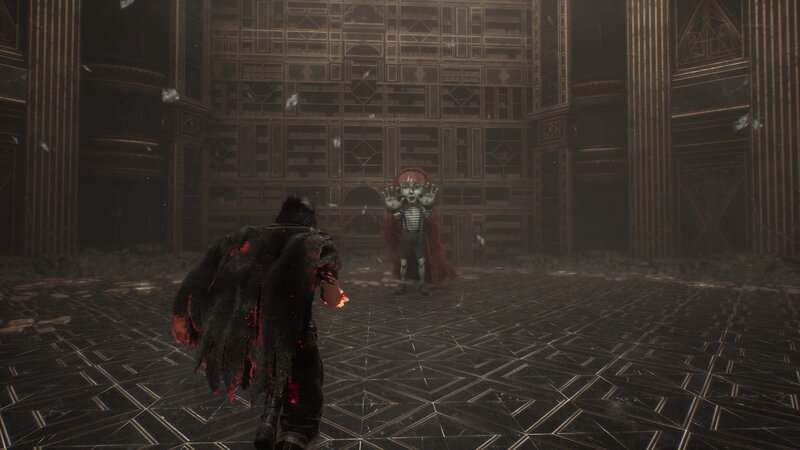
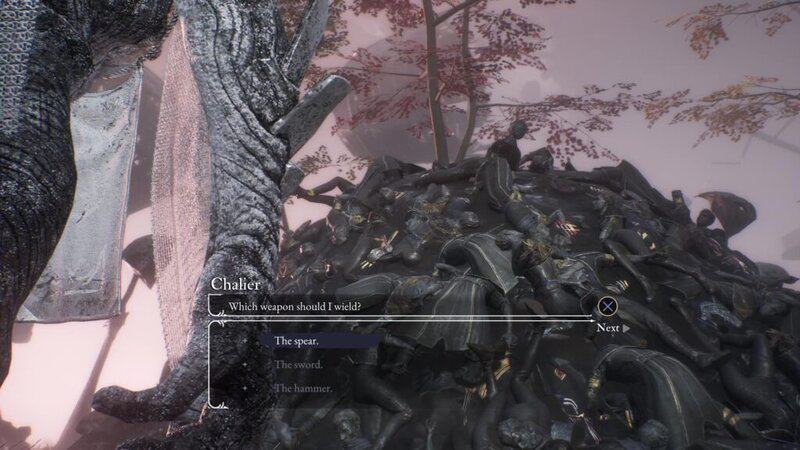
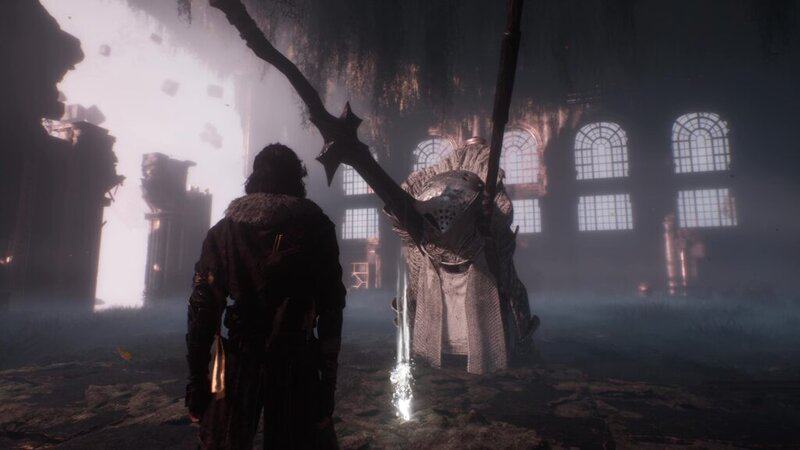
When you talk to Chalier, they will ask you which weapon they should use. This choice doesn’t really matter, but you will need to battle the Chalier with the weapon you choose, so make sure you pick a weapon that you know how to counter.
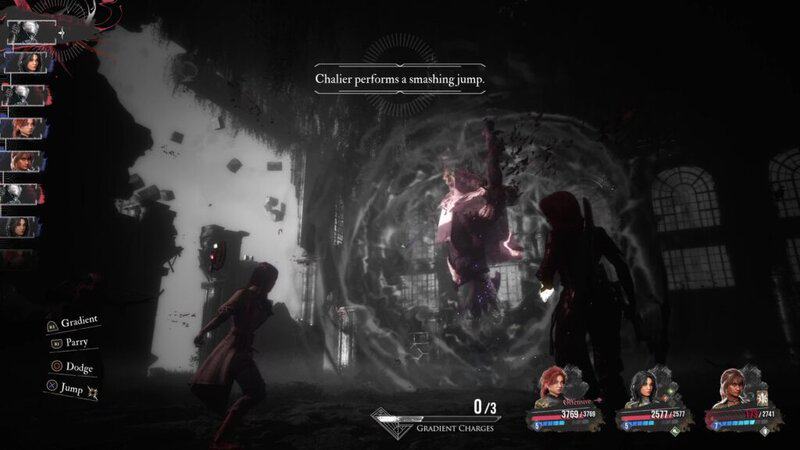
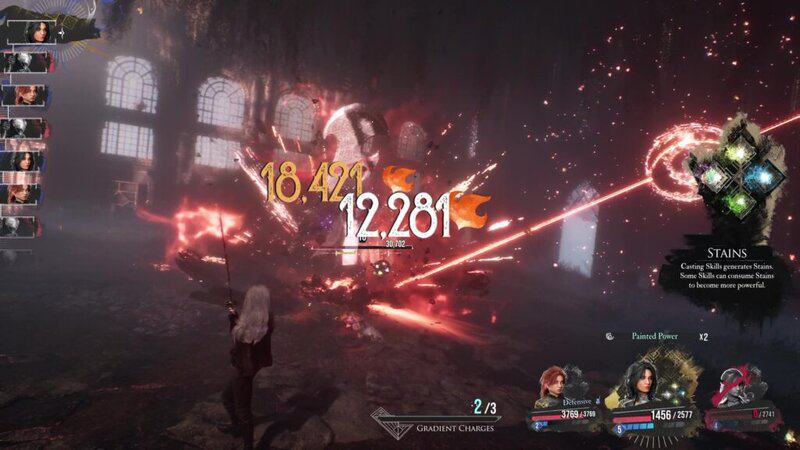
After selecting the weapon, Chalier will move into the nearby church, where you will need to battle them. When you defeat Chalier, you will be asked to kill them.
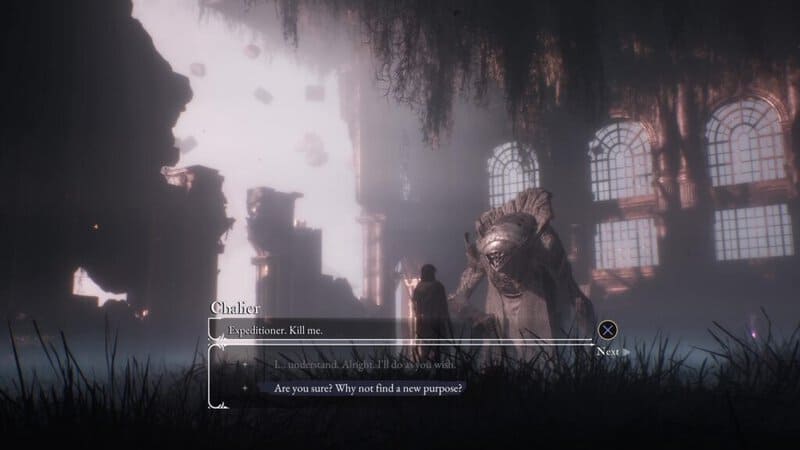
If you decide to kill Chalier, you will be given a reward. If you don’t kill Chalier, leave the area and immediately reenter it. Go back into the church and you will find that Chalier has taken their own life. The reward can be found in front of their body.
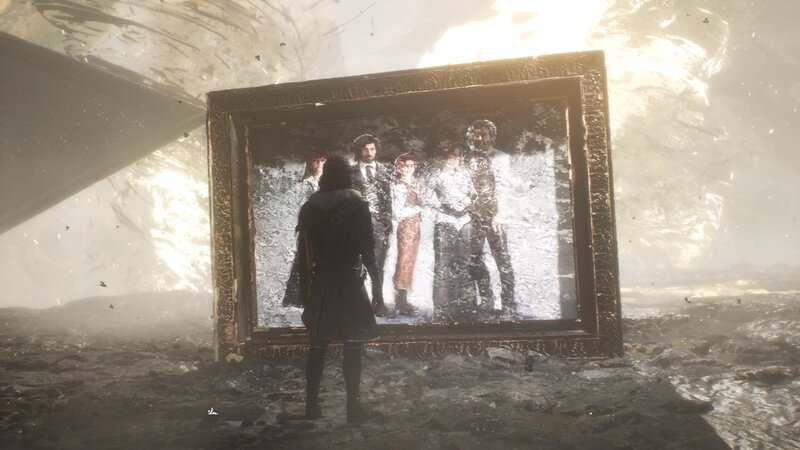
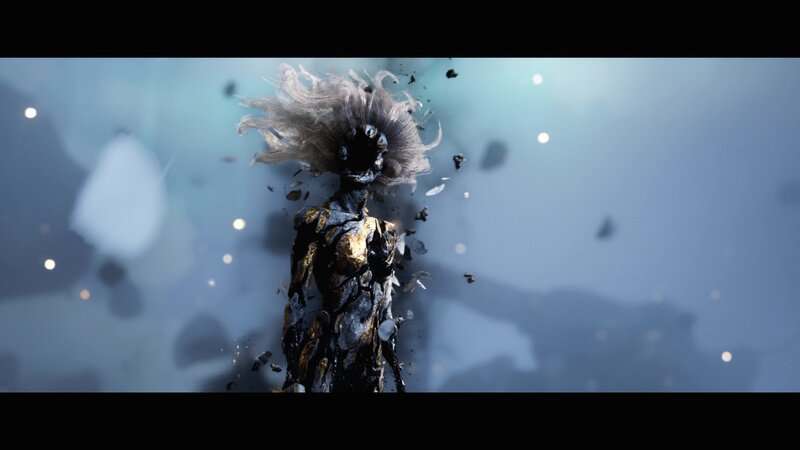
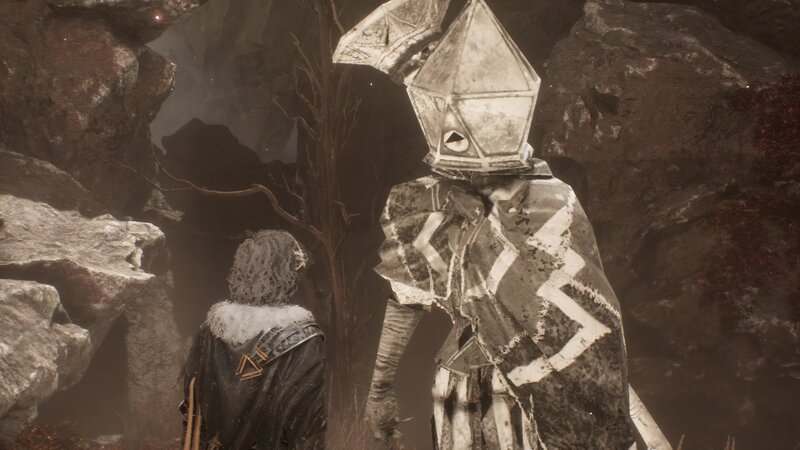
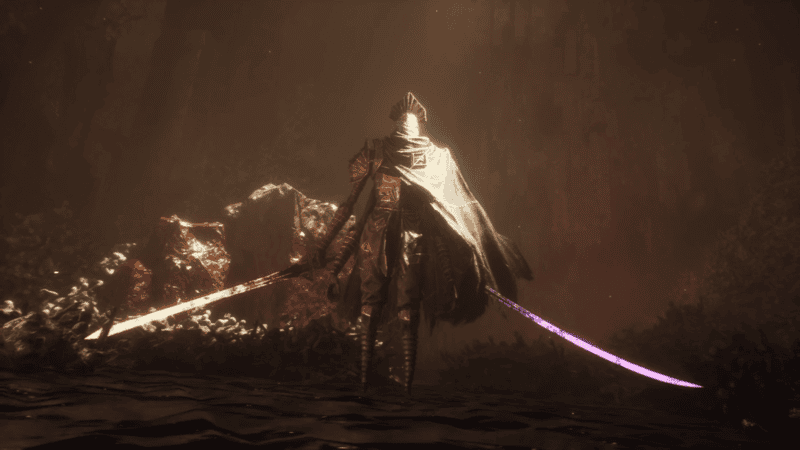
Blanche
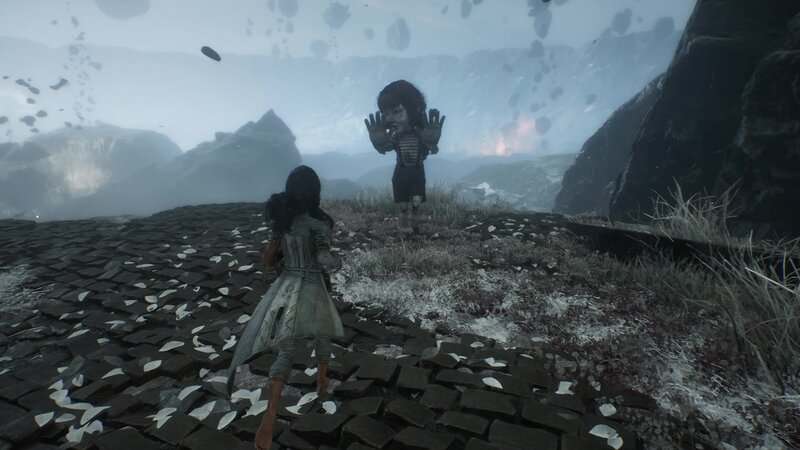
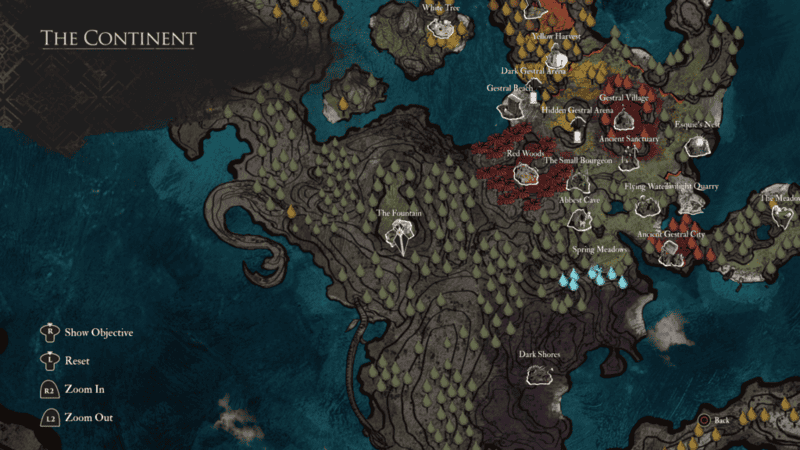
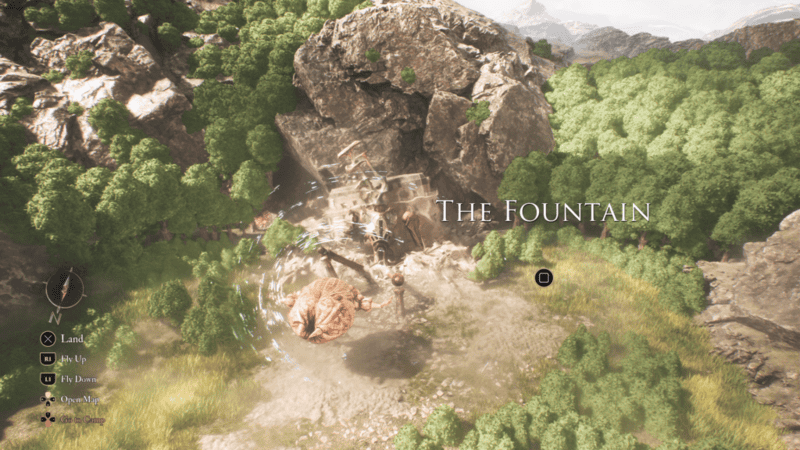
The white Blanche can be found in The Fountain area. This area can only be reached after unlocking Esquie’s Fly ability at the start of Act III. Once Esquie learns Fly, go into the clearing to the southeast of the Red Woods on the southern island of the Continent.
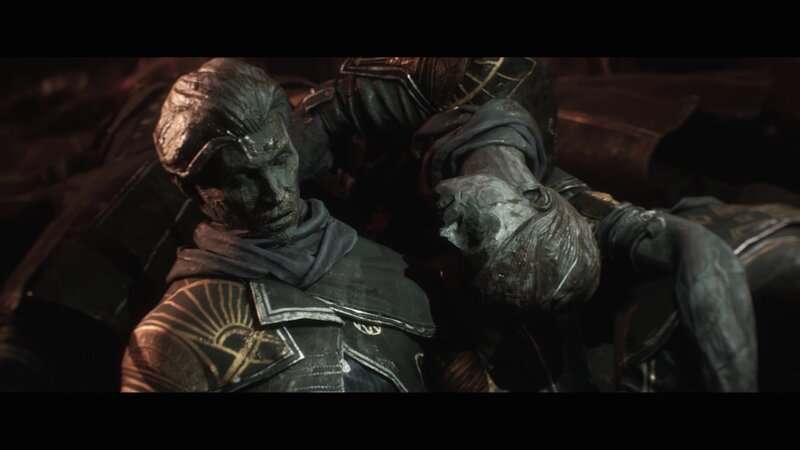
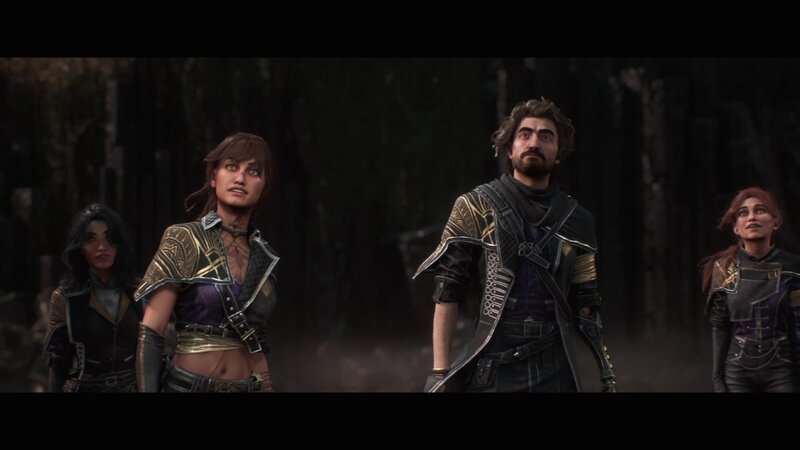
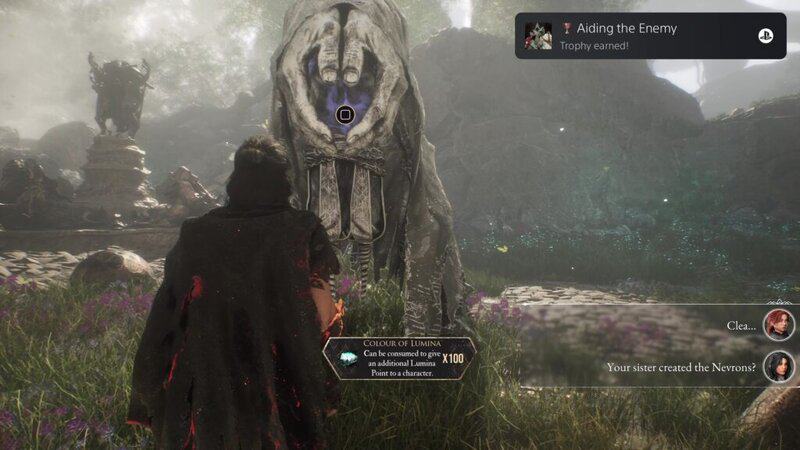
In The Fountain area, you can find Blanch standing next to the titular structure. Talking to them, you will learn they were created to hunt down the other white Nevrons but couldn’t bring themselves to do it. At this point, how you treated the other Nevrons in the game will decide how you will need to deal with Blanche.
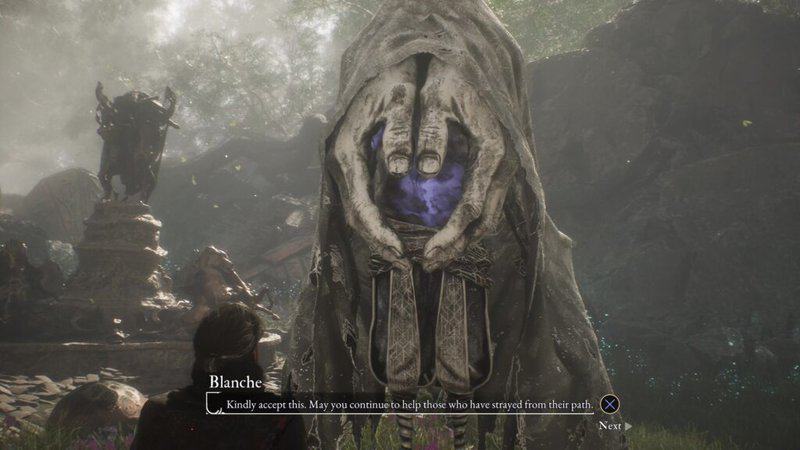
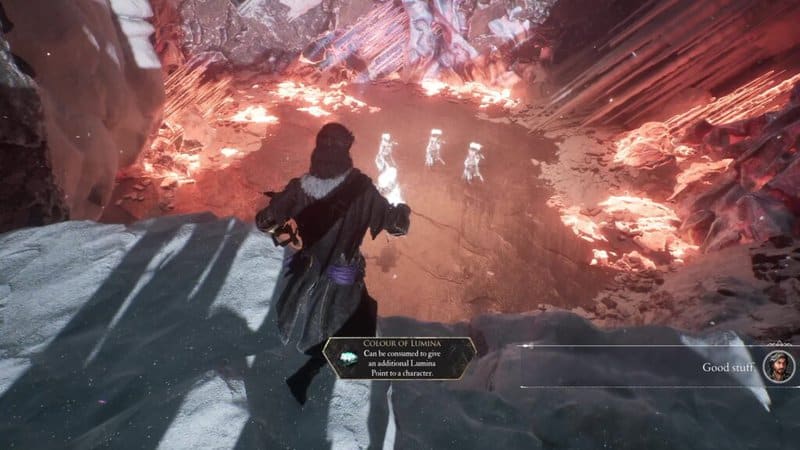
If you fought and killed the Nevrons after completing their quests, Blanche will attack you and you will be forced to kill them. If you spared the white Nevrons, Blanche will give you 100 Colour of Luminas, meaning you can give your party 100 new Lumina Points to increase the amount of Luminas you can equip. Upon completing this final quest, you will unlock the Aiding the Enemy Achievement and Trophy.
You can now complete every Nevron quest and unlock the Aiding the Enemy Achievement and Trophy in Clair Obscur: Expedition 33. Stay tuned to Gameranx for more news, updates, and guides for Clair Obscur: Expedition 33 as well as other great games in the future.