Table of Contents[Hide][Show]
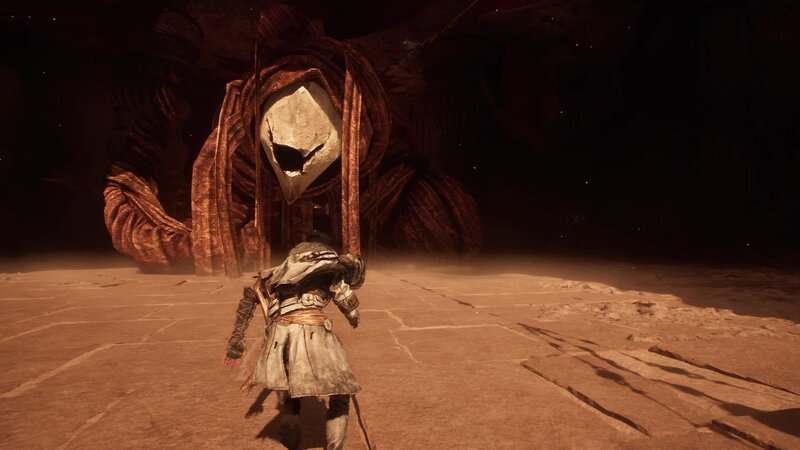
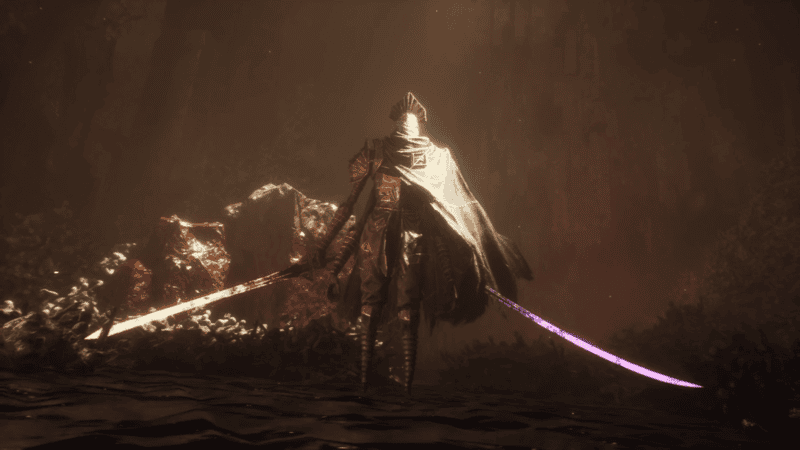
While players will battle a variety of monsters and creatures in Clair Obscur: Expedition 33, there is no encounter more infamous than the one against Simon. Buried deep below the world in an optional zone, Simon is the secret final encounter that only those who have experienced everything else the game has to offer and have gathered enough strength should even try to attempt. With an Achievement, weapon, and collectible waiting for those who take him down, allow me to help players struggling to defeat the Sword of Lumiere. This guide will show players how to beat the Simon boss fight in Clair Obscur: Expedition 33.
How to Beat the Simon Boss Fight in Clair Obscur: Expedition 33
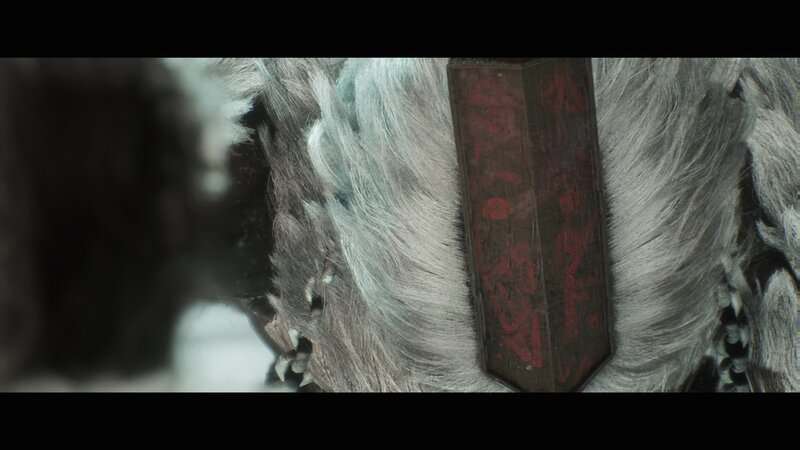
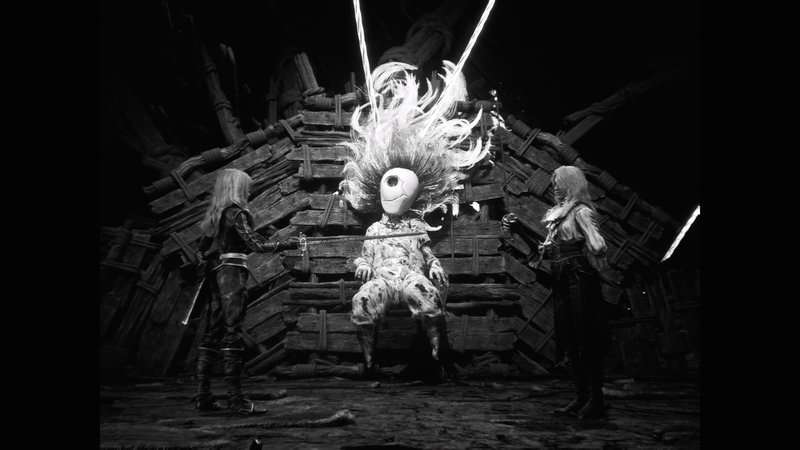
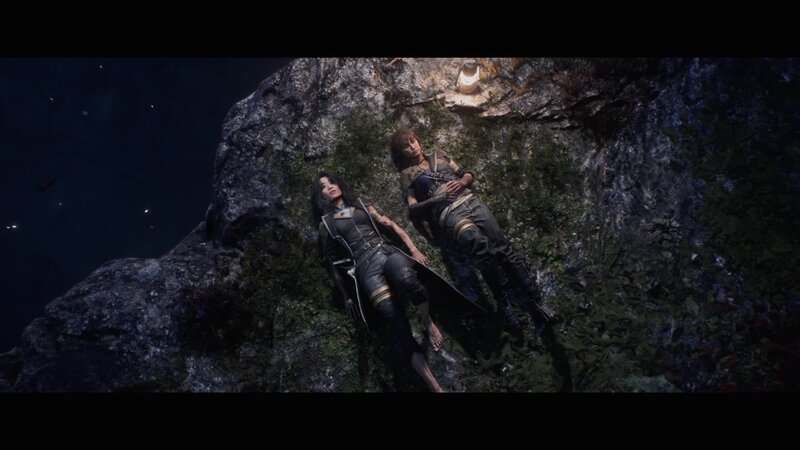
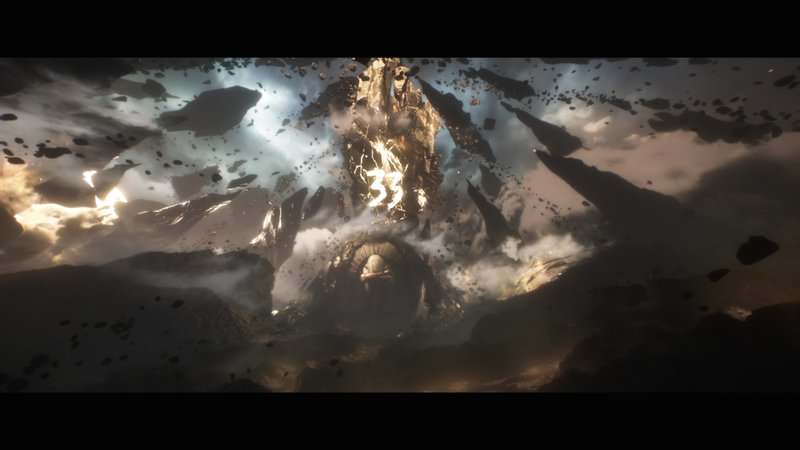
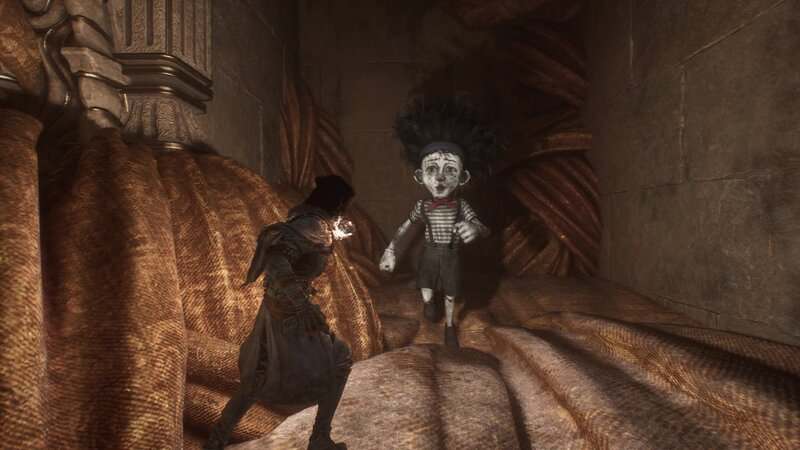
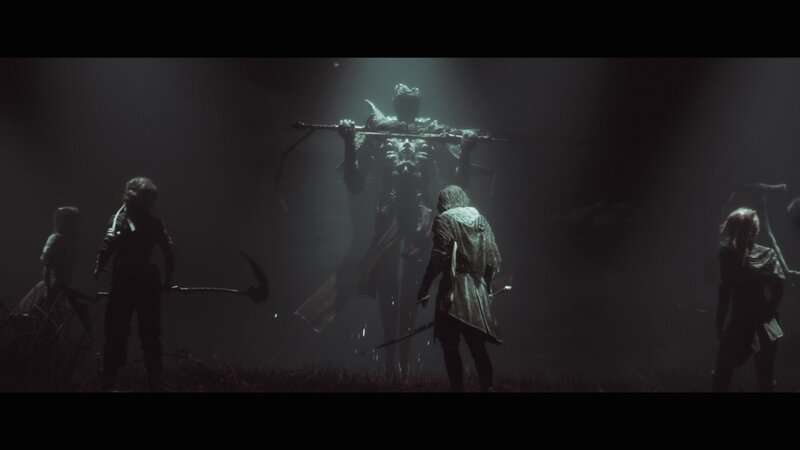
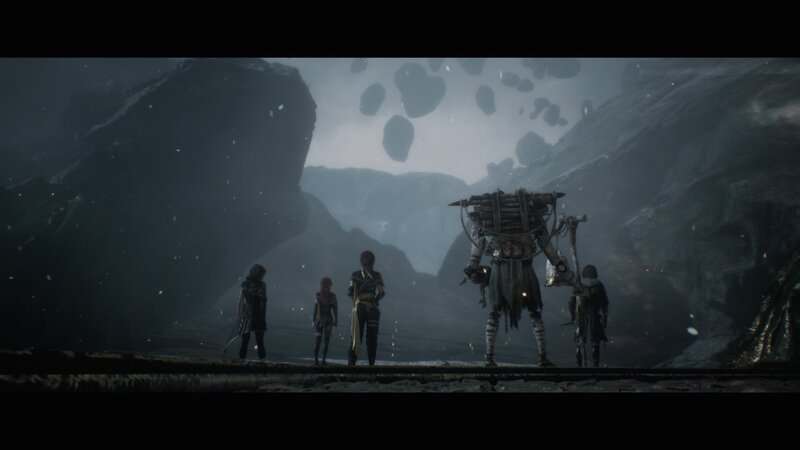
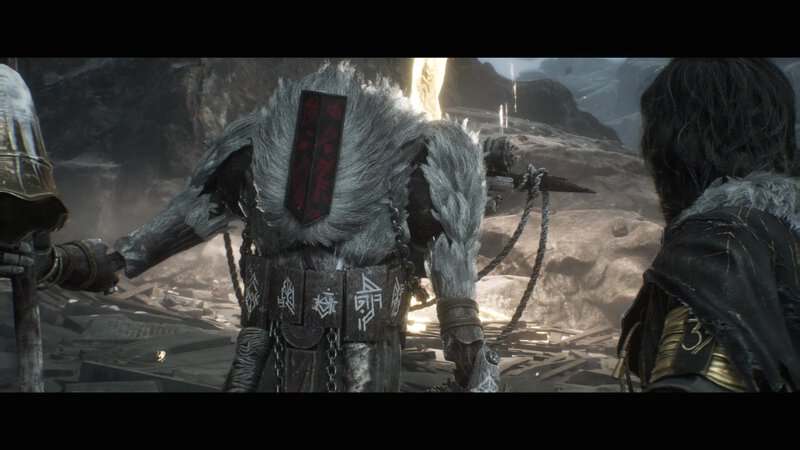
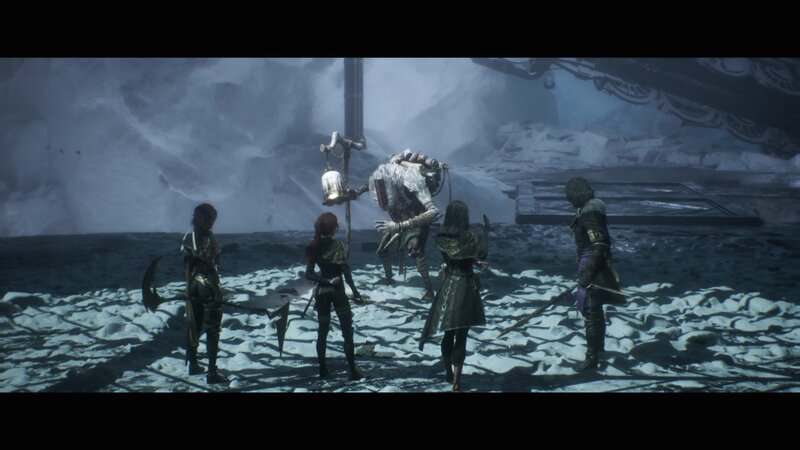
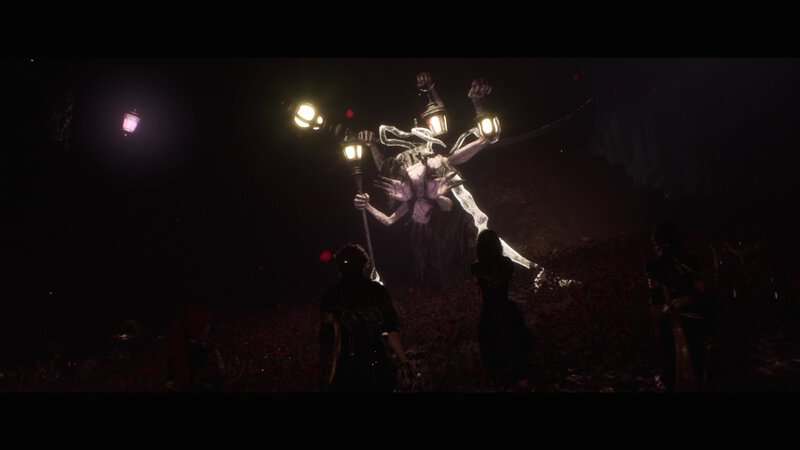
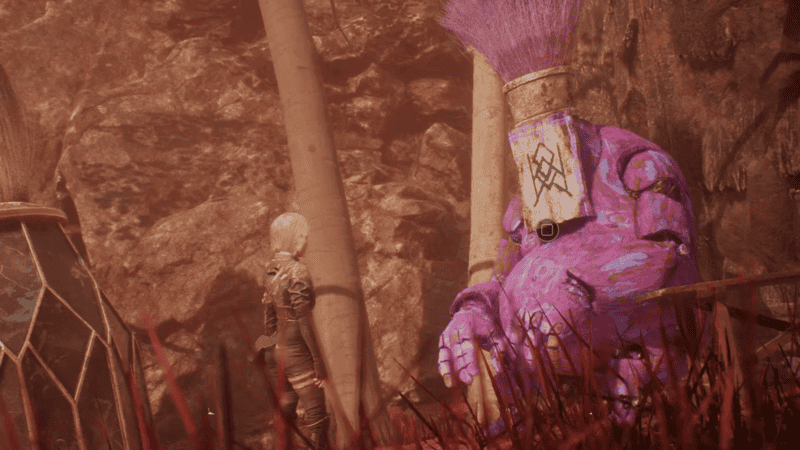
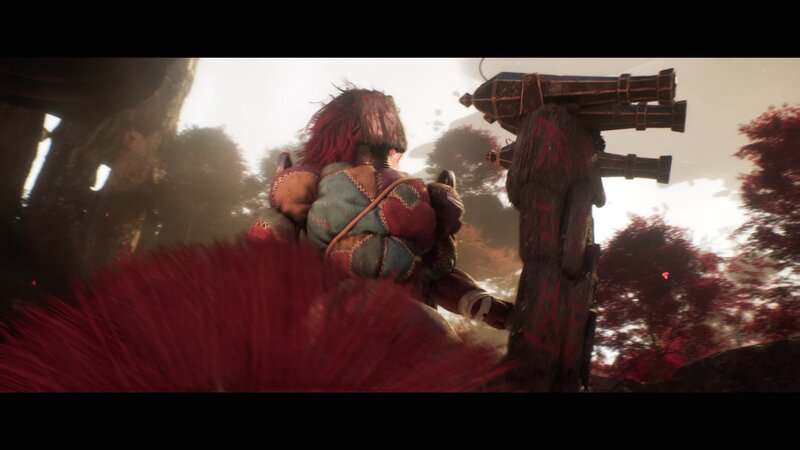
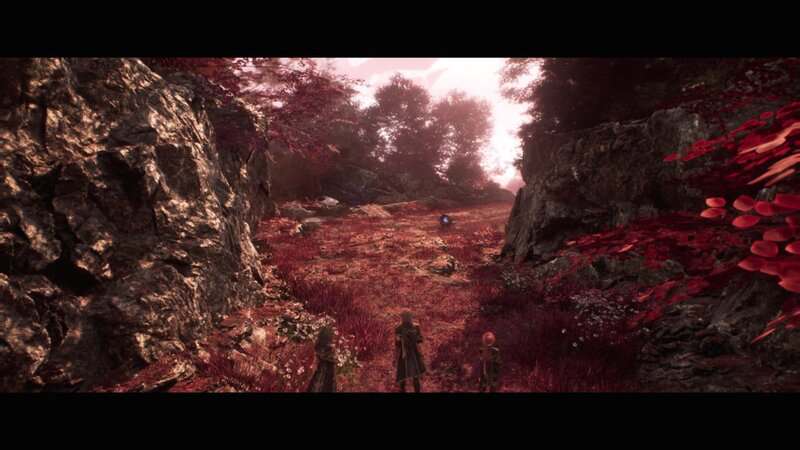
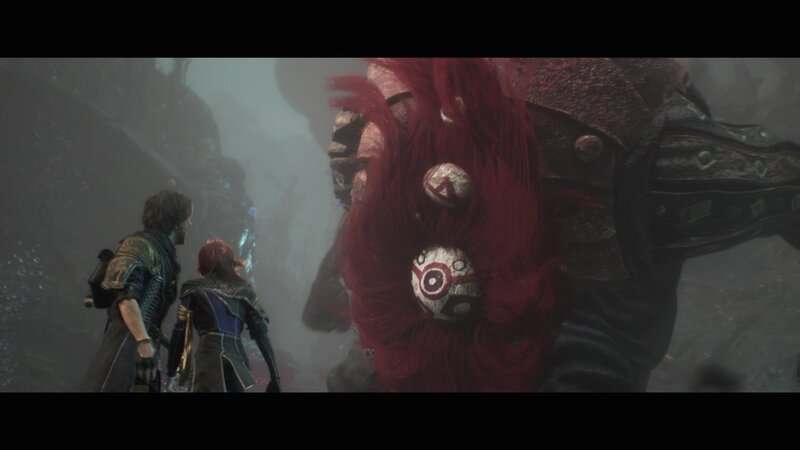
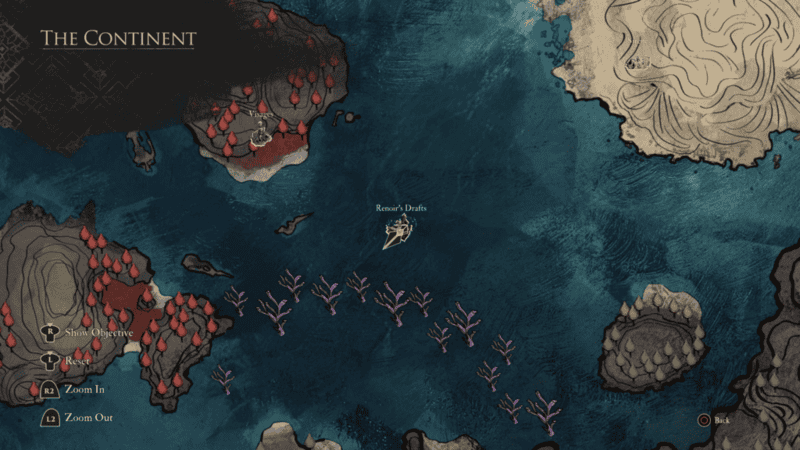
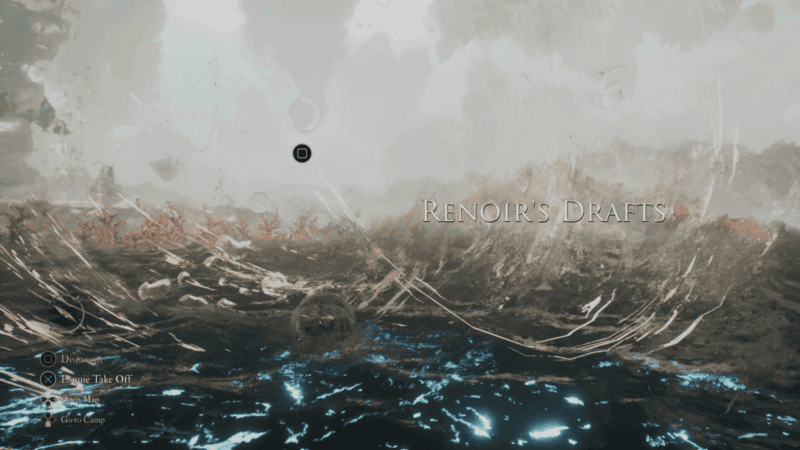
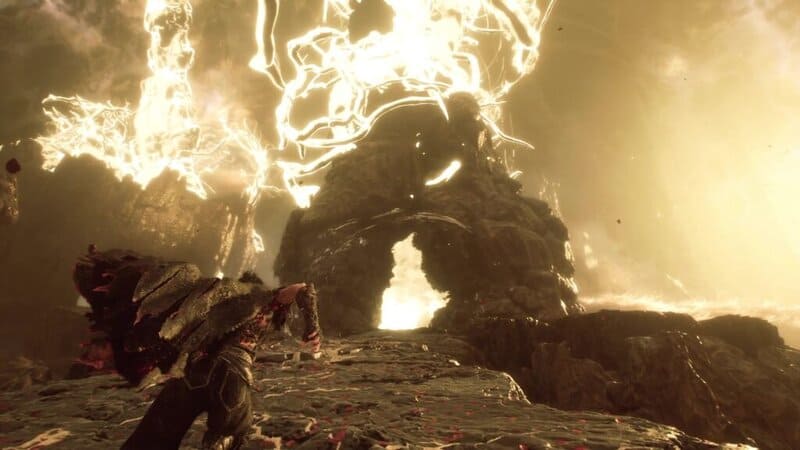
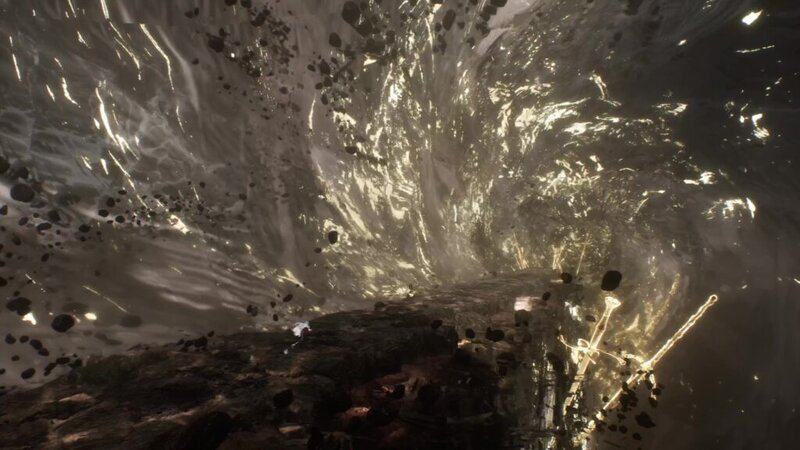
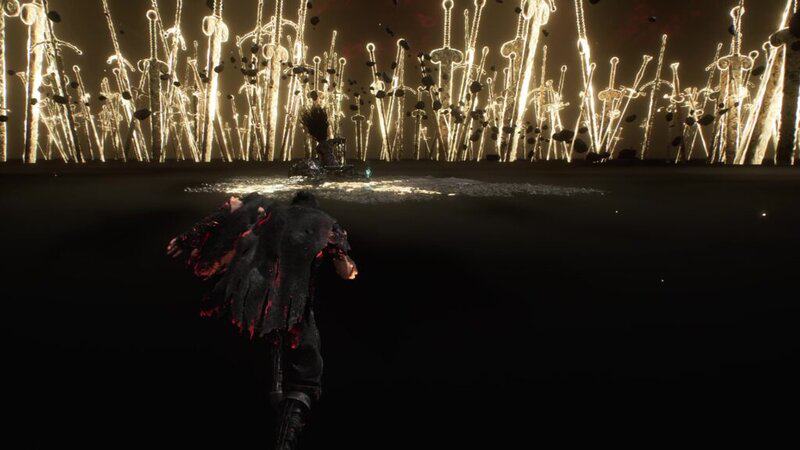
Simon can be found in The Abyss, an area that can be accessed after making your way through Renoir’s Draft. This area is found in the water to the southeast of Visages. You will need to unlock Esquie’s Underwater Diving ability to enter this area. This can be done by reaching Relationship Level 6 with him. Once in Renoir’s Drafts, make your way all the way through the area, and you will find a strange rock structure with golden light coming out of it at the top of a sloped path. Walk through the hole in the side of this structure, and you will enter The Abyss. Go through the cave until you reach a great rock bridge with Chroma swirling in the air. At the end of the bridge, you will drop far, far down into the darkness. You will eventually hit the abyssal bottom, only being illuminated by the glow of the giant swords surrounding you. Simon can be found sitting nearby. Walk up to him to play a cutscene, and the boss fight will begin.
Party Prep
Simon is the most difficult boss fight in the entire game and not only requires you to have fully upgraded weapons, max out Relationship Levels with everyone so you have access to all Gradient Attacks, and your party’s levels to be in the high 80s or even the 90s to really stand a chance, but you will also need to build your team in a specific way since you will need to use all 5 party members over the course of this battle. While there is a way to have Maelle nuke this boss with the right build, you can also confront the boss with all your party members in the form of your starting party and your Reserve Team. I suggest using Lune, Monoco, and Verso as your starting team, with Sciel and Maelle being the duo that concludes the fight.
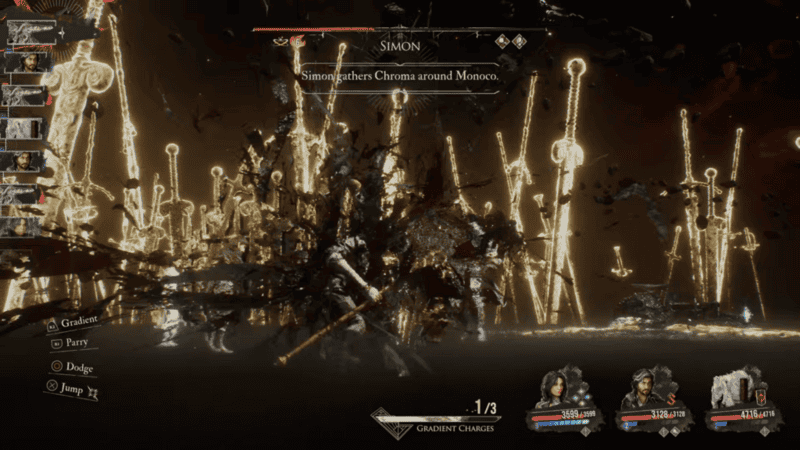
Lune can use any of her Fire moves to apply the Burn status effect and she can use other skills like Ice Lance to inflict Slow on Simon and decrease the number of turns he gets for a brief time. With how long and difficult Simon’s attacks are to dodge, being able to inflict him with Slow could completely change the tide of battle. In addition to Fire and Ice attacks, use other skills that charge Lightning, Earth, or Light Stains, such as Elemental Trick, because you will need to get 4 different Stains and use Lune’s Elemental Genesis move. This is an 8-hit combo that does massive damage, and since Simon doesn’t have any resistances or immunities, every single one of the hits from this combo will do massive damage. Lune can also be very useful as a healer and Simon will constantly drop your health to 1 HP if you ever have more than that, so healing can be useful to have Simon waste a turn. While you will lose all your health, this move that drops you to 1 HP won’t kill you, so it’s better than having to dodge or parry one of his crazy combos.
Monoco will be used to apply buffs to the party and status effects to Simon. I suggest the Hexga Crush (2-hit medium Earth damage, applies Defenseless), Glaise Earthquake (3-hit medium Earth damage, applies Powerful to self, applies to full party if on the Heavy Mask Bestial Wheel), Gault Fury (4-hit low Physical damage and applies Mark, increased damage if on the Balanced Mask), and Echassier Stabs (2-hit medium Physical damage. Second hit applies Mark, increased damage if on the Agile Mask) to get the most out of him.
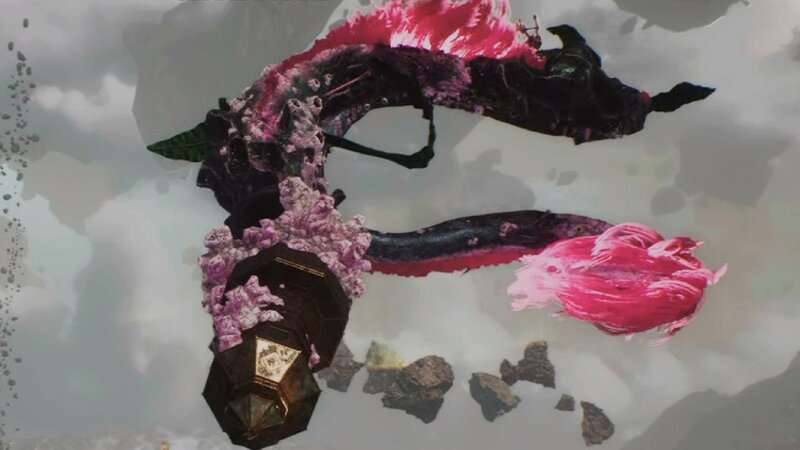
For Verso, make sure you get the Chevalam weapon from the Chromatic Chevaliere in the Crimson Forest. While you won’t be able to heal, you will start the fight at S-Rank. This means you can deal the most damage possible right at the start of the battle and will constantly be able to use some of his most damaging attacks as long as you don’t get hit. Strike Storm is a 5-hit combo and will deal high damage based on your weapons’ element. End Bringer contains 6 hits and deals extreme Physical damage, with even more damage being done if Simon is Stunned.
Steeled Strike is the most unique of Verso’s skills since it requires 2 turns. When you start the move, your turn will end and you will need to reach Verso’s next turn without taking any damage. If Verso is hit, he will be knocked out of the move and it will be interrupted, meaning the only thing that happens is you just lost a lot of AP and a style rank. If you can get to your next turn, Verso will let out a massive 13-hit combo that deals extreme Physical damage with even more damage done if you’re at S-Rank.
Verso should also use the Powerful ability to give the party the buff of the same name. This will give him and the party more damage for the next few turns. He will need to have an attack that has the ability to Mark. This can be Marking Shot, Defiant Strike, or a Pictos that has a chance to inflict Mark like Marking Shots, especially if you don’t use Sciel and if Monoco is either not being used or lacks Marking skills. These are the moves that you should use with Verso and should couple them with the boss being in Defenseless and Marked while the party also has the Powerful buff to get the most damage out of each attack.
Sciel’s main goal when she enters the fight in Phase 3 is to buff up Maelle with Fortune’s Fury. This move will double the damage of the selected character’s next turn. I also suggest using Intervention, which will allow you to select another party member to instantly play a turn with an additional 4 AP. These buffs and additional bonuses from Pictos and Luminas should allow Maelle to use her most powerful moves on her first turn, as well as do massive damage to basically skip Phase 3.
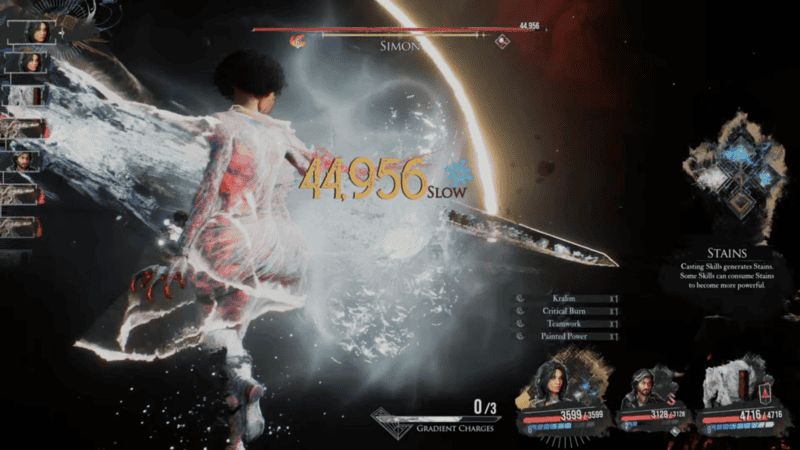
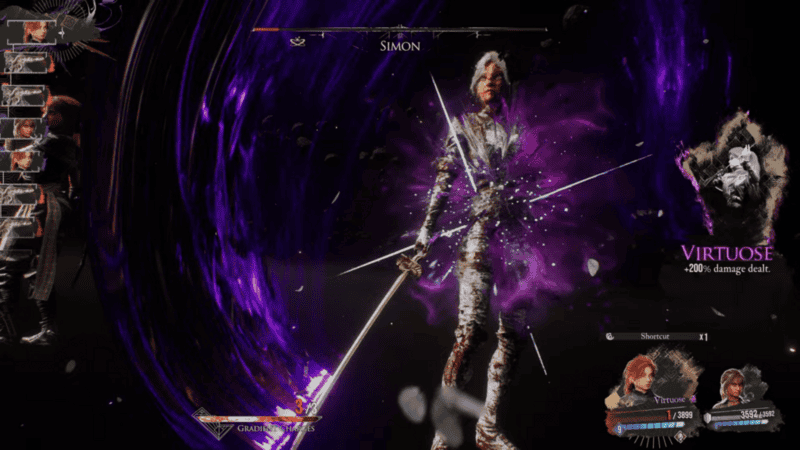
Your final character will be Maelle, who can easily and instantly defeat the boss at the start of its final phase. Make sure you have a fully upgraded Medalum weapon that you get for either winning the Gestral tournament with Maelle or defeating Golga with her. With this weapon, you will start in Virtuose Stance and give you a chance to instantly end the fight, which we will cover later in this guide. For your main attack, Stendhal is a powerful Void skill as well as one of the moves with the highest damage potential. You will also need the Last Chance skill. This skill will drop you to 1 HP but instantly switch you to Virtuose Stance and give you 9 AP. When in Virtuose Stance and buffed by your team, use Stendhal to do massive damage. You will also need to make sure you have her Gommage Graident Attack, which is unlocked at Relationship Level 7. This attack can do massive damage along with Stendhal to quickly end the final phase.
You will need to make sure you have the right Pictos and Luminas for this fight. I suggest using a Death Bomb build to help quickly build up AP and Break the boss early on, just to get a quick jump on the encounter by getting as much damage off as possible. Here are my Pictos/Lumina suggestions that you could use in this fight. I will mark what I think are the most important Pictos in red:
- Painted Power- Exceed the 9,999 damage cap (All party members)
- Cheater- Always play twice in a row (All party members)
- Shortcut- Immediately play when falling below 30% Health. Once per battle (Maelle)
- Auto Death- Kill self on battle start (Sciel, Monoco, Lune)
- Breaking Death- Fully charge enemy’s Break Bar on Death (Sciel, Monoco, Lune)
- Energizing Death- On death, +4 AP to allies (Sciel, Monoco, Lune)
- Burning Death- Apply 3 Burn to all enemies on Death (Sciel, Monoco, Lune)
- Second Chance- Revive with 100% Health. Once per battle (All party members)
- Energizing Revive- +3 AP to all allies when revived (Sciel, Monoco, Lune)
- Energizing Turn- Gain 1 AP on turn start (All party members)
- Any of the Energizing Starts- Gain 1 AP at battle start (All party members)
- Energizing Shots- 20% chance to gain 1 AP on Free Aim shot (Verso)
- Energizing Heal- On Healing an ally, also give 2 AP (Lune)
- Energizing Turn- +1 AP on successful Parry (All party members)
- Energy Master- Every AP gain is increased by 1 (All party members)
- Energizing Revive- +3 AP to all allies when revived (Sciel, Monoco, Lune)
- Energizing Break- +3 AP on Breaking a target (All party members)
- First Strike- Play first (Sciel)
- Charging Altercation- +10% of a Gradient Charge on applying a Buff. Once per turn (Verso and Monoco)
- Charging Critical- 20% of a Gradient Charge on Critical Hit. Once per turn (Maelle and Verso)
- Dodger- Gain 1 AP on Perfect Dodge. Once per turn (All party members)
- Longer Powerful- On applying Powerful, its duration is increased by 2 (Monoco)
- Rush on Powerful- Apply Rush on applying Powerful (Monoco)
- Weakness Gain- +1 AP on hitting an enemy’s Weakness. Once per turn (Lune)
- Gradient Fighter- 25% increased damage with Gradient Attacks (Maelle)
- Inverted Affinity- Apply Inverted to Self for 3 turns at battle start and gain 50% increased damage while Inverted (All party members)
- Sniper– First Free aim Shot each turn deals 200% increased damage and can Break (Verso and Sciel)
- Gradient Break- 50% of a Gradient Charge on Breaking a target (All party members)
- Full Strength- 25% increased damage on full Health (Maelle and Verso)
- Glass Canon- Deal 25% more damage, but take 25% more damage (Maelle)
- At Death’s Door- Deal 50% more Damage if Health is below 10% (All party members)
- Critical Burn- 25% increased Critical Chance on Burning enemies (All party members)
- Critical Moment- 50% increased Critical Chance if Health is below 30% (All party members)
- Teamwork- 10% increased damage while all allies are alive (All party members)
Phase 1
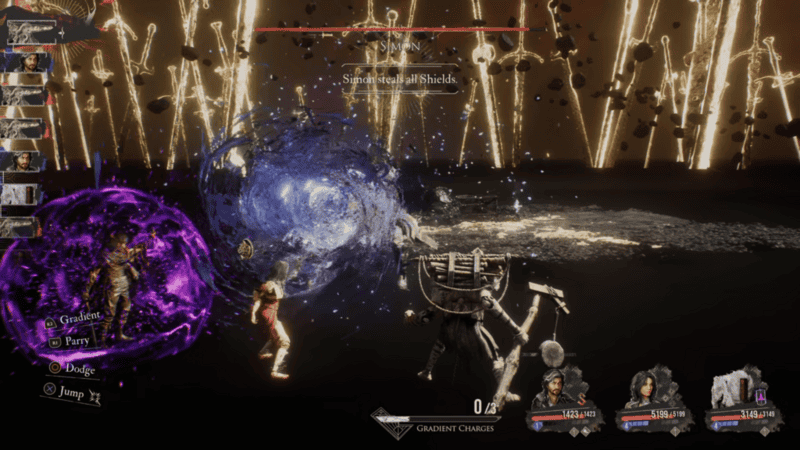
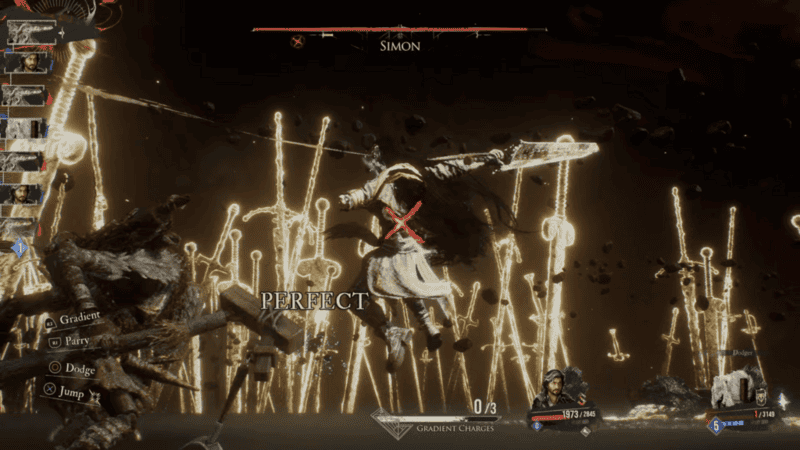
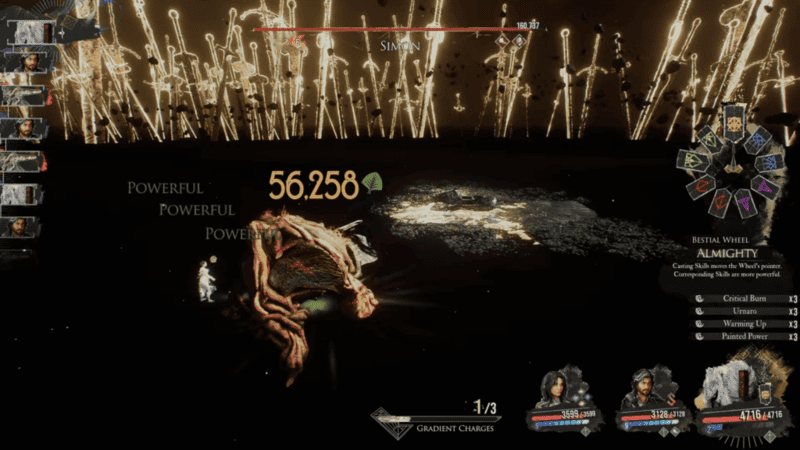
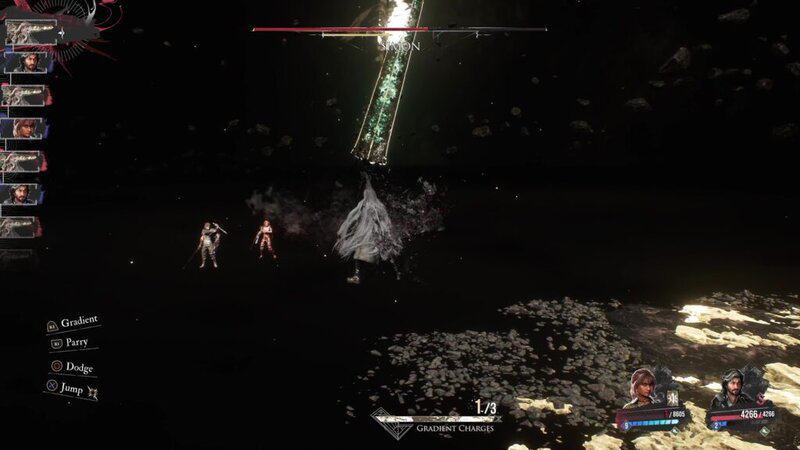
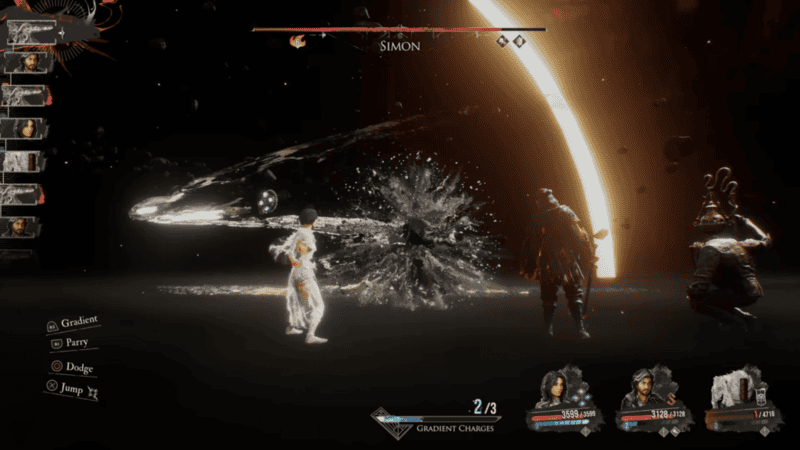
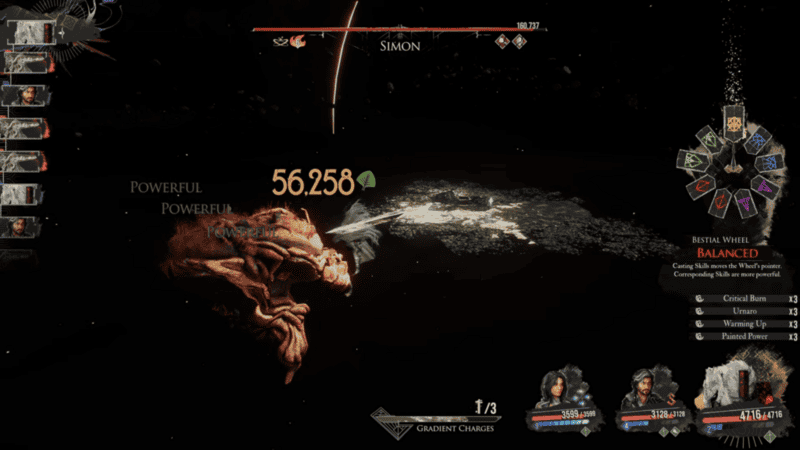
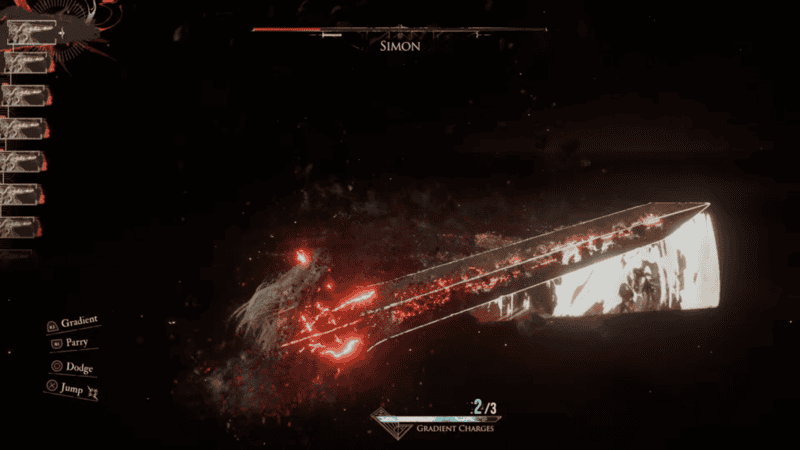
The first phase of Simon’s encounter is pretty straightforward and is in line with many of the other endgame bosses. While having a large health pool, it is very manageable, especially if your character is around the levels suggested earlier. Outside of his basic combo strings, Simon does have a few unique abilities that you will need to look out for. Firstly is the Chroma attack. This is an undodgable move that Simon will use when a party member has more than 1 HP. This attack will single out a party member and reduce their health to 1. Another move will happen anytime a party member has Shields. He will absorb your Shields and apply them to himself. Finally, if any party member dies, they will be removed from the Canvas, not allowing you to revive them.
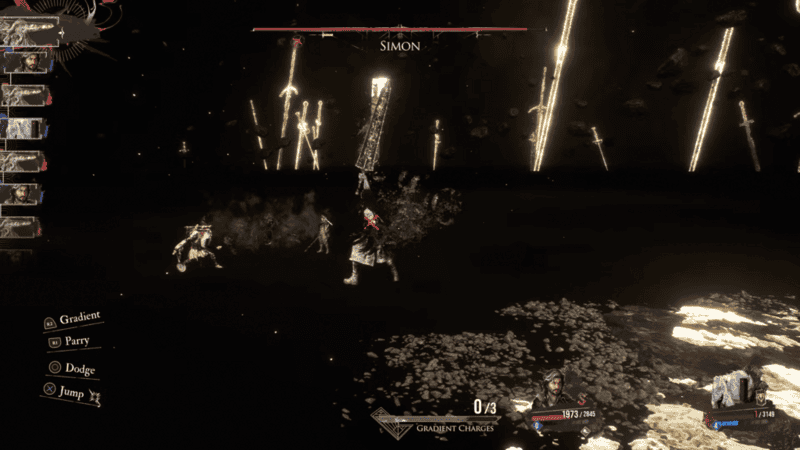
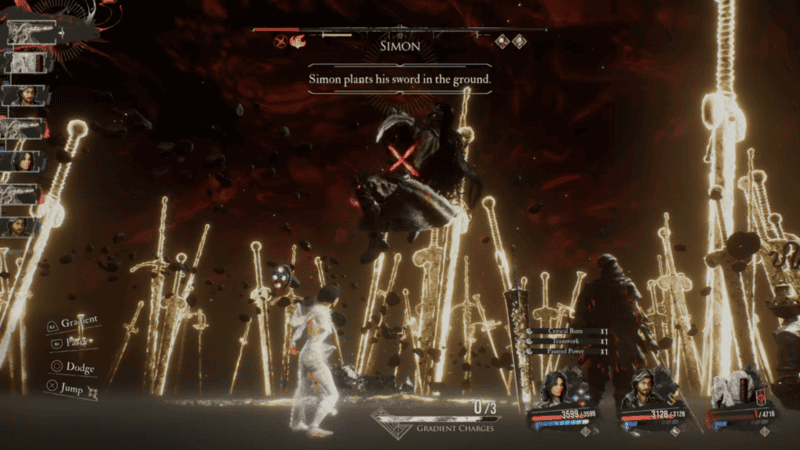
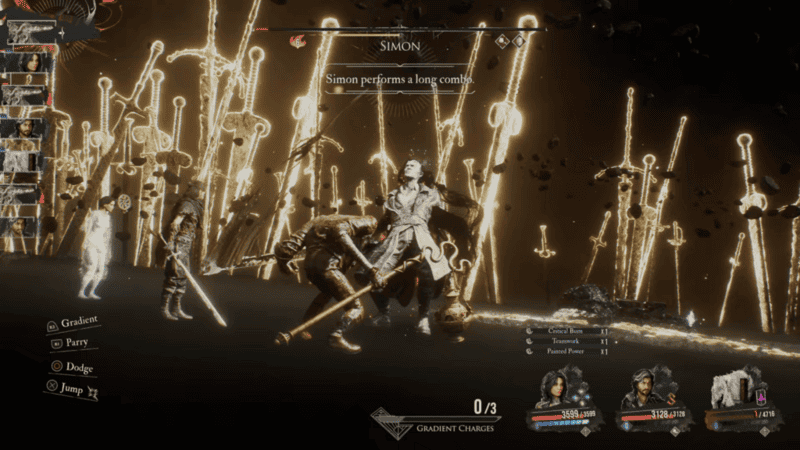
The first phase has 4 combo strings that you will need to look out for. One of these attacks is when “Simon places his sword in the ground.” Simon will thrust his sword into the abyss at his side and unleash a hand-to-hand combo. This is a 5-hit sequence that mixes quick strikes and deliberate windups to throw off your counter-timing. After planting his sword in the ground, he will jump towards one of your party members. After very briefly pausing in the air, he will slam down on his target. He then twists his body and, after a short delay, performs a quick electric punch. He follows this up with an uppercut after a short delay. He then takes a full step back to charge up before stepping forward and punching. He then leaps in the air to perform a final strike after a quick pause.
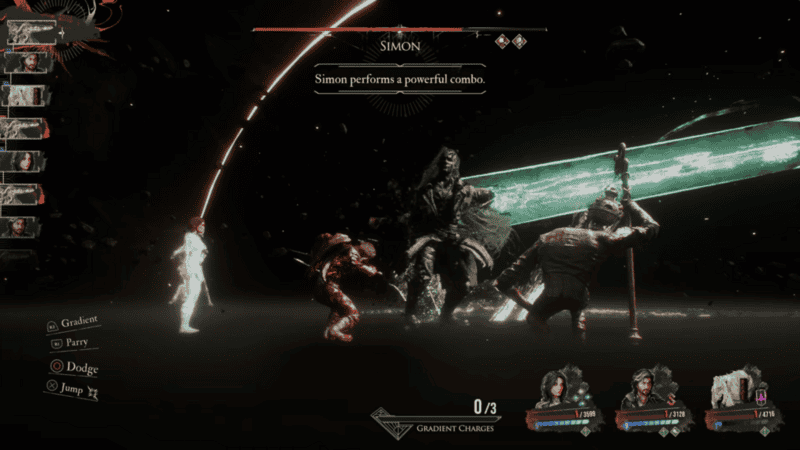
Simon’s simplest attack is his “powerful combo.” This is a 3-hit sequence with very simple sword swings. Simon jumps toward his target and, after landing, will perform a long startup before swinging his sword upward. He performs a slight delay before performing another slash. The second slash lifts him in the air, where he spins and pauses for a moment. After a noticeable delay, he will perform the final attack.
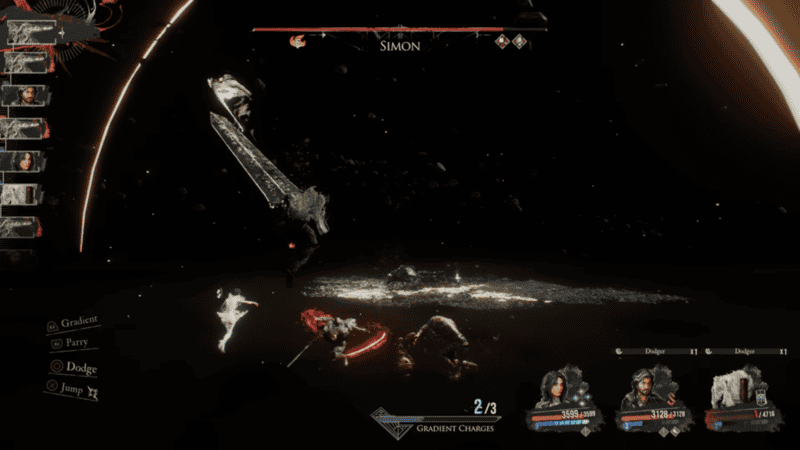
His other attacks are his short and long combos. The short combo consists of 4 attacks. He will jump and then quickly slam his sword down on his target. He will then jump again and stay in the air with a longer pause compared to the first jump before doing another slam. He will keep his sword on the ground and then perform a sudden slash that you will need to jump over. He jumps one final time and performs his longest delay yet before doing his final slash.
Simon’s long combo consists of 6 attacks, which vary widely in speed and animation. He will start this combo by stepping toward his target before letting out a roar. He then slowly brings his sword back and, when the sword goes parallel with his back, he quickly slashes his target. He then slowly pulls the sword to his side, and when it becomes parallel with his hip, once again performs a fast slash. He then spins around with the momentum of the previous slash and then performs an upward slash after a brief pause. The motion of the previous attack brings his sword above his head. He will perform his fourth attack after a quick pause with the sword above his head, which is followed by the quickest follow-up in this combo as he then does another downward slash. He finishes this combo by jumping in the air and spinning around, pausing briefly as he pulls his sword behind him before doing his final swipe.
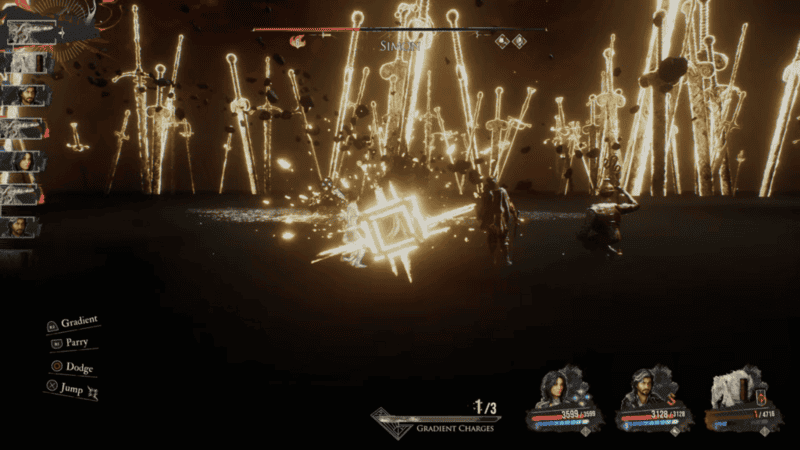
Taking down the first phase of Simon is pretty easy, especially with the Pictos mentioned earlier. With Auto Death on Lune and/or Monoco along with Second Chance, Break Death, Burning Death, Energizing Death, Energizing Revive, Energizing Turn, and at least Energizing Start, you should start the battle with every single party member with 9 AP and with Simon’s Break Meter full as well as the boss being inflicted with Burn. All of this puts you in the best spot to get a lot of attacks off before Simon even gets a turn. Use Verso’s Sniper Pictos to Break Simon, and then use as many Free Aim shots as possible before performing Follow-Up. With Energizing Aim, you have a chance to let off more than 6 shots before going from 9 AP to the 2 you need for the skill, but make sure you stop shooting and perform Follow-Up right away if you perform 10 shots, since the move only stacks 10 times. You should then use your second turn to consume an Energizing Tint to get AP back for Verso. Have Monoco use Hexga Crush and Glaise Earthquake to apply the boss with Defenseless and give the party Powerful. Lune should inflict Simon with Slow with Ice Lance and then use Thermal Transfer to get 4 AP back since the boss is burning. At this point, Simon should lose his turn since he’s stunned. Verso can use both of his turns to perform Steeled Strike. With the Critical bonuses, buffs on you, debuffs on the boss, and some extra damage from Pictos, this should easily do damage in the multi-millions and should end the first phase.

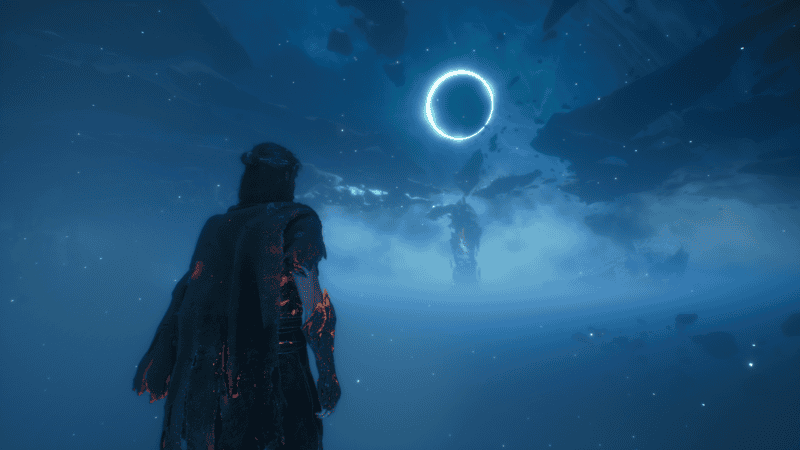
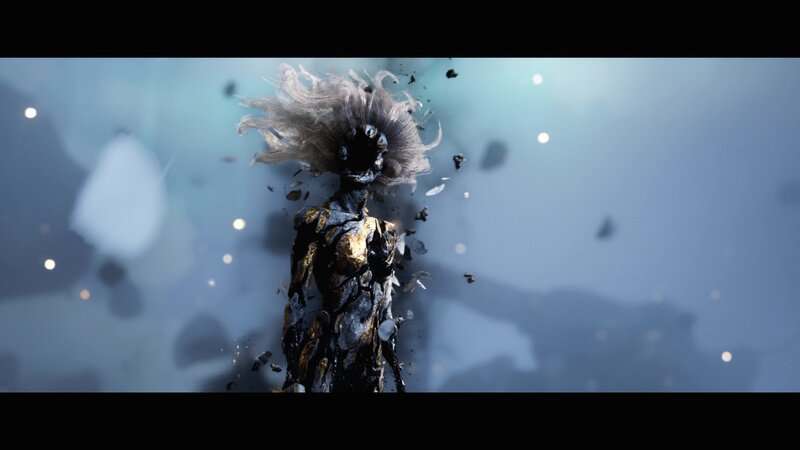
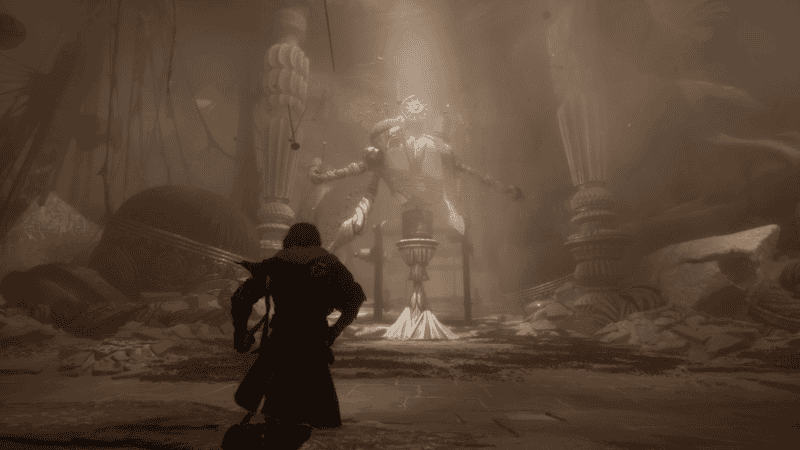
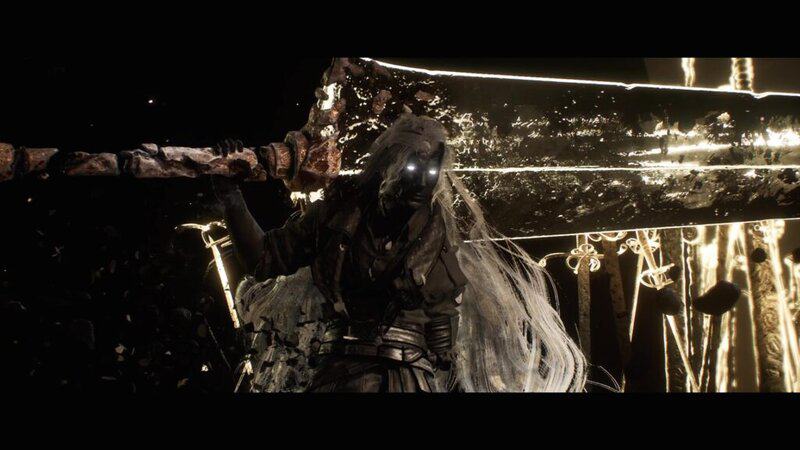
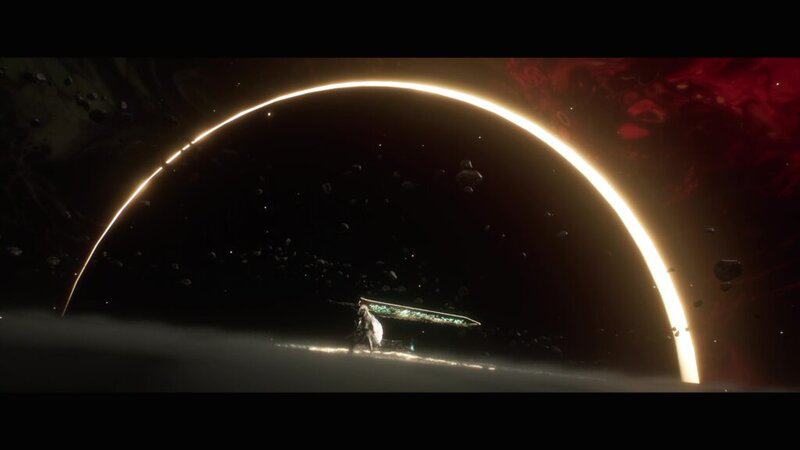
After going through the entirety of the first health bar, a cutscene will play where the great eclipse that his usually seen behind the Monolith appears in The Abyss and Simon becomes the fallen hero of legend and more powerful than any foe you’ve faced before. This is where the real fight starts.
Phase 2
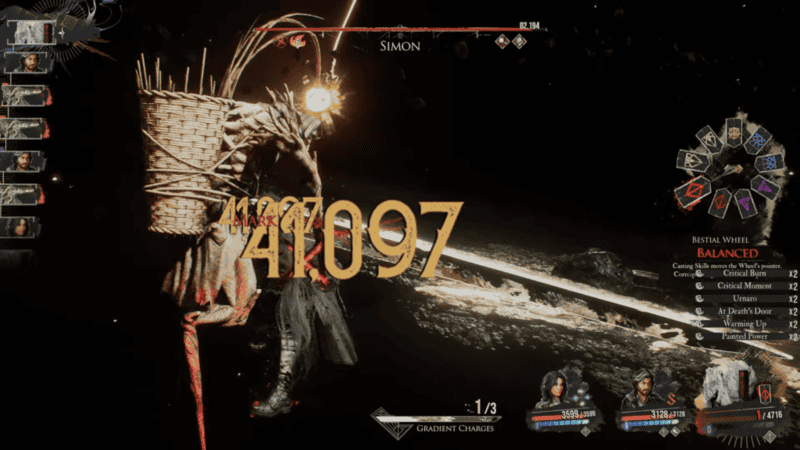
Simon’s second phase consists of a much larger health pool while carrying over his passive skills, while enhancing his combos seen in Phase 1 and gaining several of the most powerful and hard-to-counter attacks in the game. To start, he will still often gather Chroma to drop a party member’s death to 1 HP, steal any Shields your party applies, and will remove any dead teammates from the Canvas, stopping them from being revived.
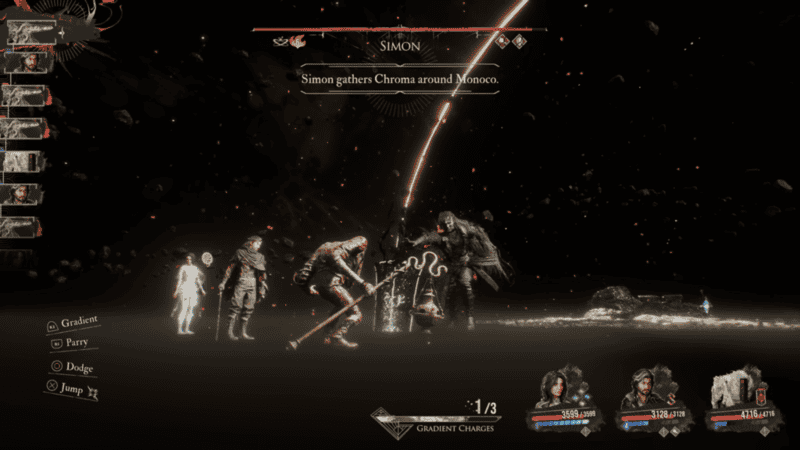
In addition to this, he gains a spectral sword that follows his blade to extend his combos. While he no longer performs the hand-to-hand combo, all of his other attacks from Phase 1 return with the aetherial mirroring each attack in these combo strings. While the timing for the normal attacks of these combos is the same, each one will almost instantly be followed up by the exact same strike from the blade’s copy. This basically means you will need to dodge every attack twice. The only attack that doesn’t get a duplicate is the third strike of the short combo that you need to jump over.
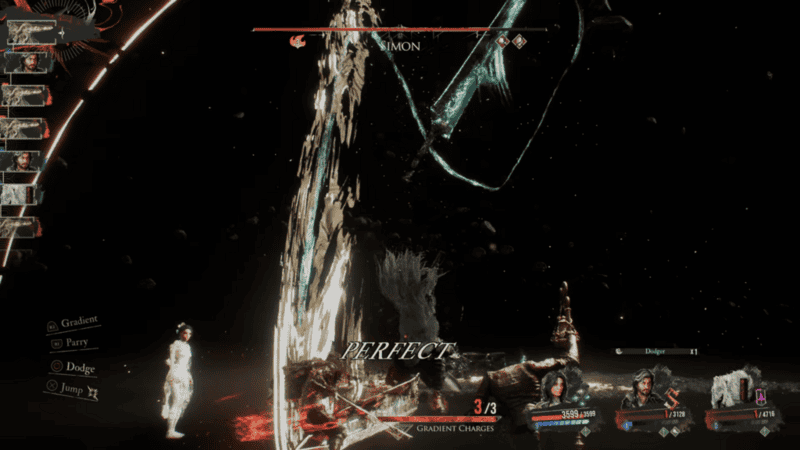
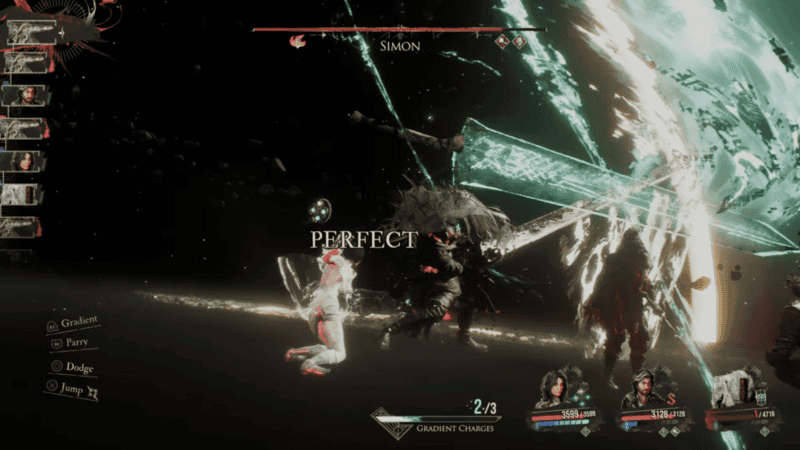
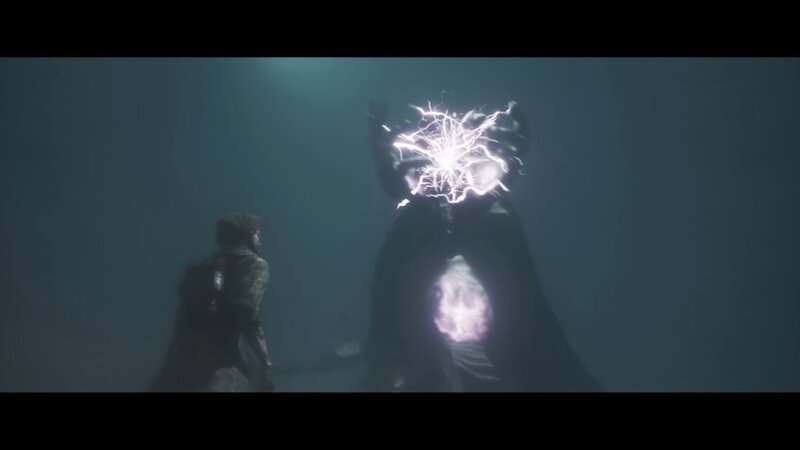
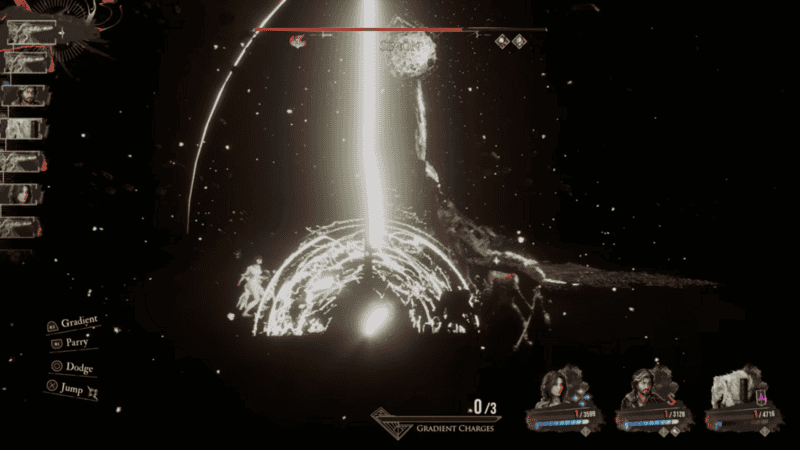
As for his new attacks, these are a mix of animation speeds, appearances, and distortions that can make them hard to read and counter. One of these new attacks is the “Sword of Lumiere” combo. This is a 7-hit sequence that starts with Simon lifting his sword up to gather Chroma. He will spin around and absorb energy. When the energy fully collapses in on him, he will release a beam of Chroma at his target. This is quickly followed up by the same attack. Simon will then leap into the air and, following a slight pause, will slash at his target. He will then take about a full second to pull his sword behind his head and then perform a diagonal slash. He then does a spin and a pause that’s slightly longer than the delay seen with the previous strike before performing a horizontal slash. He then leaps in the air, pauses briefly, and then does a slash. This appears to be the end of the combo, but there is one final strike waiting for you. There will be a beam of light that shoots down on the party member with an audio cue. After a short pause, a sword will shoot down from the sky to try and impale its target.
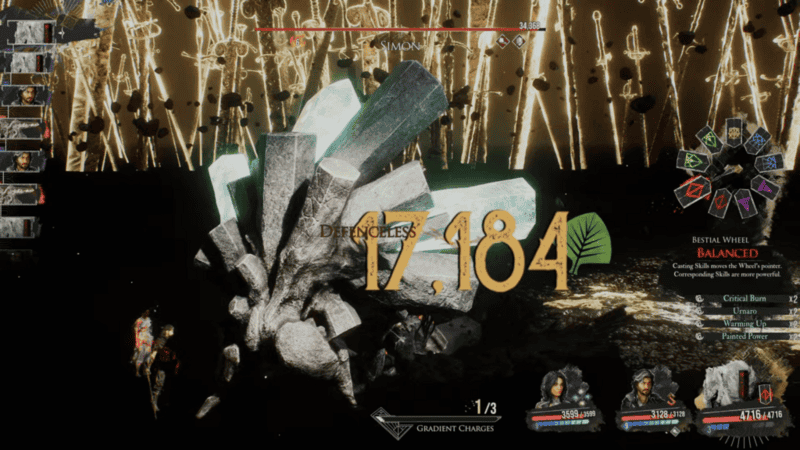
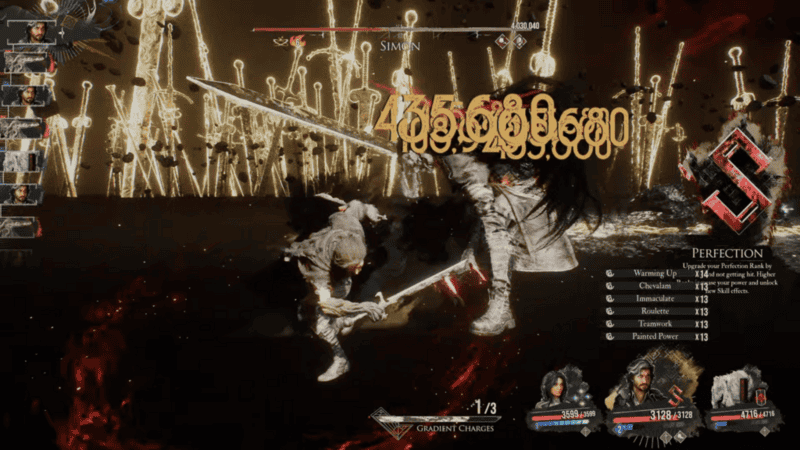
Simon’s ultimate attack is when he “attacks at light speed.” This is a 10-hit combo that mixes attack speeds, delay lengths, and even has multiple false endings while being able to deal damage to your whole team, meaning this could easily end your run. You will need to make sure you fully understand this sequence to get through it. The combo starts with Simon floating into the air and, after a very quick pause, performing a slash to the whole party. He will very quickly follow up with a second slash. While in the air, he will pause for a moment before performing another slash, followed by another brief pause and upward slash. While in the air, he will have a pause similar to the one before the third slash. He will then perform 3 quick slashes in a rhythm back-to-back. After the end of these 3 slashes is the longest pause in the combo to try and fake you out. To further throw off your timing, the attack that follows the attack after the long pause is almost immediately after, with an extremely slow pause. Simon will then conclude his combo by lifting his sword into the air as an orb of Chroma gathers at the center of the party. The orb will grow and pause when it reaches its max size before quickly collapsing in on itself and summoning an Axon-killing blade to crush the Expedition.

Because of Simon’s large health bar, you will need to perform more rotations through your party compared to the first one. When this fight begins, you will once again trigger the Auto Death, Second Chance, Break Death, Burning Death, Energizing Death Pictos so you can start the fight the same way as before. Monoco buffs the party and debuffs the boss, Lune Slows Simon and gets AP back against the Burning target, and Verso Breaks him while also doing the first bit of major damage. When it’s Monoco’s turn while Simon is Defenseless and the party has Powerful, you can use Gault Fury and Echassier Stabs to apply the boss with Mark. Lune should use other elemental attacks while reapplying Slow when it goes away and adding more stacks of Burn. Use Elemental Trick to try and build up additional and varied Stains. When she has a unique Stain in each slot, use Elemental Genesis to do massive damage. Meanwhile, have Verso just focus on dealing the majority of the damage while the rest of the team relies on buffing and debuffing, filling in with some extra damage between support.
Phase 3
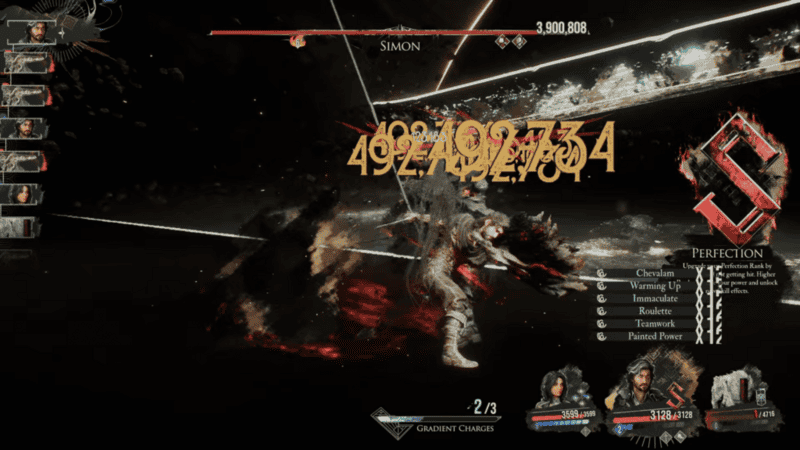
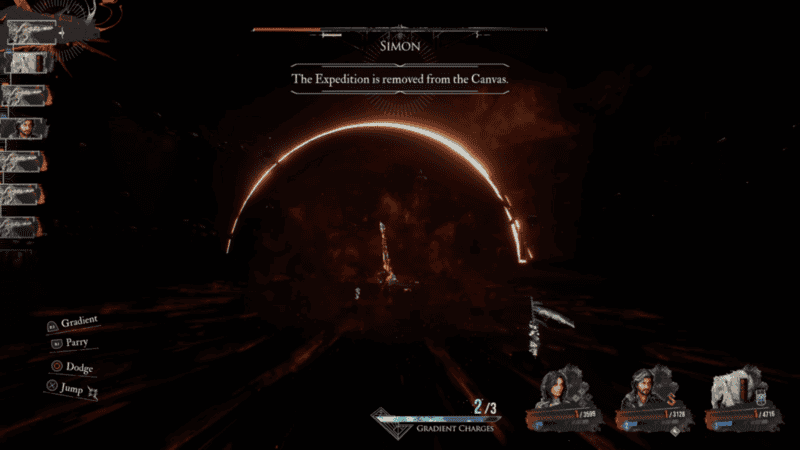
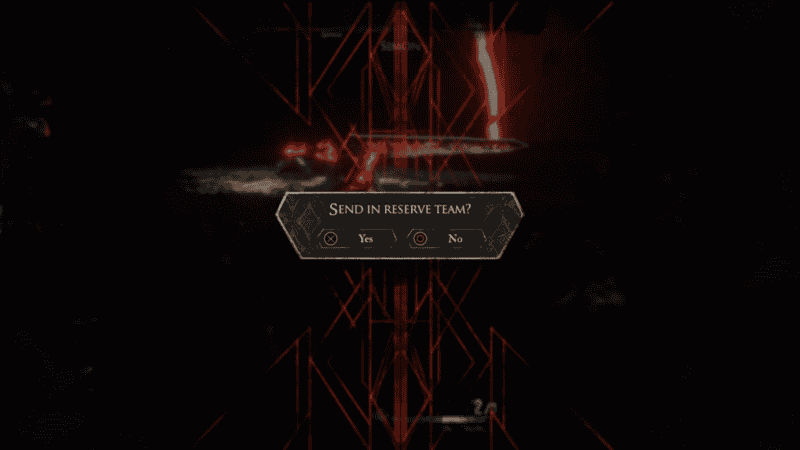
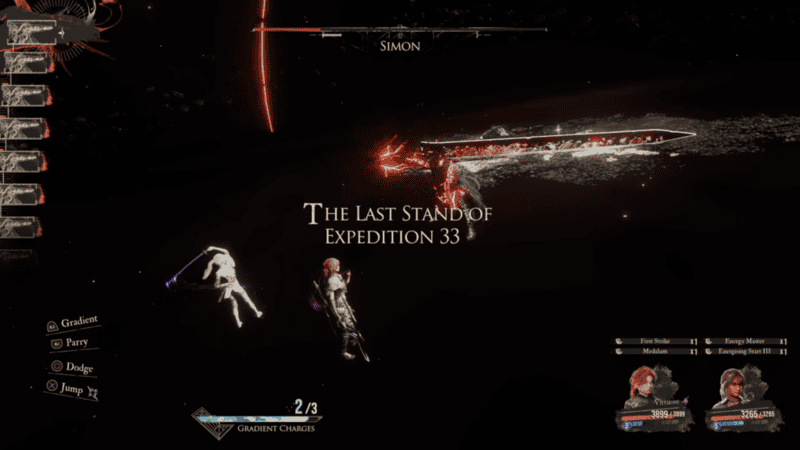
The final phase begins when Simon drops beneath 25% and is the reason you will need to use all of your party members. He will “erase the Expedition from the Canvas” and just instantly eliminate your entire party. This is undodgeable. Your starting lineup with just be wiped with no way to stop it. You will then need to send in Maelle and Sciel to end the fight.
The third phase is almost identical to Phase 2, with the added challenge of Simon gaining a second spectral blade, this one being red. This means every combo where he had the spectral blade will be extended further. Each attack of these combos will need to be dodged 3 times now, once again with the only attack not being added on to being the move you must jump during the short combo.
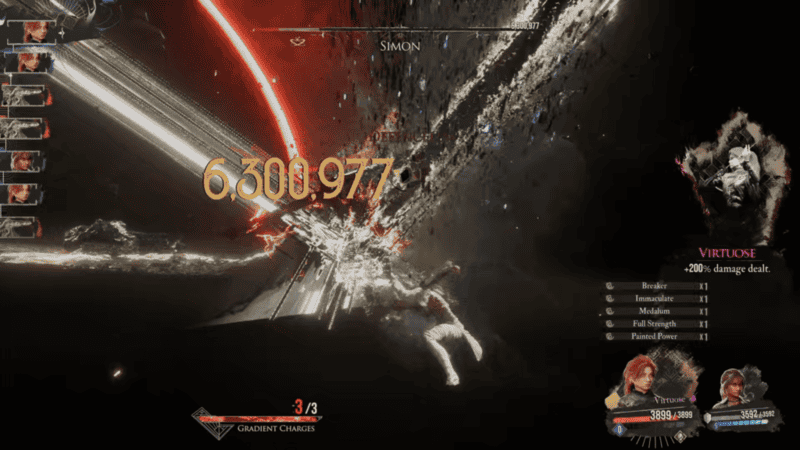
Luckily, with this build, you shouldn’t even need to deal with this phase. With Auto Death, Break Death, Energizing Death, and Energizing Revive, on Sciel along with Energizing Start and Energizing Turn for both Sciel and Maelle, both characters should once again start with 9 AP. Have Sciel use Sniper to Break Simon and then give Maelle Fortune’s Fury to double the damage. You can then either use Marking Cards to apply Mark to the boss or Intervention if Maelle’s turn isn’t next to give her her turn immediately. From here, have Maelle use Stendhal to do massive damage. This is her first attack so the Medalum weapon will start her in Virtuose Stance. Then, use Last Chance to drop to 1 HP, gain 9 AP, and reenter Virtuose Stance. Perform Stendhal again. This combo of buffs and attacks should instantly end Simon’s final phase. You can also use her Gommage Level 3 Gradient Attack to deal massive damage but this back-to-back Stendhal works just as well.
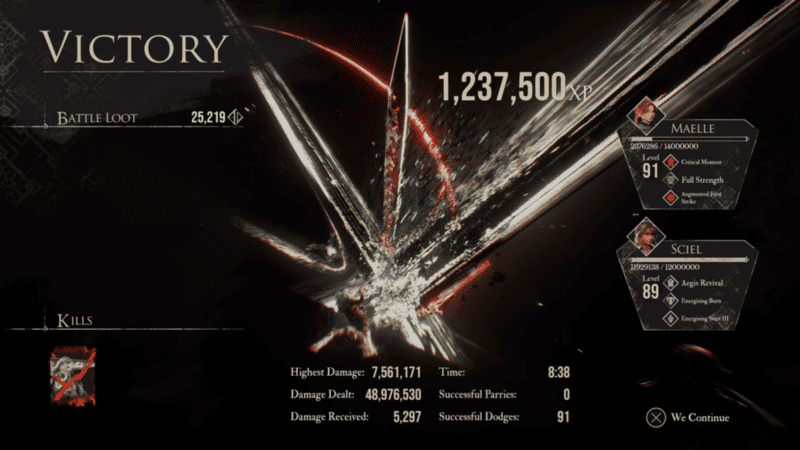
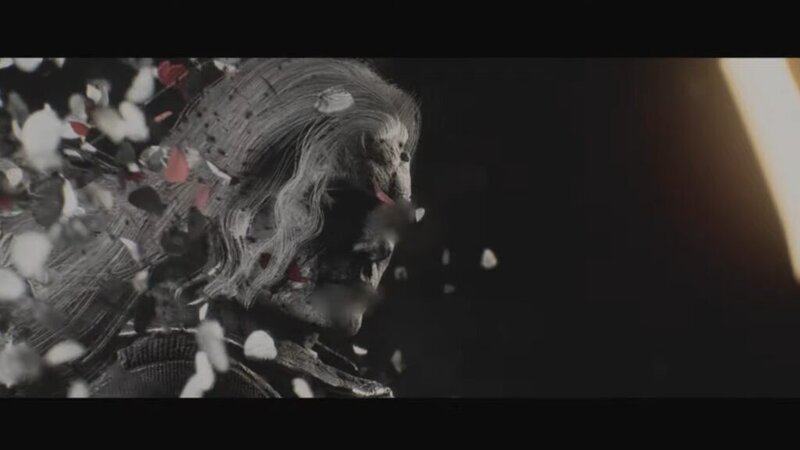
When Simon is defeated, a cutscene will play where this warrior is finally laid to rest, and you will you will get the Simoso sword for Verso. You will also unlock the “Simon” Achievement and Trophy. You can now also grab the Simon Expedition Log that was sitting on the ground next to him.
You can now defeat the Simon boss fight in Clair Obscur: Expedition 33. Stay tuned to Gameranx for more news, updates, and guides for Clair Obscur: Expedition 33 as well as other great games in the future.