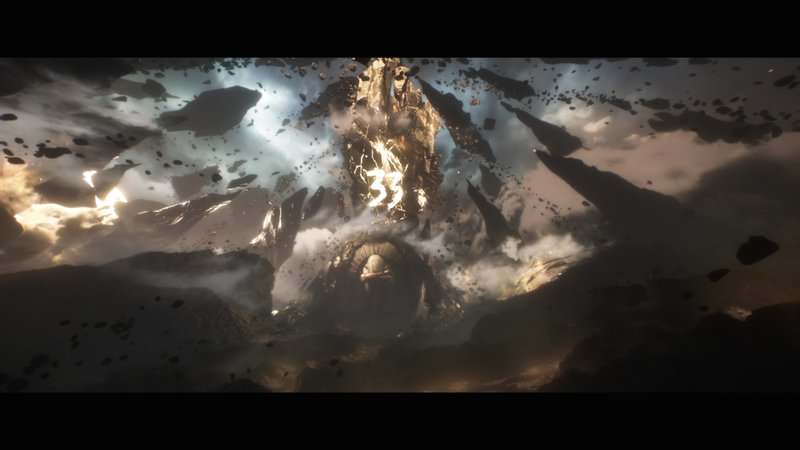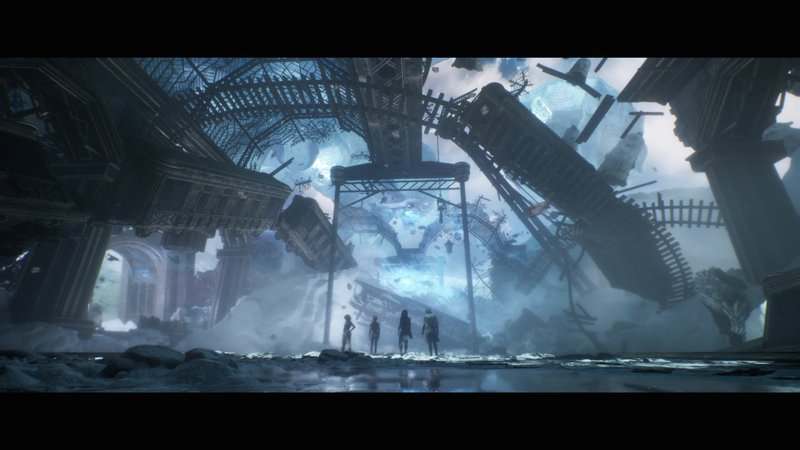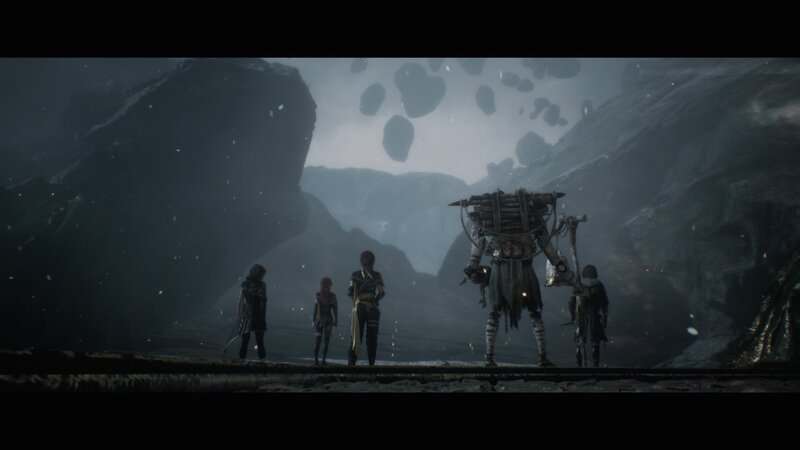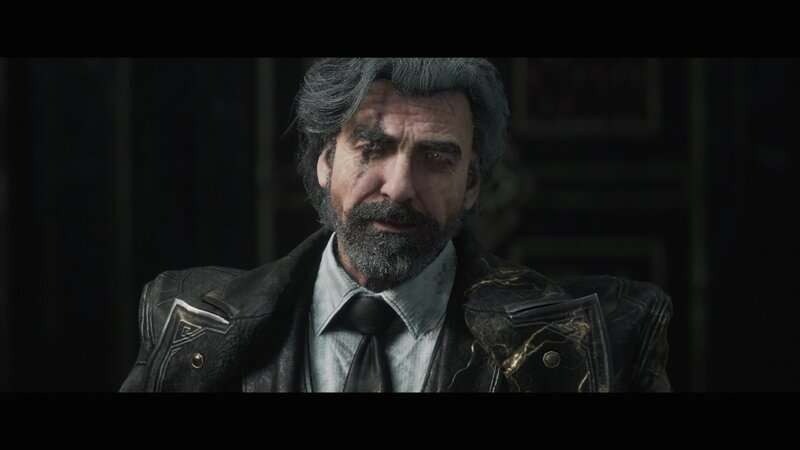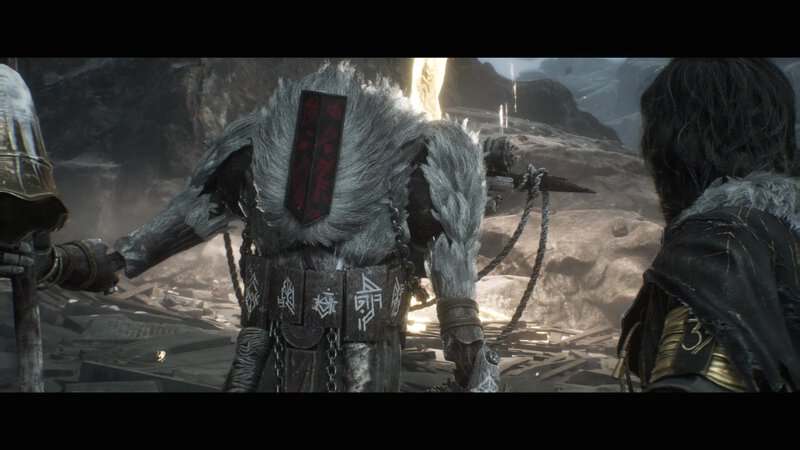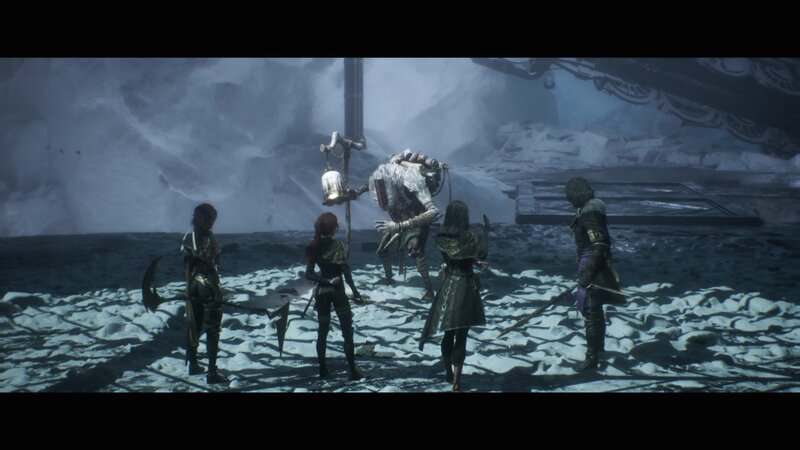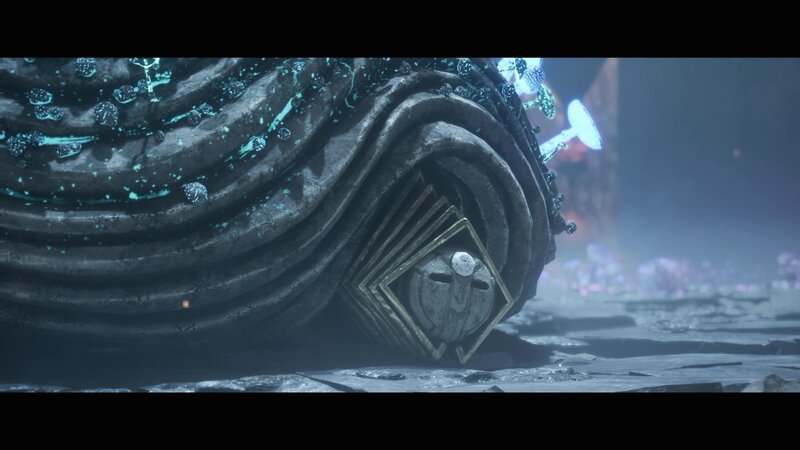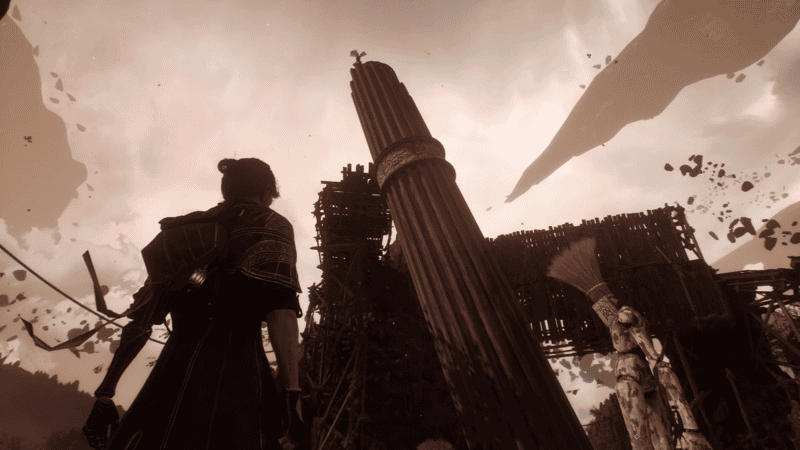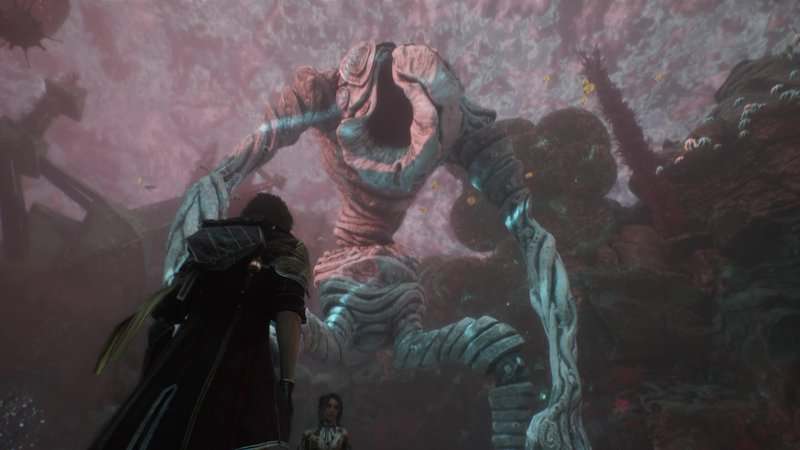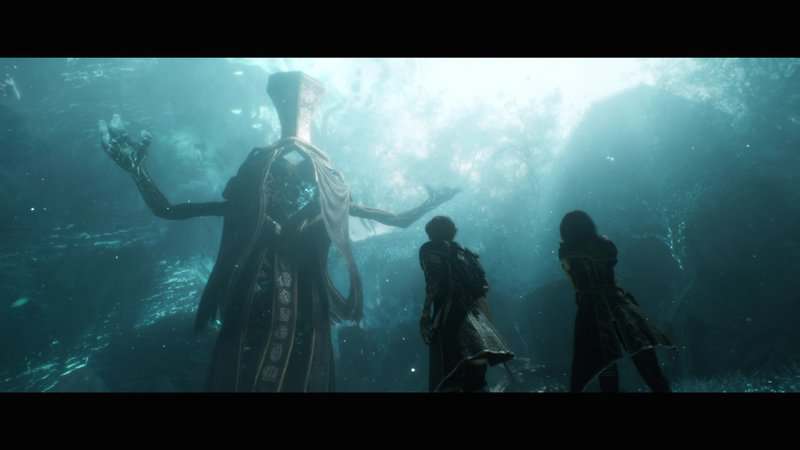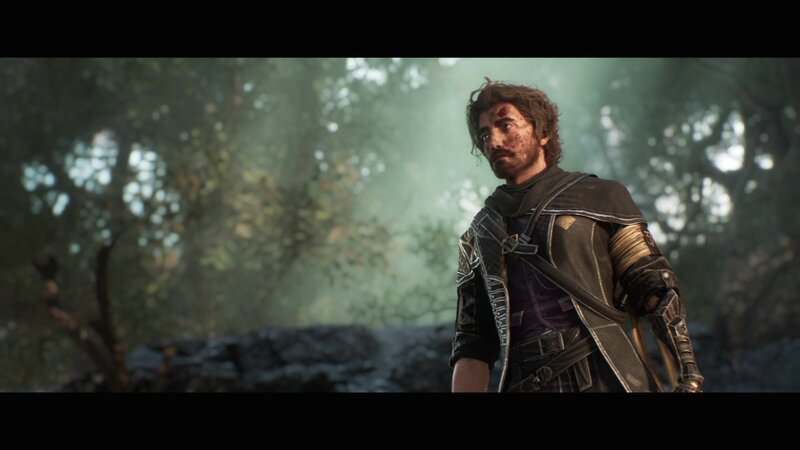
Renoir plays a major role in Clair Obscur: Expedition 33 and while the party faces off against the leader of Expedition Zero a few times during the game, his battle within the Monolith is the last true obstacle between them and The Paintress. This battle can be a bit of a challenge with the introduction of the Dark Creature, which makes its presence known in the second phase of this fight. Players who want to take down this duo will need to make sure they go into it with the right characters and skills to do so. This guide will show players how to beat the Renoir and the Dark Creature boss fight in Clair Obscur: Expedition 33.
How to Beat the Renoir and the Dark Creature Boss Fight in Clair Obscur: Expedition 33
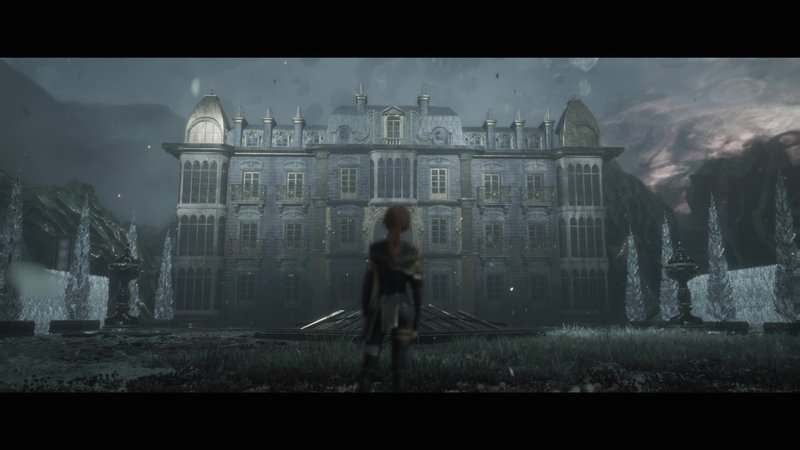
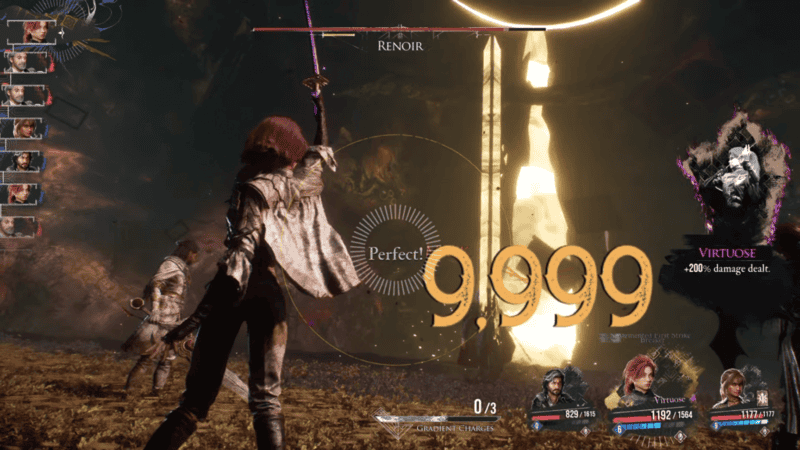
Renoir and the Dark Creature are found near the end of the Monolith section of the game’s main story and are the second-to-last encounter of Act II. While this battle contains the addition of the Dark Creature that will assist Renoir with some new attacks, Renoir himself is the same as in the battle in Old Lumiere. This means that he has no elemental weaknesses or resistances. This means that you can use any party member you want for this fight. Some of my suggestions are to use attacks that have multiple hits, since you still have the damage cap of 9,999 damage during this fight. With multi-hit attacks, you can get past the damage cap since the cap limits each hit to 9,999, but combining these hits can get you above the threshold in a single turn.
Party Prep
One element you should consider using is Fire attacks since they can apply Burn and not only provide some extra damage at the start of every one of Renoir’s turns, but Maelle’s Swift Stride attack will allow her to enter Virtuose Stance if used on a Burning enemy. This will allow her to deal massive damage and can even get her to reach the 9,999 damage cap easily. Lune can also get extra benefits from her Thermal Transfer skill on Burning enemies so applying Burn is just a useful tip for any encounter.
Verso should use the Powerful ability to give the party the buff of the same name. This will give him and the party more damage for the next few turns. He will need to have an attack that has the ability to Mark. This can be Marking Shot, Defiant Strike, or a Pictos that has a chance to inflict Mark like Marking Shots, especially if you don’t use Sciel and if Monoco is either not being used or lacks Marking skills. Verso also has a lot of skills that deal out a lot of hits and just as much damage so make sure you bring at least one of these long combo strings. Strike Storm is a 5-hit combo and will deal high damage based on your weapons’ element. End Bringer contains 6 hits and deals extreme Physical damage with even more damage being done if Renoir is Stunned. Steeled Strike is the most unique of Verso’s skills since it requires 2 turns. When you start the move, your turn will end and you will need to reach Verso’s next turn without taking any damage. If Verso is hit, he will be knocked out of the move and it will be interrupted, meaning the only thing that happens is you just lost a lot of AP and a style rank. If you can get to your next turn, Verso will let out a massive 13-hit combo that deals extreme Physical damage with even more damage done if you’re at S-Rank. These are the moves that you should use with Verso and should couple them with the boss being in Defenseless and Marked while the party also has the Powerful buff to get the most damage out of each attack.
Lune can use any of her Fire moves to apply the Burn status effect and she can use other skills like Ice Lance to inflict Slow on Renoir and decrease the number of turns he gets for a brief time. If you use a variety of elemental attacks, you will eventually be able to build up your Stains and use the Elemental Genesis move. This is an 8-hit combo that does massive damage and since Renoir doesn’t have any resistances or immunities, every single one of the hits from this combo will do massive damage. Lune can also be very useful as a healer so take into consideration how you will recover health if you decide to replace her. If you decide to remove her from the party, make sure Maelle has either Spark or Rain of Fire to fill the Burn gap.
Sciel should bring Marking Cards since it is very useful for building Foretells quickly and it will also Mark the boss to get massive damage potential for follow-up attacks from the rest of the party, especially Maelle if you use the Piercee skill. I also suggest using moves like Fortune’s Fury and Intervention to get the most out of the team’s turns before Renoir gets his chance to strike back. The former will double the damage of the selected character’s next turn and the latter will allow you to select another party member to instantly play a turn with an additional 4 AP.
As you build up Foretells, you will want to use skills that are multi-hits to make sure you cash out the most damage possible. Sealed Fate is a great choice here since it is a 3-hit combo which can exceed the 9,999 damage cap in a single turn but also since if you get Critical Hits, the Foretells won’t be removed, meaning you can follow up next turn to cash out even more damage without having to worry about applying more Foretells. Twilight Dance is also a good move here. While it does consume all Foretells, it contains 4 hits and does extreme damage while also extending Twilight Stance by an extra turn. If you have hit the Twilight Foretell cap, you should consider using this move if you can. Using any of these attacks on Renoir, especially if he’s Marked, can do massive damage. If Lune isn’t in your party, also consider using Grim Harvest as a healing tool since this move will heal the party, with more health being given the more Foretells are applied to the boss.
If you decide to use Maelle, make sure you bring in Spark and/or Rain of Fire, especially if you forego using Lune. Use the Swift Stride attack when the boss is burning to have Maelle enter Virtuose Stance. Make sure you have Fluent Fury to get a multi-hit attack that can Break and use Piercee or Momentum Strike when Maelle is in Virtuose Stance and the boss is Marked to easily hit the damage cap. I also suggest using moves that apply Defenseless, since it will make the attacks over the next few turns do more damage. This means you should consider either Offensive Switch or Guard Down.
Monoco can be really useful since he has access to a lot of multi-hit attacks while also being able to buff the party and debuff the boss. The only catch is that you need to make sure you’ve defeated the necessary enemies to unlock these skills. I suggest the Chalier Combo (6-hit high Physical damage combo), Moissonneuse Vendance (3-hit high Physical damage combo that can Break), Hexga Crush (2-hit medium Earth damage, applies Defenseless), Glaise Earthquake (3-hit medium Earth damage, applies Powerful to self, applies to full party if on the Heavy Mask Bestial Wheel), and Dancseuse Waltz (3-hit high Fire damage, damage increases if target is Burning, even more damage if the Bestial Wheel is on the Balanced Wheel). If you have a few of these attacks, I would consider using Monoco but if most of these skills aren’t unlocked yet, definitely use a different party member.
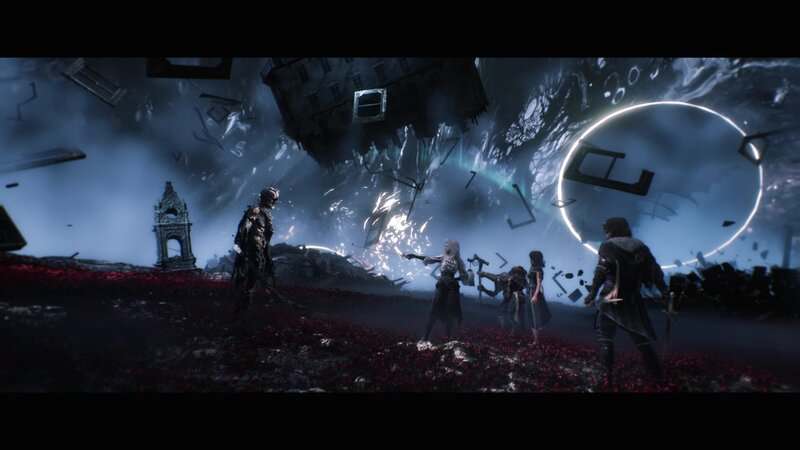
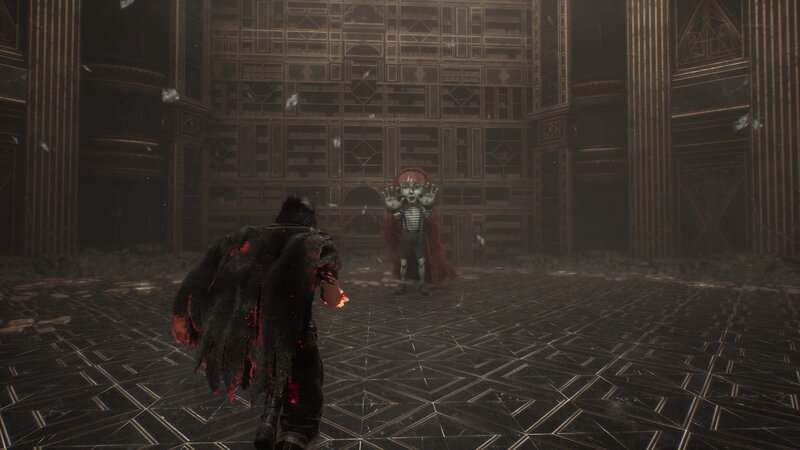
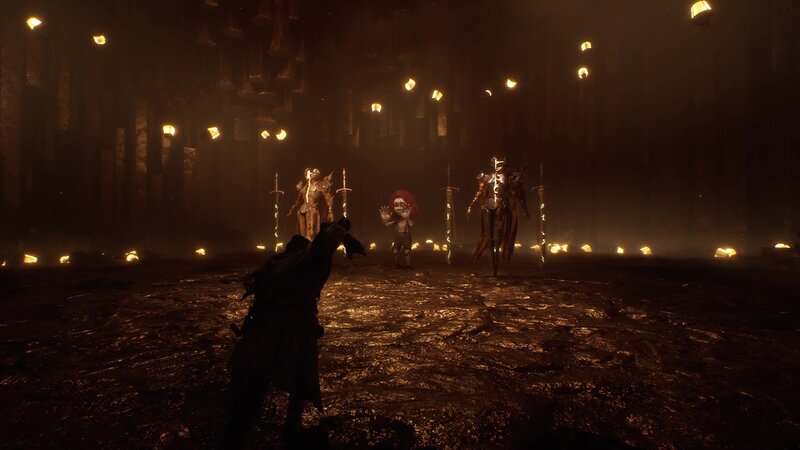
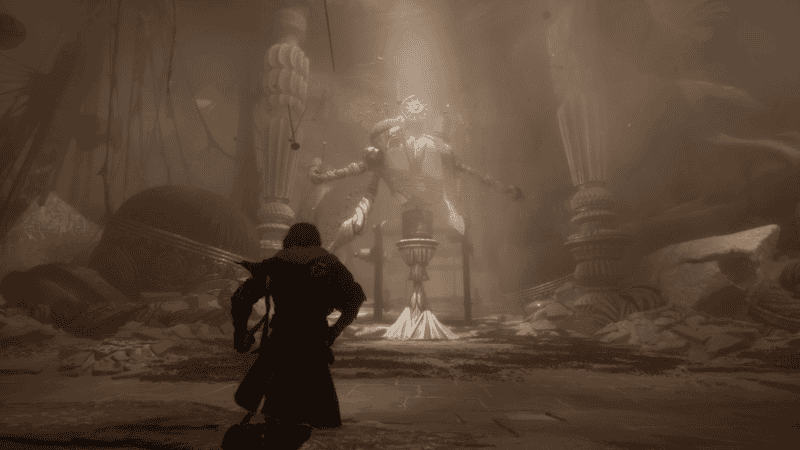
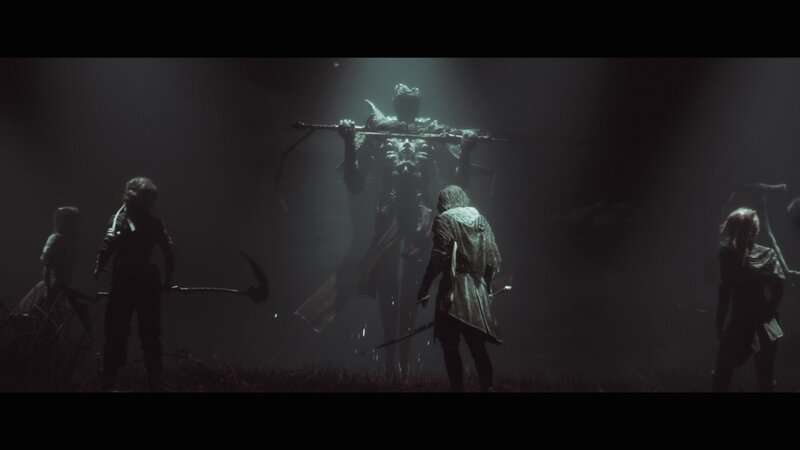
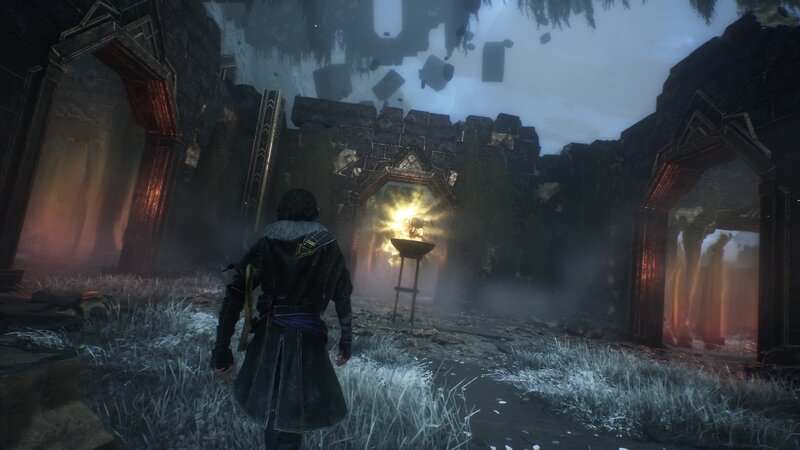
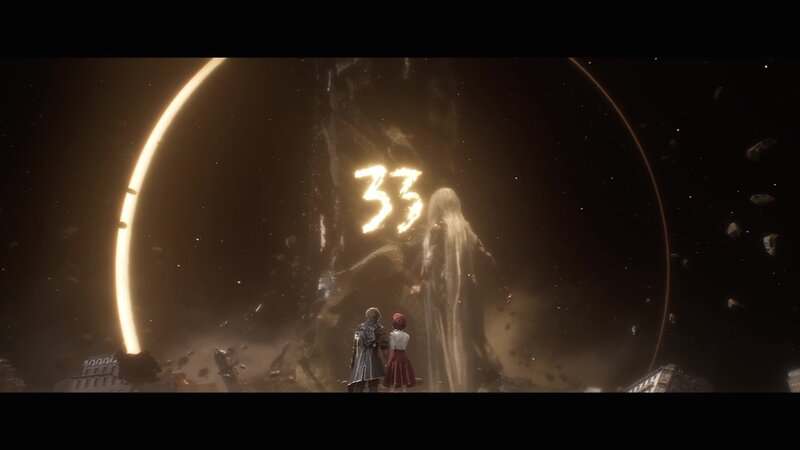
Renoir and Dark Creature Encounter
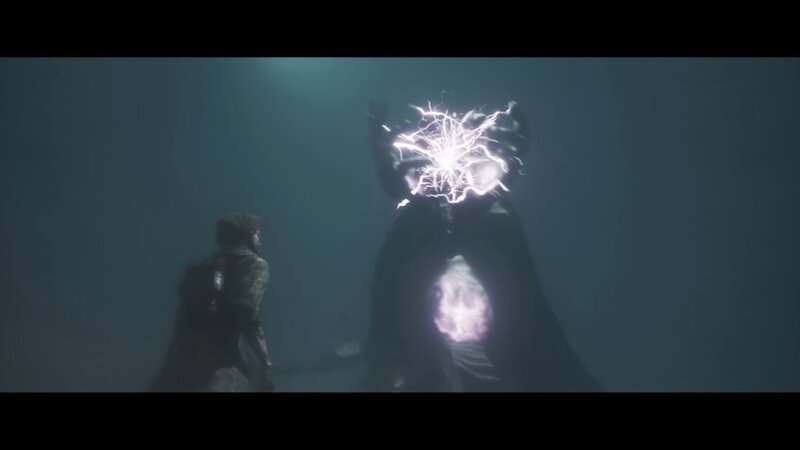
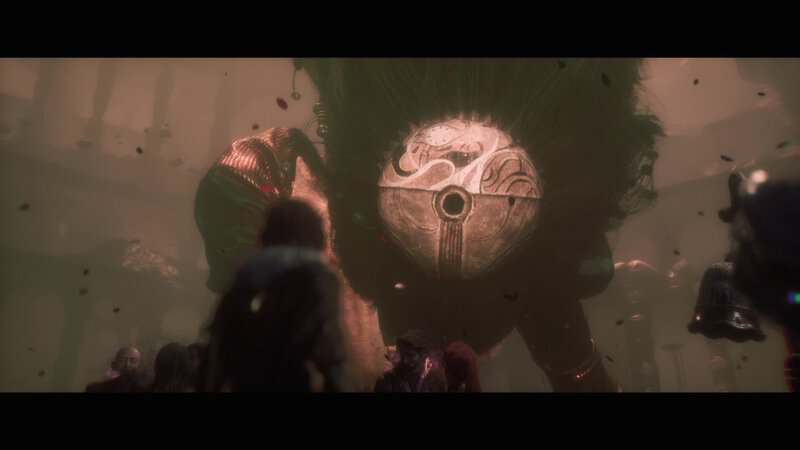
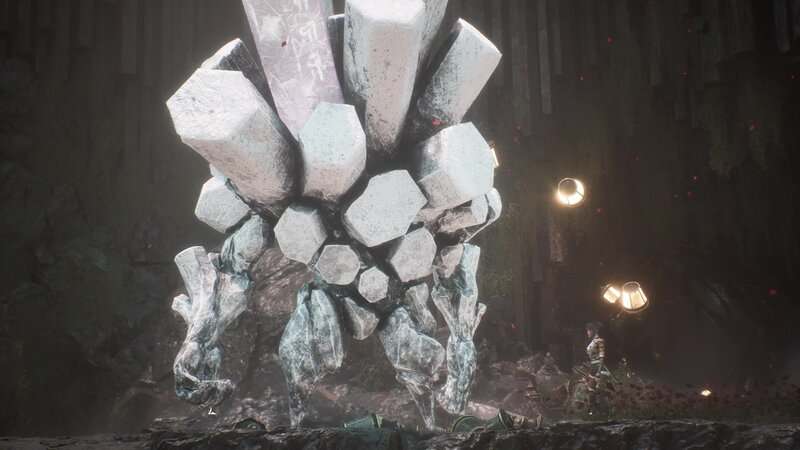
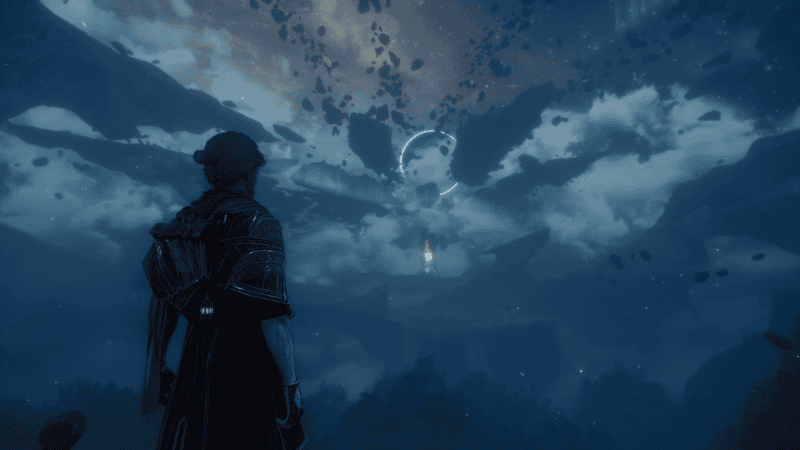
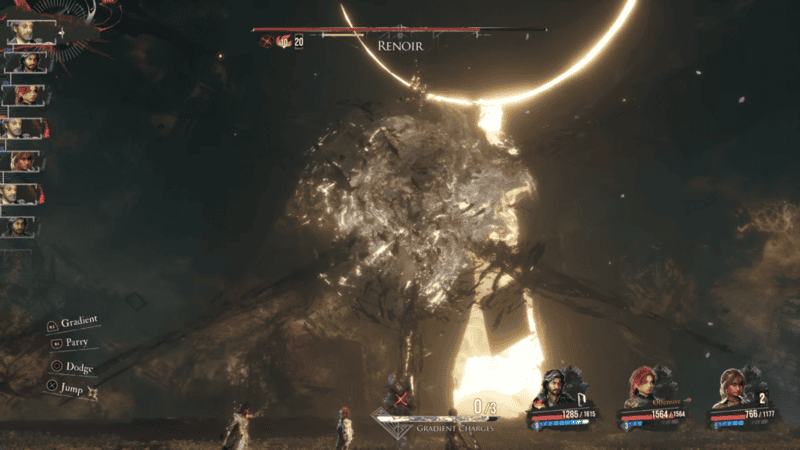
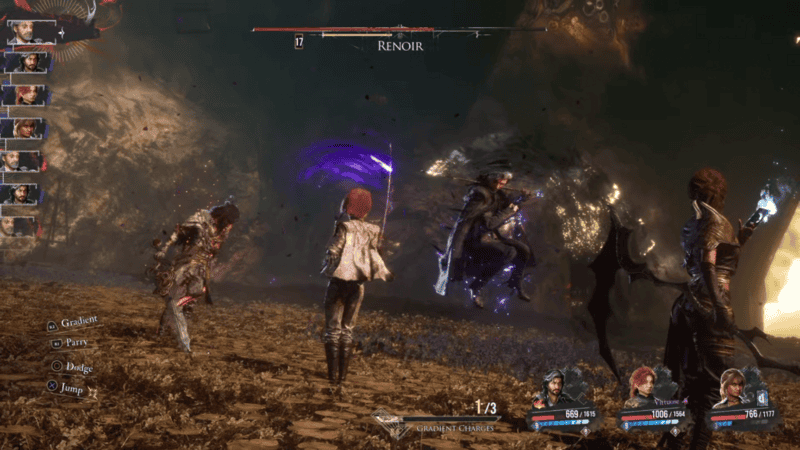
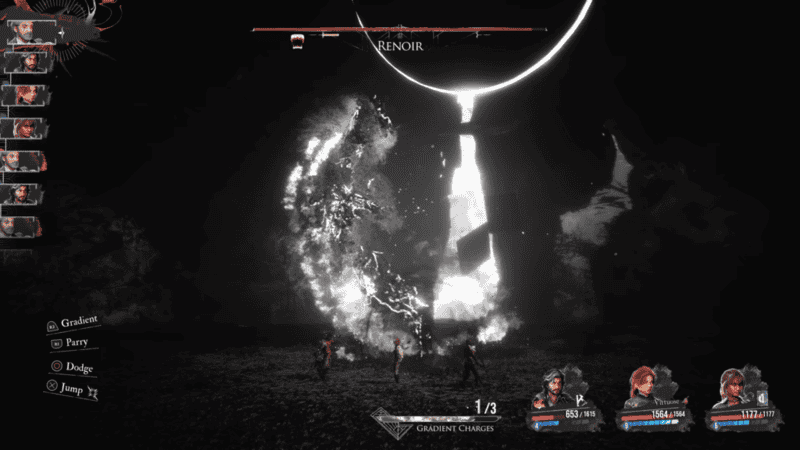
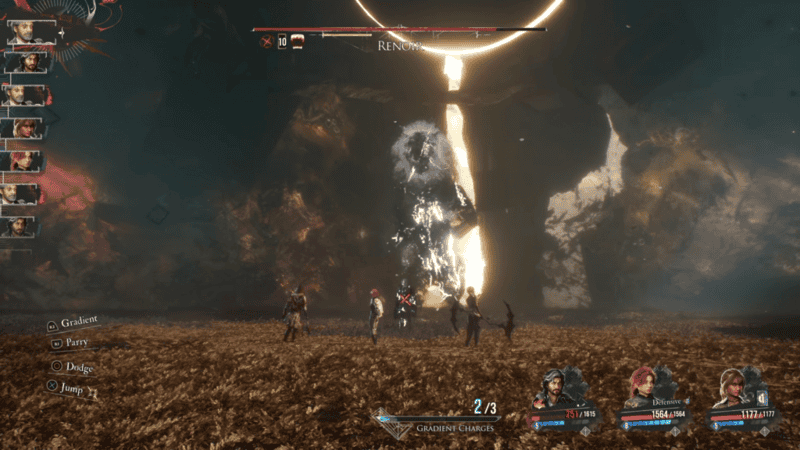
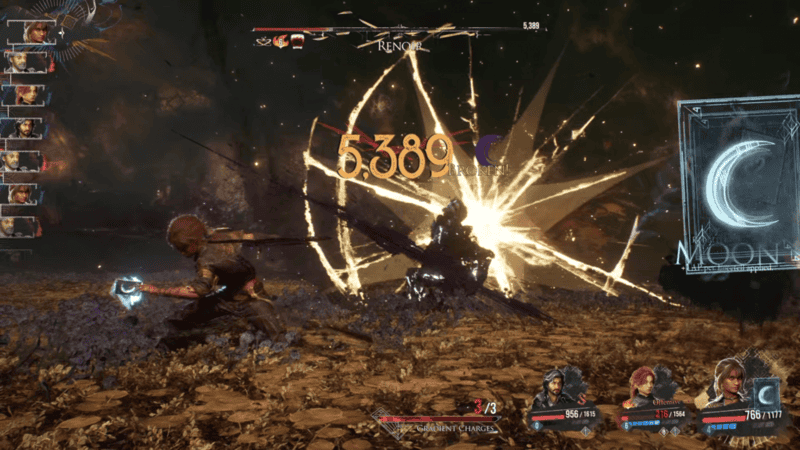
Renoir has many of the same attacks seen in the final phase of his first boss fight. While some of his more powerful moves, like summoning the mask,s are no longer present, his more basic attacks are still in his moveset. It is important to note that these are the final phase version of certain attacks since in his first fight, a few attacks had their properties change as the battle progressed. One of these attacks was when Renoir “gathers an incredible amount of Chroma.” This move sees a large orb appear above Renoir. A bunch of spikes rotate around the orb, and when the spikes stop moving, the orb will collapse in on itself and attack the whole party with a wave of energy pulsing from the orb and a sound cue. This will happen twice, with the screen going black and white before the third attack, signalling a Gradient Counter. Perform a Gradient Counter, and one of your party members will perform a counterattack.
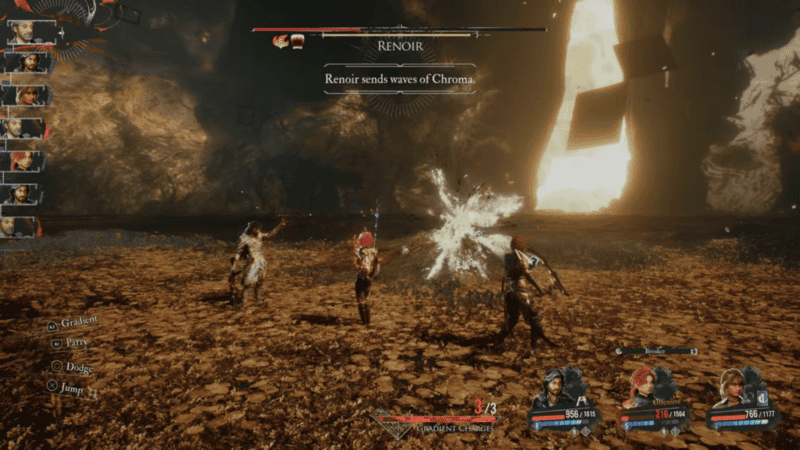
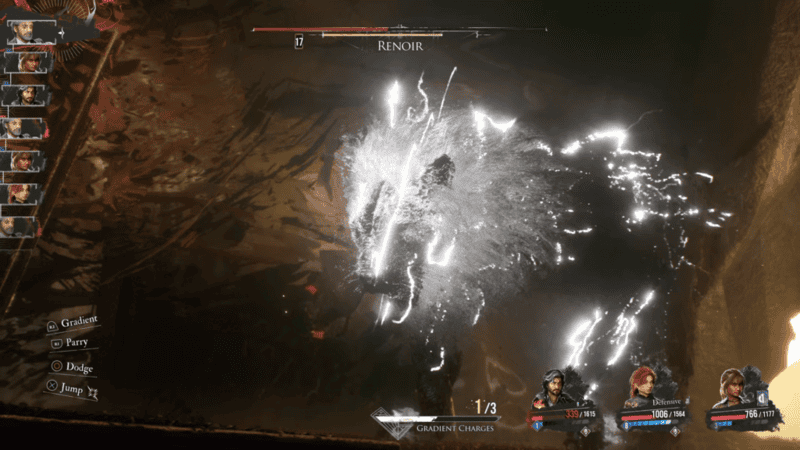
Another Chroma-based attack is the “pool of Chroma.” This is the easiest attack to avoid, as you just need to jump over it. The final attack in this group is the “waves of Chroma.” This will see energy surround Renoir and then collapse in on him before it quickly sends out a wave of Chroma at the whole party. There are 5 waves in this combo, each one having a varied delay between each wave. Watch for when the energy collapses in on Renoir and listen for an audio cue to know when to parry this attack.

The next few attacks are pretty simple. One attack is simply referred to as a combo and is the most straightforward of Renoir’s attacks. The combo consists of 6 total attacks. The first 3 are pretty close together with each swing being accompanied by Renoir having a brief slowdown before he performs the swing. After the third attack, Renoir will twirl his sword over his shoulder, making it appear he has finished his string. This is to fool you as he will then quickly follow up with a leaping thrust, which is then followed up by a jumping slash that has a pretty noticeable delay that can throw off your timing. The 6th attack sees him jump into the air and, after a pause, let off an explosion like the waves of Chroma attack. Watch for when the energy collapses in on Renoir and listen for an audio cue to know when to parry this attack.
The other pretty normal attack is the “attack from a distance” move. This can be one of the hardest attacks to counter since Renoir has long and confusing wind-ups and faints in this attack. This combo sees Renoir shoot 3 beams at a single target and ending with an explosion after slamming his cane into the ground from the air. The first attack sees Renoir twirl his cane around his left shoulder before letting out a wave towards his target. Right before he attacks, he will stop moving for a brief moment. Use this as your tell for when he is about to attack. After this attack, he pulls his arm back and thrusts forward after a delay. His third attack can be really hard as Renoir will fully spin his body while twirling his cane. He bends his knees right before letting off his attack so watch for that. This leads right into his jump, where he will slam his can down after a delay.
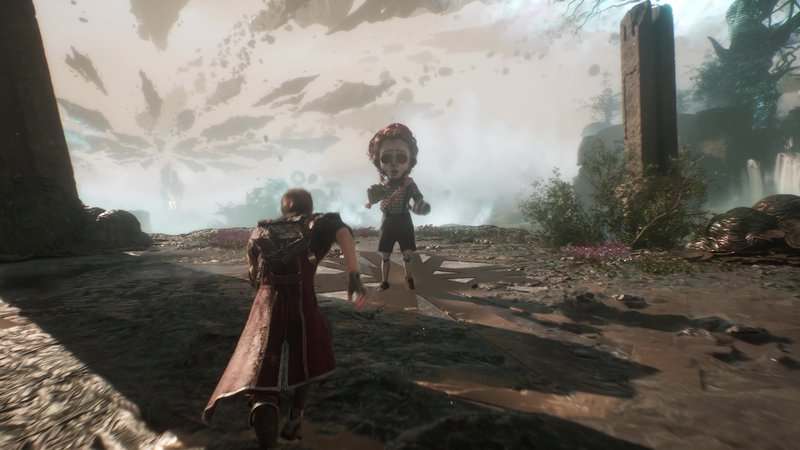
One of his moves can be absolutely run ruining as it can completely destroy any strategy you had going into the battle. When it says that Renoir is trying to “vanish” one of your characters. This attack is similar to the one seen in the first fight with Renoir but has a slight change that can throw you off. He will run up to them and place an orb in front of them. He will then leap into the air and, after a delay, swing his cane. In the original fight with Renoir, this would be the vanishing beam, so make sure you use a regular parry here instead of a Gradient Counter. Renoir will then turn his back to you as the screen goes black and white. After a short delay, he will shoot a beam at you from the orb. If you’re hit, that character will be removed from the rest of the battle. Right before Renoir lets out this attack, Renoir will twirl his cane. Use that as your tell and then perform a Gradient Counter.
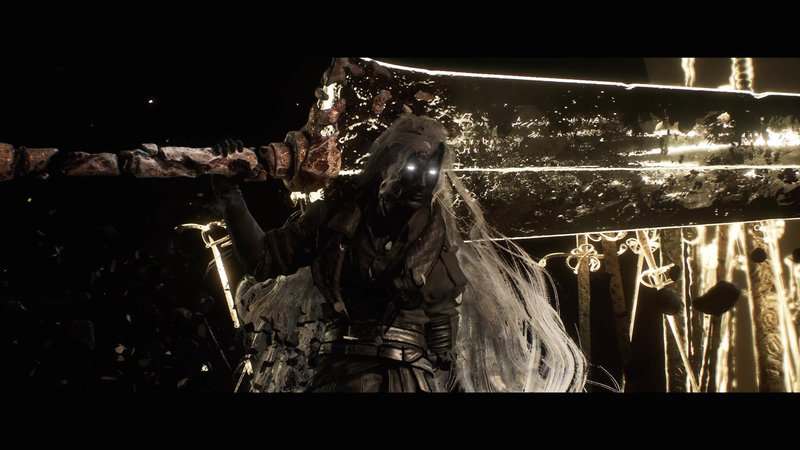
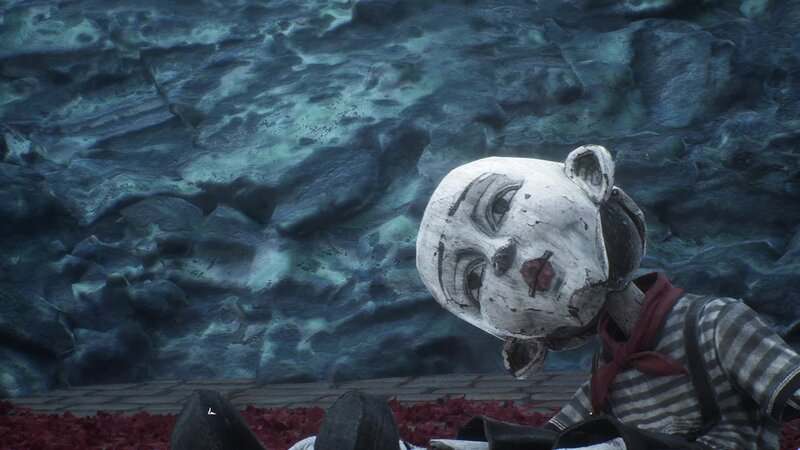
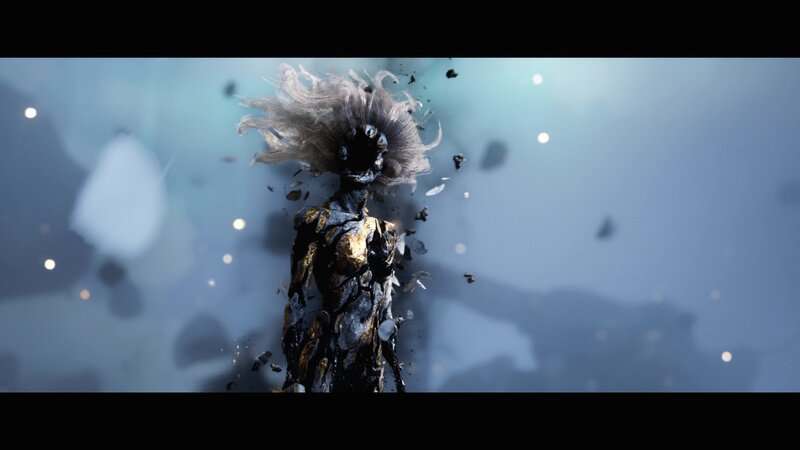
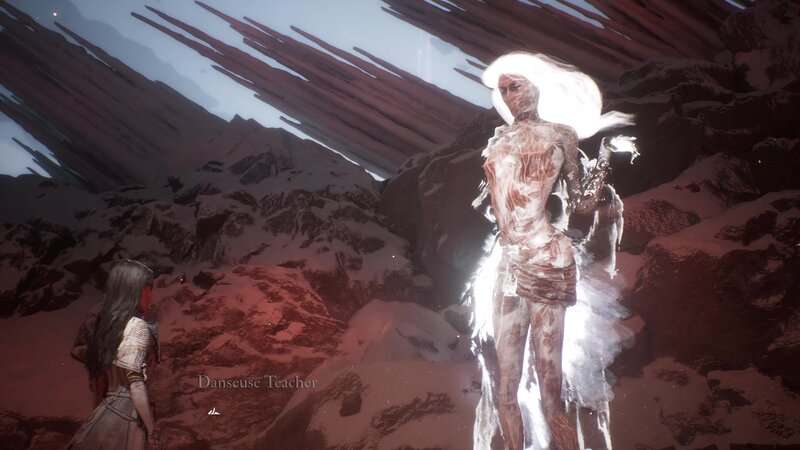
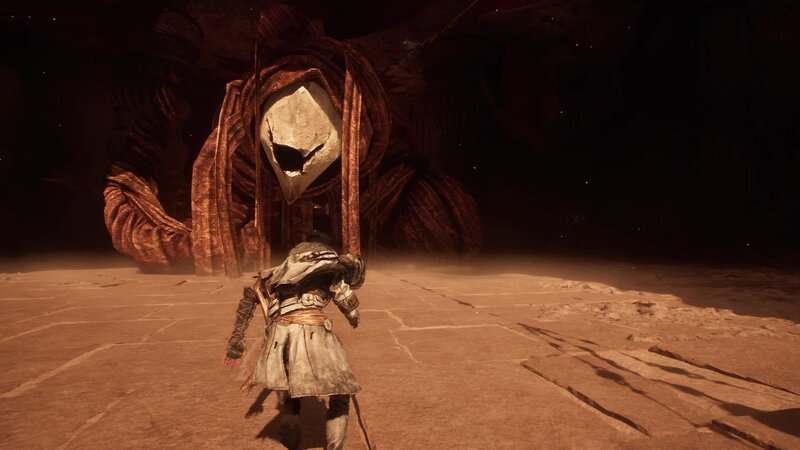
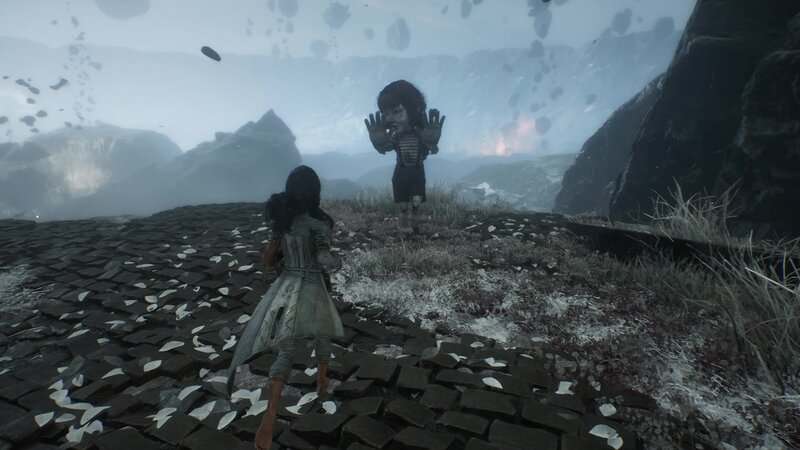
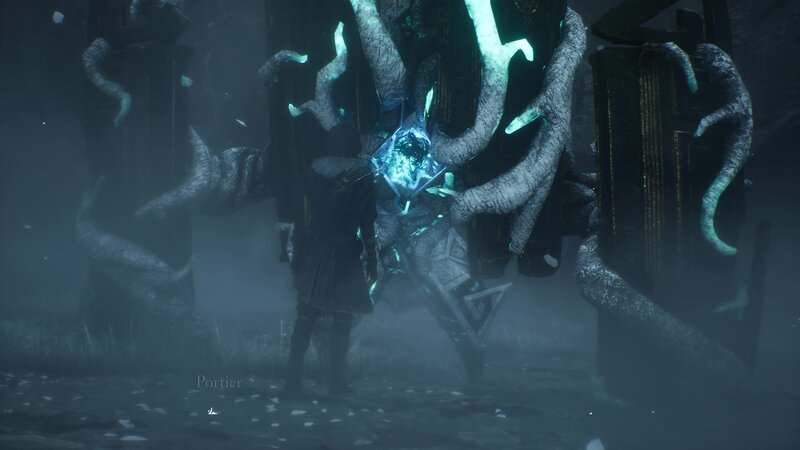
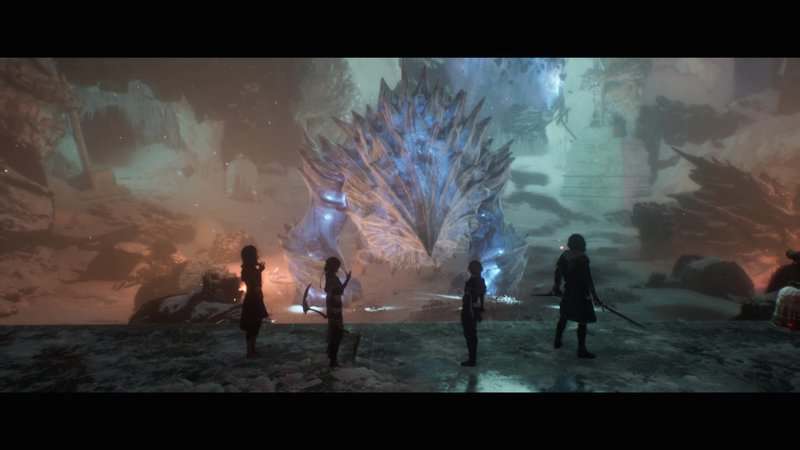
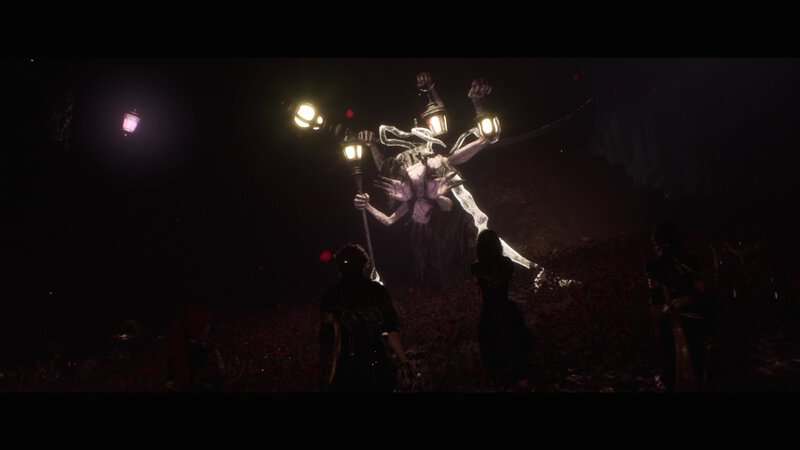
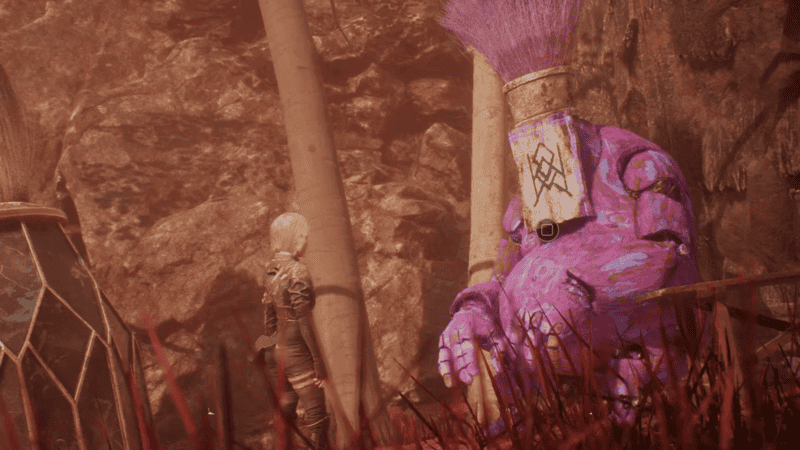
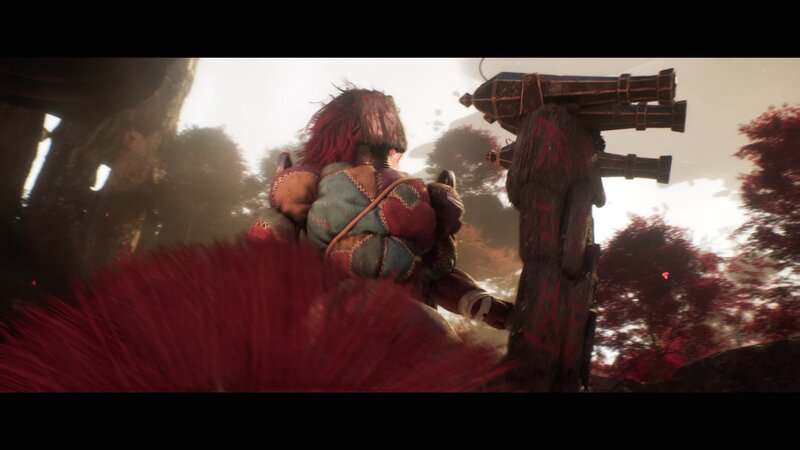
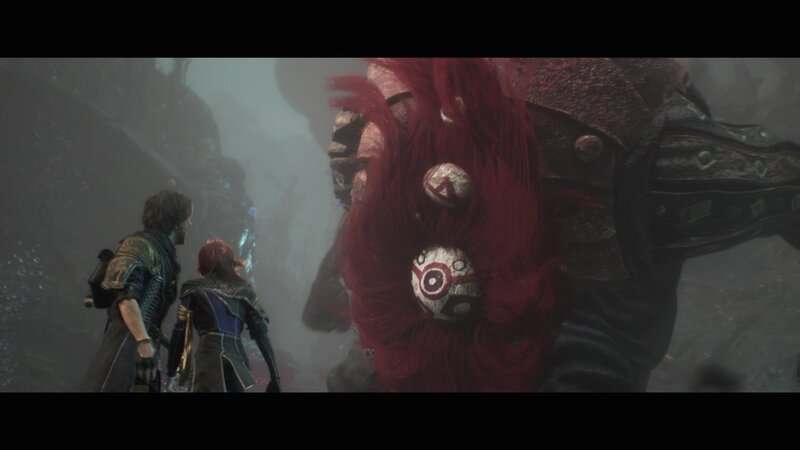
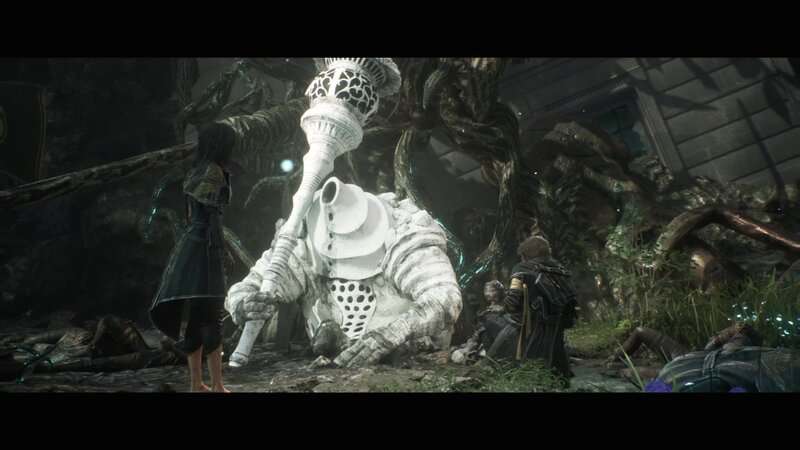
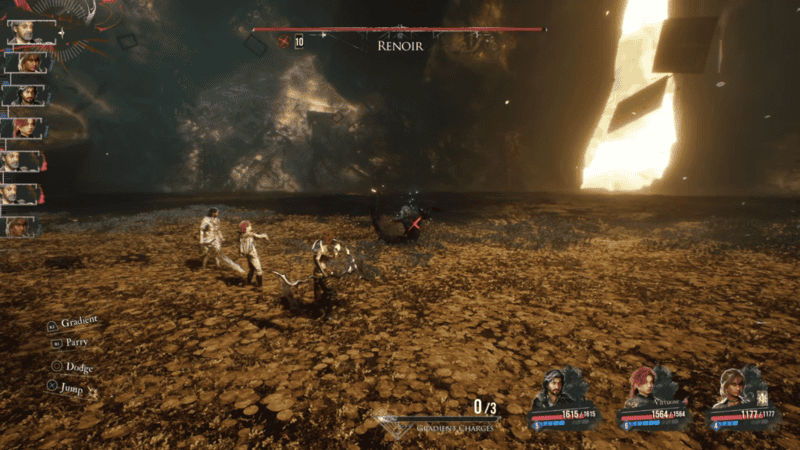
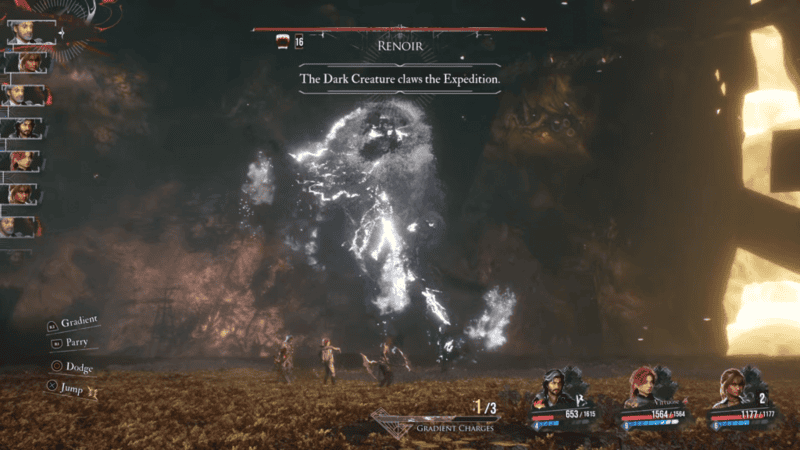
When Renor reaches 50% health, he will summon the Dark Creature, a large spectral lion, which will heal him back to full health and give him the Rage status effect. This means Renoir will get two moves per turn. While Renoir doesn’t get any new moves himself, the Dark Creature has a few attacks at its disposal that you will need to watch out for.
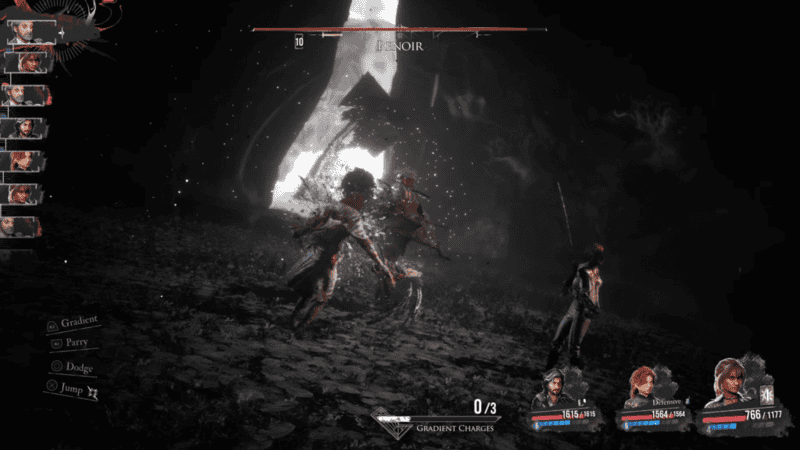
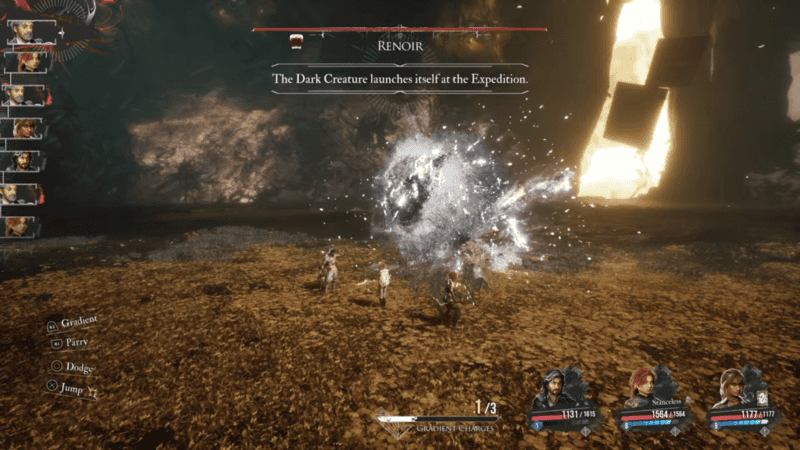
The Dark Creature has 3 melee attacks that you will need to look out for. When the Dark Creature uses its “claw attack,” it slashes at one of your party members. This combo is a 3-hit sequence where the Creature lifts up its arm to your left and slams it down 3 times. The first two happen pretty quickly, one after the other, while the third one has a slight delay to mess up your timing. Another attack is the Leap Attack. The Dark Creature will appear behind Renoir as Chroma gathers around its feet. When the Chroma collapses around the bottom of the Creature, it will perform a backflip attack that you will need to parry or dodge. After a delay, the Creature will then launch itself at the party. You will need to jump over this attack to avoid damage. The Tail Attack sees the screen turn black and white before the Creature leaps, spins in the air, and quickly slams onto the ground. You should perform a Gradient Counter a moment after the Creature leaves the ground, since it attacks very quickly after going in the air.
When the Dark Creature roars, it will appear behind Renoir and rear back on its hind legs. When the Creature drops back onto its front legs, it will shoot a beam at a party member. This combo contains 3 attacks that function similarly to the claw attack. The first two attacks come out in a similar rhythm, with the third and last attack having a longer delay.
Now that you can protect yourself from damage, you just need to keep dealing damage with the tools and tips discussed earlier. Apply Burn, Mark the target, and cash out with whichever character you have built your strategy around. Have Maelle use Percee on a Marked Renoir to easily hit the damage cap. Have Verso perform his Sword Storm or Steeled Strike the he is buffed and the boss is nerfed. Sciel can cash out her Foretells to fly past the damage cap. However, you decide to use your party, after a few rotations and using the moves mentioned at the start of the guide, you will be able to finally put this Renoir to rest.

You can now defeat the Renoir and the Dark Creature boss fight in Clair Obscur: Expedition 33. Stay tuned to Gameranx for more news, updates, and guides for Clair Obscur: Expedition 33 as well as other great games in the future.