Table of Contents[Hide][Show]
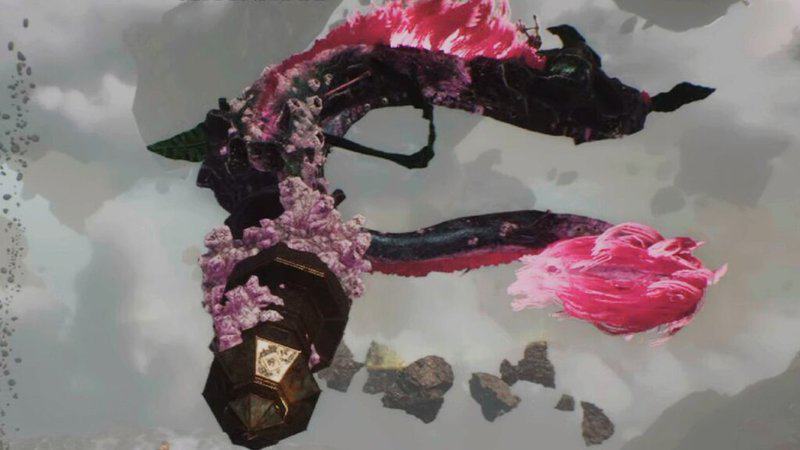
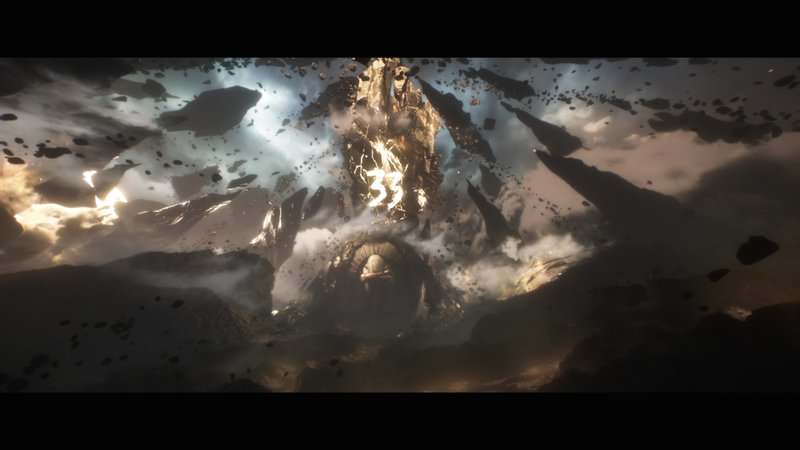
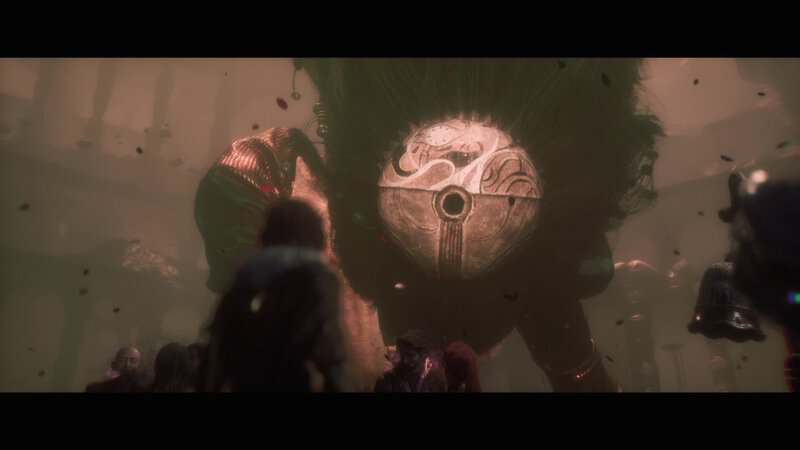
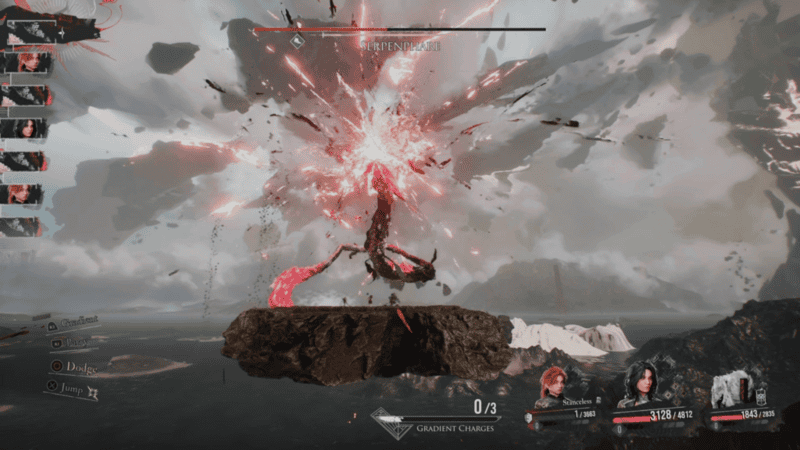
There are several optional bosses to be found in Clair Obscur: Expedition 33. One can be seen very early on in the game, but can be found until you reach the endgame. This boss is known as Serpenphare, the flying snake that resides in the skies and has claimed more than its fair share of Expeditioners. To get the useful Pictos it holds and unlock an Achievement, players will need to know how to take this dangerous serpent down. This guide will show players how to beat the Serpenphare boss fight in Clair Obscur: Expedition 33.
How to Beat the Serpenphare Boss Fight in Clair Obscur: Expedition 33
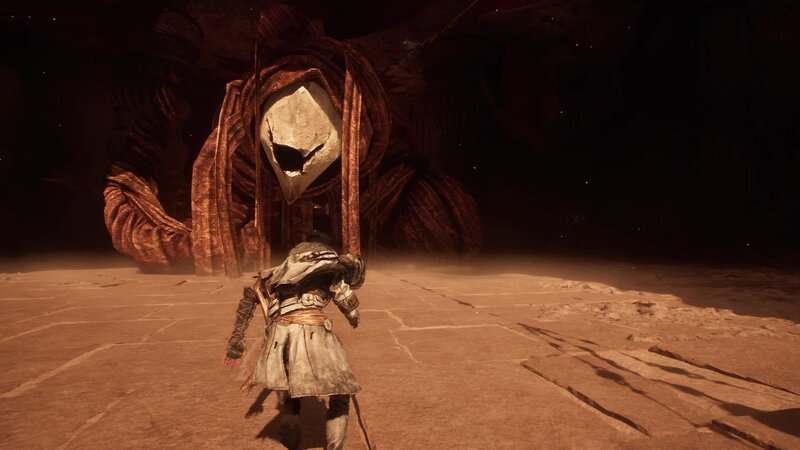
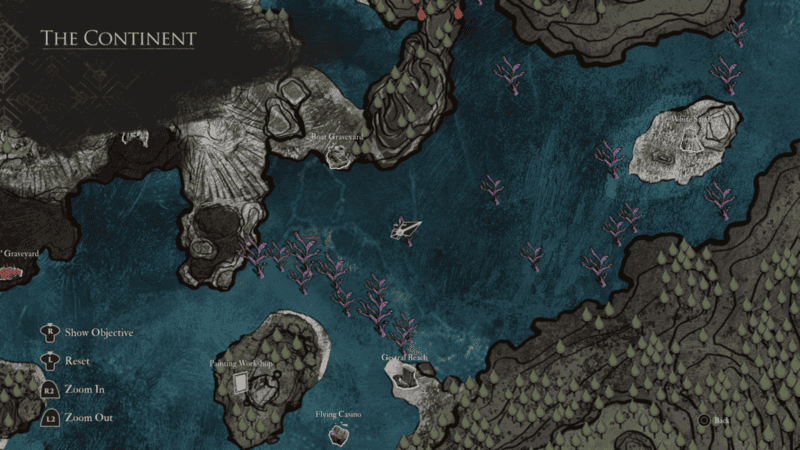
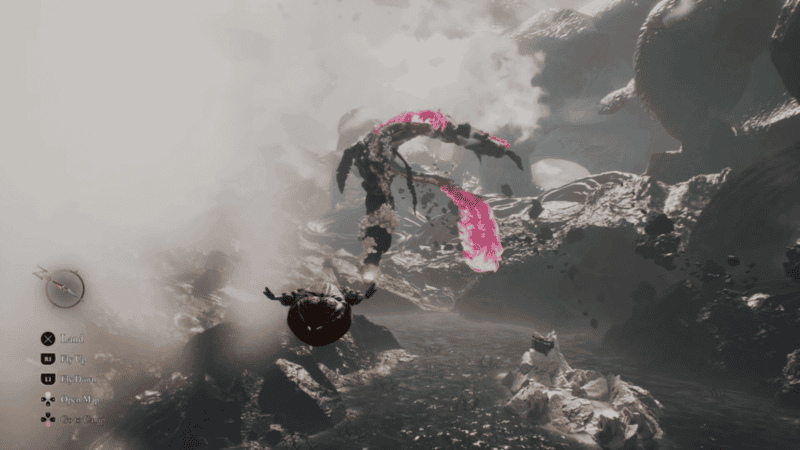
Serpenphare can be found flying in the air southwest of the White Sands area near the east end of the map. To reach this boss, you will need to unlock Esquie’s Fly ability. This ability becomes available after you defeat The Paintress and start Act III. Once you have this ability, you just need to fly into the Serpenphare, and the fight will begin.
Party Prep
Serpenphare is resistant to both Ice and Fire damage but is weak to Lightning. This boss will also regularly gain Shields by draining the team’s AP. Because of this, you will need to make sure you have Pictos that provide you with extra AP. I suggest using Maelle, Monoco, and Lune. Maelle has a weapon and skills that will easily get rid of the Shields, while Monoco can do extra damage against an enemy with Shields while also being able to buff the rest of the party. Lune will be able to use Lightning attacks to exploit Serpenphare’s weakness and can do massive damage with her Elemental Genesis attack. This is an 8-hit combo that does massive damage. Lune can also be very useful as a healer, so take into consideration how you will recover health if you decide to replace her.
Monoco will need the right skills to really be useful in this fight. Since you can only fight this boss after starting Act III, you should have access to every enemy at this point so you can get any of the moves needed to build a powerful Monoco for this battle. Your focus with him should be buffing the party and debuffing the boss, and exploiting its weakness along with a very specific attack that is useful when the boss gains a lot of Shields.
Some skills I suggest for Monoco to have in this battle are Hexga Crush (2-hit medium Earth damage, applies Defenseless), Glaise Earthquake (3-hit medium Earth damage, applies Powerful to self, applies to full party if on the Heavy Mask Bestial Wheel), Gault Fury (4-hit low Physical damage and applies Mark, increased damage if on the Balanced Mask), Sakapatate Explosion (3-hit medium Lightning damage that gains an additional hit if any attack gets a critical strike, Caster Mask adds increased damage), and Sakapatate Estoc (1 hit low Lighting damage that deals more damage if the target is stunned, Balanced Mask will also increase damage) can all be useful since they will apply debuffs and status effects to the boss while also buffing your party.
The most important of his attacks, however, is Chevaliere Piercing. This is a 6-hit attack that will go through Shields, with the damage of the attack being increased for each Shield the target has equipped. If you are on the Agile Mask, you will get even more damage. If you let the boss get a lot of Shields, make sure Monoco can use this attack before Maelle starts to break them.
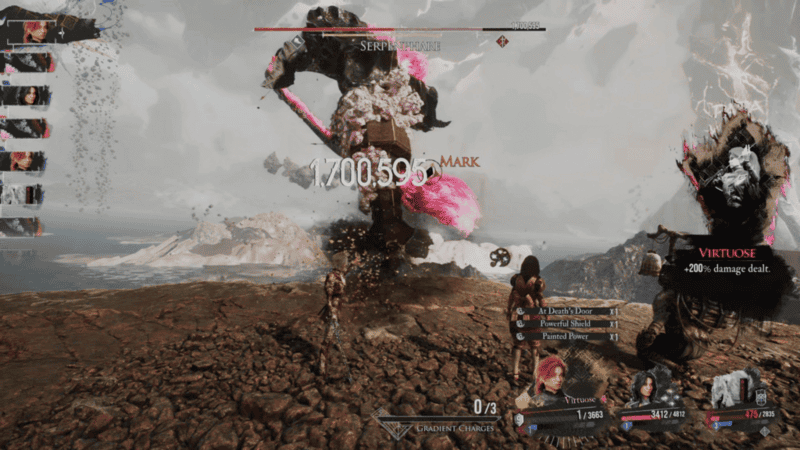
Maelle should equip an upgraded Barrier Breaker weapon, which you get after defeating both the Maskeeper and Sirene during Act II. If you have this weapon at least upgraded to Level 20, it will give Maelle a Shield every time she breaks one on an enemy, will switch her to Virtuose Stance when breaking a Shield, and can break all of the Shields on an enemy if that enemy is Marked. This will quickly negate one of the most annoying aspects of the boss. Your main attack is going to be Stendhal. This is a single strike that deals extreme Void damage. While it removes all Shields on Maelle and applies Defenseless to her, this is one of the most damaging attacks she can do.
I also suggest using moves like Offensive Switch or Guard Down to apply Defenseless to Serpenphare, since it will make the attacks over the next few turns do more damage. With Defenseless and Marked applied to the boss, these attacks will do massive amounts of damage, and with Painted Power, could easily take out the boss in a few strikes. You can also use Breaking Rules. This attack will deal a 2-hit combo that does low Physical damage but it will remove all Shields while giving Maelle an AP for each Shield destroyed. If the boss is Defenseless, she will also get another turn.
Finally, here are some Pictos/Lumina suggestions that you could use in this fight:
- Painted Power- Exceed the 9,999 damage cap (All party members)
- Cheater- Always play twice in a row (All party members)
- Shortcut- Immediately play when falling below 30% Health. Once per battle (Maelle)
- Energizing Turn- Gain 1 AP on turn start (All party members)
- Any of the Energizing Starts- Gain 1 AP at battle start (All party members)
- Energizing Heal- On Healing an ally, also give 2 AP (Lune)
- Energizing Turn- +1 AP on successful Parry (All party members)
- Energy Master- Every AP gain is increased by 1 (All party members)
- Perilous Parry- +1 AP on Parry, but damage received is doubled (Maelle)
- Empowering Parry- Each successful Parry increases damage by 5% until the end of the following turn. Taking damage removes this buff (All party members)
- Dodger- Gain 1 AP on Perfect Dodge. Once per turn (All party members)
- Longer Powerful- On applying Powerful, its duration is increased by 2 (Monoco)
- Rush on Powerful- Apply Rush on applying Powerful (Monoco)
- Weakness Gain- +1 AP on hitting an enemy’s Weakness. Once per turn (Lune)
- Gradient Fighter- 25% increased damage with Gradient Attacks (Maelle)
- Inverted Affinity- Apply Inverted to Self for 3 turns at battle start and gain 50% increased damage while Inverted (All party members)
- Glass Canon- Deal 25% more damage, but take 25% more damage (Maelle)
- At Death’s Door- Deal 50% more Damage if Health is below 10% (Maelle)
- Critical Moment- 50% increased Critical Chance if Health is below 30% (Maelle)
- Teamwork- 10% increased damage while all allies are alive (All party members)
Serpenphare Encounter
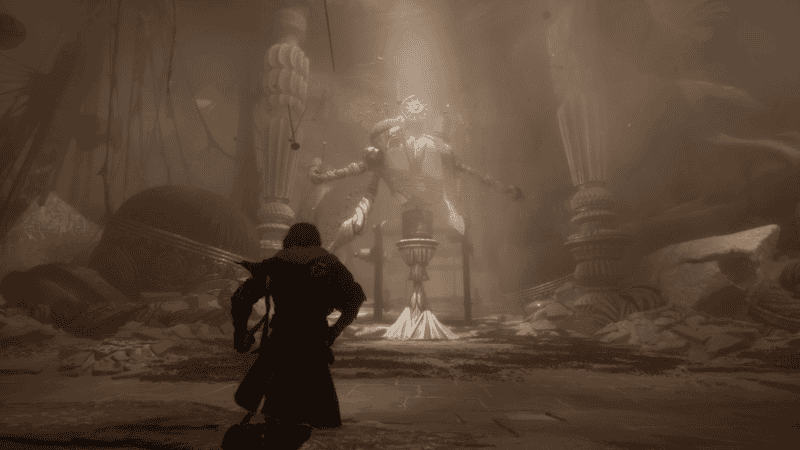
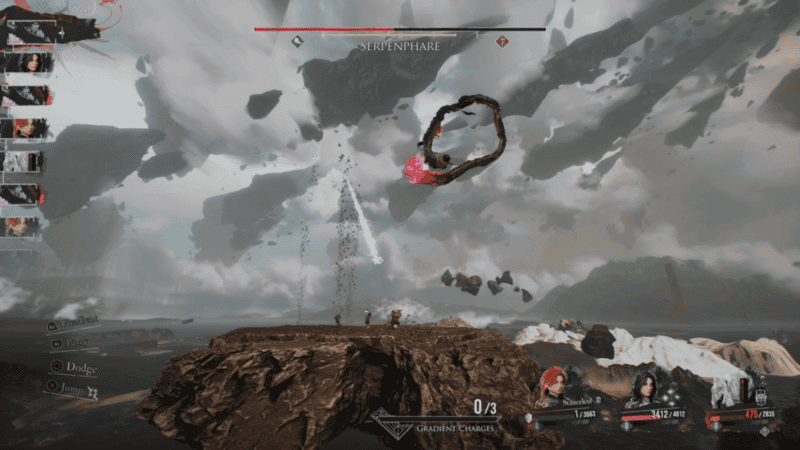
Serpenphare’s main gimmick is its AP drain ability. It will absorb all of your party’s AP, constantly returning your party’s AP to 0. After doing so, the boss will give itself Rush and a lot of Shields.
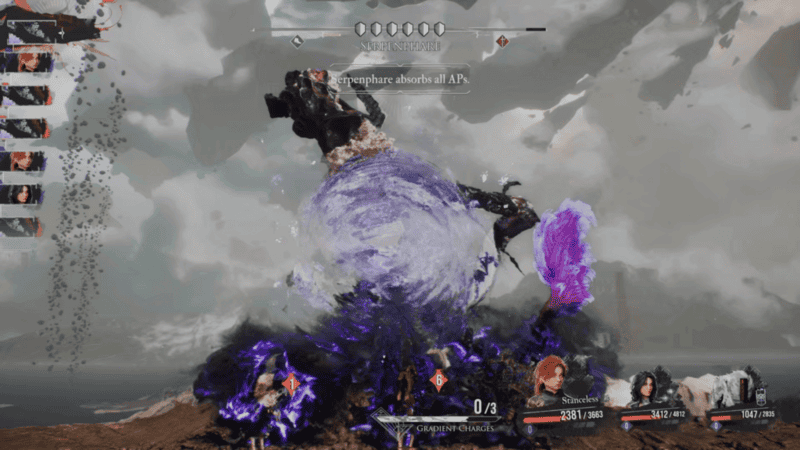

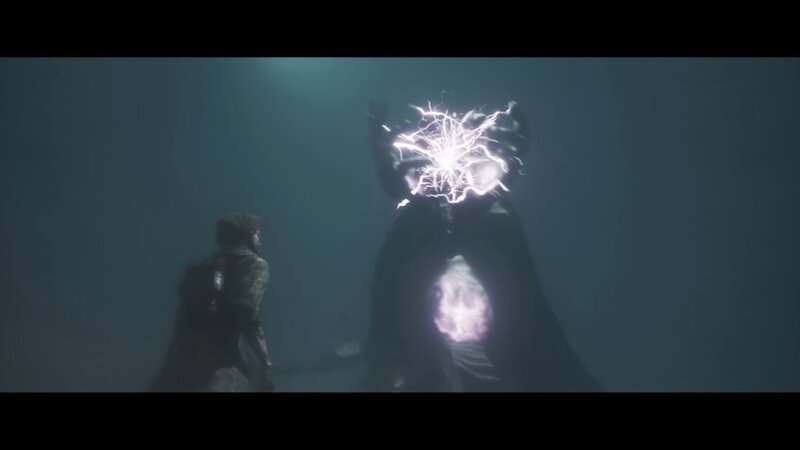
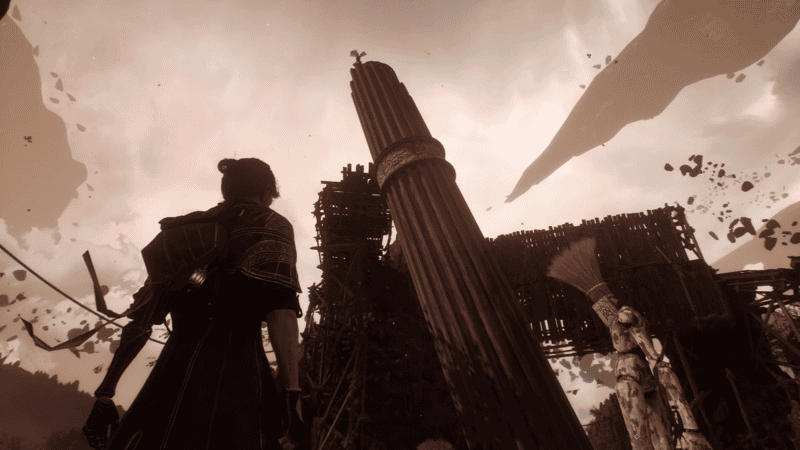
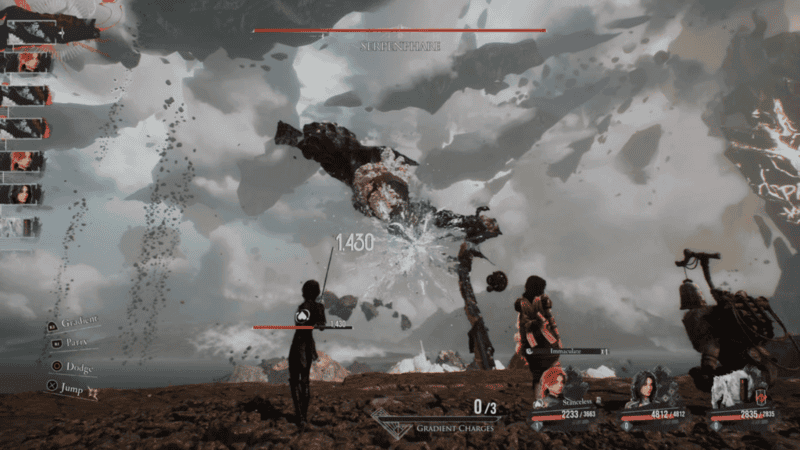
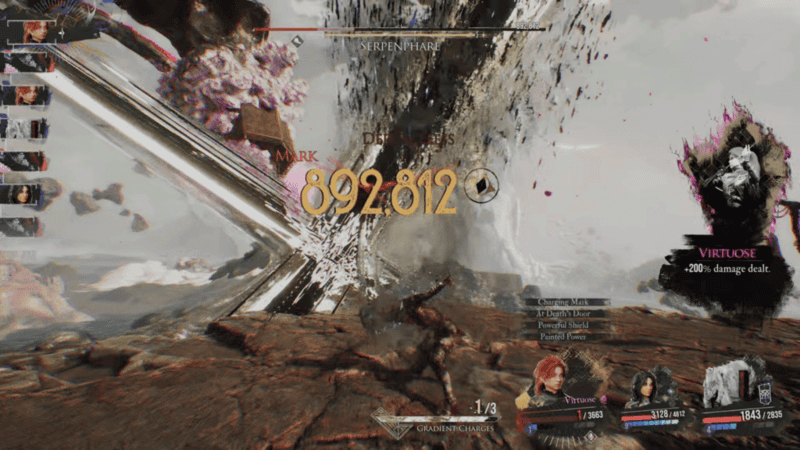
You can use Pictos and items to fill yourself with AP because if the boss absorbs too much AP, it will overcharge itself and cause it to explode. This does act as an attack on the party, so make sure you avoid it. The lighthouse at the end of the boss will flash 8 times, and each time the delay between the flashes getting shorter. On the final flash, energy will collapse around the lighthouse and then let off an explosion. When this happens, whether you dodge it or not, the boss will become stunned.
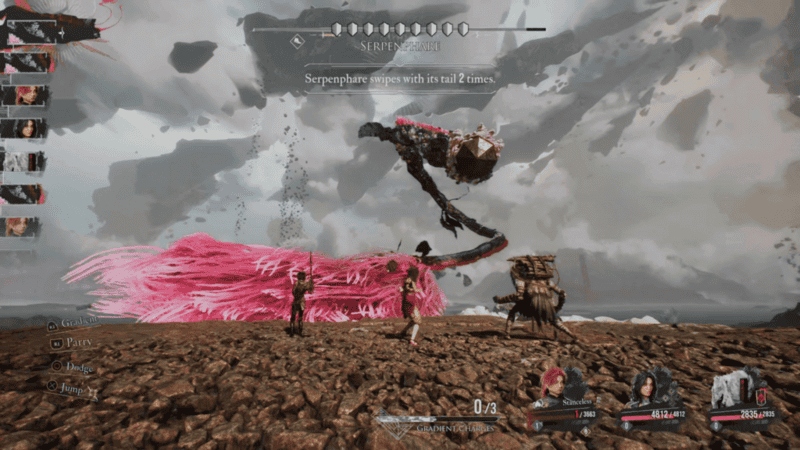
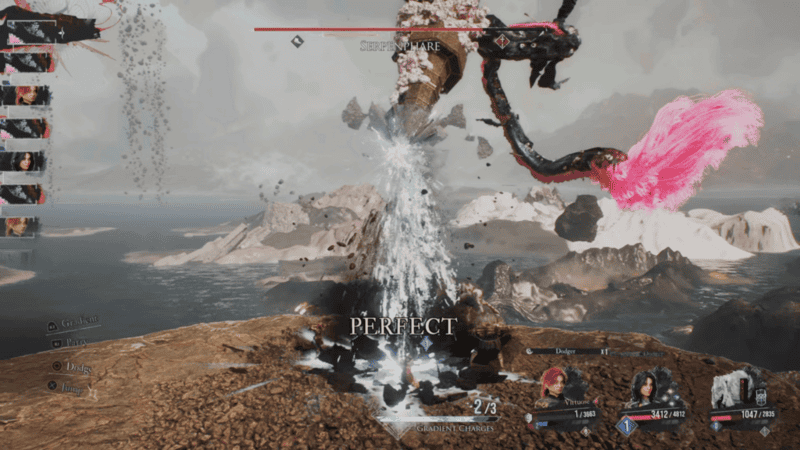
Serpenphare has 3 basic attacks. One is referred to as just an attack. The boss will slowly and slightly pull its head back before lunging forward and shooting a beam at a target, with the text at the beginning of the attack telling how many beams it will fire. The final beam will require a Gradient Counter to avoid. Since you just need to perform a Gradient Counter at the end of the sequence to parry the attack, I suggest dodging the rest of the combo since it will give you a larger window to avoid damage. The next attack is when the boss “slams its head.” The boss will lower itself to the platform the party is standing on and rapidly slam its head as many times as the text said it would. Finally is the Tail swipe. The boss will swing its tail from left to right, requiring you to either dodge or parry. It will then swing right to left, which you will need to jump over. As the fight progresses, these attacks will become extended, meaning each combo will get a larger number of hits. The beam attack always ends with the Gradient Counter, the head slams retain the same rhythm, and the tail swipe will always need a parry if it comes from the left and a jump from the right.
Another of Serpenphare’s attacks is the “freezing beam.” This is a 3-hit sequence where the boss will target each party member individually. There will be two Chroma pulses around the lighthouse with the boss shooting an ice beam right after the second pulse. If this beam hits its target, that party member will be frozen until they next take damage.
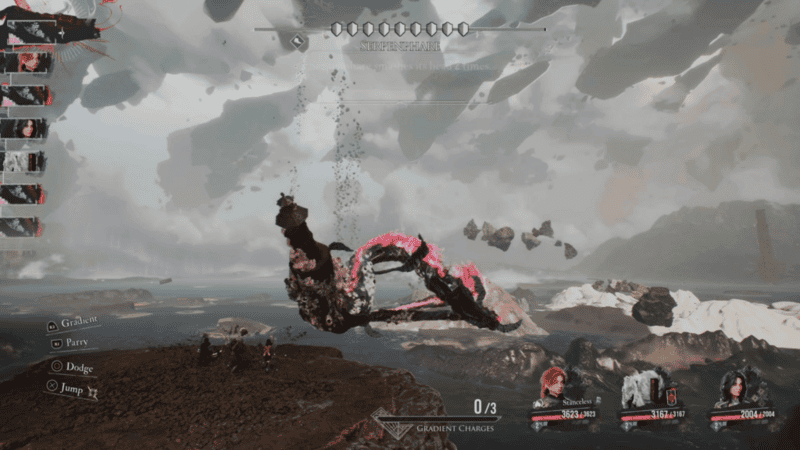
Finally, Serpenphare has its “silencing attacks.” This combo sees the boss dive down below your platform before flying high into the air. While above you, it will release 3 missiles. That will fly to the side before quickly curving and diving down toward the party. If any of these missiles hit your party, they will be inflicted with Silence. This means they won’t be able to use any Skills for the next few turns.
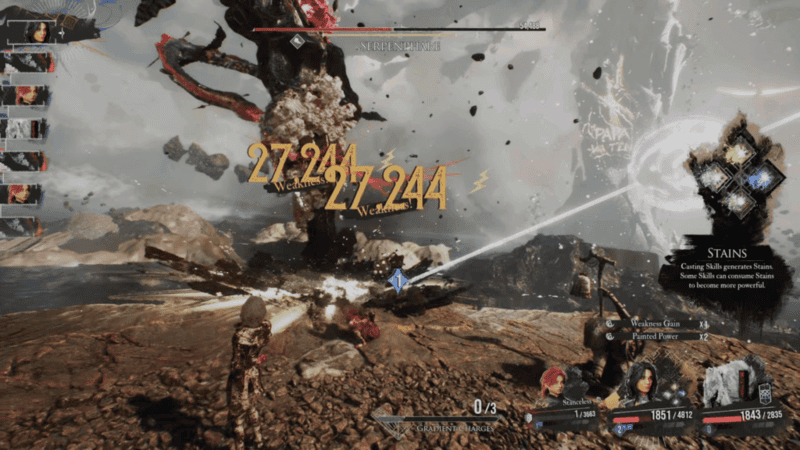
When it’s your turn, have Monoco buff the party and debuff the boss while Lune exploits Serpenphare’s Lightning weakness and builds Stains. When she can, use Elemental Genesis to get massive damage. Have Monoco use Chevaliere Piercing when the boss has a lot of Shield, and then have Maelle break them with Barrier Breaker. When she is in Virtuose Stance, use Stendhal to do massive damage. She can also use her Gommage Grandient Strike to cut out a majority of the boss’s health. When the boss is defeated, you will get the Energy Master Pictos and unlock the Serpenphane Achievement and Trophy.
You can now defeat the Serpenphare boss fight in Clair Obscur: Expedition 33. Stay tuned to Gameranx for more news, updates, and guides for Clair Obscur: Expedition 33 as well as other great games in the future.