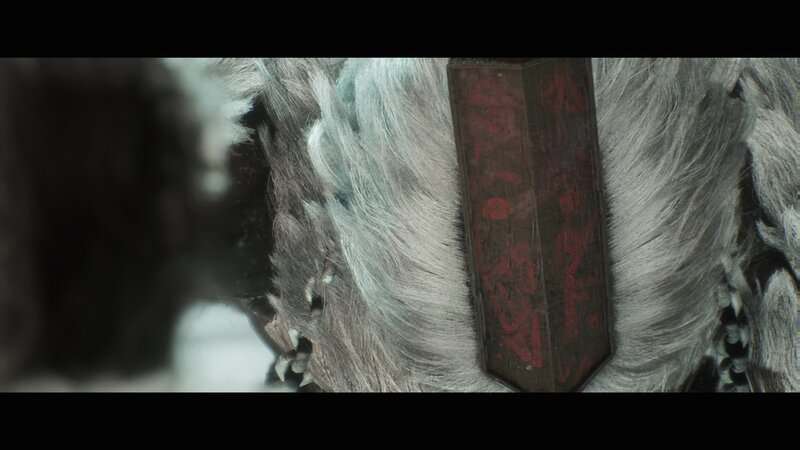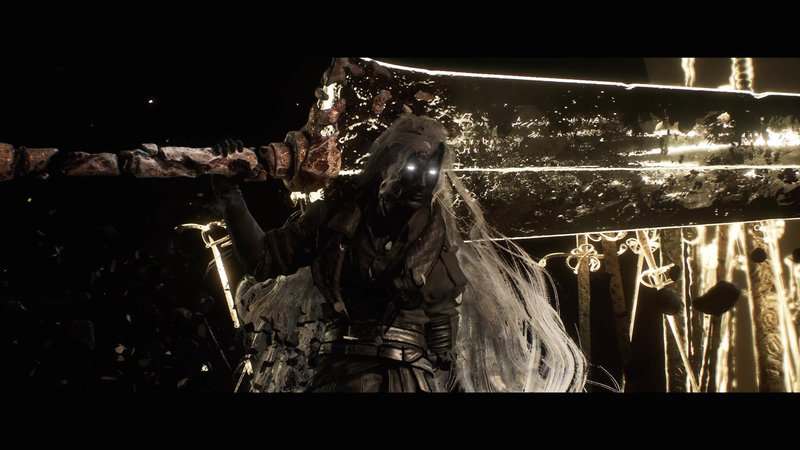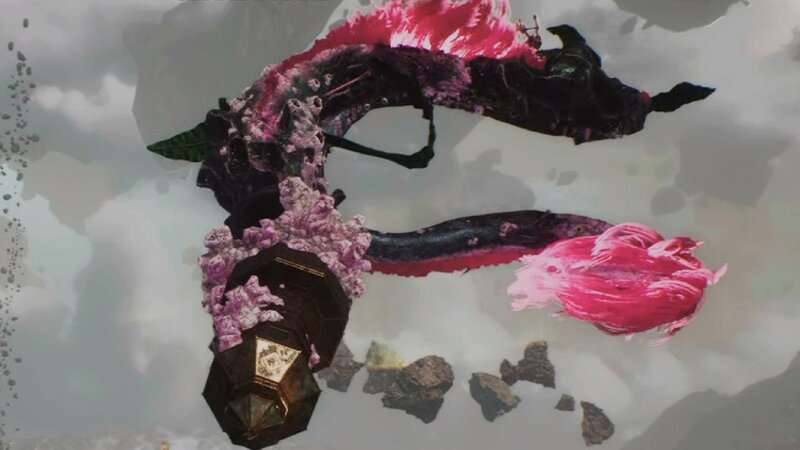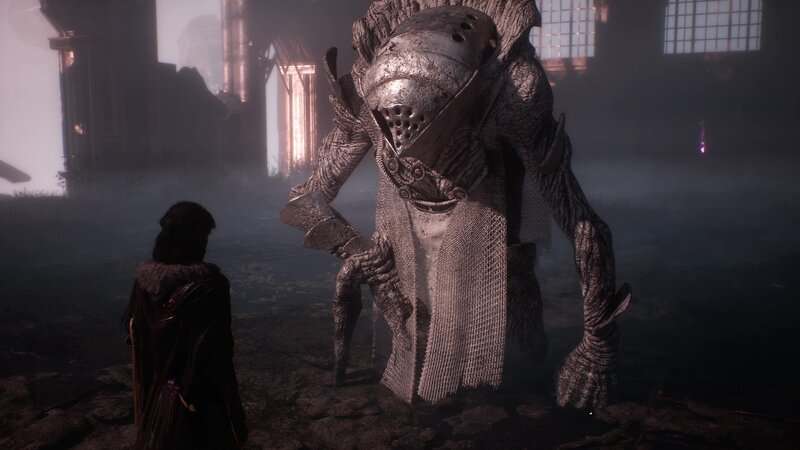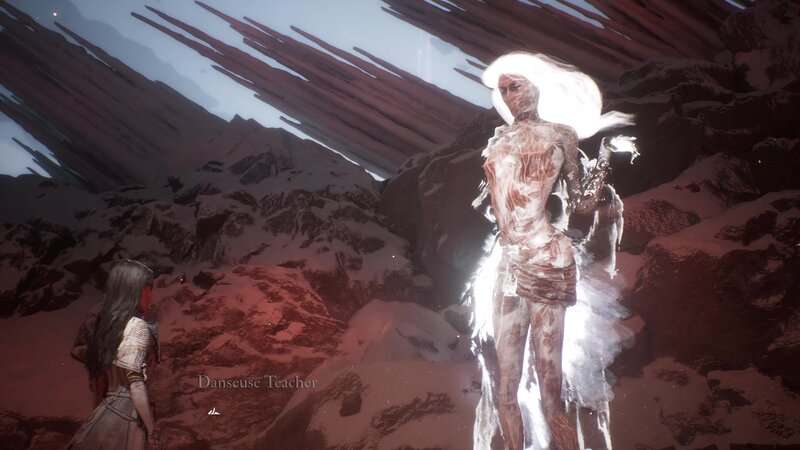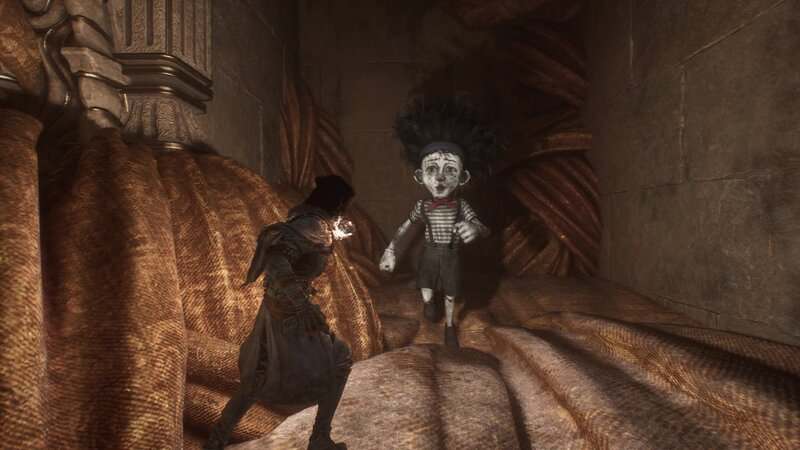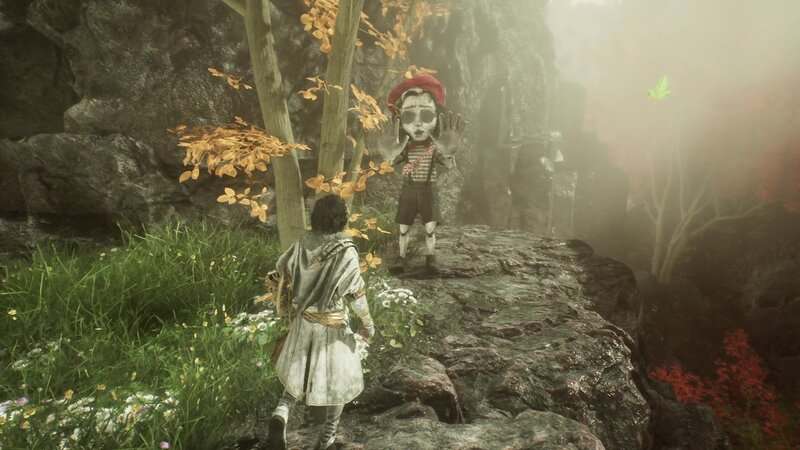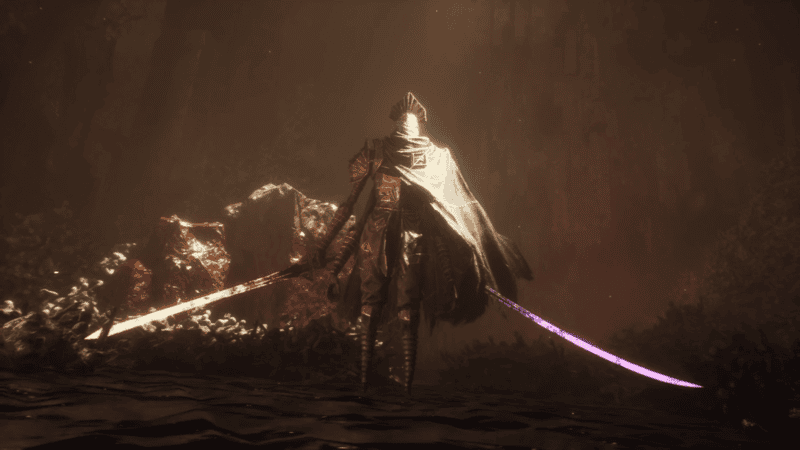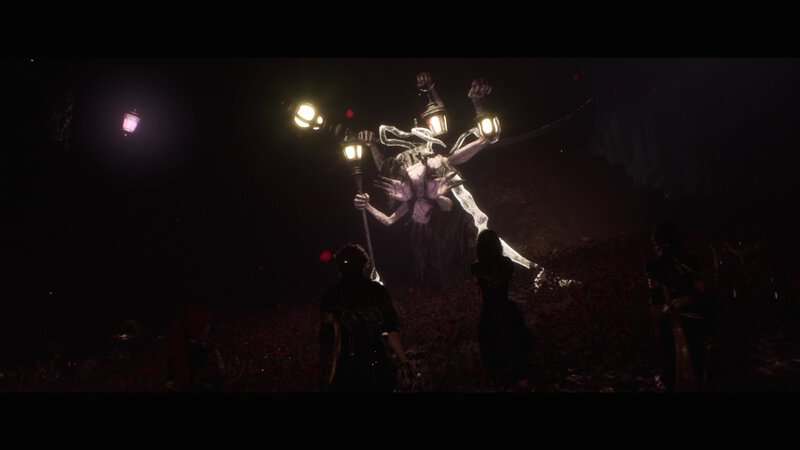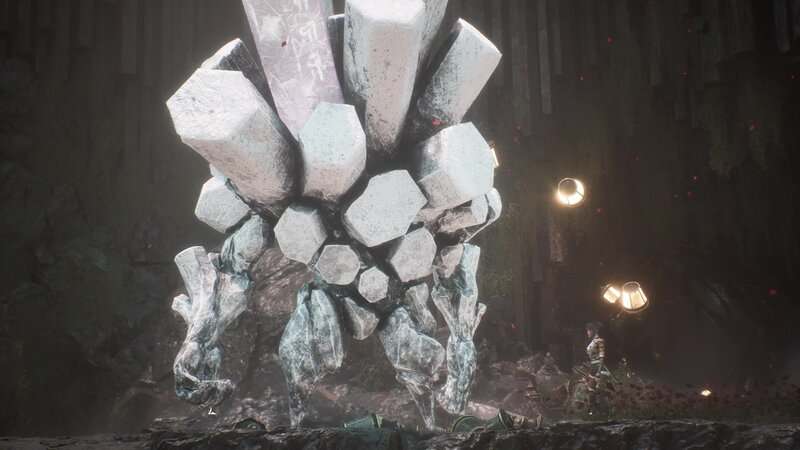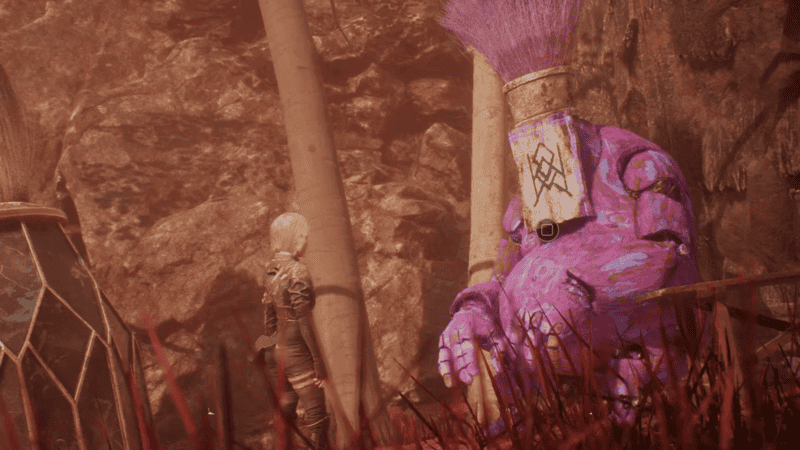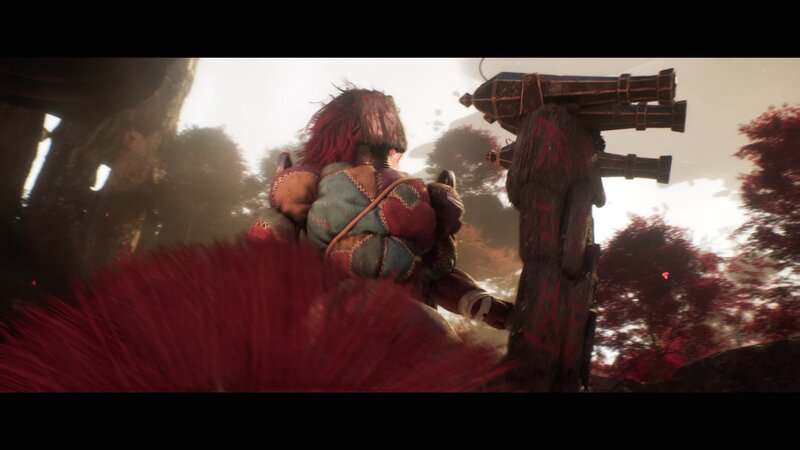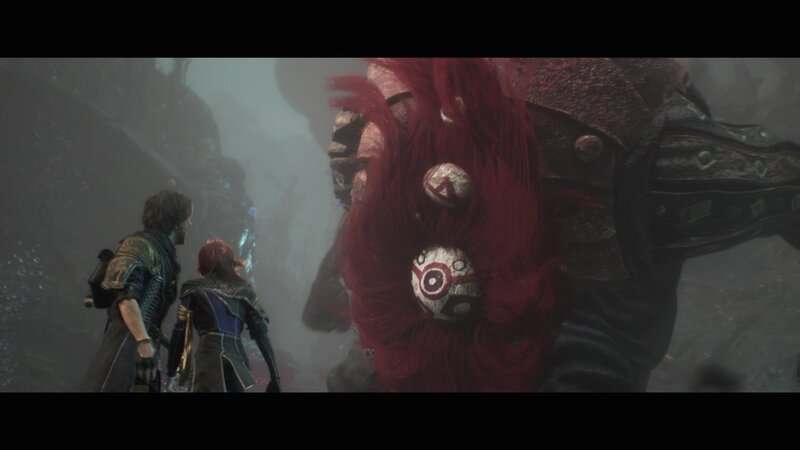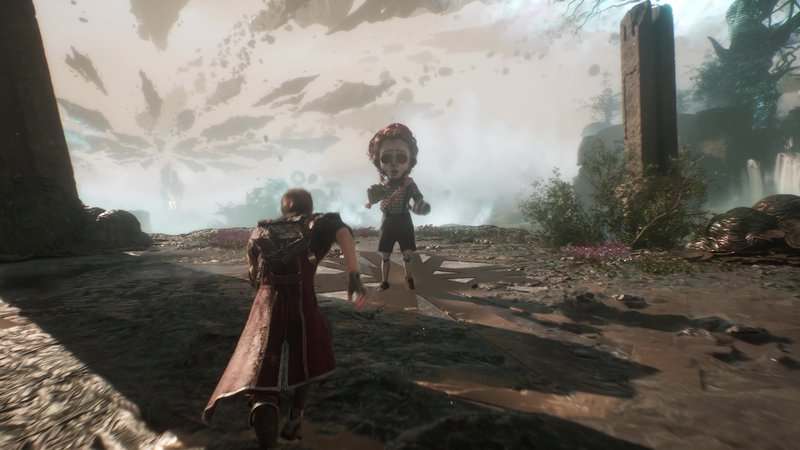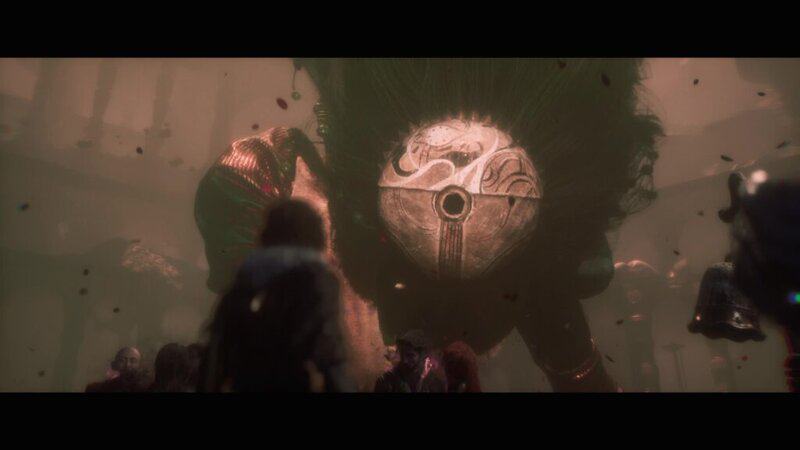
Sirene is the boss found at the end of the region of the same name in Clair Obscur: Expedition 33. This giant creature is an Axon that has enraptured those who view it dance. To claim the Axon’s heart and use it to reach the Monolith, players will need to overcome a variety of attacks from the creatures and their fellow dancers. This guide will show players how to beat the Sirene boss fight in Clair Obscur: Expedition 33.
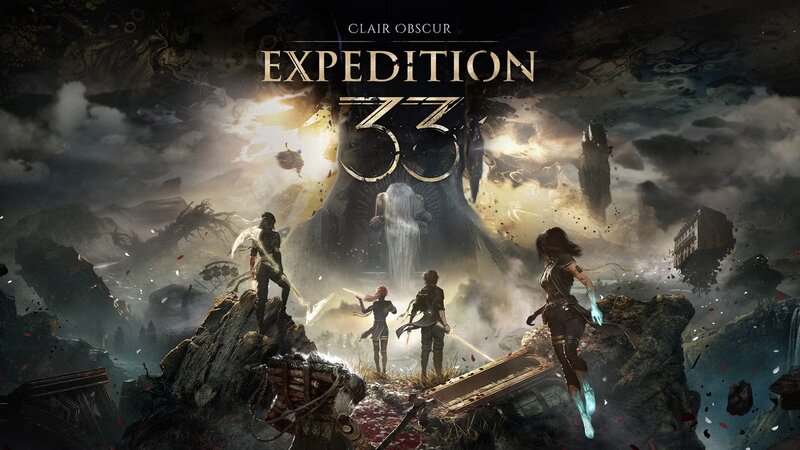
How to Beat the Sirene Boss Fight in Clair Obscur: Expedition 33
The Sirene boss is weak to Ice and Dark damage while having resistances to Earth and Light damage. This means that Sciel is definitely a go-to member of this team. With her Dark-based attacks which can be made even stronger as she applies more Foretells, she can quickly cut through the boss’s health. The rest of the party can be mixed and matched with Maelle, Lune, and Monoco. Maelle is still really strong here with her Virtuose Stance. With the right stance and a Marked boss, she can easily hit the damage cap with little setup. Lune is pretty straightforward since she can do Ice damage with a few of her skills and can even cash out massive damage if you do the right sequence of attacks. Monoco can be a bit of a challenge here since you must have the right moves to be efficient here which means you will have to make sure you hunt down specific enemies and defeat them with Monoco in your party. If you do have these abilities, then he is a great addition to the team for this battle.
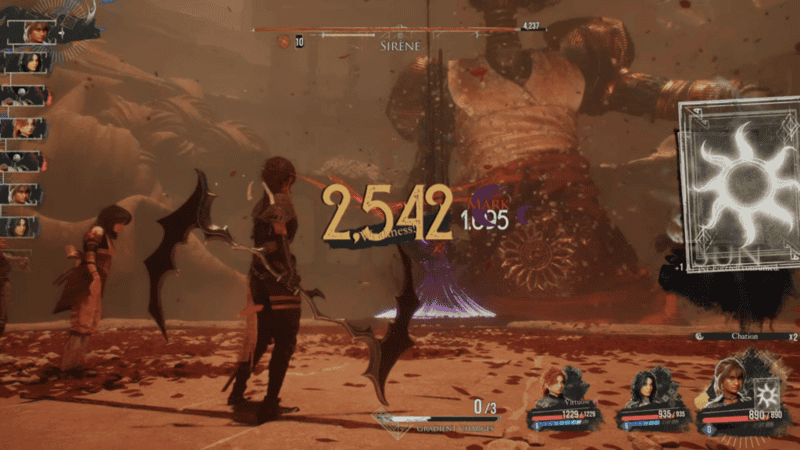
Sciel should bring Marking Cards since it is very useful for building Foretells quickly and it will also Mark the boss to get massive damage potential for Maelle. Sealed Fate is the best move to cash out your Foretell Damage at this point in the game. Since it deals multiple hits, you can greatly exceed the 9,999 damage cap in a single turn. While no single hit will go above the damage cap, the combo can easily reach above 20,000 damage with the right buffs, enough Foretells, and being in Twilight Stance.
Lune can bring moves like Ice Lance and Thermal Transfer to deal Ice damage, with the former also applying Slow to the boss while the latter will get added benefits while the enemy is Burning, which it likely will be if you are using Maelle as well. The best move to exploit the Ice weakness is Typhoon which will deal high Ice damage at the start of the next 3 (or 5 if you have 2 Earth stains) turns and also heal the team. If you have unlocked it, definitely also throw on Elemental Genesis. This is a multi-hit attack that can only be used when you have 4 different Stains in your weapon. When you do, this will dish out massive damage. Like Sciel’s Sealed Fate, the 8 hits this attack lets out will easily get above the 20,000 damage even with the damage cap.
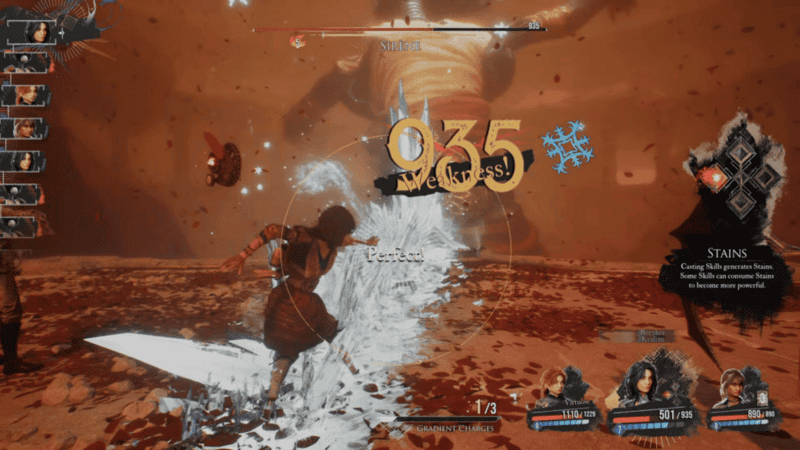
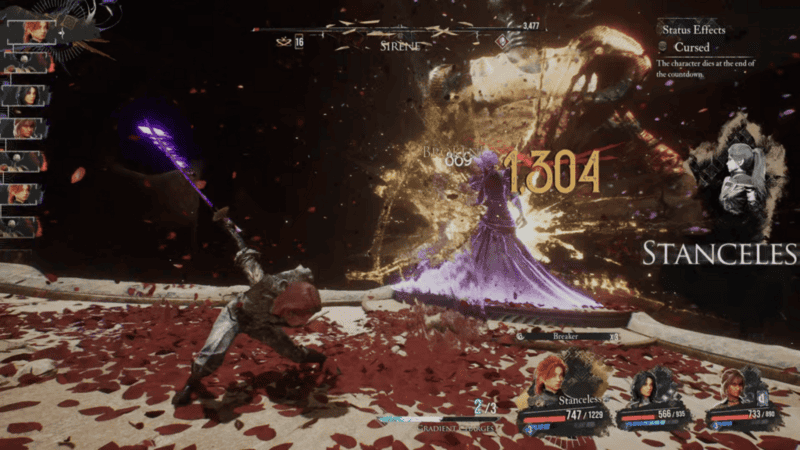
If you decide to use Maelle, make sure you bring in Spark and/or Rain of Fire as well as the Combustion move to cash out heavy damage after building a lot of Burn. Combustion will take up to 10 stacks of Burn applied to the boss and turn it into Physical damage, with each stack increasing the amount of damage dealt. Make sure to use the Swift Stride attack when the boss is burning to have Maelle enter Virtuose Stance. Make sure you have Fluent Fury to get a multi-hit attack that can Break and use Piercee when Maelle is in Virtuose Stance and the boss is Marked to easily hit the damage cap.
Some of the skills that you should have if you decide to use Monoco are Stalact’s Punches (multi-hit Ice damage), Ramasseur Bonk (high Break, single hit Dark damage), Benisseur Mortar (multi-hit Ice damage), and Cultist Slashes (multi-hit Dark damage that does more damage the lower Monoco’s health.) I also suggest Glaise Earthquakes to apply Powerful to the party. If you don’t have any of these moves, then definitely go with the combo of Sciel, Lune, or Maelle. But if you do have at least a few of these skills, Monoco is a good consideration since he can easily build Break on the boss and most of these attacks are multi-hit and exploit the boss’s weaknesses. If you use these attacks when on the right masks of the Bestial Wheel, you can do massive damage.
While you have a strategy of how to attack Sirene, being able to avoid damage is even more important, so let’s break down the different moves this boss has at its disposal and how to counter them. So let’s break down the moveset of this Axon.
The first move to discuss is one that can be completely removed from Sirene’s arsenal if you decide to tackle the optional Tisseur boss earlier in the area. If Tisseur is still alive during the Sirene battle, it will send fabric to the dress for the boss, giving her Shields. This move can be repeated, so you will need to deal with new Shields throughout the fight. If you defeat Tisseur, this move will not be used in the fight.
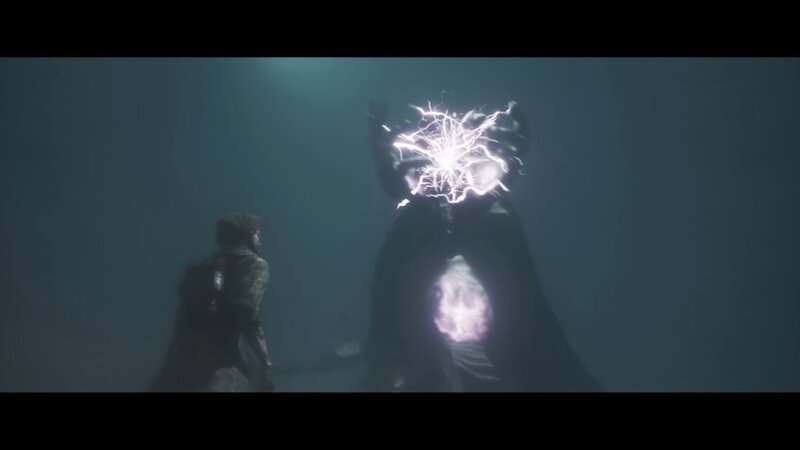
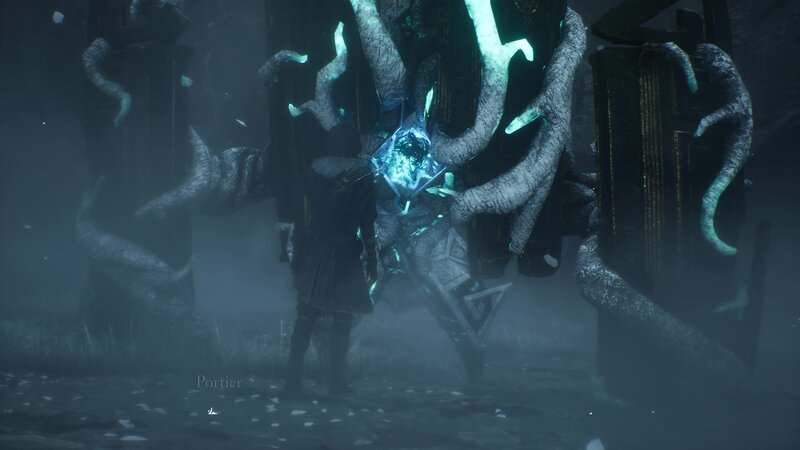
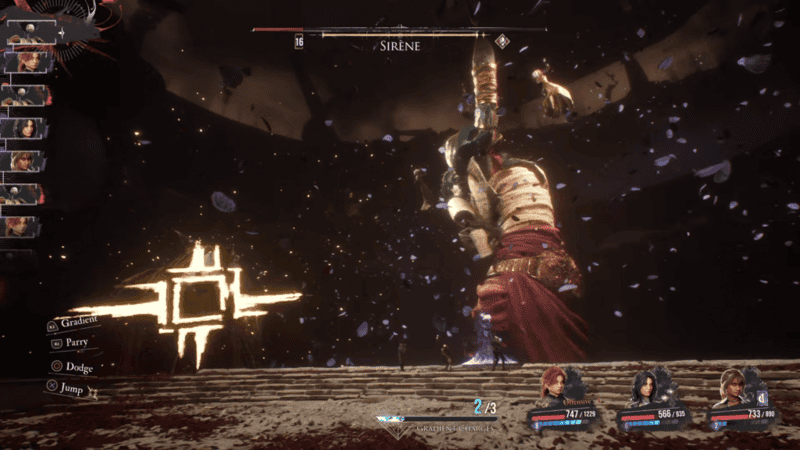
Sirene is broken up into 3 phases, all of which are part of the one single health bar. Each phase contains new moves that you can encounter. The moves from a completed phase can be seen in the later phases, so just because you enter Phase 2, make sure you still keep an eye out for Phase 1 attacks.
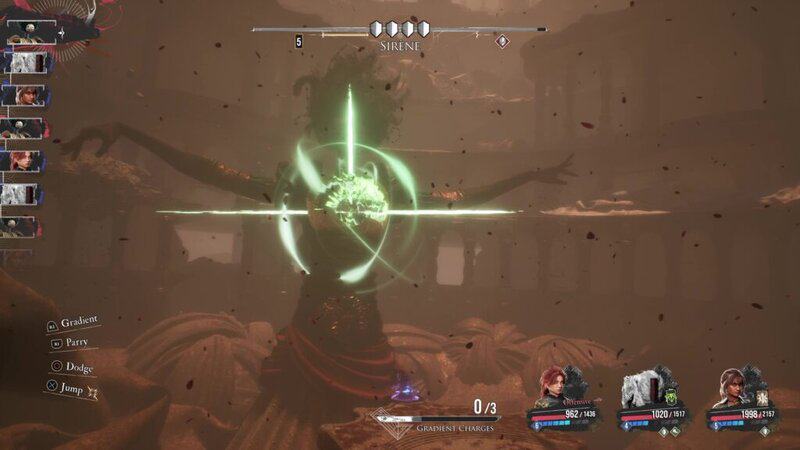
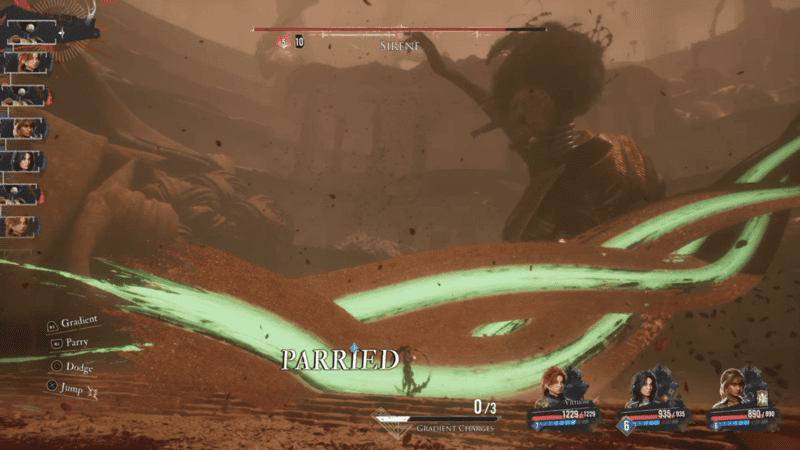
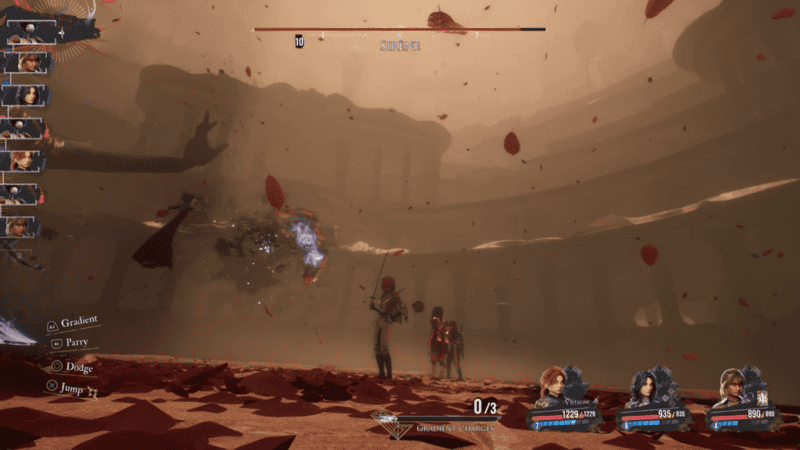
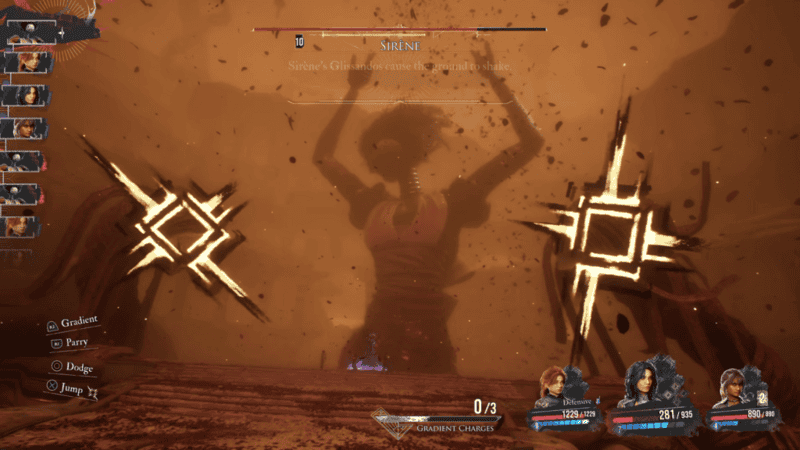
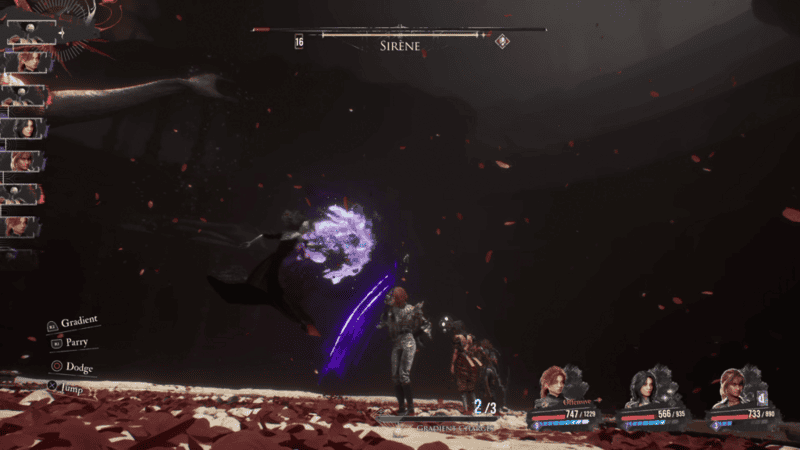
There are 3 main attacks you will need to watch out for in the first Sirene phase. One of these attacks sees Sirene dance with two Glissandos. This sees the boss summon two of the snake-like creatures over her shoulders. After a delay, the Glissando to your right will reel back, pause, and then reel back again before quickly launching itself toward you with the second Glissando attacking quickly after the first one. Another attack sees Sirene “attack with her dress,” a 3-hit combo that can be hard to read. After bending her body, Sirene will start to swipe through the air as a magical thread follows her hand. The nature of the attack can make it hard to tell when you should counter it. The first attack comes from your right and stays pretty in line with her hand so you should counter the attack when her hand is about to reach you. The next two versions of the attack are mostly on their own, so it might get a bit trickier. After a delay following the first attack, Sirene reaches toward the sky and a new thread comes down from her hand. You should avoid the attack right after it passes her shoulder. The third attack starts quickly after the previous strike hits you. Coming from your left, you can counter this attack by pressing your parry or dodge button as the thread reaches the edge of the platform you’re standing on. The last attack you can see in the first phase is when Sirene attempts to “seduce” one of the characters. A series of threads will surround a character in an orb shape. The screen will turn black and white then the orb will collapse onto the character. Perform a Gradient Counter to block this attack.
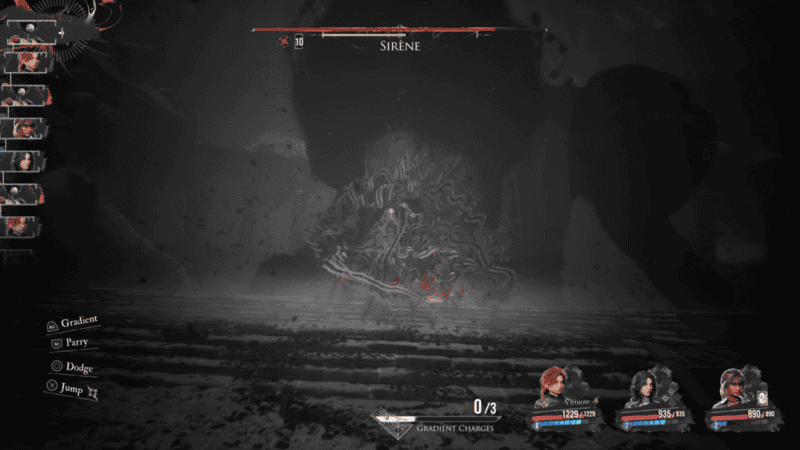
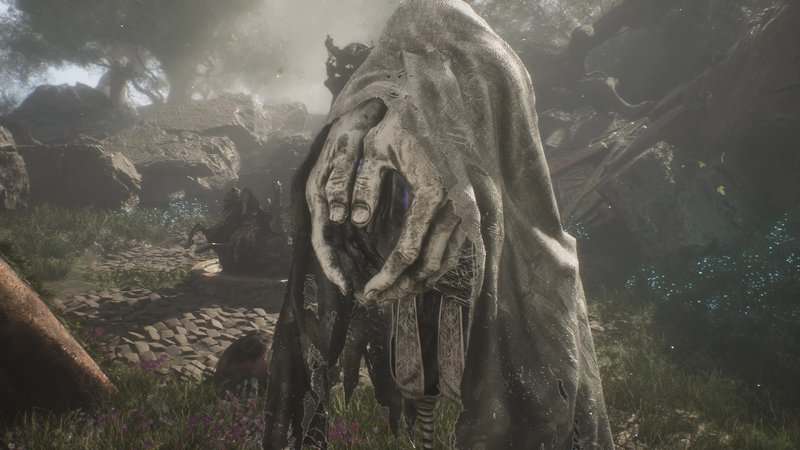
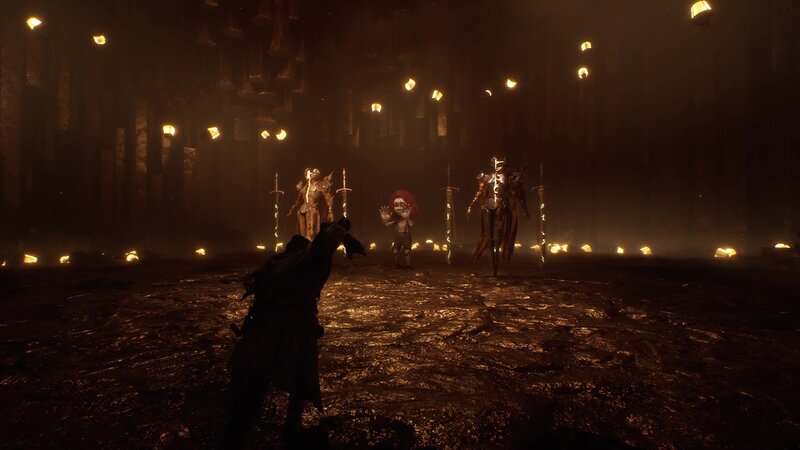
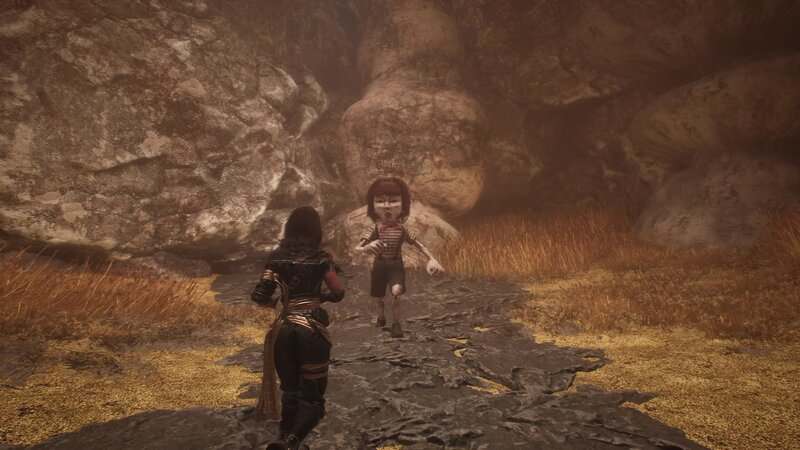
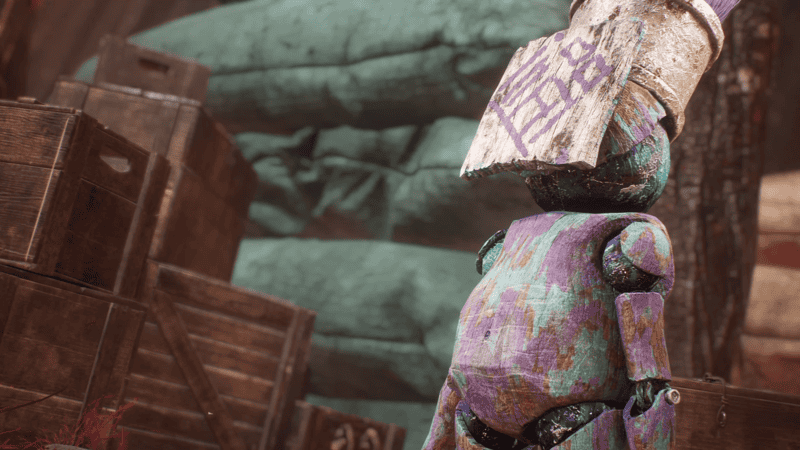
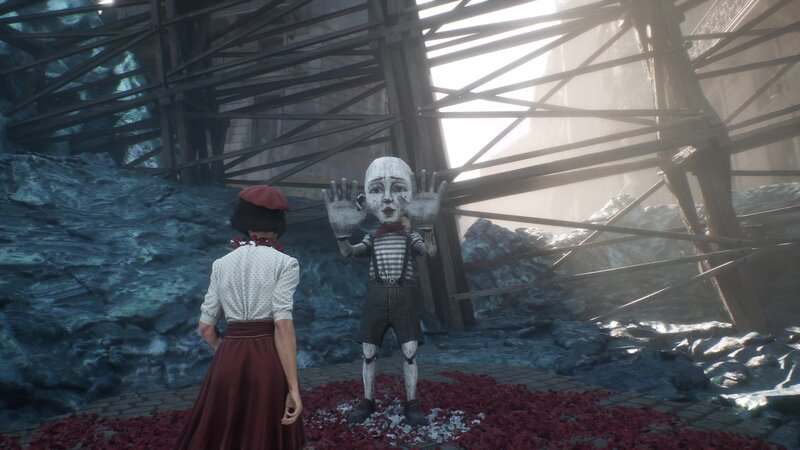
After every attack throughout the fight, Sirene will get a free action where it summons a Ballet enemy to try and Charm one of your party members. After a short dance from the Ballet, she will throw out a pulse that travels towards one of your characters. This move has 3 pulses that go toward a target in a specific rhythm. The third pulse is the one that will hit its target. If this hits, the character will be inflicted with Charm, which means you will lose control of the character and they will start attacking your other party members or themselves.
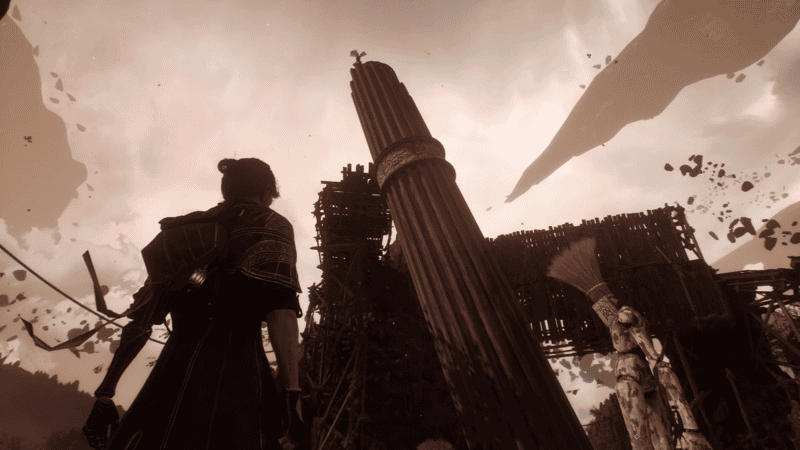
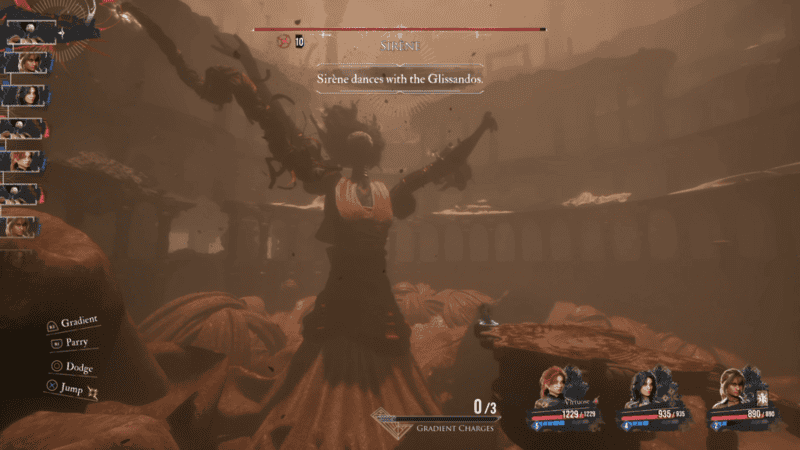
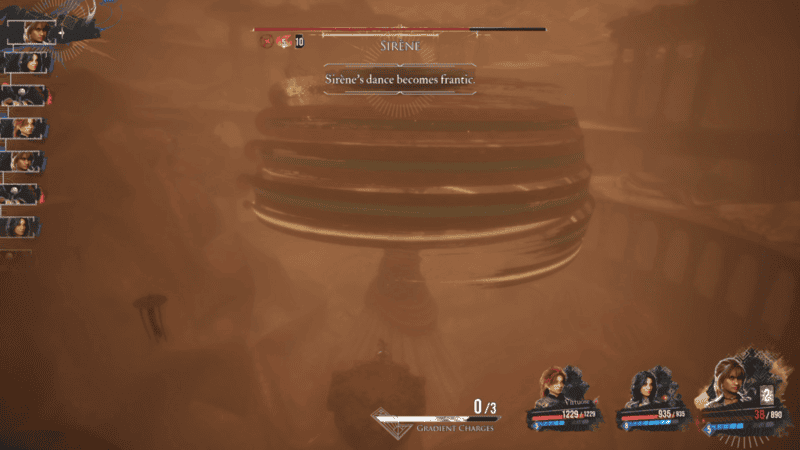
When Sirene loses the first 25% of her health, she will perform a frenetic dance. A duststorm will fill the arena and this second phase of the encounter will begin.
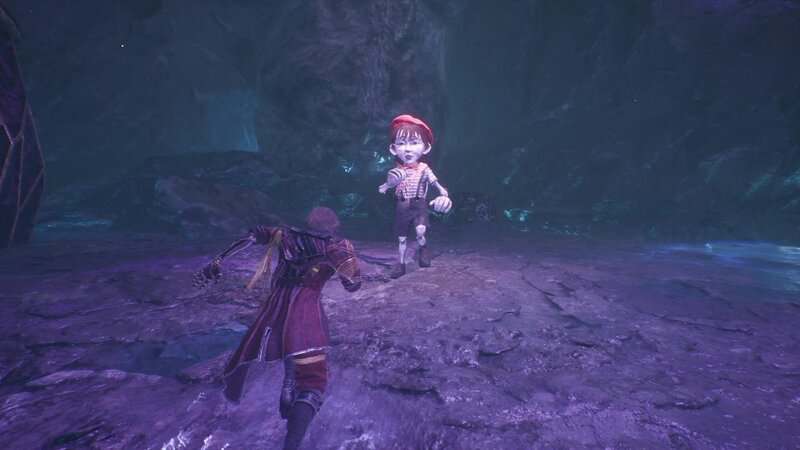
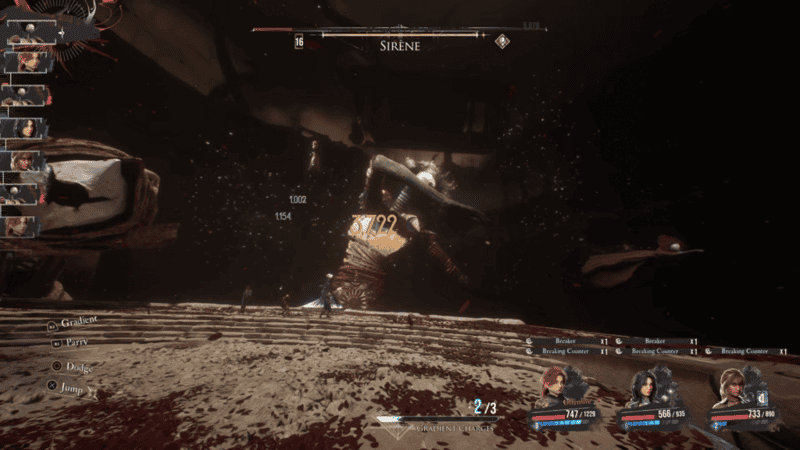
This phase includes the attacks from the first phase as well as two new attacks. One is the Grand Ballet. 5 Ballet enemies will gather in front of Sirene. One at a time, these Ballets, each of which has a unique element-infused weapon, will fly to your right before doing a horizontal swing. Each Ballet has a longer start-up the the previous with the first one flying to the side and then attacking quickly while the last one includes a spin and a pause before swinging. The other attack is when the “Glissandos cause the ground to shake.” This move sees two Glissandos appear on the sides of your platform and then slamming their heads into the ground 3 times. To avoid this attack, you will need to jump when their heads hit the ground.

When Sirene reaches her last quarter of health, the final phase will begin. This phase will always begin with the Final Act. This move combines the Glissando ground shake and Grand Ballet attacks. It will start with a lone Glissando slamming its head into the ground. After a delay, a Ballet will fly down from floating around Sirene’s head and perform a slash. The Glissando will slam its head again and another Ballet will fly down to swipe at you. There will be one more head slam and another Ballet. After these attacks, Sirene will take a piece of the colosseum and smash it into the party.
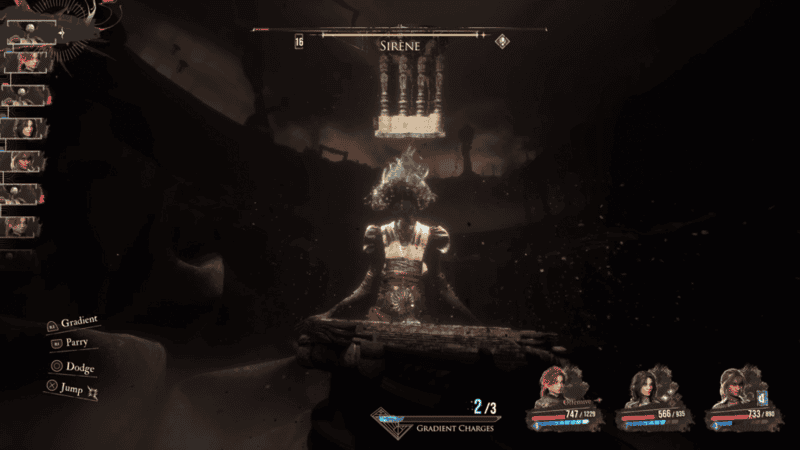
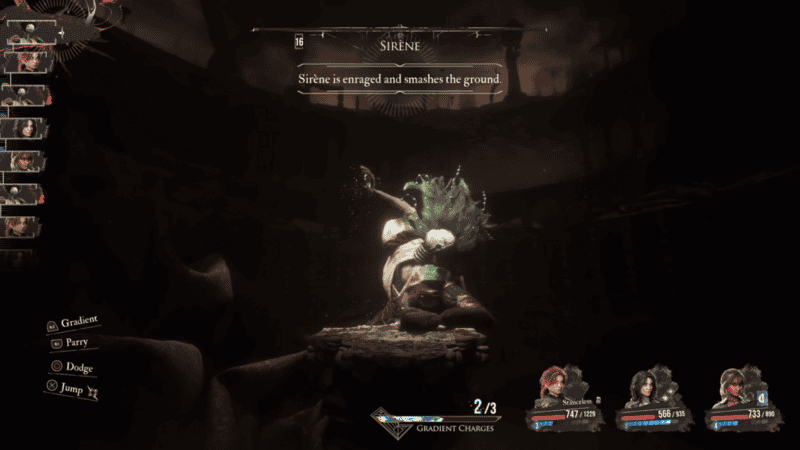
The other new attack in phase 3 is when “Sirene is enraged and smashes the ground.” This is a 3-hit combo where Sirene pulls her arm back and, after a delay, will crush the party. This moved is followed up with a swipe with the same arm. Sirene will then lean back and after a pause, she will perform one final slam.
An important thing to note in this phase is that the Ballet’s Charm attack will now use two waves instead of the one you’ve seen throughout the rest of the fight. So, make sure you don’t get caught with the second attack.
Now that you can avoid Sirene’s attacks, you just need to use the right abilities to defeat her. Have Sciel use build Foretells and cash out with multi-hit attacks to deal massive Dark damage while Lune uses Ice damage to exploit the boss’s weakness while also building her Stains to eventually use Elemental Genesis. If Maelle is in your party, buff her attack damage and use moves like Fluent Fury and Piercee to easily hit or surpass the damage cap. If you decide to use Monoco, use the Skills mentioned at the start of the guide to exploit weaknesses and buff the rest of the party. With all of this complete, you will be able to defeat this Axon.
You can now defeat the Sirene boss fight in Clair Obscur: Expedition 33. Stay tuned to Gameranx for more news, updates, and guides for Clair Obscur: Expedition 33 as well as other great games in the future.