Table of Contents[Hide][Show]
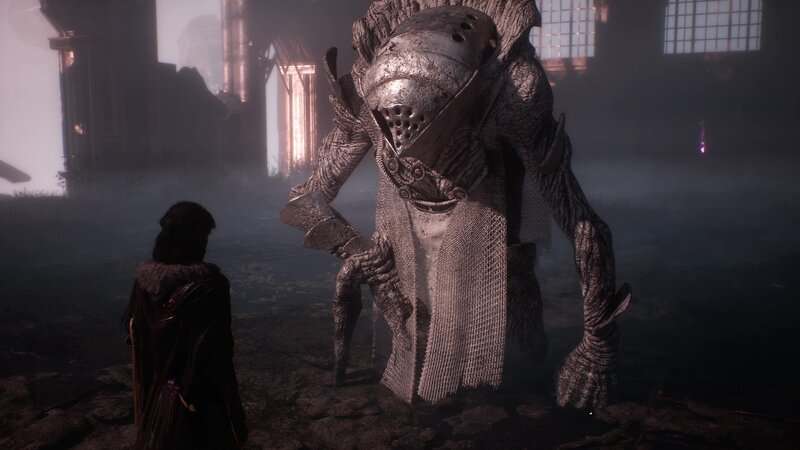
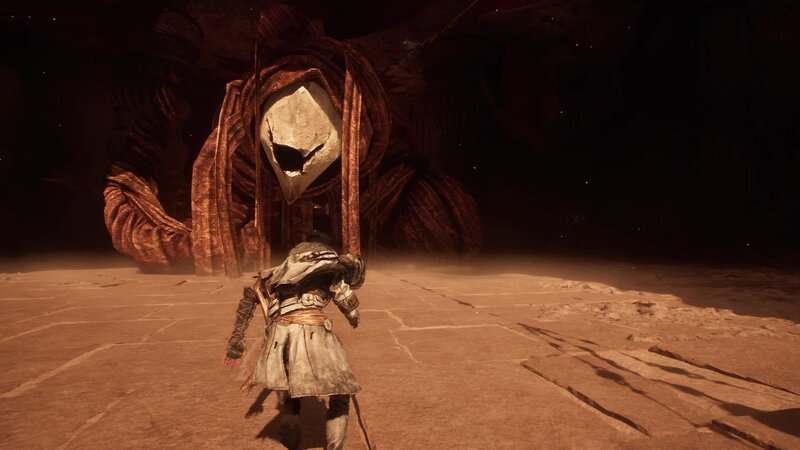
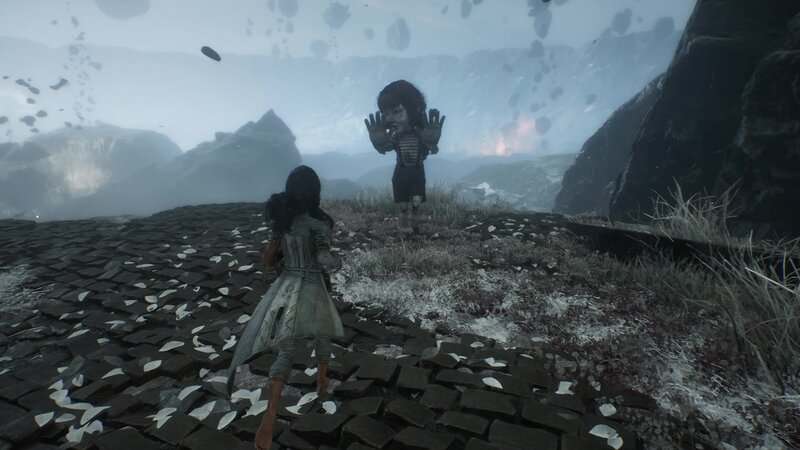
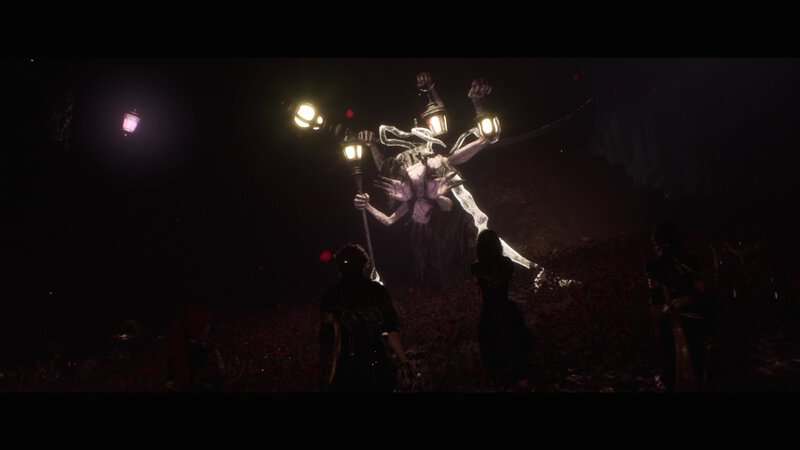
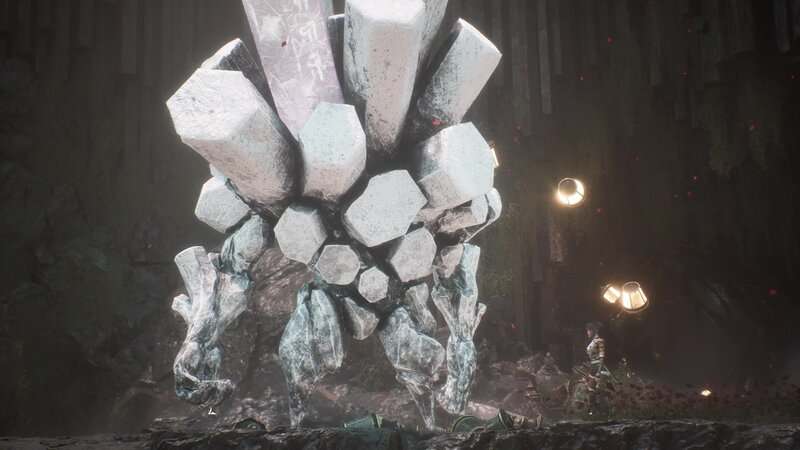
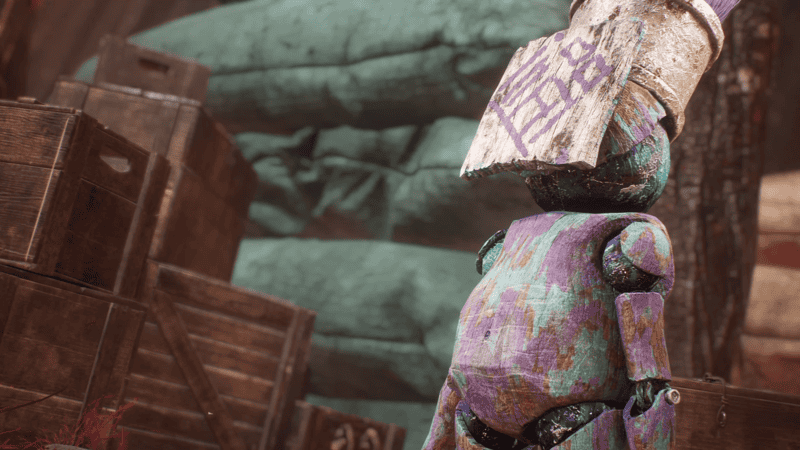
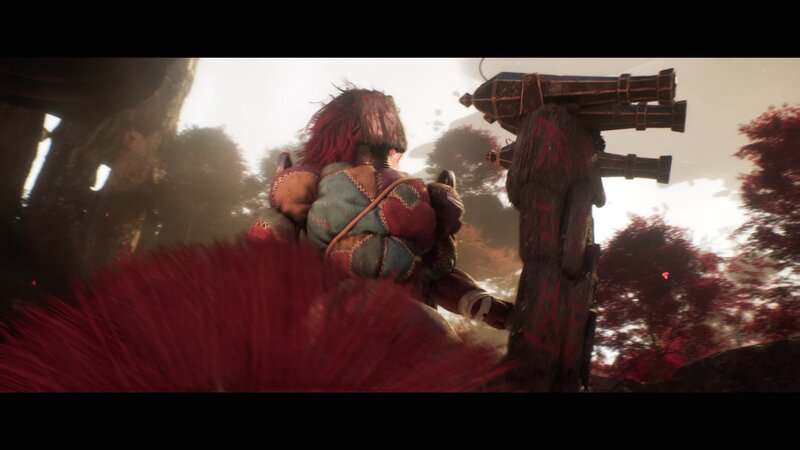
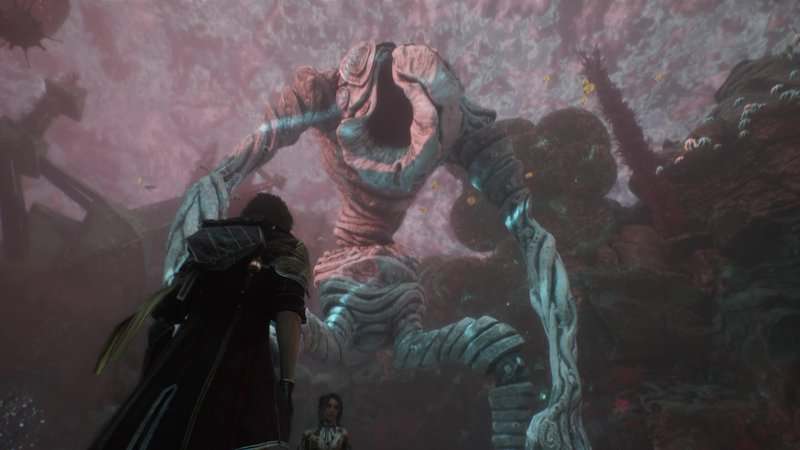
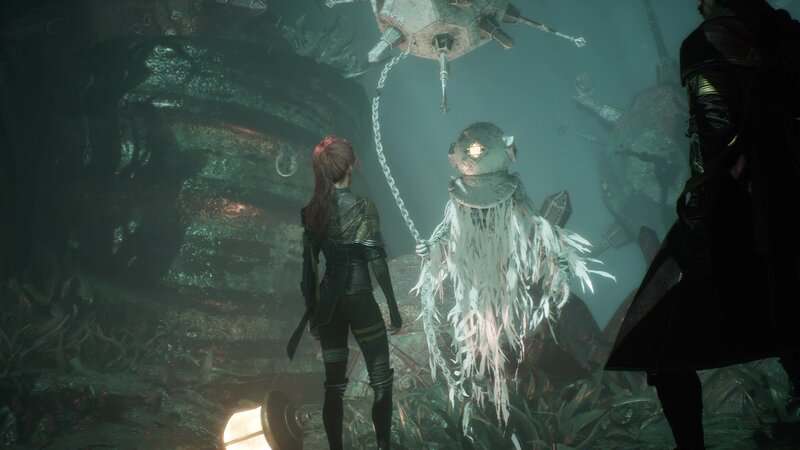
There are several optional bosses to be found in Clair Obscur: Expedition 33. One of these bosses is known as Sprong, found in the game’s overworld and can be a pretty challenging encounter if players aren’t prepared. While this boss can be completely skipped, beating this giant creature will reward players with one of the most useful Pictos in the entire game so it would be beneficial to take down this massive foe. This guide will show players how to beat the Sprong boss fight in Clair Obscur: Expedition 33.
How to Beat the Sprong Boss Fight in Clair Obscur: Expedition 33
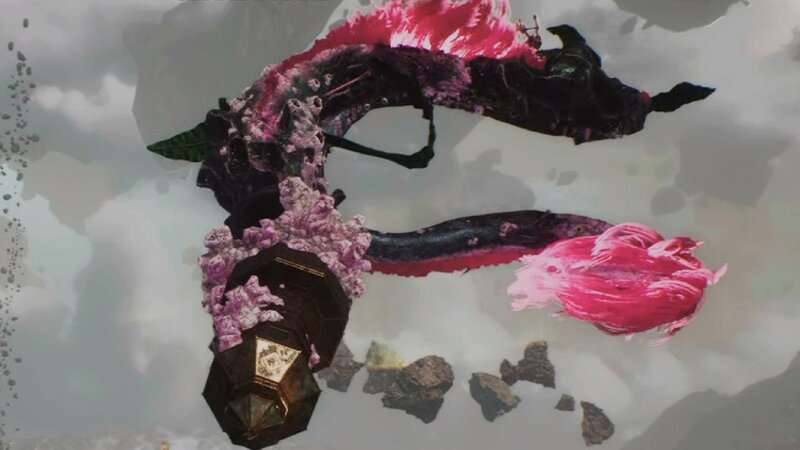
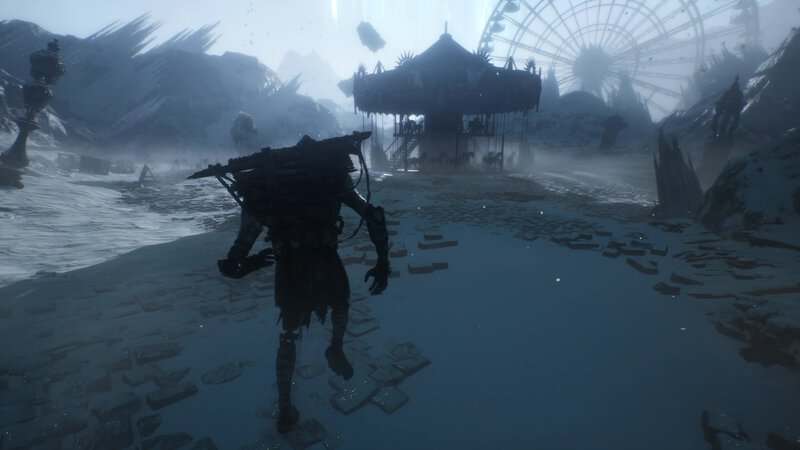
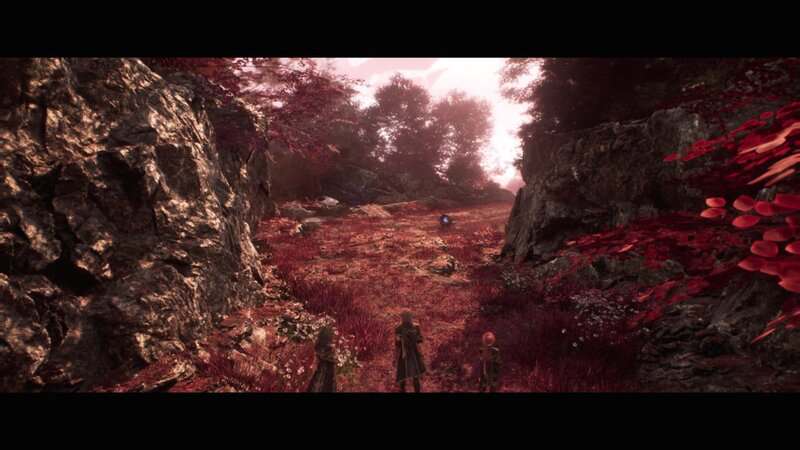
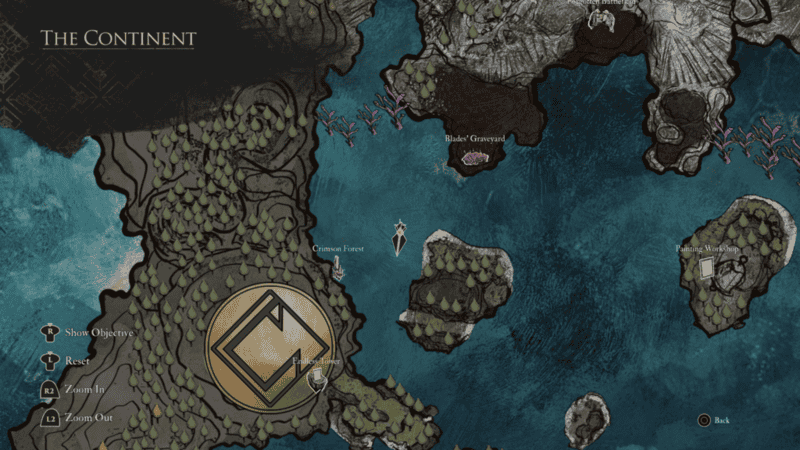
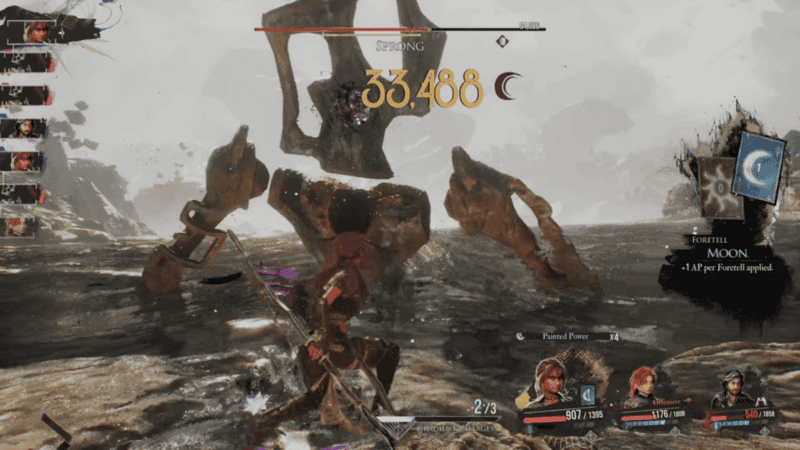
Sprong can be found in the water between the Blades’ Graveyard and the Endless Tower. You can reach this area after Esquie learns his Swim ability at the start of Act II. You can engage this boss whenever you want after you start Act II, but I suggest returning to this boss fight when you defeat The Paintress and get the Painted Power Pictos. This item will allow you to exceed the 9,999 damage cap, which means you can do massive damage with a single blow.
Party Prep
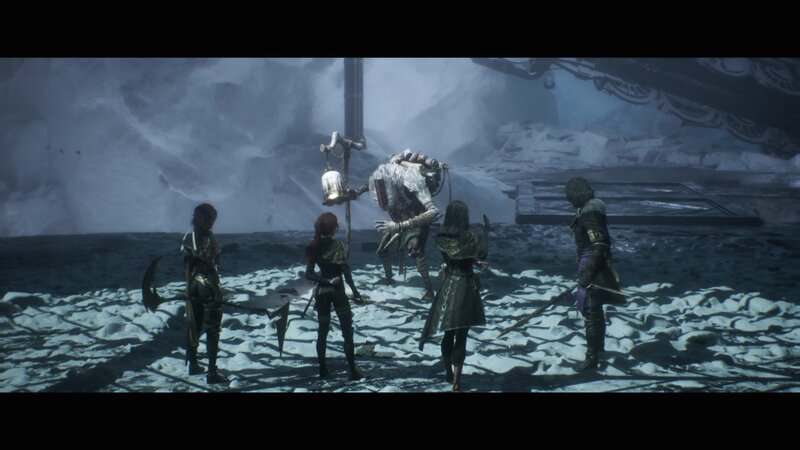
Sprong has no resistances or weaknesses, so you are free to use any combination of party members you want without any downsides. Lune can be very useful with her ability to apply Slow and Burn with elemental attacks such as Immolate and Ice Lance and can also do massive damage by building up your Stains and using the Elemental Genesis move. This is an 8-hit combo that does massive damage. Lune can also be very useful as a healer, so take into consideration how you will recover health if you decide to replace her. Monoco can also be useful if you have the right skills. Hexga Crush (2-hit medium Earth damage, applies Defenseless), Glaise Earthquake (3-hit medium Earth damage, applies Powerful to self, applies to full party if on the Heavy Mask Bestial Wheel), and Dancseuse Waltz (3-hit high Fire damage, damage increases if target is Burning, even more damage if the Bestial Wheel is on the Balanced Wheel) can all be useful since they will apply debuffs and status effects to the boss while also buffing your party.
With all that being said, the party I prefer is Verso, Maelle, and Sciel. If you’re confident in your ability to avoid damage, I suggest getting the Chevalam weapon from the Chromatic Chevaliere in the Crimson Forest. While you won’t be able to heal, you will start the fight at S-Rank. Verso should also use the Powerful ability to give the party the buff of the same name and can use skills like Marking Shot, Defiant Strike, or a Pictos like Marking Shots to inflict Mark. Applying Mark will allow the rest of the team (especially Maelle) to do extra damage.
For his offensive moves, Strike Storm is a 5-hit combo and will deal high damage based on your weapons’ element. End Bringer contains 6 hits and deals extreme Physical damage, with even more damage being done if Sprong is Stunned. Steeled Strike is the most unique of Verso’s skills since it requires 2 turns. When you start the move, your turn will end and you will need to reach Verso’s next turn without taking any damage. If Verso is hit, he will be knocked out of the move, which means it will be interrupted and the move won’t be performed, though you will still lose your AP. If you can get to your next turn, Verso will let out a massive 13-hit combo that deals extreme Physical damage with even more damage done if you’re at S-Rank.
If you have a lot of AP and are at S-Rank, spend AP on Free Aim until you reach 2 AP and then use Follow-Up to deal massive damage. This is a single hit attack that deals medium Light damage but will increase in damage with each Free Aim shot used during the current turn, maxing out at a stack of 10 shots. If you have the right Pictos like Energizing Shots, you have the chance to fully build your damage stack to the max.
Sciel should bring Marking Cards since it is very useful for building Foretells quickly and it will also Mark the boss to get massive damage potential for follow-up attacks from the rest of the party. I also suggest using moves like Fortune’s Fury and Intervention to get the most out of the team’s turns before Sprong gets his chance to strike back. The former will double the damage of the selected character’s next turn and the latter will allow you to select another party member to instantly play a turn with an additional 4 AP.
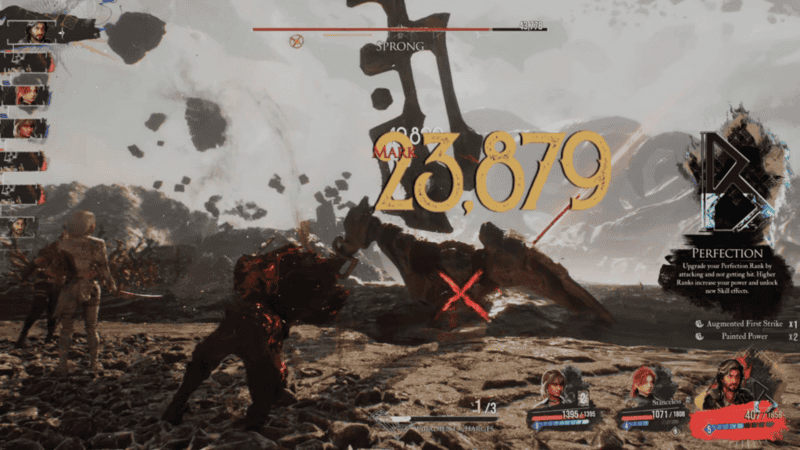
As you build up Foretells, you will want to use skills that are multi-hits to make sure you cash out the most damage possible. Sealed Fate is a great choice here since it is a 3-hit combo which can exceed the 9,999 damage cap in a single turn but also since if you get Critical Hits, the Foretells won’t be removed, meaning you can follow up next turn to cash out even more damage without having to worry about applying more Foretells. This can be useful if you decide to engage the boss before you get the Painted Power Pictos, but it is still very useful when you can surpass the damage cap, since that means all 3 hits can go beyond 9,999.
Twilight Dance is also a good move here. While it does consume all Foretells, it contains 4 hits and does extreme damage while also extending Twilight Stance by an extra turn. If you have hit the Twilight Foretell cap, you should consider using this move if you can. If Lune isn’t in your party, also consider using Grim Harvest as a healing tool since this move will heal the party, with more health being given the more Foretells are applied to the boss.
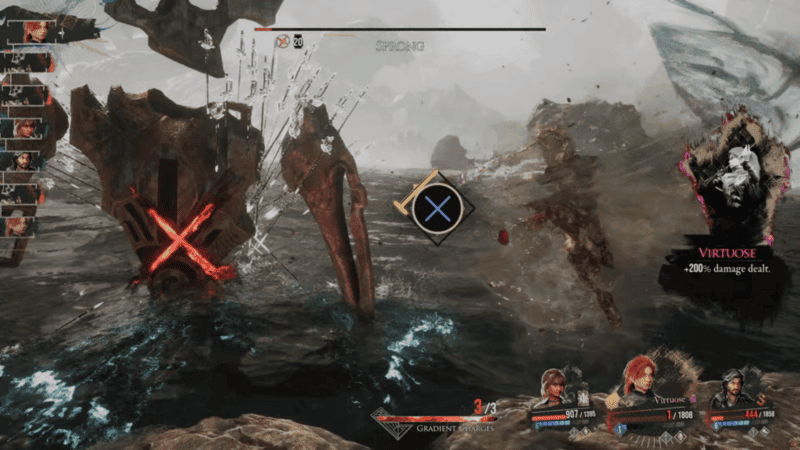
Maelle should have at least one of her Fire-based attacks, like Spark or Rain of Fire. Use the Swift Stride attack when the boss is burning to have Maelle enter Virtuose Stance. If you fight this boss in Act III, you will have access to Burning Canvas and Stendhal attacks. The former is a 5-hit high Void damage which applies Burn on every hit and will also get increased damage for each Burn applied to the target. The latter is a single strike that deals extreme Void damage. While it removes all Shields on Maelle and applies Defenseless to her, this is one of the most damaging attacks she can do. I also suggest using moves like Offensive Switch or Guard Down to apply Defenseless to Sprong, since it will make the attacks over the next few turns do more damage. With Defenseless and Marked applied to the boss, these attacks will do massive amounts of damage, and with Painted Power, could easily take out the boss in a few strikes.
Finally, here are some Pictos/Lumina suggestions that you could use in this fight:
- Painted Power- Exceed the 9,999 damage cap (All party members)
- Energizing Shots- 20% chance to gain 1 AP on Free Aim shot (Verso)
- Gradient Fighter- 25% increased damage with Gradient Attacks (Maelle)
- First Strike- Play first (Sciel)
- Inverted Affinity- Apply Inverted to Self for 3 turns at battle start and gain 50% increased damage while Inverted (All party members)
- Energizing Turn- Gain 1 AP on turn start (All party members)
- Any of the Energizing Starts- Gain 1 AP at battle start (All party members)
- At Death’s Door- Deal 50% more Damage if Health is below 10% (Maelle)
- Critical Moment- 50% increased Critical Chance if Health is below 30% (Maelle)
- Empowering Parry- Each successful Parry increases damage by 5% until the end of the following turn. Taking damage removes this buff (All party members)
- Teamwork- 10% increased damage while all allies are alive (All party members)
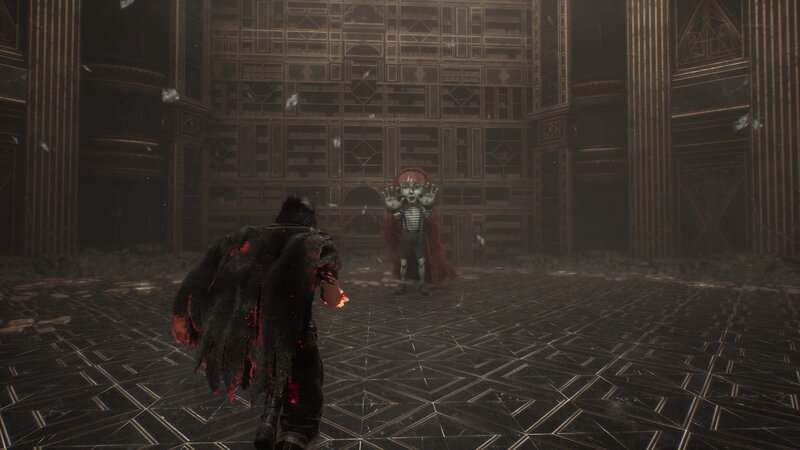
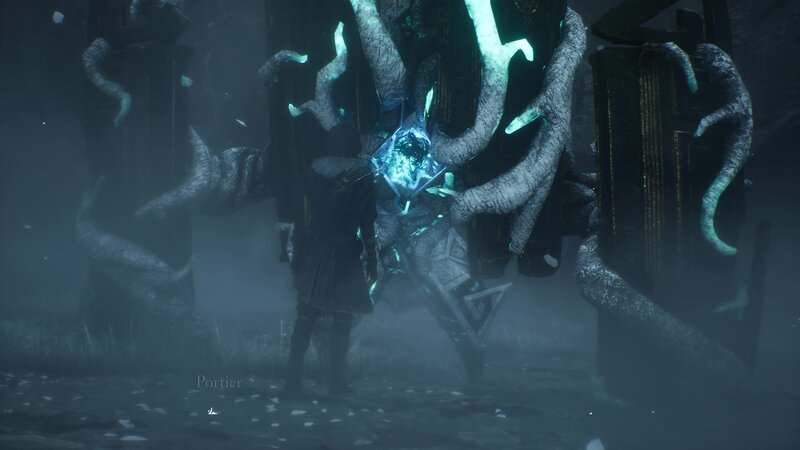
Sprong Encounter
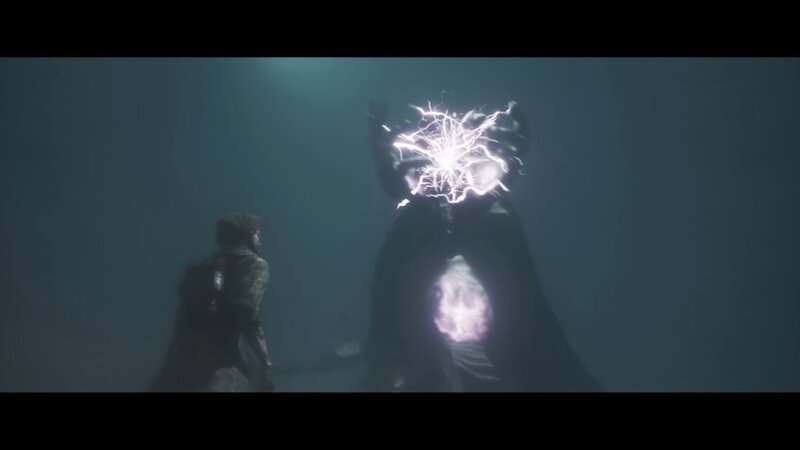
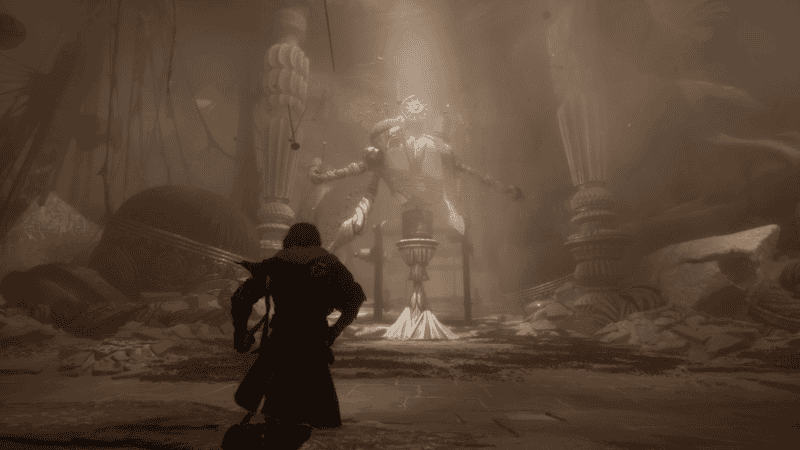
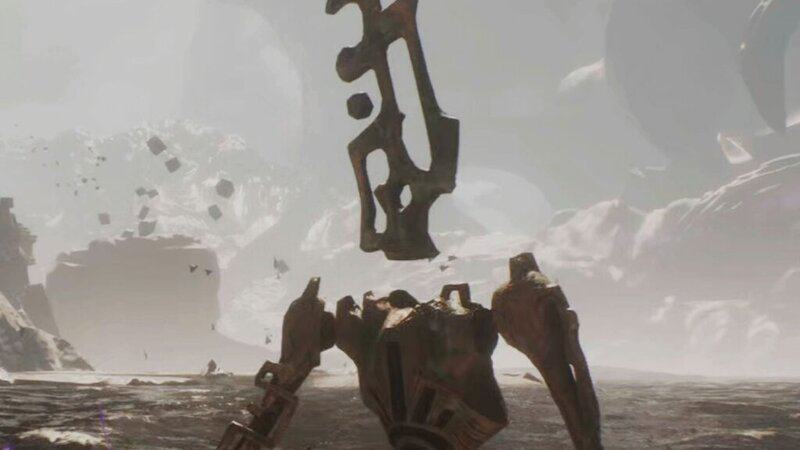
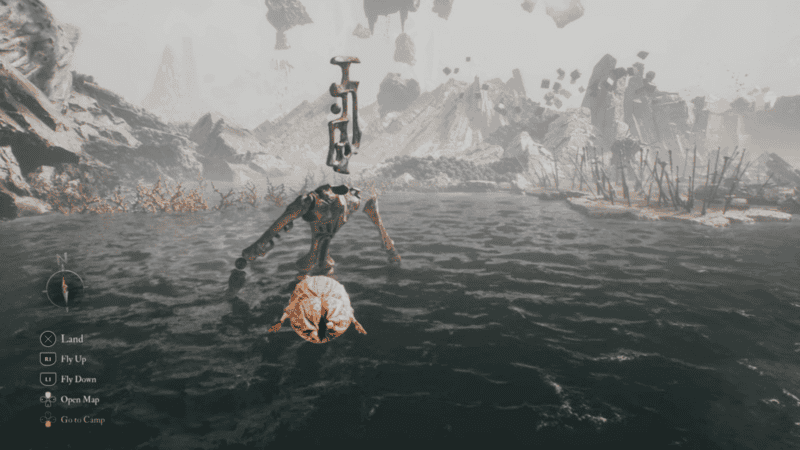
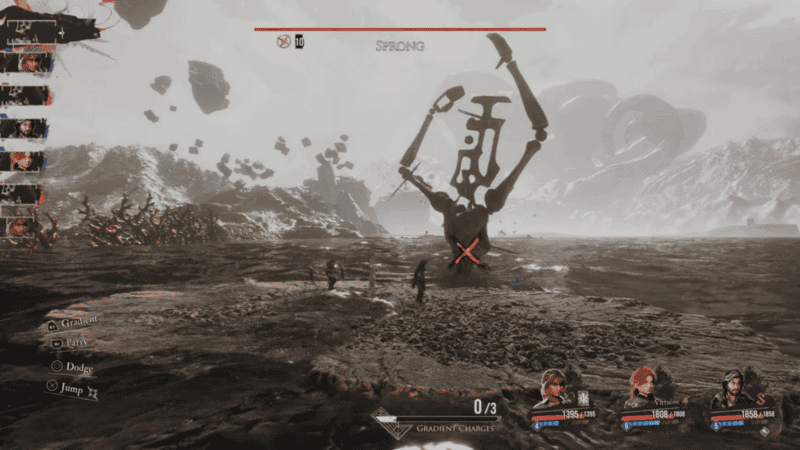
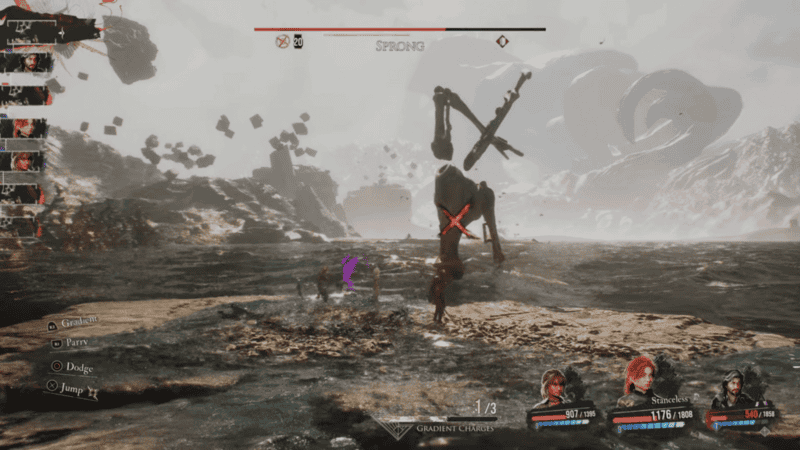
Sprong attacks in “stages,” where it will progress through its attacks linearly. While each of these attacks will evolve as the battle progresses, the same general attack will always correspond with the same stage. Stage 1 sees Sprong strike the Expedition. This is a single strike where Sprong swings its arms behind its hack and after a slow startup and delay, it will slam both arms down on the party. Stage 2 is the Sabotage beam. Sprong will shoot 4 beams at individual party members. Each beam is telegraphed by a charge-up of energy that happens around the orb in the center of Sprong’s head. After the energy is absorbed by the orb, the beam will quickly be shot. The first 3 shots all happen in quick succession, with the fourth and final shot occurring after a short delay.
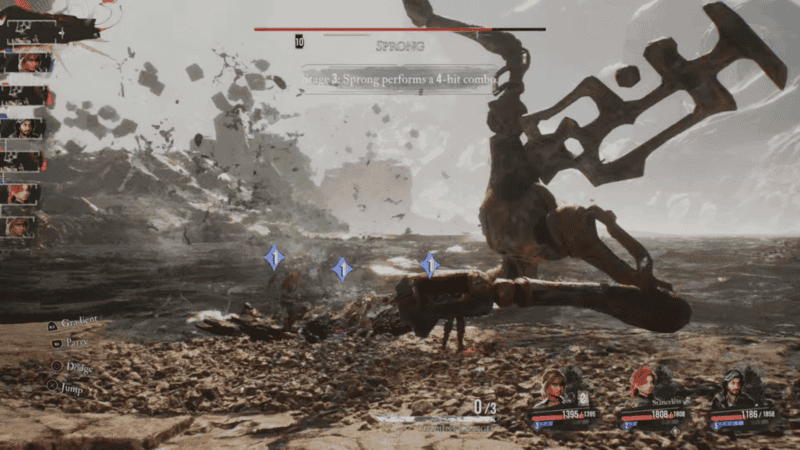
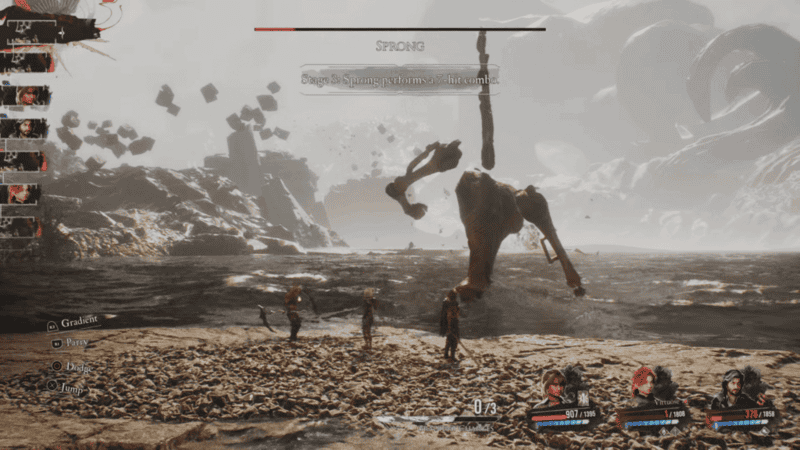
Stage 3 is Sprong’s combo attack. In the early parts of the battle, the combo will contain 4 attacks. Sprong will pull back and lift its left arm in the air. After a pause, the boss will slam its arm down before quickly slamming its other hand down and then following up with a swipe. After a brief pause and raising up its arm, Sprong will end the combo with an overhead slam.
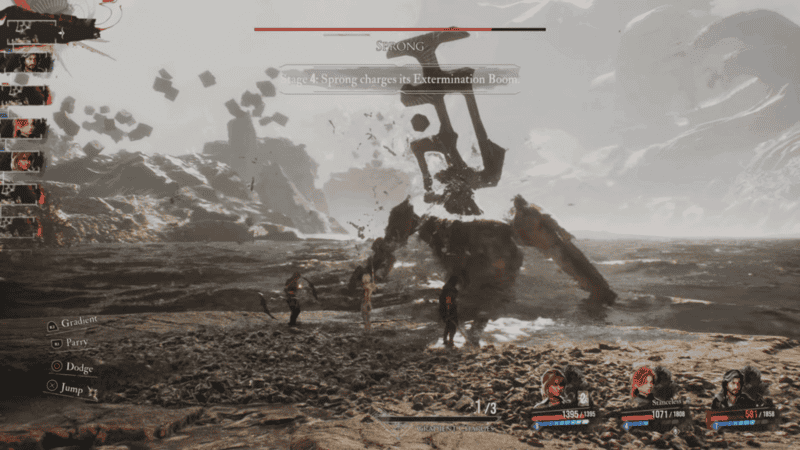
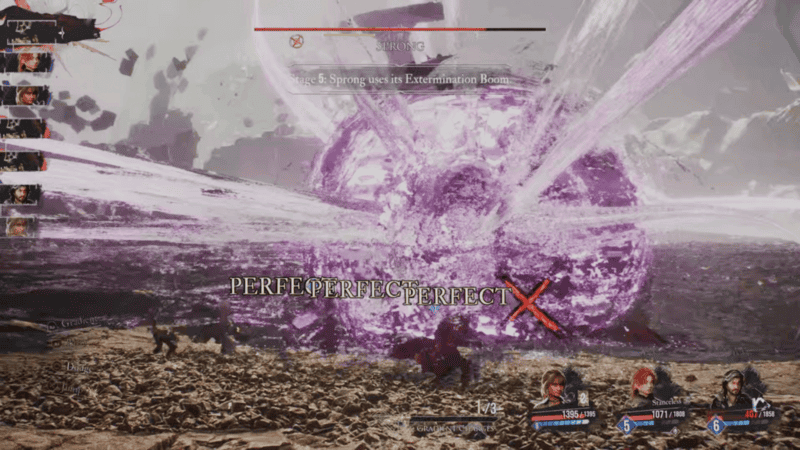
Stages 4 and 5 are tied together. Stage 4 sees Sprong charge up its Extermination Boom. If you don’t interrupt this attack by breaking the boss, it will release its Stage 5 attack, Extermination Boom, on its next turn. This attack sees Sprong absorb energy before letting off a party-wide explosion. There are two of these attacks during this combo.
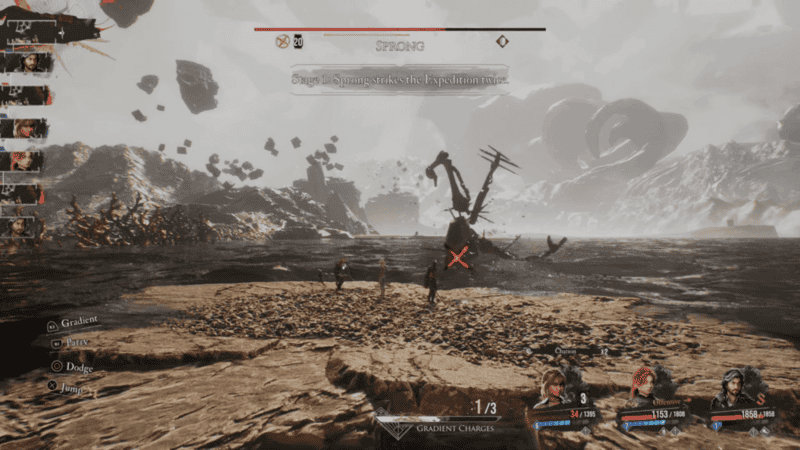
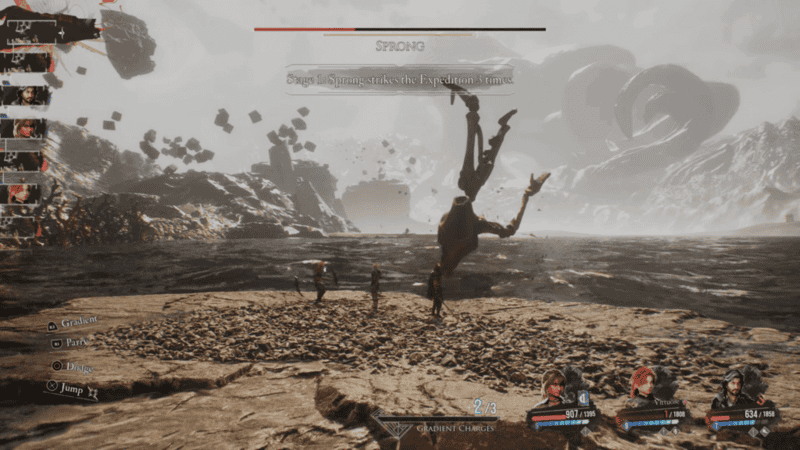
As Sprong loses health, the early-stage attacks will get an extended version of themselves. Eventually, Sprong “strikes the Expedition twice” and “strikes the Expedition 3 times.” This just sees Sprong perform the Stage 1 overhead attack an additional time or two additional times.
After losing about half of its health, Sprong will also get a new Sabotage attack. The text for the attack will be the same, but the camera angle will be slightly different, with it being more behind the party instead of off to the right side, like the first version of the attack. The attacks start the same with the 3 quick beams, before two more extra beams are released after a short delay. After these two beams, the same delay from the first version of the attack occurs before the sixth and final beam is shot.
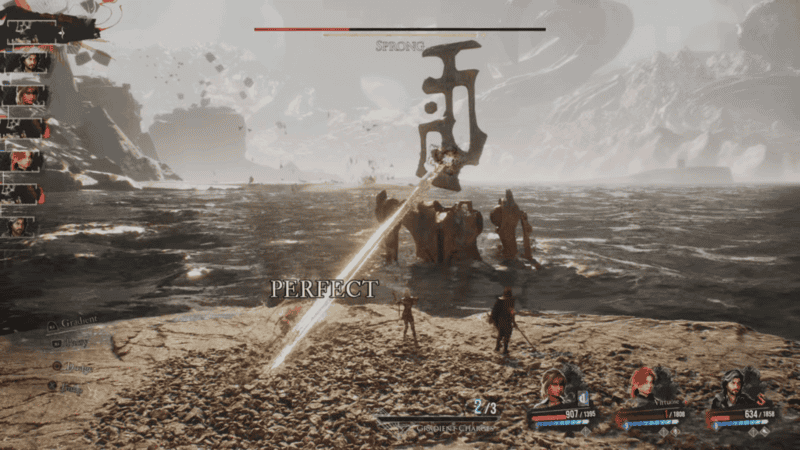
Finally, the combo attack can become either a 5-hit combo or a 7-hit combo. The 5-hit combo is the exact same as the 4-hit combo with an additional overhead strike that is identical to the final hit of the shorter combo. The 7-hit combo starts with the same first 3 attacks as the other versions of the attack. Instead of leading into the overhead attack, the boss repeats the same 3 hits that it just performed before ending with the same attack that concludes both the 4 and 5-hit combos.
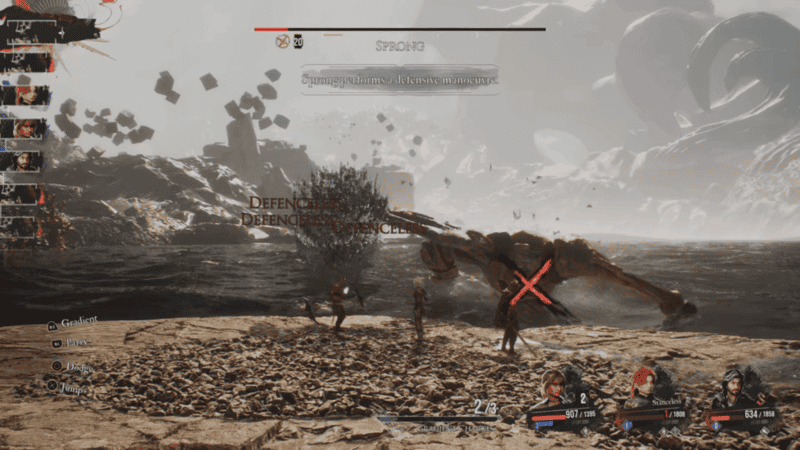
If you stun the boss during Stage 4, it won’t be able to use its Extermination Boom and instead will use a “defensive maneuver” where it applies the party with Defenseless. Unfortunately, you can’t dodge this attack.
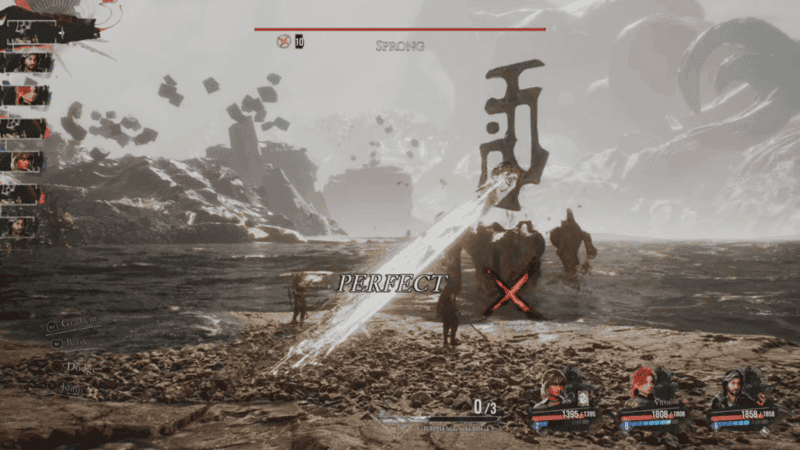
Now that you can dodge or parry each of Spong’s attacks, you can focus on attacking the boss. Use Sciel and Verso to apply Mark while Maelle uses Stenhdal when in Virtuose Stance to deal massive damage to the boss. Make sure to apply Burn and Defenseless when out of the stance. Have Verso give the rest of the party Powerful while Sciel builds Foretells on the boss. Use the abilities mentioned earlier in the guide and you should be able to take Sprong down easily. When the boss is beaten, you will get the Cheater Pictos, which will allow party members who have it equipped to get a second turn every time they attack. This is one of the best Pictos in the game, so make sure you convert it into a Lumina and make sure the whole party has it equipped! You will also unlock the Sprong Achievement and Trophy.
You can now defeat the Sprong boss fight in Clair Obscur: Expedition 33. Stay tuned to Gameranx for more news, updates, and guides for Clair Obscur: Expedition 33 as well as other great games in the future.