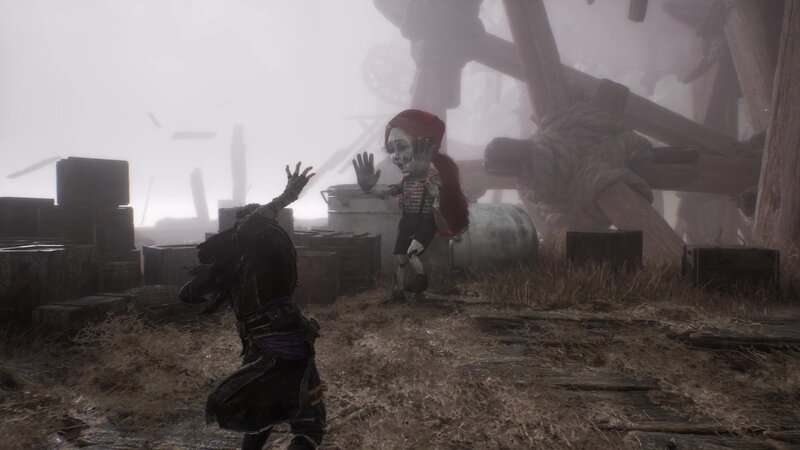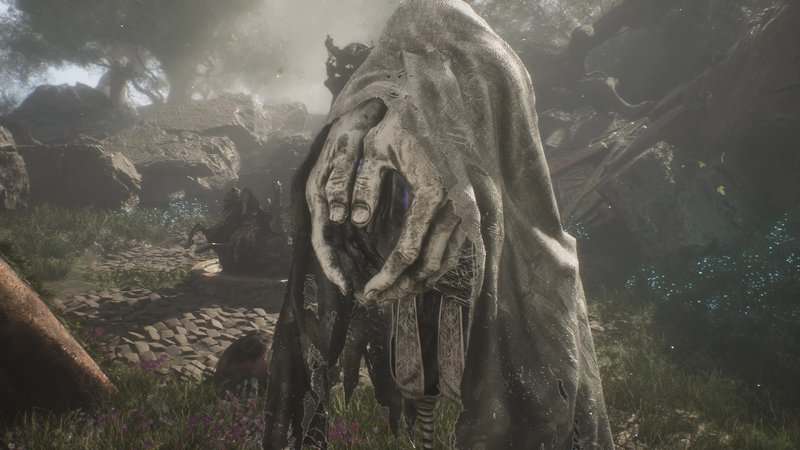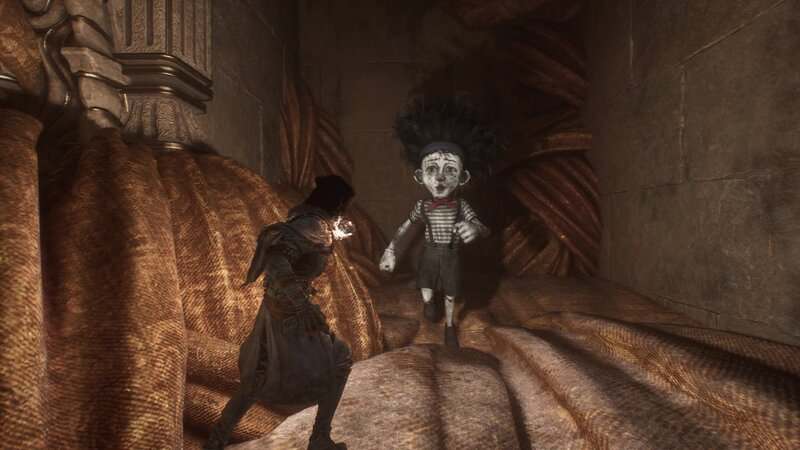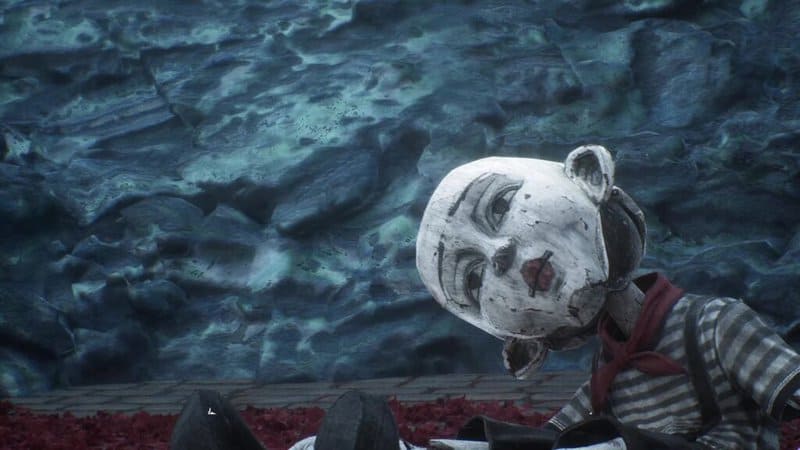
The Mimes are the one enemy type that you will see throughout your journey in Clair Obscur: Expedition 33. Yes, they might get a new haircut or look at them, but battling these black and white puppets is the one constant that the Expedition will have as they travel across the Paintress’s Continent. Luckily, taking down these enemies will provide players with the greatest reward of all: Cosmetics! These Mimes can be a bit difficult to find and track down, so allow me to show you where to find each one. This guide will show players where to find all the Mime locations in Clair Obscur: Expedition 33.
All Mime Locations in Clair Obscur: Expedition 33
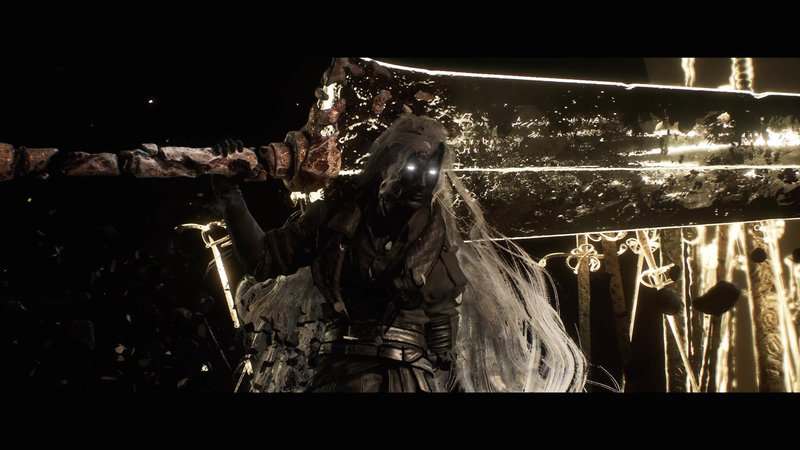
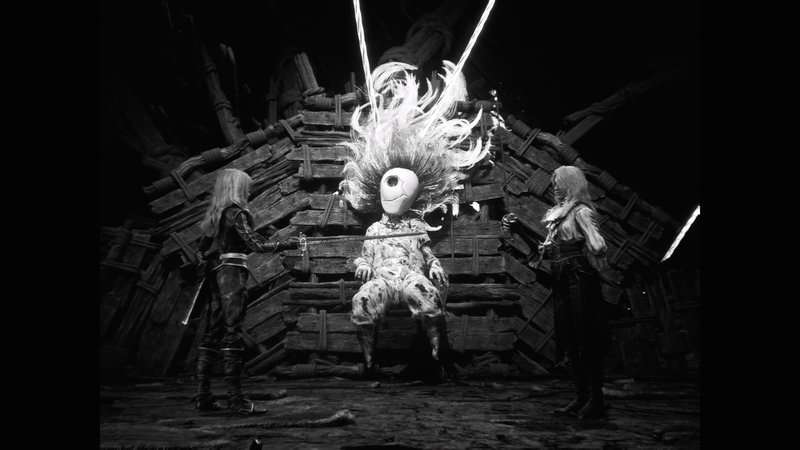
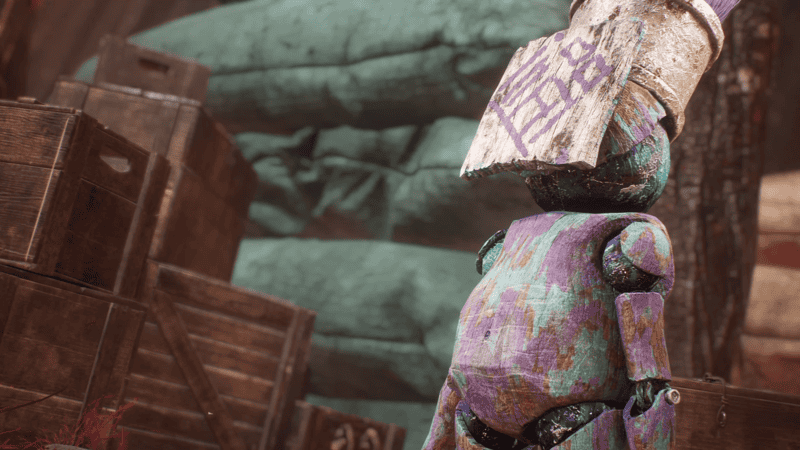
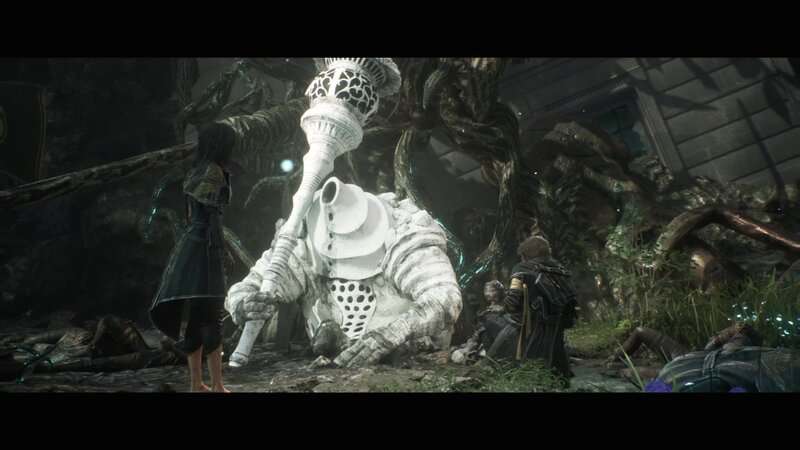
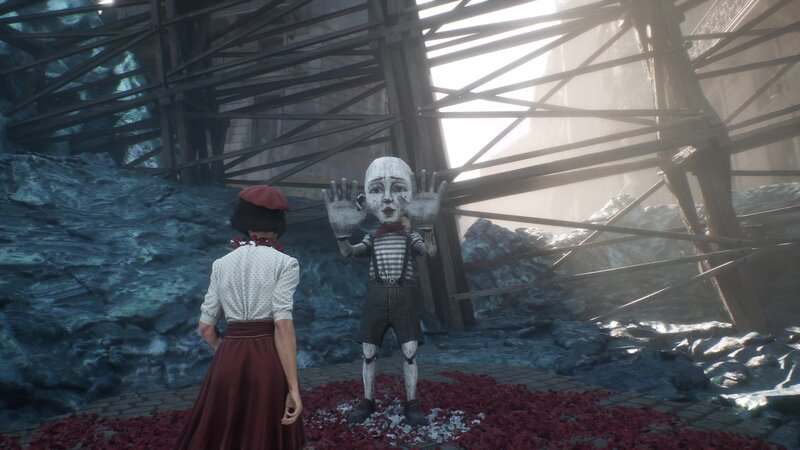
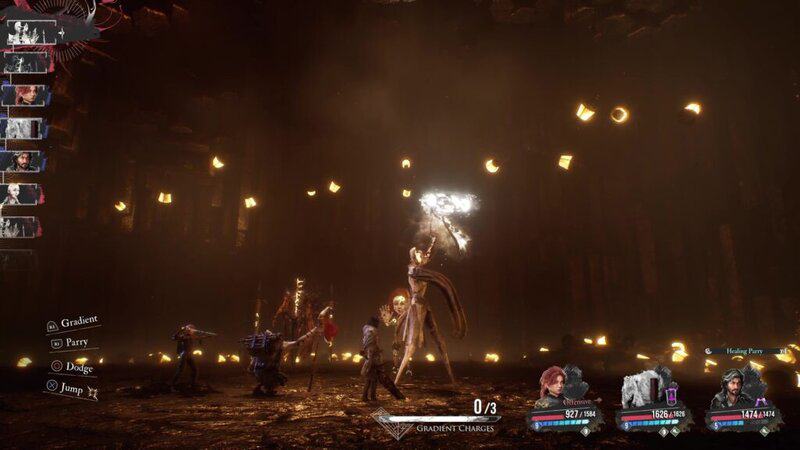
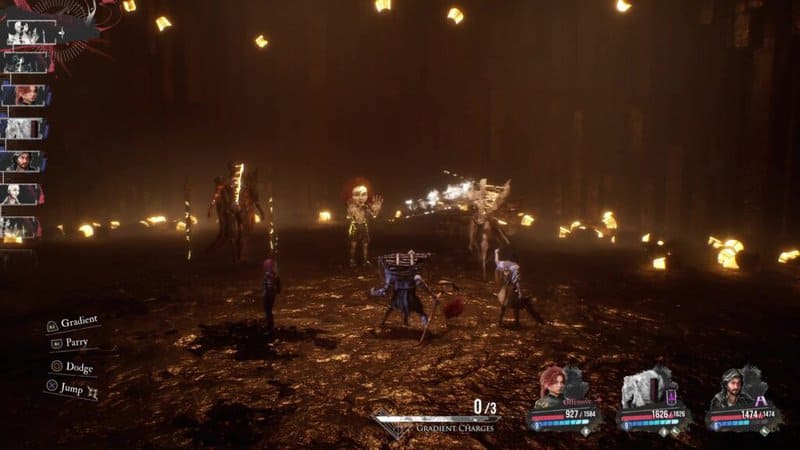
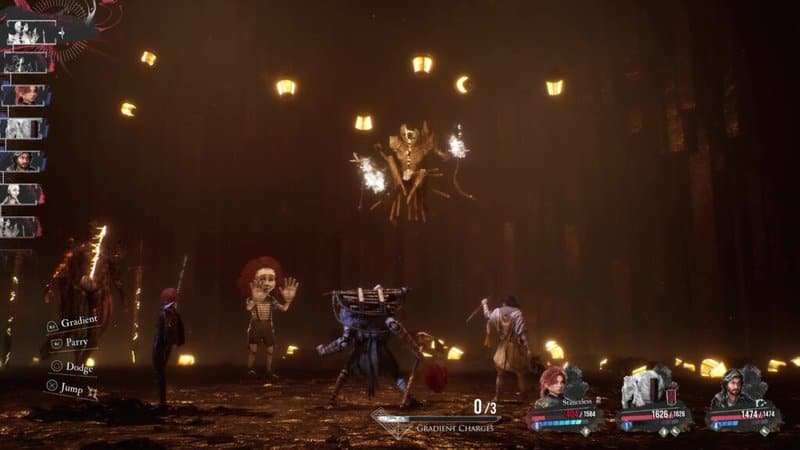
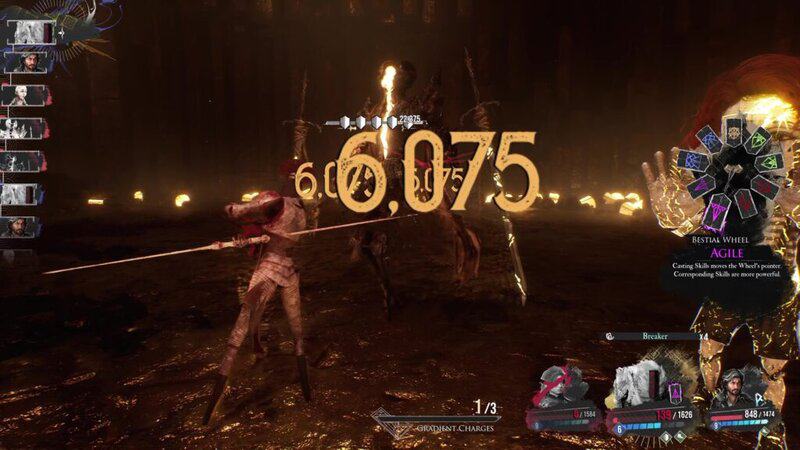
There are 12 locations where you can find Mimes, with a total of 17 Mimes you will need to defeat. While some of the Mime encounters are slightly different, with some having assistance or forcing players to engage them with fixed party members, their actual movesets are all the same. At the start of the battle, the Mime will “protect itself” as it puts up an invisible wall to raise its defences. It will have two attacks you need to look out for. The “hand-to-hand combo” sees the Mime leap toward you to quickly throw out two punches before winding up for a third, delayed swing. The other attack is a “strange combo” where it uses an invisible hammer to slam on your head. The first two swings are quick, while the third has a delay, and the final fourth hit has a long windup. Learn the timing of these moves and use the Parry mechanic to dish out massive damage and Break buildup even when you’re on defense. Keep building the Break Bar and then use a skill to Break the enemy. This will make the Mime more susceptible to damage, making the rest of the fight much easier.
Lumiere (Prologue)
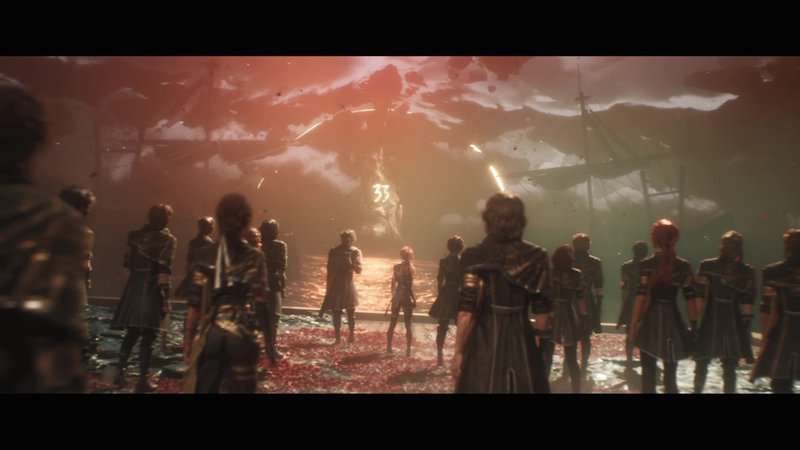
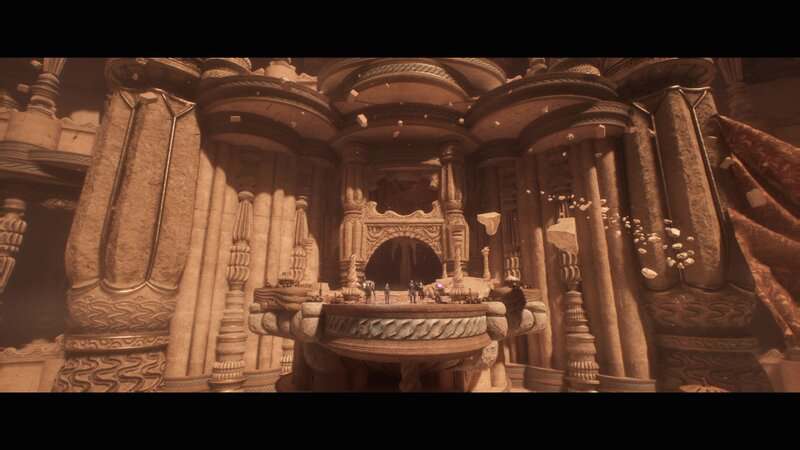
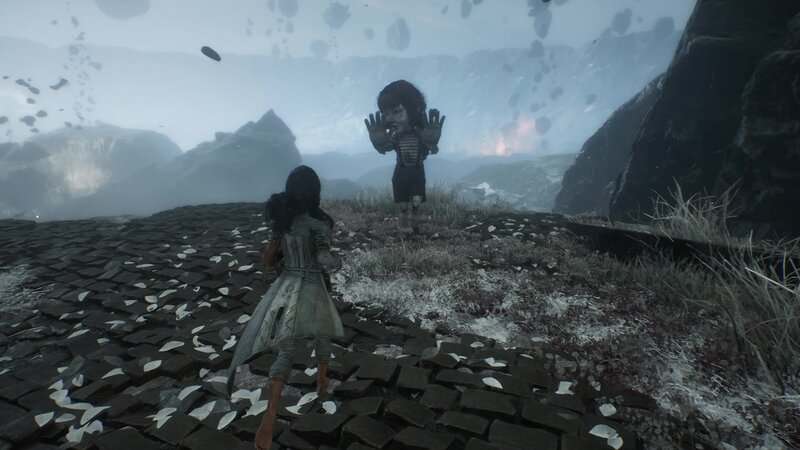
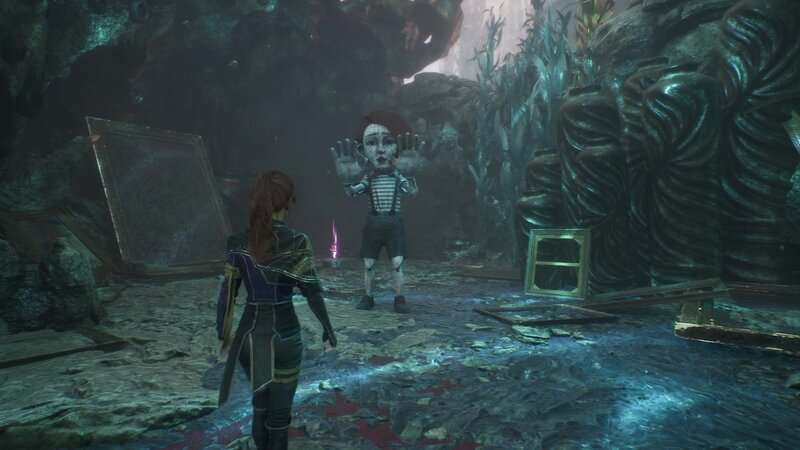
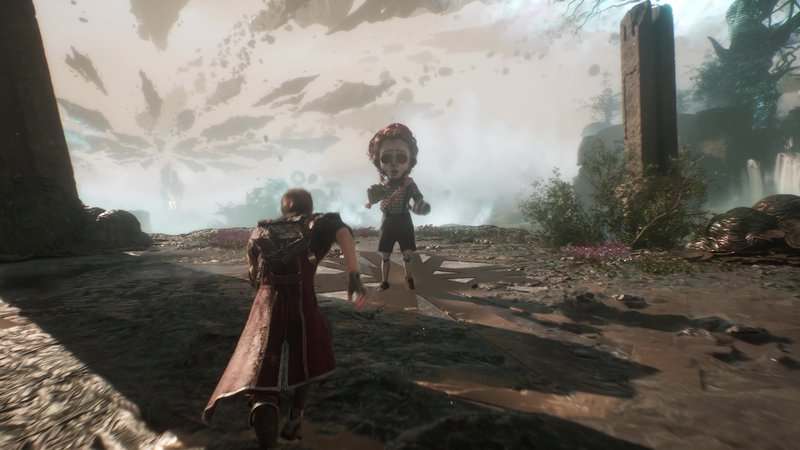
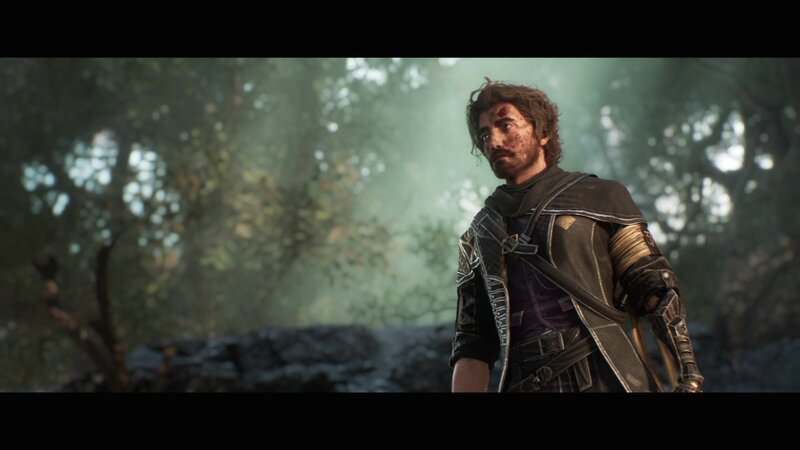
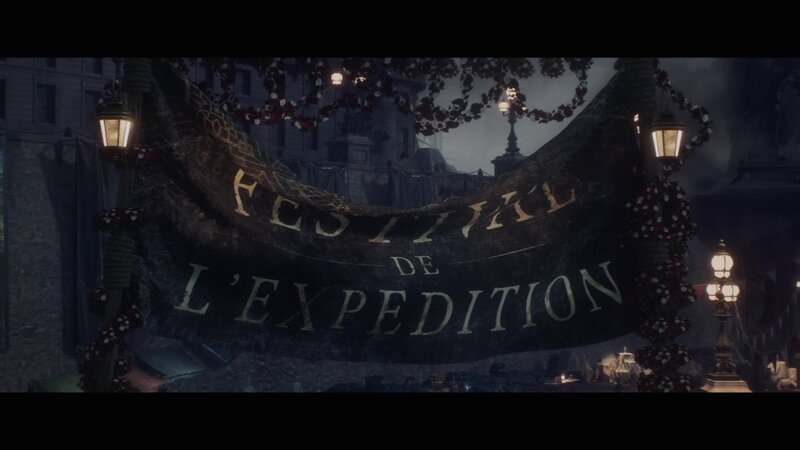
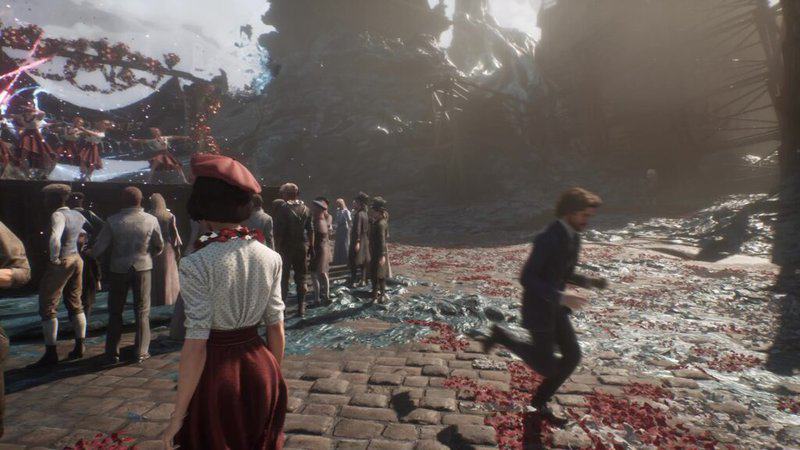
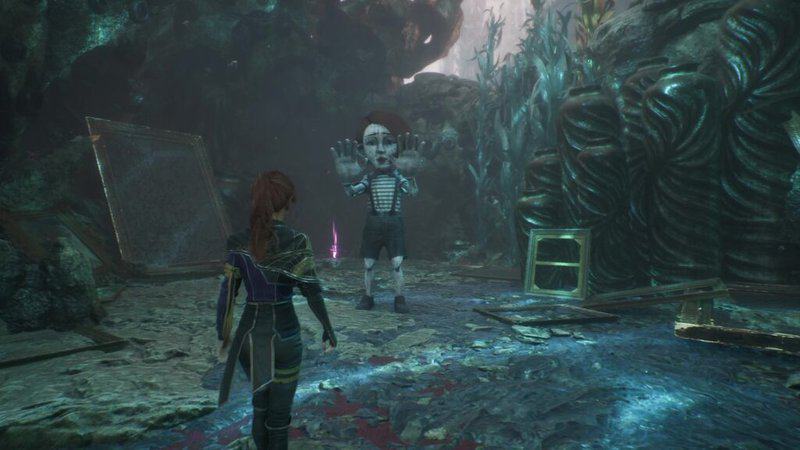
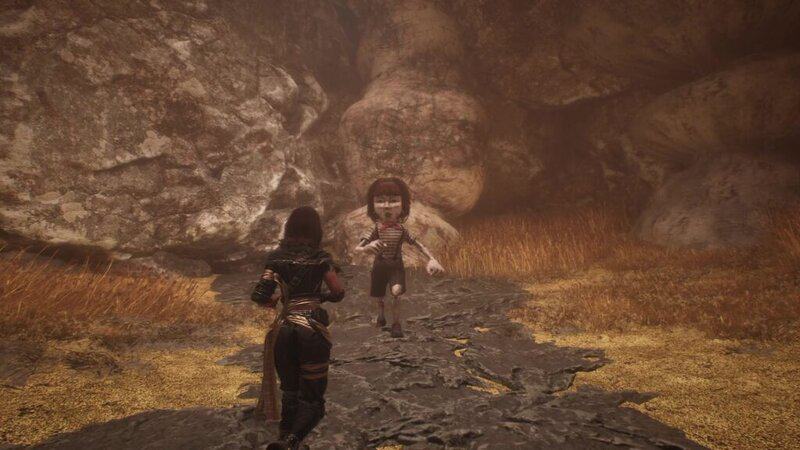
The Mime in Lumerie can be found near the end of the Gommage Festival that you walk through when playing as Gustave and Sophie. When you reach the top of the stairs that lead down into the harbour, turn to the right and you will see a crowd standing around a stage watching a group of girls use Pictos for a performance. Look to the right of the stage to find a path to a small clearing. The Mime will be standing here.
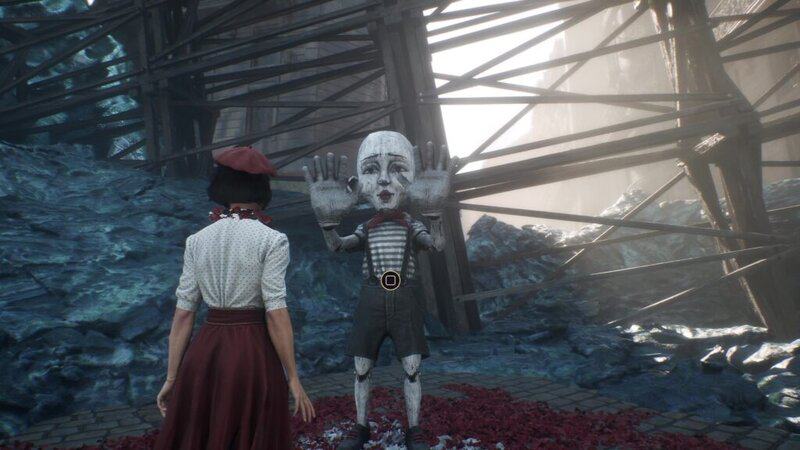
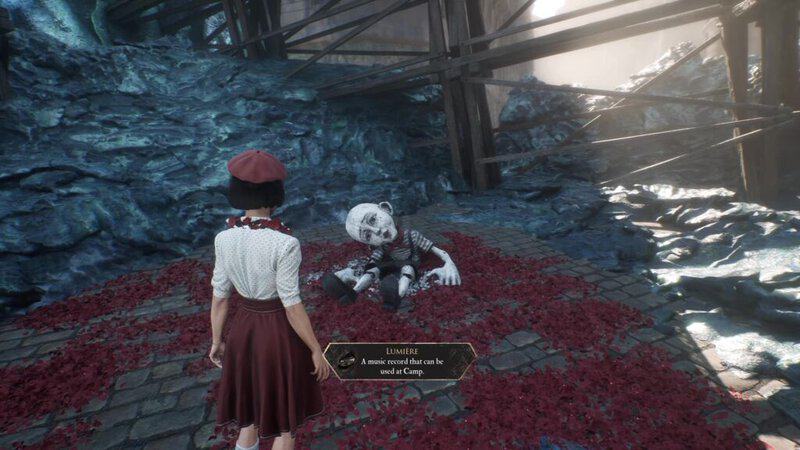
Interact with the Mime and press the “Uhh, hello?” dialogue option to start the fight. When the Mime is defeated, you will unlock the “A Peculiar Encounter” Achievement and Trophy. You will also be rewarded with the Lumiere music record. You can use this on the gramophone in your Camp when you unlock it on the main Continent after you finish the Prologue and Spring Meadows area. This is the music that plays while exploring the city, so you can reminisce about home while out on your Expedition.
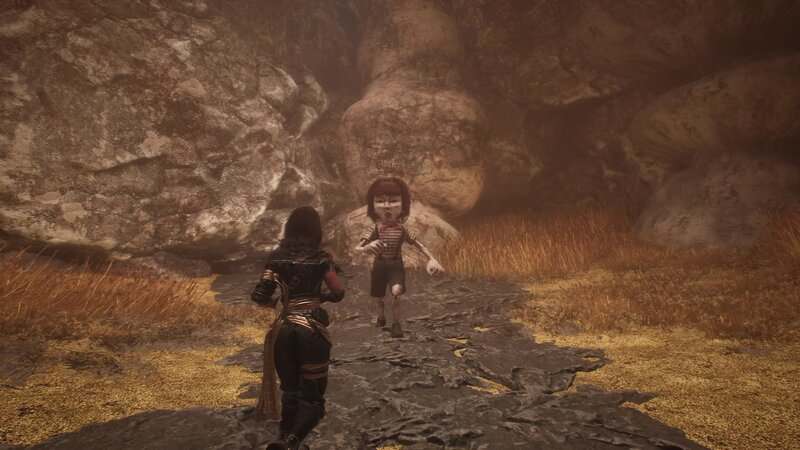
Spring Meadows
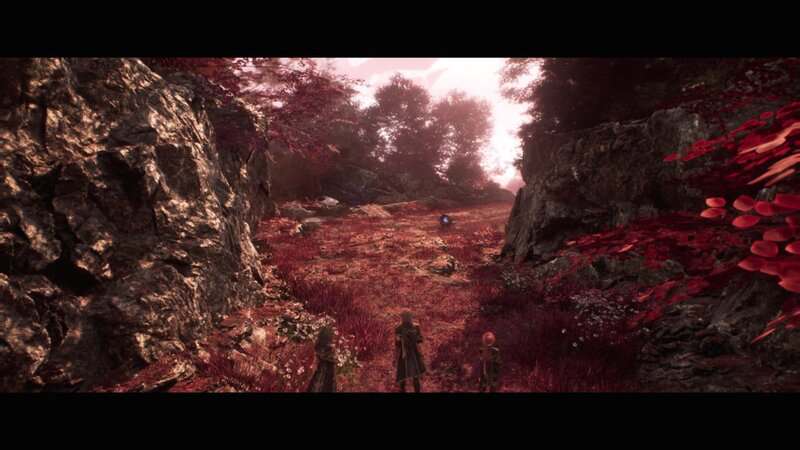
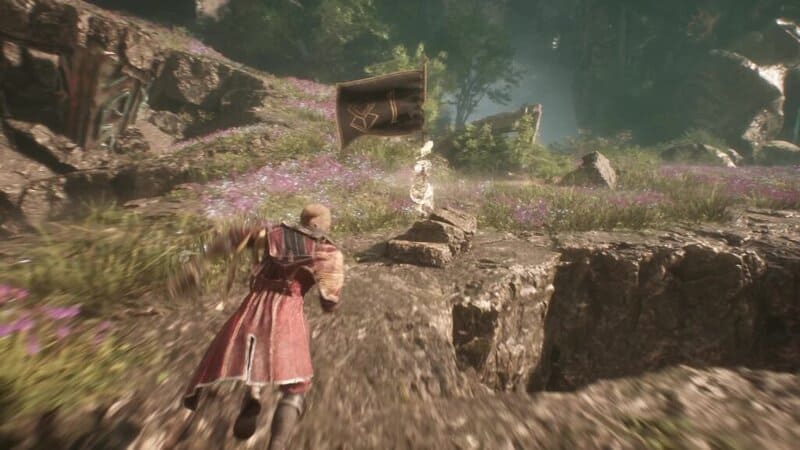
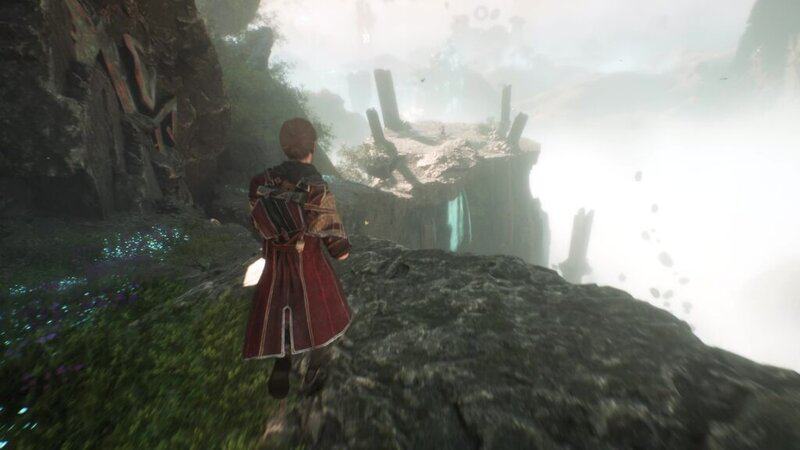
You can find the Spring Meadows Mime by going to the Grand Meadows part of the region. This is the large area that you enter after going through the forest, right after adding Lune to your party. You will find the Expedition 81: Grand Meadows Flag in this area. Facing the flag, turn to the left and follow the path. At the end of this path is a grappling point you can latch onto to reach a floating rock. You can look down from this rock to see the Mime standing in a clearing.
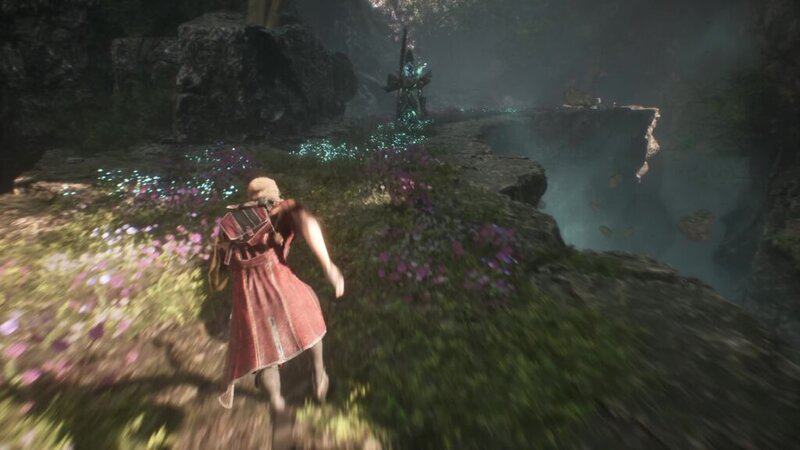
Follow the path down and go across one more gap with your grapple to reach the Mime.

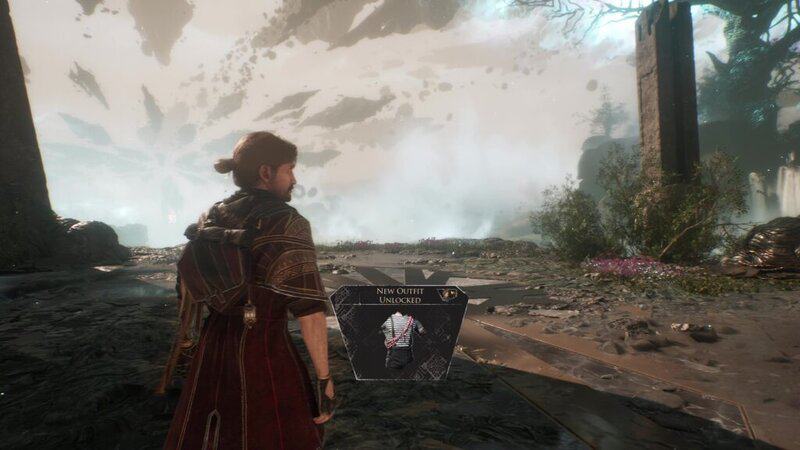
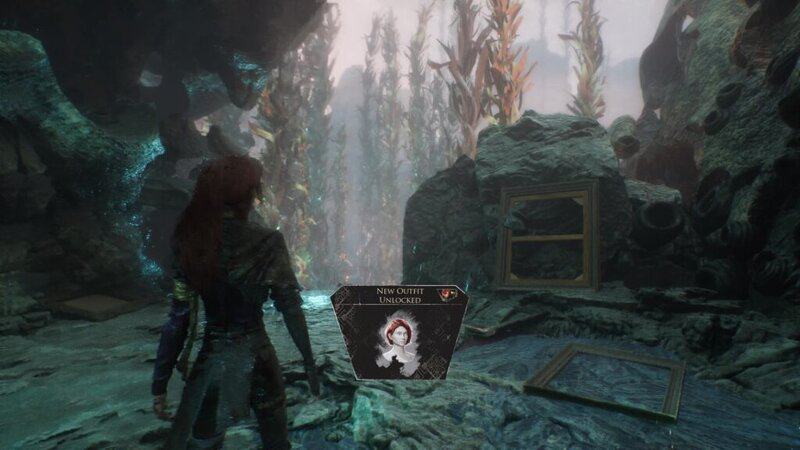
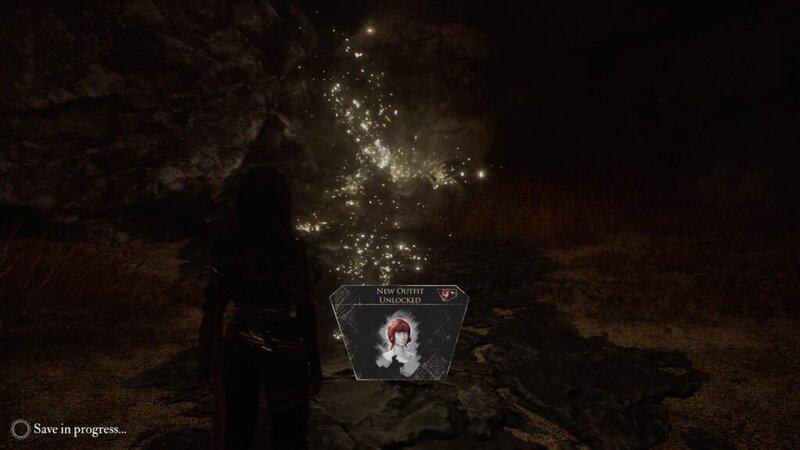
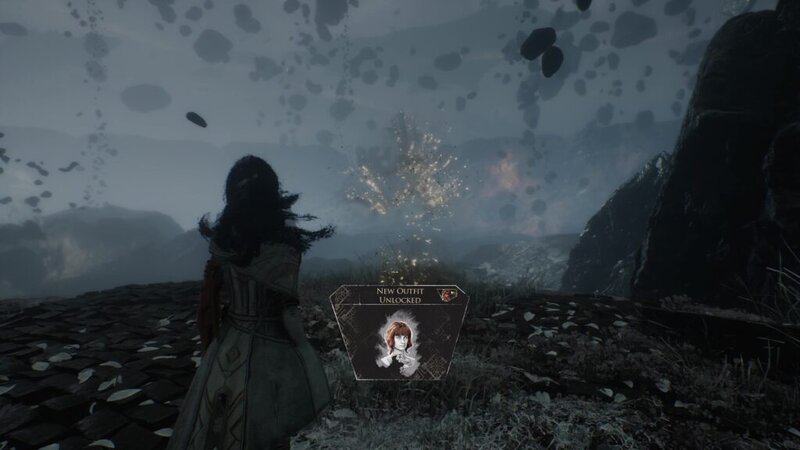
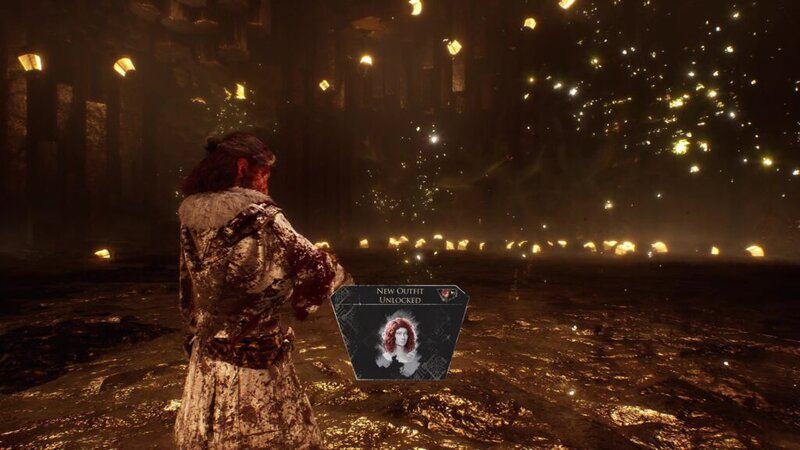
Upon defeating the Mime, you will unlock the Baguette Outfit and Haircut for Gustave. You can edit your characters’ appearances by going into the pause menu, selecting a character, and going over to “Wardrobe.”
Flying Waters
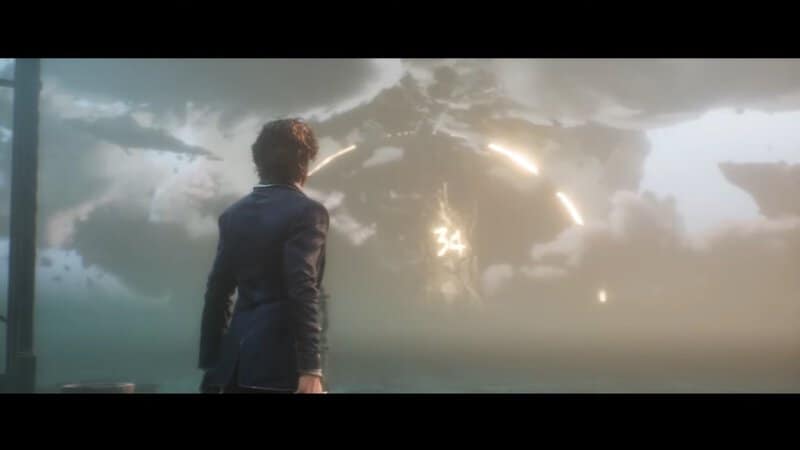
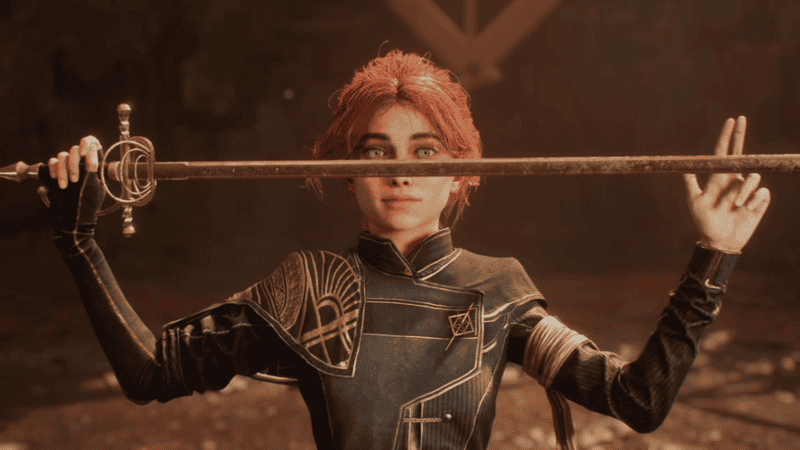
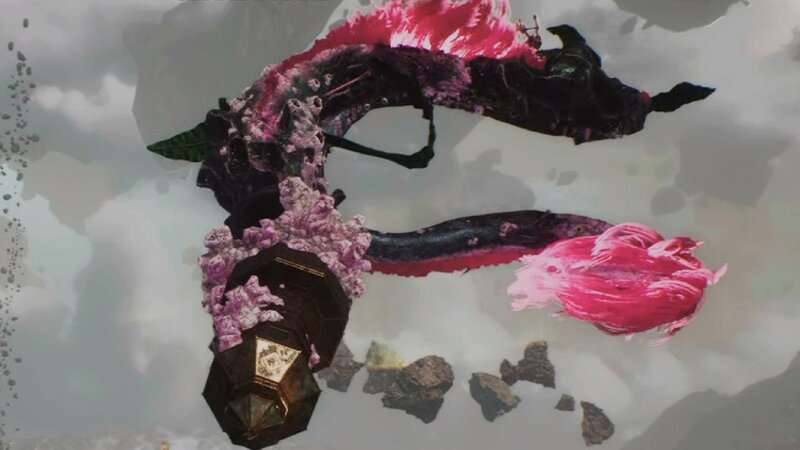
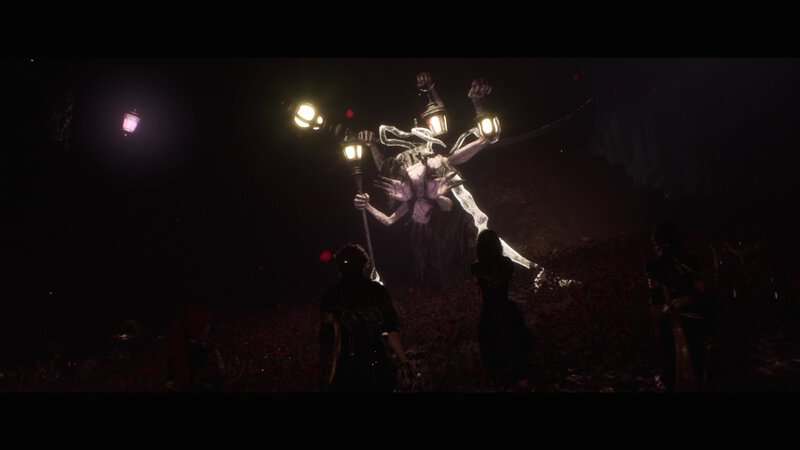
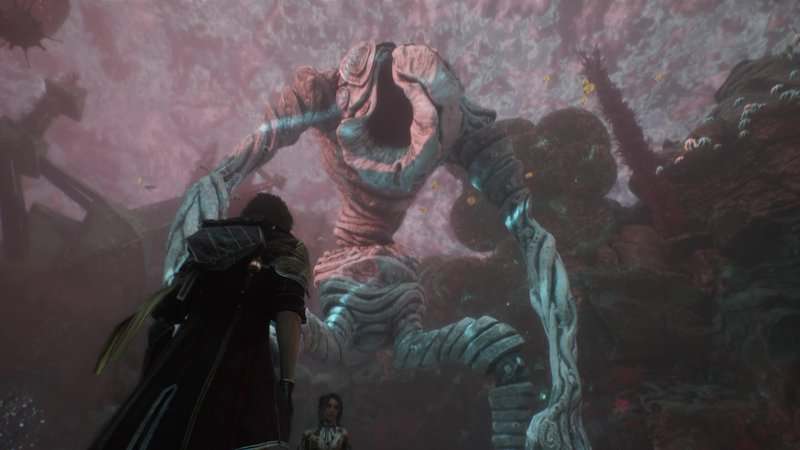
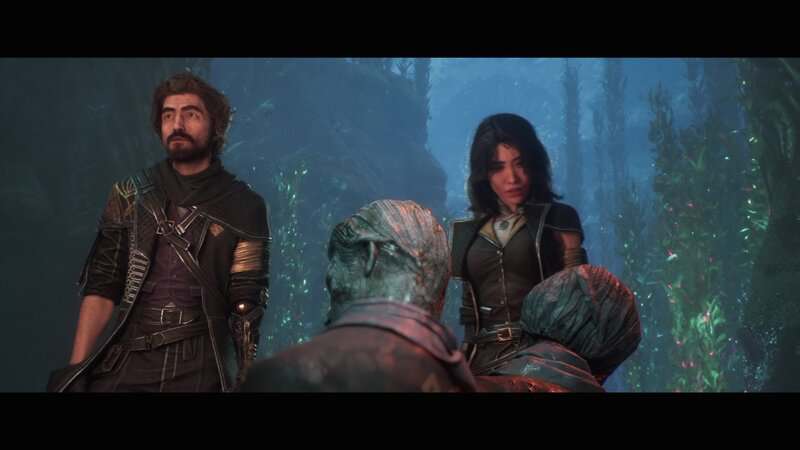
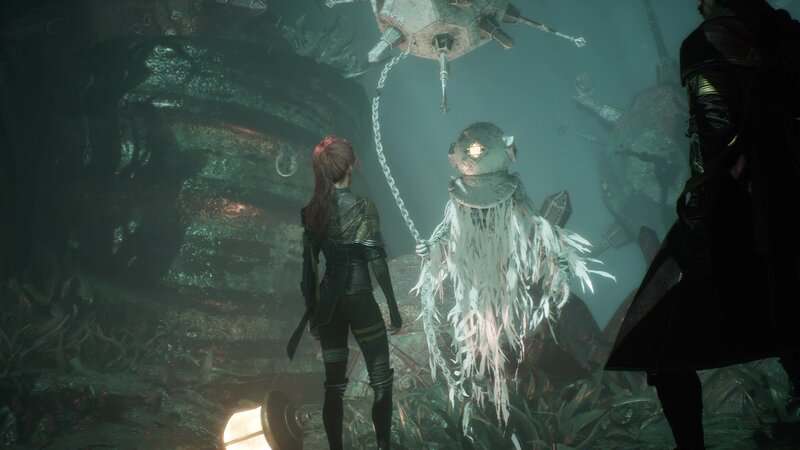
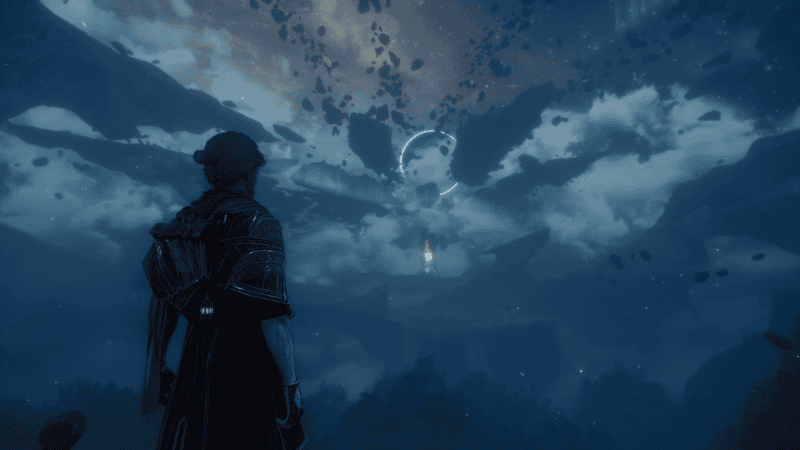
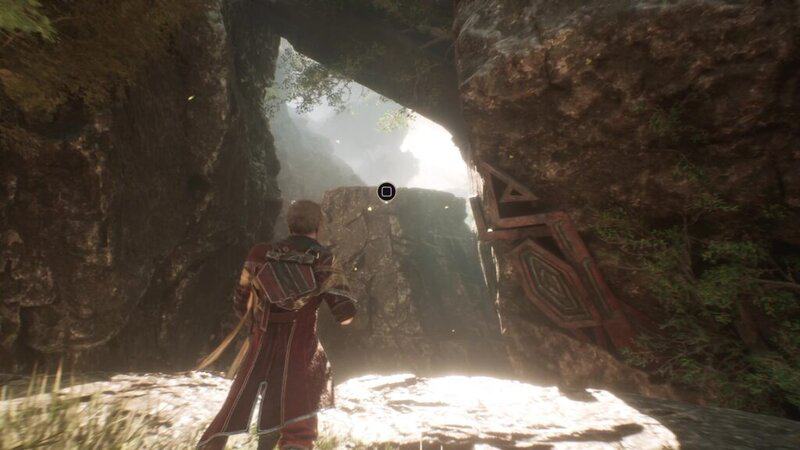
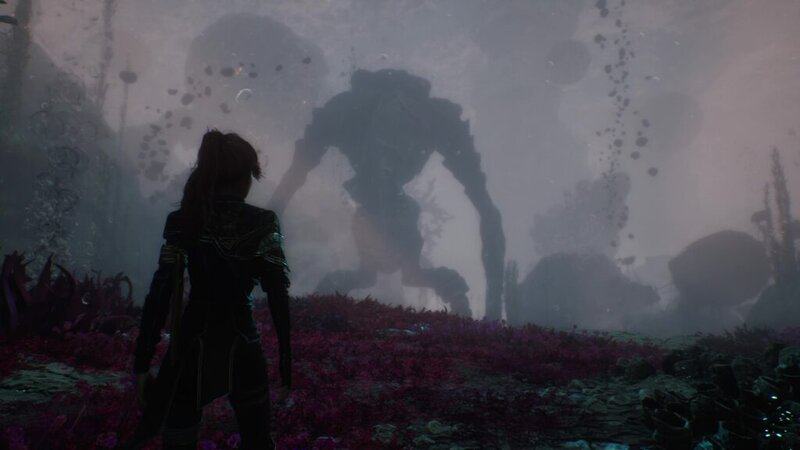
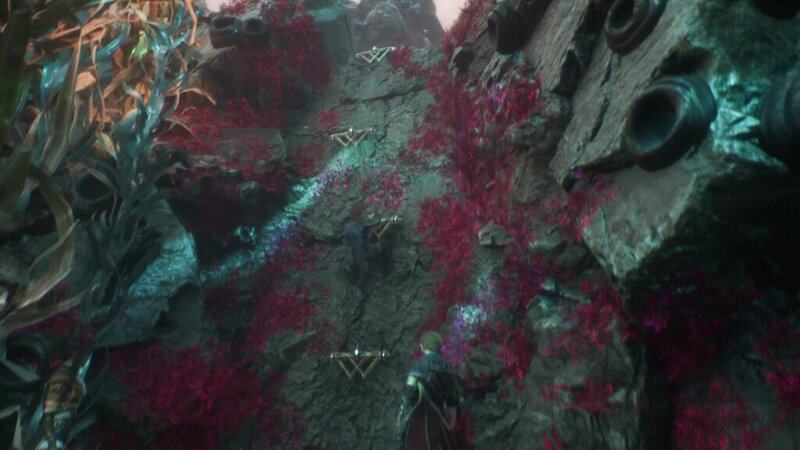
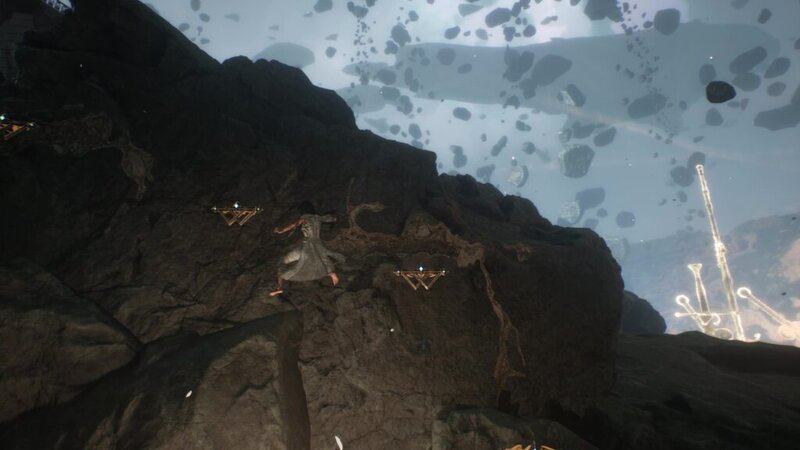
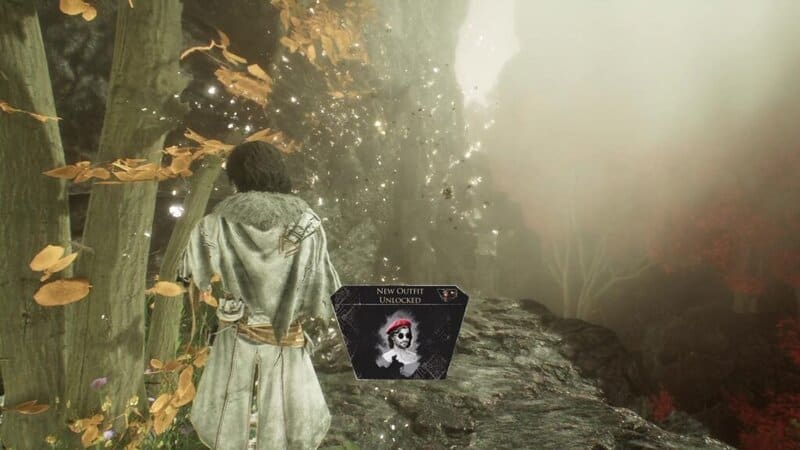
After meeting with Maelle and Noco, the Gestal merchant, go down the path behind Noco and to the left of the Expedition 59 Flag to find a large opening with a serpent that flies overhead. Go to the left to find the destroyed ship. Go through the ship to enter a cave. Make your way through this cave until you come across a cliff looking out to a giant Bourgeon Nevron in the distance. Turn to the right and you will see a wall that you can climb. Instead of climbing this wall, look to the left to find an opening in the seaweed. Follow this path to another wall that you can climb. At the top of this wall is the Flying Waters Mime.

Upon defeating the Mime, you will unlock the Short Haircut for Maelle.
Ancient Sanctuary
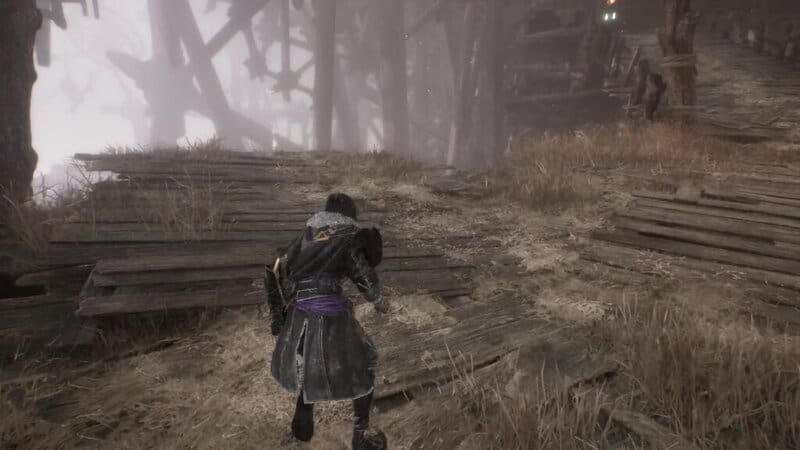
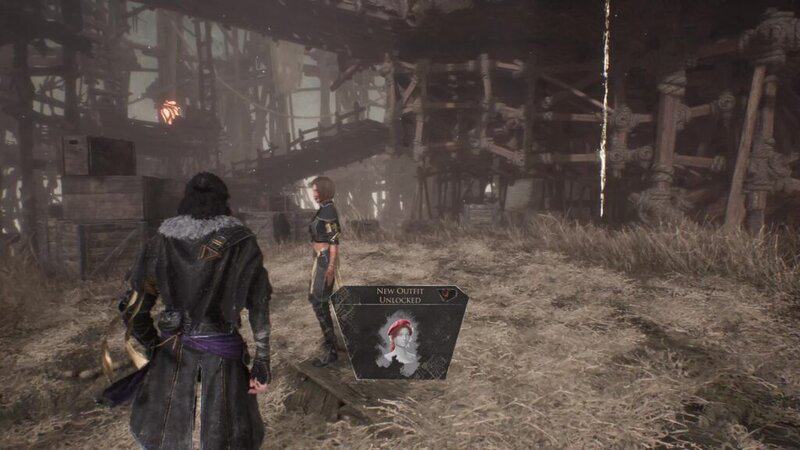
To reach the Ancient Sanctuary Mime, make your way through the early part of the region until you reach the Expedition 63: Sanctuary Maze Flag. Go past the flag and stick to the right wall until you find a hole in the ground that you can crouch through. On the other side of the hole in the wall, there are two paths. Take the path on the left and you will find a large field with a wooden structure. The Mime can be found behind the structure.


Upon defeating the Mime, you will unlock the Baguette Outfit and Haircut for Lune.

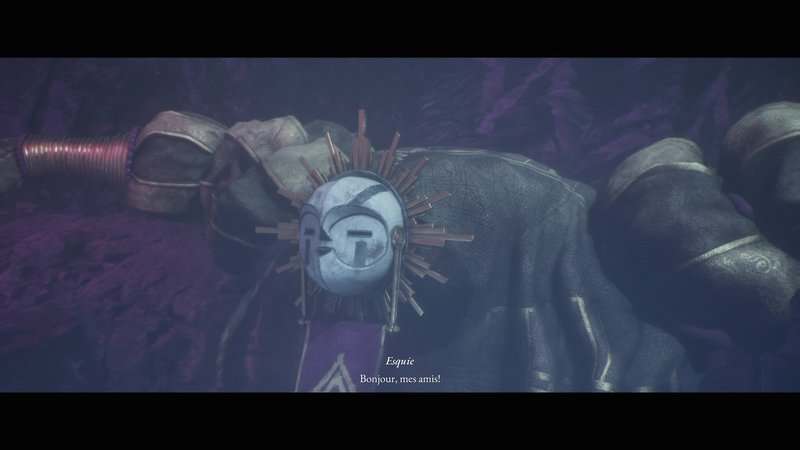
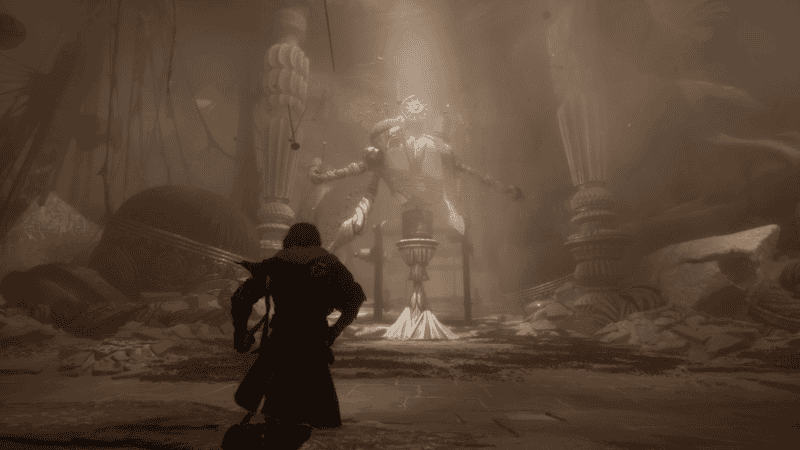
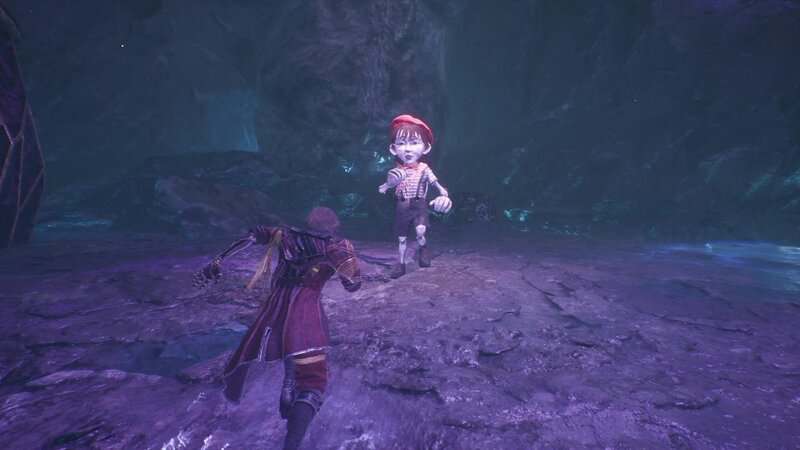
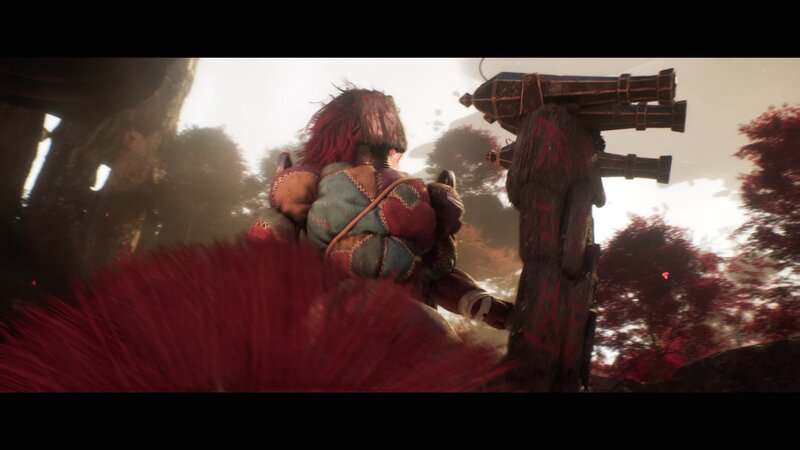
Esquie’s Nest
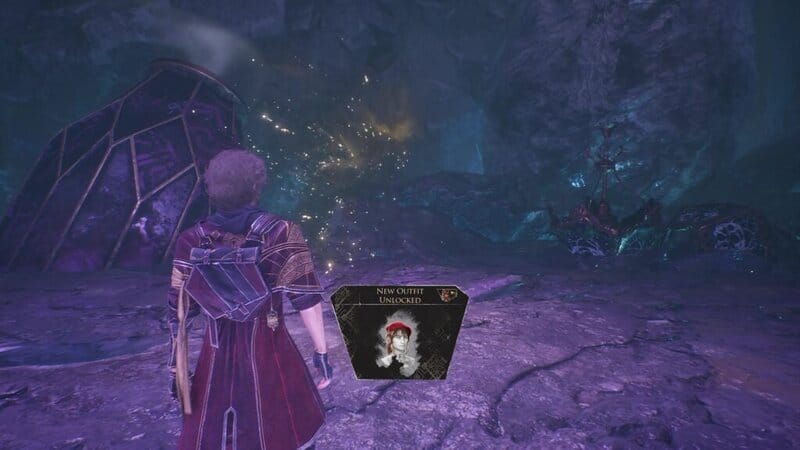
After meeting Esquie for the first time, he will direct you to Francois’ Cave, a room past the Expedition 66 Flag of the same name. After defeating Francois in a battle, turn around to face away from him and then turn slightly to the left. There will be a rope you can climb up to reach another part of Esquie’s Nest. At the top of the rope, you will be on a platform overlooking an area below. Turn left to see the Mime near the cave wall.
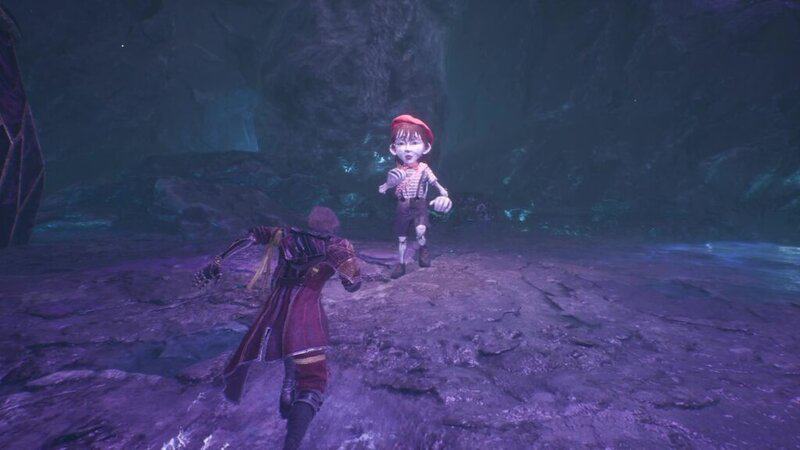
Upon defeating the Mime, you will unlock the Baguette Outfit and Haircut for Sciel.
Yellow Harvest
Make your way through Yellow Harvest until you reach the Harvest’s Hallow Flag. From here, you will enter a large clearing with several pathways and enemies. From the flag, go to the right and stick along the wall until you find a group of dead Expeditions with one disguised as a Nevron and having been impaled. Behind these corpses is a gap in the wall that you can crouch through. The Yellow Harvest Mime can be found in the cave on the other side of this gap.

Upon defeating the Mime, you will unlock the Braid Haircut for Maelle.
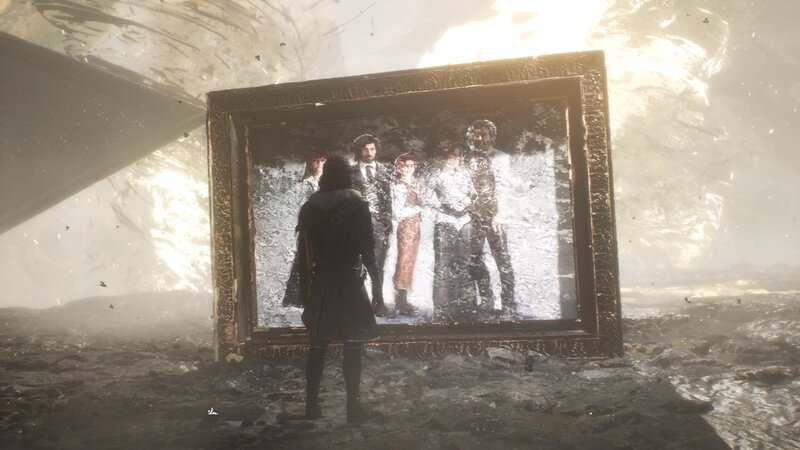
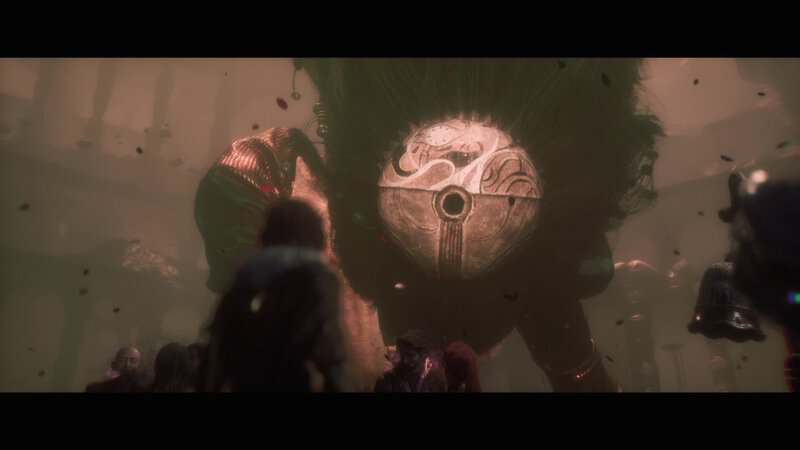
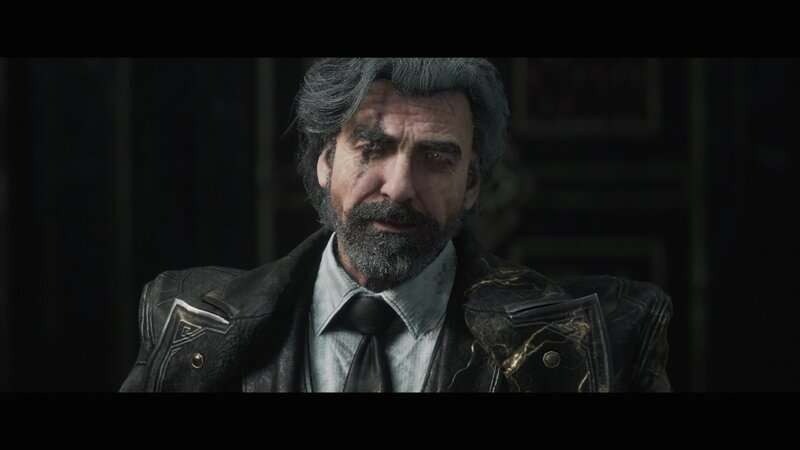
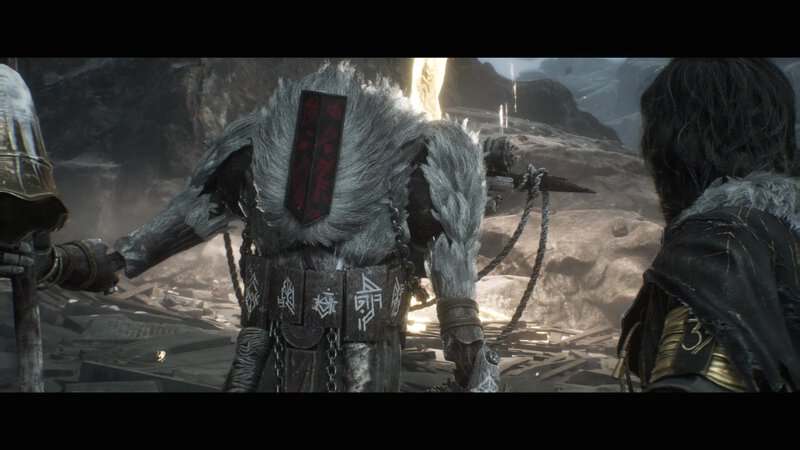
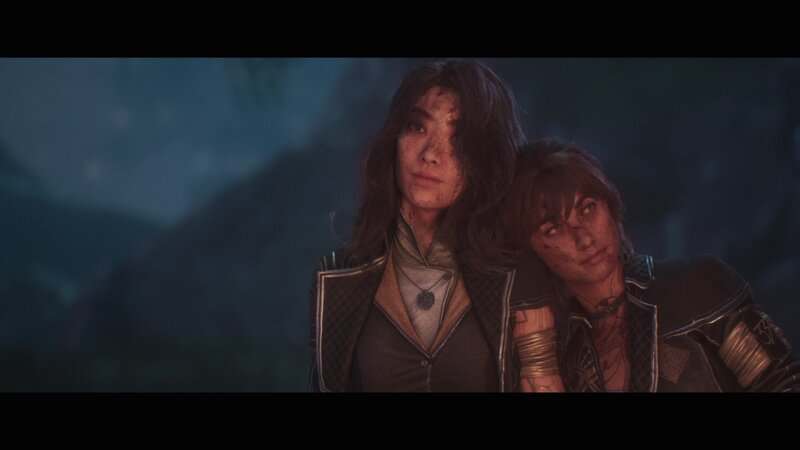
Old Lumiere
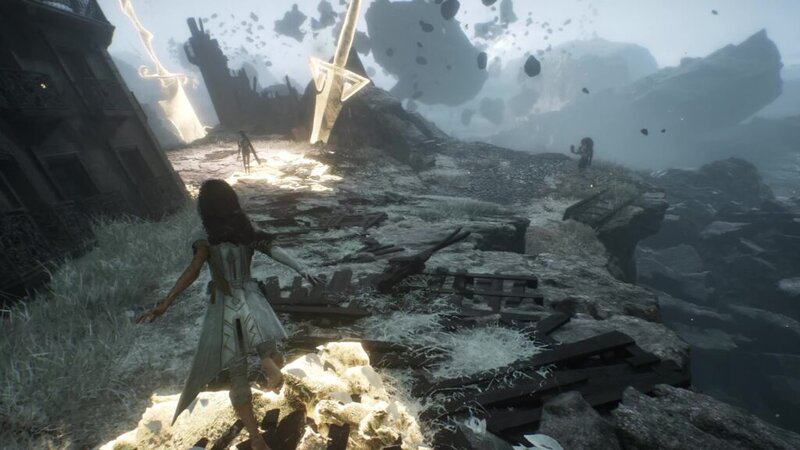
This Mime can only be found after completing the Old Lumiere story section and then returning to the area after defeating the first Renoir boss fight. Go to the Right Street Expedition Flag and progress through the area that you played as Monoco, Lune, and Sciel. At the end of the path is a dead Axon, where a cutscene plays during your first visit to the area. On your return, turn left at the Axon and follow the path to the end to find a wall you can climb. The Mime can be found at the top of the wall.
Upon defeating the Mime, you will unlock the Braid Haircut for Sciel.
The Continent
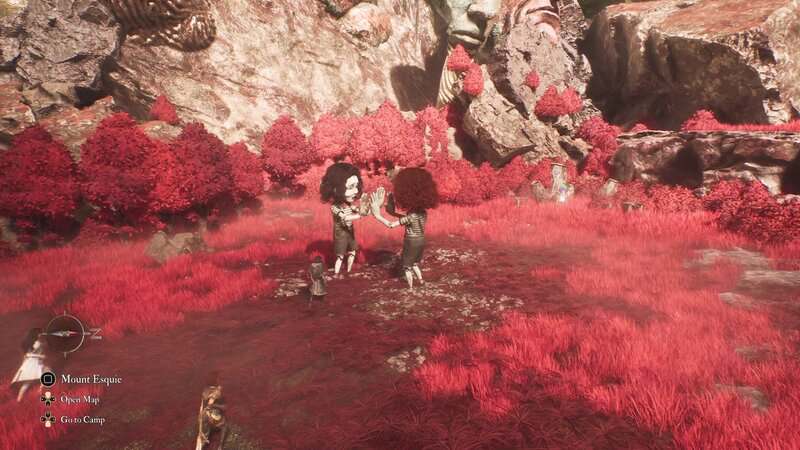
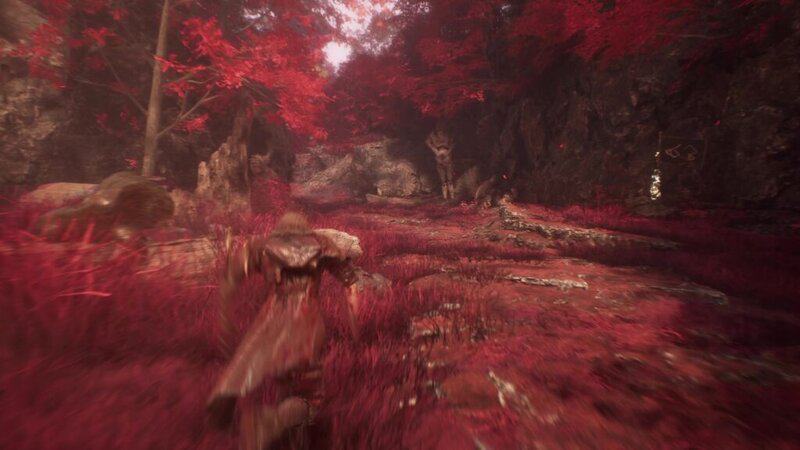
The Mimes in the Continent overworld can be found on a red island to the northwest of the northern exit of Old Lumiere. You can reach this area after completing the Old Lumiere part of the main story and defeating the first Renoir boss fight.
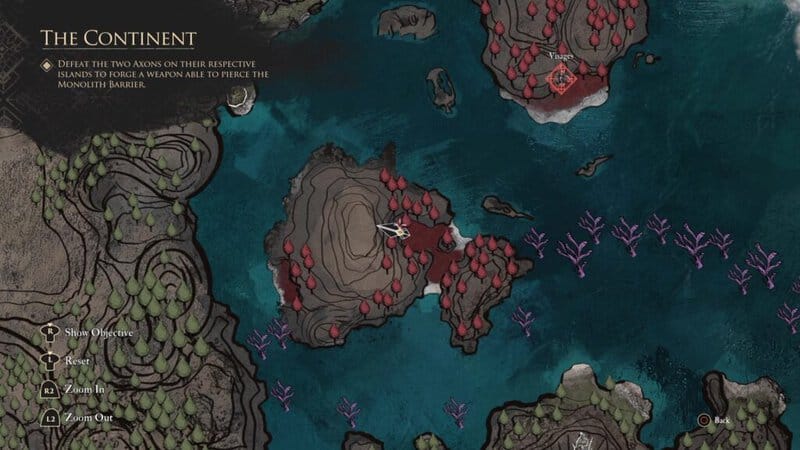
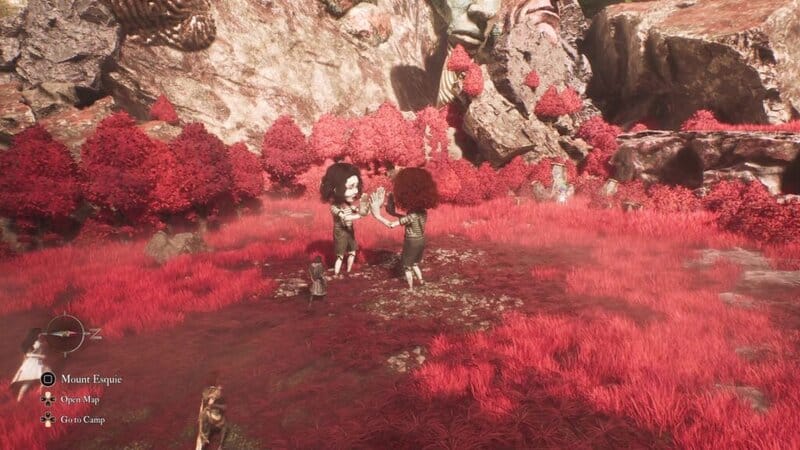
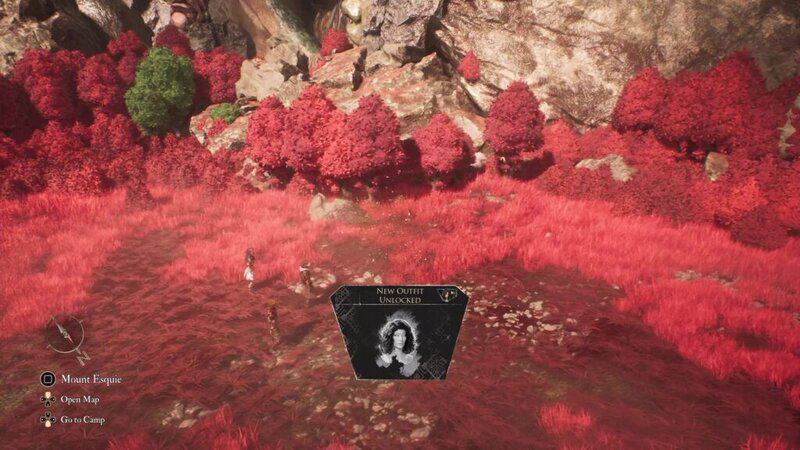
Unlike the other mimes found throughout the game, there are two Mimes found in the Continent overworld instead of the usual one. Even with there being two of them, they both still have the same moveset as all the other Mimes in the game. Upon defeating the Mime, you will unlock the Voluminous Haircut for Lune and Sciel.
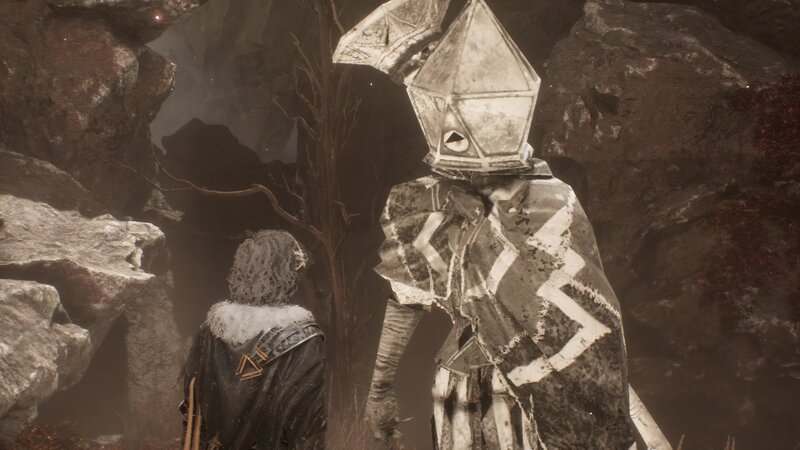
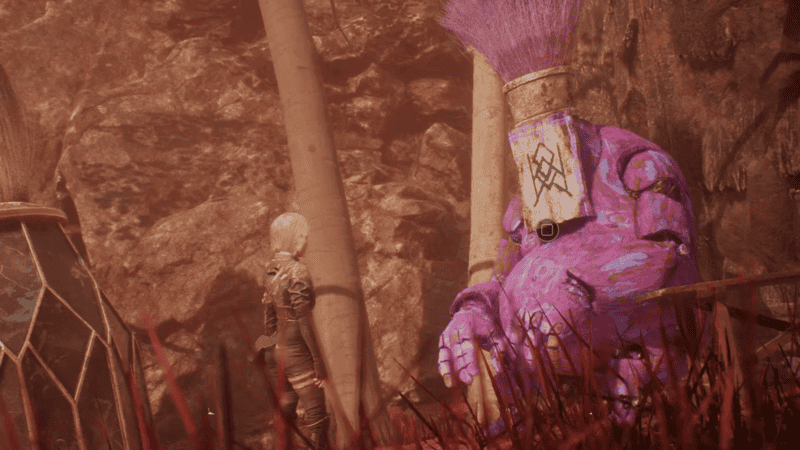
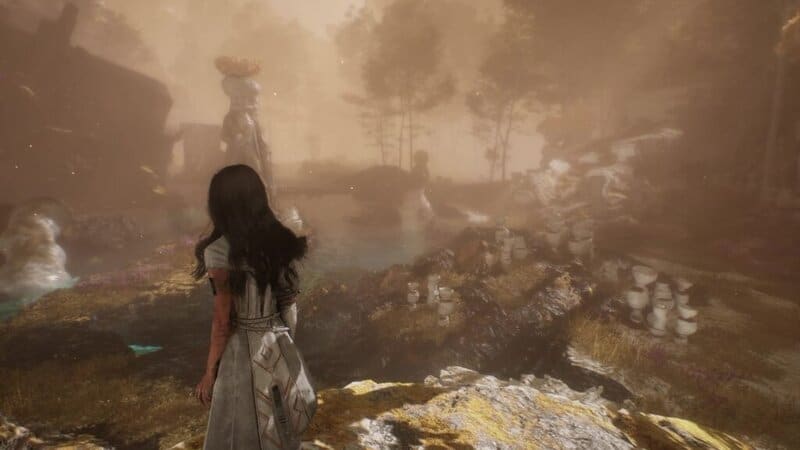
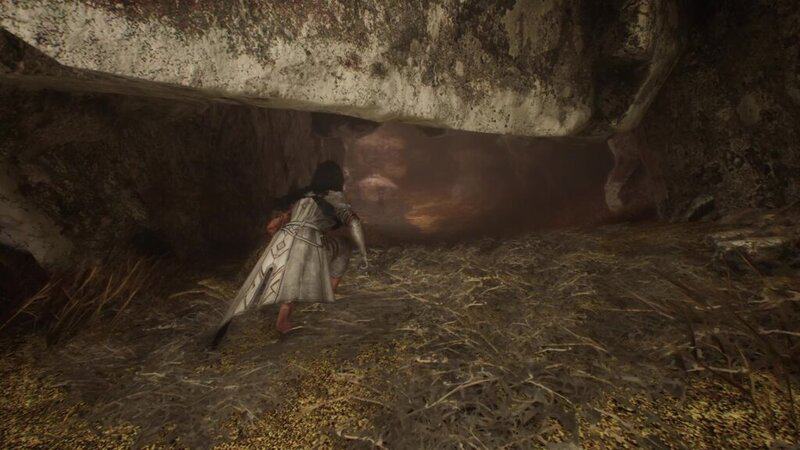
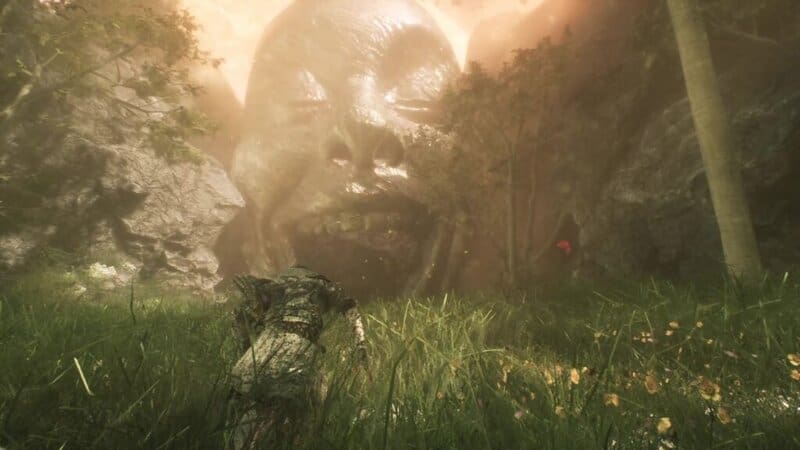
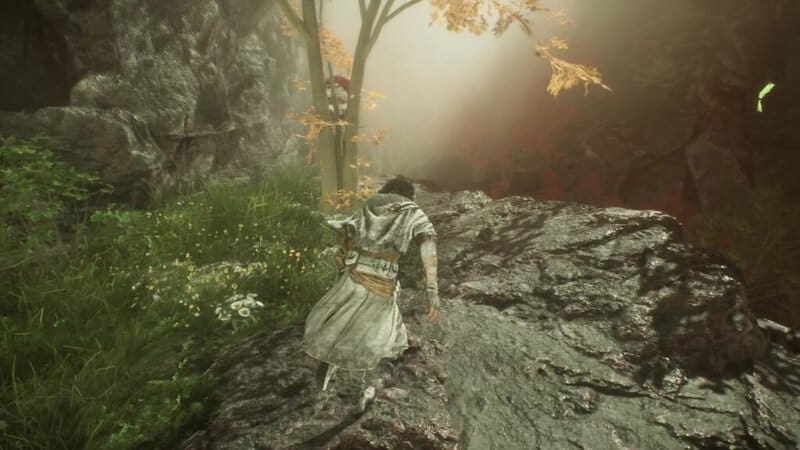
Visages
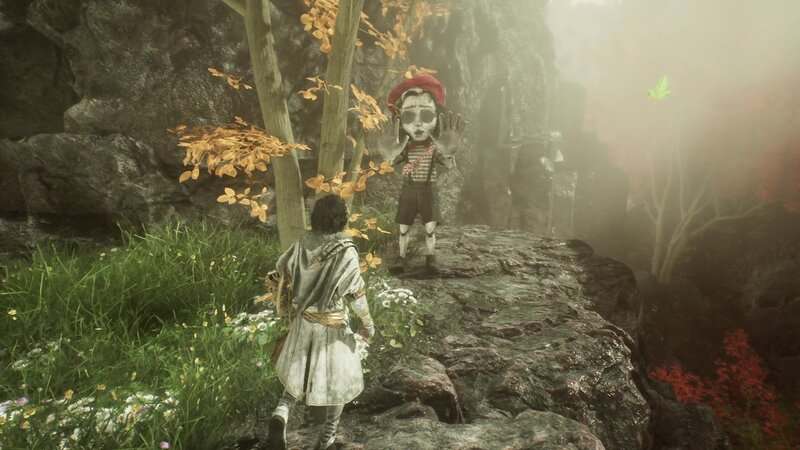
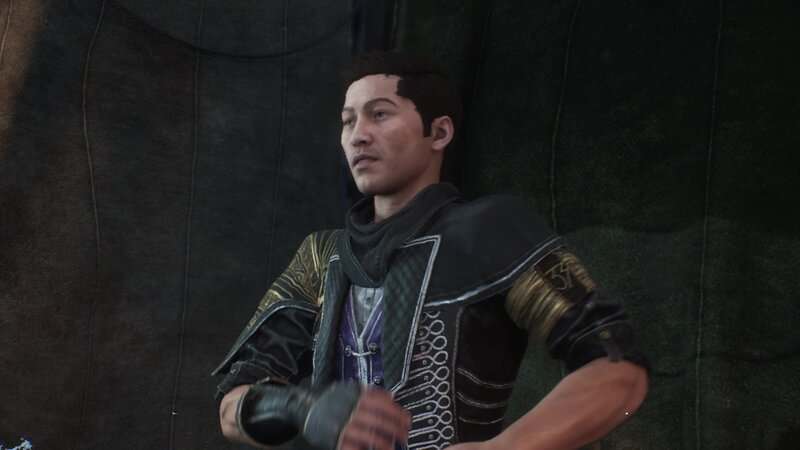
Enter the Joy Vale and then follow the path to the Expedition Flag of the same name. Take the path to the right after you reach the wall with non-interactable climbing gear. At the end of this path is a tree. The Mime can be seen standing behind the tree.

Upon defeating the Mime, you will unlock the Baguette Outfit and Haircut for Verso.
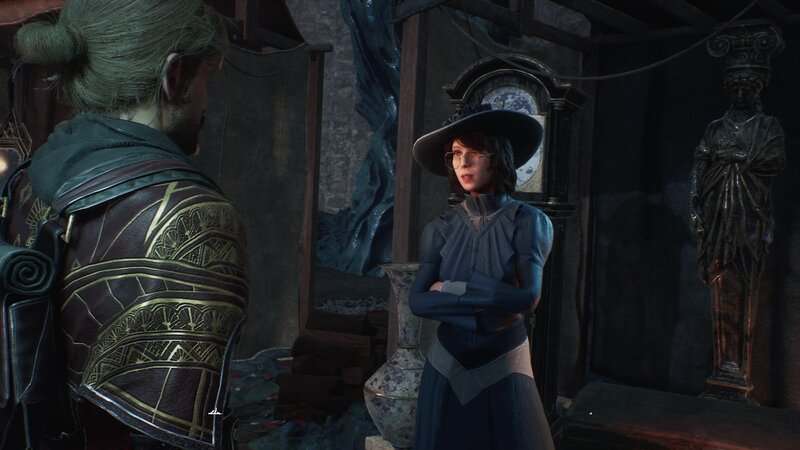
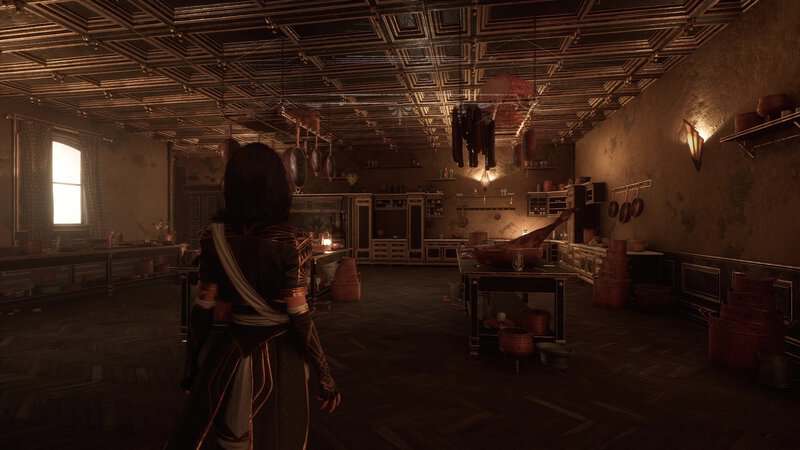
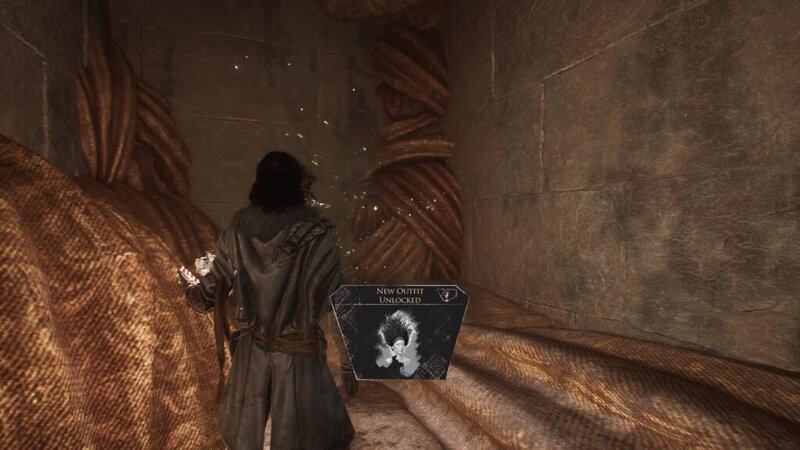
To find the Sirene Mime, you will need to progress through the area until you reach the Sewing Atelier Expedition Flag. This can be found in the room before you find the Tissuer boss. From the flag, go up the stars to the left and through a partially covered archway. You will find the Mime tucked away in the dark at the end of the passage beyond the archway.
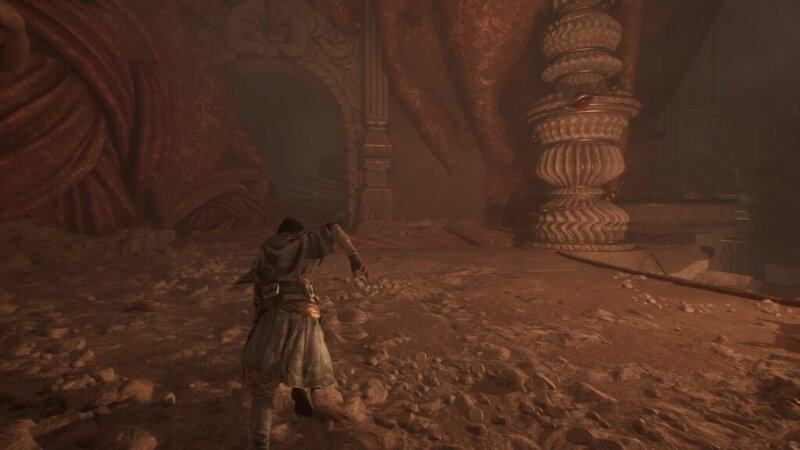
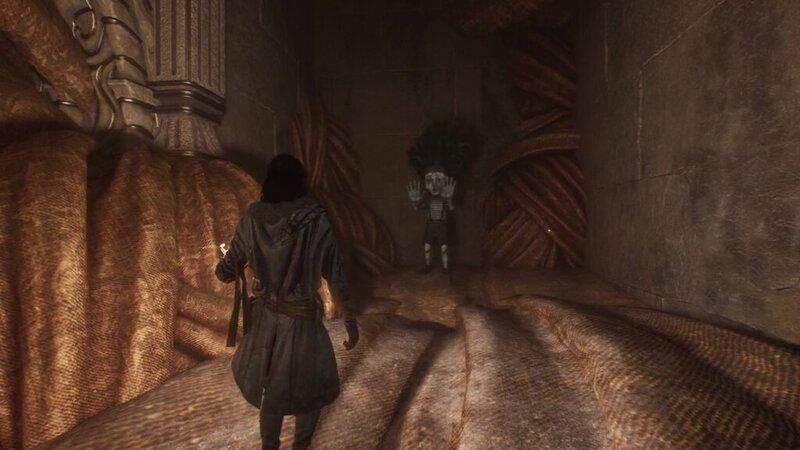
Upon defeating the Mime, you will unlock the Sirene Haircut for Lune.
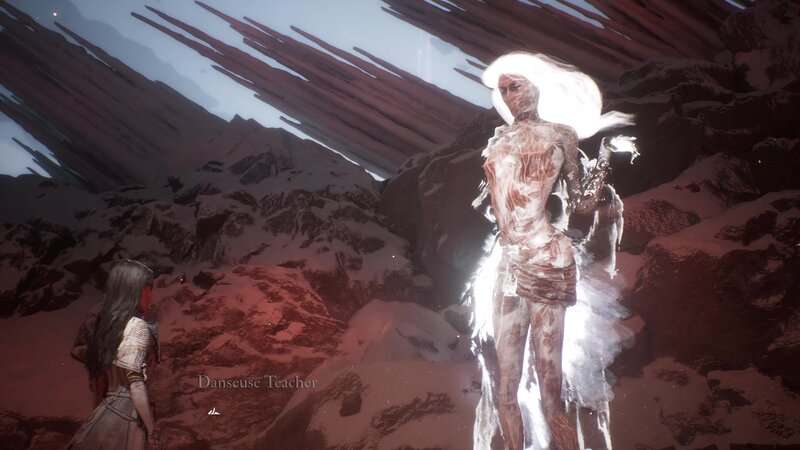
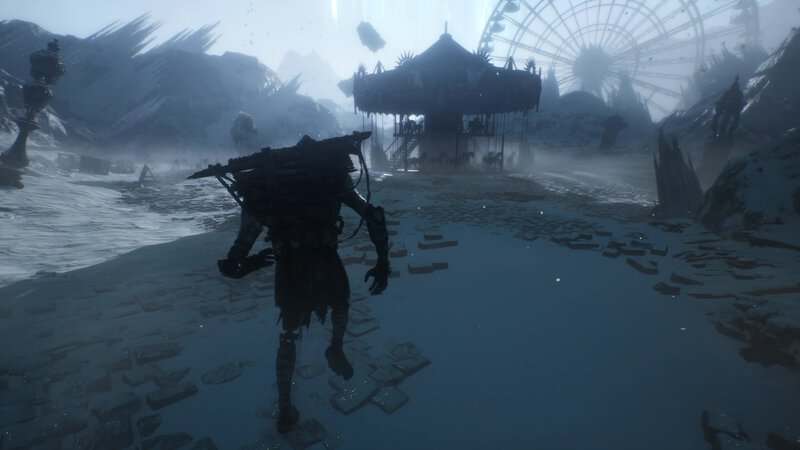
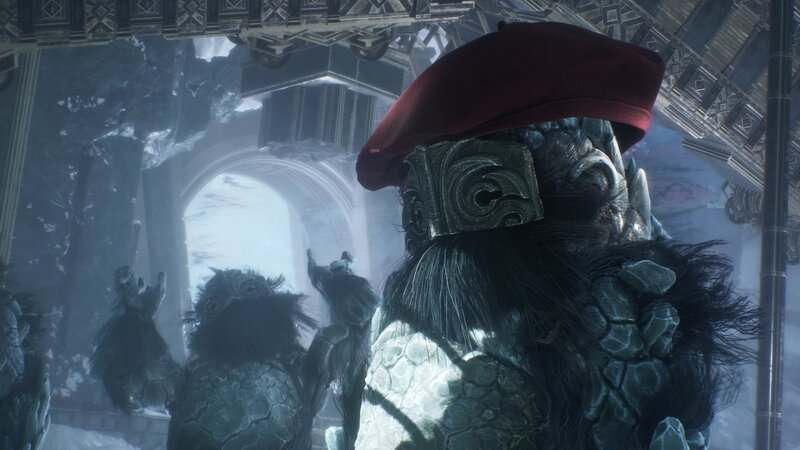
Frozen Hearts
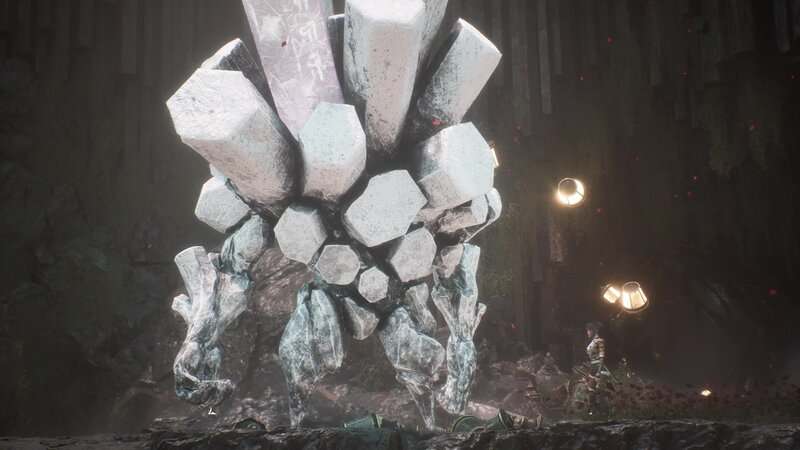
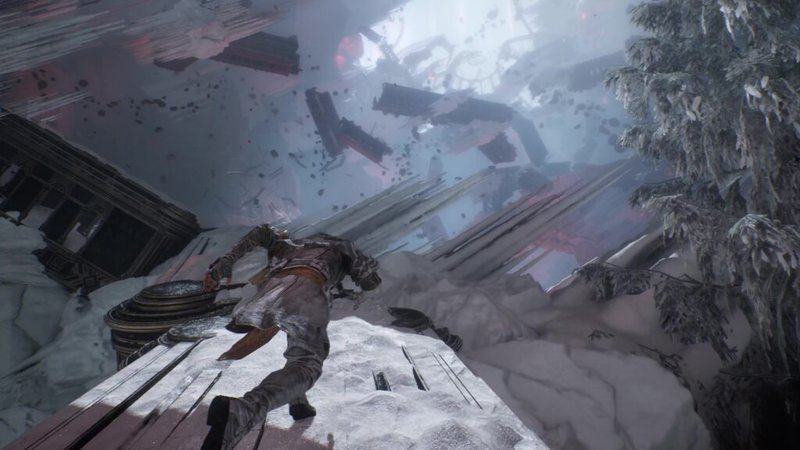
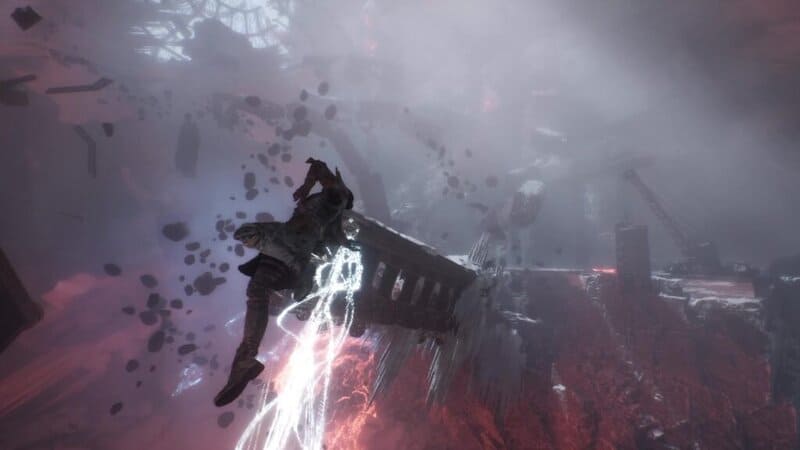
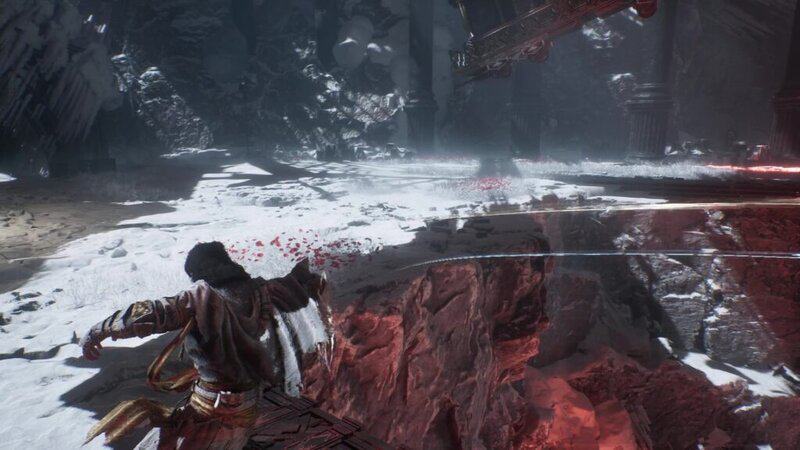
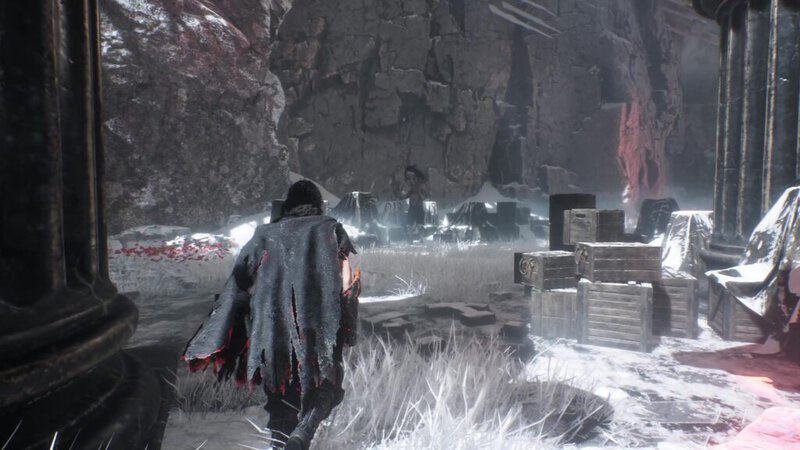
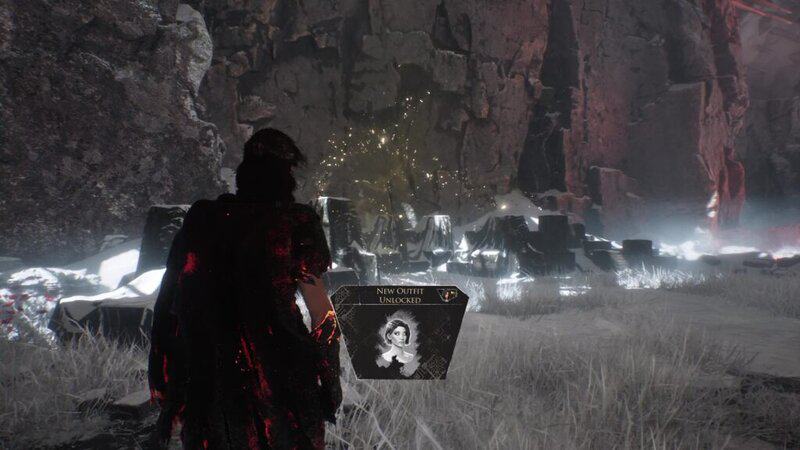
You can find the Mime in the Frozen Hearts region by making your way all the way to the end of the area and reaching the Iced Heart part of the region. You can find this area by going to the Glacial Falls area and then following the path to the right until you reach a light rope that leads up a cliff above you. Follow the path on this cliff until you find a wall you can climb up. As you make your way up the wall, the climbing path will split into two directions. Take the path that leads to the top of the wall and then go left to find a slope that leads to a station entrance and into the mountain. Once inside the mountain, you will be in the Iced Heart. You must run up the floating train cars and use your grapple to cross the gaps between the trains and floating rocks. You will eventually reach a cliffside with a merchant on it. Turn to your right and look behind the nearby stone pillars to find the Mime.
Upon defeating the Mime, you will unlock the Short Haircut for Lune.
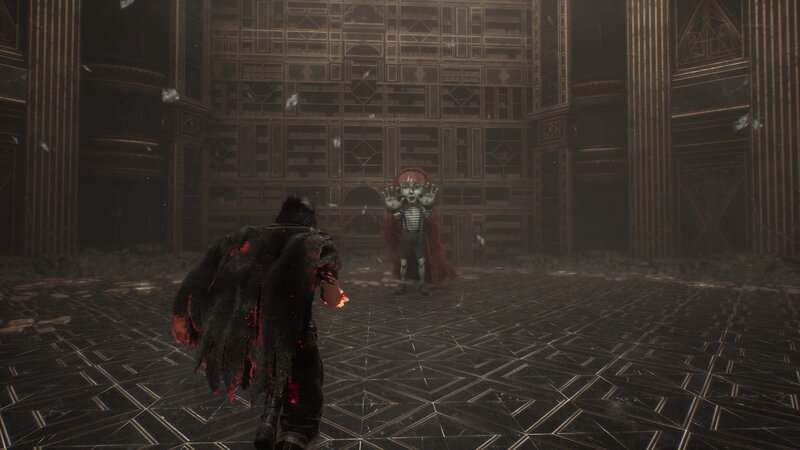
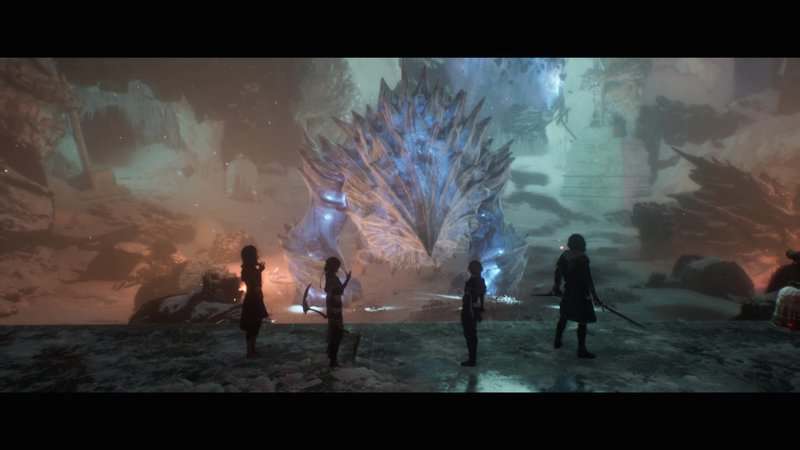
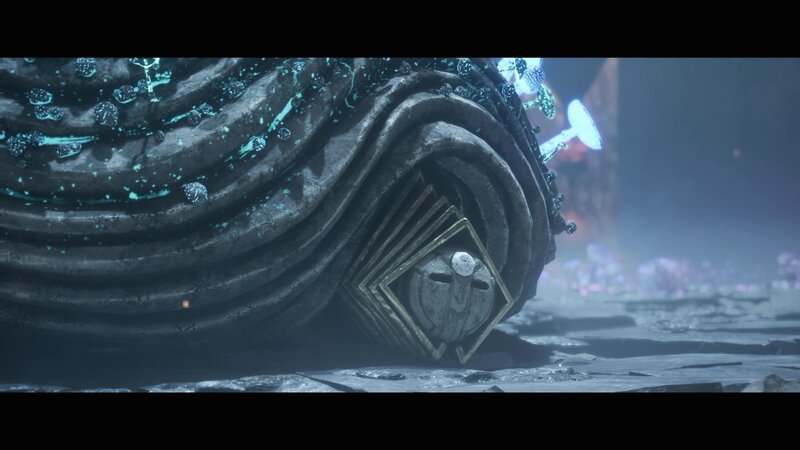
The Monolith
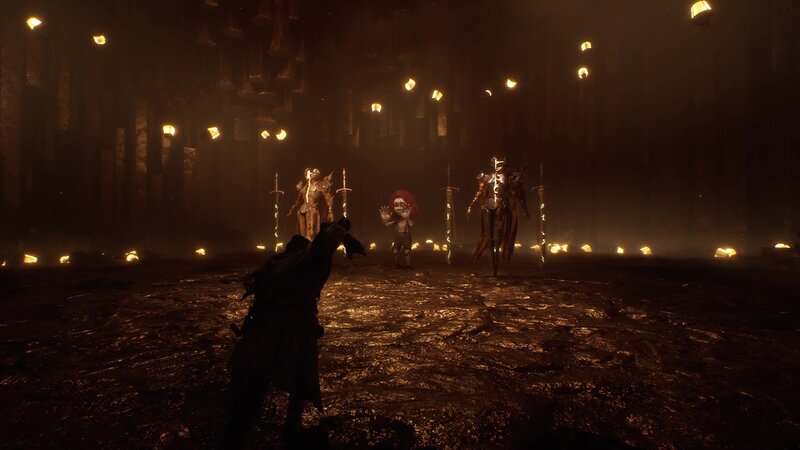
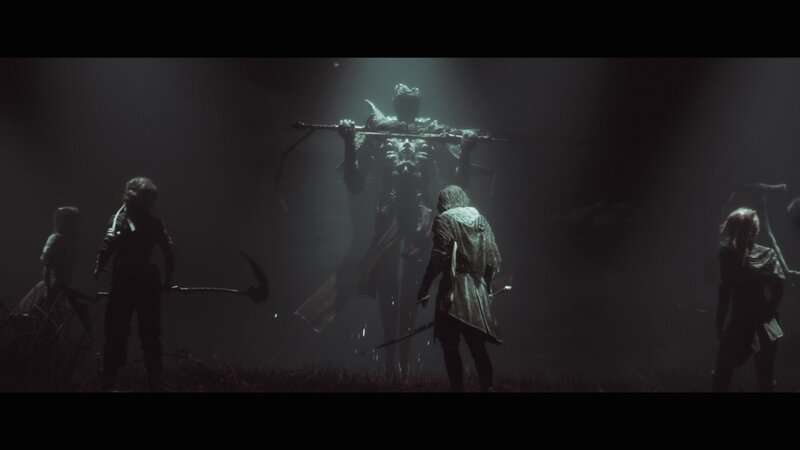
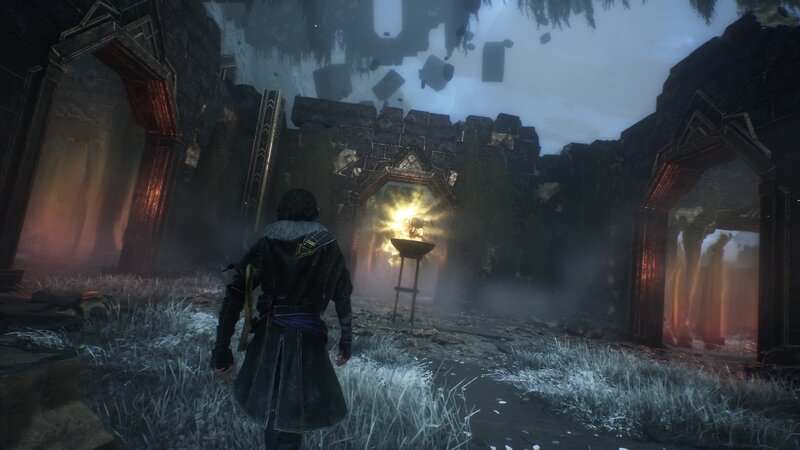
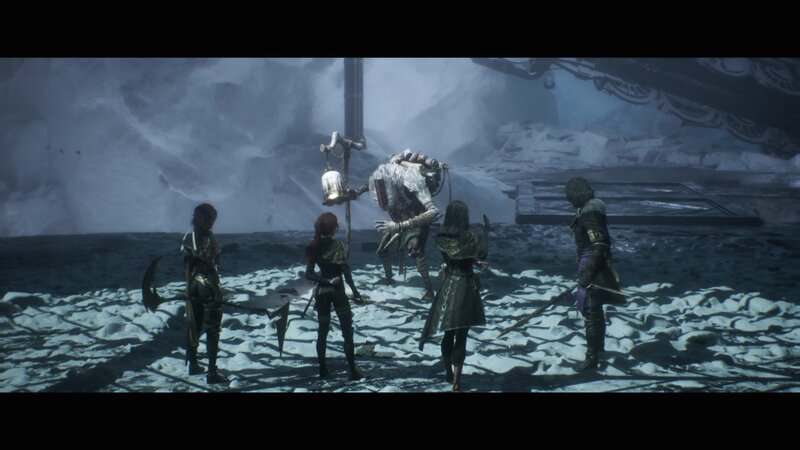
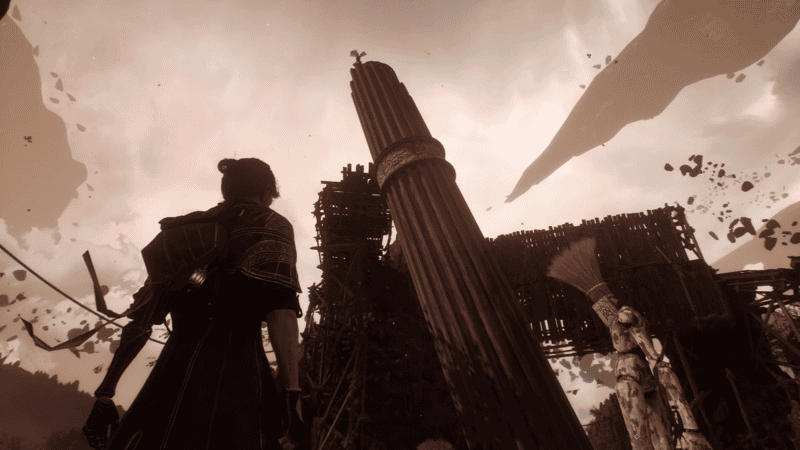
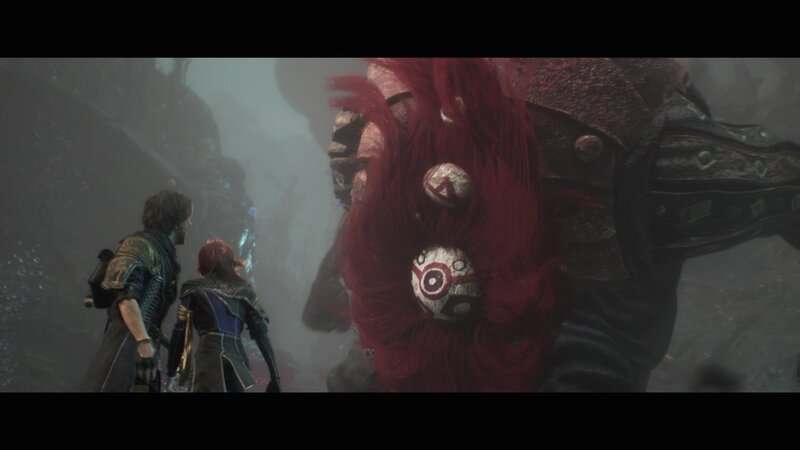
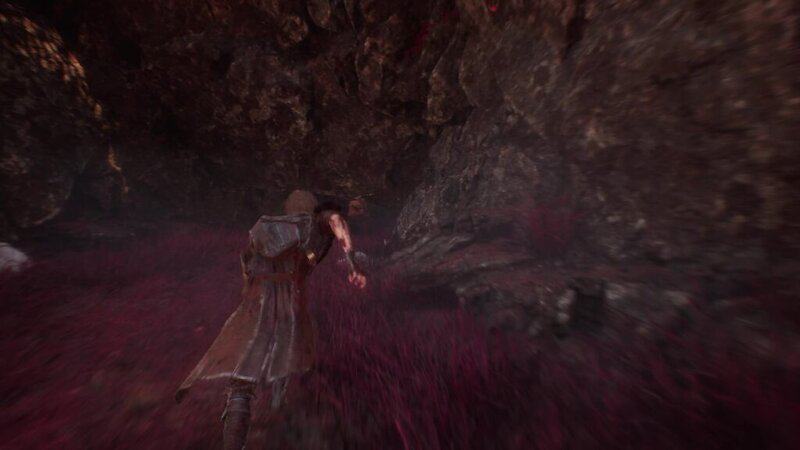
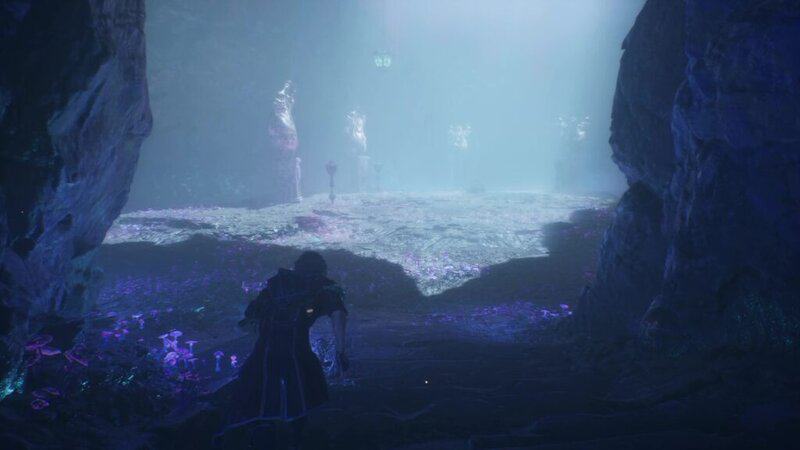
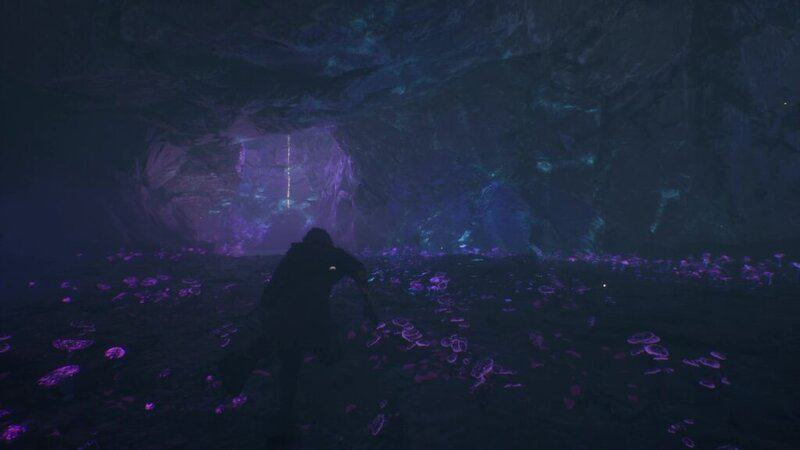
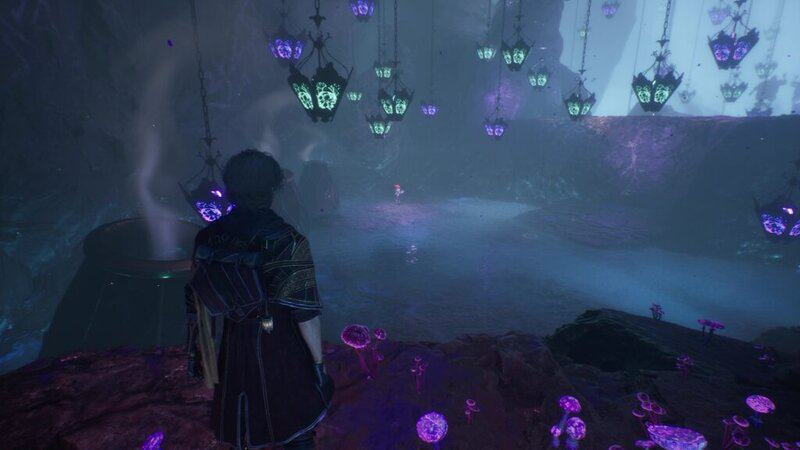
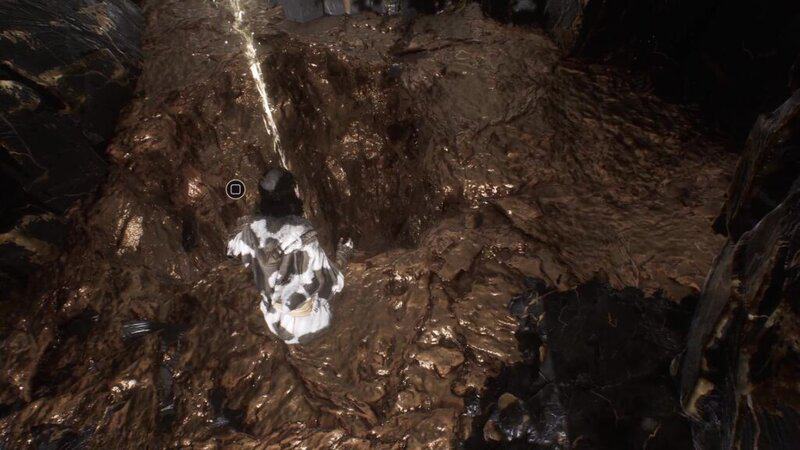
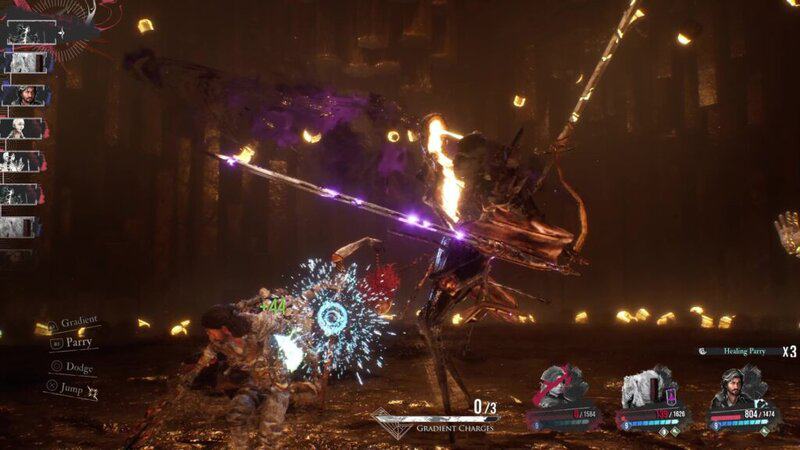
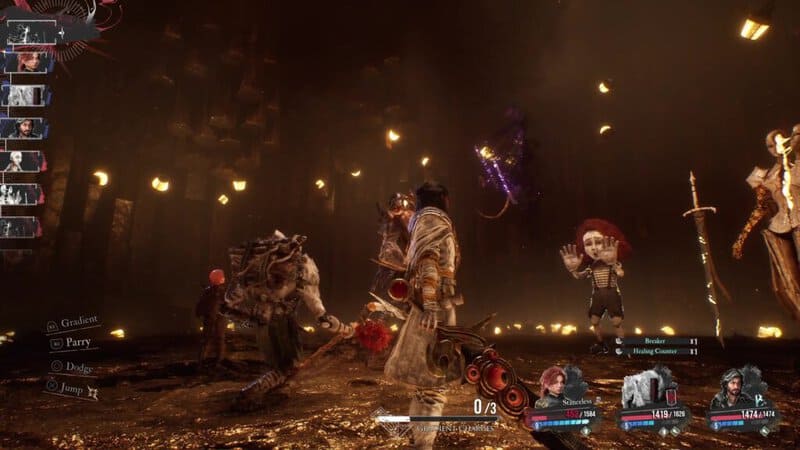
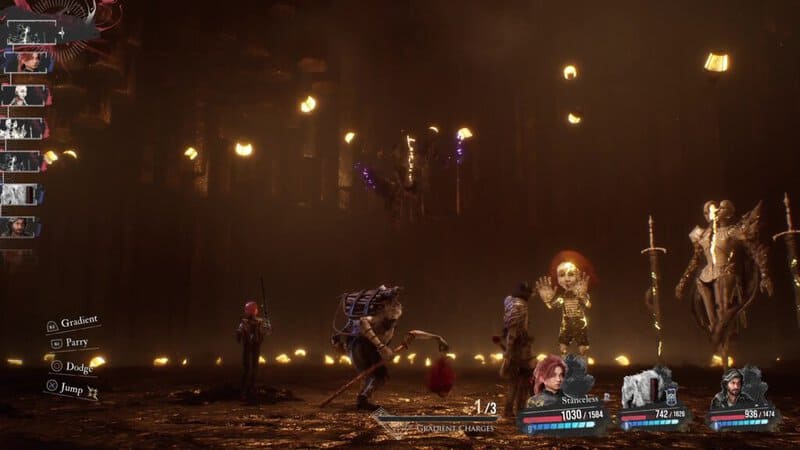
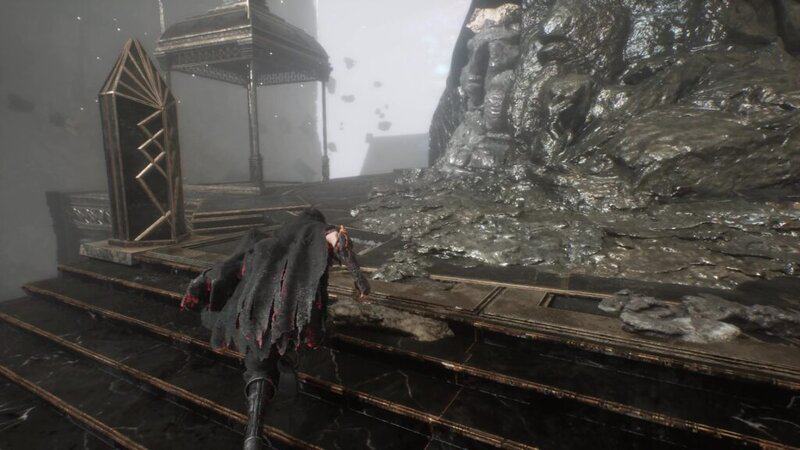
The Monolith Mime can be found in the Tainted Cliffs section. Starting at the Expedition Flag that shares its name with the area, progress through the area and then turn left from the vision of the Paintress’s memories. Follow the path up a slope until you reach a split in the path. Take the left to find a light rope that leads to a secret underground area. This is where you will find the Mime along with two enemies known as Clair and Obscur.

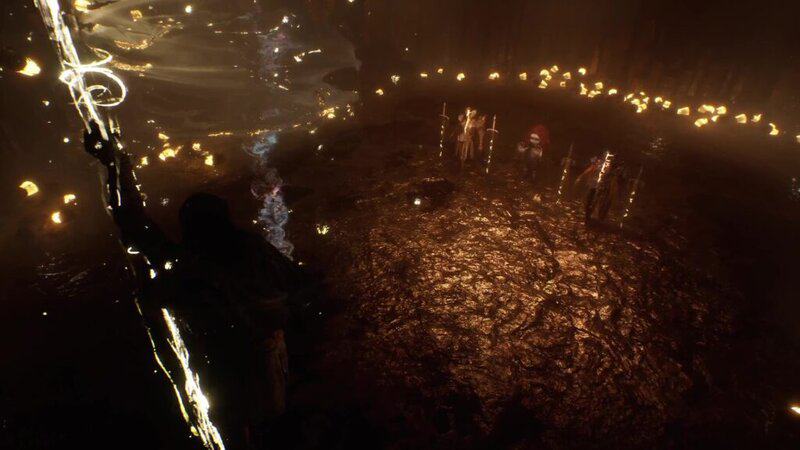
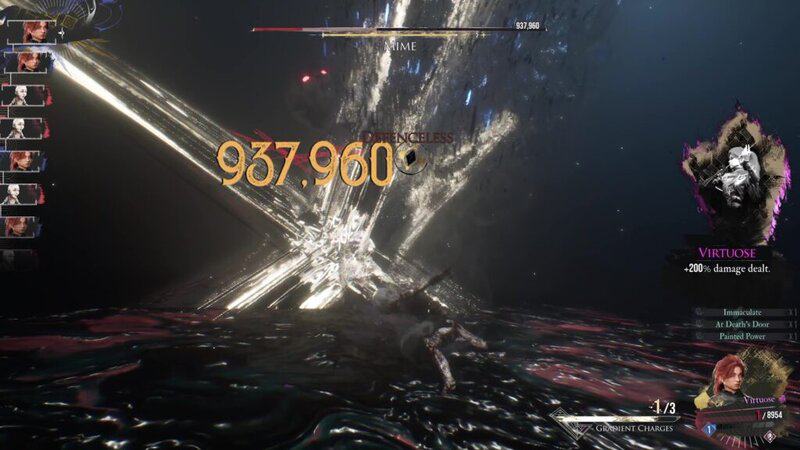
This fight is different from any of the other Mime encounters seen in the game. This Mime doesn’t fight alone as the Clair and Obscur enemies will fight alongside them. Because you will actually need to consider the weaknesses and resistances of Clair and Obscur, you will need to make sure you build your party correctly. I suggest using Maelle, Sciel, Verso, and possibly Monoco if you have the right skills for them. Sciel and Verso have access to attacks that can exploit the weaknesses of Clair and Obscur while Maelle can deal massive damage when in her Virtuose Stance. Monoco can also have skills that exploit these weaknesses while buffing the rest of the team so consider what moves you’ve had him learn and decide if you think he will fit well in this battle.
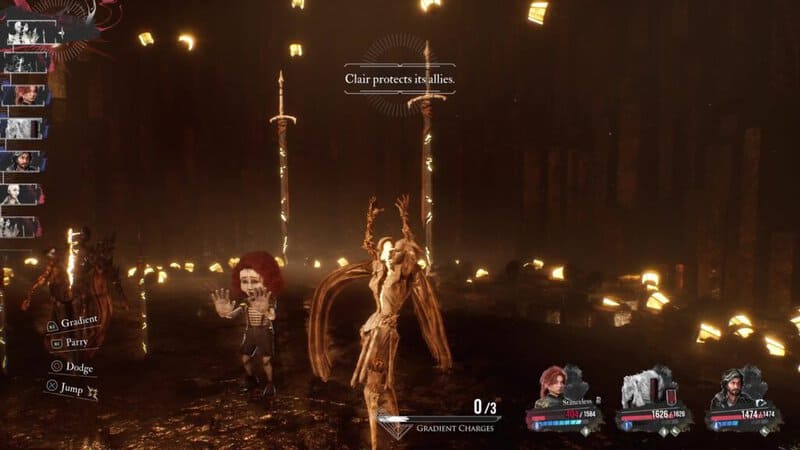
The Clair enemy is weak to Dark attacks and immune to Light damage. This enemy will use a move that “protects their allies” whenever a teammate doesn’t have Shields. This will give both of their allies (but notably not themselves) Shields.
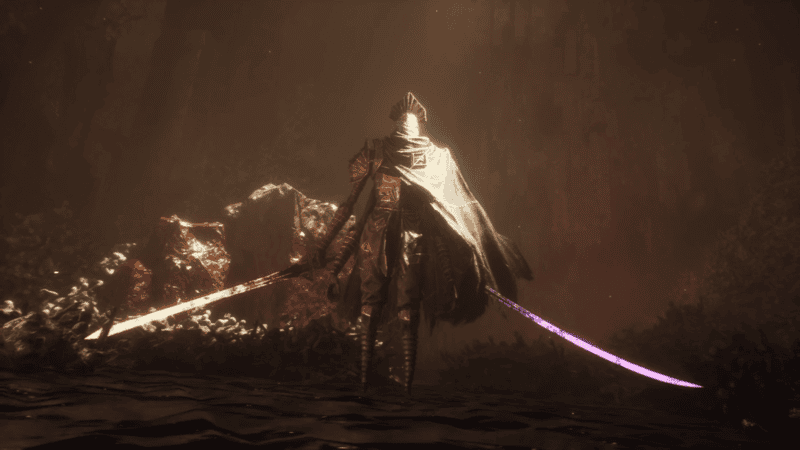
This enemy also has a few attacks that you will need to know how to counter. One of these combos is just called an “attack.” Clair will perform 2 very slow, charged-up swings with their swords. You will know when the attack is coming out when both of their swords flash with light. After the flash and a short delay, the attack will happen. The first attack is a horizontal slash while the second is an overhead slam. Another attack is the “Silencing combo.” Clair will unleash 3 ranged attacks as they swipe one of their swords through the air and fire a beam at the party. You can once again tell when this attack is going to come out when one of the swords flashes with light. The first attack comes out after a short charge-up up while the second attack comes out very quickly after the first. The third attack will come out after a short delay. If your party is hit by any of these attacks, they will be afflicted with Silence which means they can use any Skills for the next few turns.
The final attack you watch out for is the “Weakening Strike.” Clair will fly up into the air, both of their swords will flash, and then they will drop down in front of the party before slashing at them. Perform a dodge or parry right as Clair drops down in front of the party to avoid this attack.
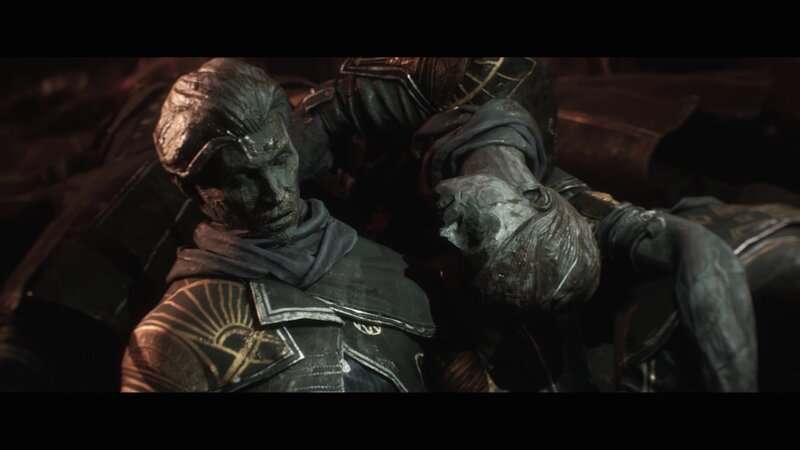
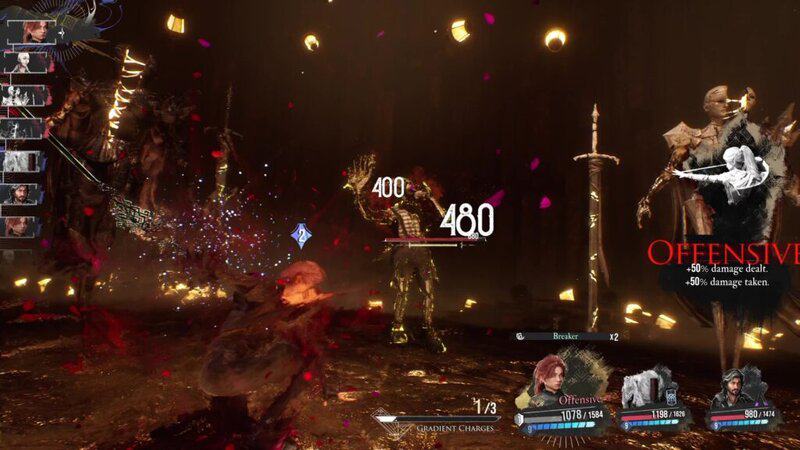
Obscur is the inverse of Clair since it is weak to Light and immune to Dark. While Clair will give their teammates Shields, Obscur “enrages their allies.” This will give Mime and Clair the Rage status effect, allowing them to get a second attack every time it’s their turn.
Obscur also has a combo labeled as an “attack,” though it is very different from Clair’s. This is a 4-hit combo that ends with a Gradient Strike. This means you should dodge the rest of the combo since the Gradient Counter will let you counter the final attack even with the rest of the attacks being dodged. Just like Clair, you will know when Obscur is going to attack when their sword flashes with light. The first 3 attacks are pretty easy to avoid if you’re just watching for the flashing swords, with each attack coming after only one of the swords flash, but the final attack has a long startup and comes after both swords flash with light, so don’t get caught off guard.
The next attack is the “Exhausting Combo.” This is a 6-hit sequence that starts with a upward swipe from the sword on your left followed by the same attack from the sword on your right. Jus like before, these attacks follow a flash of light from the sword being swung. These two attacks are followed by a swipe that you must jump over after both swords flash with light. The last two attacks are a forward thrust and overhead slam. Both of these attacks have longer startups compared to the rest of the combo and come after both swords flash with light. The last attack Obscur has is the same “Weakening Strike” that Clair has, with the exact same animation and timing.

I suggest focusing on the Clair enemy first, since having to take out the Shields on the enemies that will appear every time you remove them is a hassle. Now, these Shields can be used to your advantage if you use Monoco’s Chevaliere Piercing skill. This attack goes through Shields and will even get more damage with the more Shields the enemy has equipped. Maelle’s Breaking Rules attack can also quickly cut through all Shields on an enemy with a single blow. While Monoco or Sciel focus on Clair, have the rest of the party start to chip away on Obscur. When Clair is defeated, have Verso exploit the Light weakness while the rest of the party turns their attention to the Mime.
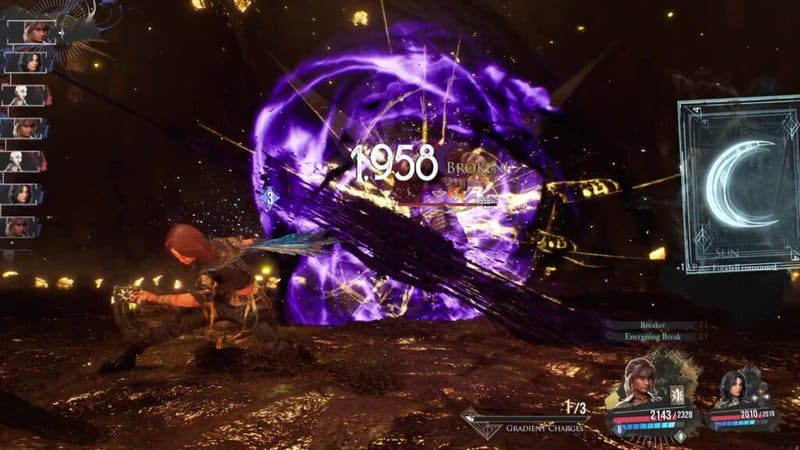
When both Clair and Obscur are gone and your focus turns to the Mime, your main goal here is to build up its Break bar. When the Mime becomes stunned will make the Mime more susceptible to damage, making the rest of the fight much easier. This is where Sciel and her Foretell mechanic can do massive damage. Sciel can use skills to apply Foretells to an enemy and then use other skills to consume these Foretells to get bonus damage. If you use Sciel, just keep building up Foretells until the Mime Breaks. Once this happens, enter Twilight mode and cash out your Foretells with something like Phantom Blade to deal massive damage.
Upon defeating the Mime, you will unlock the Voluminous Haircut for Maelle.
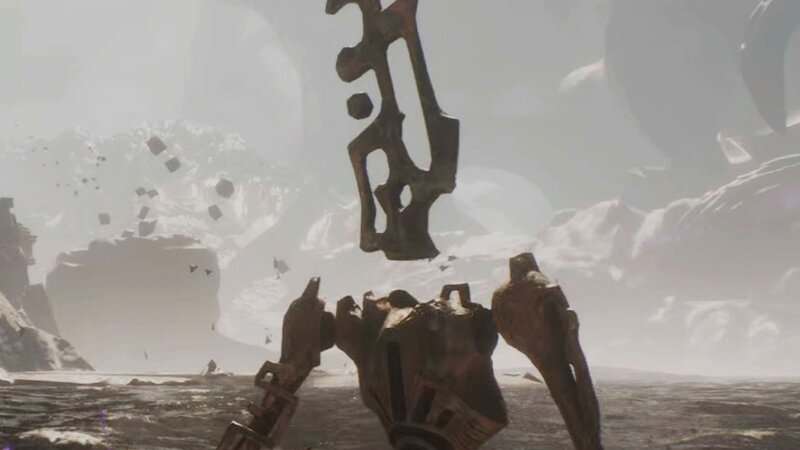
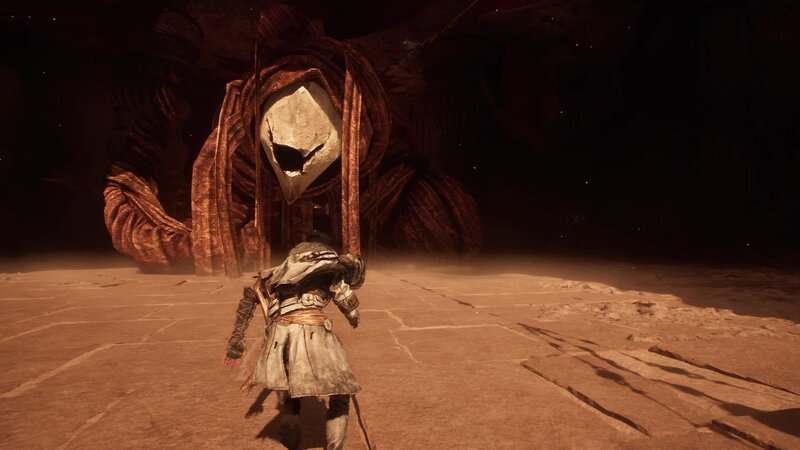
The Reacher
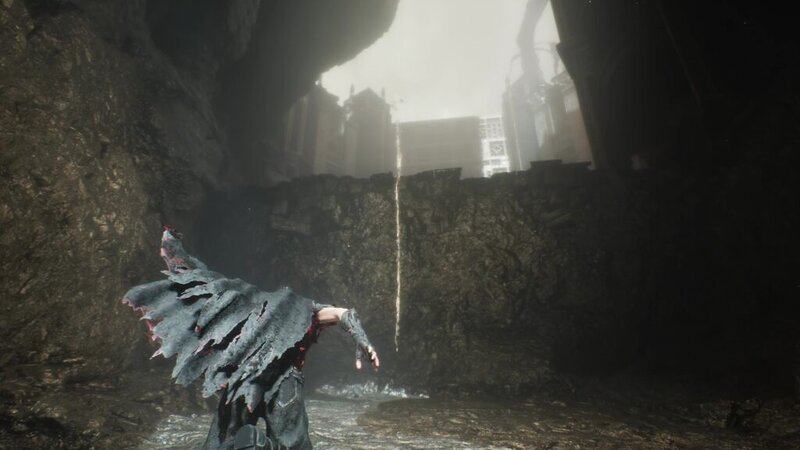
To find The Reacher Mime, make your way up the tower until you find the Ladder Area Expedition Flag. From the start of the area, progress through the lower area until you find an elevator that brings you up the tower. Make your way further into the zone until you grapple over to a cliffside near the tower. Make your way through the cliffside until you find another elevator that leads back to the central tower. Near the elevator is the Expedition Flag. Go past the flag and stick to the left to find a light rope that leads down to a small platform below. This is where you will find the Mime.

Upon defeating the Mime, you will unlock the Baguette Outfit and Haircut for Maelle.
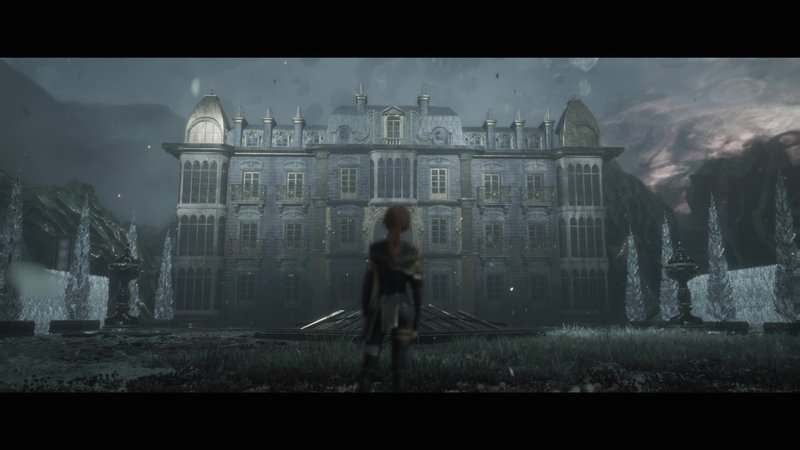
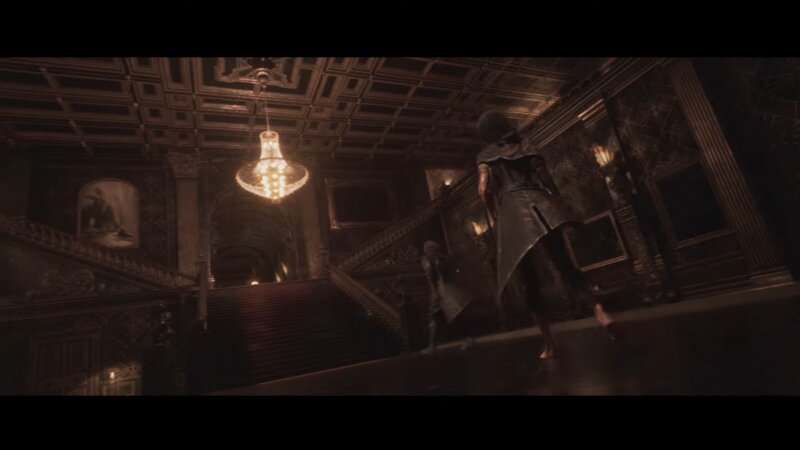
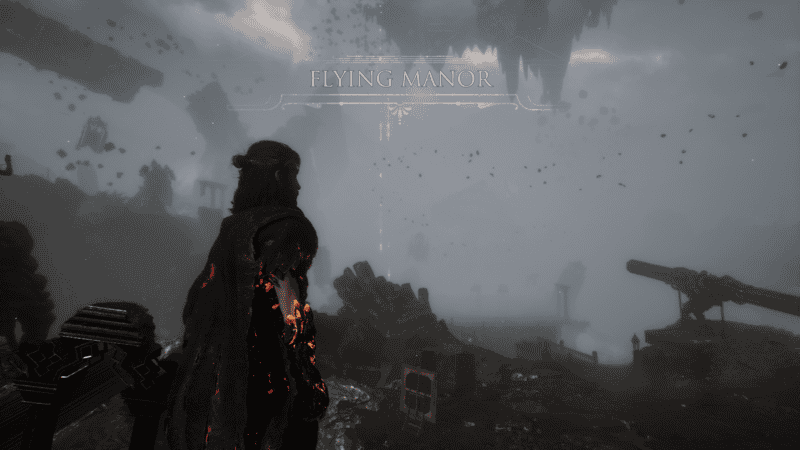
Flying Manor
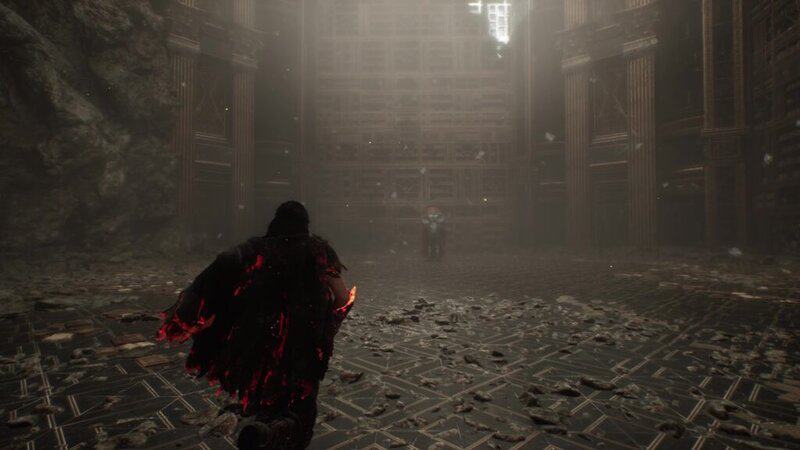
To find the Flying Manor Mime, go to the center of the zone and then go to the elevator behind the Goblu statue. Take the elevator up and then turn left to find a path with the golden rope that leads to a secret path. Follow this path and then turn left to find another golden light that leads up to a clearing. This is where you will find the Mime.

Upon defeating the Mime, you will unlock the Clea Haircut for Maelle.

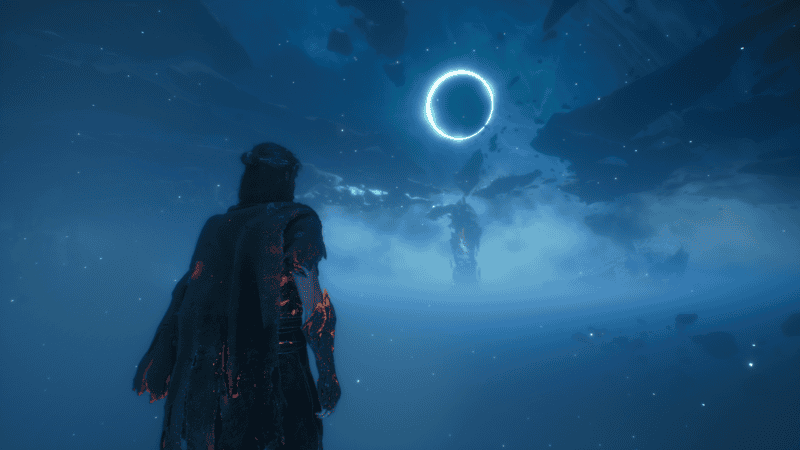
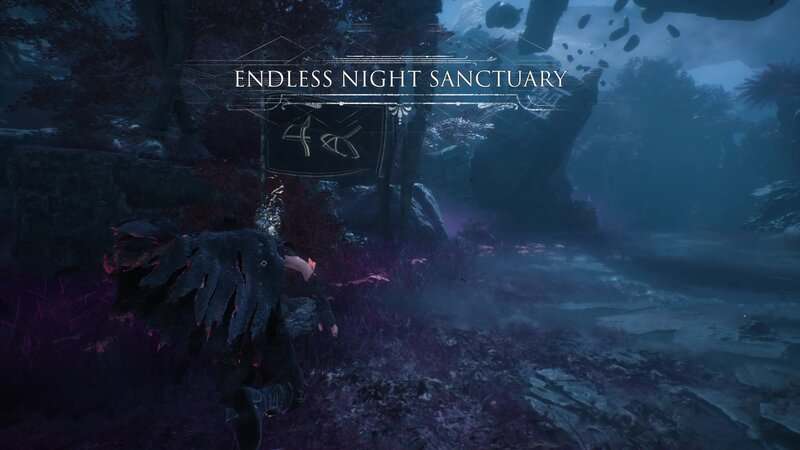
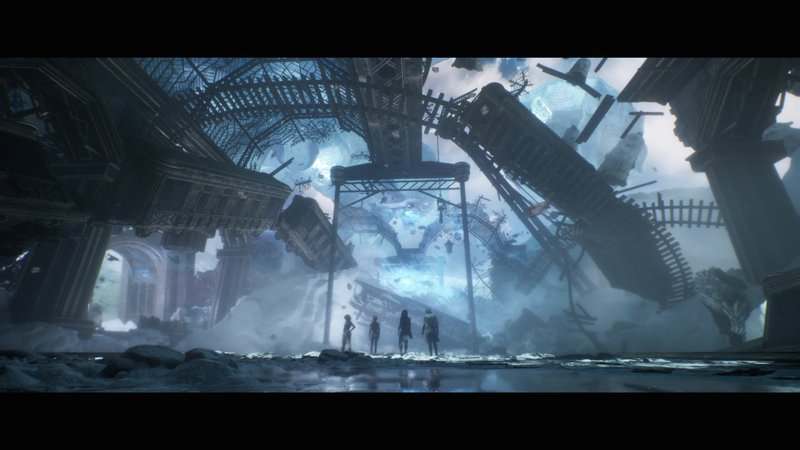
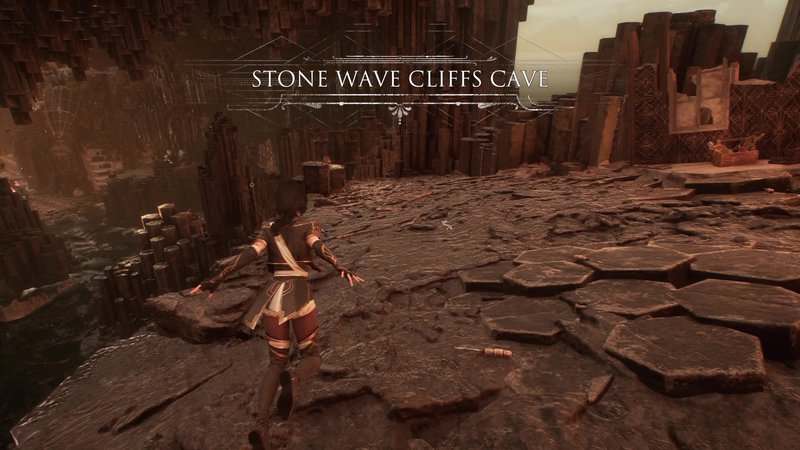
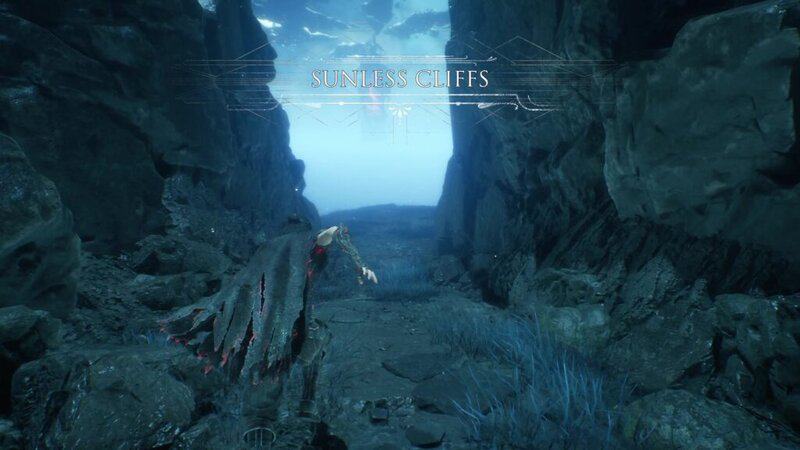
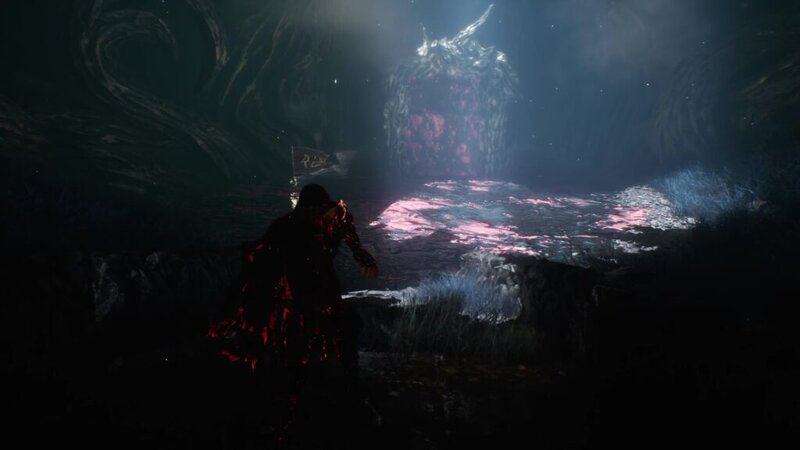
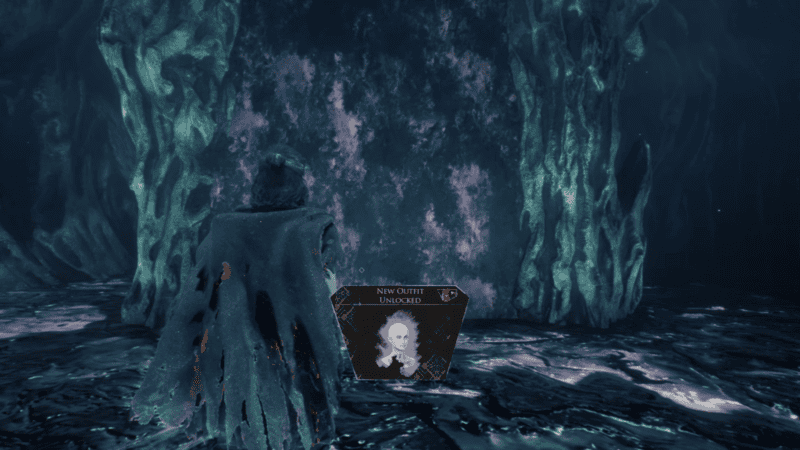
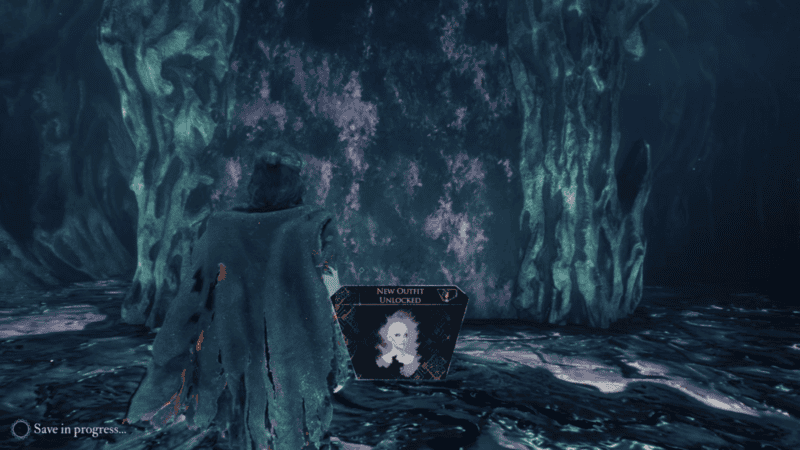
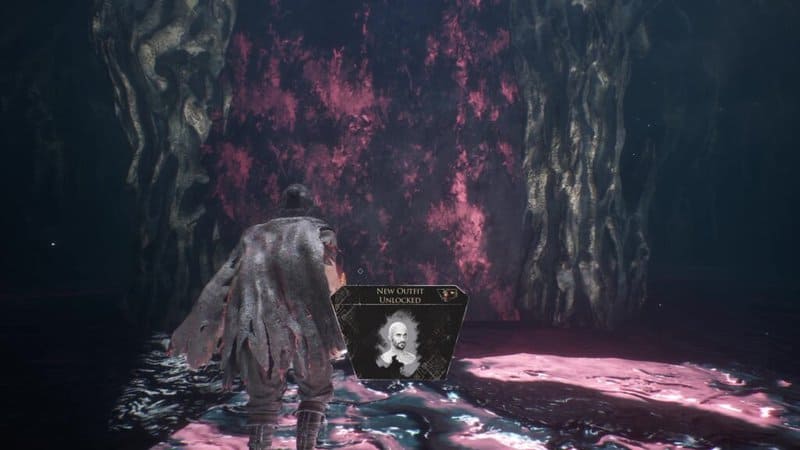
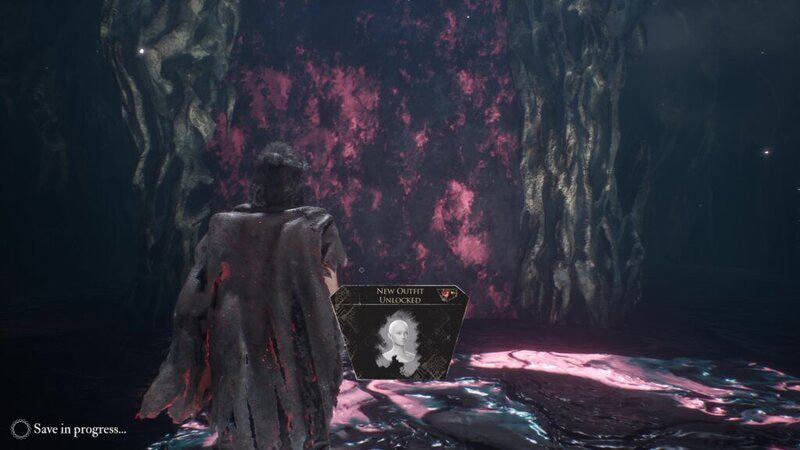
The Sunless Cliffs
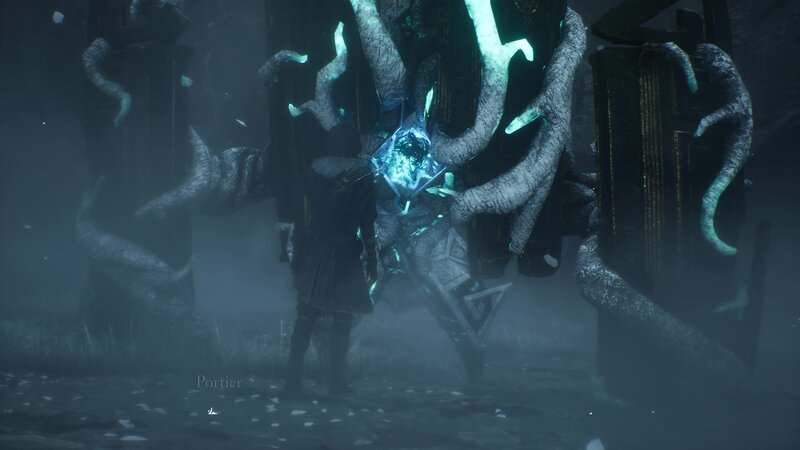
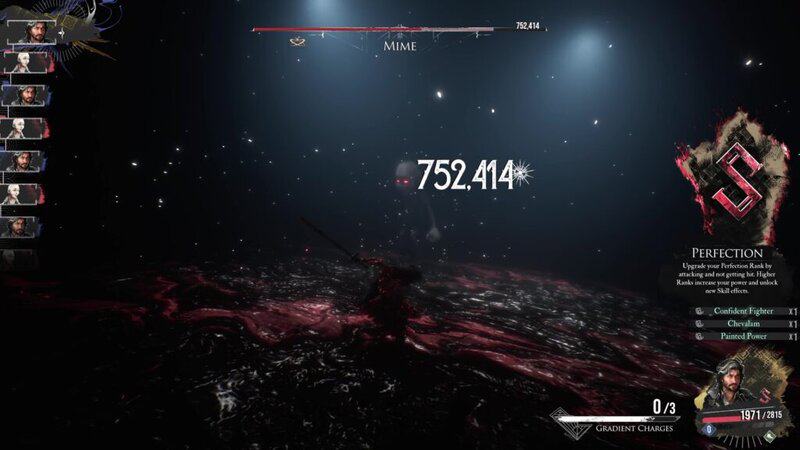
When you enter the Sunlles Cliffs, follow the path to the end and then go to the right. This leads to a cave with a Chroma Portal inside. If you interact with the portal, you will need to select one of your party members to enter. This is where you will engage the Mime. While having a boss-sized boss fight health bar, the Mime in the Sunless Cliffs has the same moveset as all the other Mimes in the game.
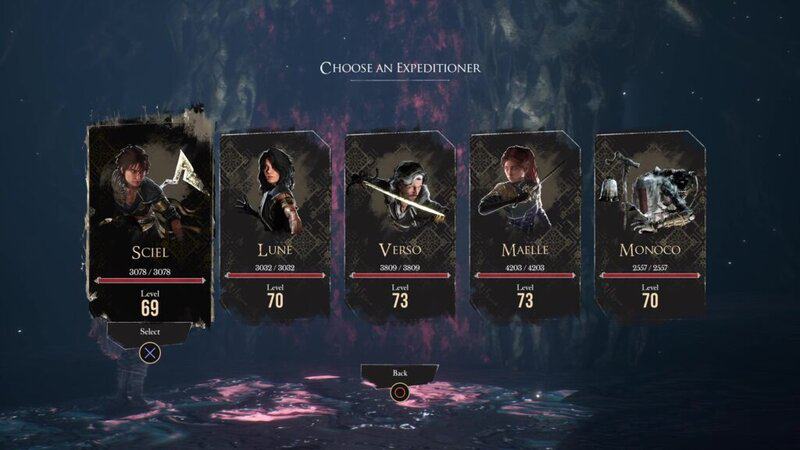
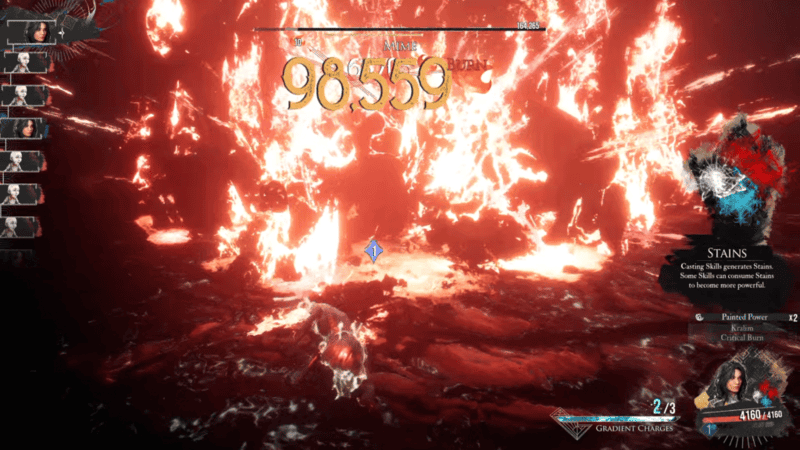
You will need to fight this Mime with only one party member at a time. Since you can only find this Mime after defeating The Paintress, you will need to make sure that you equip the Painted Power Pictos/Lumina on your characters to get past the health cap. Also, make sure you use the Last Stand Pictos and Luminas since these items will give you buffs when fighting alone.
When you beat the Mime with one character, you will not be able to fight the boss again with that character and will get their unique reward. When all of the party members beat the Mime, the portal will disappear.
Defeating the Mime will give you the Bald Haircut for the character that just defeated it. When every character has beaten the Mime, you will have the Bald Haircut for Sciel, Lune, Verso, Maelle, and Monoco.
You can now find and defeat all of the Mimes in Clair Obscur: Expedition 33. Stay tuned to Gameranx for more news, updates, and guides for Clair Obscur: Expedition 33 as well as other great games in the future.