Can you solve the toughest gravity-defying puzzles yet in The Talos Principle 2? Don’t worry if you can’t because we’re going to provide the remaining answers to the Verdant Canyon challenges below.
Other The Talos Principle 2 Guides:
How to Solve Booting Process Part 1 – How to Solve Booting Process Part 2 – How to Solve Booting Process Part 3 – How to Solve The Grasslands Part 1 – How to Solve The Grasslands Part 2 – How to Solve the Grasslands Part 3 – How to Solve the Wooded Plateau Part 1 – How to Solve The Wooded Plateau Part 2 – How to Solve the Wooded Plateau Part 3 – How to Solve the Eastern Wetlands Part 1 – How to Solve the Eastern Wetlands Part 2 – How to Solve the Eastern Wetlands Part 3 – How to Solve the Megastructure Part 1 – How to Solve the Desolate Island Part 1 – How to Solve the Desolate Island Part 2 – How to Solve the Desolate Island Part 3 – How to Solve the Flooded Valley Part 1 – How to Solve the Flooded Valley Part 2 – How to Solve the Flooded Valley Part 3 – How to Solve the Lost Marshes Part 1 – How to Solve the Lost Marshes Part 2 – How To Solve the Lost Marshes Part 3 – How to Solve the Megastructure Part 2 – How to Solve the Southern Coast Part 1 – How to Solve the Southern Coast Part 2 – How to Solve the Southern Coast Part 3 – How to Solve the Verdant Canyon Part 1 – How to Solve the Verdant Canyon Part 2
How to Solve the Verdant Canyon Part 3 in The Talos Principle 2
Delivery
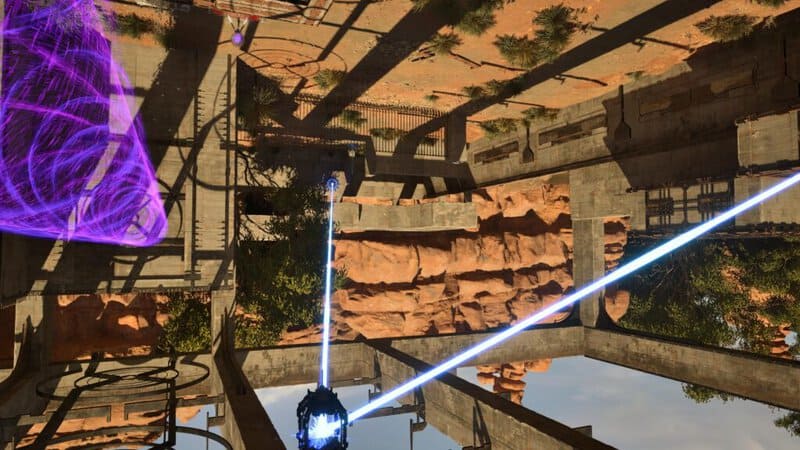
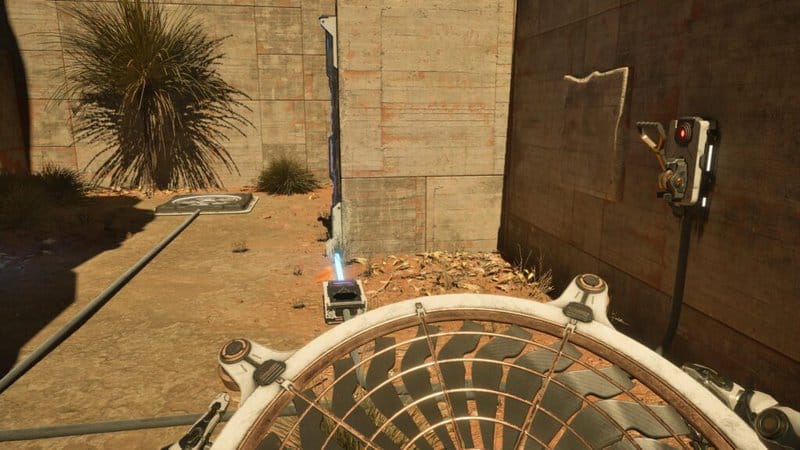
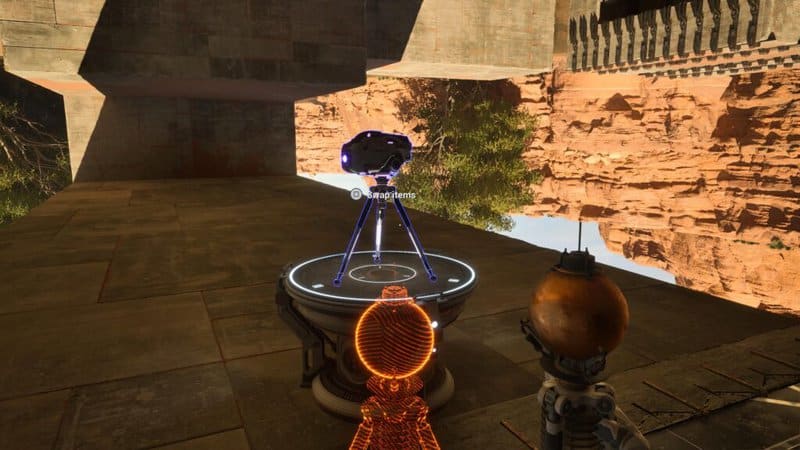
This one is a bit complex. Start by heading to the right and grabbing the fan. Swap it (or the cube) for the connector.
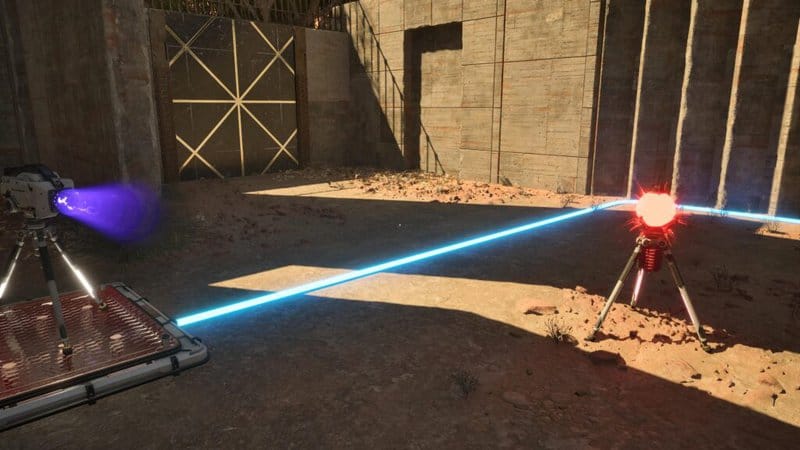
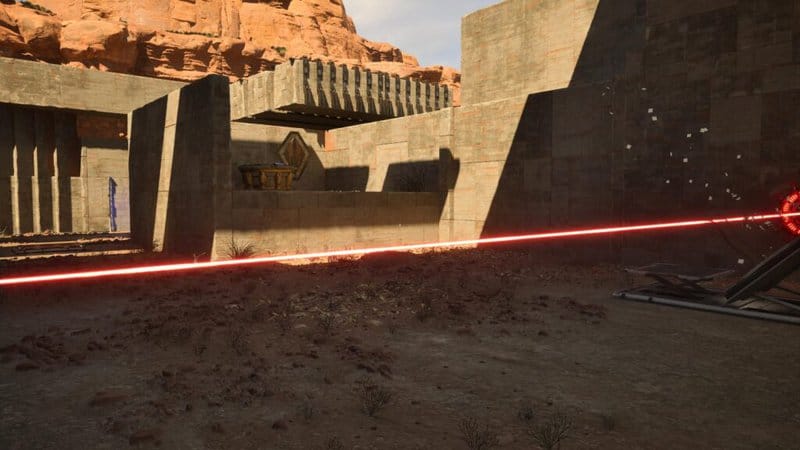
Head out and link the connector between the red laser and the red lock.
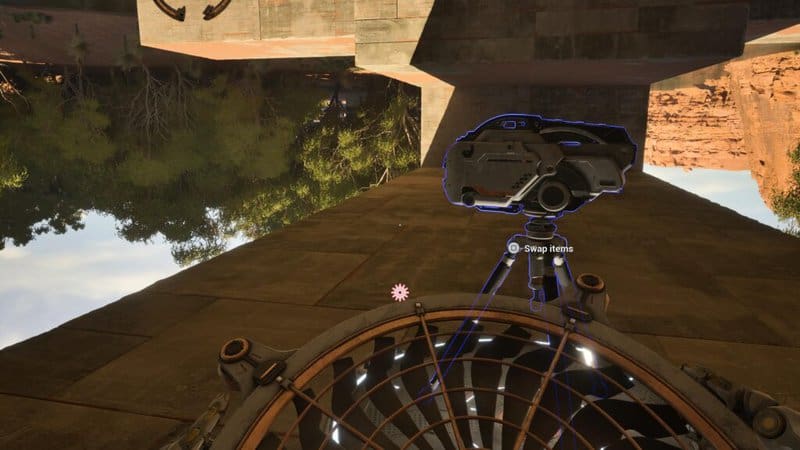
Head back, swap the cube for the antigrav, and pull the other cube across the room (see above).
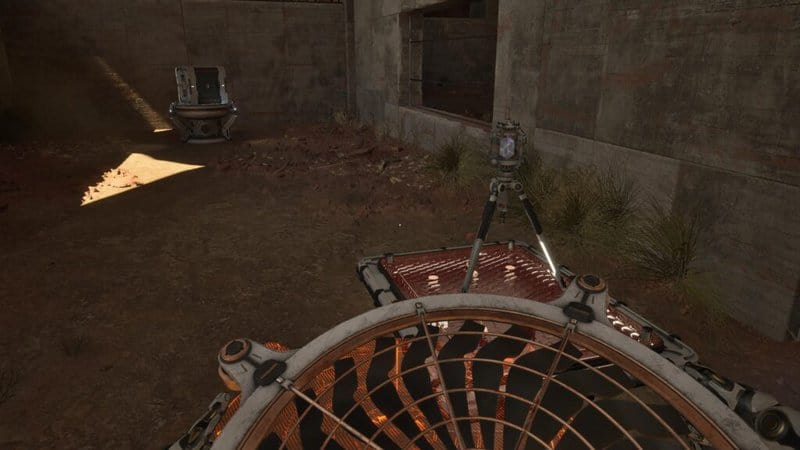
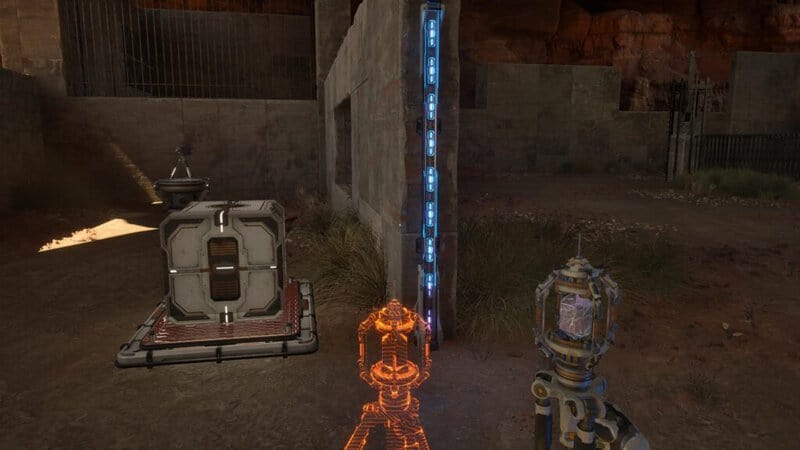
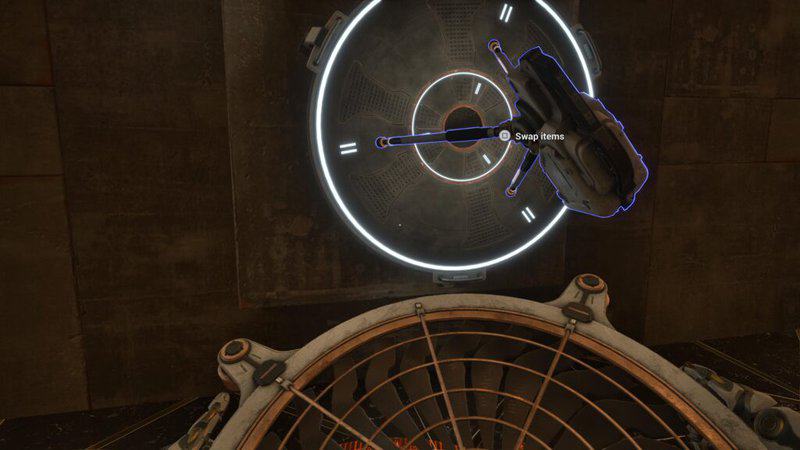
Pull the cube to the ground, as you see in the picture below. Go inside and retrieve the cube.
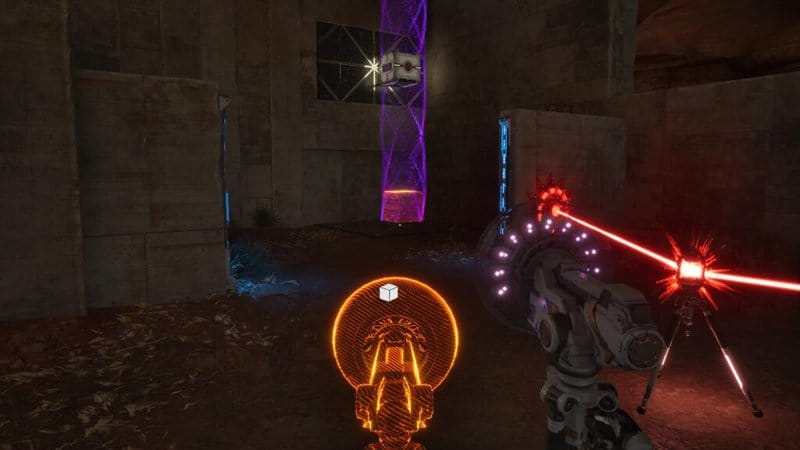
Swap the antigrav for the fan on the ground switch. Put the fan back where it belongs and grab the cube.
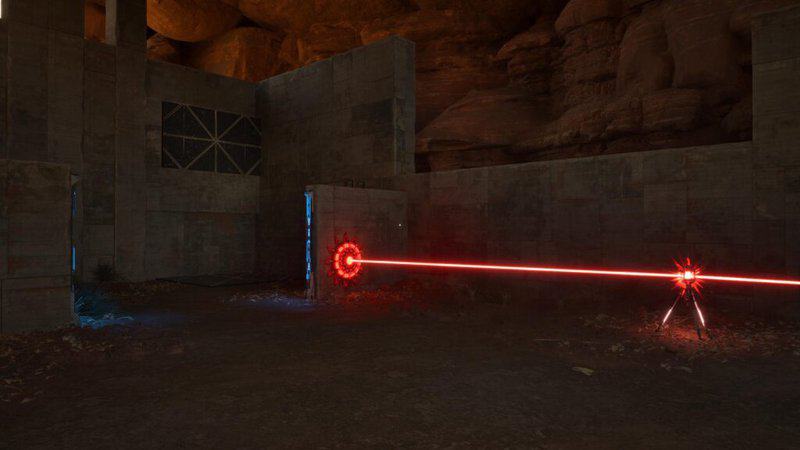
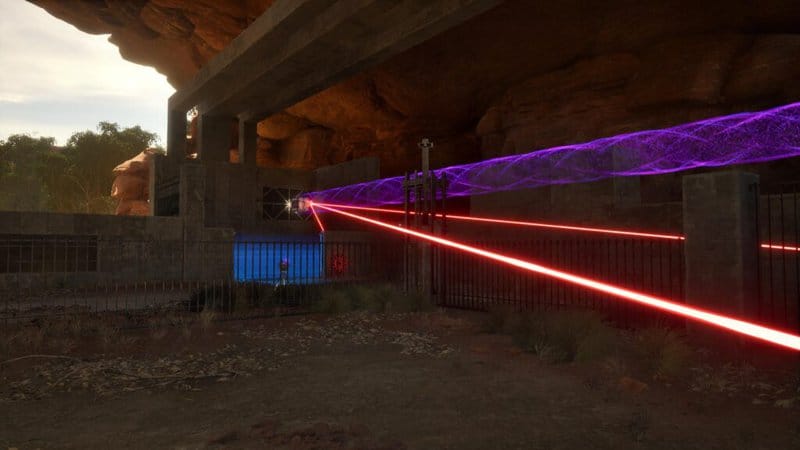
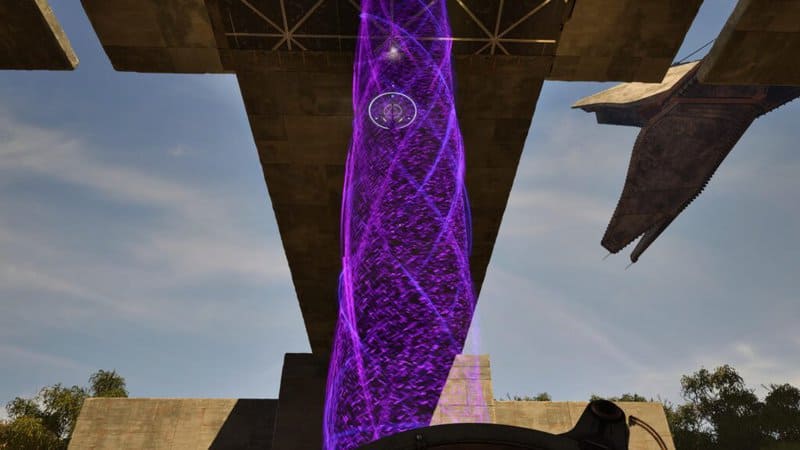
Place the cube on the fan and place the connector on the cube. Make sure the connector is linked to the red lock blocking your goal and the red laser. Flip the switch to raise it up on the air current.
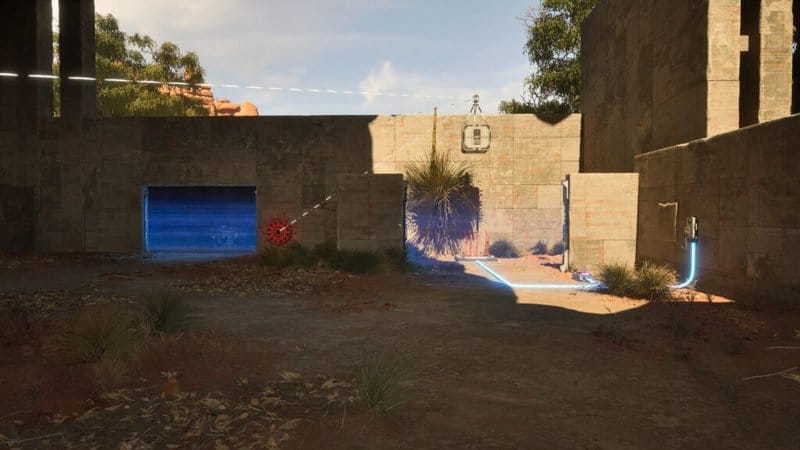
Go back to the antigrav and aim it out the window so that it pulls the cube across. Place it back on the ground switch.
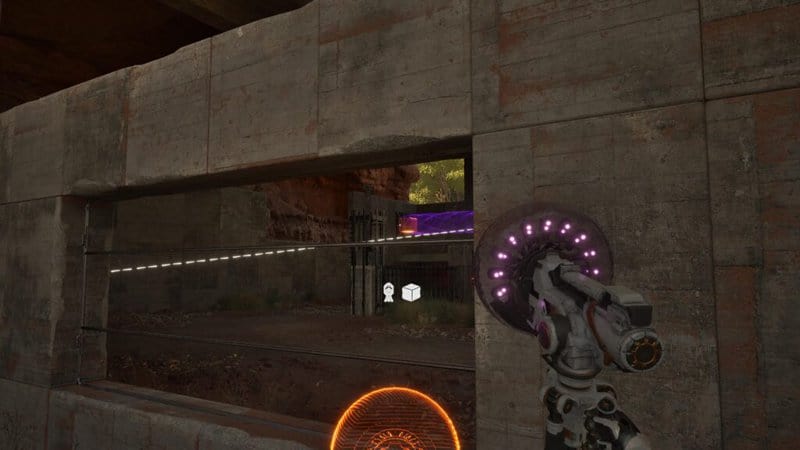
Turn the wall switch off, retrieve the fan, and swap it for the antigrav. Use the antigrav to pull the cube and connector to the third corner. This will open the final red lock, allowing you to complete the puzzle.
Step and Release
Take the fan from the right and carry it up the wall, where you can swap it for an antigrav.
Bring the antigrav to the two switches. Aim it as seen above and place it on the switch. Step on the other switch yourself to pull the absorber across.
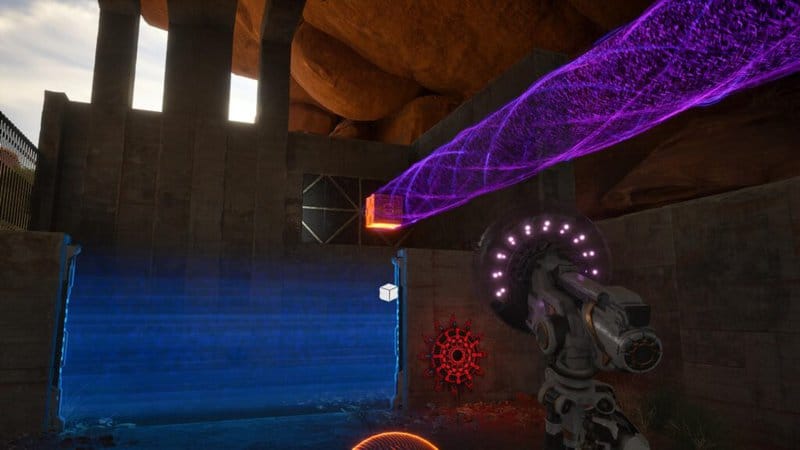
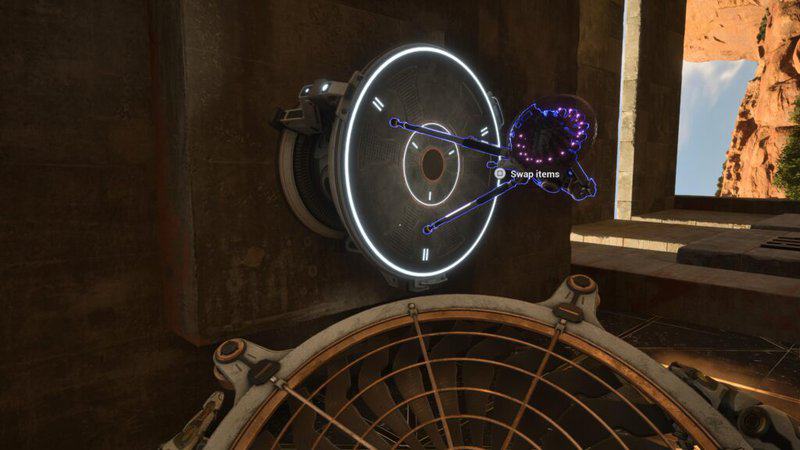
Take the absorber and swap it for the fan. Head over, grab the antigrav, and create a field so that you can reach the jammer.
Swap the fan for the jammer and jump back down. Go back up and trade the antigrav for the absorber.
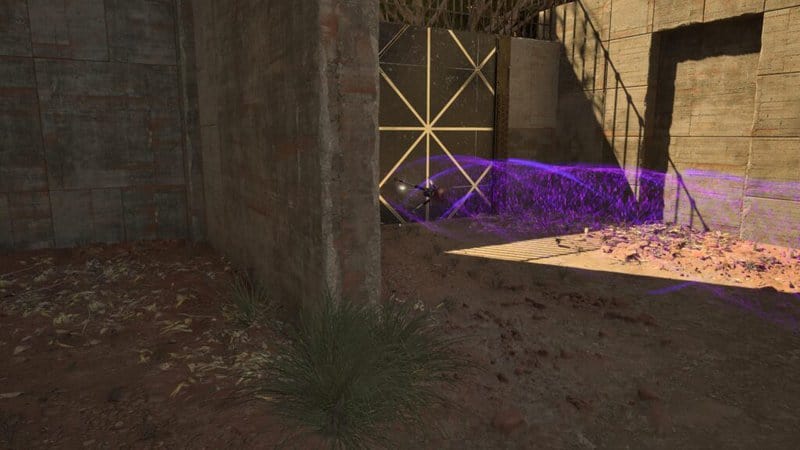
Put the absorber on the first switch and jam the other gate with the jammer. Place the absorber inside the barrier and step on the other switch to absorb the color red.
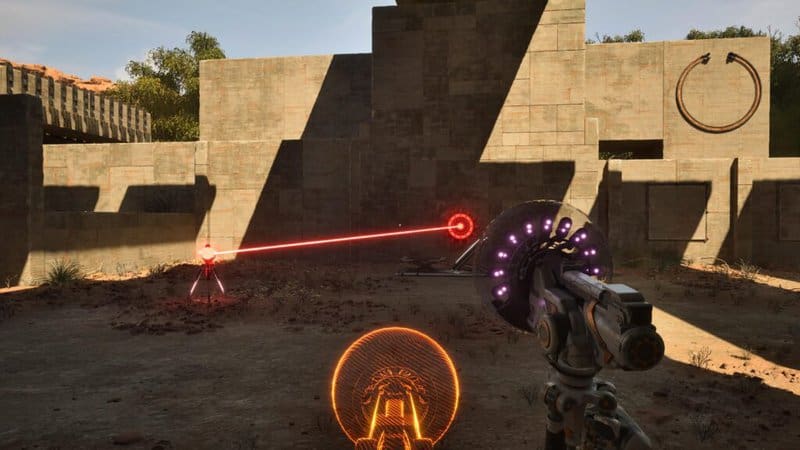
Link the absorber with the red lock. Take the jammer and swap it for the antigrav.
Create another gravitational field in the center. Take the red absorber and swap it for the jammer. Ride the gravitational field up.
Trade the jammer for the fan and jump back down. Place the fan back in its slot. Finally, swap the antigrav for the red absorber, bring it down, and connect it with the fan. Step on the air current to complete the puzzle.
The Bridge

For this bridge, go L-shaped piece, L-shaped piece, triangular piece, and then finish things off with the jagged piece.
On the second bridge, start with the triangular piece. Use the L-shaped piece, the square, and then the other L-shaped piece to wrap up this area for good.
t
t