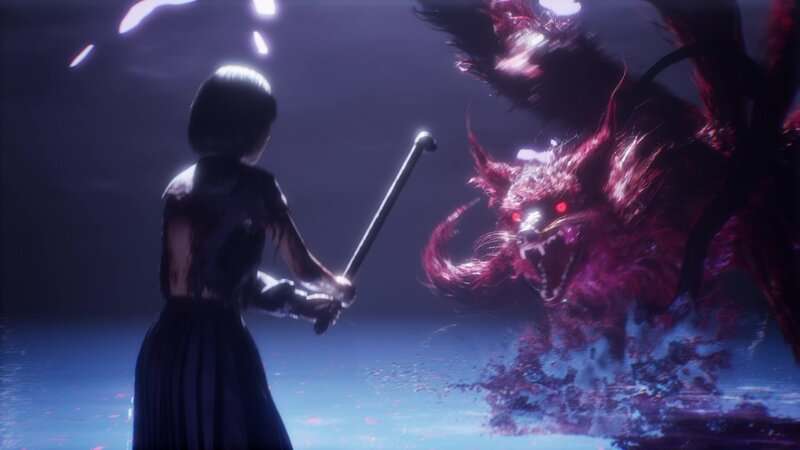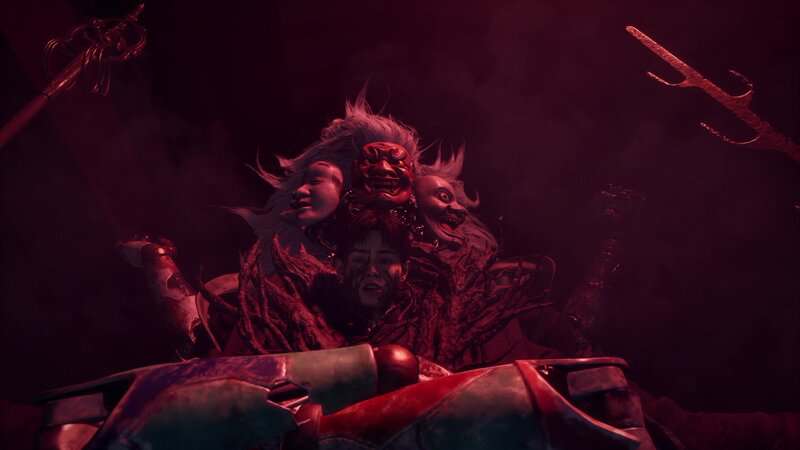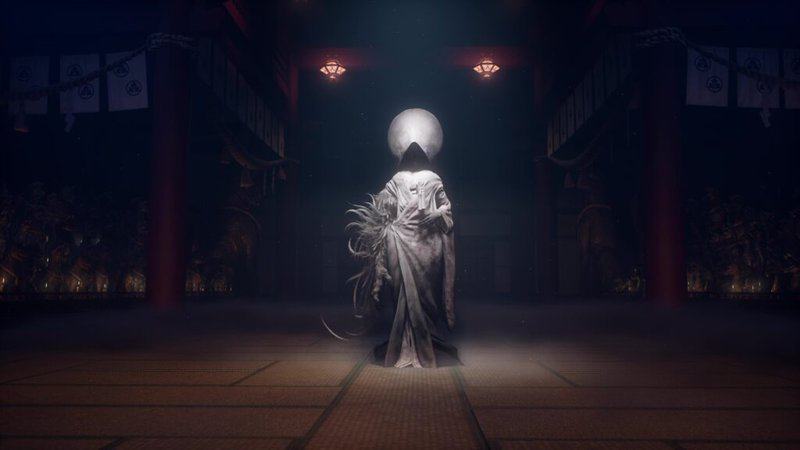
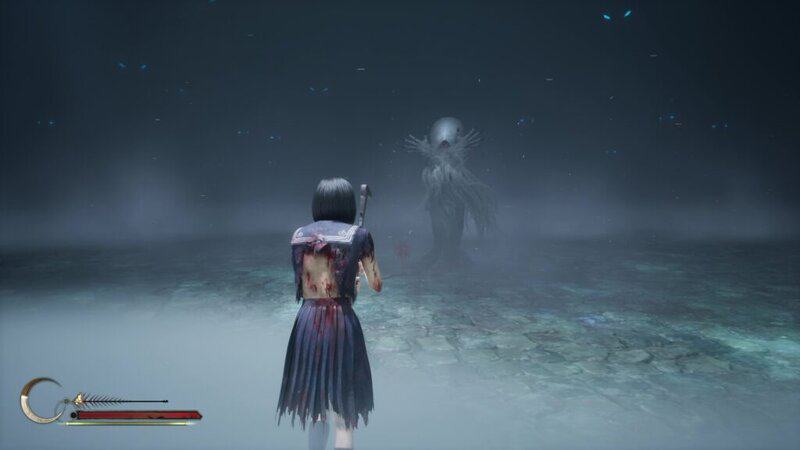
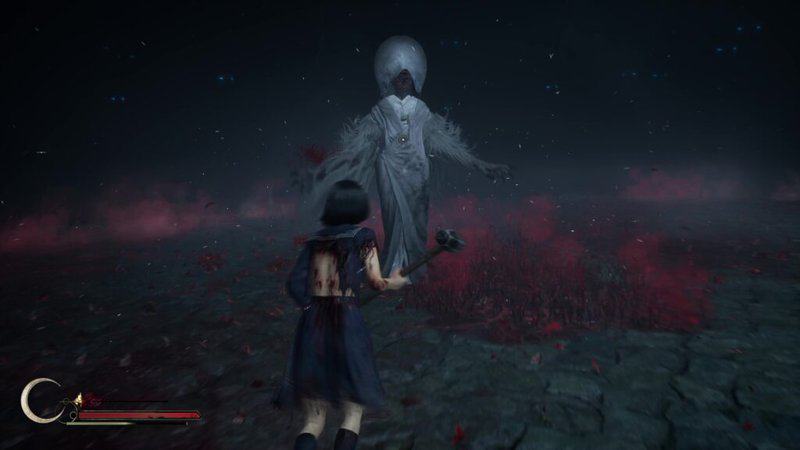
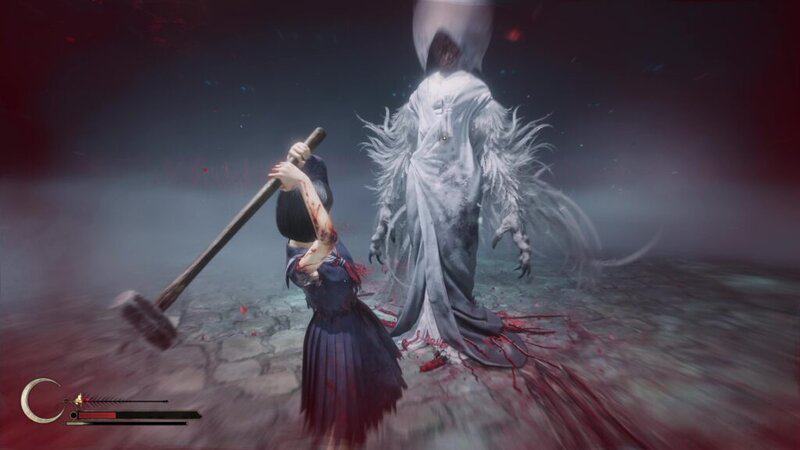
When players reach the ending of Silent Hill f for the first time, a creature known as the Shiromuku will be waiting to stop Hinako. This bride-to-be has been built up throughout the whole game as players watched her transformation from a young girl to these faceless monsters. Players who want to see the game’s first ending will need to know how to get Hinako to defeat this twisted version of herself. This guide will show players how to beat the Shiromuku Boss Fight in Silent Hill f.
How to Beat the Shiromuku Boss Fight in Silent Hill f
The Shiromuku is the final boss of the Coming Home to Roost ending, the first ending that you will see during your playthrough of Silent Hill f. While this boss does appear during the Fox Wets Its Tail ending, the fight is interrupted by that ending’s true final boss, so it’s only during the Coming Home to Roost Ending that you will experience the full fight against the Shiromuku.
Before starting this battle, you will want to make sure you’ve equipped the right Omamori perks to make this fight a bit easier. Depending on how much you’ve upgraded Hinako, it’s possible you could equip only a single Omamori or have multiple, so I will list several options and you can decide which you prefer. This first selection of Omamori are Hidden Omamori, so you will need to find them during your playthrough in specific locations. The Hawk Omamori is great for this fight since it will increase your focus charge time, allowing you to perform Focus Attacks quickly. The Suzuran Omamori will make Perfect Dodges easier to perform. This will be useful since there will be a lot more attacks coming your way as you’re battling multiple bosses at once.
At any hokora, you can spend Faith to get a random Omamori that is different from the Hidden ones. If you’ve gotten the Beetle Omamori is one of these hokora Omamori and is great for this fight since it increases damage done to stunned enemies. The Dolphin is great as well since it will restore Max Sanity on a Perfect Dodge. The Owl will greatly decrease sanity consumption while using Focus. Finally, the Mantis Omamori slightly restores health after each successful Counter. Acquiring any of these Omamori before this battle requires some luck, but make sure you put it on if you were lucky enough to get it from one of these small shrines.
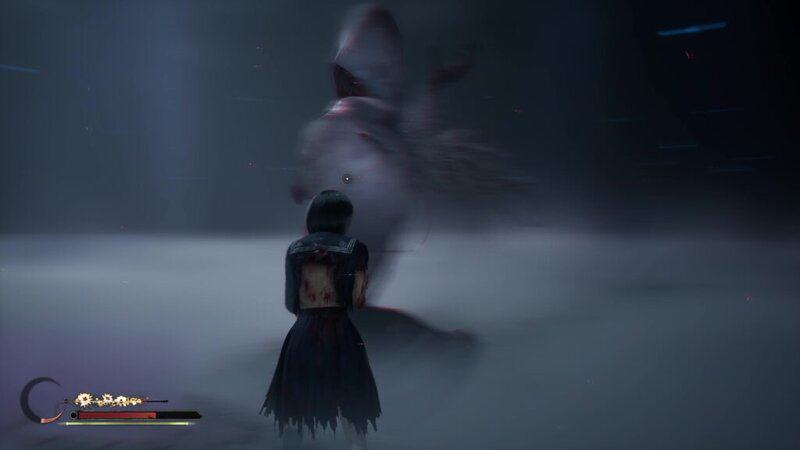
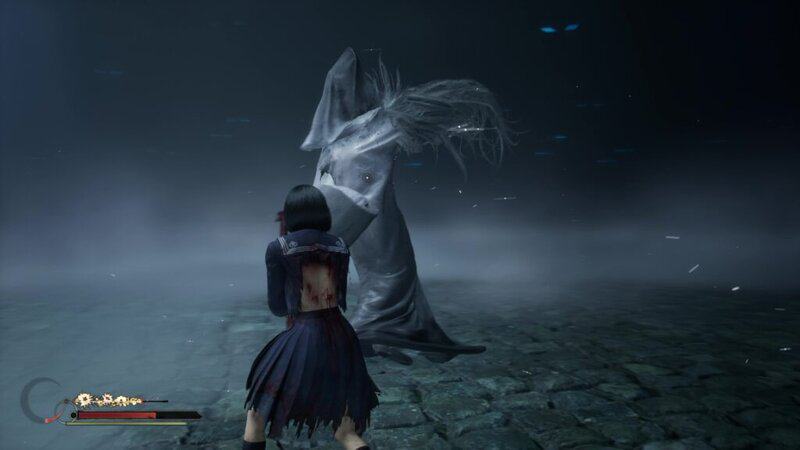
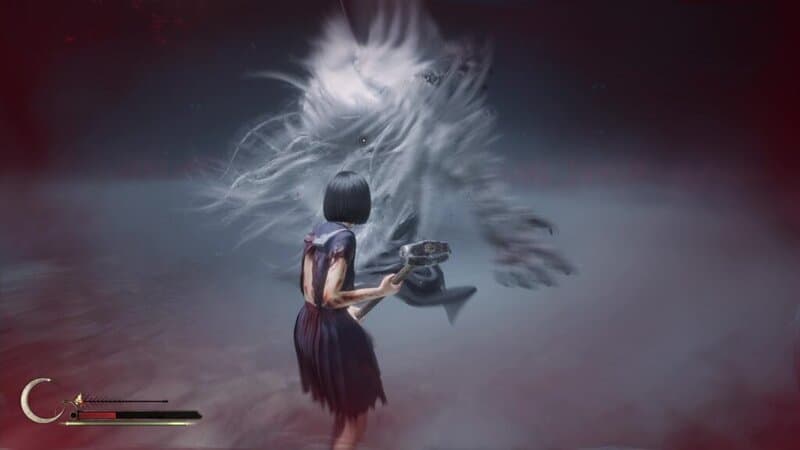
One of her most basic attacks sees her raise her hand and then teleport toward you. She will then perform a 3-hit slash combo.
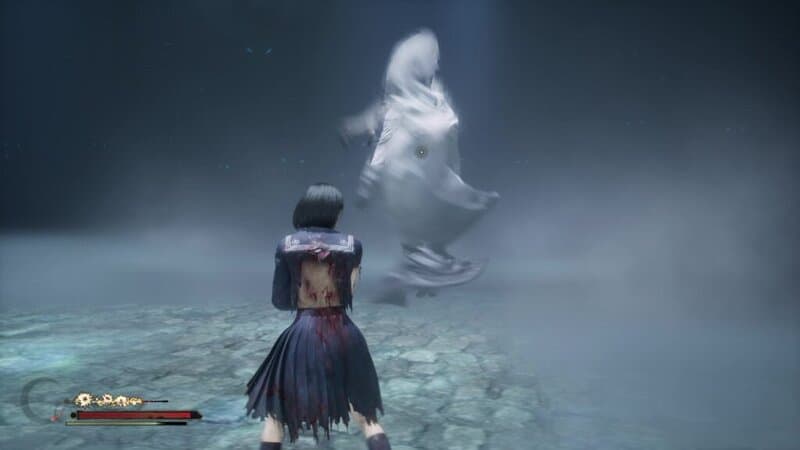
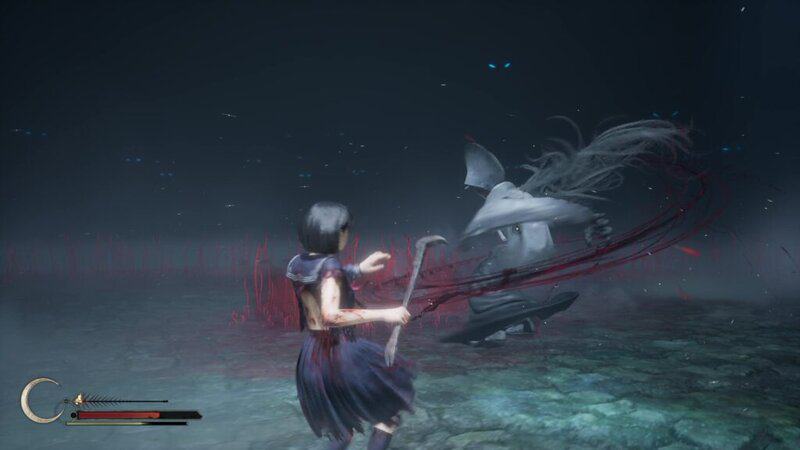
Another of her attacks starts similarly to the previous attack as she raises her Fox Arm. While the previous attack includes a teleport and sees her raise her arm straight up, this attack sees her raise her arm across her chest. This attack is a heavy attack that is a single slash that sees the boss slide across the ground while performing the slash. This attack can be parried.
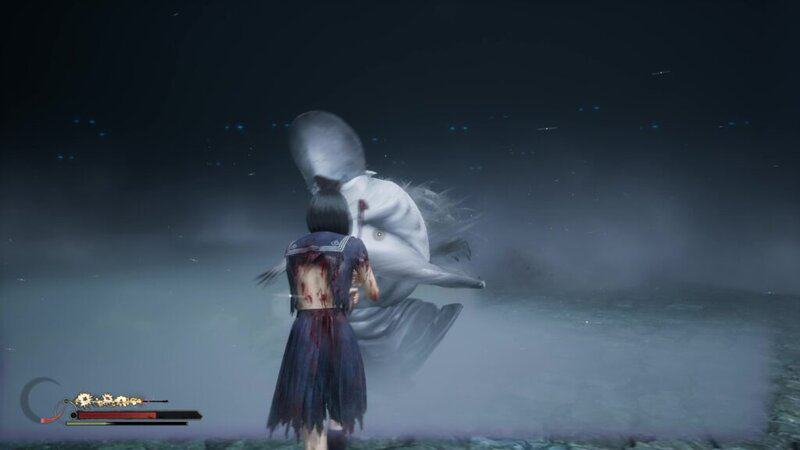
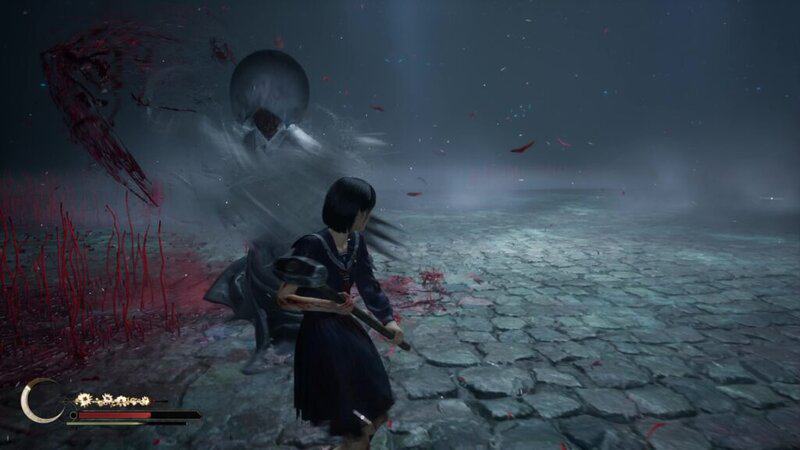
When she is far away, the Shiromuku will leap toward you and perform a spinning slash attack.
If you’re able to circle behind her, the Shiromuku will perform a fast, single-swipe attack to quickly get you back in front of her.
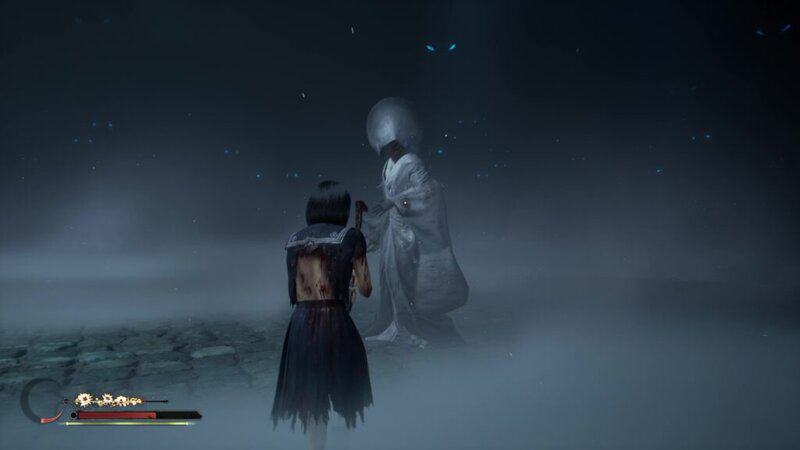
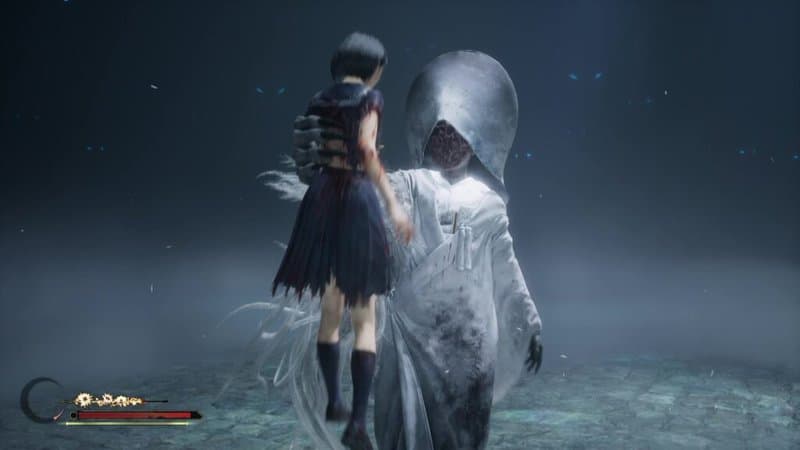
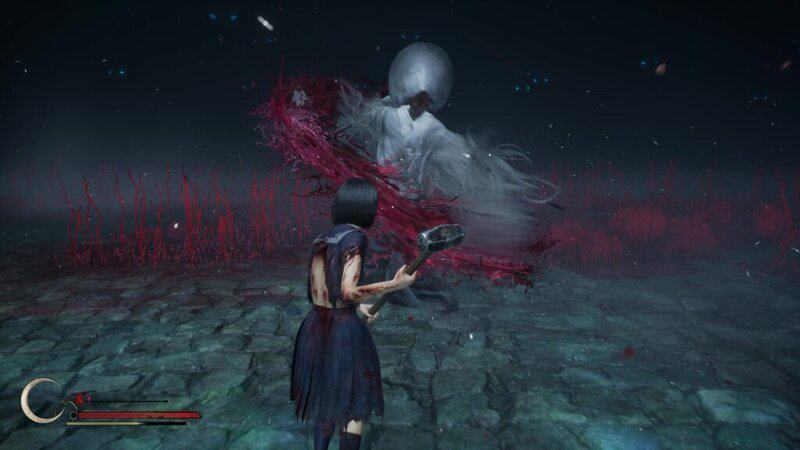
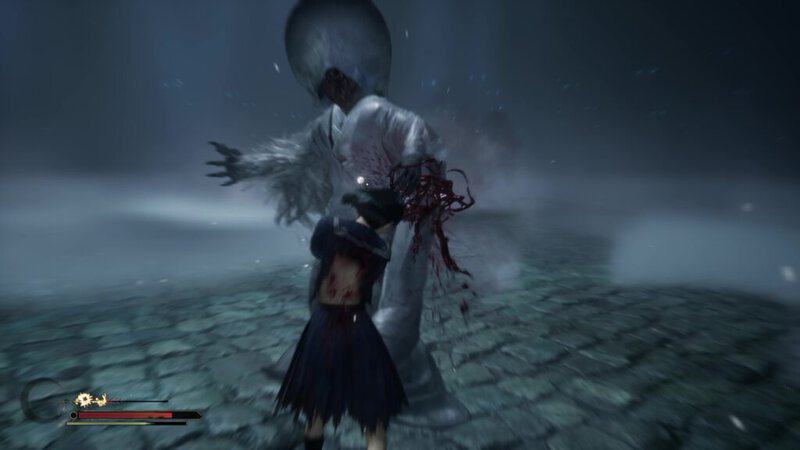
One of the Shiromuku’s most devastating attacks is her grab. She will twirl her Fox Arm around and then lower it down to her side. After a short delay, she will quickly charge toward you before swiping up for a grab.
After doing enough damage, she will drop to her knees and let out a scream that will stun Hinako. This will give her time to transition into Phase 2.

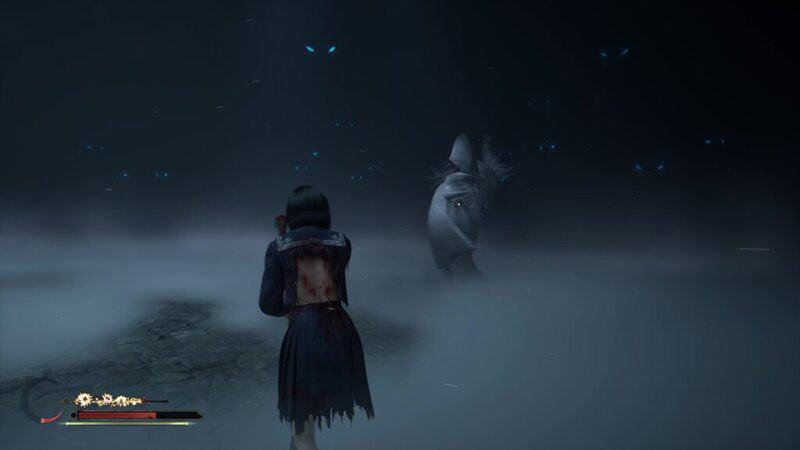
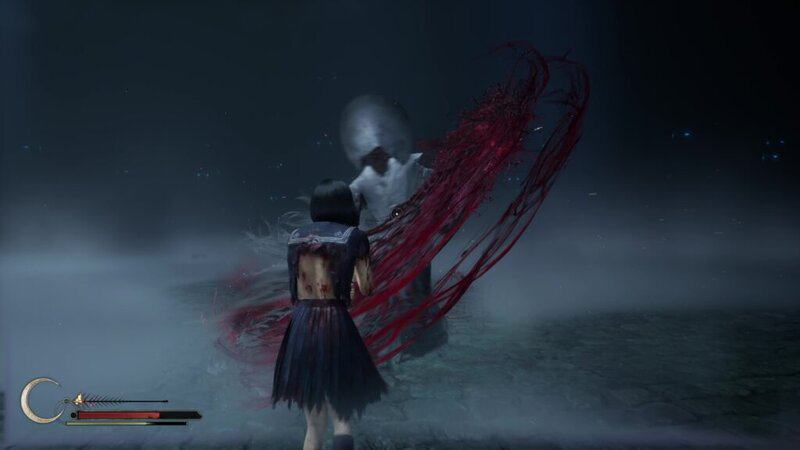
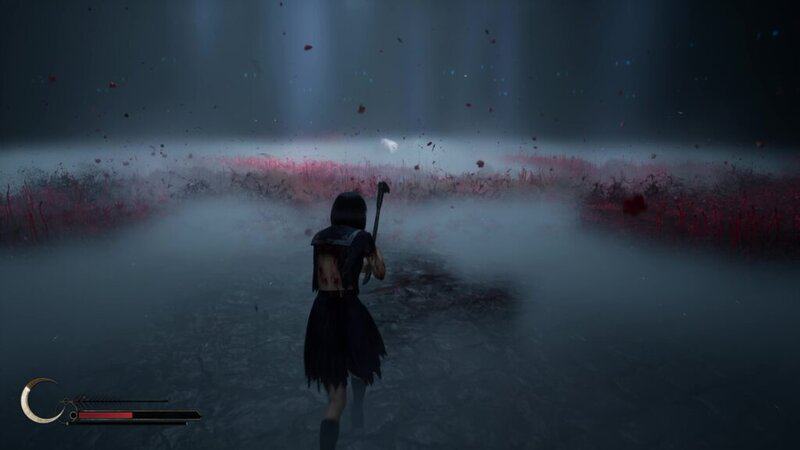
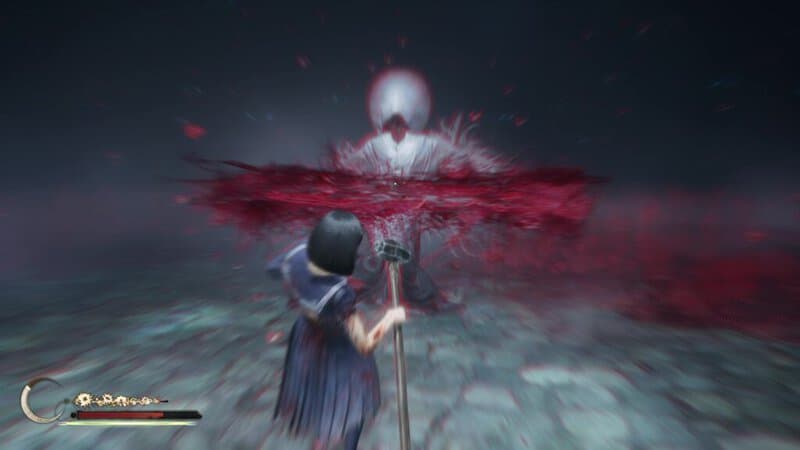
Phase 2 of the boss fight introduces a new attack where she can summon red Spider Lillies. These will create read areas on the ground that, if you are standing in them, will grab you. This will trap you for a brief moment while also doing some damage.
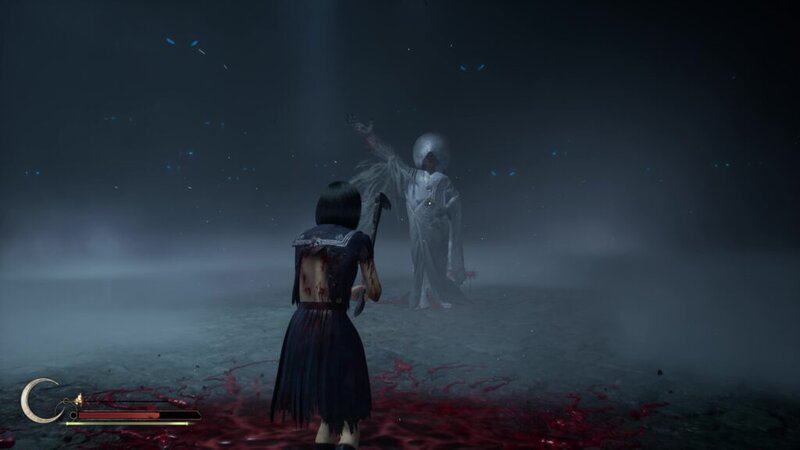
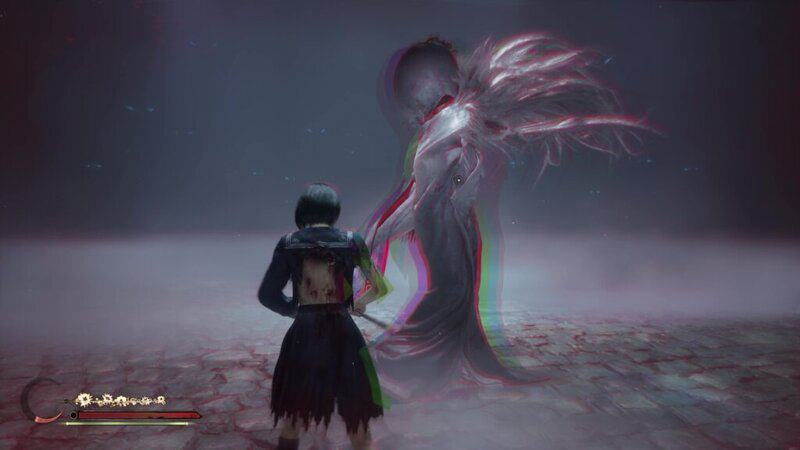
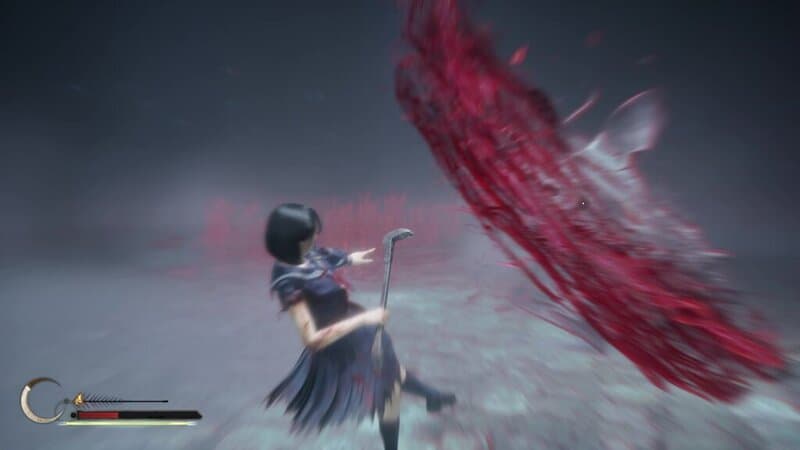
Besides this new Spider Lily attack, the Shiromuku retains all of her attacks from the previous phase. The only difference is that all of her attacks now create a red streak with each slash, increasing the range of each swipe as well as the damage done to Hinako when hit.
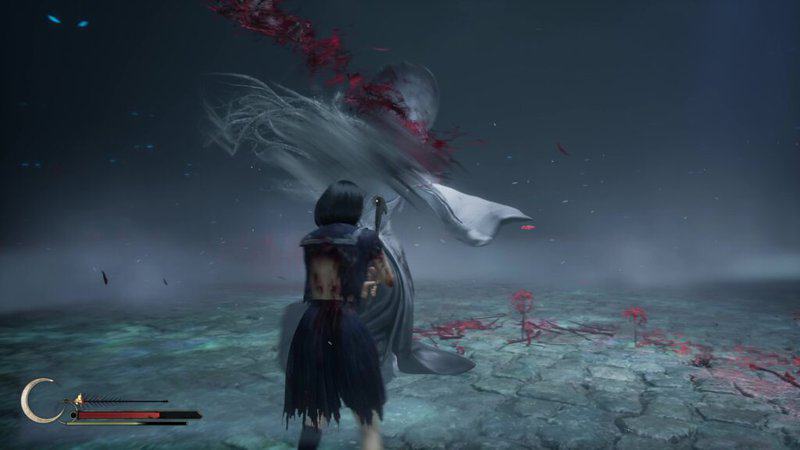
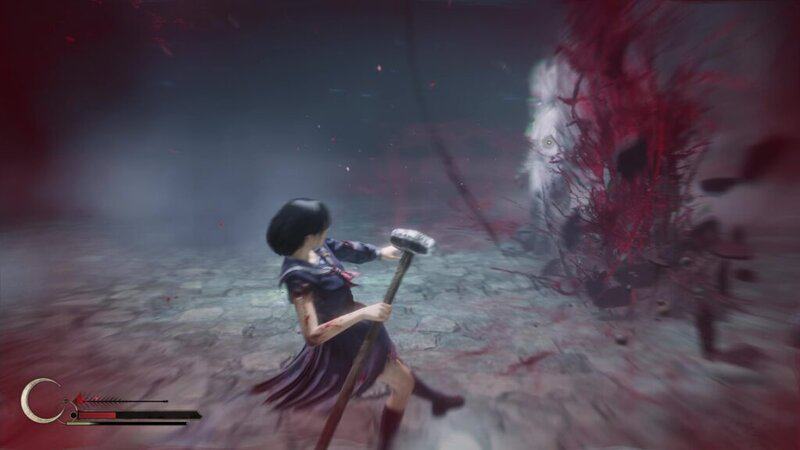
When you do enough damage in this phase, she will once again drop to her knees before being surrounded by the Spider Lillies. She will rip another Fox Arm out of the flowers, allowing her to use two Fox Arms in Phase 3.
With both of her Fox Arms now visible, she can now use one of her most devistating moves. She will cross her arms and drop to her knees, plunging her arms into the ground. This will fill the area with Spider Lillies and create a wave of energy through the boss arena. You need ro sprint as far away as possible. On the edge of the arena opposite the boss will be small area that doesn’t have flowers. Stand outside the range of the flowers. After a long charge up, the boss will release a powerful AoE attack, which can’t be dodged and does massive damage.
With her second Fox Arm, all of her attacks gain extensions. While they all retain the same startup animation as the earlier versions, there are some changes you need to look out for.
- The Combo Attack has two variants. The 3-hit version remains very similar, but there is less time between the attacks. The other is 4 hits and includes a mid-combo teleport attack that can be parried.
- The Heavy Attack has a second slash.
- The Jump Attack has a second slash and is immediately followed up with a teleporting uppercut.
- The Grab Attack has a longer delay before the charge, which is preempted by two teleports.
- The Spider Lillies attack summons more flowers.
Her new combo attack combines several of her other attacks into a single attack string
Use your parries and dodges to create openings to attack the bosses. You will be limited to the weapons that you’ve brought into the fight, so I would suggest having at least one Heavy Weapon to get some massive damage off against the bosses. Create openings, strike with some heavy strikes, parry when possible, and use Repair Kits to keep your most powerful tools. It’s important to note that dying to this boss won’t immediately end the fight, as Hinako is defiant in the face of defeat. She will get up and get a near-limited supply of Red Capusule healing items. You can die a total of two times and continue the fight. If you die three times, you will need to reload the boss from the beginning.
Repeat the process of dodging, parrying, and heavy attacks until you completely take down the boss’s health. A cutscene will play and the Shiromuku will vanish. If you beat the boss without getting killed once, you will unlock the “The Bird that Flies Highest” Achievement/Trophy. After the cutscene, you will start the final part of the Coming Home to Roost ending.

You now know how to beat the Shiromuku boss fight in Silent Hill f. Stay tuned to Gameranx for more news, updates, and guides for Silent Hill f as well as other great games in the future.