Table of Contents[Hide][Show]
If you’re looking for all of the side content in Kirby’s Return to Dreamland Deluxe, you won’t start finding it until you collect a handful of Energy Spheres hidden throughout the game’s levels. There are 120 in total, but players will start unlocking things like mini-games and challenge rooms aboard the Lor, Magolor’s crashed spaceship, as they collect the hidden Energy Spheres.
Here’s where to find all four hidden Energy Spheres in level 5-4 of Kirby’s Return to Dreamland Deluxe.
More Kirby’s Return to Dreamland Deluxe guides:
| 1-1 Energy Sphere Locations | 1-2 Energy Sphere Locations | 1-3 Energy Sphere Locations | 1-4 Energy Sphere Locations | 2-1 Energy Sphere Locations | 2-2 Energy Sphere Locations | 2-3 Energy Sphere Locations | 2-4 Energy Sphere Locations | 3-1 Energy Sphere Locations | 3-2 Energy Sphere Locations | 3-3 Energy Sphere Locations | 3-4 Energy Sphere Locations | 4-1 Energy Sphere Locations | 4-2 Energy Sphere Locations | 4-3 Energy Sphere Locations | 4-4 Energy Sphere Locations | 4-5 Energy Sphere Locations | 5-1 Energy Sphere Locations | 5-2 Energy Sphere Locations | 5-3 Energy Sphere Locations | How to Unlock Merry Magoland | Goal Game Explained |
Energy Sphere #1
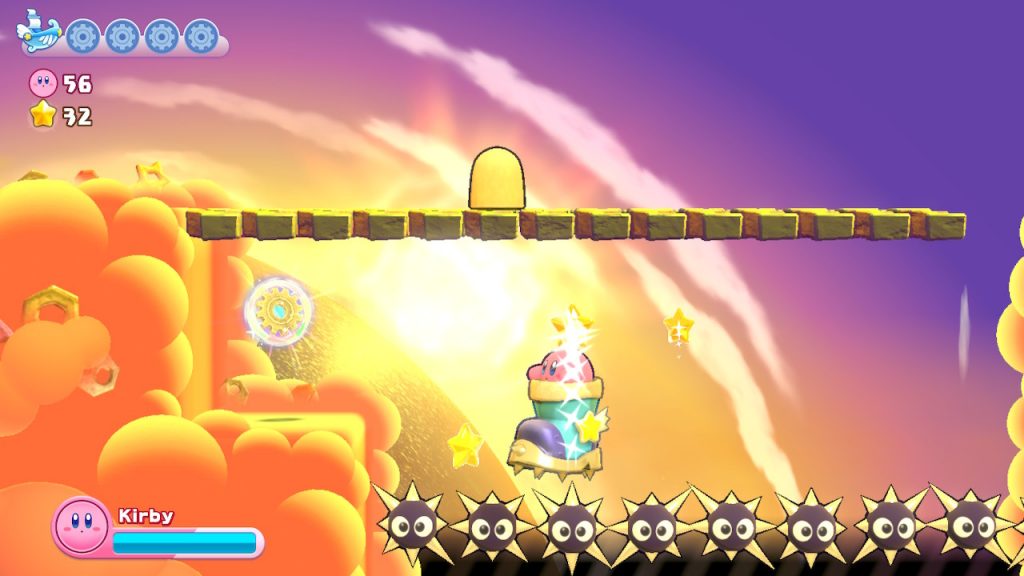
The first Energy Sphere is available in the first area of the level. Progress forward until you find the second giant boot for you to jump into. Use it to jump from cloud to cloud and destroy the enemies that are in your way until you eventually are jumping across a bridge.
At the end of the bridge on the right is a giant golden block for you to destroy with the boot. Break it and then jump down to the area below that’s lined with spike enemies. Jump on them to the left and you’ll find the first Energy Sphere. Grab it and then continue forward through the level.
Energy Sphere #2
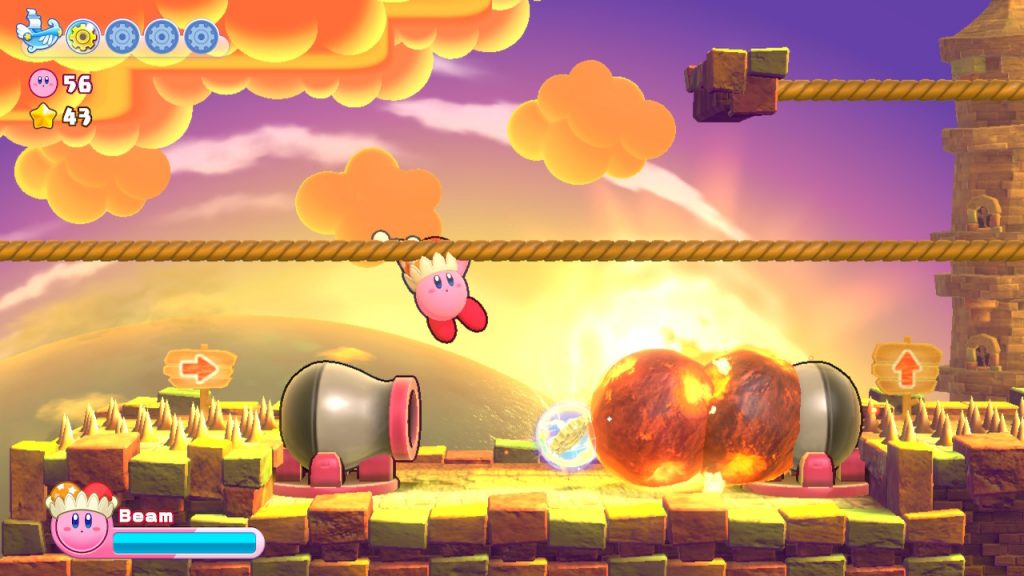
The second Energy Sphere is really easy to get and tough to miss. In the second section of the level, you’ll be climbing on ropes to avoid spikes and other traps. As you go, you’ll eventually climb on a rope over two giant cannons that are firing at each other. In between the two cannons, you’ll find the second Energy Sphere for the level. Jump down and grab it, but make sure to be quick as the cannons fire continuously.
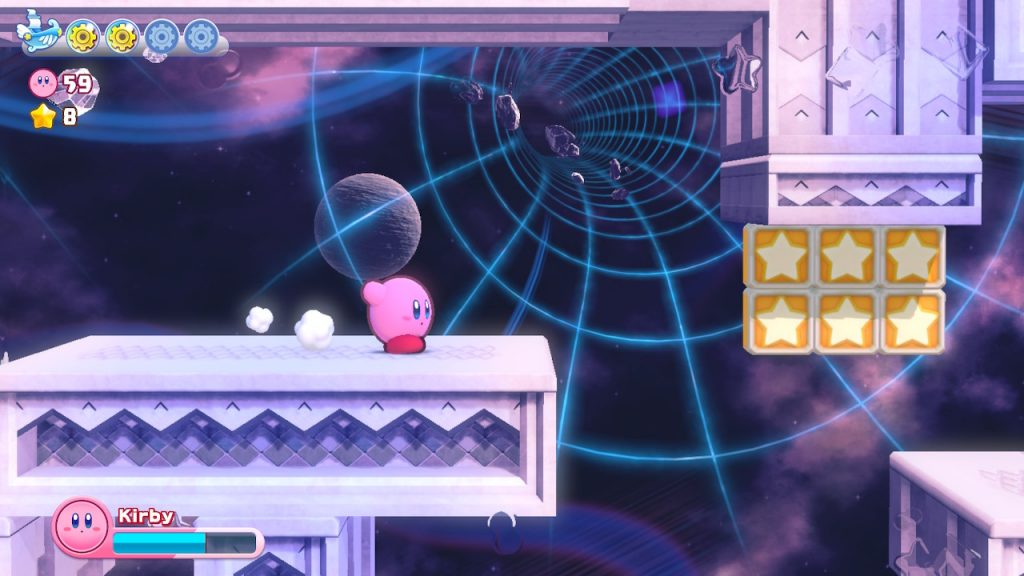
Energy Spheres #3 and #4
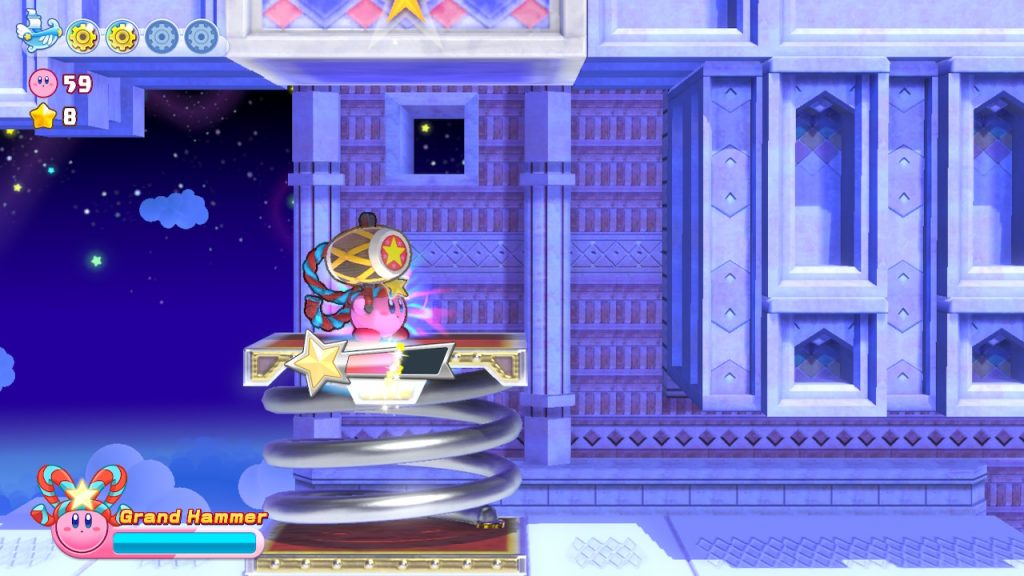
Progress through the level as normal until you start a mini-boss fight with Super Bonkers. Defeat the ape and then get the Grand Hammer copy ability. Head forward through the level, smashing in any giant star enemies or wooden posts. Eventually, you’ll find a giant spring to smash with your hammer. Do it and you’ll be launched into a giant belltower that will break to reveal a star portal. Hop inside.
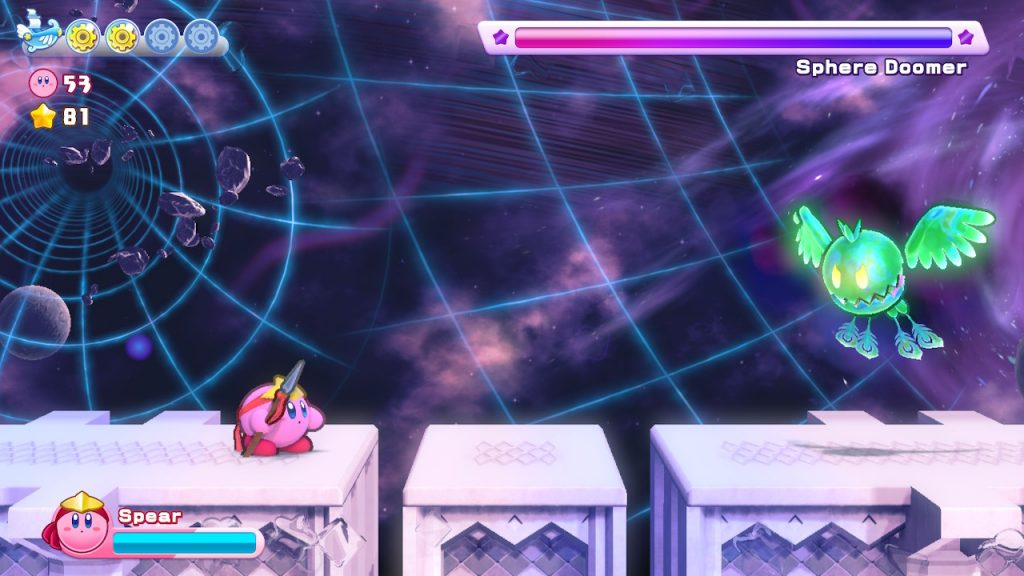
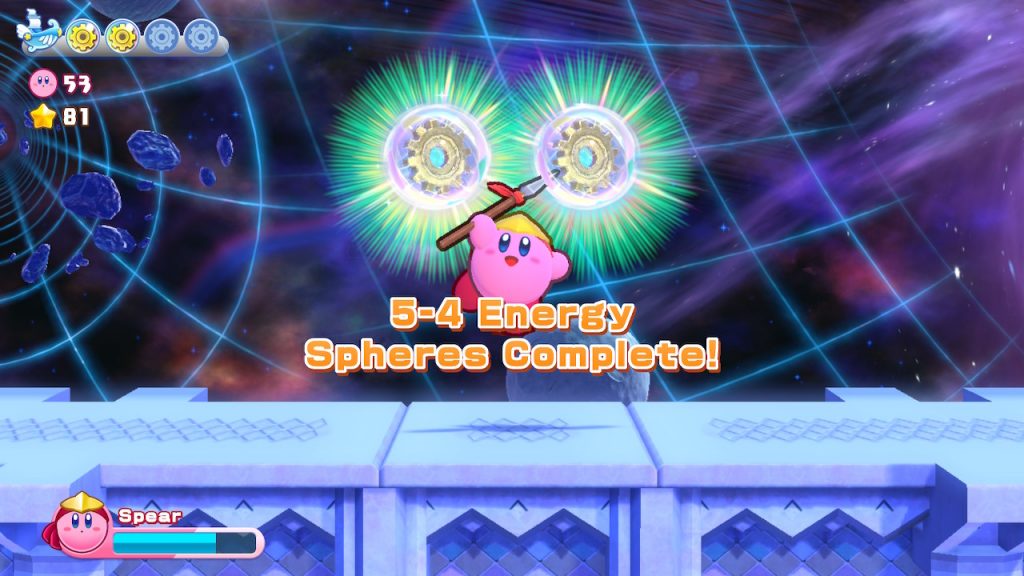
Outrun the purple cosmic wall using the moving platforms to speed past the area. Go through the star door at the end of the area and then grab one of the two powers from the ability pedestals in the next room. Proceed forward and you’ll face off against another Sphere Doomer. Beat the boss and the final two Energy Spheres will be yours for the taking.