Table of Contents[Hide][Show]
In Kirby’s Return to Dreamland Deluxe, there are 120 hidden Energy Spheres for the player to find. While that may sound like a tall order, they’re scattered across each of the levels making it much more manageable to find them all. If you’re going for 100% completion, however, you’ll still need to keep your eyes peeled for them.
Here’s how to find all four Energy Spheres in level 4-2.
More Kirby’s Return to Dreamland Deluxe guides:
| 1-1 Energy Sphere Locations | 1-2 Energy Sphere Locations | 1-3 Energy Sphere Locations | 1-4 Energy Sphere Locations | 2-1 Energy Sphere Locations | 2-2 Energy Sphere Locations | 2-3 Energy Sphere Locations | 2-4 Energy Sphere Locations | 3-1 Energy Sphere Locations | 3-2 Energy Sphere Locations | 3-3 Energy Sphere Locations | 3-4 Energy Sphere Locations | 4-1 Energy Sphere Locations | How to Unlock Merry Magoland | Goal Game Explained |
Energy Sphere #1
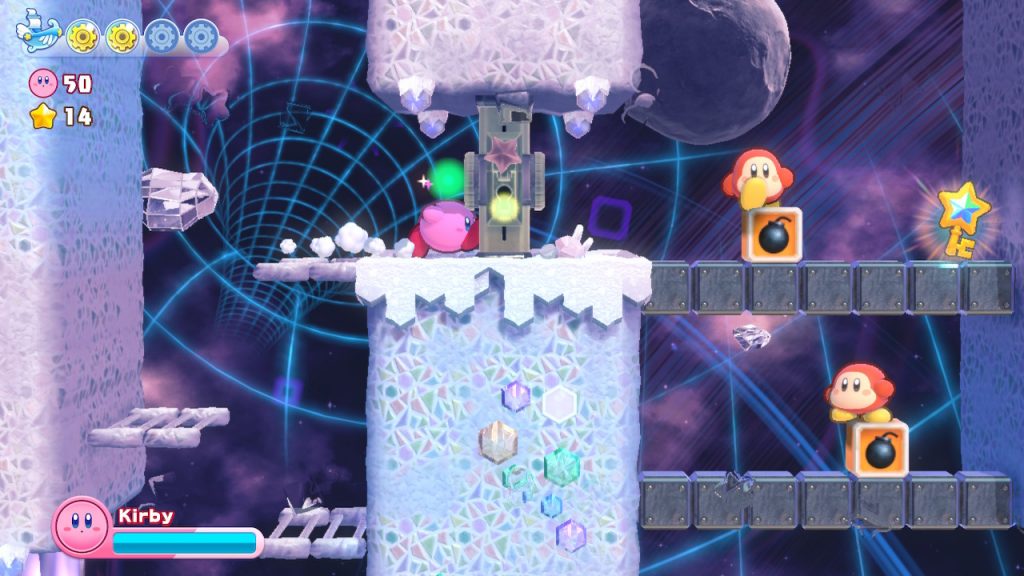
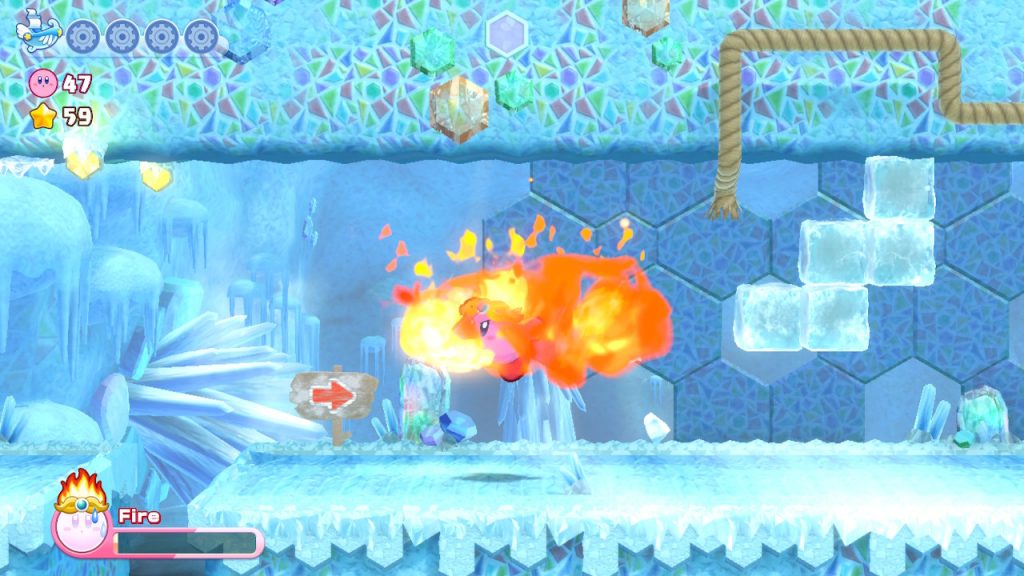
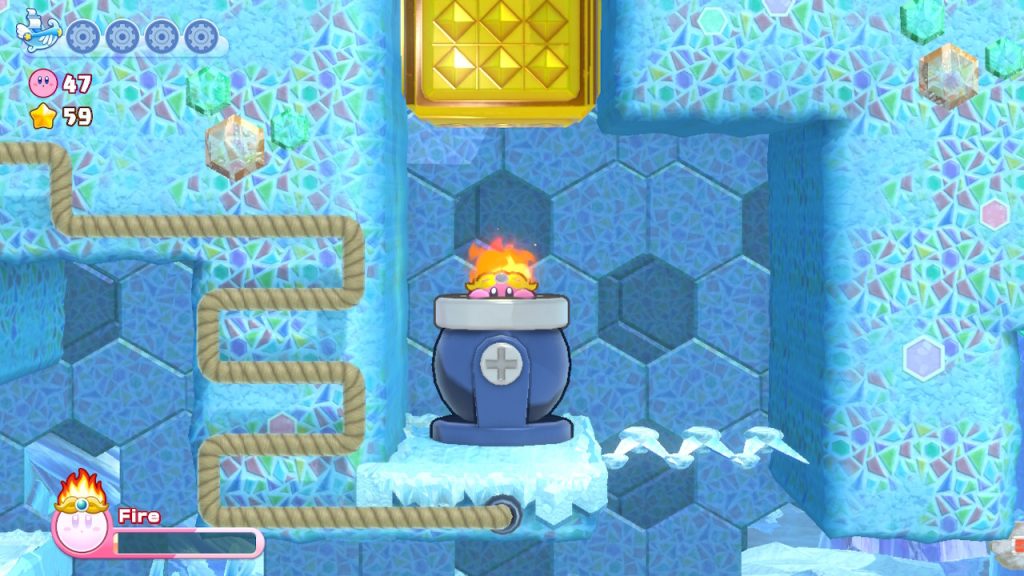
The first Energy Sphere doesn’t come until partway through the level in the section where you are walking through a narrow cave that has stalactites that fall on you. As you make your way through the area, get the Fire copy ability from the nearby enemies and then continue to the right. Melt the ice that’s hanging from the ceiling and protecting a rope fuse. Light the fuse and then run to the right breaking through the blocks in your way and avoiding the falling stalactites until you find a cannon in the area above you. Jump inside the cannon before the fuse lights it and you’ll be shot to a hidden area.
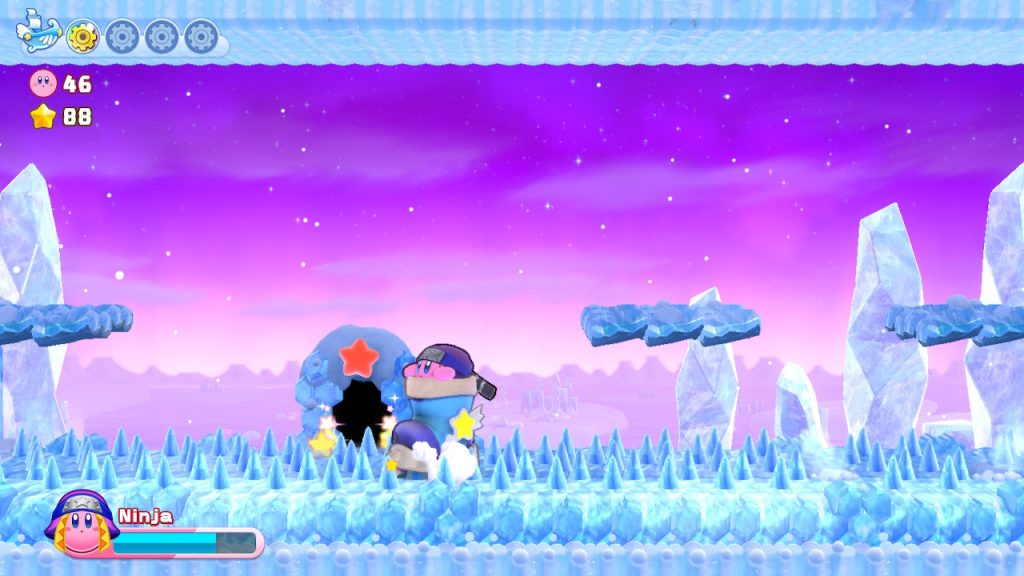
When you make it to the optional area, you’ll see a high path blocked off by indestructible blocks that has the level’s first Energy Sphere and a low path that has a switch, indestructible bricks, and a ninja enemy. Suck up the ninja and gain the Ninja copy ability. Walk to the indestructible blocks next to the ninja and then turn around to face the switch on the floor. Press B to throw a knife at the switch and, once it’s pressed, the bricks will disappear temporarily. When they do, run through and then jump up to the high path and grab the Energy Sphere.

Energy Sphere #2
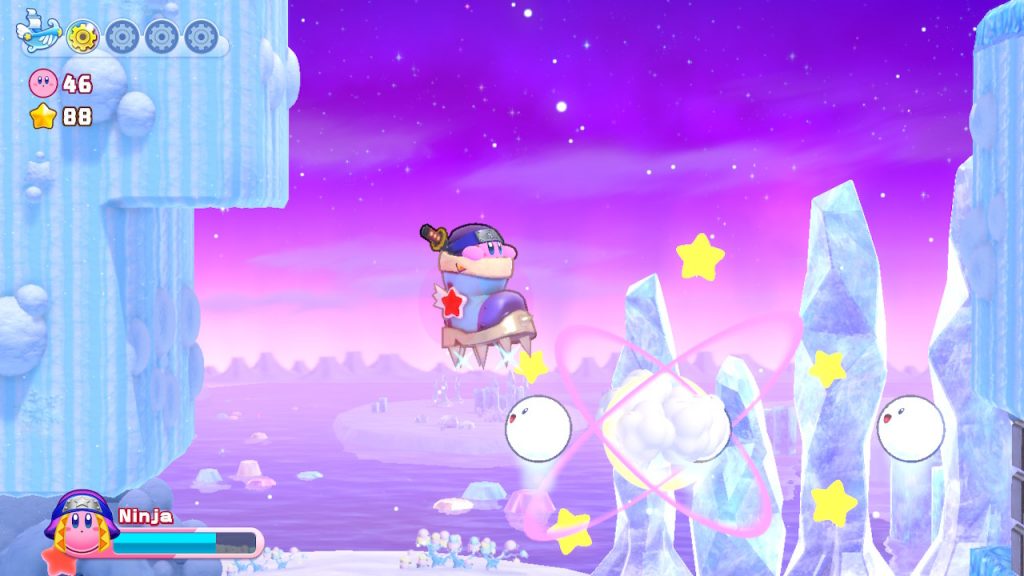
Continue through the level as normal until you get to the section where you’re hopping around in a big shoe. Navigate through the first section normally, but when you get to the second shoe, make sure to jump into it and destroy the three giant golden blocks to its right to reveal a hidden star door. Go inside.
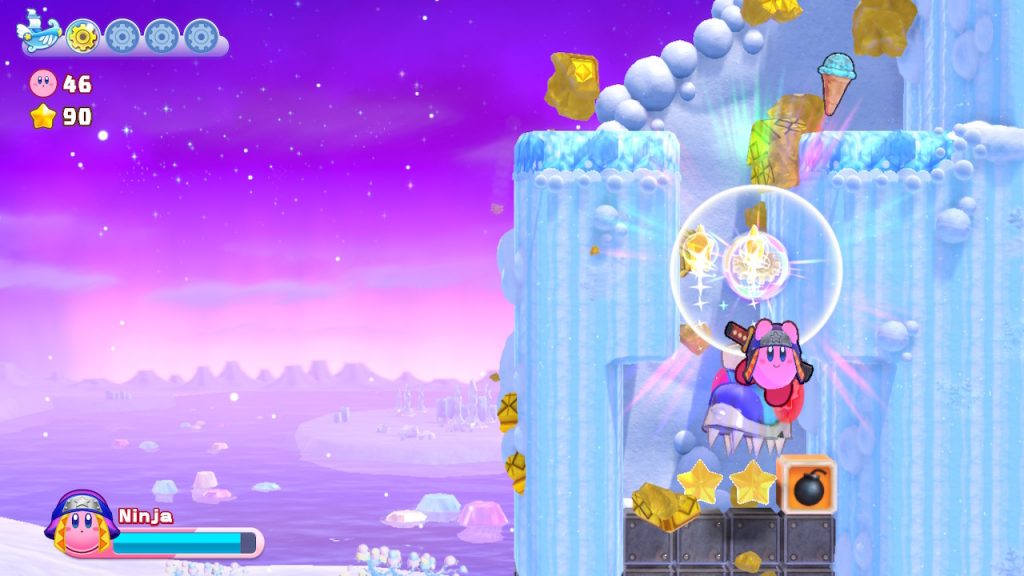
Inside, you’ll see five snowballs in a row that are constantly floating upward. Use them to climb upward to the right to smash through the two golden blocks blocking the way to the second Energy Sphere. Once the blocks are broken, grab the sphere.
Energy Spheres #3 and #4
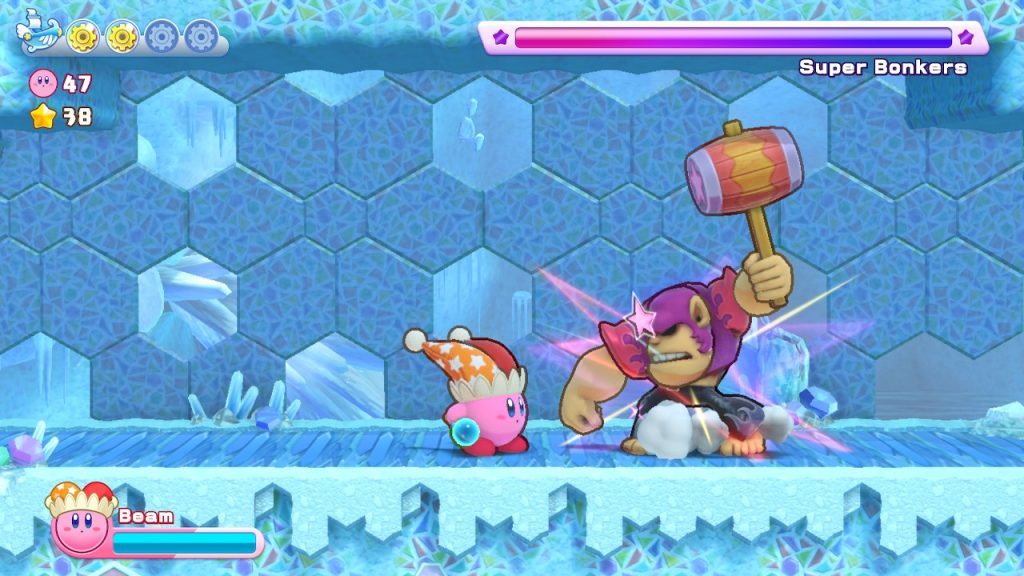
Play through the level until you enter a mini-boss fight against Super Bonkers. Once the monkey has been defeated, take its power to get the Grand Hammer ability. Smash your way through the next area until you find yourself crossing over five of the giant moving totem heads. Jump onto one as it reveals itself and then use the Grand Hammer to destroy them all. Once you do, a star portal will open. Jump inside once you’re ready.
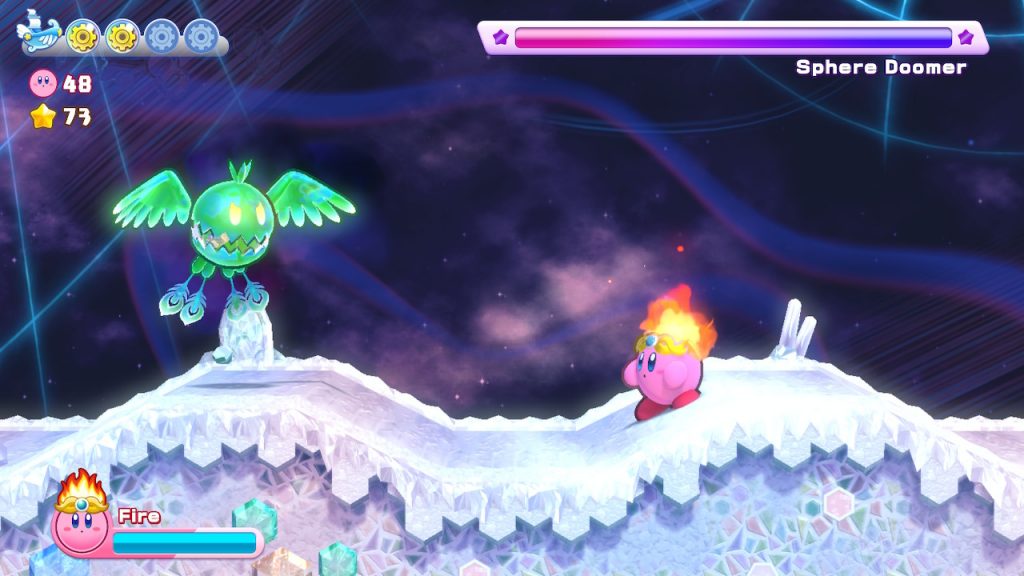
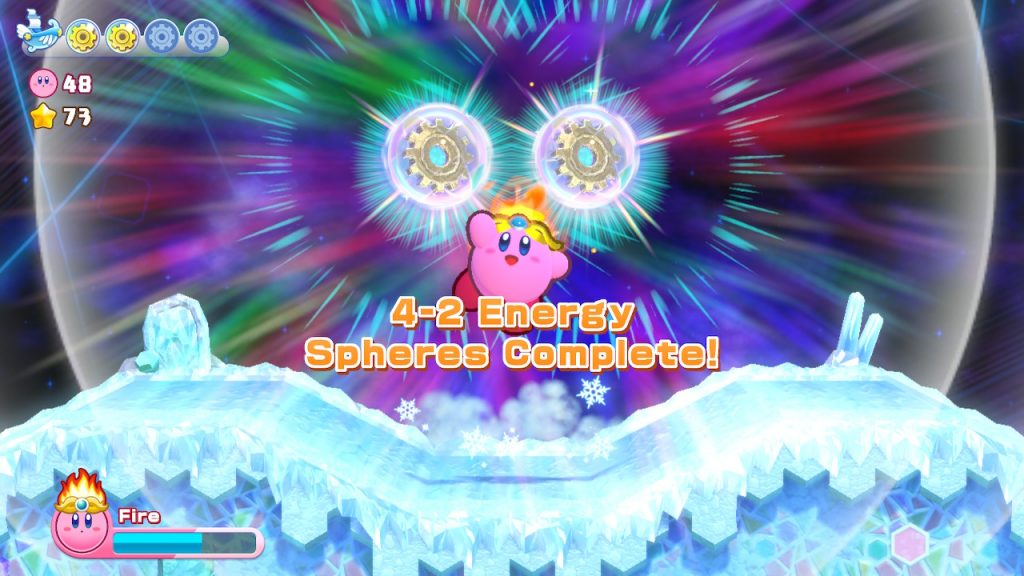
Inside the portal, outrun the cosmic wall that’s chasing you to the right as you grab the keys in your path to unlock each section. Once you get to the end, go through the star door. You’ll have the choice to choose between Ninja and Fire for copy abilities and then start another boss fight with a Sphere Doomer. Once it’s been taken down, the final two Energy Spheres will be yours for the taking.