Table of Contents[Hide][Show]
After crash landing on Planet Popstar, Magolor needs Kirby’s help to repair his ship in Kirby’s Return to Dreamland Deluxe. Not only do Kirby and friends need to find the five missing ship pieces, but players are tasked with collecting all 120 hidden Energy Spheres.
Here’s where to find all four Energy Spheres in level 1-4.
More Kirby’s Return to Dreamland Deluxe guides:
| 1-1 Energy Sphere Locations | 1-2 Energy Sphere Locations | 1-3 Energy Sphere Locations | How to Unlock Merry Magoland |
Energy Sphere #1
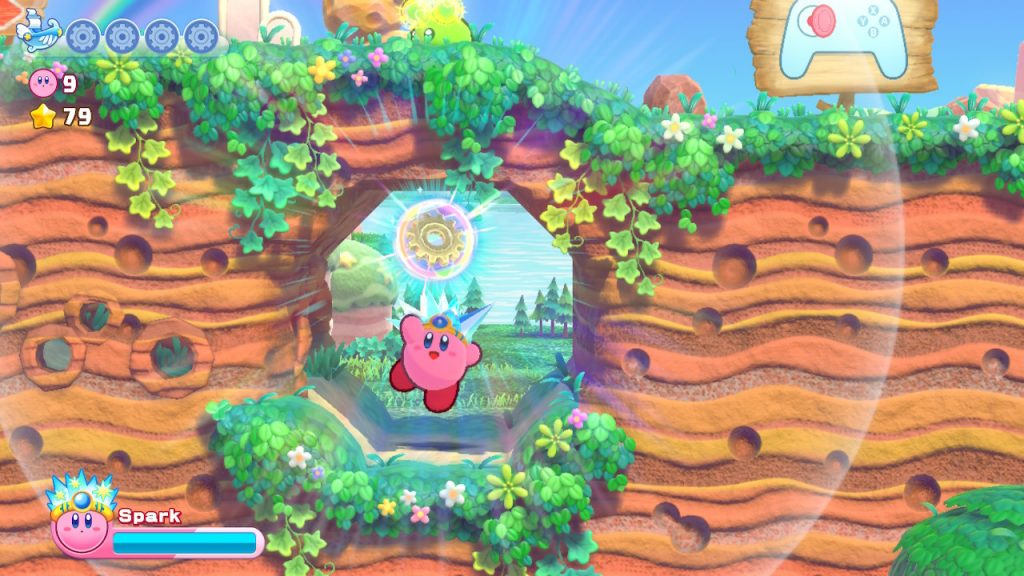
The first Energy Sphere comes pretty close to the start of the level. As you run to the right, you’ll eventually walk over a small bridge with a pineapple health item below it that’s surrounded on both sides by two falling rock structures. To the right of that area, there’s a ladder leading up to a ledge.
Instead of climbing the ladder up, there’s a hard-to-see entrance to a small cave on the left face of the cliff. Walk through it and on the other side, you’ll find some stars and the first Energy Sphere.
Energy Sphere #2
Continue through the level until you get to the end of the section where you use the magical french horn to protect yourself from falling stalactites and cannons that attack you from the ceiling of a cave. At the end of the section, you’ll find a switch to press that will free some giant waddle dees.
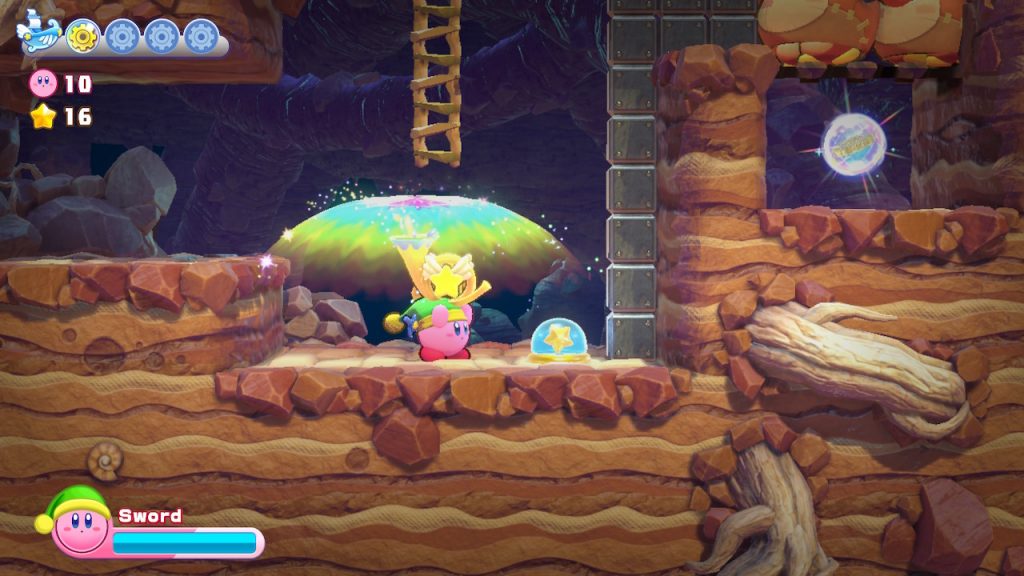
Hit the switch and the waddle dees will fall down near you, but if you still have the horn, you should be able to deal with them and the smaller waddle dees inside easily. After taking them out, hop up to the platform they were standing on and drop down below to grab the second Energy Sphere.
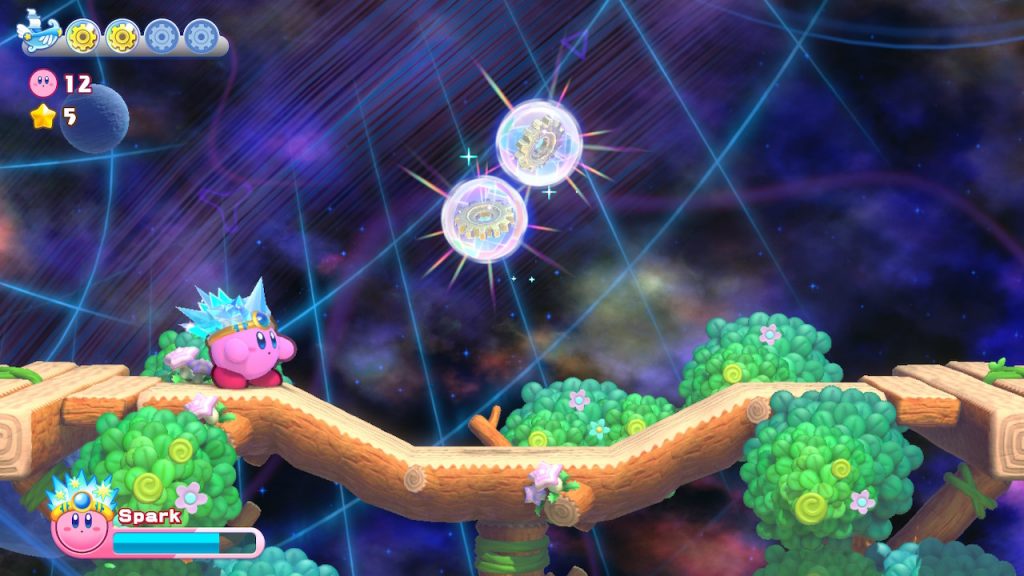
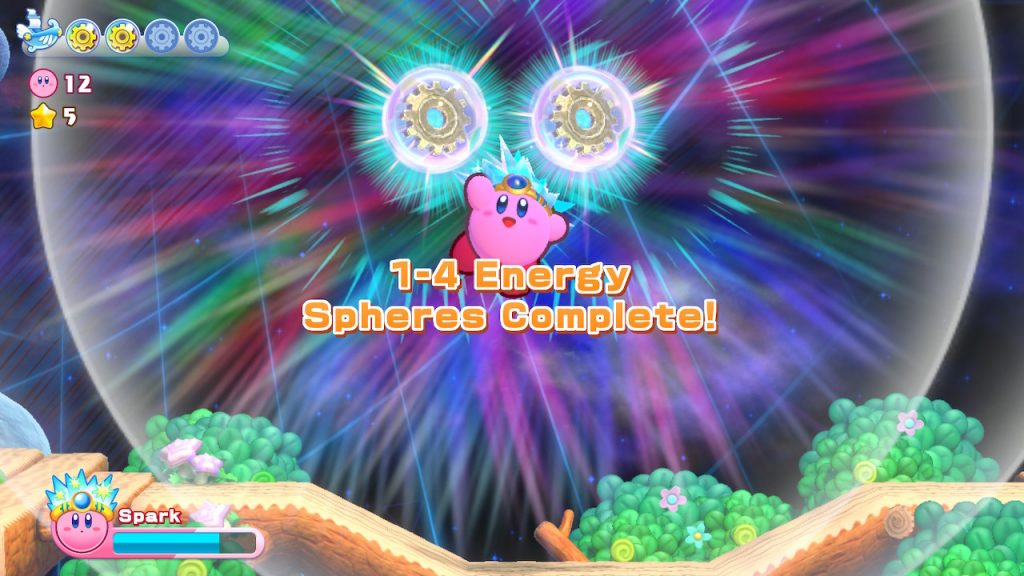
Energy Spheres #3 and #4
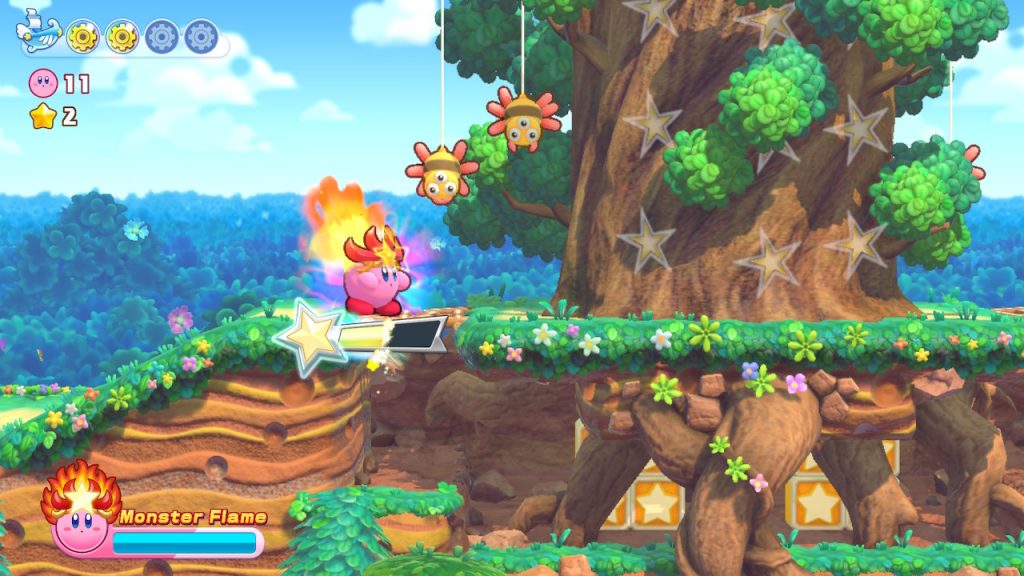
After exiting the cave, continue forward until you come across the special fire enemy that gives you the Monster Flame ability. Use it to clear your path to the right and you’ll eventually come across a giant tree surrounded by spiders. Use Monster Flame one more time and destroy the tree revealing a star portal. Hop into it.
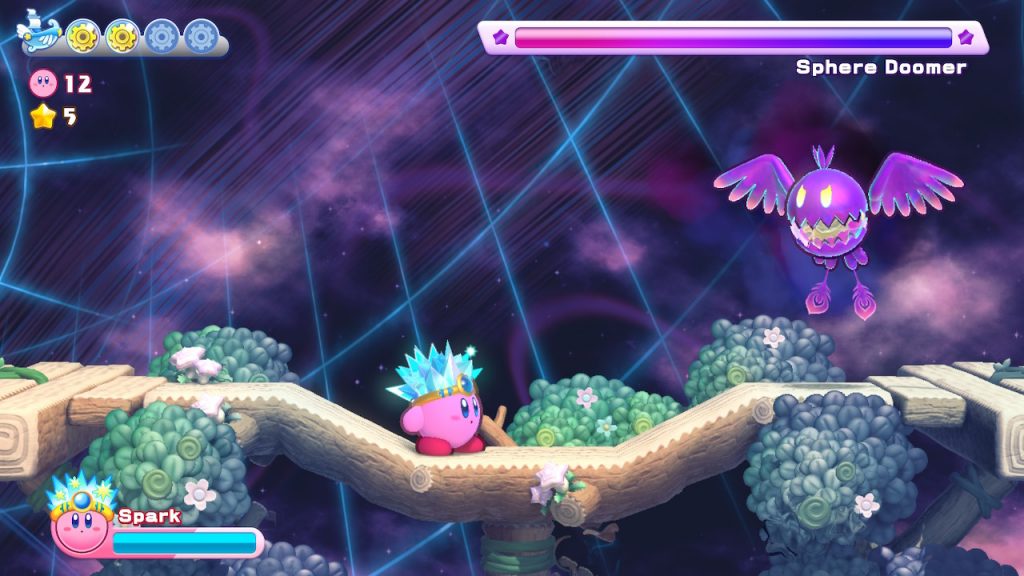
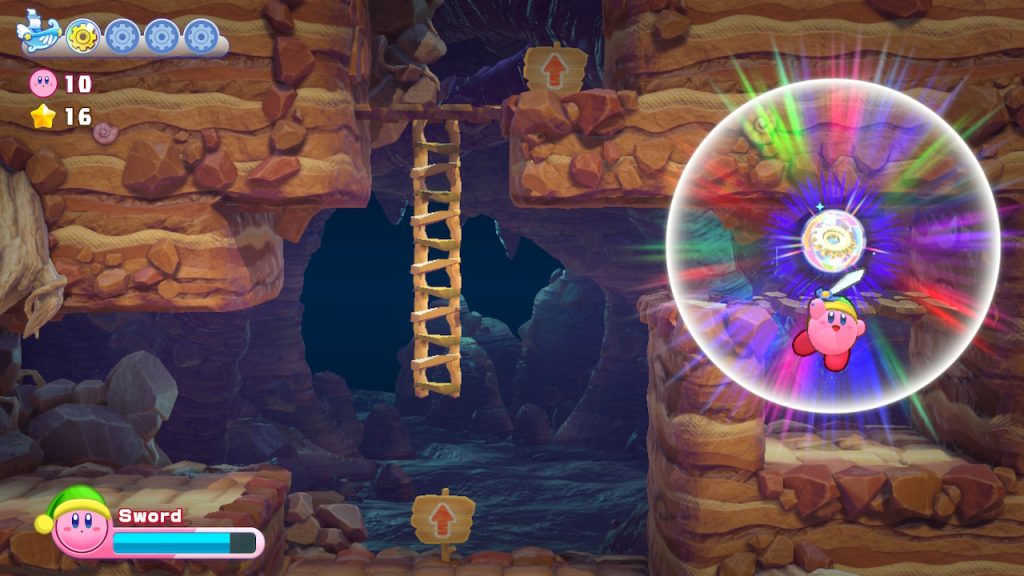
Inside, run to the right, making sure not to get caught by the purple water that’s chasing you and enter the door at the end of the path. Once you do, you’ll be given a choice between two powers. Pick one, and then continue to the right. You’ll be faced with a boss fight against another Sphere Doomer. Take it out and the final two Energy Spheres will be yours for the taking.