The beings known as Shadownsmiths have been teased as major threats in the Dark Aether story since MWZ, and now in Black Ops 7 Zombies, players have the chance to battle them. The first of these Ashes of the Damned encountered, known as Veytharion, is the final boss fight that awaits players at the end of the Ashes of the Damned Main Quest. With the help of the Wonder Vehicle, Ol’ Tessie, players will need to free this godlike entity from the grips of the Warden and save the souls of our crew. This guide will show players how to beat the Veytharion Boss Fight on Ashes of the Damned in Black Ops 7 Zombies.
How to Beat the Veytharion Boss Fight on Ashes of the Damned
Before starting your run at the Ashes of the Damned boss fight, it’s important that I lay out a few things you should make sure you equip in the pre-game lobby as well as cover some weapons and Gobblegums you should take with you. You will want to make sure you have some good Augments equipped to your Perks and Field Upgrade to make the game and the final boss fight easier, especially since this final boss is one of the most unique encounters in the mode’s history.
Juggernog is a Perk you are going to get every game of Ashes of the Damned, not just when you’re running the Easter Egg. The Probiotic Major Augment for Juggernog is one of the most important ones for you to get an extra 50 HP. Speed Cola is necessary because when you face off with the boss, you will be given a small window of opportunity to do damage to the boss, so making sure you can reload quickly can save your run.
Outside of Juggernog, the two most important perks for this Easter Egg are Quick Revive and the brand-new perk, Wisp Tea. Quick Revive is great for making sure you heal quickly from damage, but the biggest benefit it provides comes in the form of the Equivalent Exchange Augment. This Augment will allow players to revive themselves by killing a Zombie when downed up to 3 times. When you revive yourself by using this Augment, you will also retain all of your perks. This means that you will be able to get downed a total of 3 times before losing perks, so you won’t find yourself at a steep disadvantage after getting downed by the boss. Any Minor Augment is fine here, but I suggest the Karmic Return Augment if you’re playing co-op since it heals you if you revive a teammate. Swift Recovery is also great since it will allow you to get a boost of movement speed after a revive. For Wisp Tea, you will want to equip the Mask of Salvation Major Augment. This will allow the Wisp to revive you up to 3 times if you’re downed when the perk is active. This means, along with Quick Revive and Revive Kit, you will be able to get downed and revived up to 7 times during the boss fight. For Minor Augments, consider Extension and Haste to increase the time the Wisp is active and decrease the cooldown until the Wisp respawns, respectively
The rest of the perks are very much optional since you will rely mostly on Tessie to beat the boss, but they can be useful if used right. Double Tap Root Beer Perk is also a great choice to double your rate of fire. While I am going to suggest weapons later on that negate this Augment, the Double Impact or Double Standard Major Augments are great choices if you decide to use a bullet weapon during the final boss fight. The former will deal more damage on double hits that target the same enemy, while the latter will give all non-critical hits double damage when using a bullet weapon. The Double Time Minor Augment will further increase your rate of fire, also making it a great choice. Deadshot Daiquiri is also a great choice to get extra damage on those critical attacks.
Speed Cola’s Supercharged Major Augment is great here since it will charge your Field Upgrade faster. For the Minor Augment, I suggest Quick Swap to increase weapon change speed since you will be changing between the Wonder Weapon and your bullet weapon of choice. While you will spend most of your time in Ol’ Tessie, Stamin-Up can be useful if you find yourself separated from your truck during the quest or the boss fight, though it isn’t required. If you do end up using this perk to improve your sprint speed, the Dasher Major Augment will give you a longer Tactical Sprint Duration and the Hot Foot Minor Augment will give a speed boost for a short time after killing a Zombie with Equipment, which can quickly get you out of a jam.
When it comes to your Field Upgrade, there are actually two that you will want to use during your Easter Egg attempt. Toxic Growth should be equipped during the quest since you can use it to upgrade the rewards from the Plant Easter Egg. This will allow you to get free Pack-a-Punch and Rarity levels, meaning you will get much stronger way quicker than if you didn’t use this Field Upgrade. Your Augments don’t really matter, but the Extra Charge Minor Augment will allow you to use this ability more often and get more rewards. After completing the quest, you will want to go into the pause menu and equip Aether Shroud so you can use the ability to turn invisible during the boss fight and escape some of its deadlier attacks as well as the Zombies that assist it. The Extra Charge Minor Augments are great here. I suggest the Burst Dash Major Augment to get through the horde if you find yourself in trouble or need to get close to the boss. If you’re playing with a team, the Group Shroud Major Augment is also great.
If you also want to use Gobblegums, here are a few suggestions. Arsenal Accelerator and Power Keg are great to keep your Field Upgrade charged, with the former increasing your ability’s charge rate for 5 minutes and the latter giving you an instant full charge of your Field Upgrade. Shields Up will give you a fresh set of armor and make it strong for a short time to make it harder for the enemies to down you. The Aftertaste Gobblegum will allow you to retain all of your perks after using a Revive Kit, making this extremely useful after you run out of Equivalent Exchanges. Idle Eyes is also great because it will cause all Zombies to just stand still for 30 seconds, giving you an opening to just focus on the boss. If you’re playing co-op, Phoenix Up and Near Death Experience are great for making sure your team stays alive.
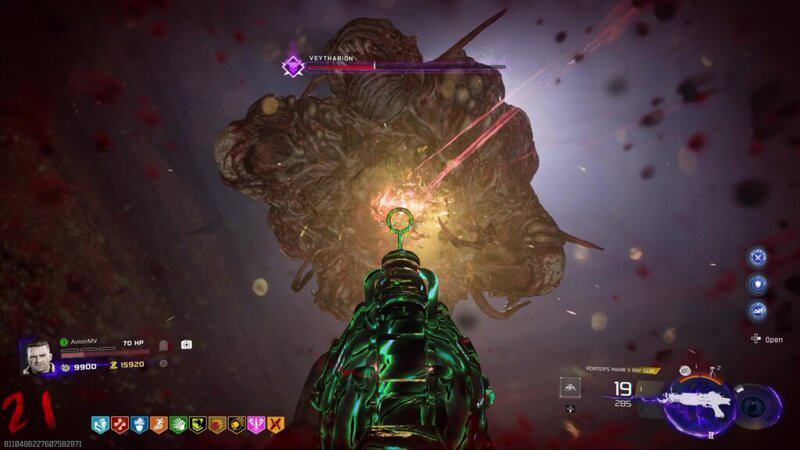
As I’ve said before, Tessie is going to be your main weapon against this boss, so your guns are too important. What is required to make sure you get the most out of my suggestions is that you bring in a highly upgraded pistol weapon. This can be any of the normal pistol guns, as well as the Ray Gun or Ray Gun Mark II. These will be required since you will switch to a pistol when you’re downed. If you don’t have a pistol as one of your weapons, you will switch to a default, unupgraded pistol. This will make it impossible to kill a Zombie and use Equivalent Exchange. If you have an upgraded pistol or one of the Ray Guns as one of your weapons, you will equip that weapon when you’re downed, making it easy to get back up. If you use the normal Ray Gun, I also suggest getting PhD Flopper to negate its splash damage so you don’t accidentally down yourself. The Mark II is also really good for damaging the boss in its stagger state during Phases 2, 4, and 6.
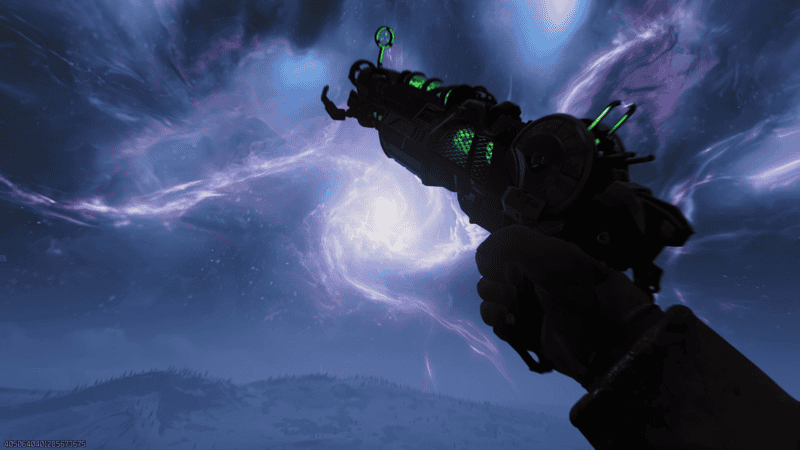
Once you have one of these weapons ready to go, your second gun can be one of several options. The Necrofluid Gauntlet is a really good Wonder Weapon and can be used to get a Max Ammo and Max Armor that are normally out of reach and can only be acquired with this weapon. If you’re fine with forgoing those powerups, you can use a weapon like the DS20 Mirage to deal massive damage due to its quick fire rate, made even better if you use Double Tap. Also, make sure you bring either Monkey Bombs, LT53 Kazimirs, Decoy Grenades, or Smoke Grenades since you will sometimes find yourself out of Tessie and forced to take time to repair her, so you will want some equipment to keep the Zombies away from you while you fix your truck. Make sure all of your guns are at least at Pack-a-Punch Level 2 and, if they aren’t Wonder Weapons, get them to Legendary Rarity.
With all that said, it’s time to talk about the boss.
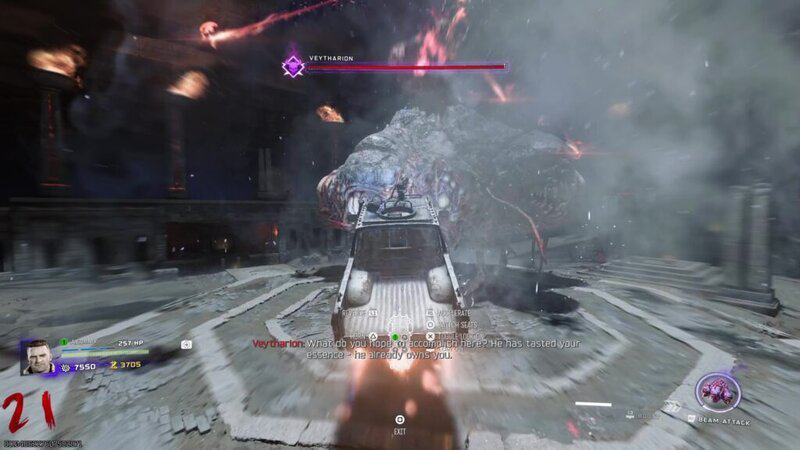
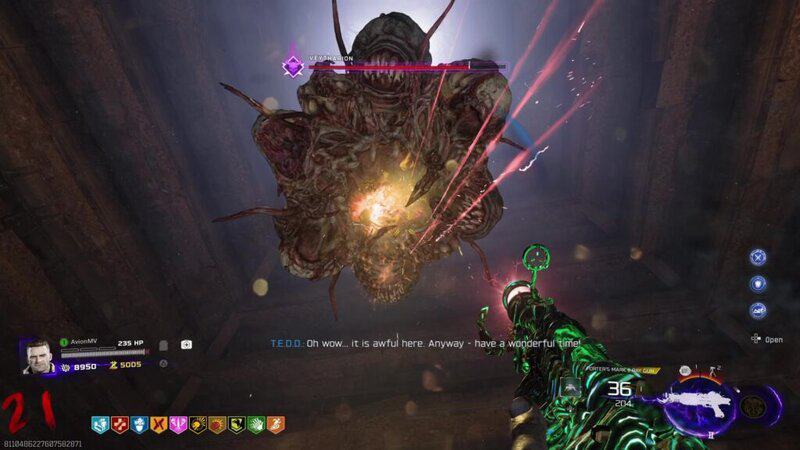
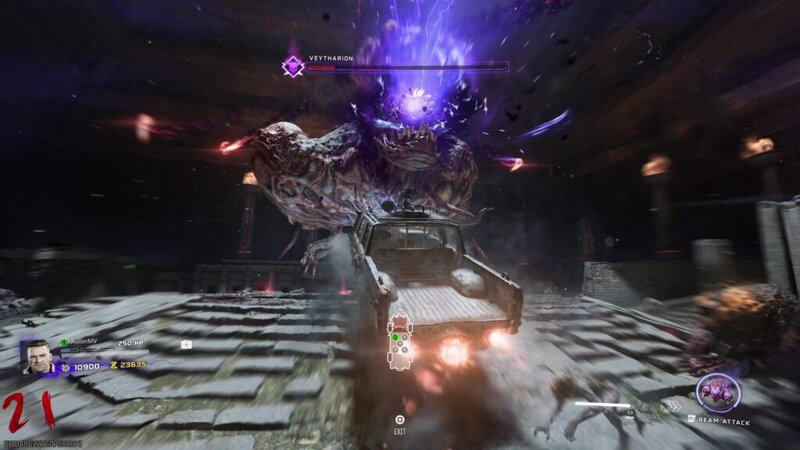
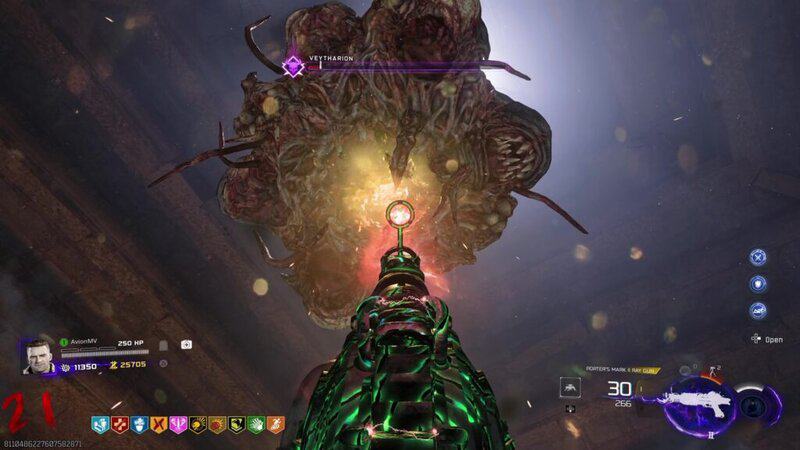
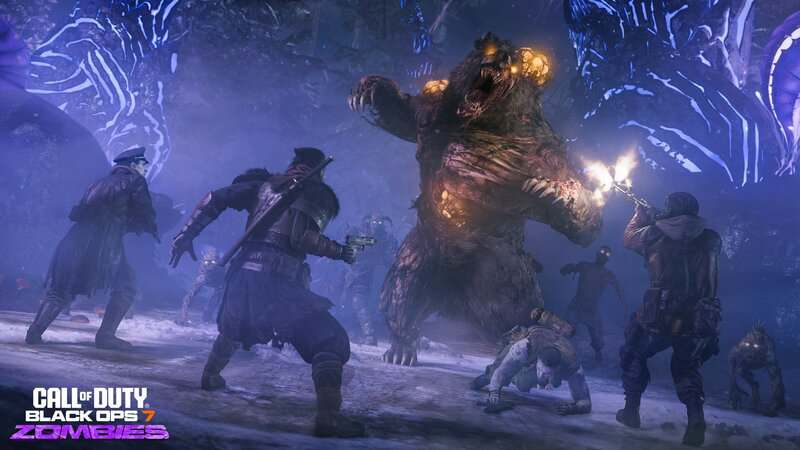
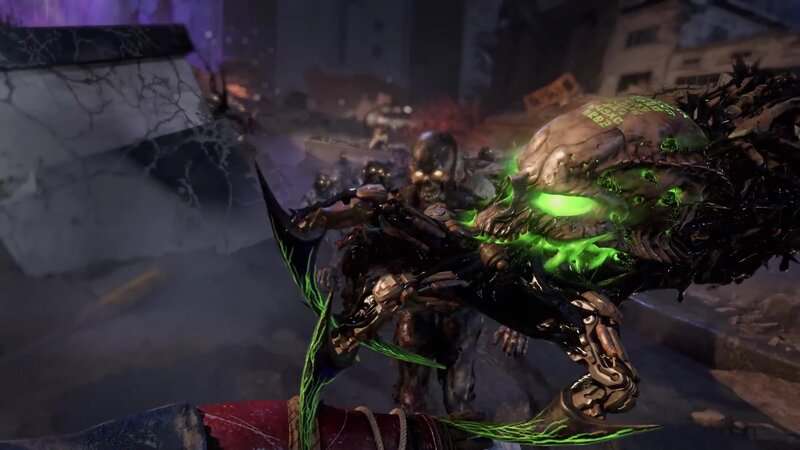
After interacting with Klaus and collecting the 12th and final wisp in the Fog, you will be teleported into the strange pyramid above Blackwater Lake and into the boss arena. This is where you will be able to take on the Shadowsmith known as Veytharion.
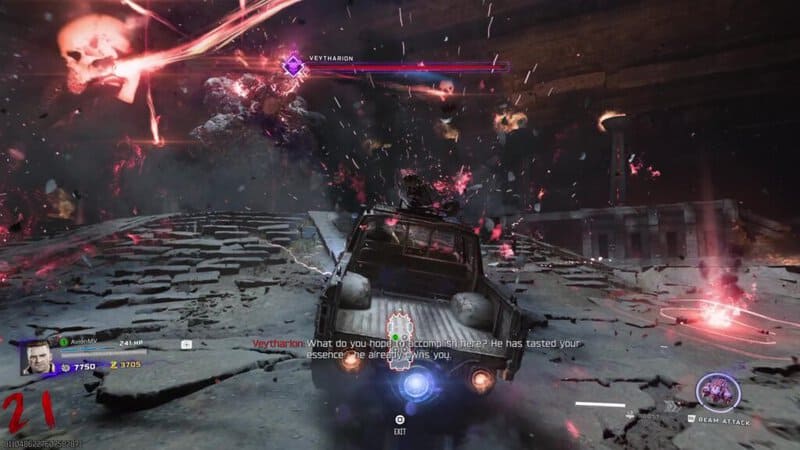
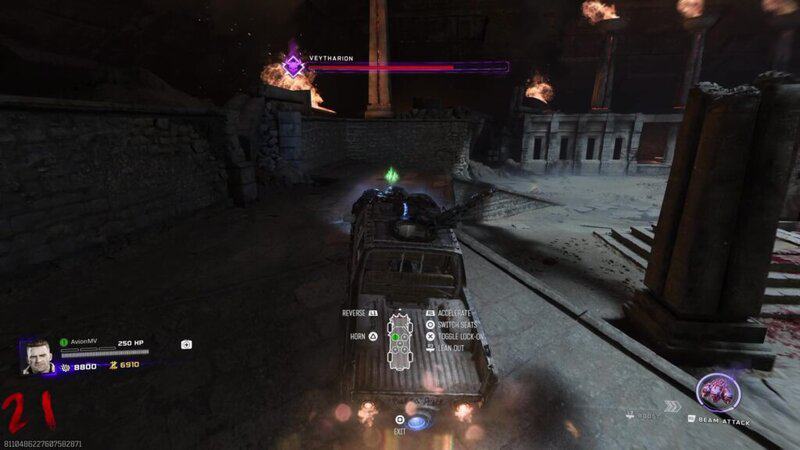
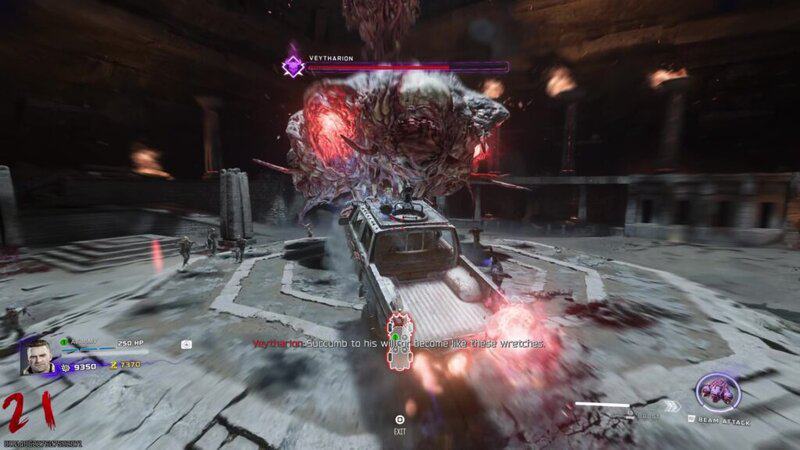
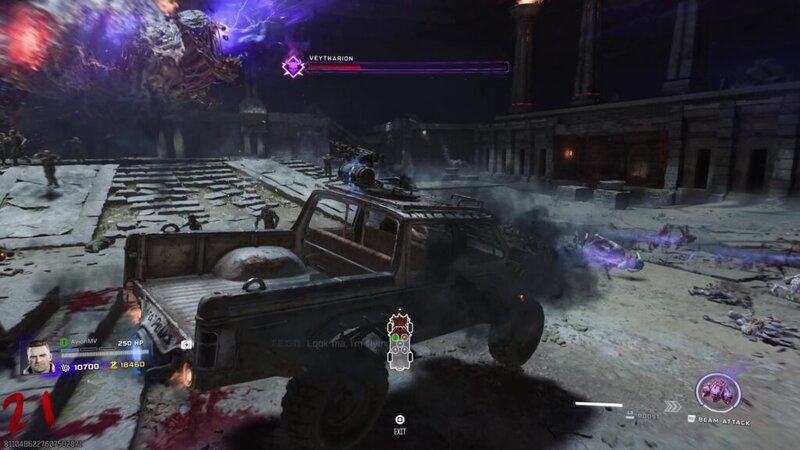
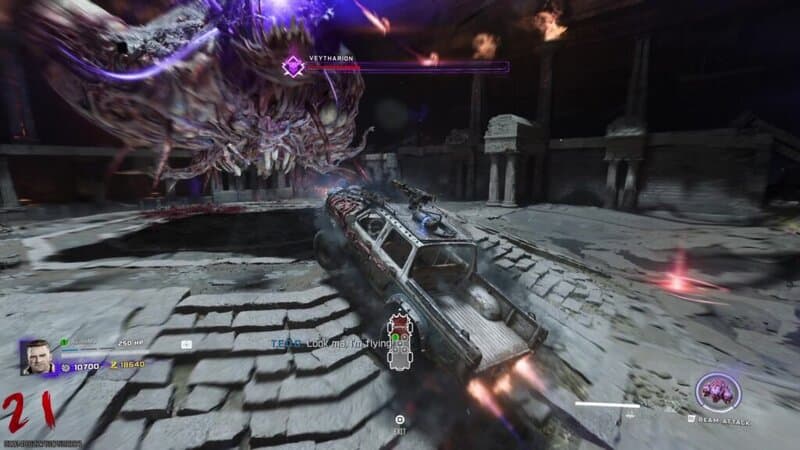
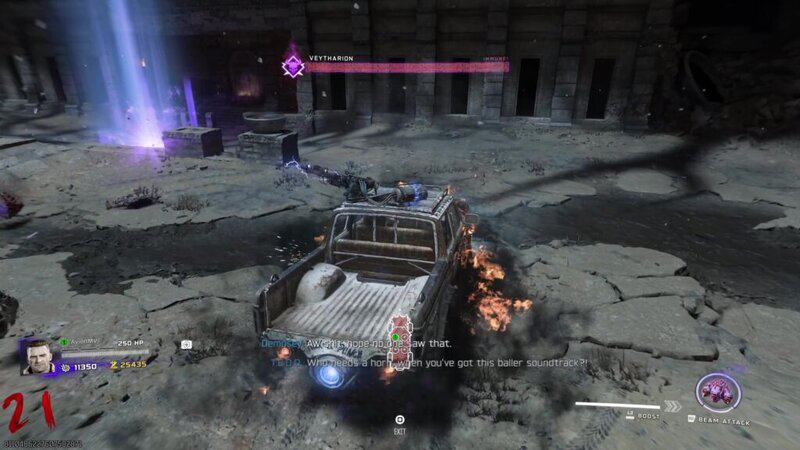
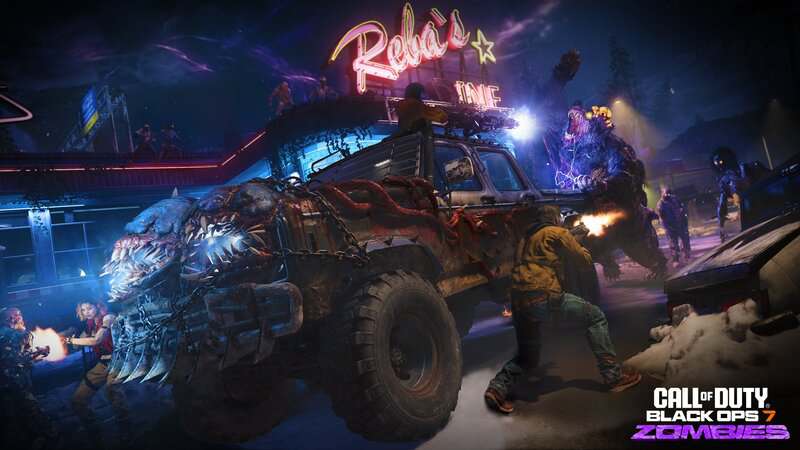
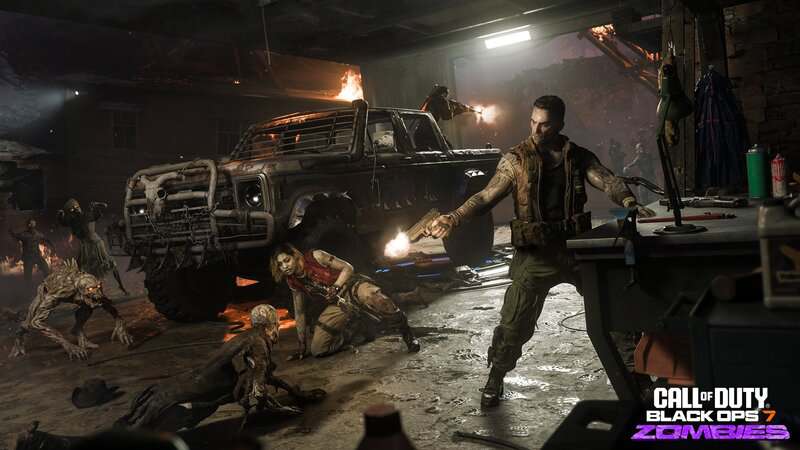
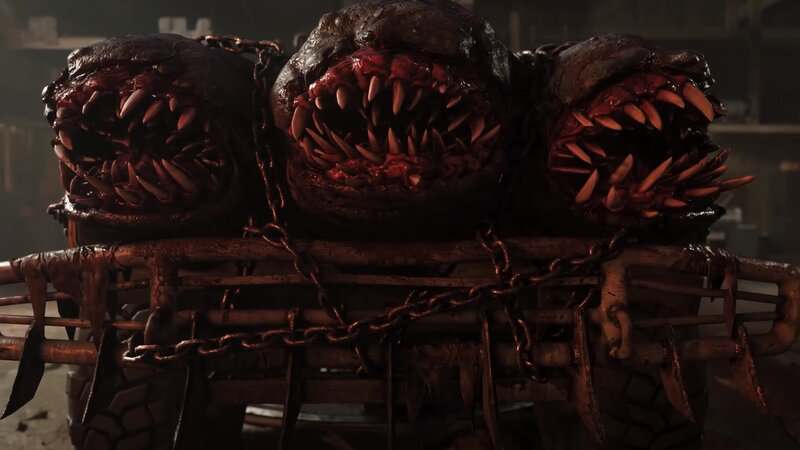
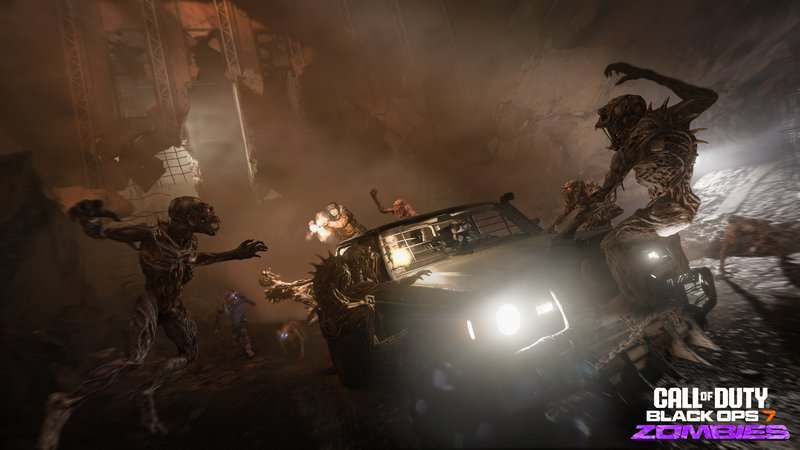
This boss fight revolves around Ol’ Tessie. While you can damage Veytharion with your normal weapons, you will get the most out of the battle by using your Wonder Vehicle as a battering ram. Veytharion will float around the area, giving you a chance to drive Tessie into one of its many heads when it goes to the middle of the arena and gives you a clear path to use a slope as a ramp to launch yourself at the boss. You can either drive up the slope to hit the boss or use your Boost to get extra speed and some extra damage. You will also want to look out for an open head with a big red weak spot, which can deal even more damage if hit. A tip I suggest is to use your Boost offensively very sparingly. You will want to use your Boost to avoid attacks and keep Tessie functional. I suggest only using the Boost for an attack when you can target a critical spot or to interrupt certain attacks in later phases.
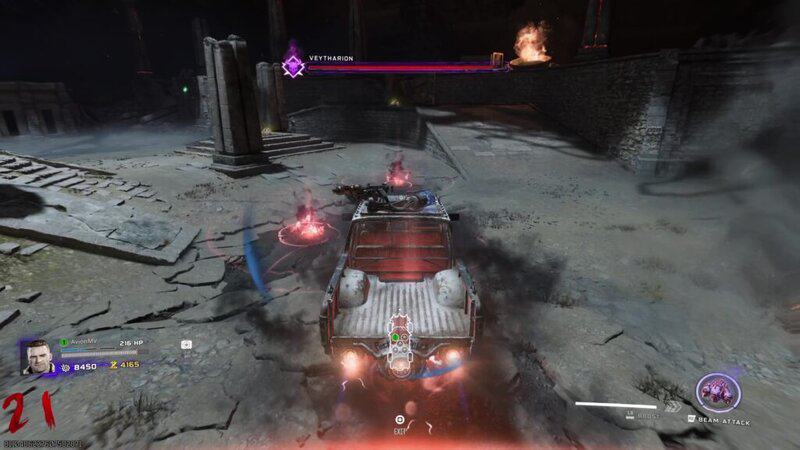
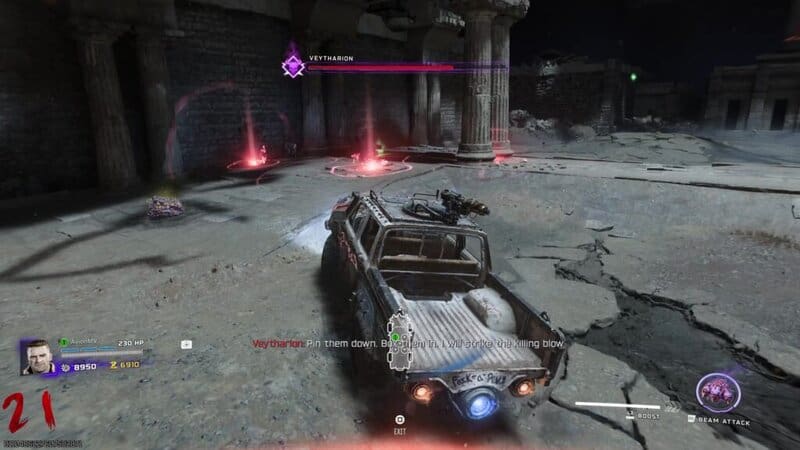
During Phase 1 of the fight, Veytharion has two attacks. Both of these attacks are variants of a missile barrage where he rains down fireballs onto you and your truck. One version of this attack sees only about 3 missiles being launched at a time. These missiles will usually be placed right in front of your path when you’re driving. So, I suggest constantly turning and changing your path to make it easier to avoid these missiles. The other version of the attack is a move I call “Missile Rain.” The boss will launch a full arsenal of fireballs at you, completely covering a portion of the map. I suggest driving toward the middle of the arena and getting to the opposite side of the room to avoid this attack. He will send out 3 waves of wide-reaching attack.
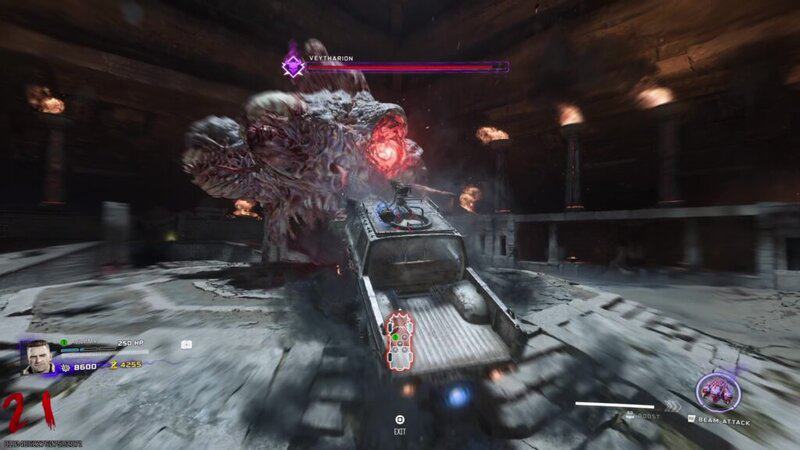
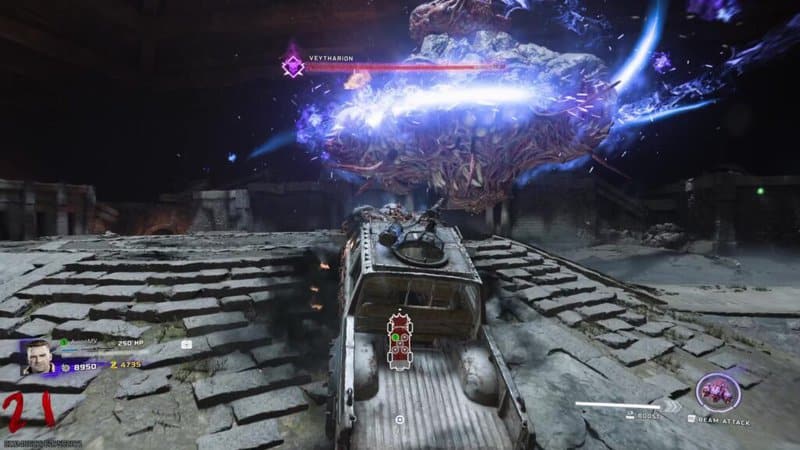
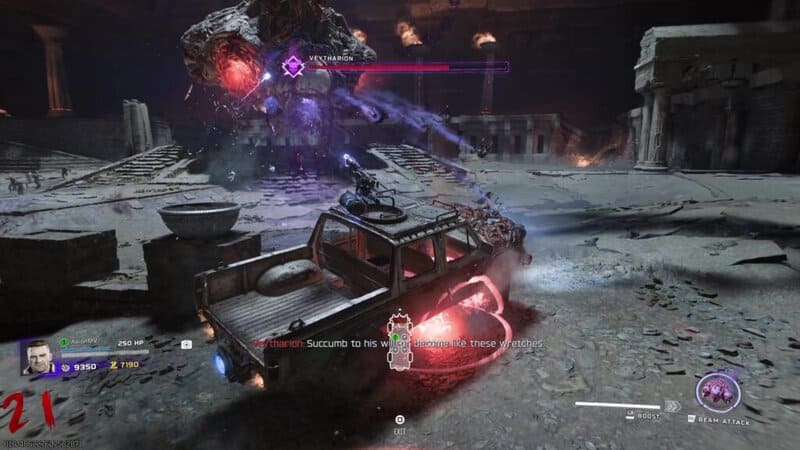
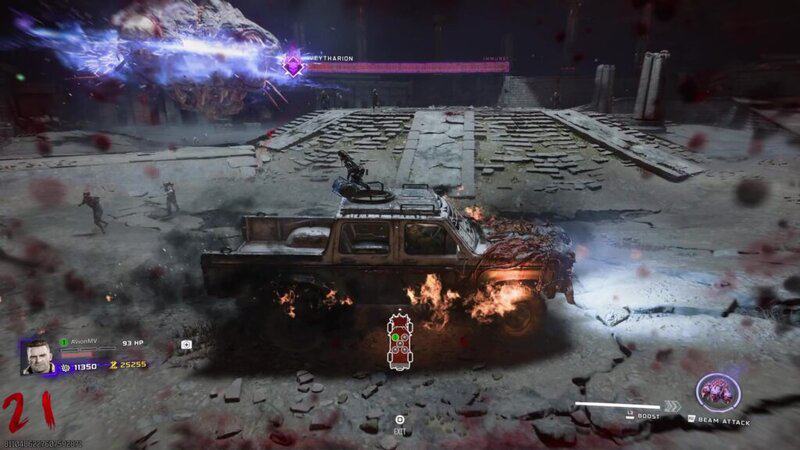
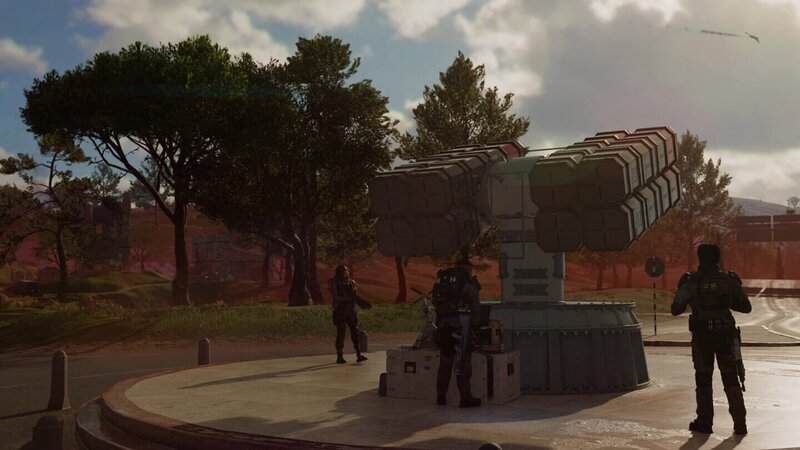
Just keep ramming the boss until it loses about 10% of its health. At this point, it will start Phase 2. During this phase, Veytharion will put up a shield, making it immune to damage, while it spins like a top. To do damage to the boss, you will need to hit the boss with Tessie, causing it to drop a wisp to the ground. Drive over the wisp to charge up Tessie. Then, ram Veytharion again to break his shield. A critical weak point will appear under the boss. You can either hop out of the Wonder Vehicle to shoot the boss with your weapons or switch to the DG-2 Turret to target the weak spot. After a few seconds, Veytharion will reactivate his shield, and you will need to repeat the process to make him susceptible to damage again.
When you complete Phase 2, a Max Armor and Max Ammo will spawn at the far ends of the arena. There are also a Max Ammo and a Max Armor in the corner of the map during the entire battle that can only be acquired by shooting a spike from the Necrofluid Gauntlet at the Power-Ups and recalling it to you.
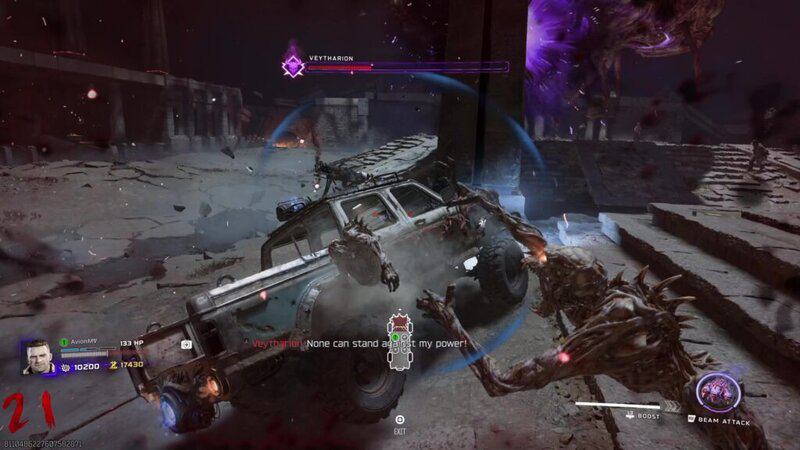
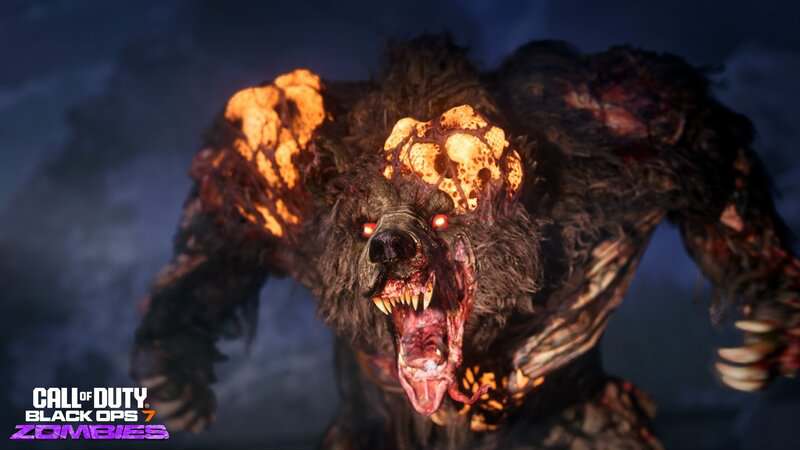
Once you get Veytharion down to about 75% health, Phase 3 will begin. This is exactly the same as Phase 1, with one new attack. Veytharion can open a purple mouth where he will spit out a wave of Ravenger Zombies.
Besides this new move, he retains his two missile attacks, and you damage him the same way as before. Keep ramming him until you reach the next phase.
When you get the boss down to about 40%, he will start Phase 4, which is exactly the same as Phase 2. There are no changes, so just hit Veytharion, grab the wisp, ram him again, and target the weak point. After this phase, another Max Ammo and Max Armor will appear at the ends of the map.
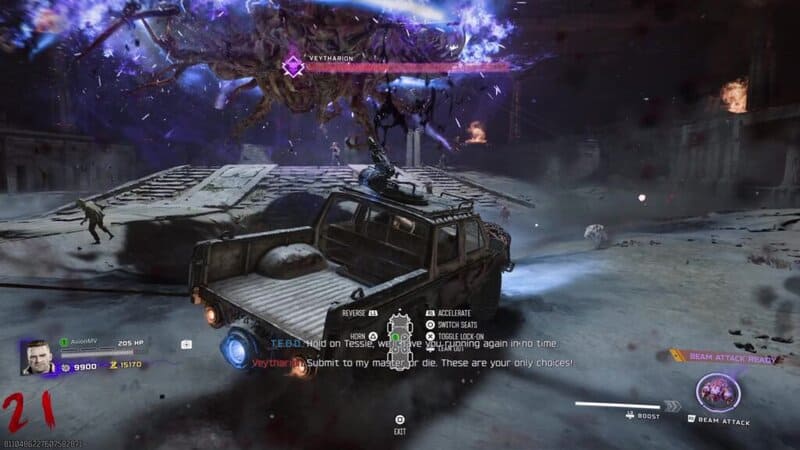
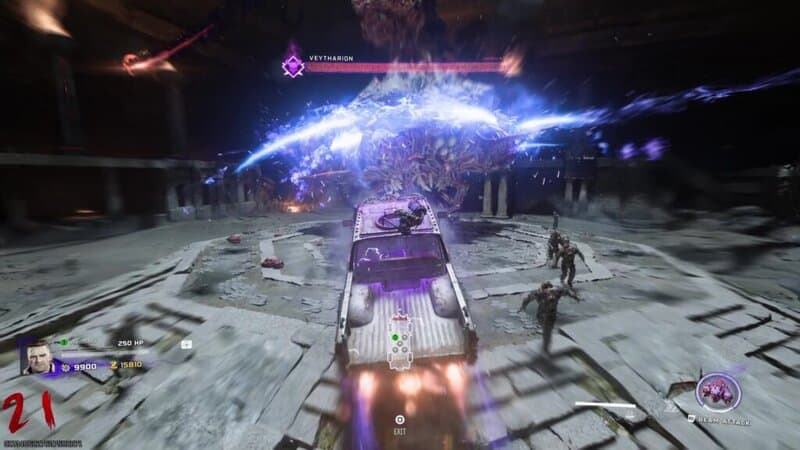
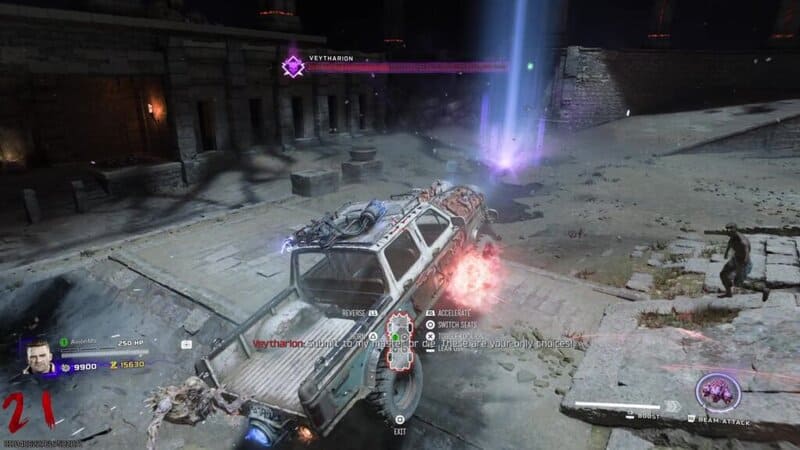
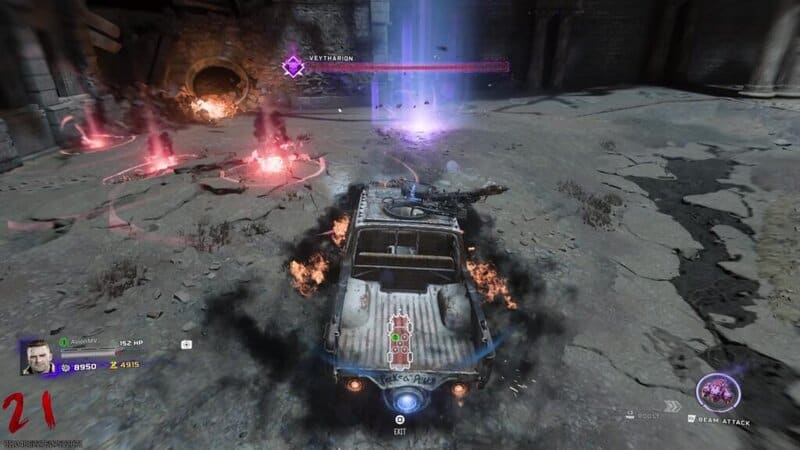
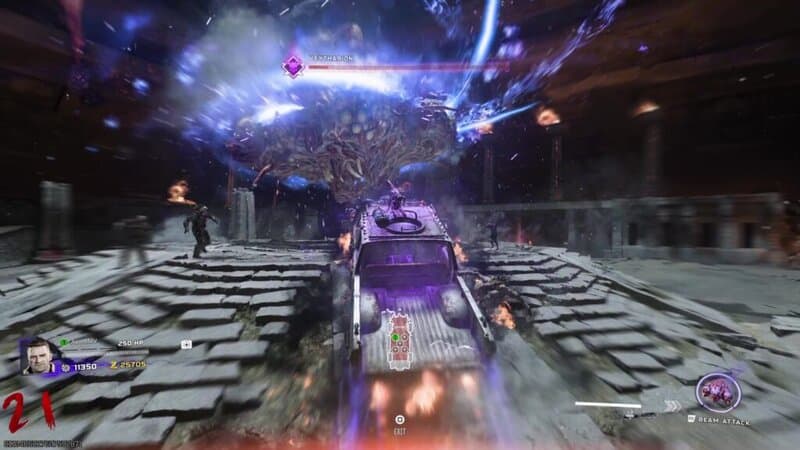
Phase 5 begins when the boss reaches its last 25% of health. This phase is the same as Phase 3, but with one very dangerous new attack: The Purple Death Beam. This attack will charge for about 10 seconds before he unleashes a powerful beam that locks onto Tessie. You will need to hide behind a pillar to avoid damage if he is able to perform the attack. You can interrupt the startup of this attack by performing a boosted ram into the boss. This will cause him to start over his charge.
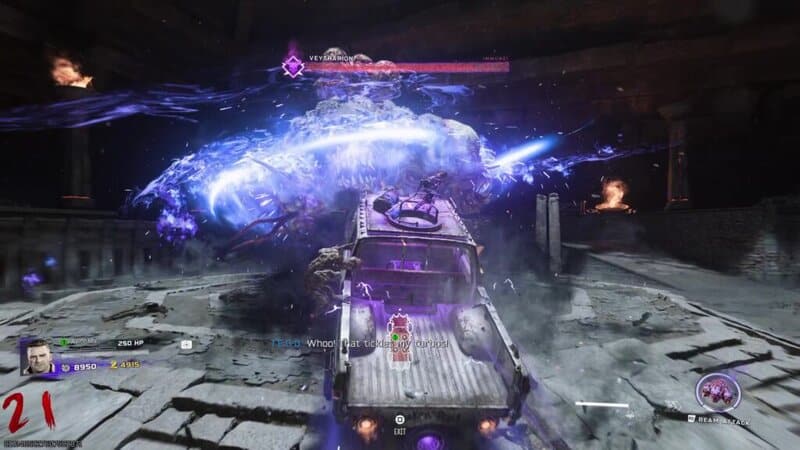
When you get the boss down to its final 10%, he will start Phase 6, which is exactly the same as Phases 2 and 4. Get the boss to be open to damage and just dump as much damage as possible into its weak point until you fully deplete its health bar.
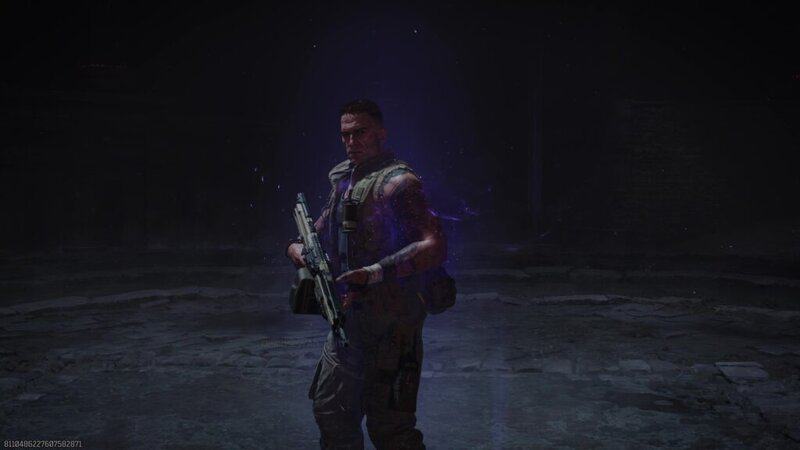
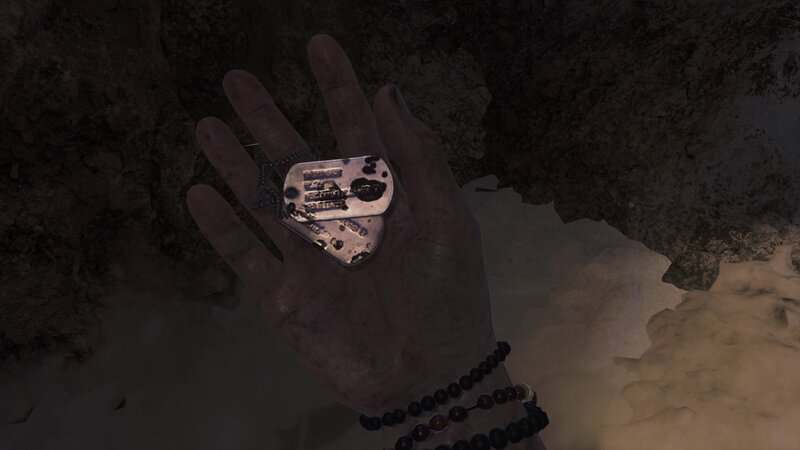
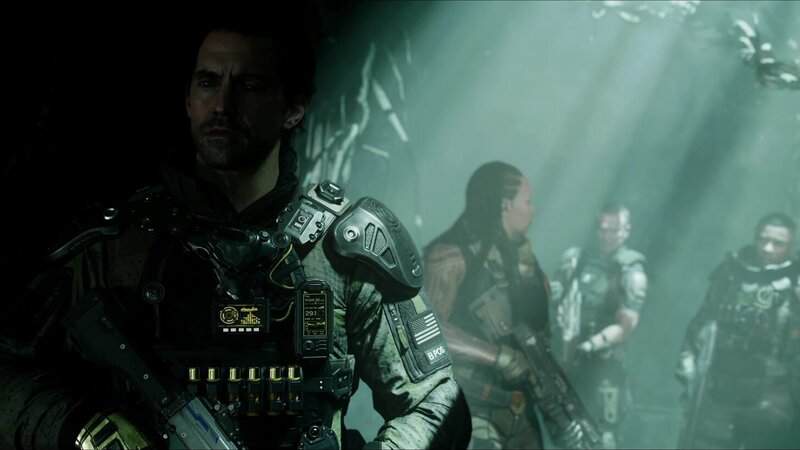
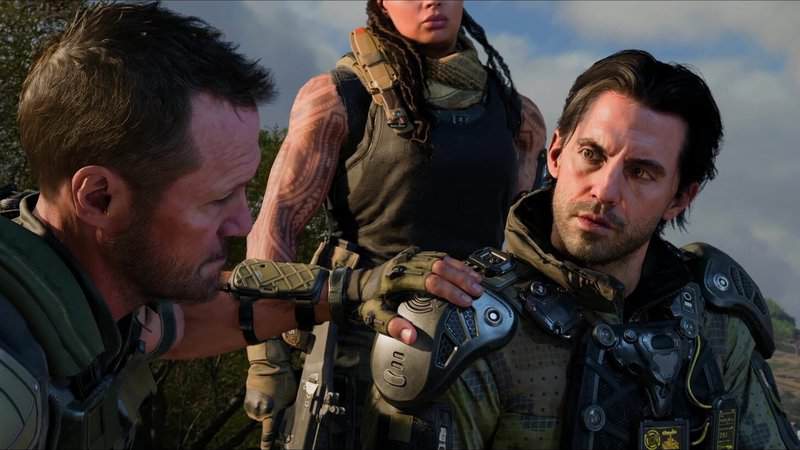
Once Veytharion is defeated, the ending cutscene will play as the crew frees the Shadowsmith from the Warden’s influence, at which point he gives Maya and Dempsey their souls back. The crew is then teleported to a safe place before continuing the story in the next map, Astra Malorum. When the cutscene concludes. You can choose to leave the match immediately or continue to play. Returning to the game of Ashes of the Damned will reward you with Points, several Legendary Tier weapons, Legendary Aether Wrenches, Flawless Aetherium Crystals, and all the Perks in the game. Whichever option you pick, you will unlock the Dust to Dust Achievement and Trophy the first time you complete this Easter Egg and will also unlock the ability to equip Relics in Cursed mode.
You can now take down the first Shadowsmith, Veytharion, and finish the Ashes of the Damned Main Quest Easter Egg in Black Ops 7 Zombies. Stay tuned to Gameranx for more news, updates, and guides for Black Ops 6 as well as other great games in the future.


![20 BEST Games of 2026 [FIRST HALF]](https://i.ytimg.com/vi/y52qPEY6fVY/mqdefault.jpg)
![10 Most DISAPPOINTING Games of 2026 [First Half]](https://i.ytimg.com/vi/RE0VNFNEV9g/mqdefault.jpg)