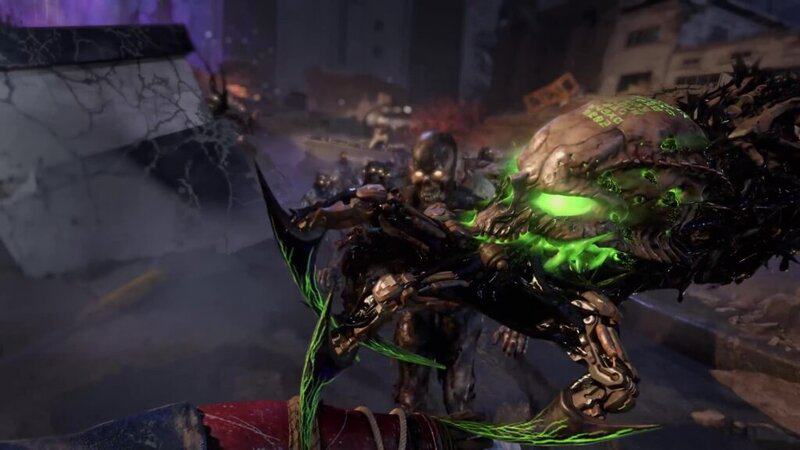
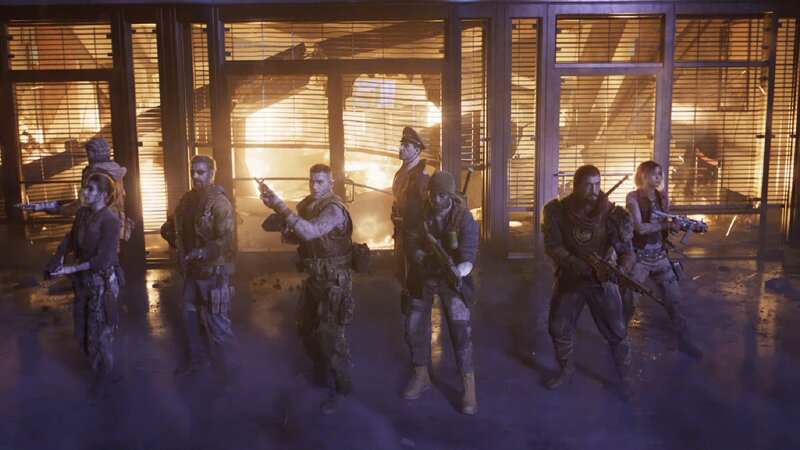
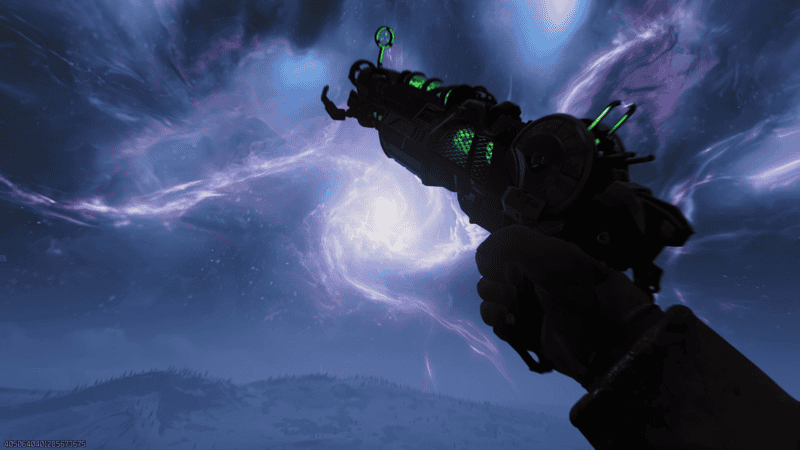
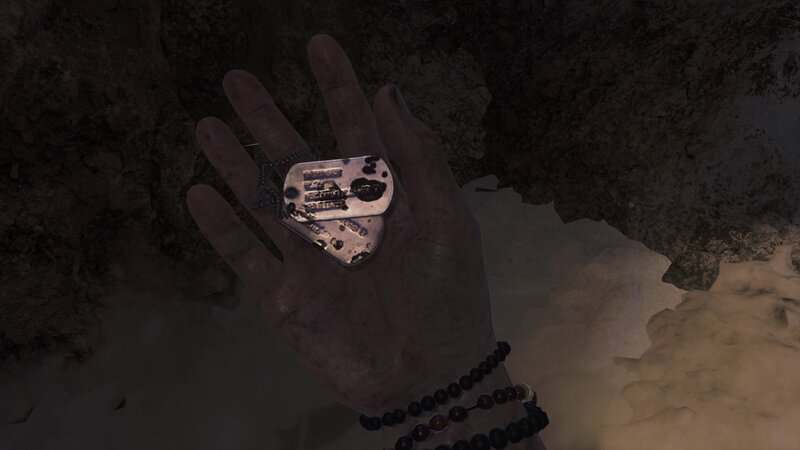
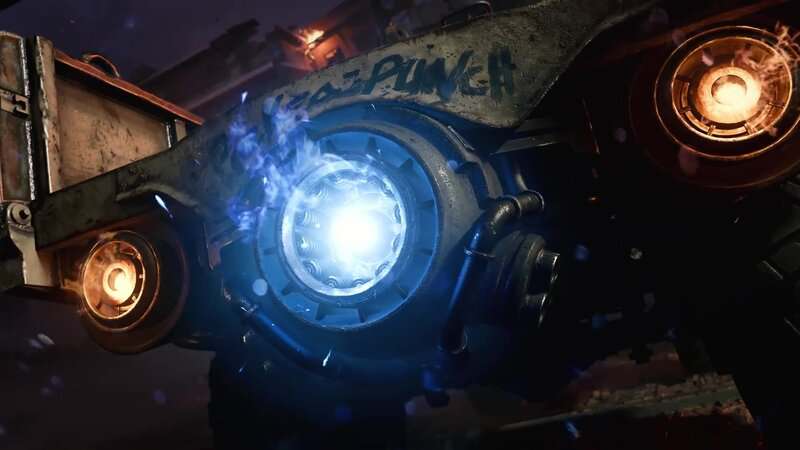
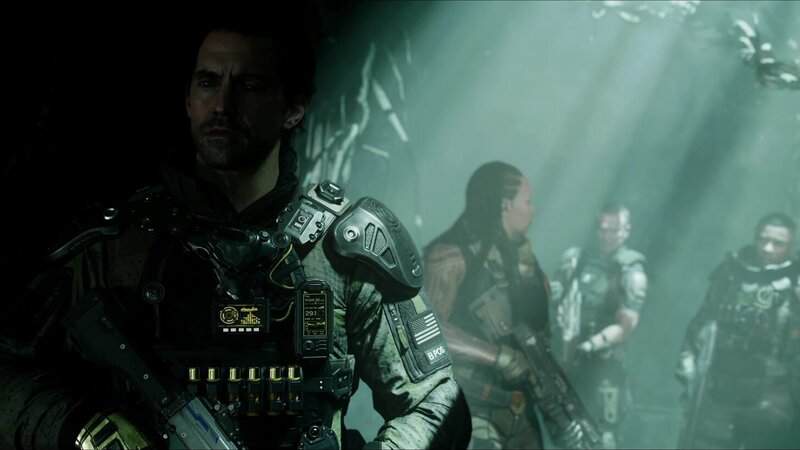
Ashes of the Damned is the first map in Black Ops 7 Zombies and is also the first time a map takes place fully in the Dark Aether. With this being the first time that the Place Below Creation is fully explorable, it only makes sense that the brand-new Wonder Weapon is as otherworldly as the area that contains it. This new weapon is known as the Necrofluid Gauntlet and comes with some of the most unique abilities and has one of the most terrifying appearances of any Wonder Weapon in the mode’s history. To get this weapon for free, players will need to get help from an old robotic buddy and complete a dark ritual. This guide will show players how to get the Necrofluid Gauntlet on Ashes of the Damned in Black Ops 7 Zombies.
How to Get the Necrofluid Gauntlet on Ashes of the Damned
The Necrofluid Gauntlet can be obtained by pure chance by relying on the Mystery Box, but there is a way to get a guaranteed Wonder Weapon. You will need to open the strange occult cube beneath the Farmhouse at Vandorn Farm. To do this, you will need to charge the cube with an Aether Barrel, which can only be obtained with the help of our old friend, Klaus.
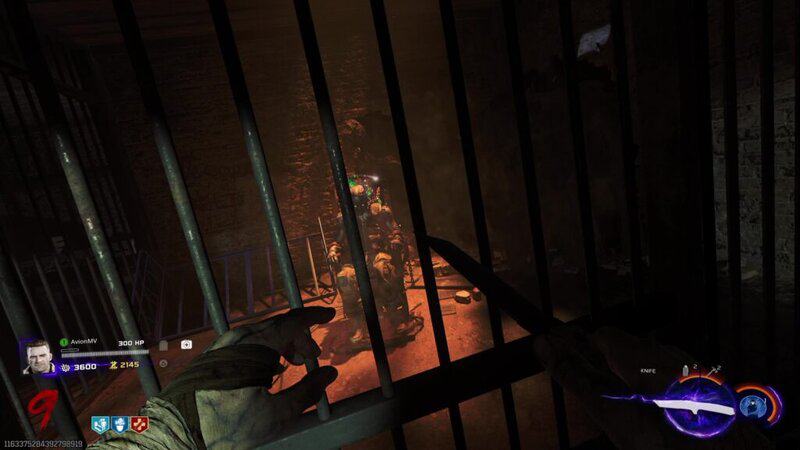
To unlock Klaus, you will need to free him from the cell in the Sheriff’s Office. To get Klaus out of his prison, you will first need to progress through the game until you reach at least Round 8, which is when it’s possible to get an Uber Klaus Elite Enemy to spawn. You will need to defeat this enemy to start the quest of freeing the much smaller but friendlier Klaus. Before starting this fight, you will want to make sure you have some good weapons. I suggest having a weapon that is at least at the blue Rare rarity and Pack-a-Punch Level 1. This will give you a fighting chance, and if you can get above this level, the fight will be made even easier.
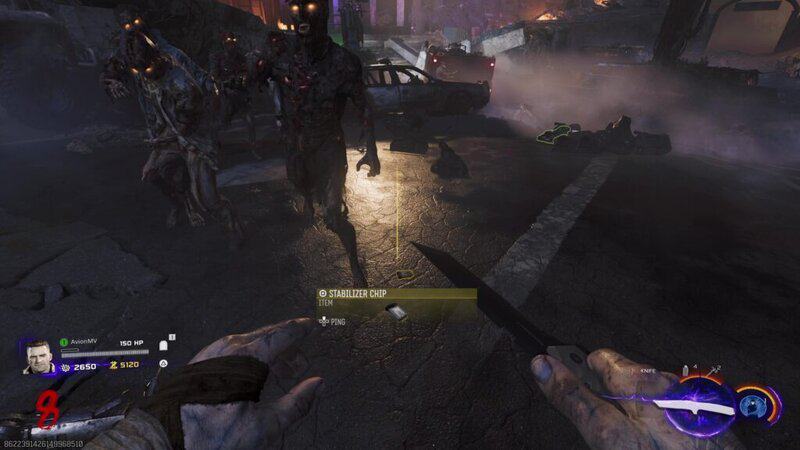
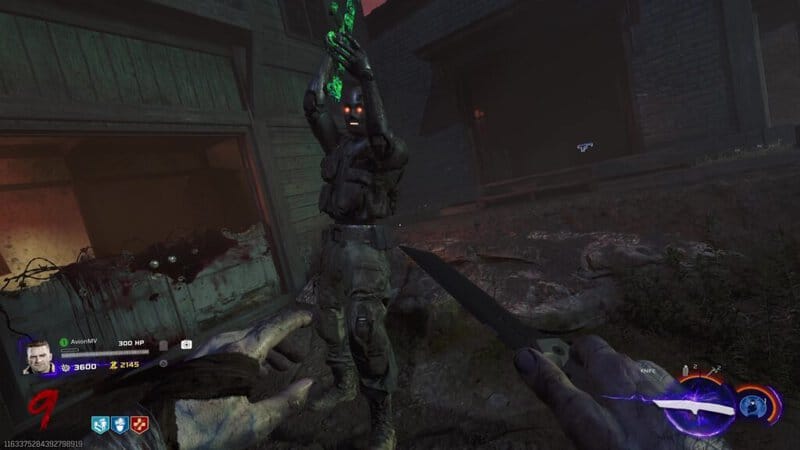
When you’re ready for the fight and are at Round 8 or beyond, go to Janus Tower Plaza. Go to the western part of the area and look up at the cliff made of destroyed road with a Project Janus crate on it. When you get close to it, Uber Klaus will burst out from the container. Target the shield generators on the mini-boss’s shoulders and then break its armor by targeting its arms and head. When you do enough damage to the large body, a Klaus core will eject. Take out this smaller robot to fully defeat the Uber Klaus. The enemy will drop a Stabilizer Chip that you will need to use to free Klaus.

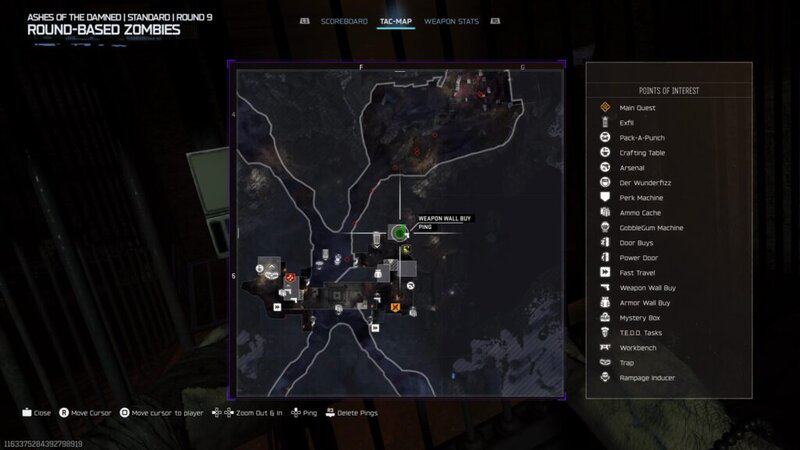
The Sheriff’s Office is found in the northeast corner of Ashwood, to the left of the Vulture Aid Perk Machine. Once inside, you will find the cell with Klaus inside. Next to the cell door is a chip reader. Interact with it to insert the Stabilizer Chip. The system will start to activate, but will then say “Update Requires Restart.”
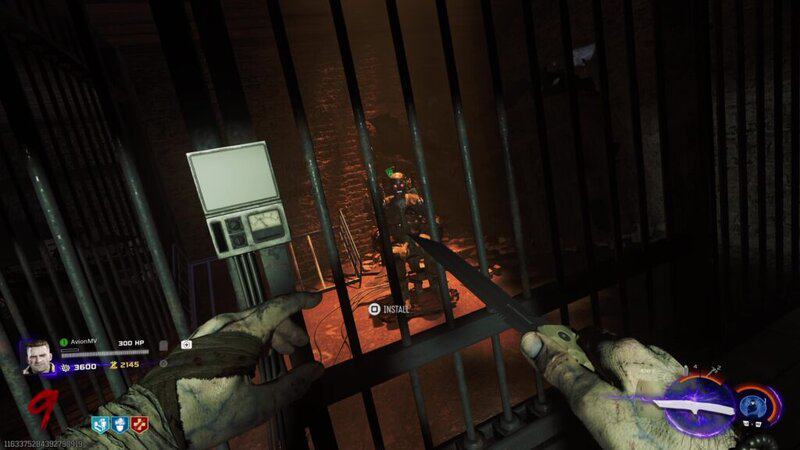
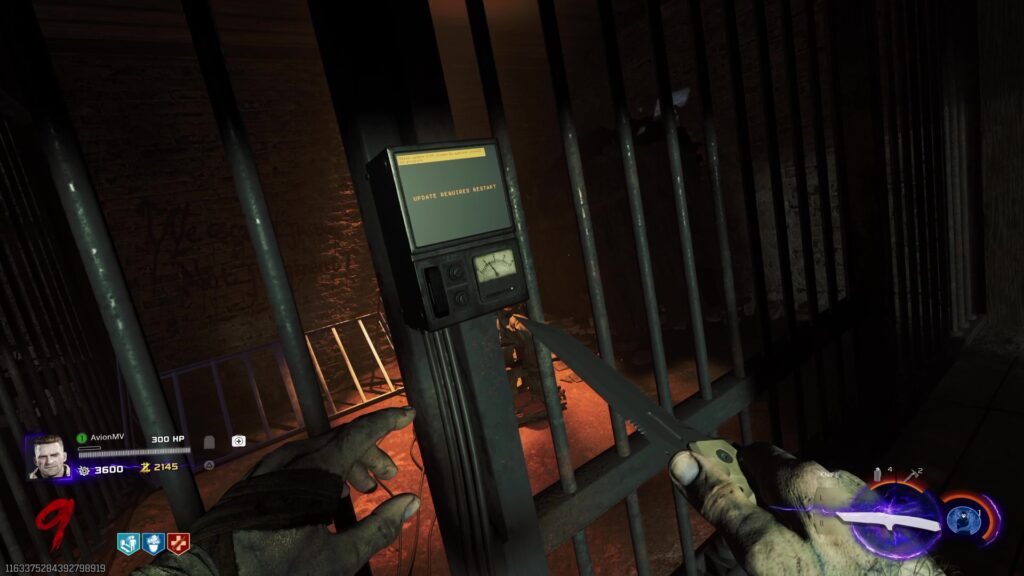
You will need to throw 2 Stun Grenades at Klaus to reboot his systems. You will know that you have successfully activated the robot if you see a stun icon above its head.
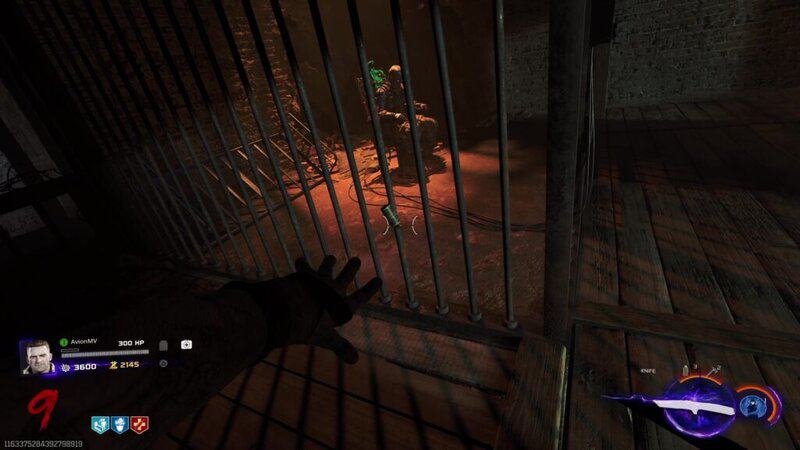
Klaus will stand up from the chair and fly out of the cell, landing in the map’s play area. You will be able to direct Klaus on where to go by using your Tactical button. He uses a Pack-a-Punched Assault Rifle and does a lot of damage, being able to sometimes throw LT53 Kazimir grenades. He will be active for a few minutes before returning to his cell. You can summon him again by spending 2,000 Essence at any of the Klaus consoles found in each area of the map.
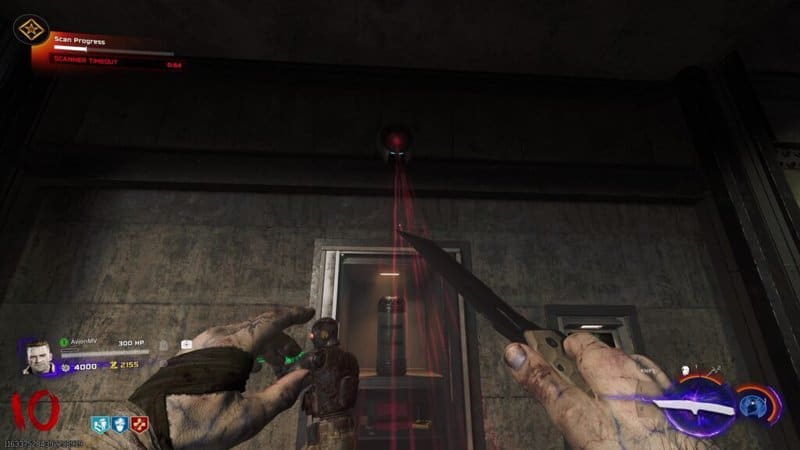
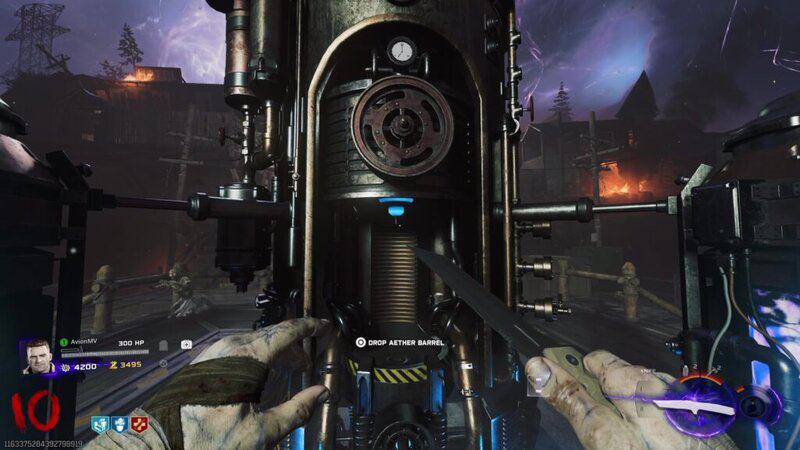
Now that you have Klaus, head over to Zarya Cosmodrome in the southeast corner of the map. Go down the stairs to the left of the Wisp Tea Perk Machine and open the shutter doors to enter the Support Systems. Immediately to your right is a control panel next to a glass container holding an Aether Barrel. Direct Klaus to stand in front of the panel, and he will stomp the ground, returning power to the machine.
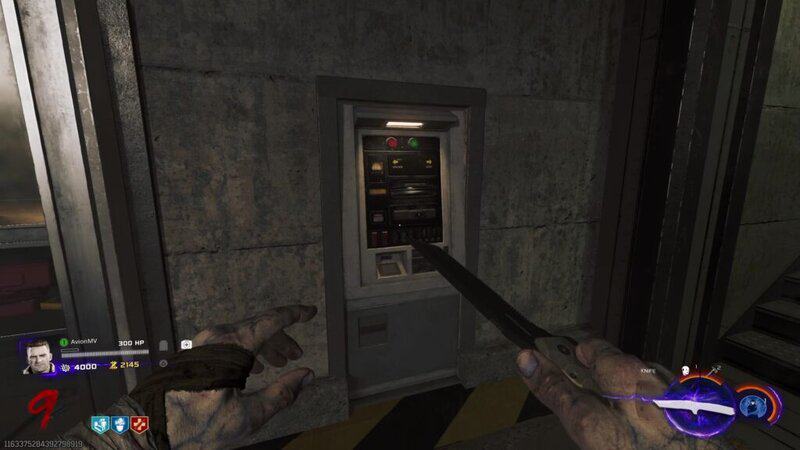
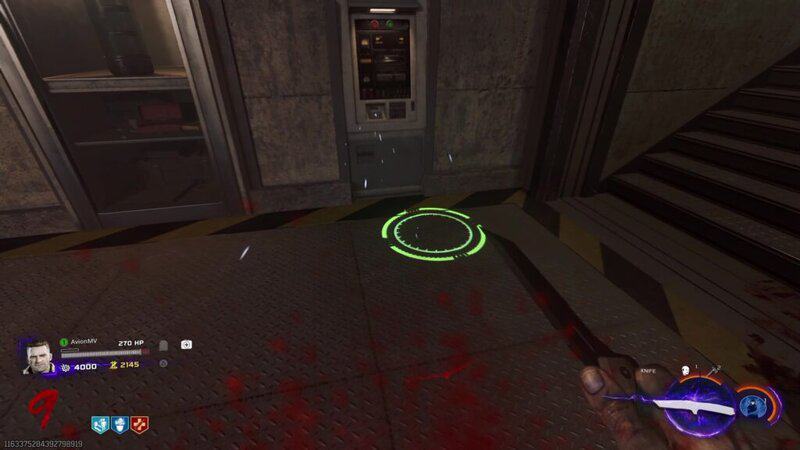
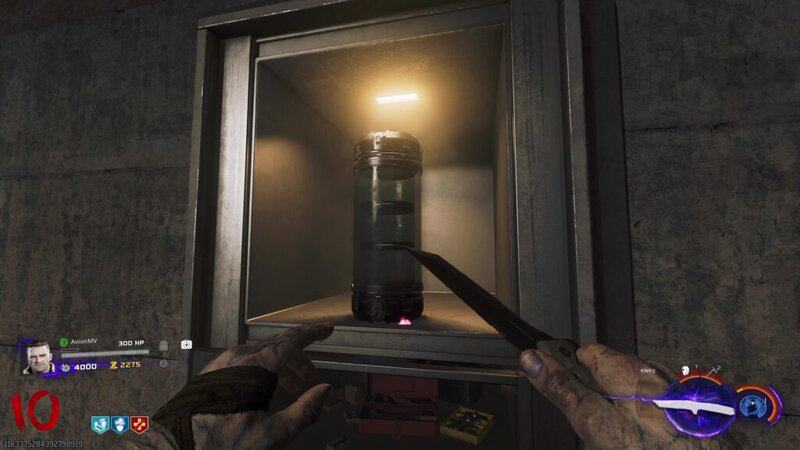
Interact with the panel, and a red scanner will be activated, creating a red circle on the ground. You will need to stand in the circle for about 20 seconds to fill a meter. You will have 60 seconds to fill the meter. If you leave the circle or a Zombie enters the circle, the meter will stop filling. If you get too far away from the circle or time runs out, the scanner will turn off, and you will need to wait until the next round to try again. When you fill the meter by standing in the scanner, the glass container will open and you will be able to pick up the Aether Barrel.
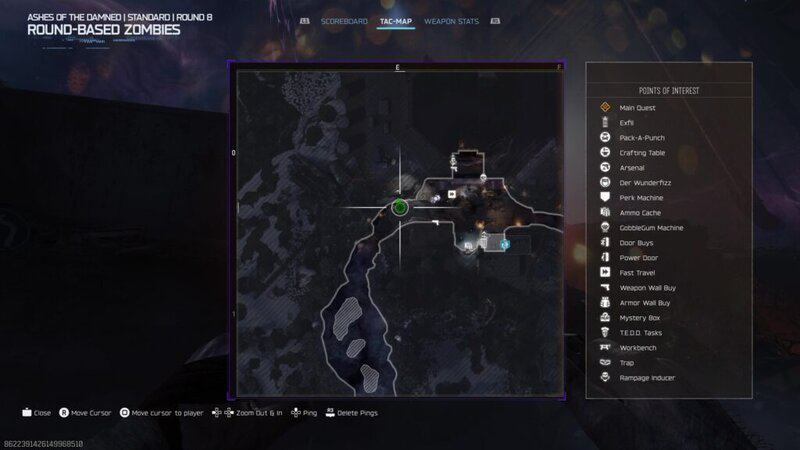
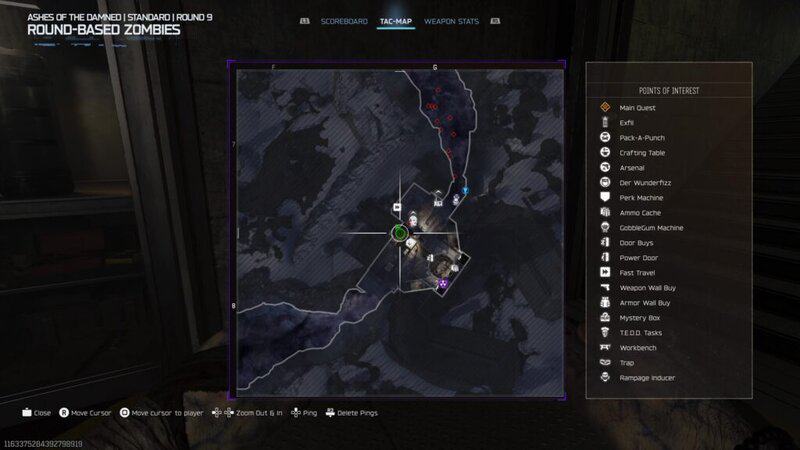
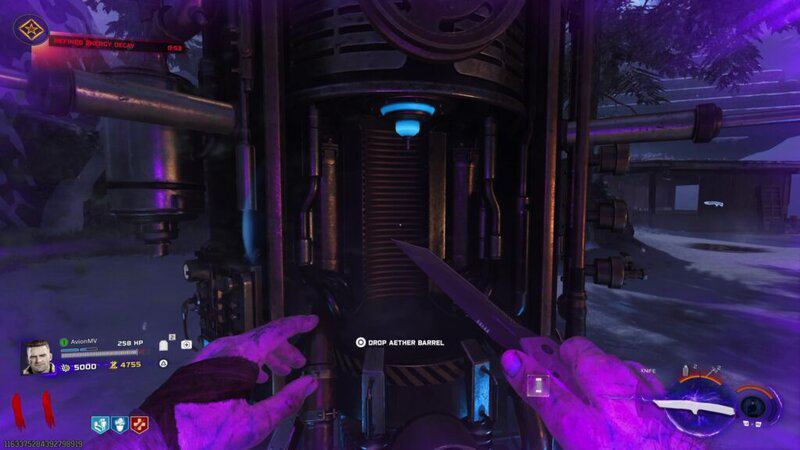
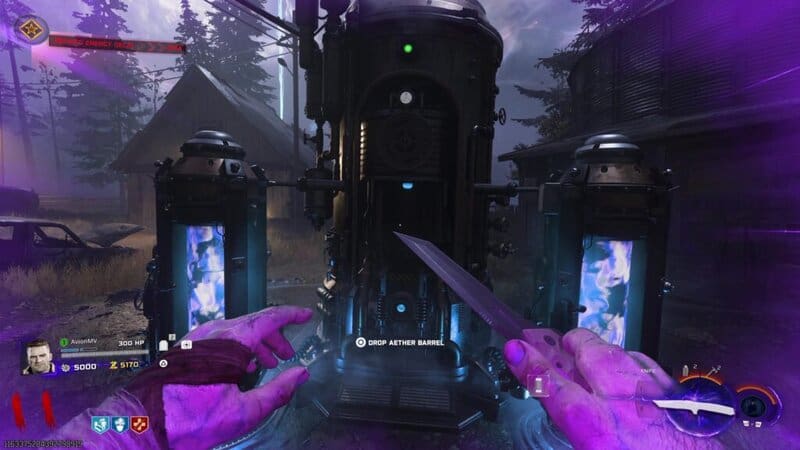
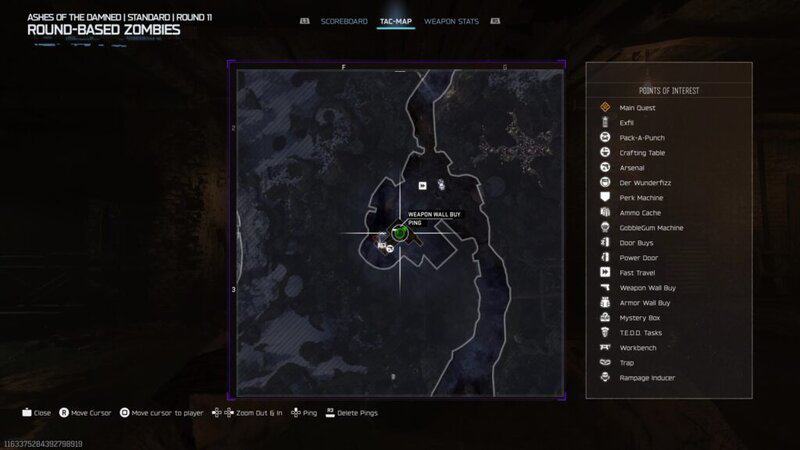
You will need to take the Aether Barrel to the 3 generators around the map at Ashwood, Blackwater Lake, and Vandorn Farm. While carrying the barrel, you won’t be able to sprint or use the jump pads, so make sure you have Tessie nearby to take you to each location. You can technically go to the generators in any order, but the best order is Ashwood, Blackwater Lake, and then Vandorn Farm, since you will need to take the Barrel to a location on the Farm when it is fully charged.
Go to Ashwood and interact with the generator to insert the Aether Barrel. You will need to wait around 15 seconds for the canister to charge. Once it does, pick up the Barrel and progress to Blackwater Lake. You will have 105 seconds to reach the next generator. Repeat the process at the Lake generator. When this one is charged, take the canister to Vandorn Farm within 100 seconds. Insert the Barrel into the generator and wait for it to get fully charged.
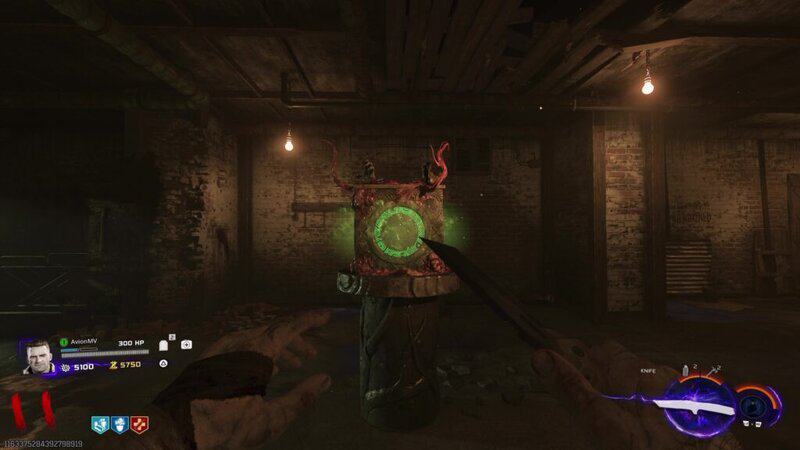
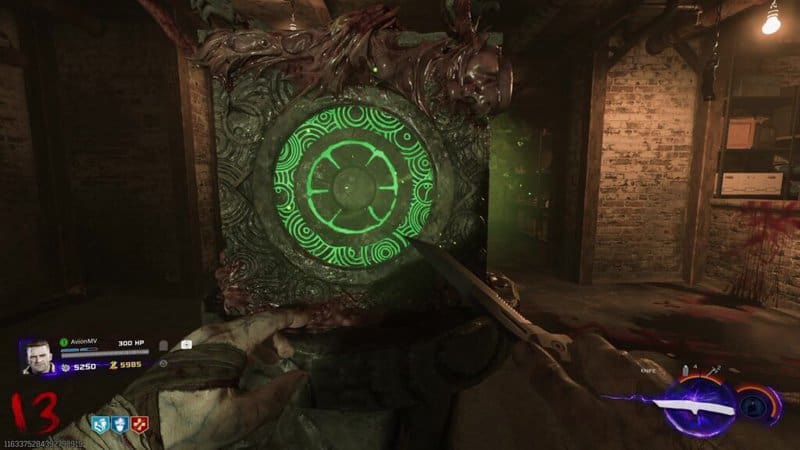
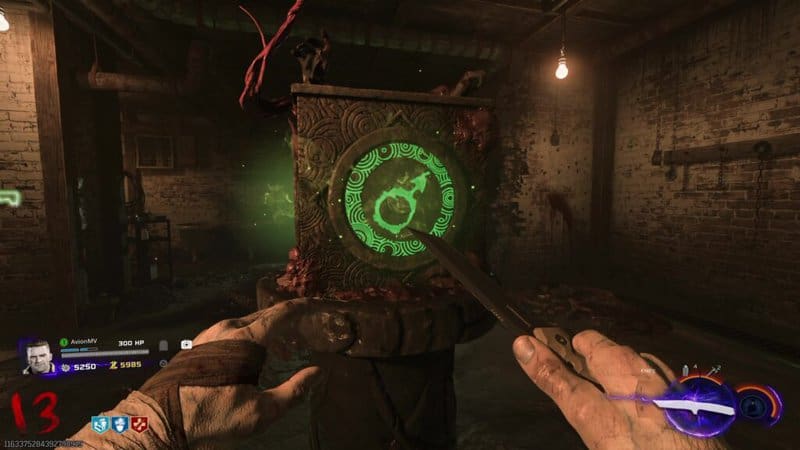
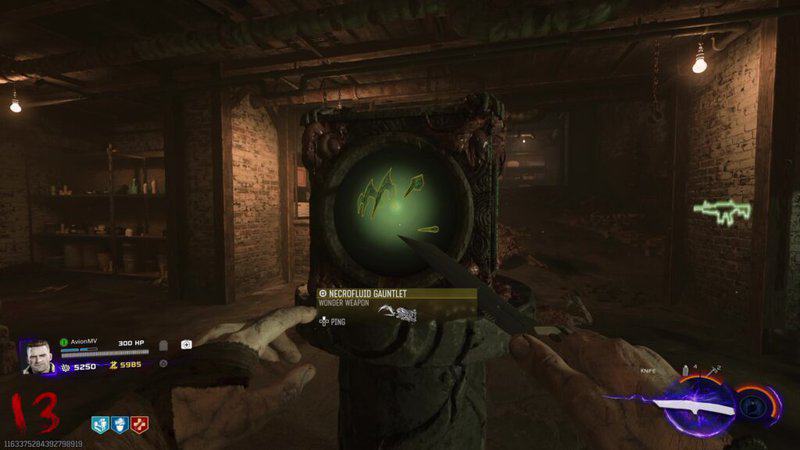
Now that the Barrel is fully charged, you have 100 seconds to take the Aether Barrel down into the Cellar below the Farmhouse. You will find a strange cube in this basement. Approach it while carrying the fully charged Aether Barrel. The energy will transfer from the Barrel to the cube, causing it to glow with green circles on 3 of its faces and an eye on the fourth face. By interacting with the circles, you will be able to cycle through a series of symbols. You will need to figure out which symbols open the box.
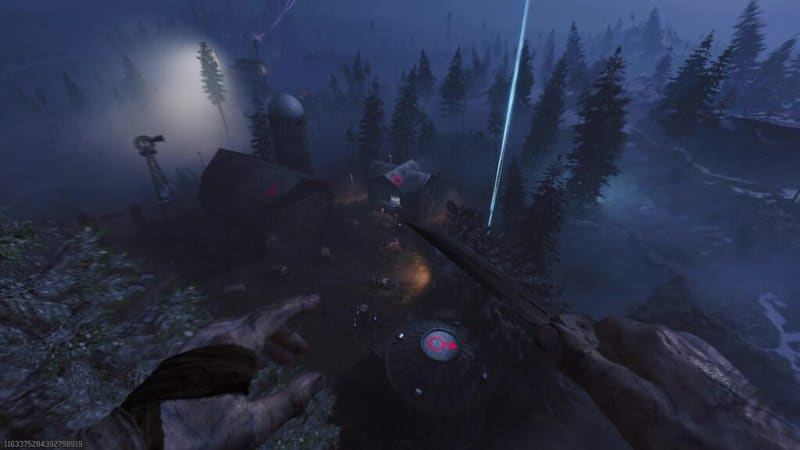
Go to either of the Jump Pads that connect Janus Tower Plaza and Vandorn Farm. Use the Jump Pad and, while in the air, look at the roofs of the buildings on the farm. You will see 3 symbols. One is on the roof of the Barn, another is on the roof of the Farmhouse, and the third is on the silo next to the generator. Take note of these symbols and then return to the cube.
Enter the symbols into the cube and then interact with the eye. This will open the box and reveal the Necrofluid Gauntlet for you to pick up.

This isn’t the end of the quest, however. You will become trapped in a green circle around the cube as it spawns 6 green bubbles around the Cellar. You will need to shoot each bubble with the Necrofluid Gauntlet and then press the reload button to recall its spikes to pop each bubble.
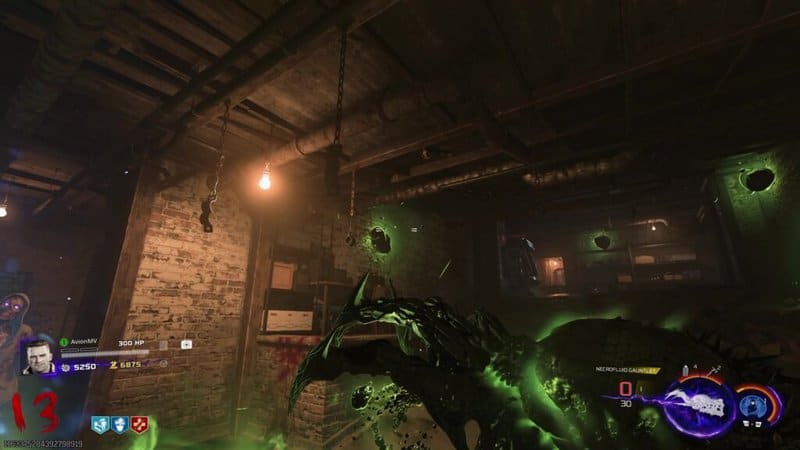
Once all the bubbles are popped, the circle will disappear and you will be able to return to your journey across Ashes of the Damned with your brand-new Wonder Weapon. There is no quest to upgrade the weapon; simply use the Pack-a-Punch Machine to increase the Gauntlet’s power.
You now know how to get the Necrofluid Gauntlet Wonder Weapon on Ashes of the Damned in Black Ops 7 Zombies. Stay tuned to Gameranx for more news, updates, and guides for Black Ops 7 as well as other great games in the future.


![20 BEST Games of 2026 [FIRST HALF]](https://i.ytimg.com/vi/y52qPEY6fVY/mqdefault.jpg)
![10 Most DISAPPOINTING Games of 2026 [First Half]](https://i.ytimg.com/vi/RE0VNFNEV9g/mqdefault.jpg)


![Top 20 NEW Games of 2026 [Second Half]](https://i.ytimg.com/vi/c46KMTqwRiA/mqdefault.jpg)