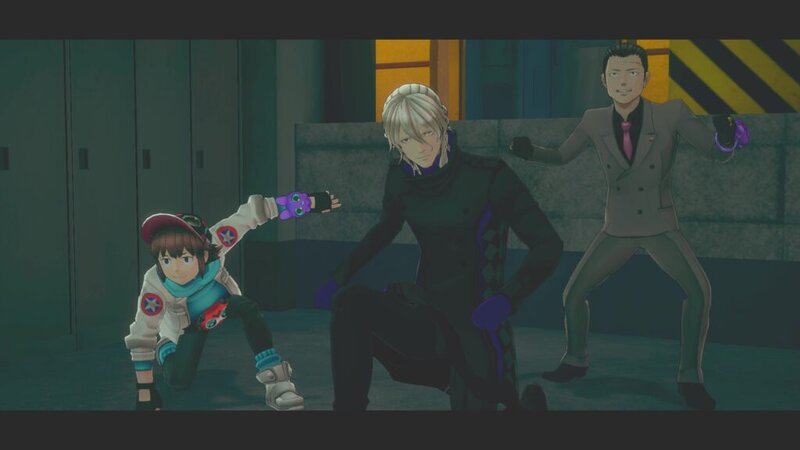
Date is finally forced into an Escape Room in the final puzzle of No Sleep for Kaname Date – From AI: THE SOMNIUM FILES, the Non-Existent Station. Along with Moma and Ota, these three will need to team up to escape this station to nowhere and save Iris from Akemi. This guide will show players how to complete the Non-Existent Station Escape Room in No Sleep for Kaname Date – From AI: THE SOMNIUM FILES.
How to Complete the Non-Existent Station Escape Room in No Sleep for Kaname Date
The Non-Existent Station Escape Room starts after completing the Nensai Getsuou -Modulation- chapter. These escape rooms differ from the Somnium puzzles that are at the core of the series. These rooms don’t rely on dream logic and also don’t have a time limit, making them more akin to 3D versions of the puzzles found in the Zero Escape games. In this first puzzle, you will play as both Date, Ota, and Moma. You will need to switch between the three of them to gain information and items to help the other solve the puzzles found throughout this mysterious station and club.
Color the Cocktails and Chip
As we just mentioned, Date will now be a playable character and will have access to Aiba to help figure out some of the puzzles. From the start of the escape room, you will be able to switch between Date, Ota, and Moma, with each of them having puzzles and information that help each other make their way through the escape room.
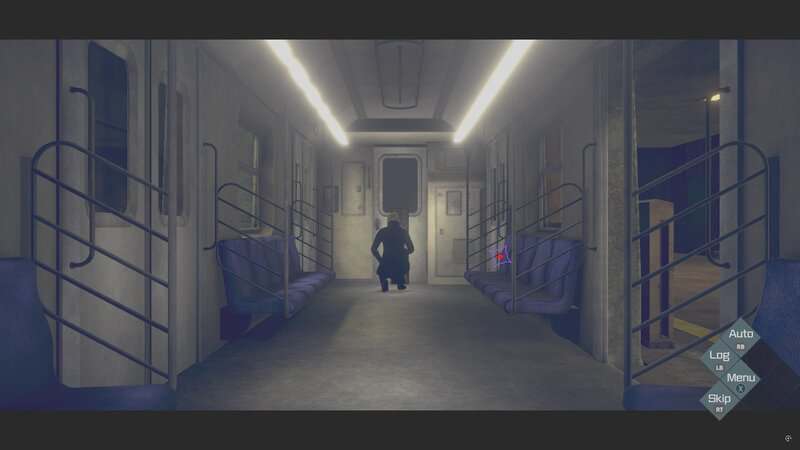
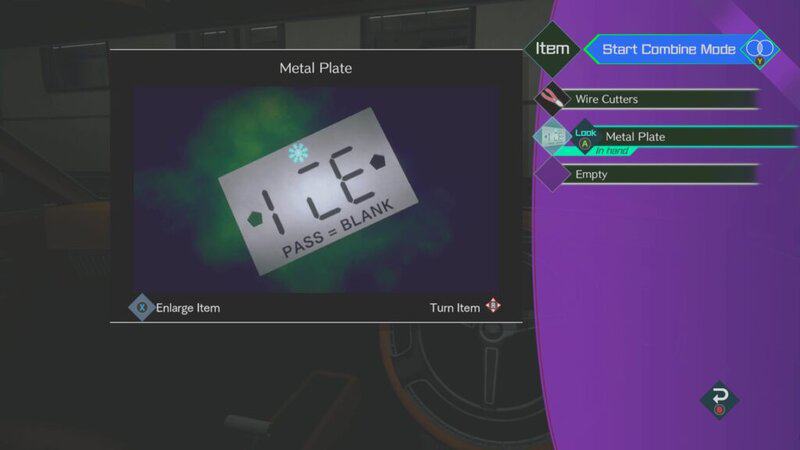
Go around the subway car to find Date’s Car. Get inside and you will find a Metal Plate on the dashboard. Interact with it, pick it up.
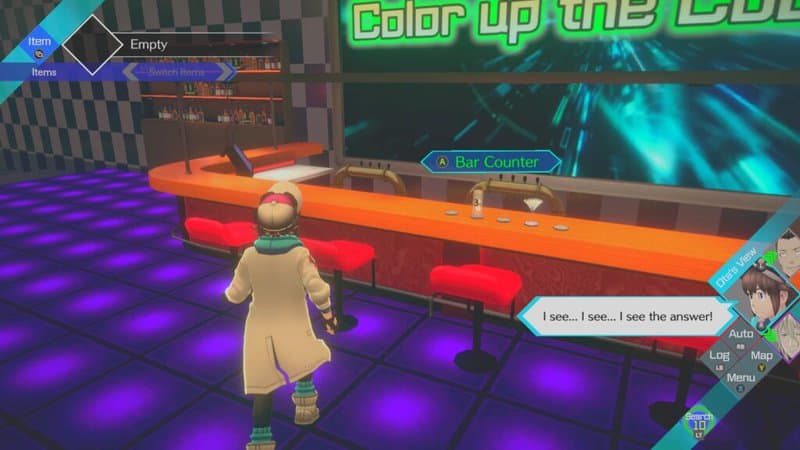
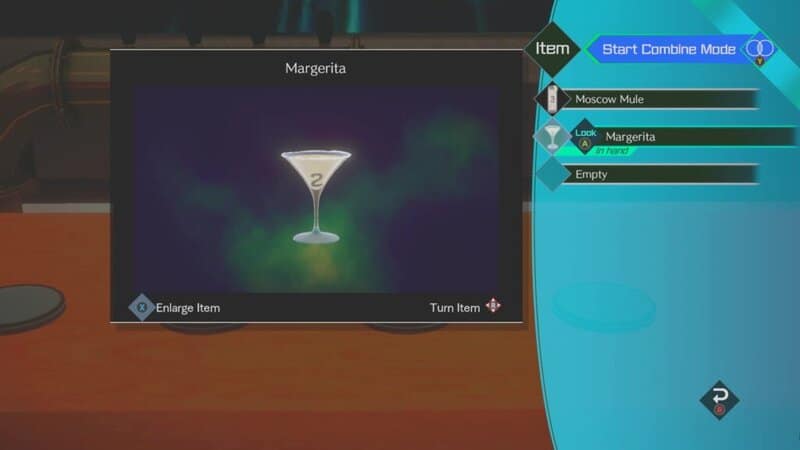
Switch over to Ota and go to the Bar Counter to find two drinks: the glass with the “3” is a Moscow Mule and the one with the “2” on it is a Margarita. You will need these for a future step in the puzzle.

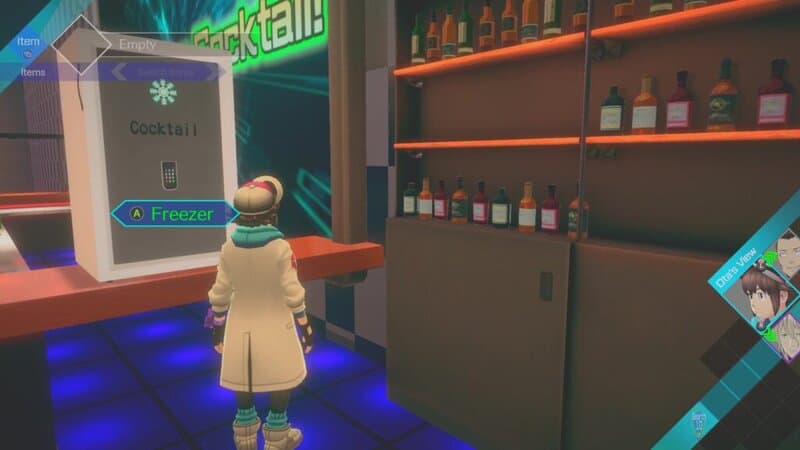
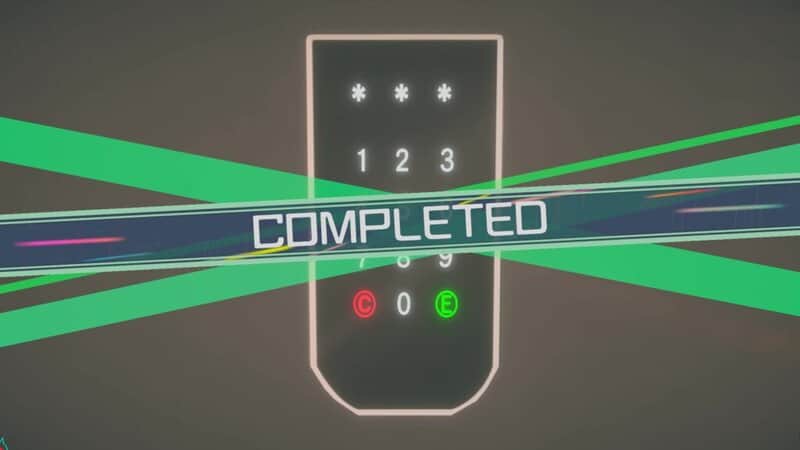
Go to the right end of the counter to find a large Freezer with a snowflake on it, just like the Metal Plate Date picked up. Turn the plate upside down to see that the letters “ICE” are actually 3-4-1. Enter these numbers into the Freezer to open it and find three more cocktails.

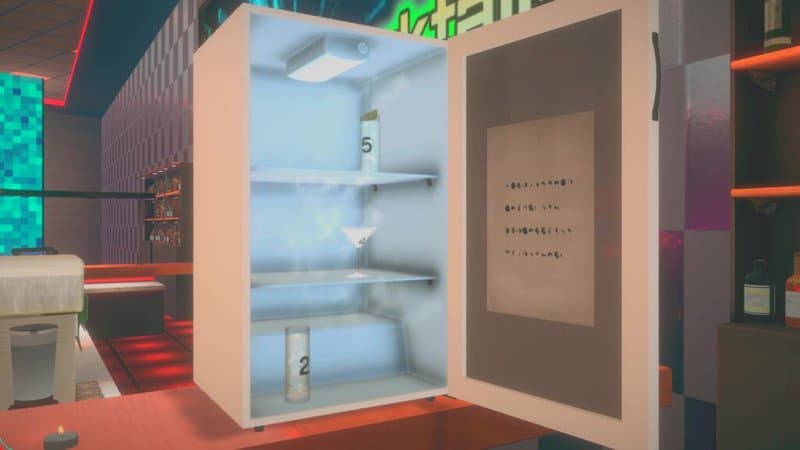
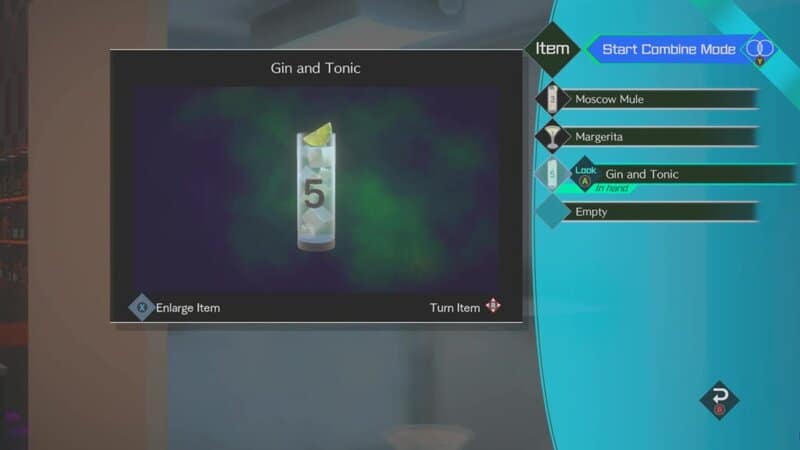
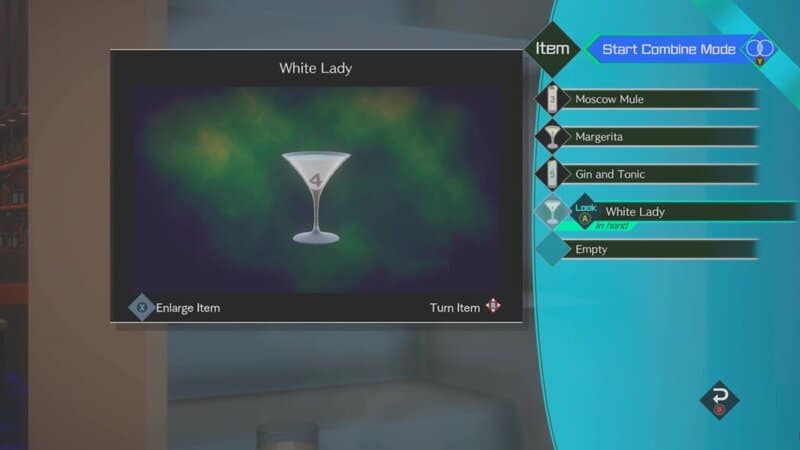
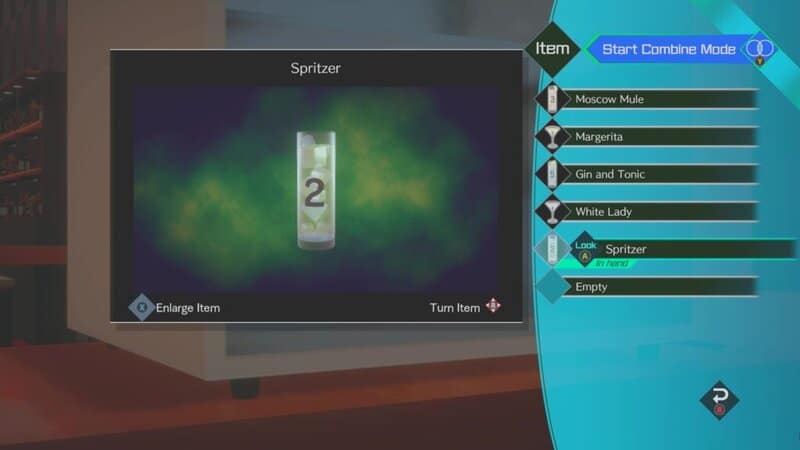
The glass with “5” on it is the Gin and Tonic, the “4” drink is a White Lady, and the tall glass with the “2” is a Spitzer. You will also find the Freezer Note, which gives you a hint on the order you need to place the 5 drinks on the Bar Counter.
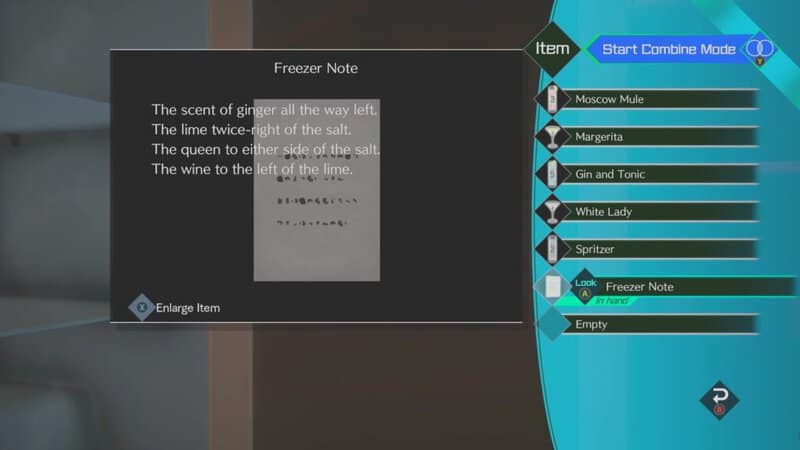
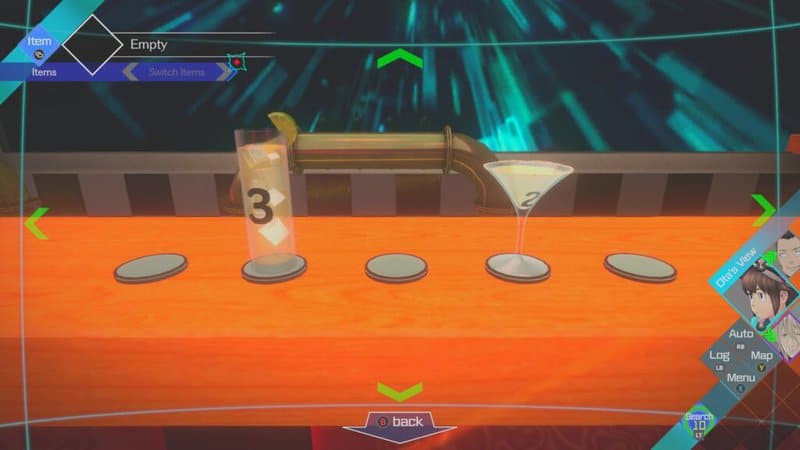
Go back to the Bar Counter and place the drinks in the following order:
- Moscow Mule
- White Lady
- Margarita
- Spitzer
- Gin and Tonic
Once this is done, all of the drinks will light up with different colors.
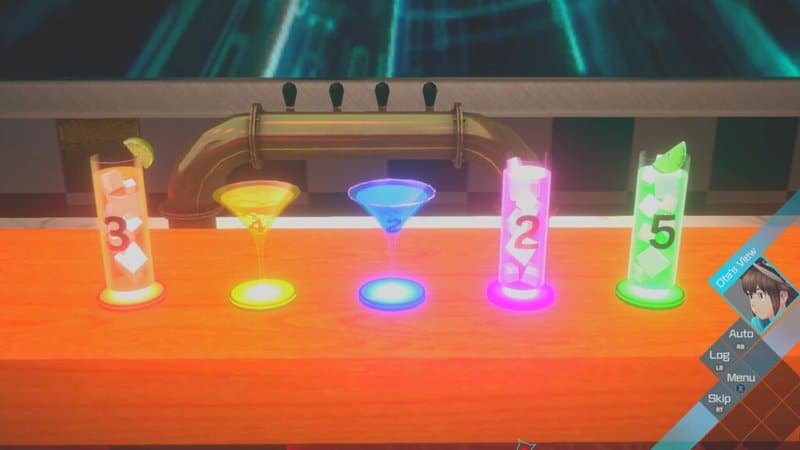
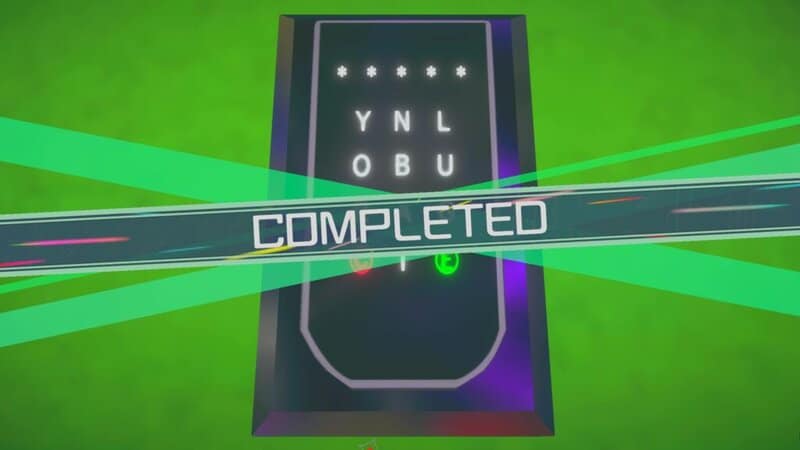
Switching over to Moma, you will need to enter a code into the Casino Table. The code is tied to the drinks on the bar. Look at the color of each drink and then find the letter in the color that corresponds to the number on the drink.
- Moscow Mule (3) is orange = A
- White Lady (4) is yellow = L
- Margarita (2) is blue = L
- Spitzer (2) is pink = I
- Gin and Tonic (5) is green = N
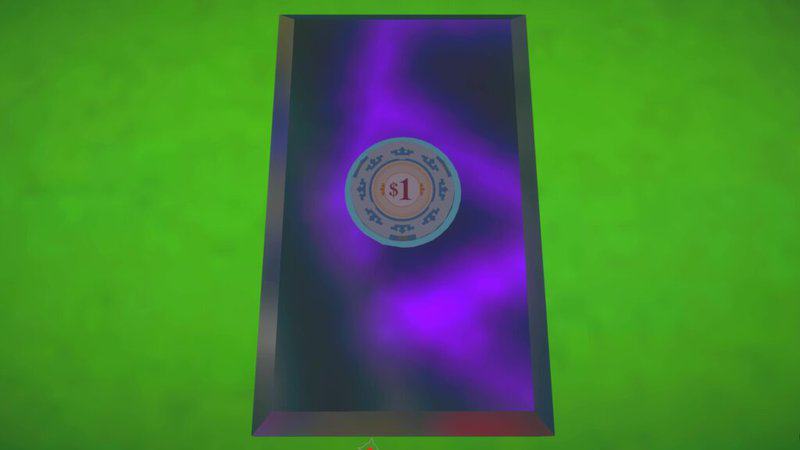
The code you need to enter into the Casino Table is ALLIN. This will reveal the $1 White Chip.

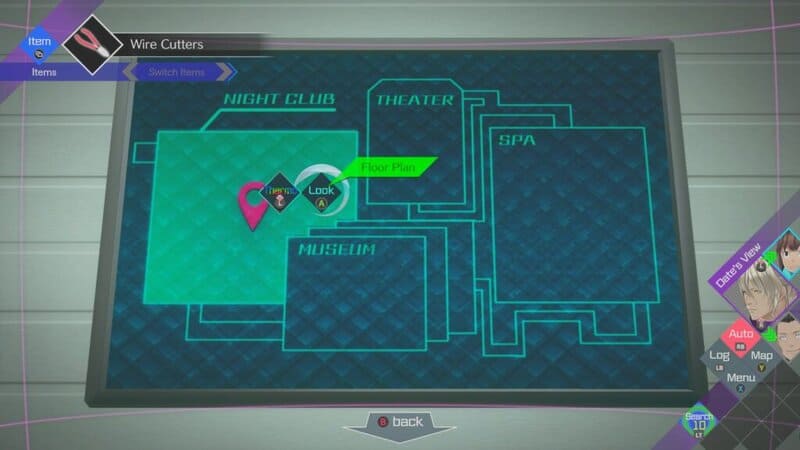
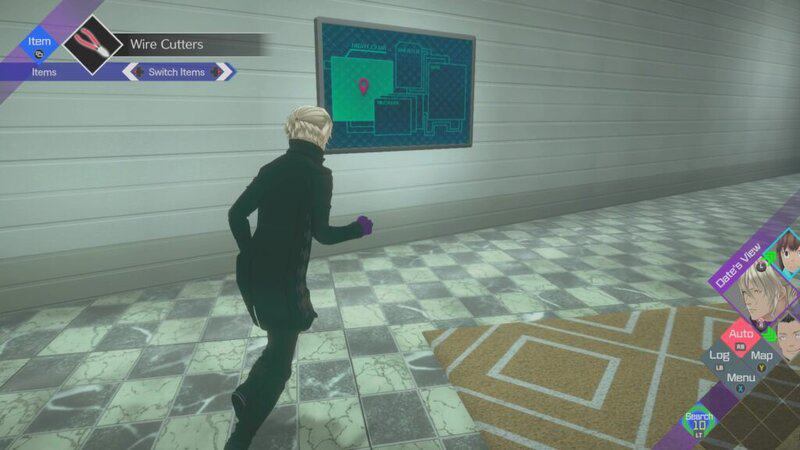
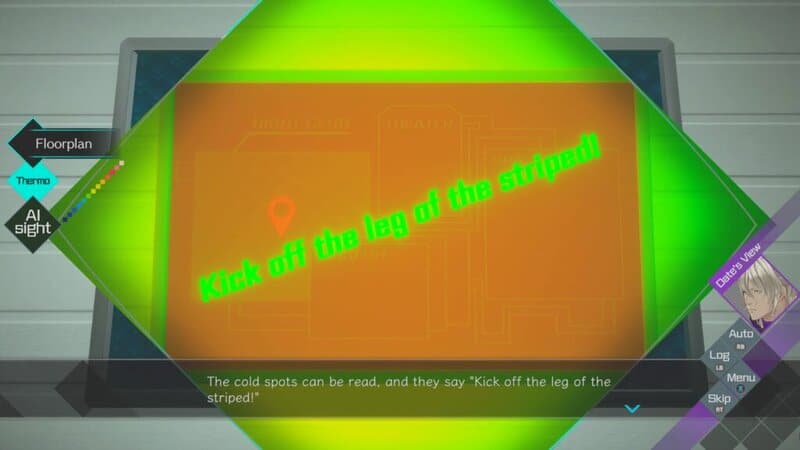
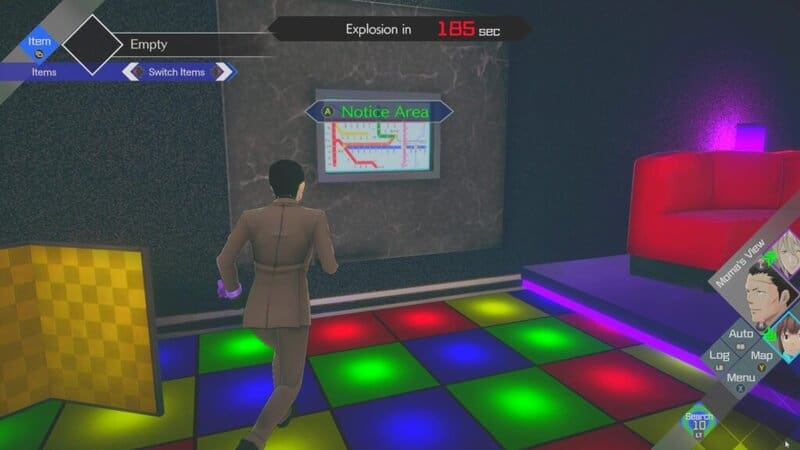
Switch back to Date and look at the map that is directly behind his car. While examining it, you will have the choice to use your Thermo Vision. You will find a message that says “Kick off the leg of the striped.”
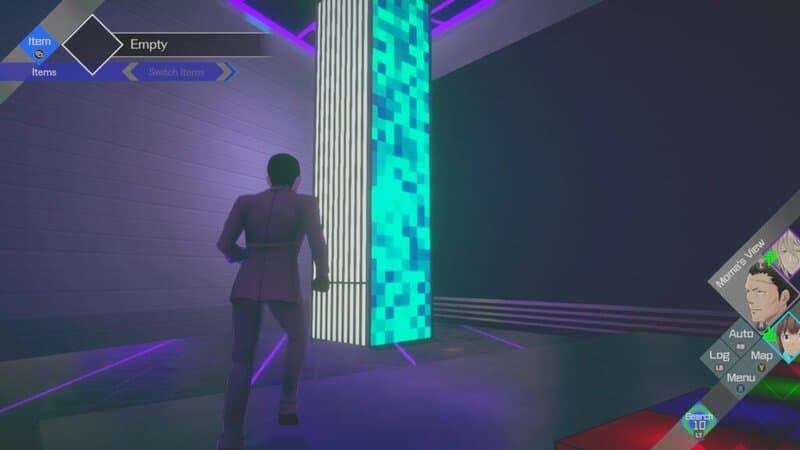
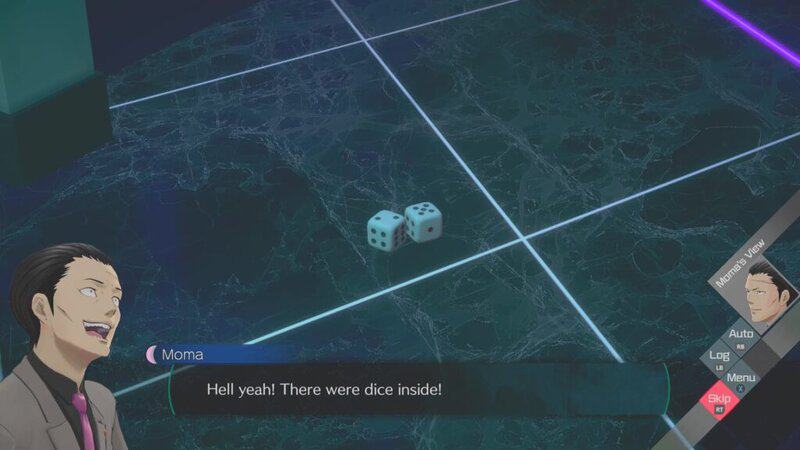
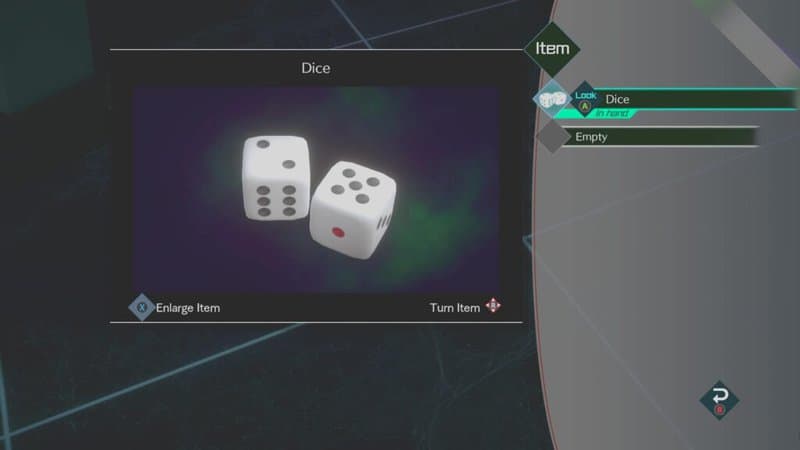
Switch to Moma and look at the large pillar to the left of the Casino Table. This pillar will have several stripes going down one of its sides. Interact with this pillar and Moma will break the striped wall, revealing a pair of dice that can be picked up.
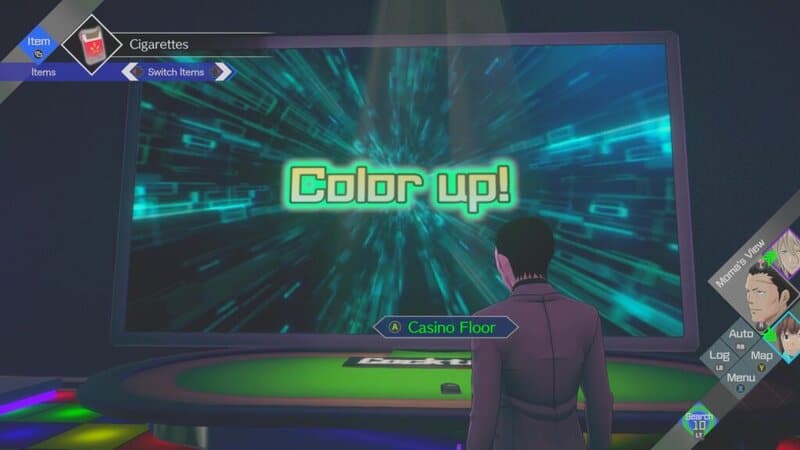
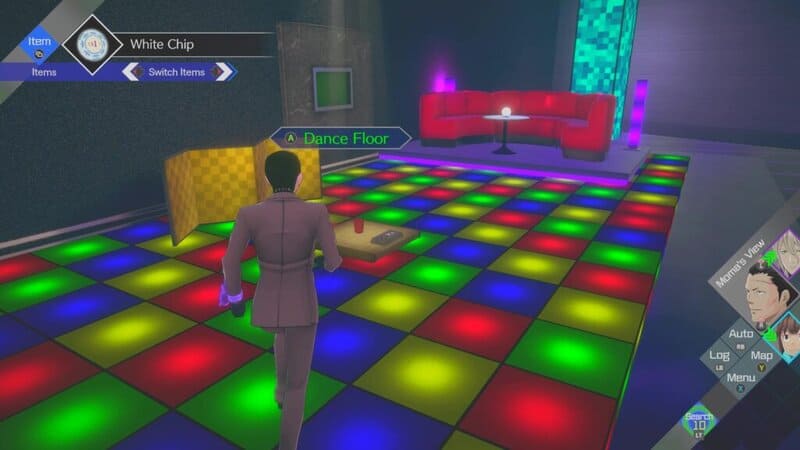
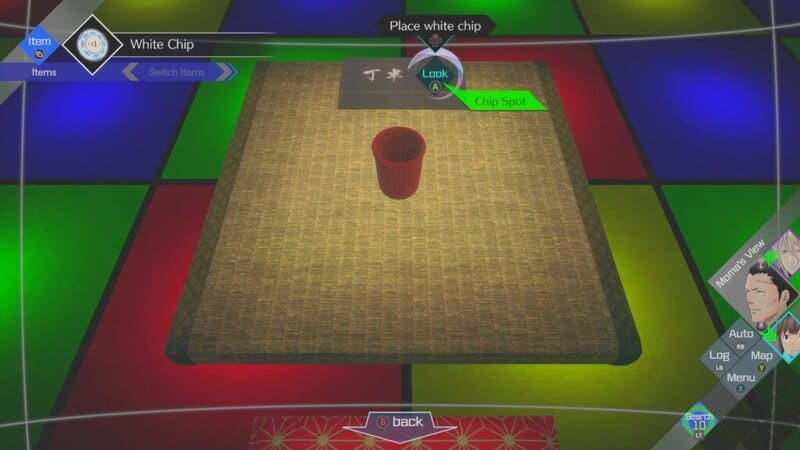
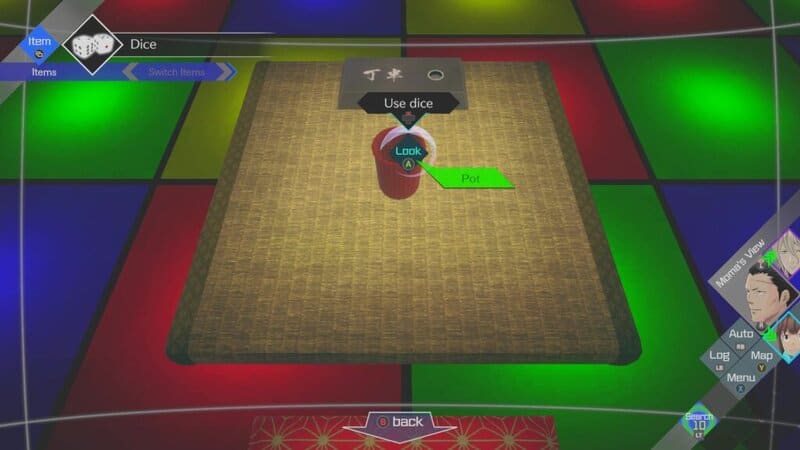
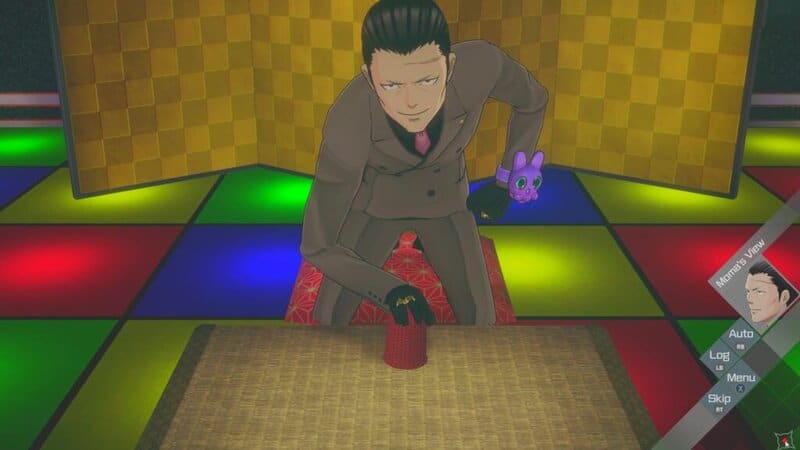
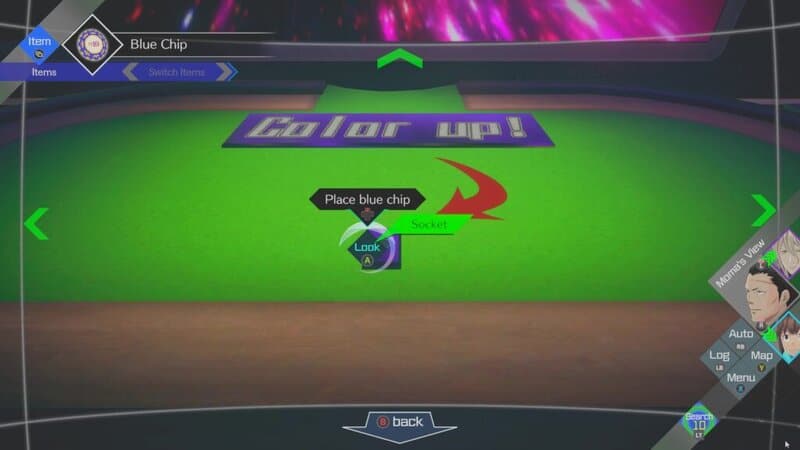
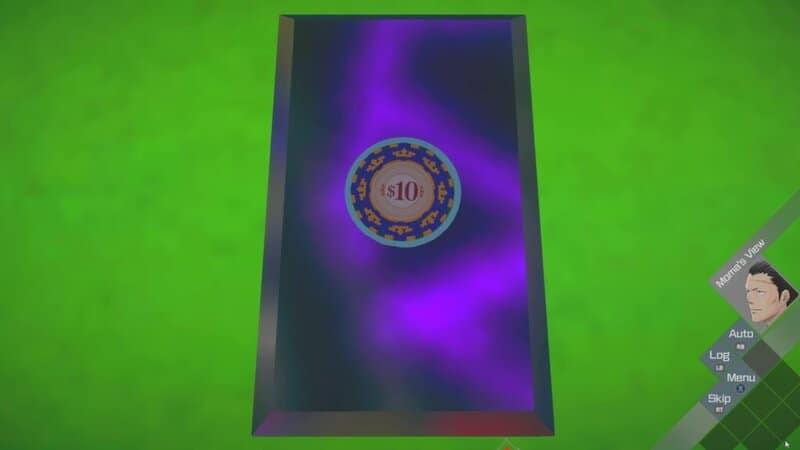
Now that you have the dice and the White Chip, go to the Dance Floor found on the opposite side of the room from the Casino Table. In the middle of the floor is a mat with a cup in the middle of it. Place your White Chip in the machine at the top of the mat and then put the dice in the cup. Moma will play 3 rounds of Even and Odds, which he will win. This will color up his White Chip to a $10 Blue Chip.
Take the chip back to the Casino Table and put the chip back in the place that you originally found it. Doing this will finish this step.
Defuse the Bombs
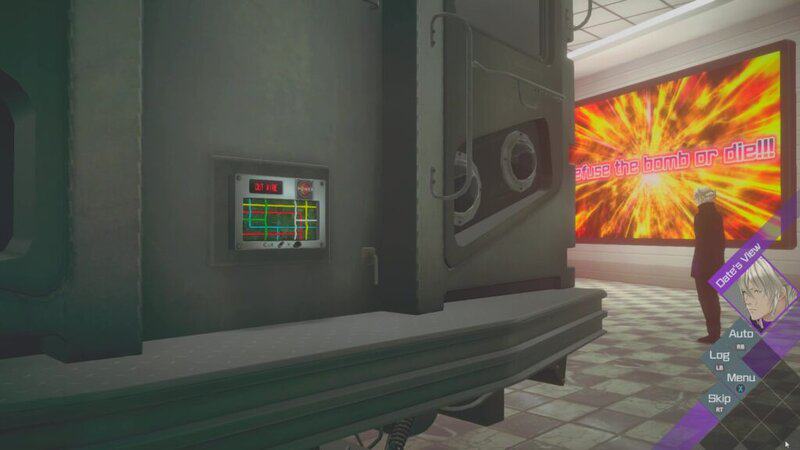
After putting the chip in, a bomb will be revealed on Date’s Train car. You will have 4 minutes to defuse this bomb.
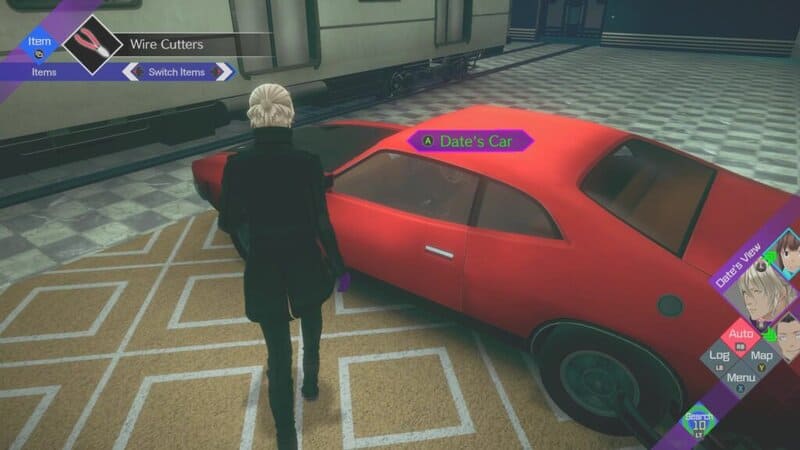
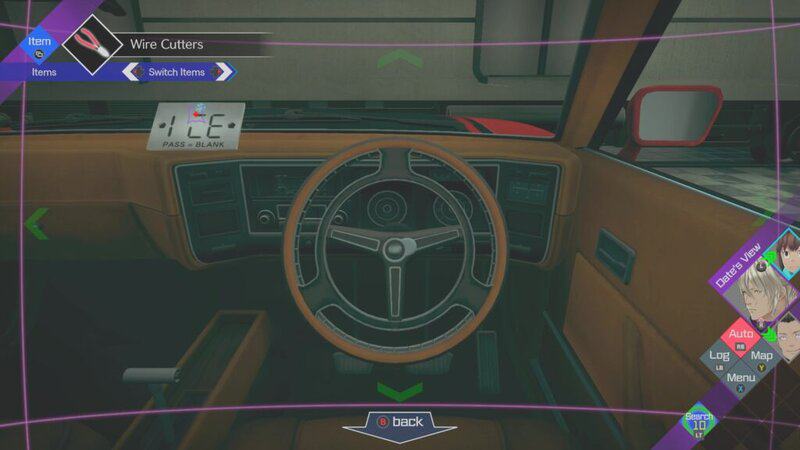
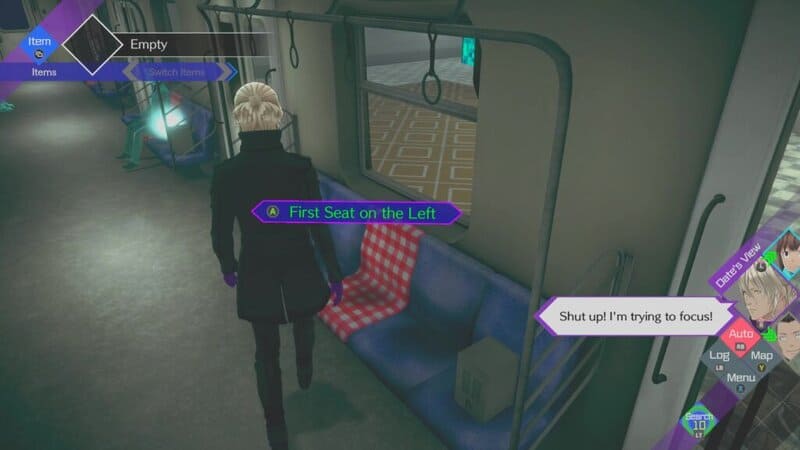
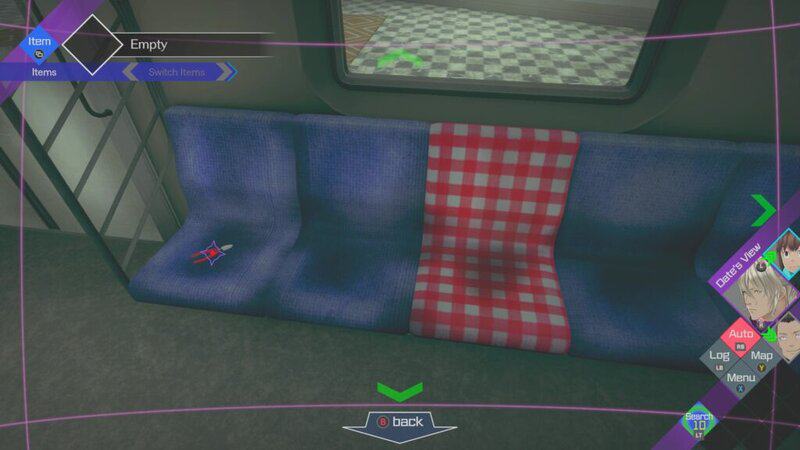
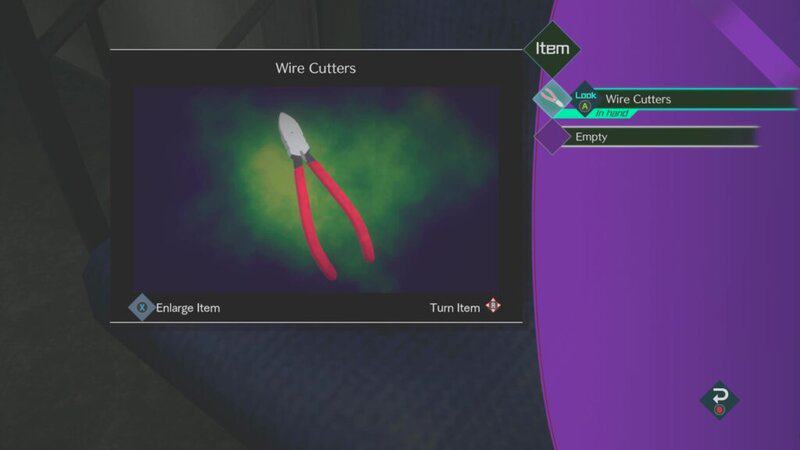
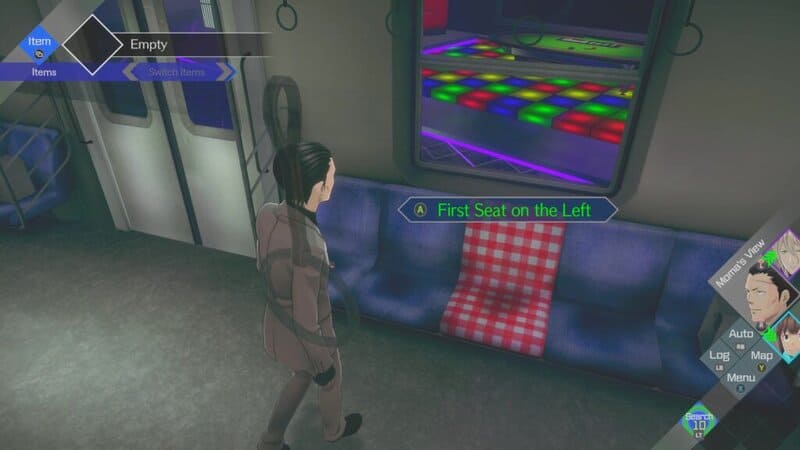
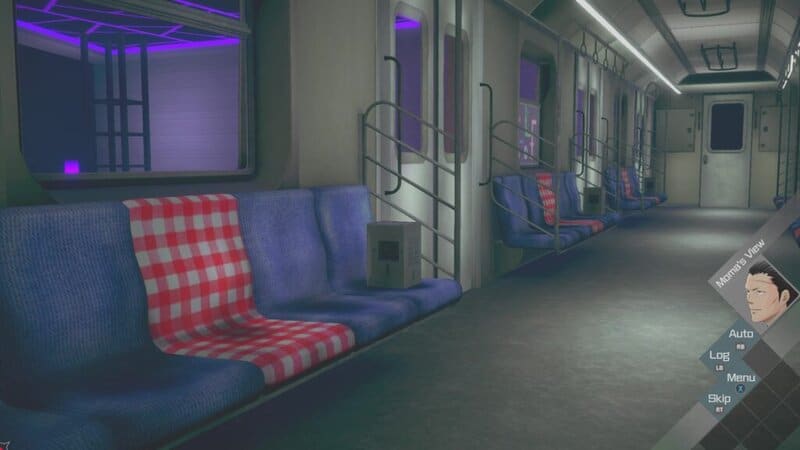
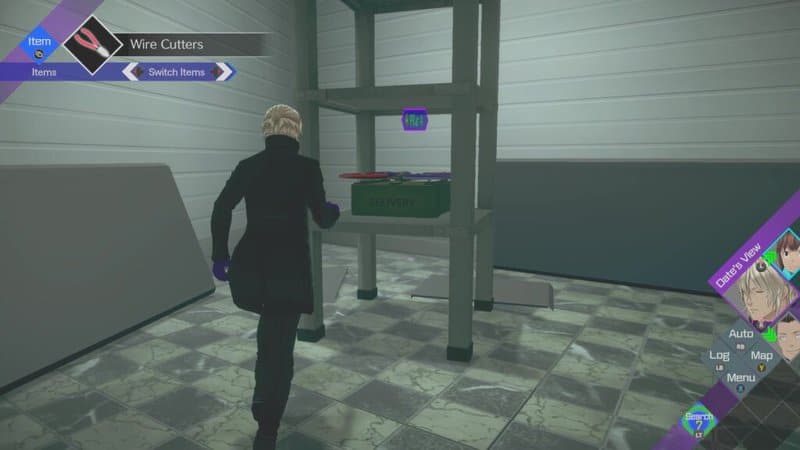
Go into the traincar and you can find some Wire Cutters on the first chair on the left.
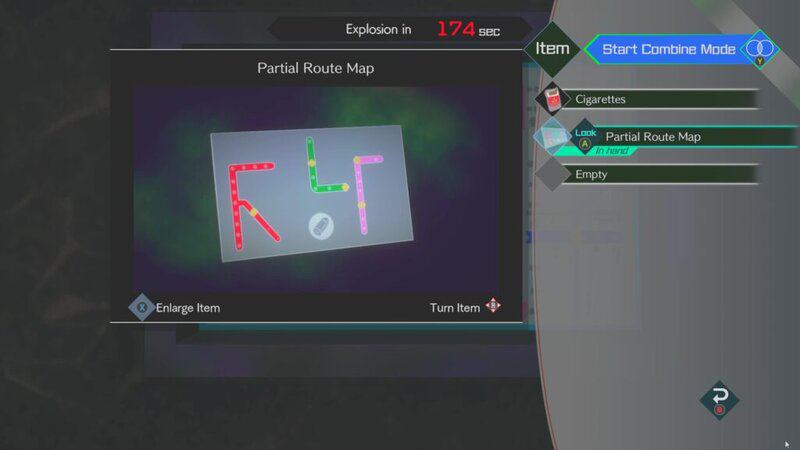
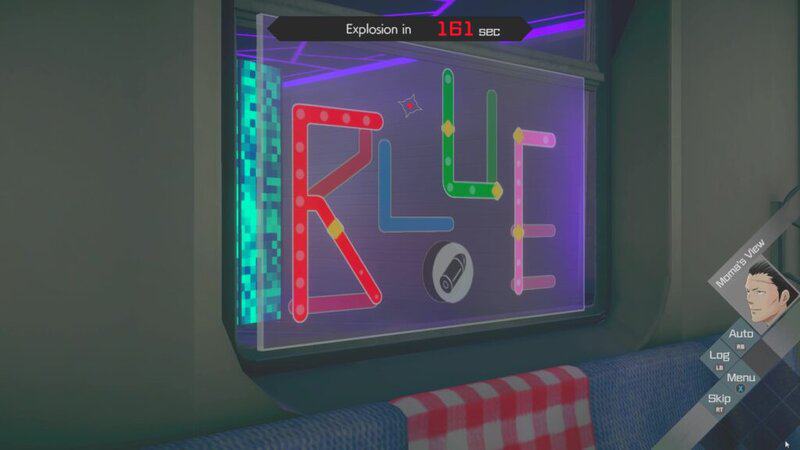
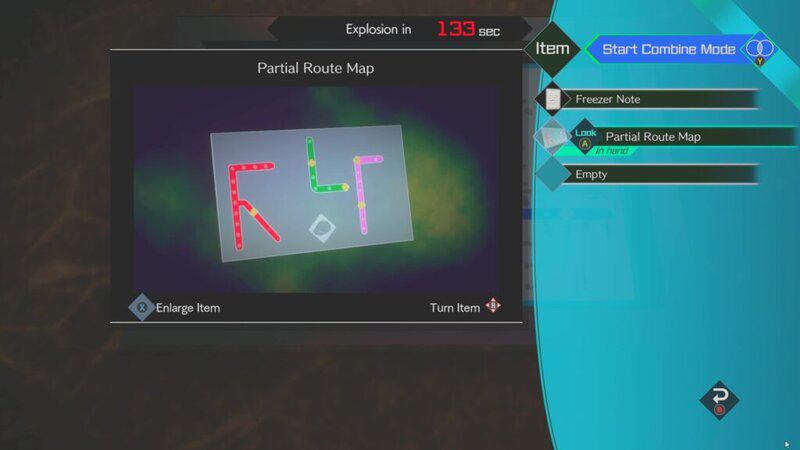
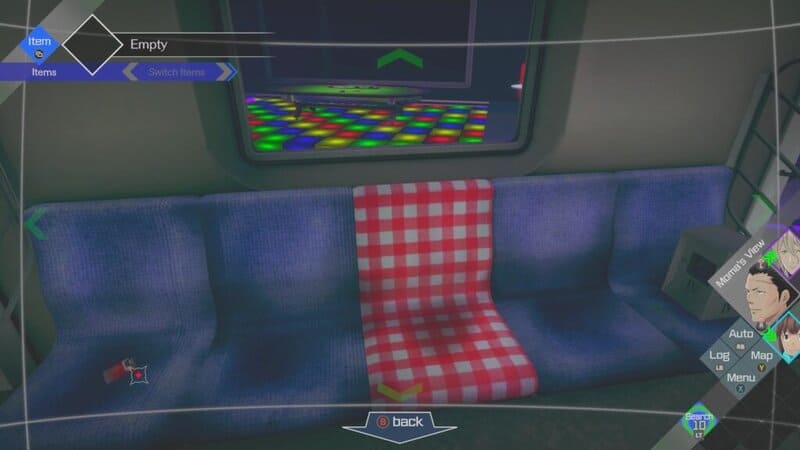
Looking at the dice mat that Moma just played on, turn around and look at the Notice Board. Interact with it and you will remove the Partial Route Map. Go into the traincar and put the map on the window above the second chair on the left. This will reveal the word “BLUE” with a bullet logo beneath it.
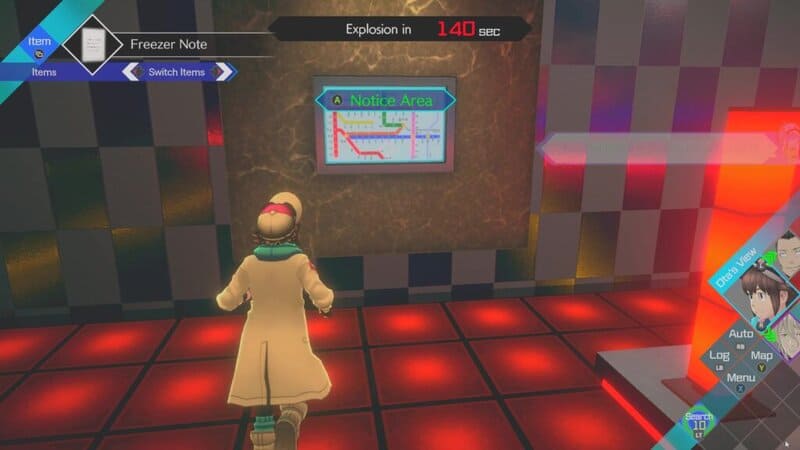
Go to the Dance Floor in Ota’s room in the same place as Moma’s to find another Notice Board. Interact with it and you will remove the Partial Route Map. Go into the traincar and put the map on the window above the second chair on the left. This will reveal the word “RED” with a hat logo beneath it.

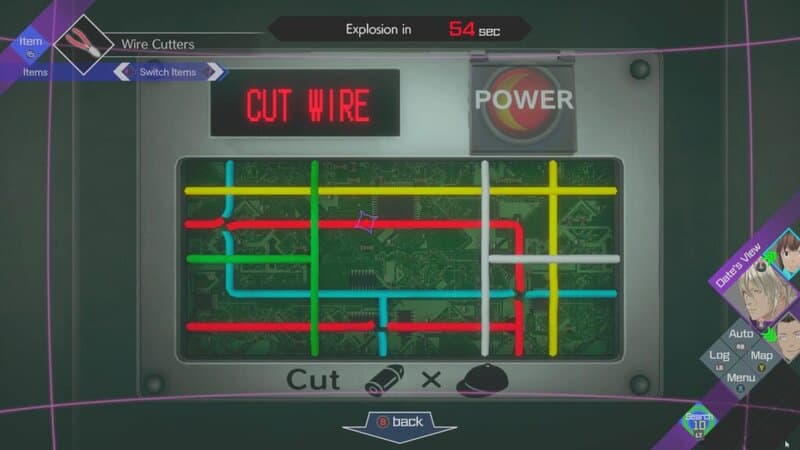
Go the bomb as Date with the Wire Cutters equipped in your inventory. The bottom of the bomb tells you to cut the wires that correspond to the bullet and hat logos. This means that you need to cut the points where the red and blue wires overlap. This happens in 3 spots: one near the top left of the bomb, another at the bottom center and another in the bottom right.
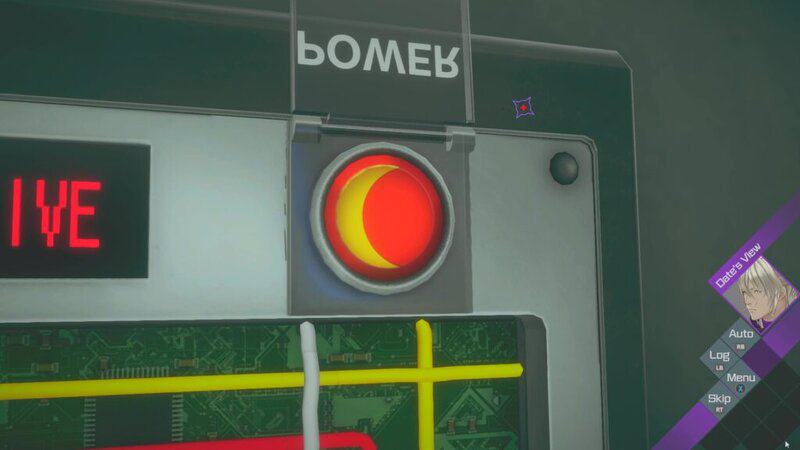
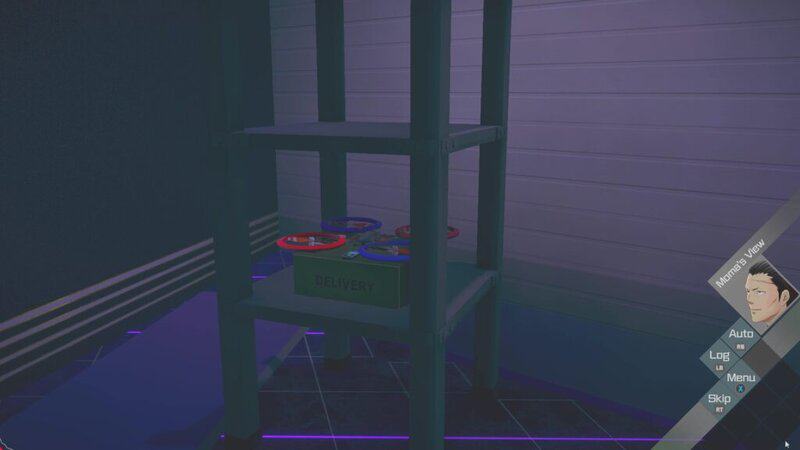
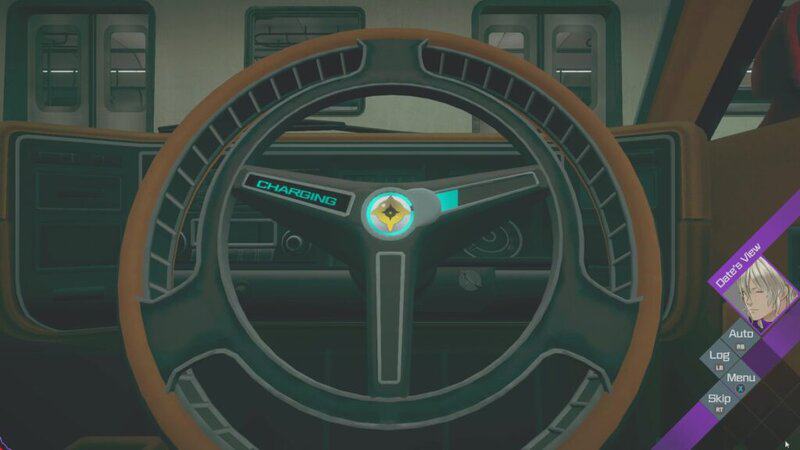
Once all the wires are cut, press the crescent moon button in the top left of the bomb to stop it from going off. While this bomb will be defused, a bomb in a pillar of each room will detonate, revealing a drone with a box in Moma’s casino. At this point, Aiba will need to recharge and will go into the steering wheel of Date’s car.
Open the Refrigerator and Gain Access to the DJ Booth
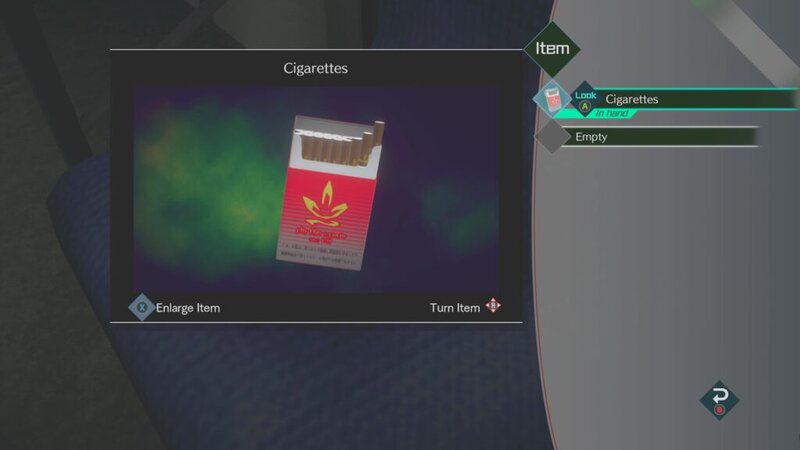
As Moma, go into the traincar and pick up the box of Cigarettes that are sitting on the first seet on the left.
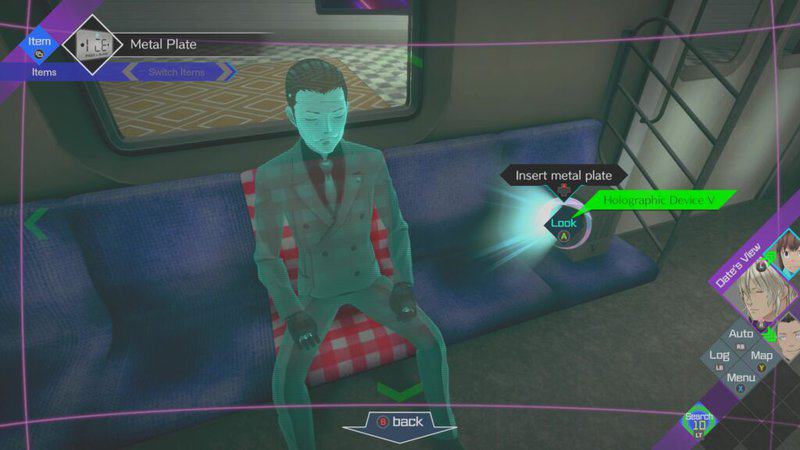
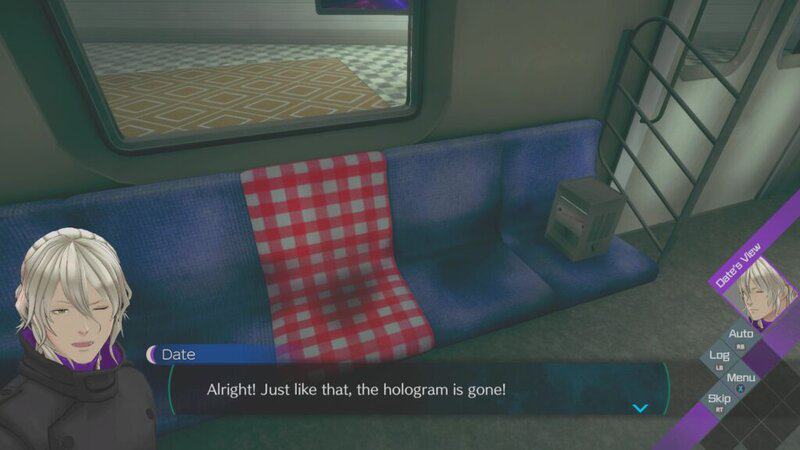
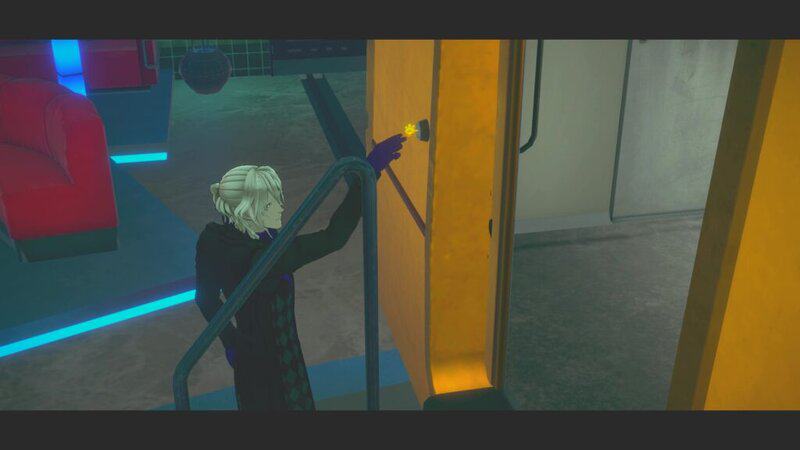
Go into the traincar and walk up to the hologram of Moma. Use your Metal Plate on the projector to disable the hologram. This will allow you to send the drone to Ota’s station.
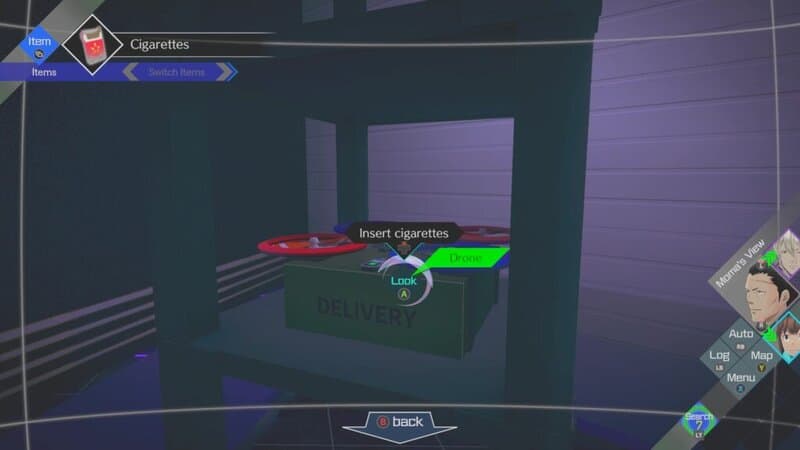
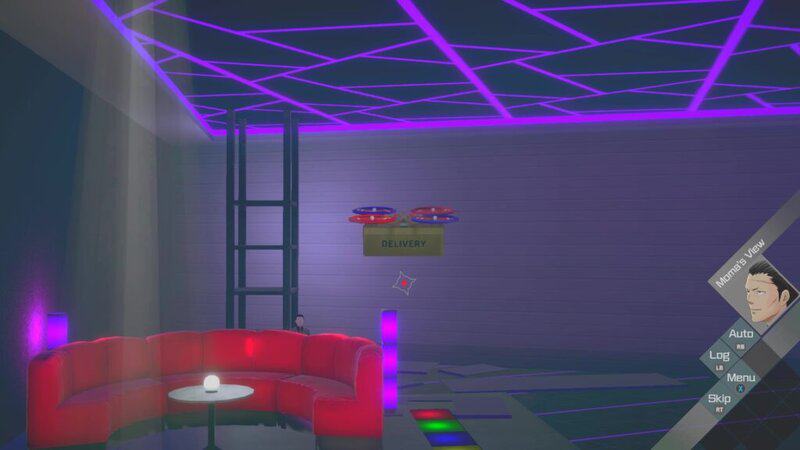
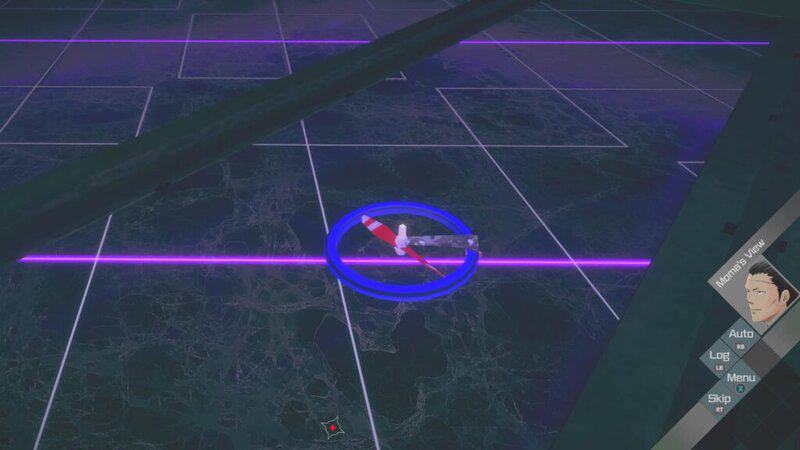
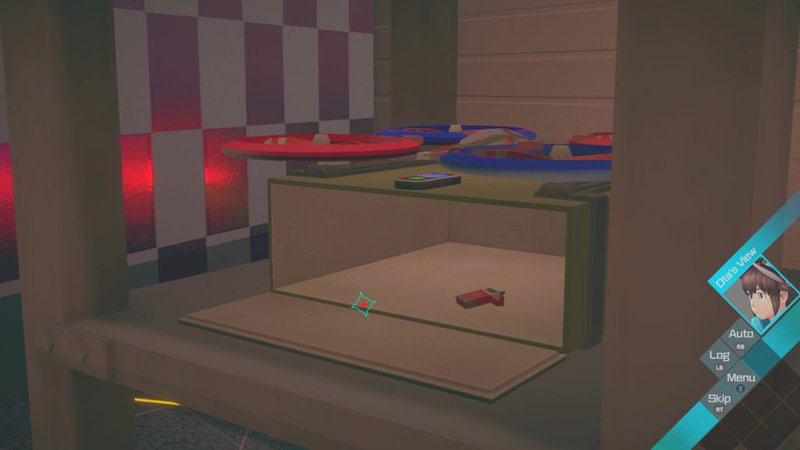
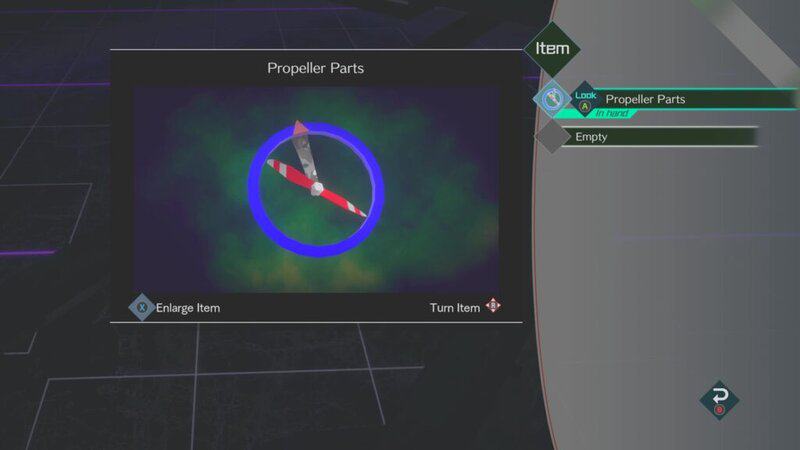
As Moma, go to the destroyed pillar to find the drone. Put the Cigarettes in the box and then scan your finger to send it to Ota. As the drone goes through the vent, it will drop a blue Propeller Part that you will need for another part of the puzzle.
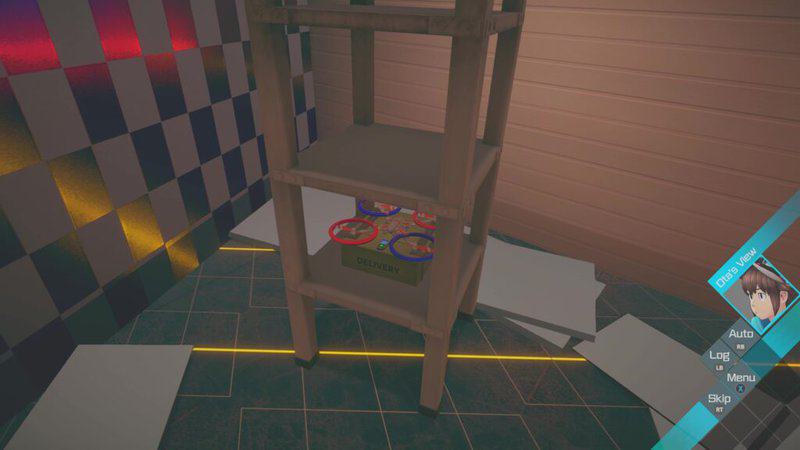
Once the drone lands in Ota’s room, go up to it and retrieve the Cigarettes.
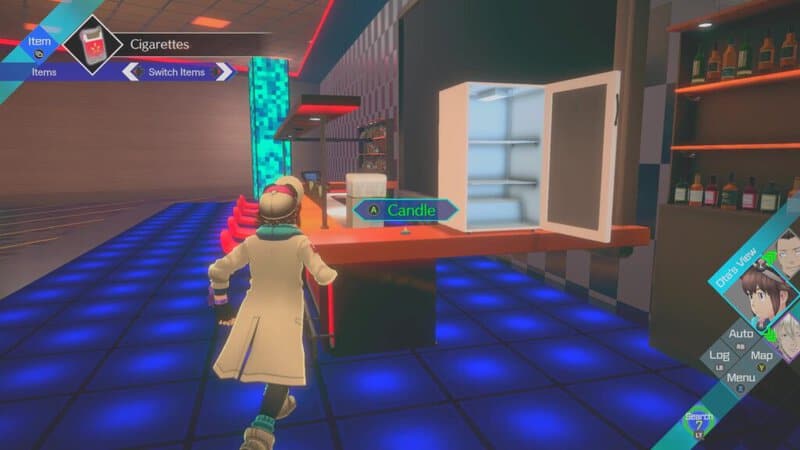
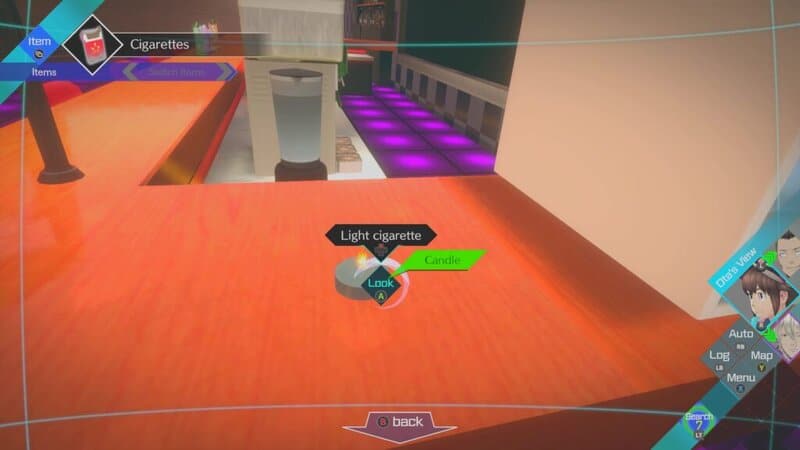
Go back to the Bar Counter and look to the left of the Freezer. You will find a Candle that is stuck to the bar. Use this candle to light the cigarette.
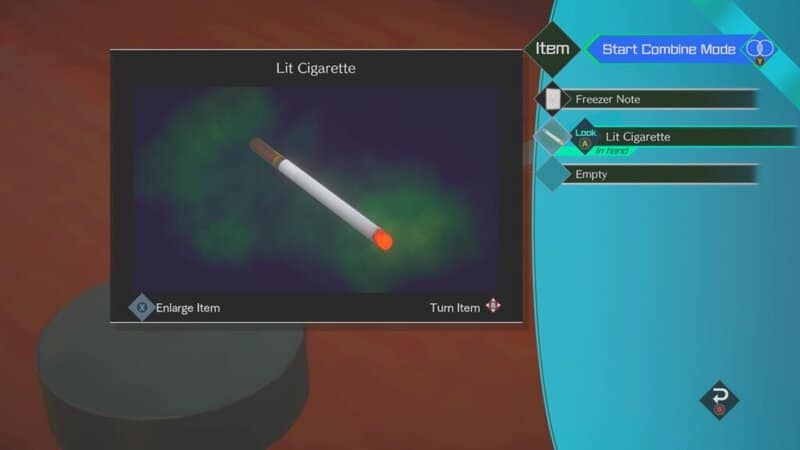
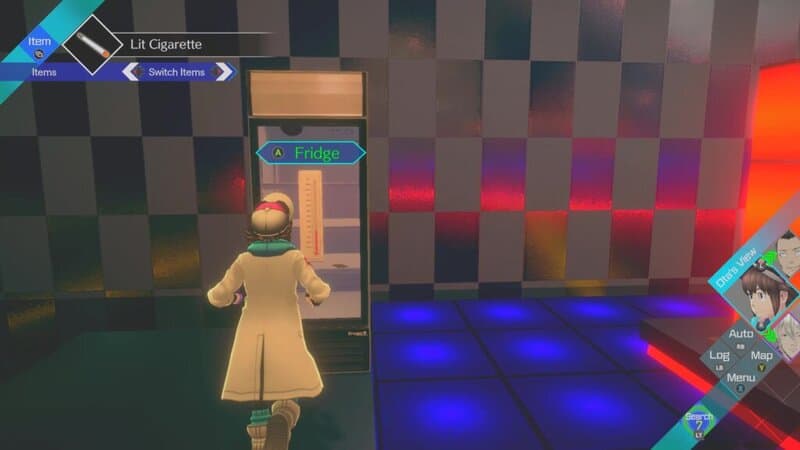
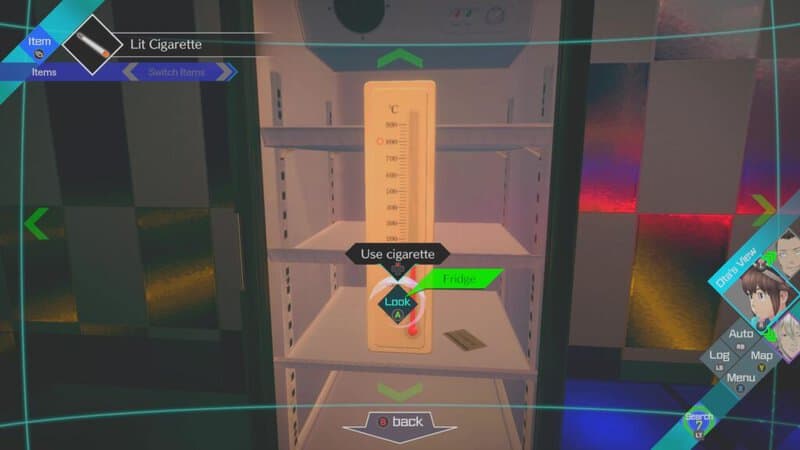
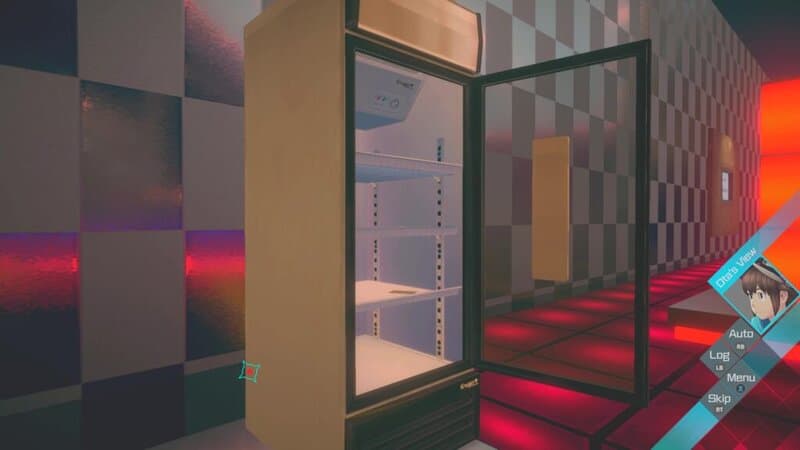
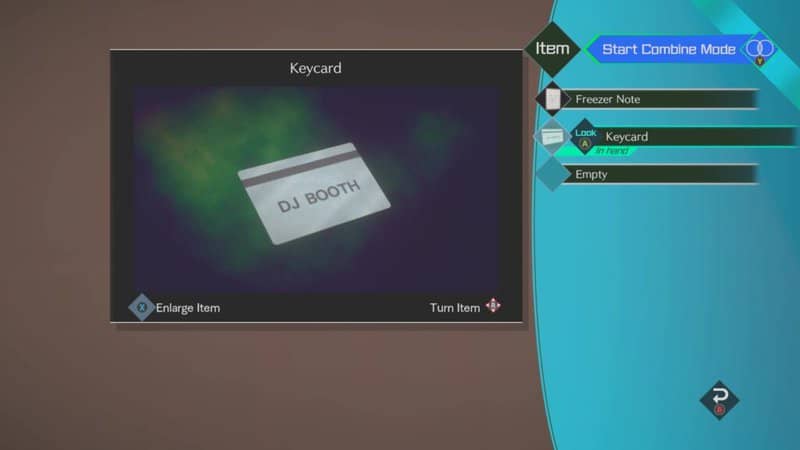
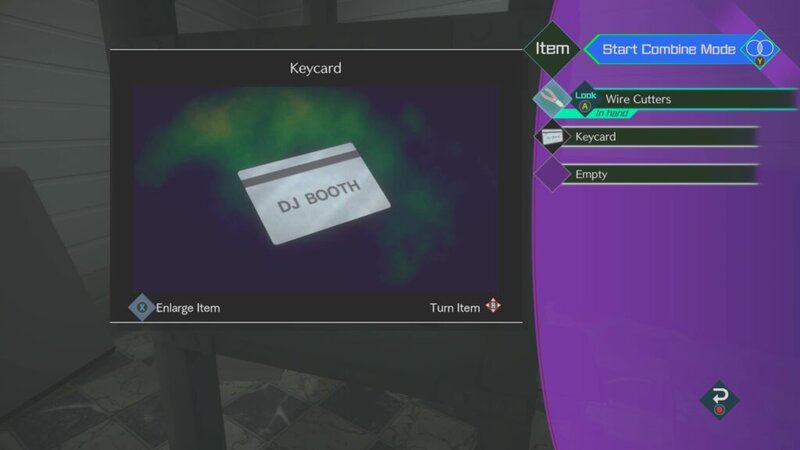
To the left of the Dance Floor is a locked Fridge with a giant thermometer on it. Use the cigarette to heat up the thermometer and open the Fridge. Inside, you will find a DJ Booth Keycard.
Switch back to Moma and pick up the Propeller Part. Then, look to the right of the Casino Table to find a giant Switchboard with 3 other similar parts. Insert your part in the bottom right corner.
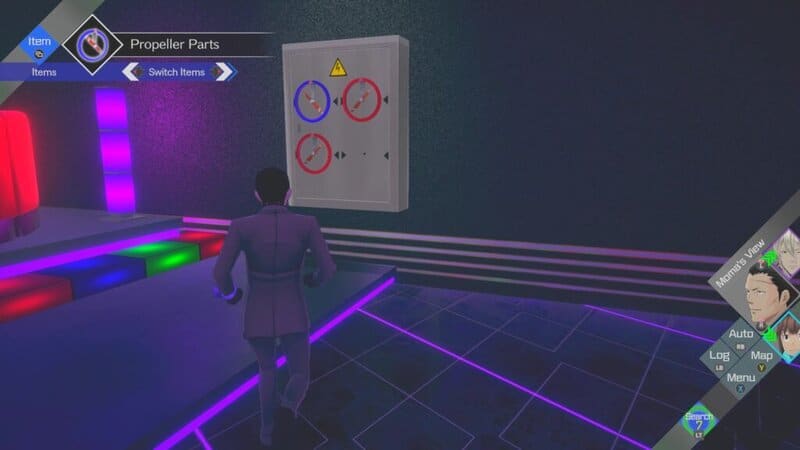
You will need to turn the blue parts to the left and the red ones to the right to match Pewter’s explanation of drone propeller blades heard in the Destructive Knowledge Somnium.
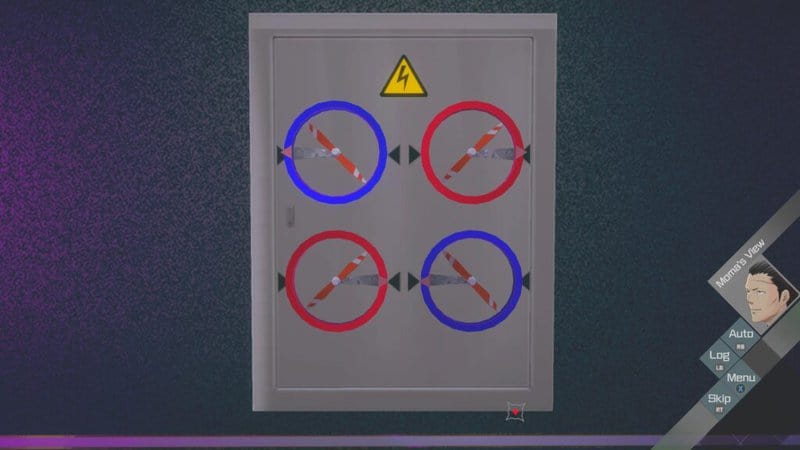
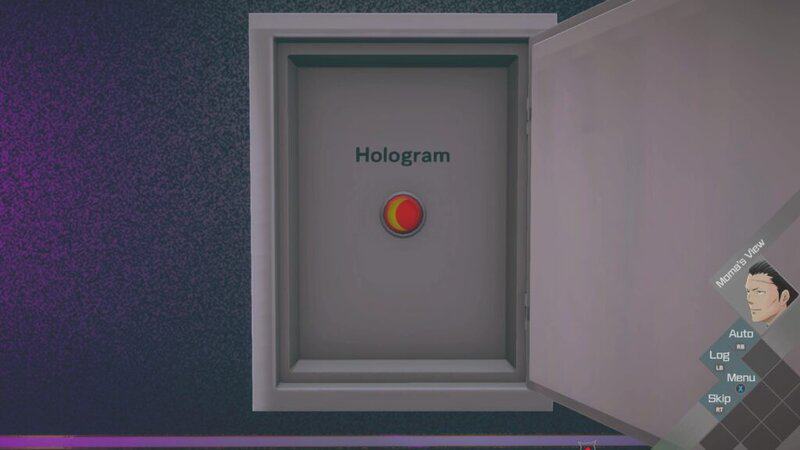
Once this is done correctly, the switchboard will open up, revealing a crescent moon button with the word “hologram” written above it. Press the button to turn off both the Ota and Date holograms in Moma’s train. Switch back to Ota, place the Keycard in the drone box, and send it to Date’s room.
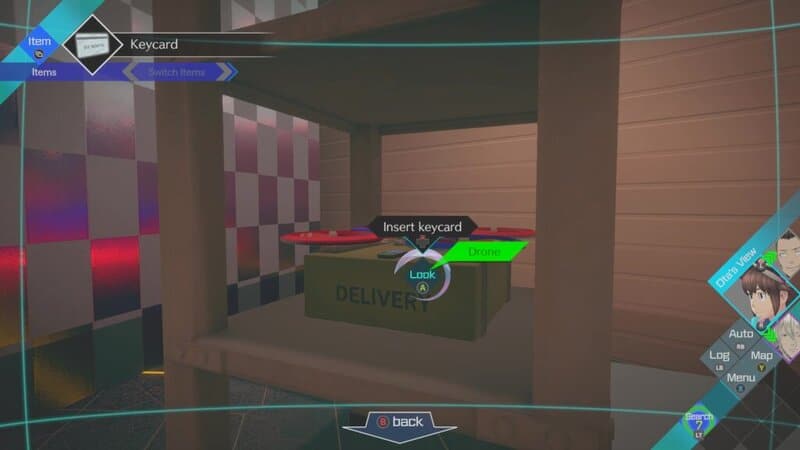
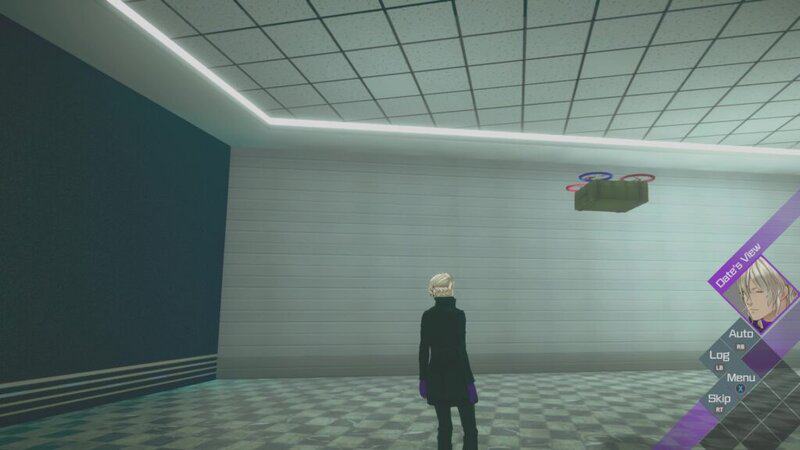
Once the drone lands in Date’s room, go up to it and retrieve the Keycard.
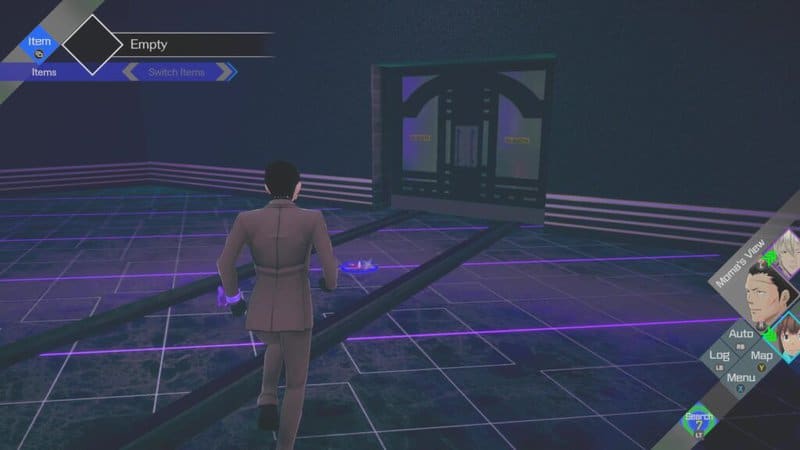
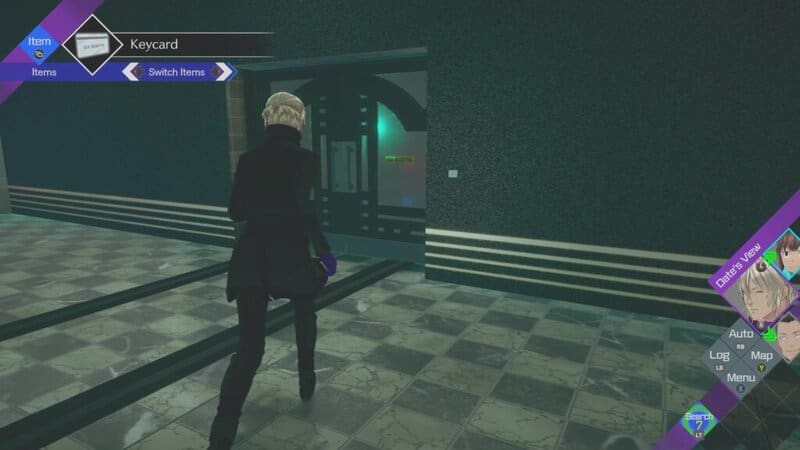
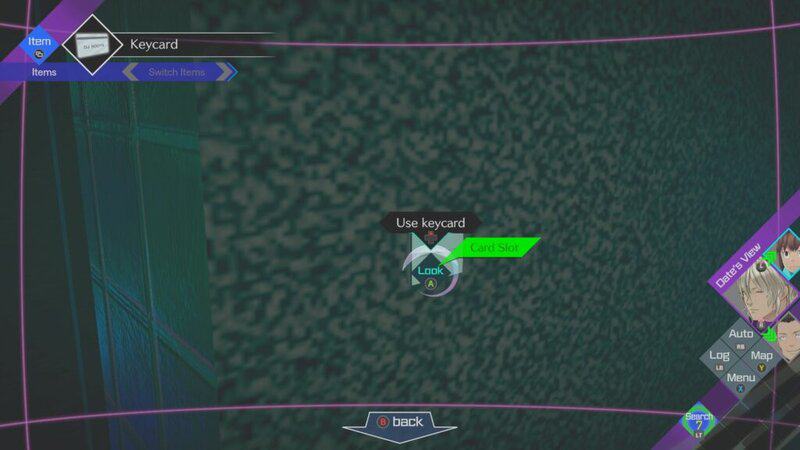
Go to the door at the end of the train tracks and use the Keycard on the card reader to open the door to the DJ Booth.
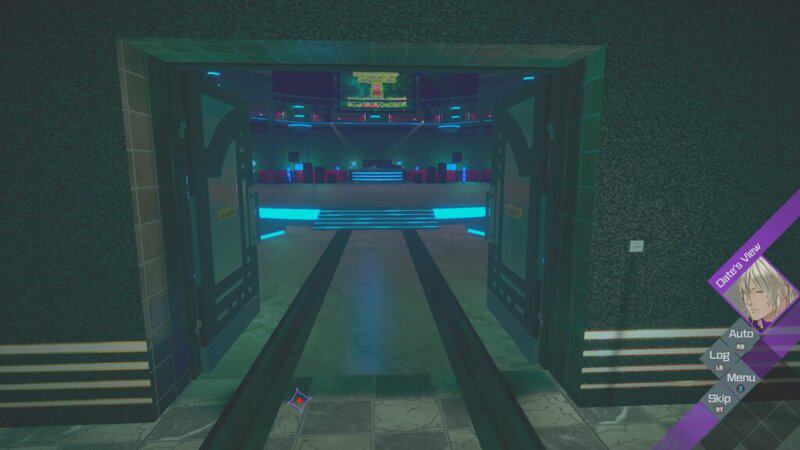
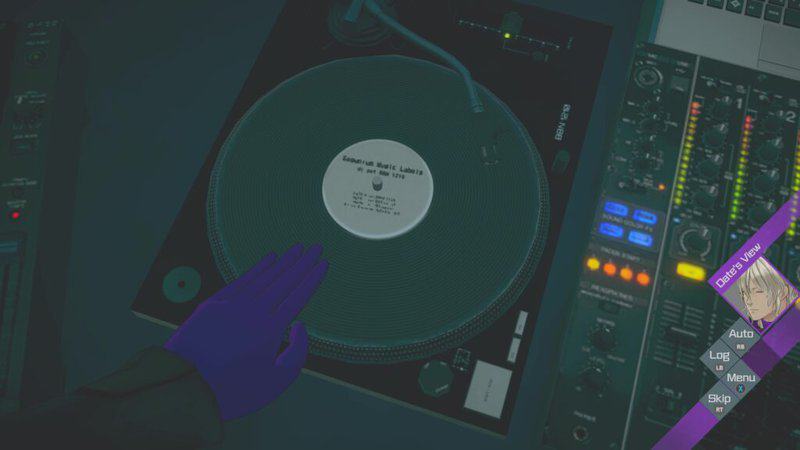
Complete the Turntable Puzzle
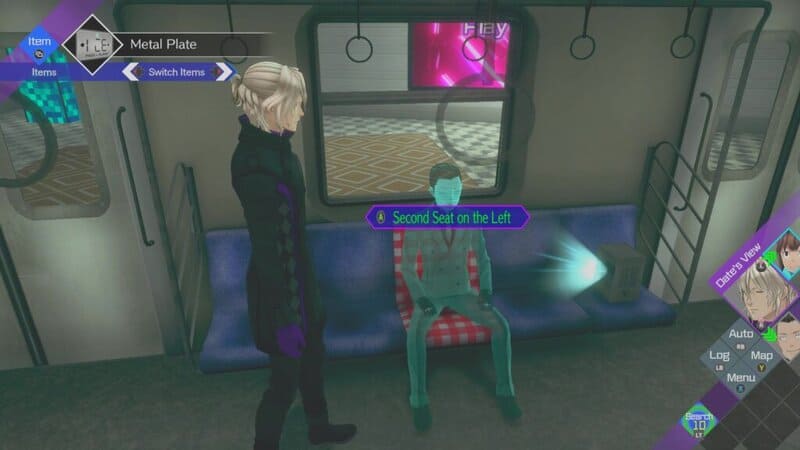
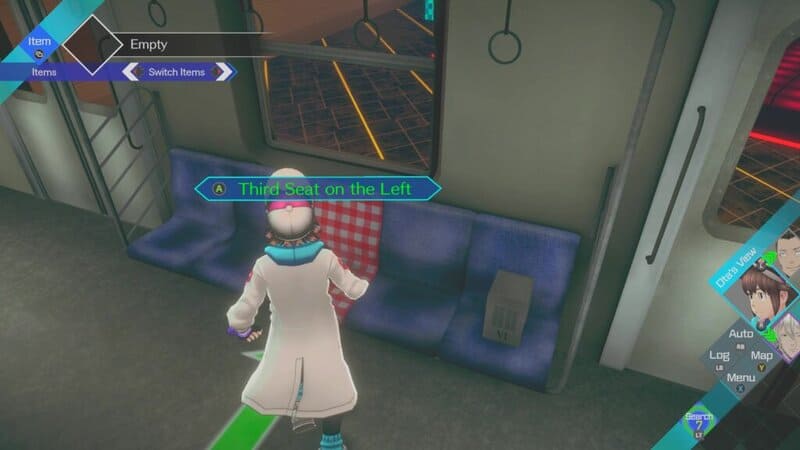
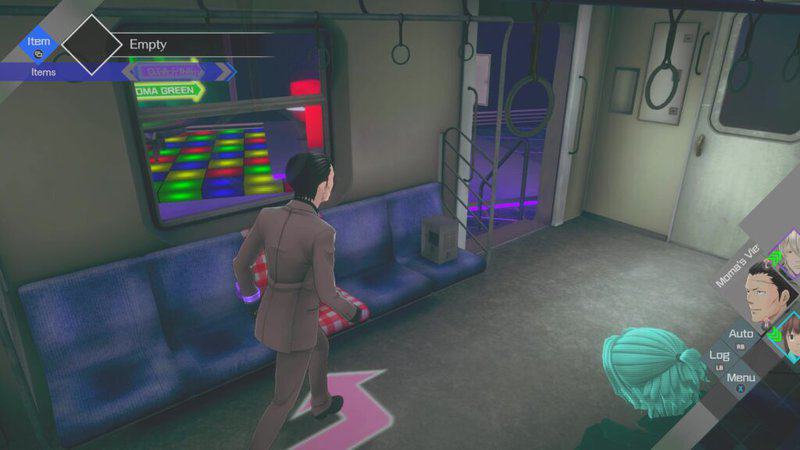
As Date enters the club, you will be directed to get Ota and Moma to sit in specific seats within their respective traincars with colored arrows appearing on the ground to act as hints for which one they should sit in.
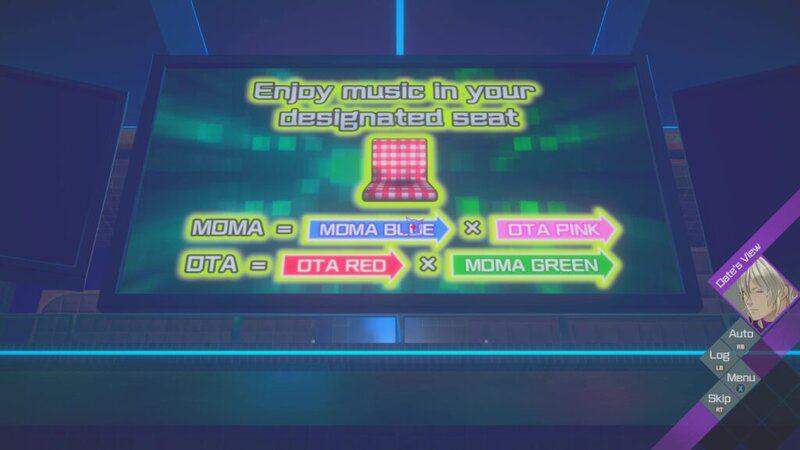
Have Ota sit in the third seat on the left and have Moma sit in the first seat on the left. Once this is done, Date can begin the Turntable puzzle.
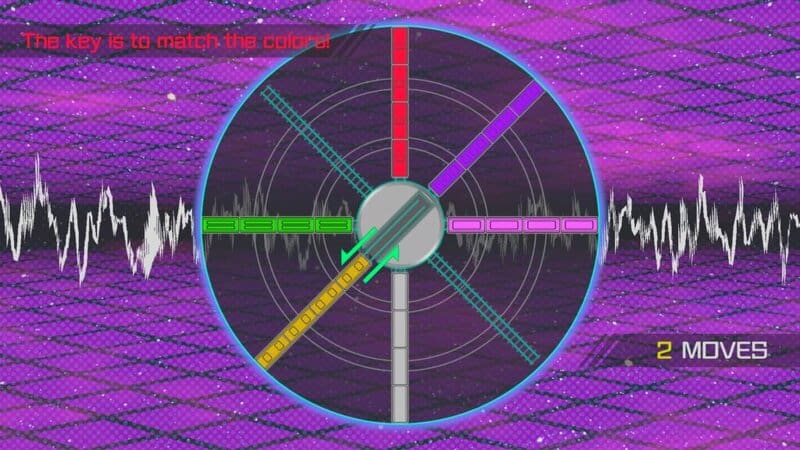
The turntable will have several small traincars on tracks, with each car being either white. red, purple, green, yellow, or pink. Your job is to get all of the cars that are the same color on the same track within 20 moves. Here is the breakdown of each action you should take:
- Two red traincars from the top right track moved to the top track
- One white traincar from the right track moved to the bottom track
- One purple traincar from the right track moved to the top right track
- One pink traincar from the left track moved to the right track
- One white traincar from the bottom right track moved to the bottom track
- One red traincar from the bottom left track moved to the top track
- One red traincar from the left track moved to the top track
- Two green traincars from the bottom left track moved to the bottom track
- One yellow traincar from the left track moved to the bottom left track
- One purple traincar from the left track moved to the top right track
- Two green traincars from the bottom track moved to the left track
- One green traincar from the bottom right track moved to the left track
- One white traincar from the bottom right track moved to the bottom track
- One green traincar from the top left track moved to the left track
- One white traincar from the top left track moved to the bottom track
- One pink traincar from the top left track moved to the right track
- One yellow traincar from the bottom right track moved to the bottom left track
- One yellow traincar from the top left track moved to the bottom left track
Move all of the cars in this order and you will complete the Turntable.
Use Aiba to Free Everyone from the Trap
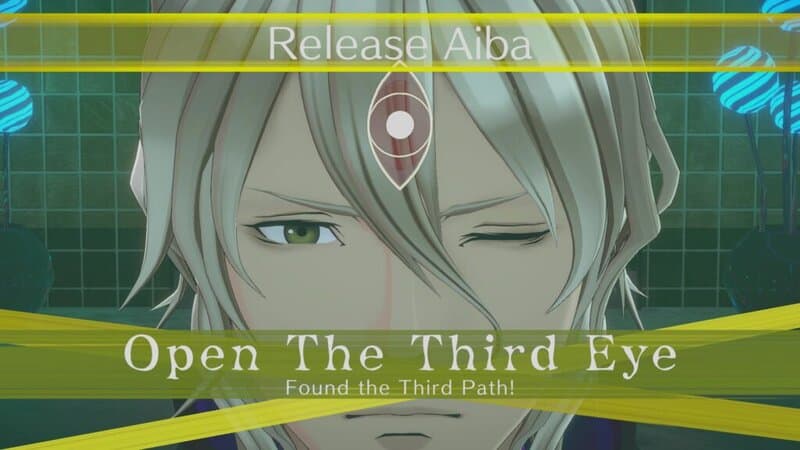
It will look like the key out of the station is sitting on another Turntable, but as Date reaches for it, his hand becomes trapped. Ota and Moma are confined to their seats and new bombs appear in both of their trains. This is the Third Eye Path, but instead of having 3 minutes like before, you will have a few chances to enter the answer to the question: who should you free?
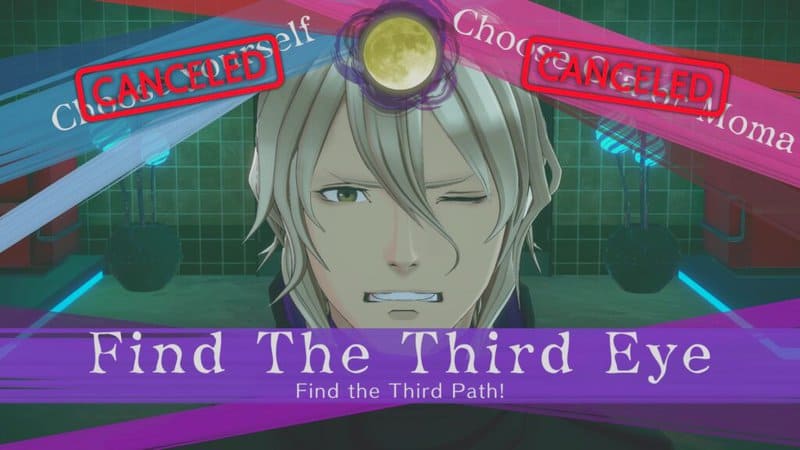
This seems like a trick question since you aren’t able to pick any and the characters that you’ve played as so far. But remember, Aiba is charging in the car. Free her from the steering wheel and ask for her help.
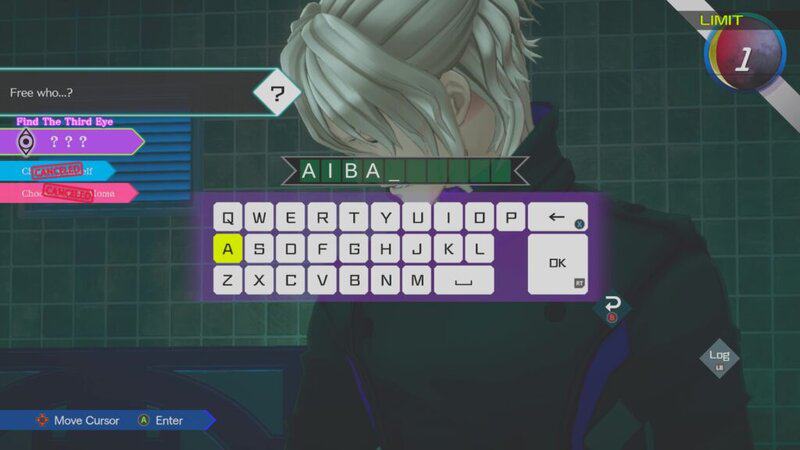
This will complete Date’s Third Eye challenge, but the puzzle isn’t over just yet.
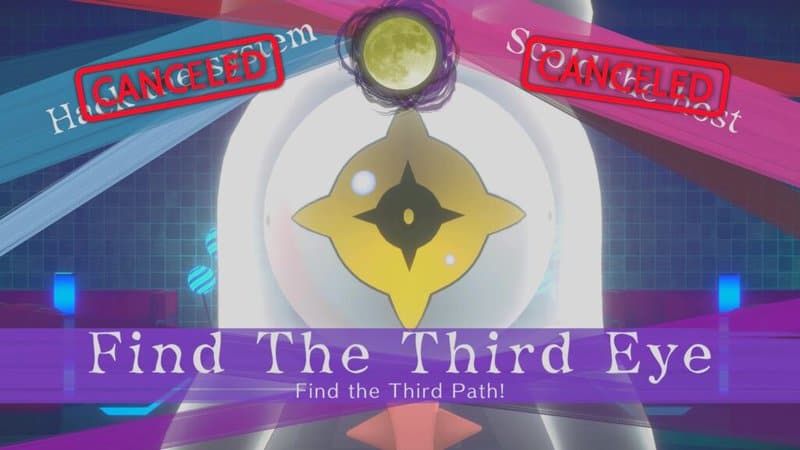
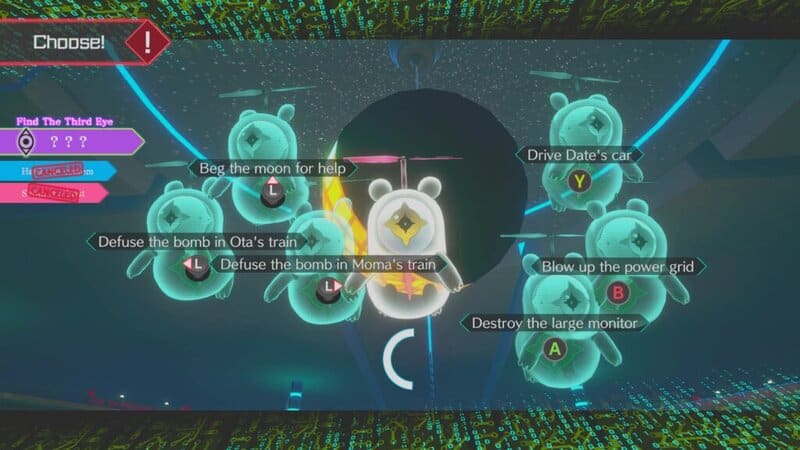
Aiba will also have her own Third Eye Path challenge as she must figure out how to save everyone.
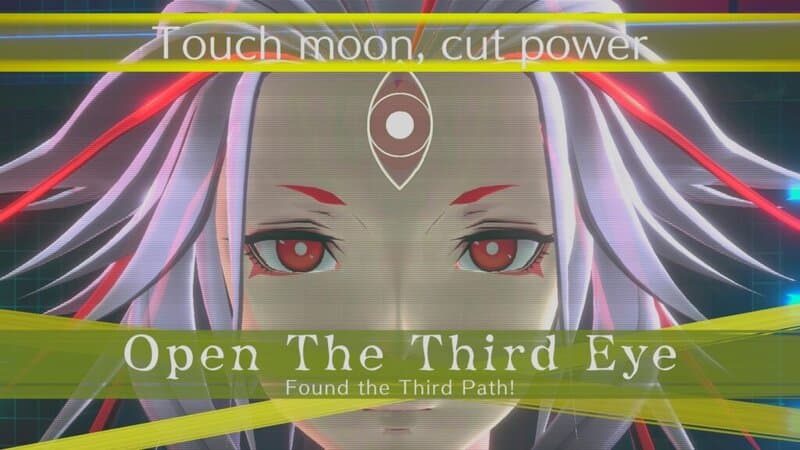
The correct choice is to “Beg the moon for help” since the crescent moon disco ball is just like the moon shown on the button of the first bomb you already defused.
Selecting this option will cut the power to the station, saving and freeing everyone and bringing this Escape Room to a close.
Escape
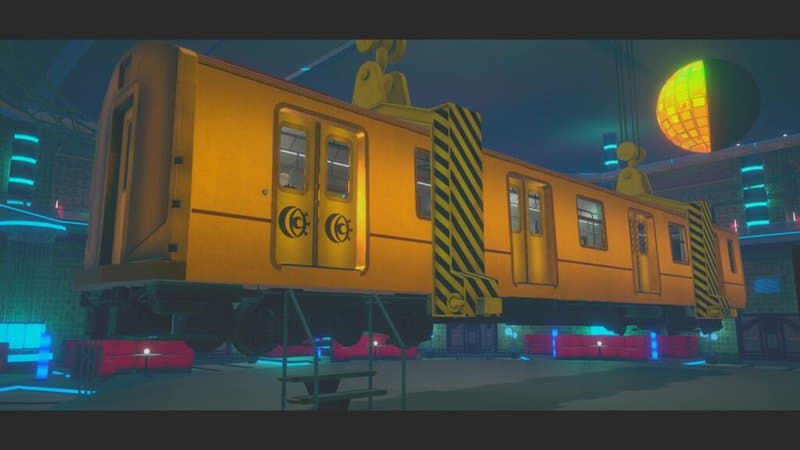
A cutscene will play where everyone is reunited and uses the Moon and Eye Key on a golden traincar to escape this station to nowhere.

You now know how to complete the Non-Existent Station Escape Room in No Sleep for Kaname Date – From AI: THE SOMNIUM FILES. Stay tuned to Gameranx for more news, updates, and guides for No Sleep for Kaname Date – From AI: THE SOMNIUM FILES as well as other great games in the future.