Table of Contents[Hide][Show]
- How to Complete the Curse Escape Room in No Sleep for Kaname Date
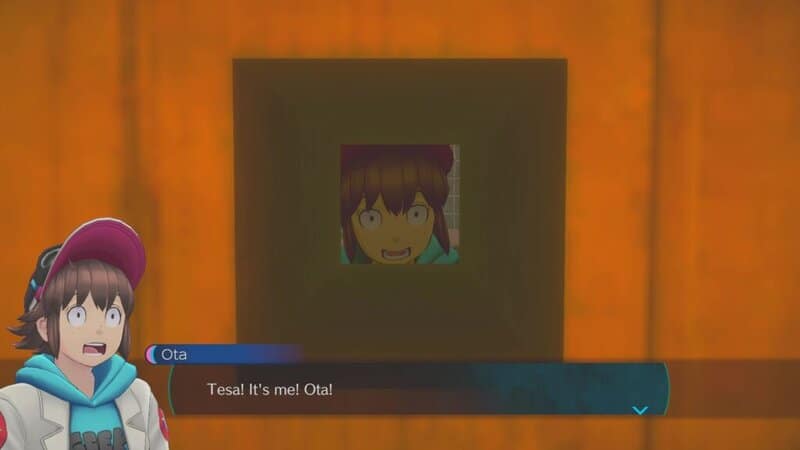
- Find the Small Box and Meet Ota
- Rite of the Point: Open the Small Box with Ota’s Help
- Rite of the Edge: Open the Lockers
- Rite of the Face: Activate the Memento Appraisal System and Put the Mementos in the Correct Boxes
- Seal of Uncursing: Open the Kotoribako and Free Iris
- Escape the Flooded Chamber
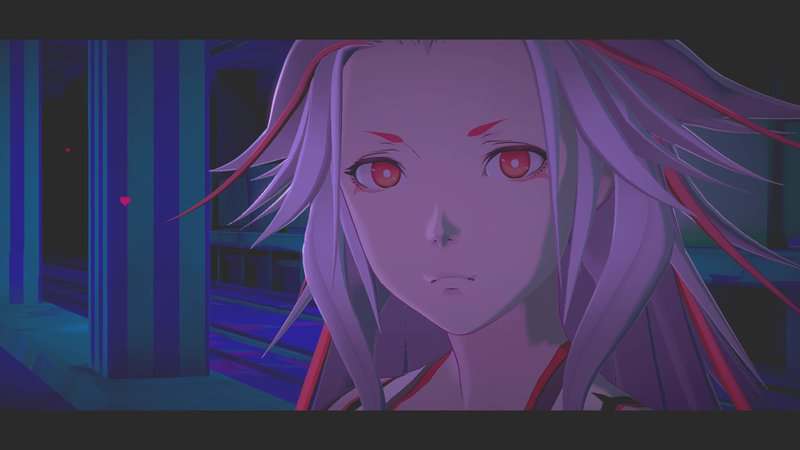
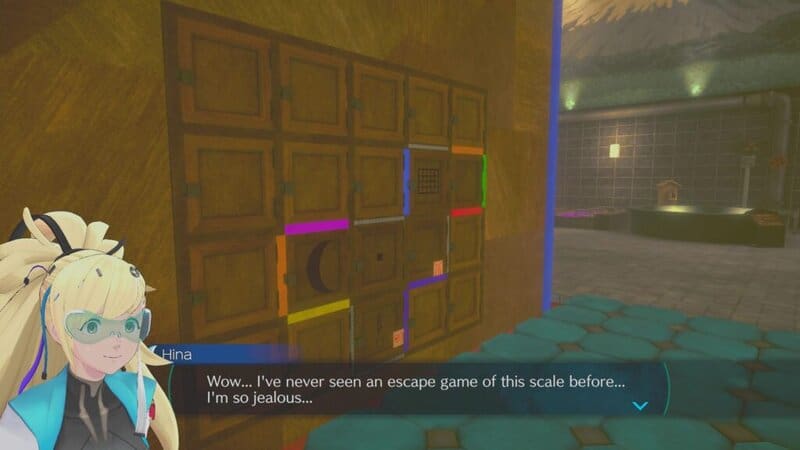
The second Escape Room in No Sleep for Kaname Date – From AI: THE SOMNIUM FILES is simply referred to as the Curse. With Iris trapped in a giant cube, it’s up to her and her #1 fan, Ota Matsushita. By switching between these two, players will need to cross-reference information and items to escape this strange hot spring. This guide will show players how to complete the Curse Escape Room in No Sleep for Kaname Date – From AI: THE SOMNIUM FILES.
How to Complete the Curse Escape Room in No Sleep for Kaname Date
The Curse Escape Room in No Sleep for Kaname Date starts after completing the Nissei Gesshi -Verse- chapter. These escape rooms differ from the Somnium puzzles that are at the core of the series. These rooms don’t rely on dream logic and also don’t have a time limit, making them more akin to 3D versions of the puzzles found in the Zero Escape games. In this first puzzle, you will play as both Iris and Ota and will need to switch between them to gain information and items to help the other solve the puzzles of the Curse.
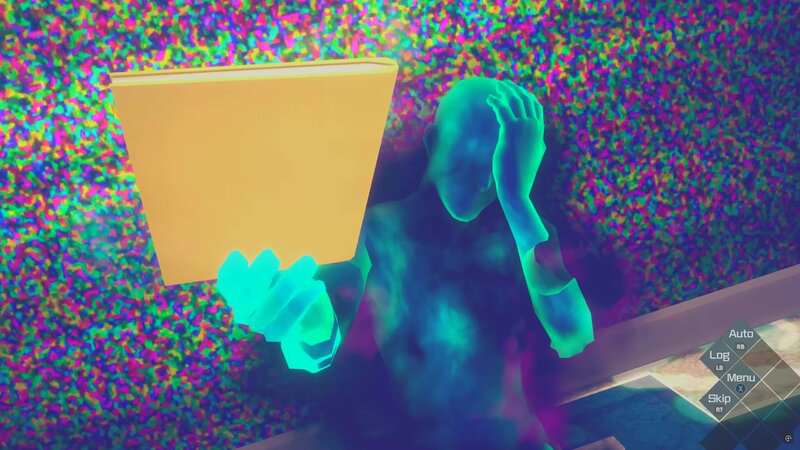
Find the Small Box and Meet Ota
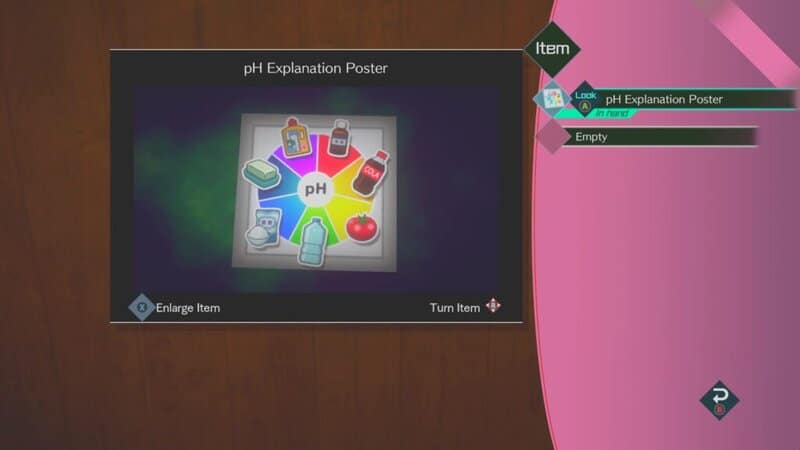
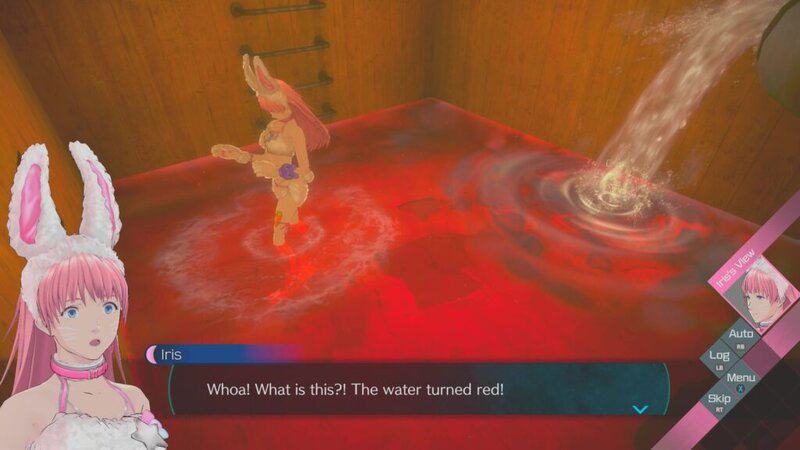
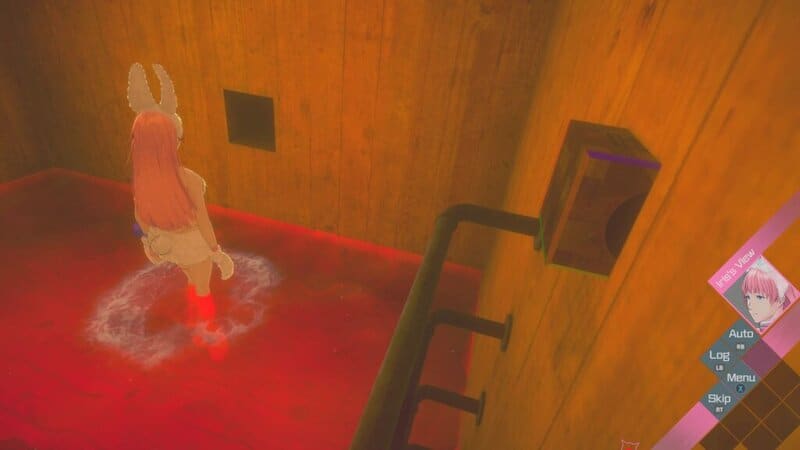
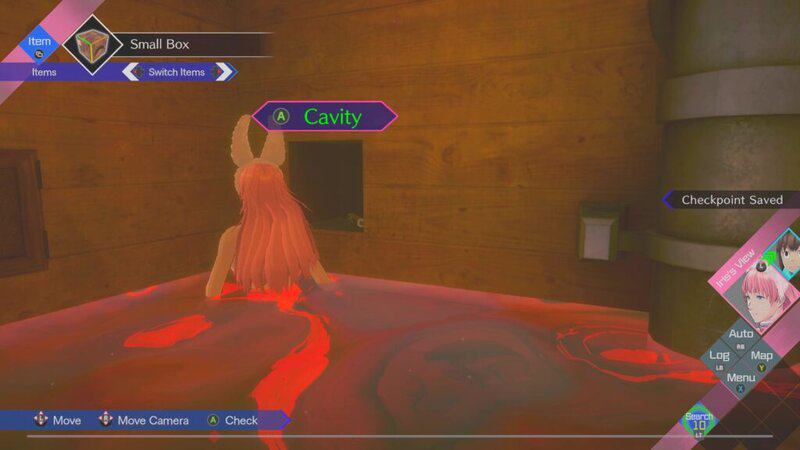
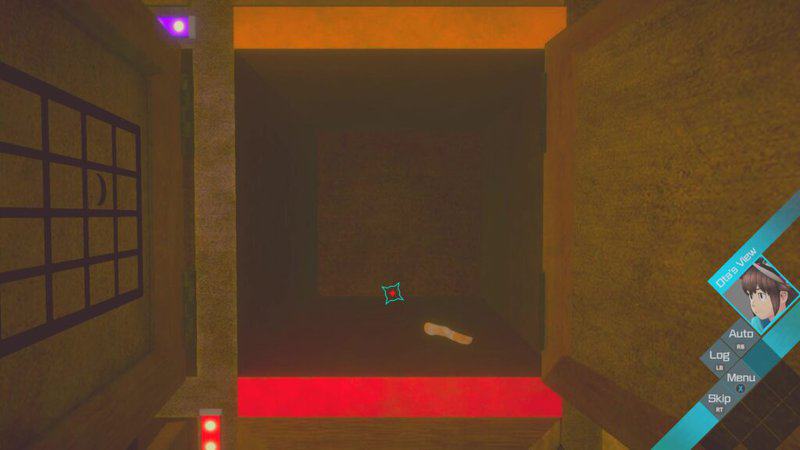
You will start this Escape Room as Iris, contained in a large cube. There are only a few things for you to interact with, and you will want to focus on the large poster with the different pH levels on it. Interact with it to pull the poster off the wall and reveal a hidden compartment behind it. Interact with the items found inside and Iris will drop some chemicals into the water, turning it red.

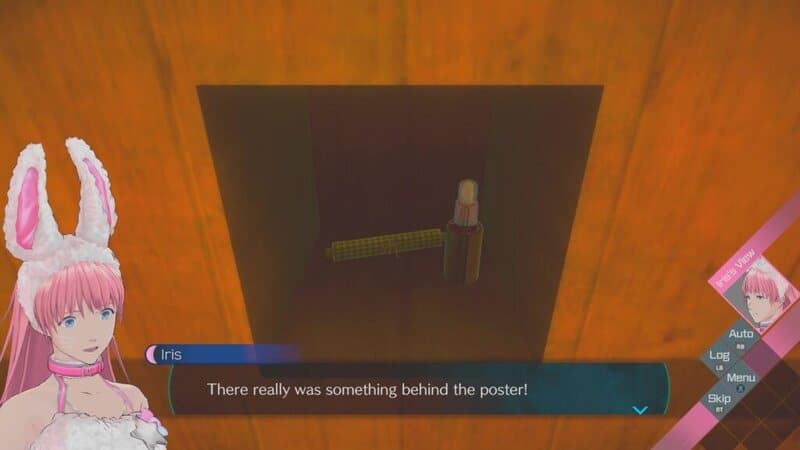
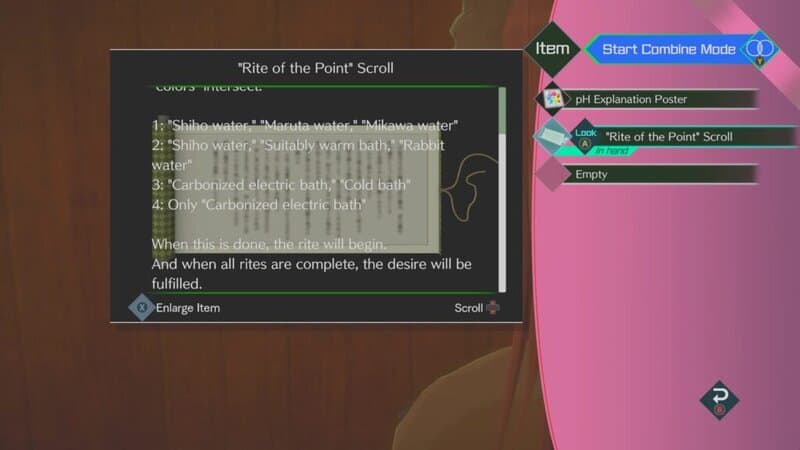
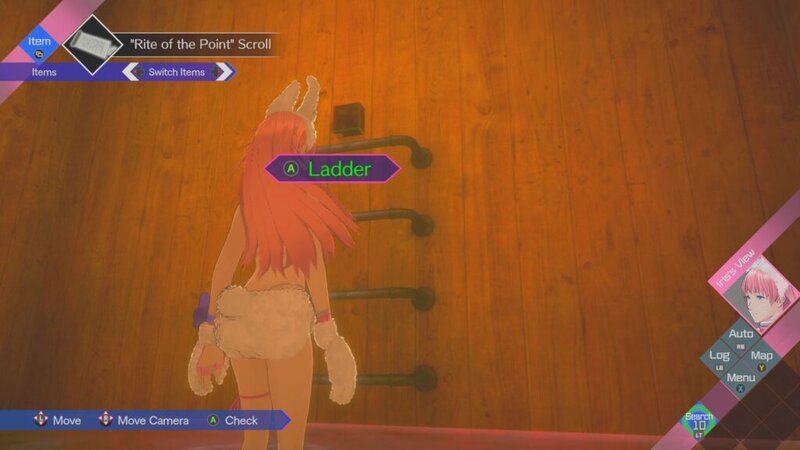
You will also find the “Rite of the Point” Scroll inside. This will be used to solve a later part of the puzzle.
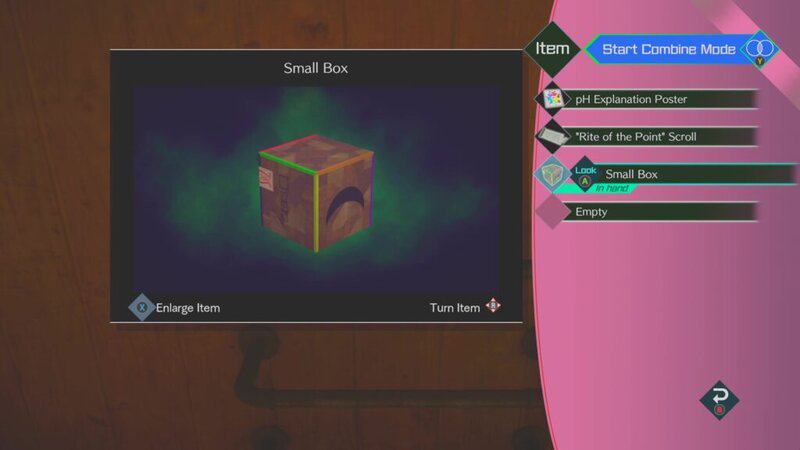
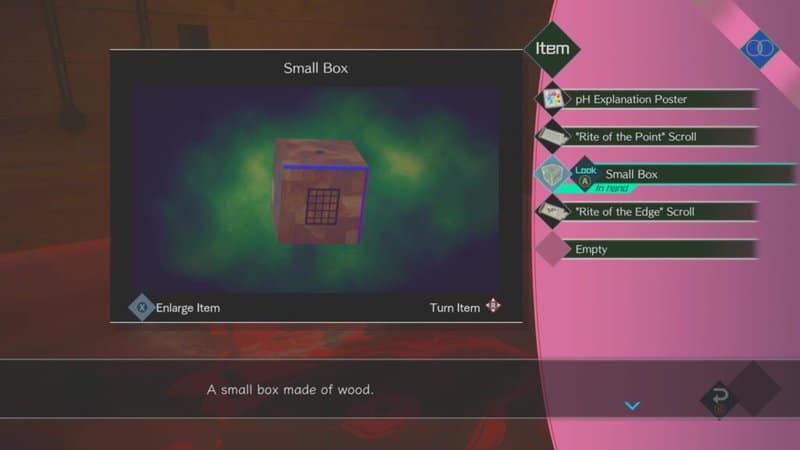
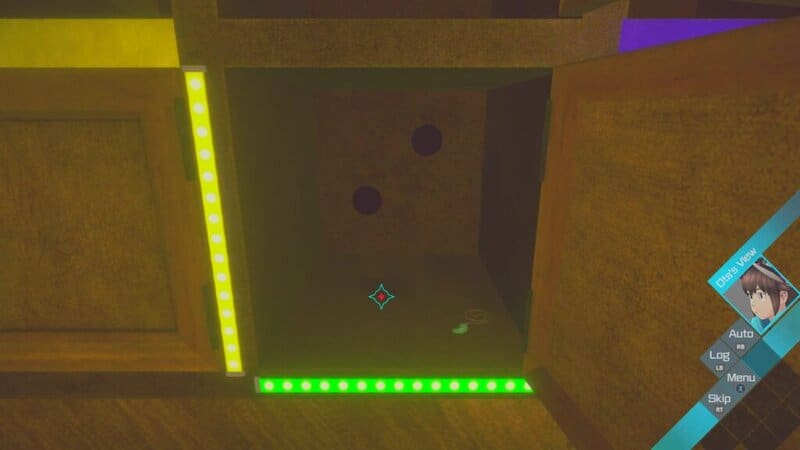
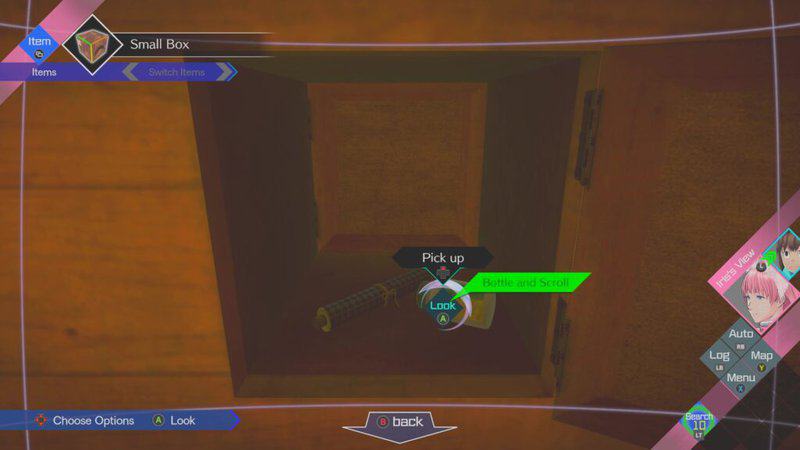
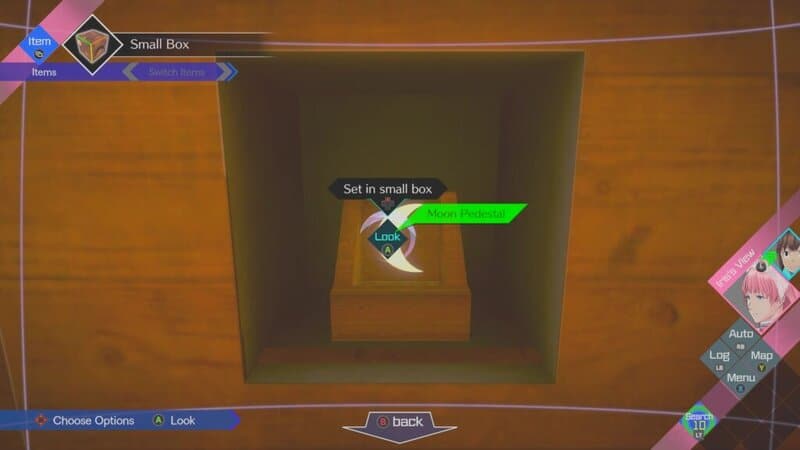
Once both items are acquired, a Small Box will come out of the wall. Interact with it and select the “Pull” option to take it out of the wall and add it to your inventory.
Looking through the new hole in the wall, Ota will appear.
Rite of the Point: Open the Small Box with Ota’s Help
You will now be able to switch between Iris and Ota to solve the rest of the puzzle. The first step is to use the hints from the “Rite of the Point” Scroll to open the Small Box.

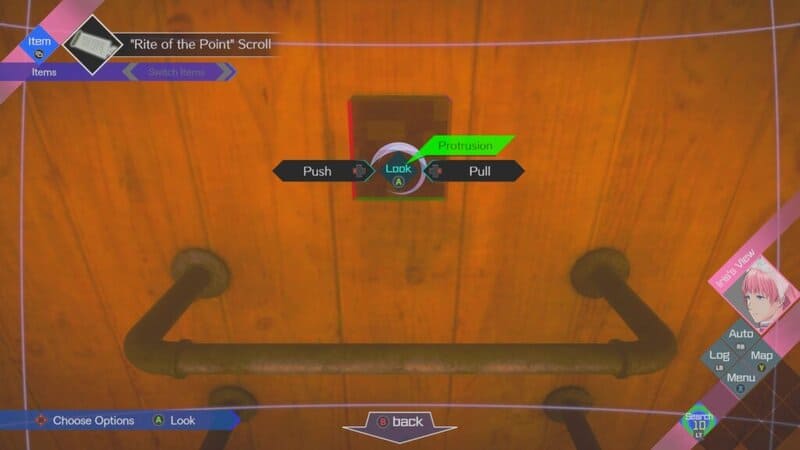
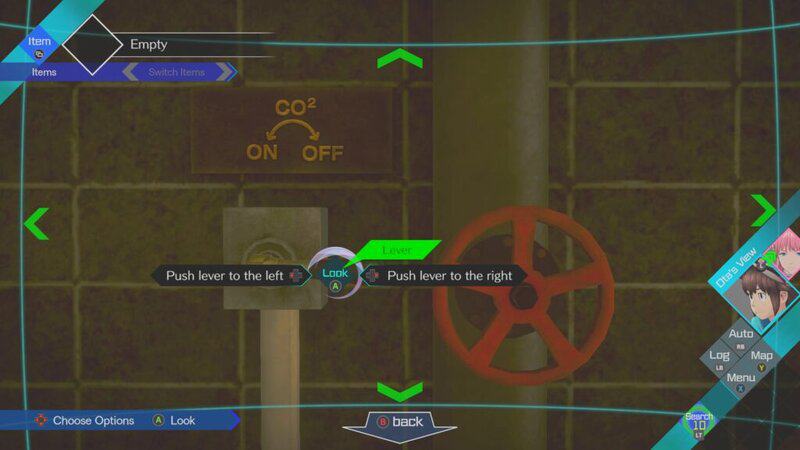
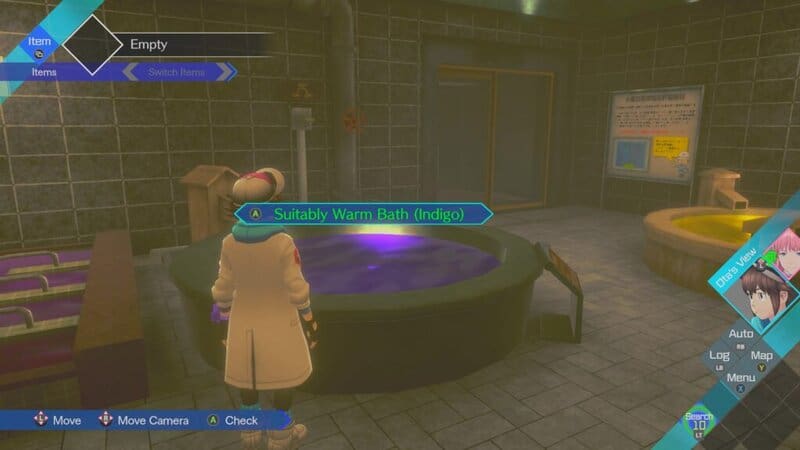
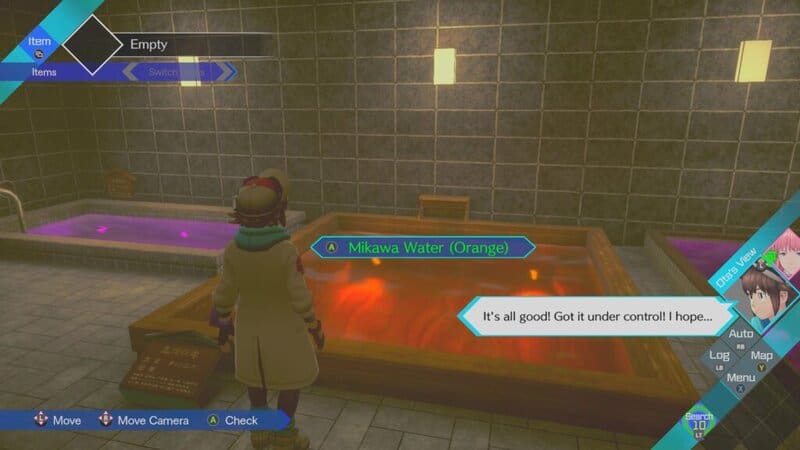
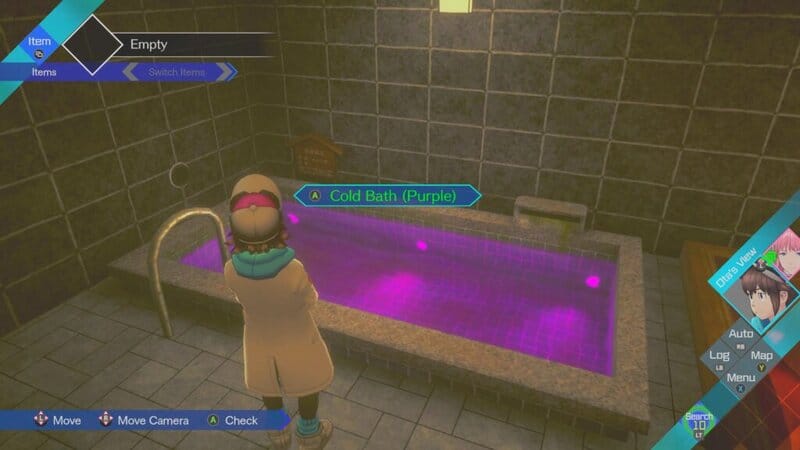
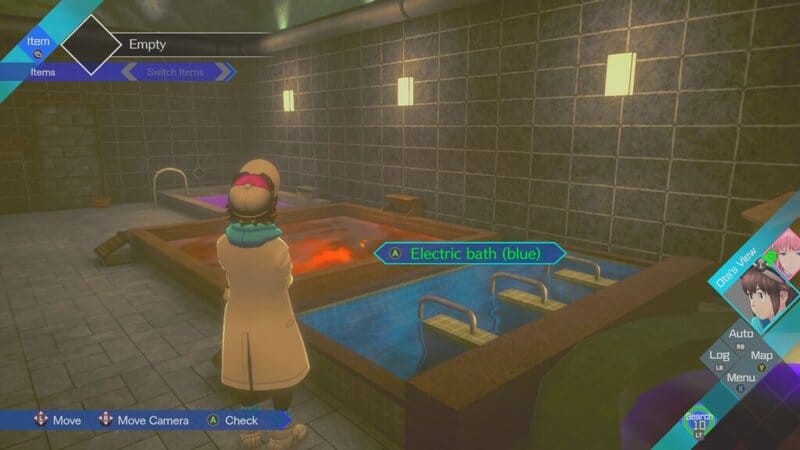
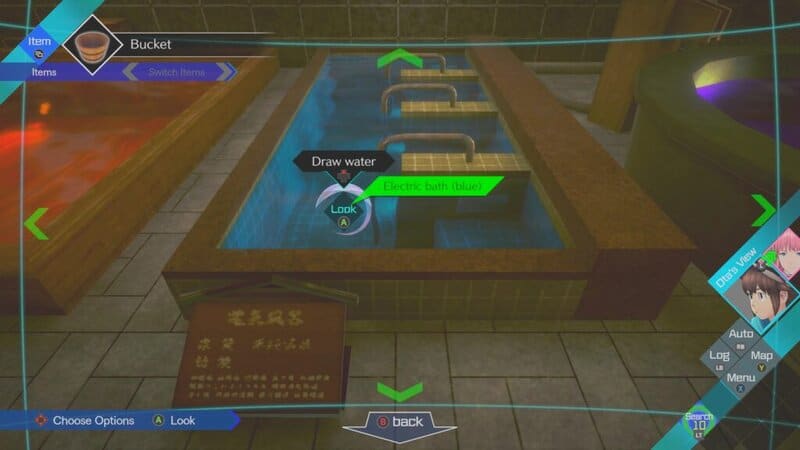
Ota can see several hot springs in his part of the building, each one with a different color. Before taking note of these colors, go up to the valve behind the indigo water and turn the lever to the left to carbinate the electric bath and change its color from purple to blue.
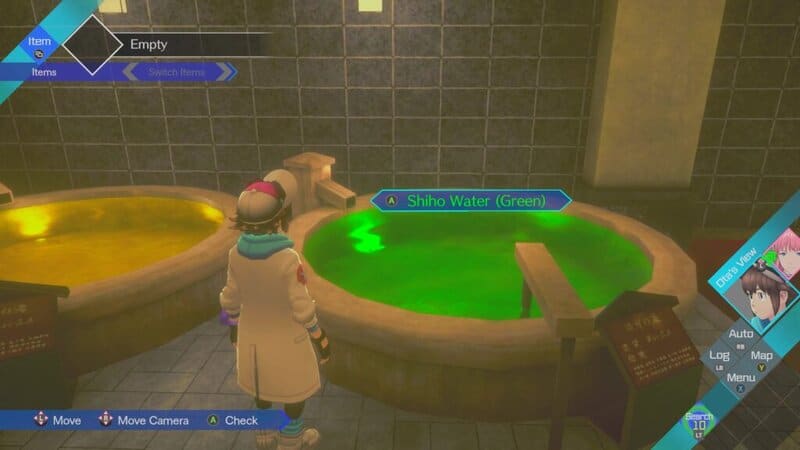
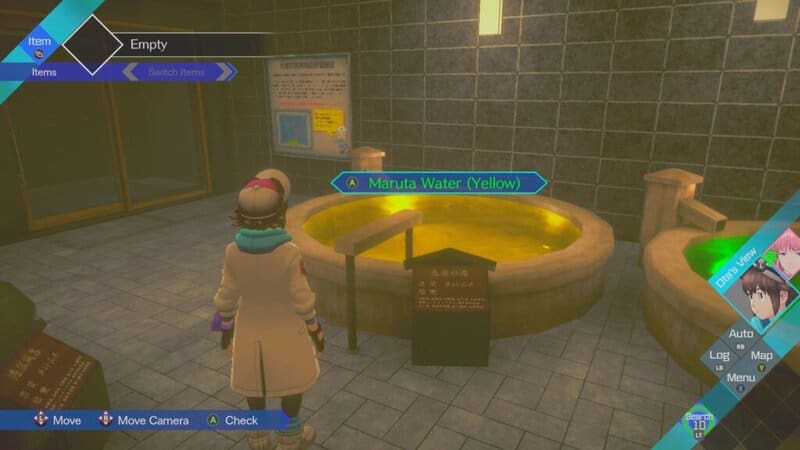
Here are the colors of each hot spring:
- Shiho Water is green
- Maruta Water is yellow
- Suitably Warm Bath is Indigo
- Mikawa Water is orange
- Cold Bath is purple
- Electric bath is blue
- Rabbit Water is the water in the cube, which is red
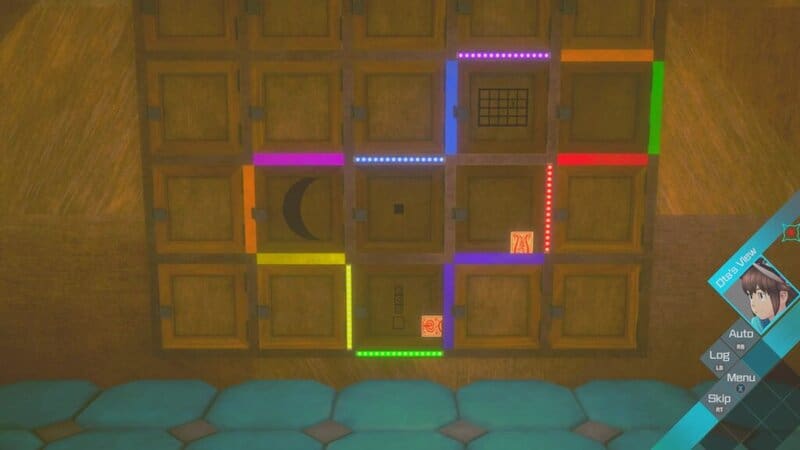
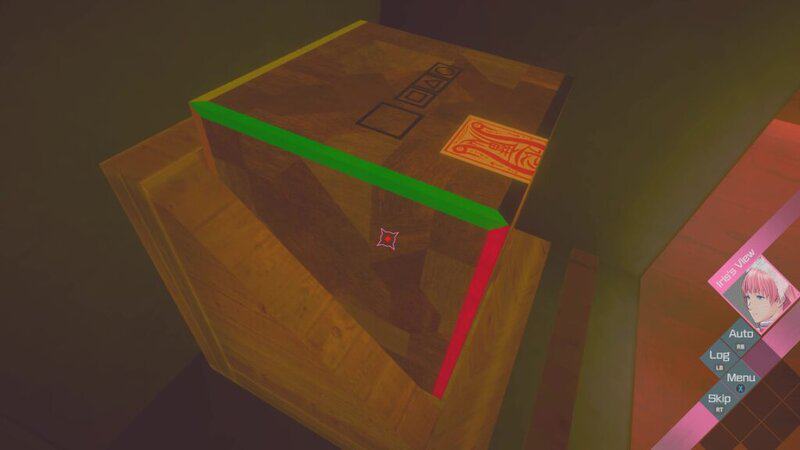
You will need to cross-reference the colors on the corners of the box, the scroll, and the water to find which corners to pull out of the cube.
- Shiho Water, Maruka Water, Mikawa Water = Green, Yellow, Orange
- Shiho Water, Suitably Warm Bath, Rabbit Water = Green, Indigo, Red
- Carbonized Electric Bath, Cold Bath = Blue, Purple
- Just Carbonized Electric Bath = Blue
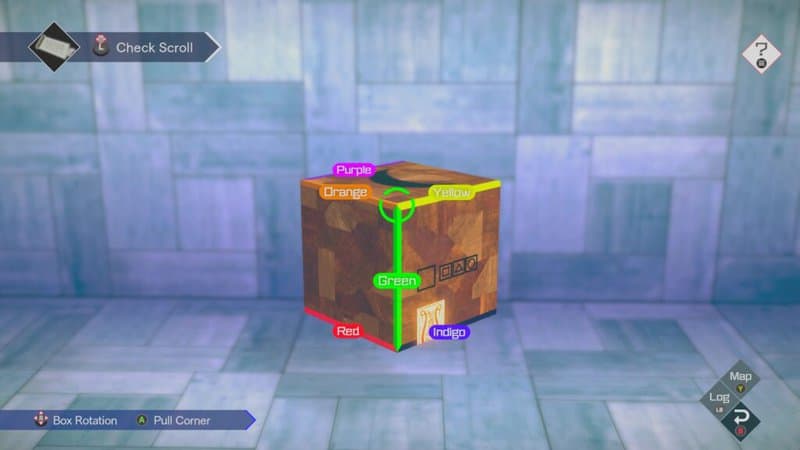

Once the corners are pulled in the right order, you will complete the Rite of the Point, and the giant cube will rotate, revealing several lockers on the side.
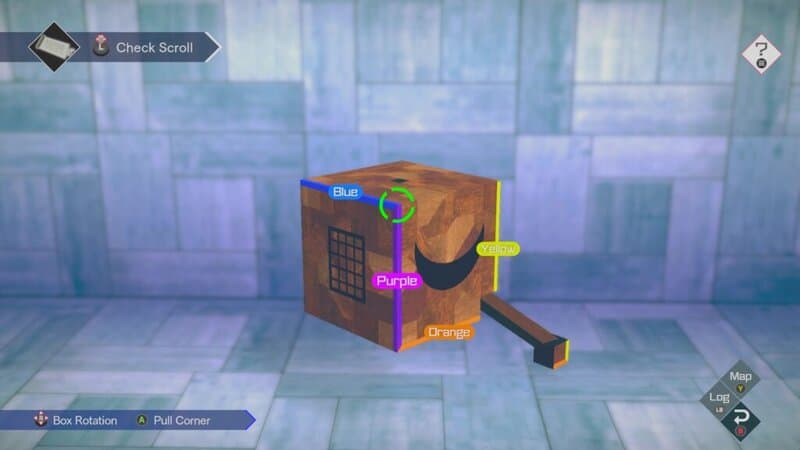
Rite of the Edge: Open the Lockers
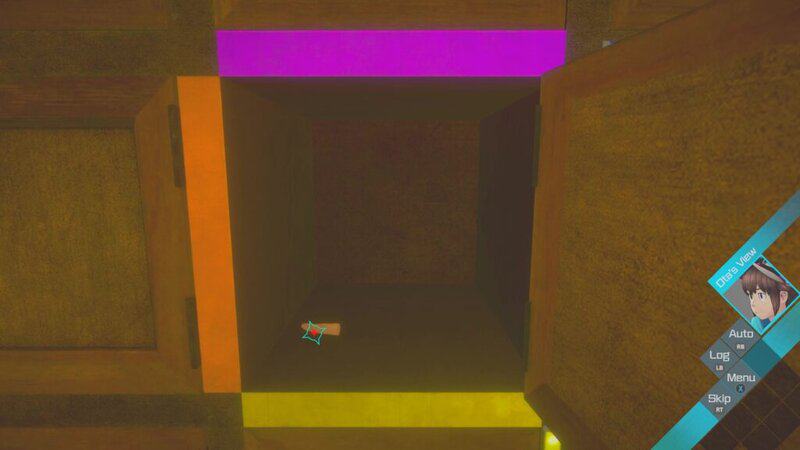
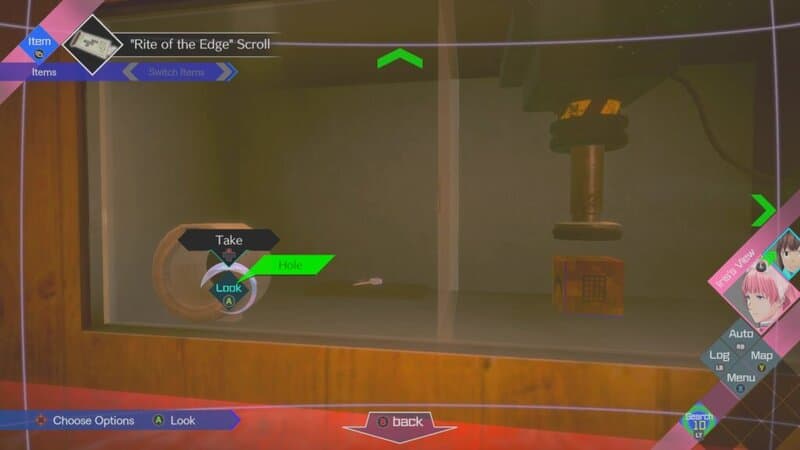
A new cavity will appear in the cube with the a new scroll to pick up.
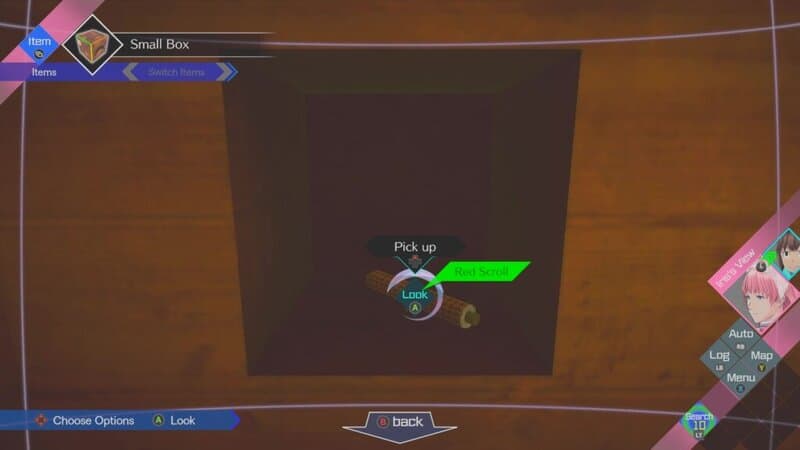
This is the “Rite of the Edge” Scroll, which you will need to use to open the lockers.
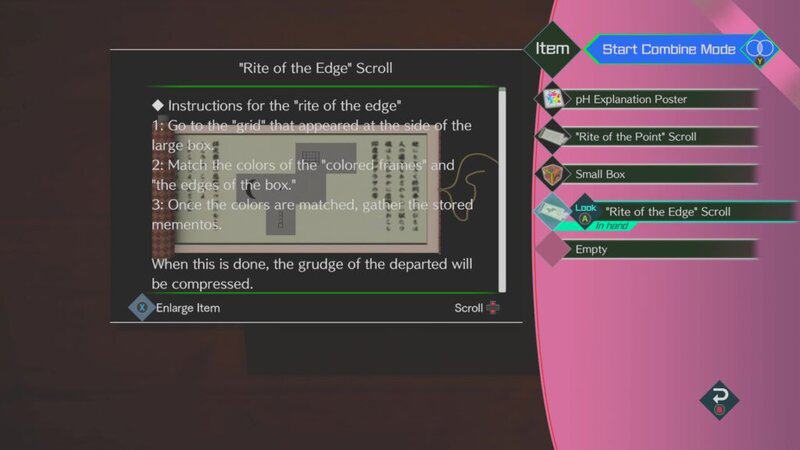
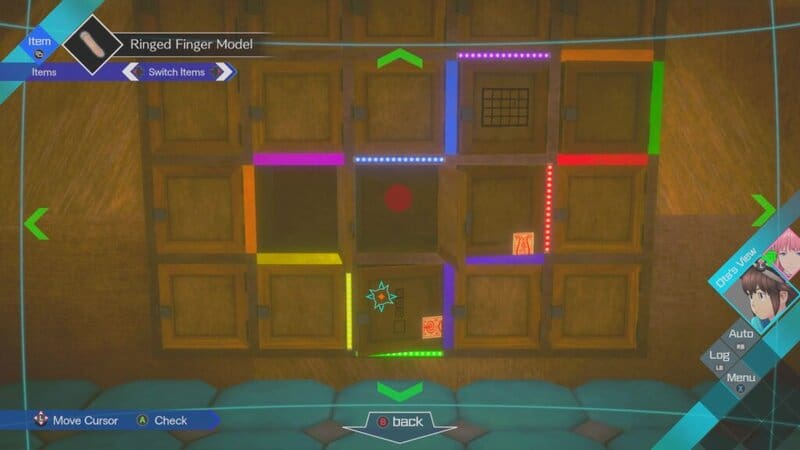
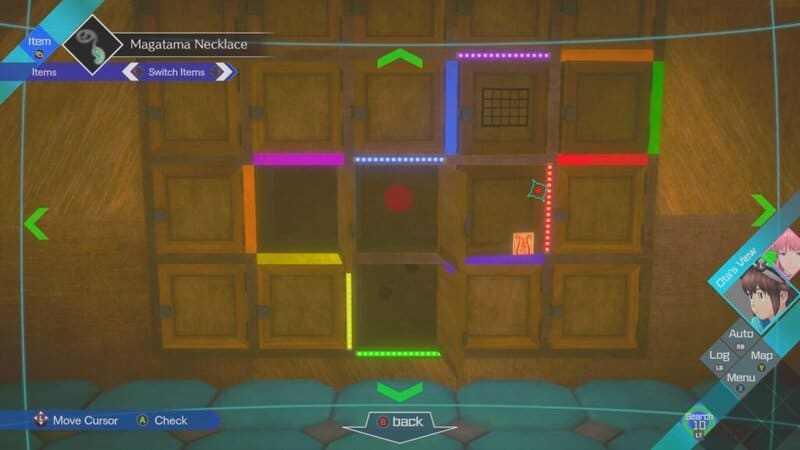
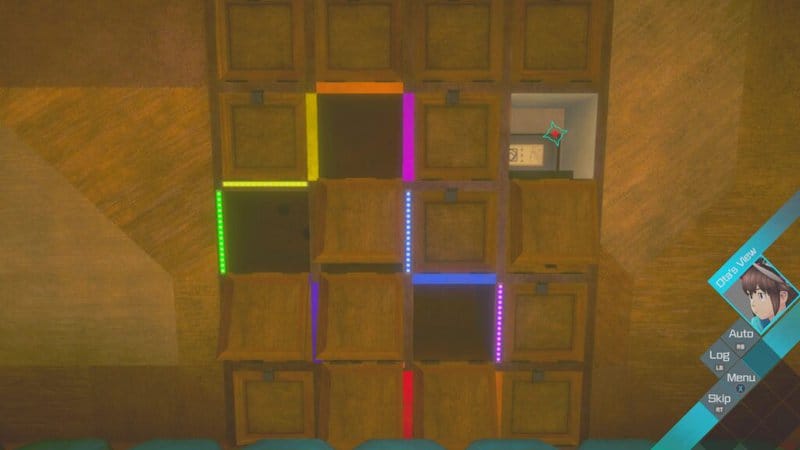
Each side of the Small has symbols that you will need to refer to to open the lockers. The lockers have the same symbols since the lockers match an open version of the cube.
Certain parts of the lockers have lights that can change colors. You will need to get these lights to match the colors of the Small Box.
- The light left of the locker with the 4 small squares must be yellow
- The light on the bottom of the locker with the 4 small squares must be green
- The light on top of the locker with the single square must be blue
- The light on top of the locker with the grid must be purple
- The last light must be red
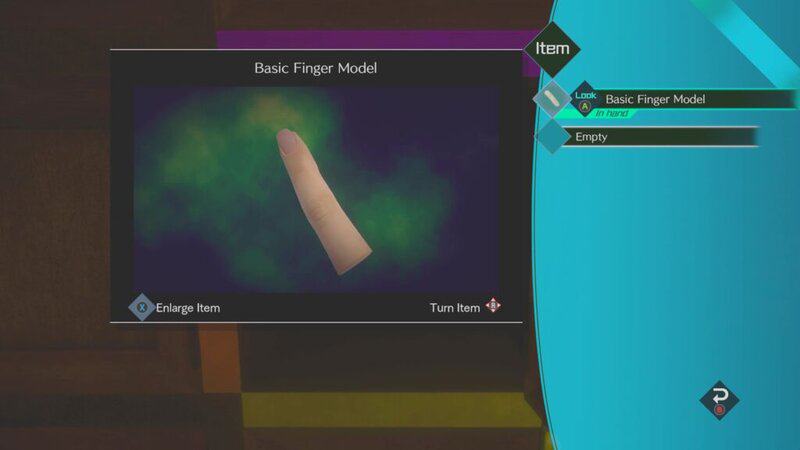
When all the lights are complete, all the lockers will unlock. The crescent moon locker has the Basic Finger Model.
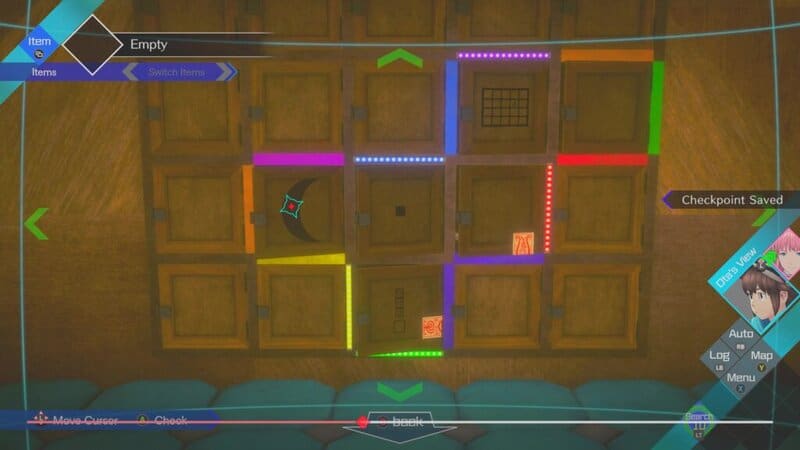
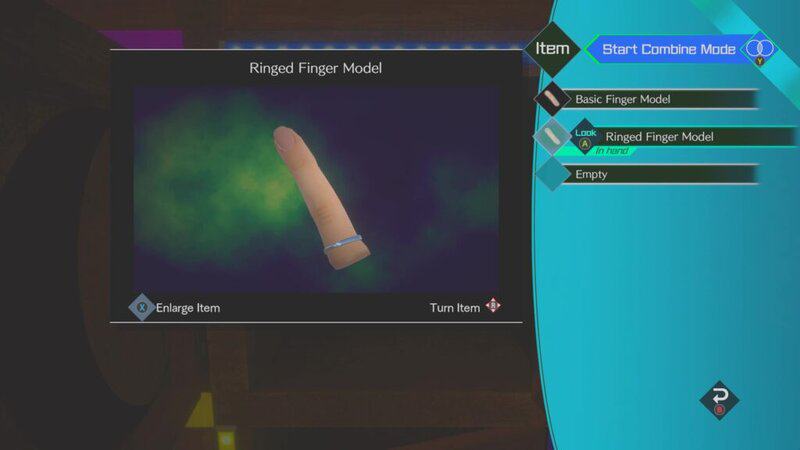
The locker has the Ring Finger Model and a red dot on the back wall, which you will need to reference later in the puzzle.

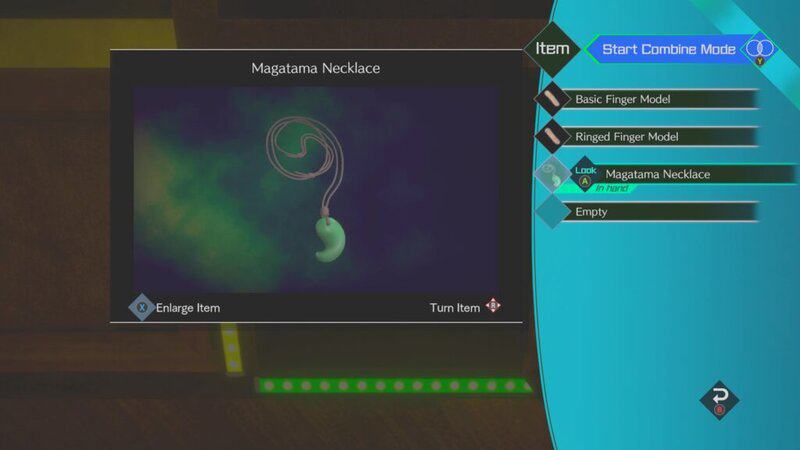
The bottom locker has the Magatama Necklace with two dots on the back wall.
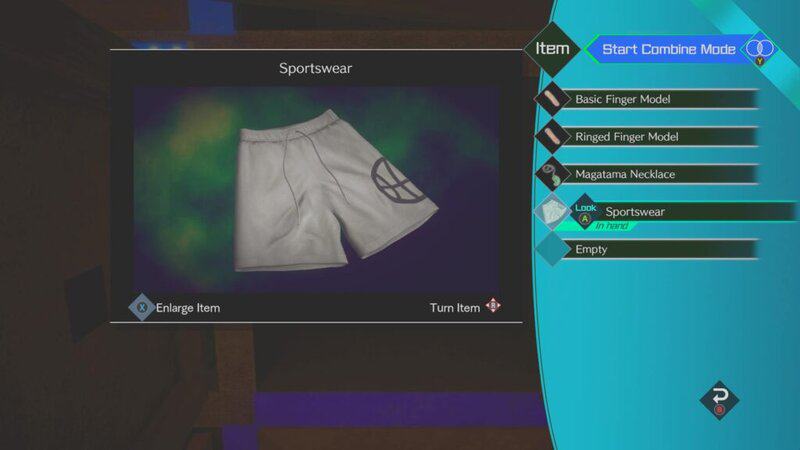
the right locker has Sportswear.

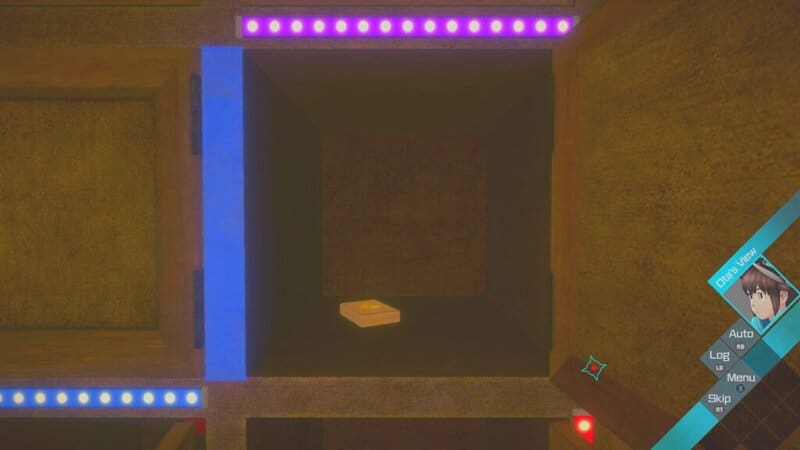
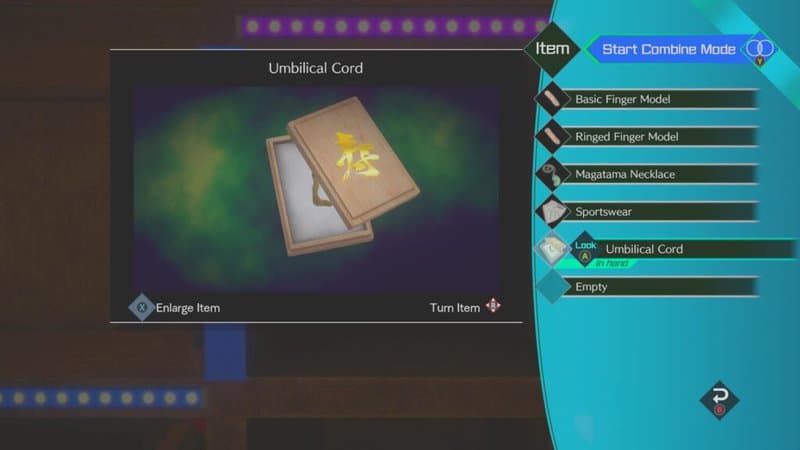
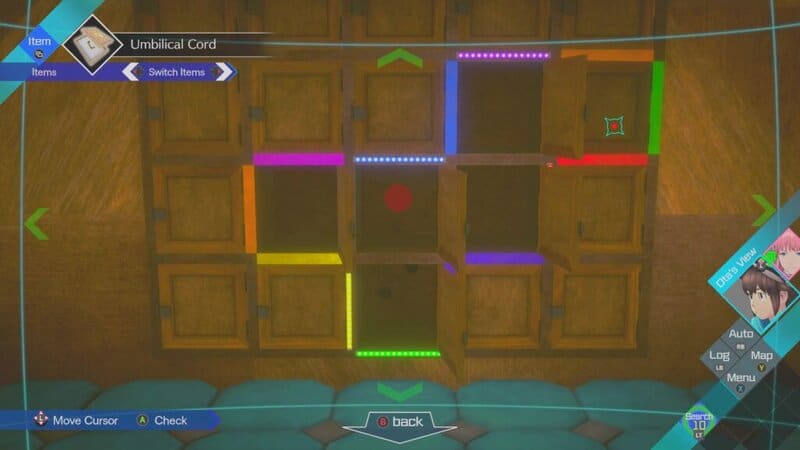
The locker with the grid has the Umbilical Cord inside.
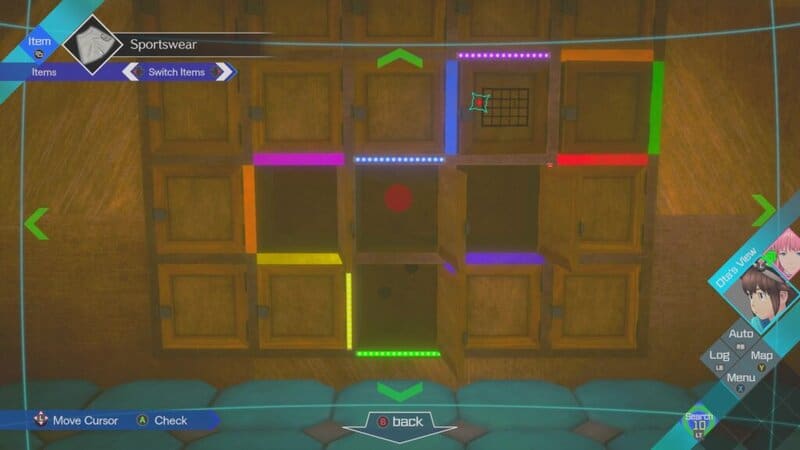
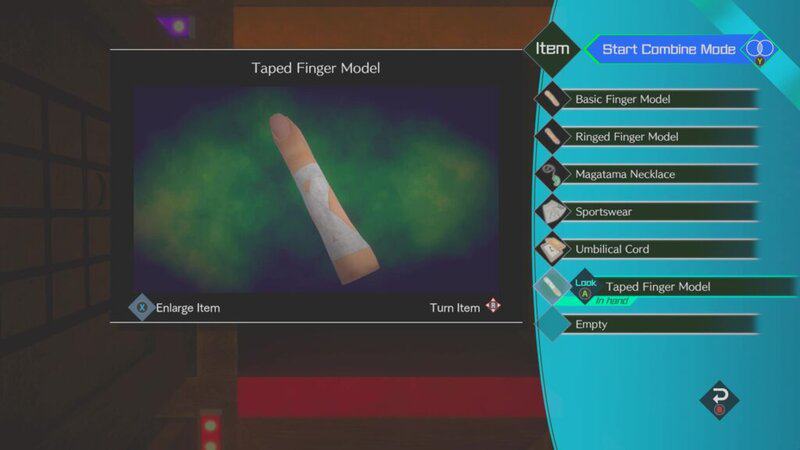
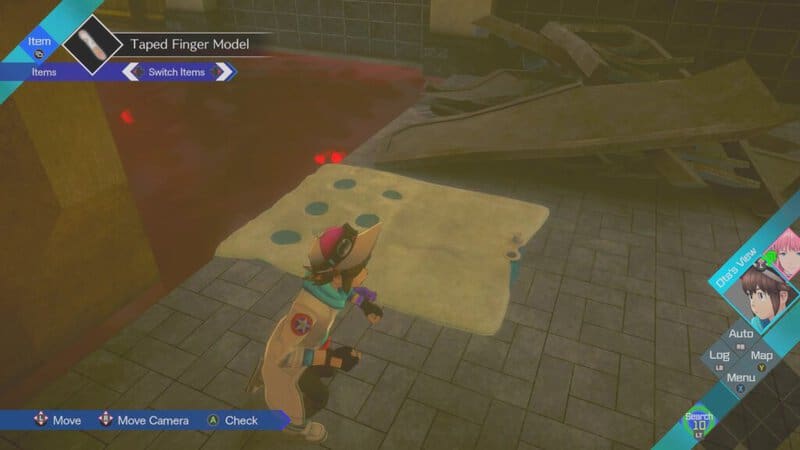
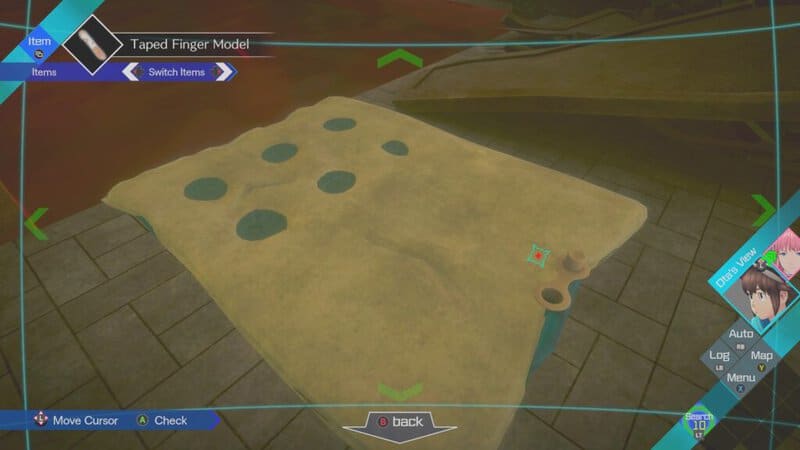
The last locker has the Taped Finger Model.
Rite of the Face: Activate the Memento Appraisal System and Put the Mementos in the Correct Boxes
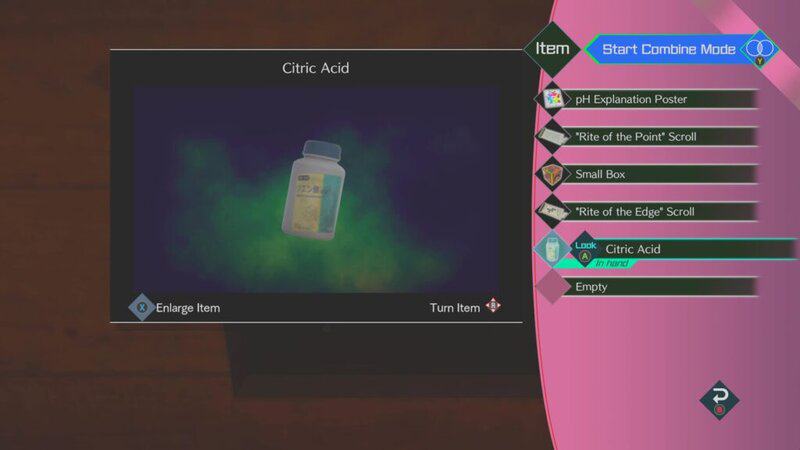
Inside the cube, a locker will open. You can find the Citric Acid inside, which you will need for a later part of the puzzle.
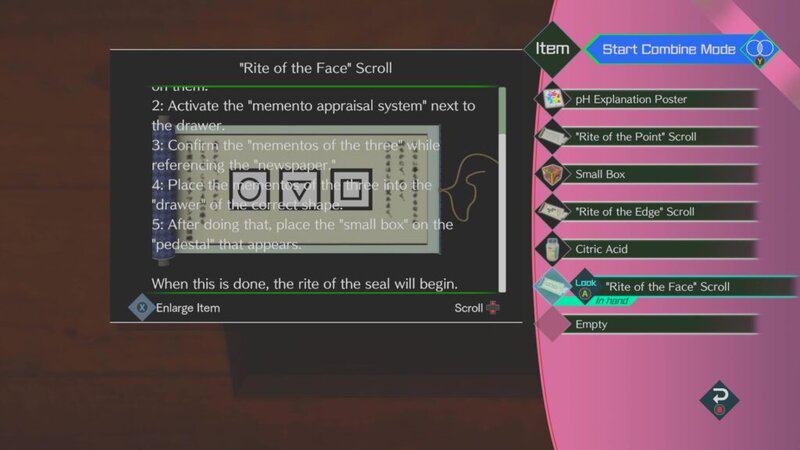
Next to the Citric Acid is the “Rite of the Face” Scroll.
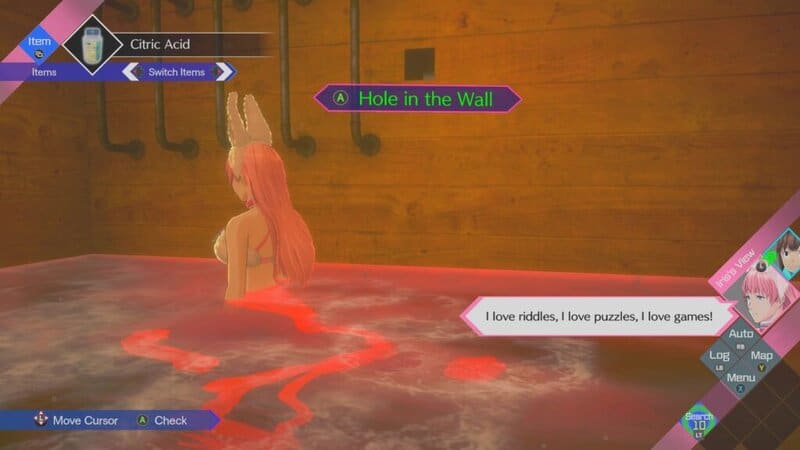
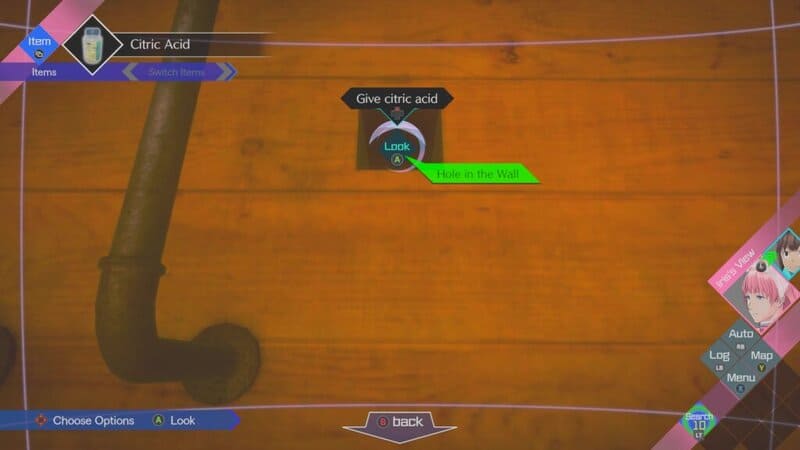
Go to the hole in the wall that you found the Small Box in and give Ota the Citric Acid.

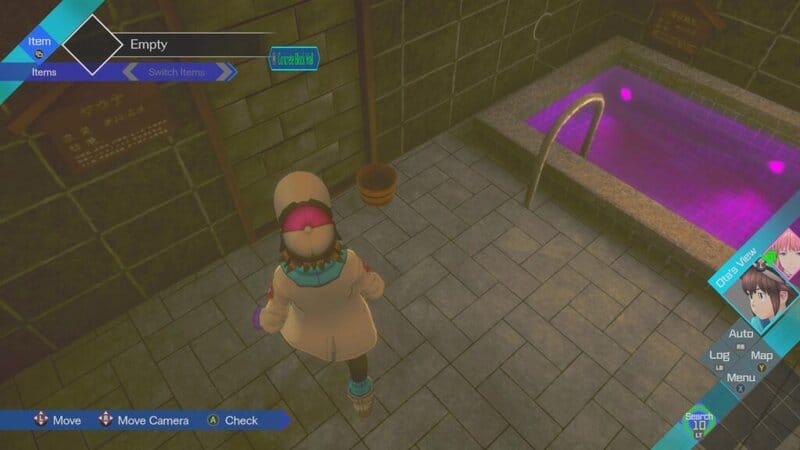
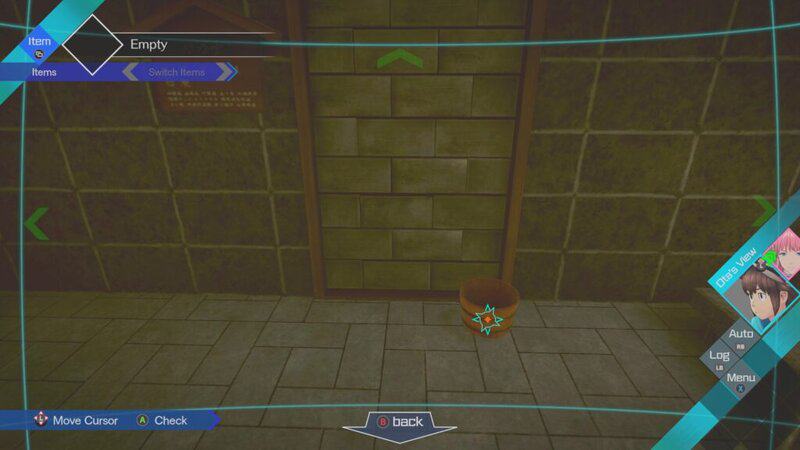
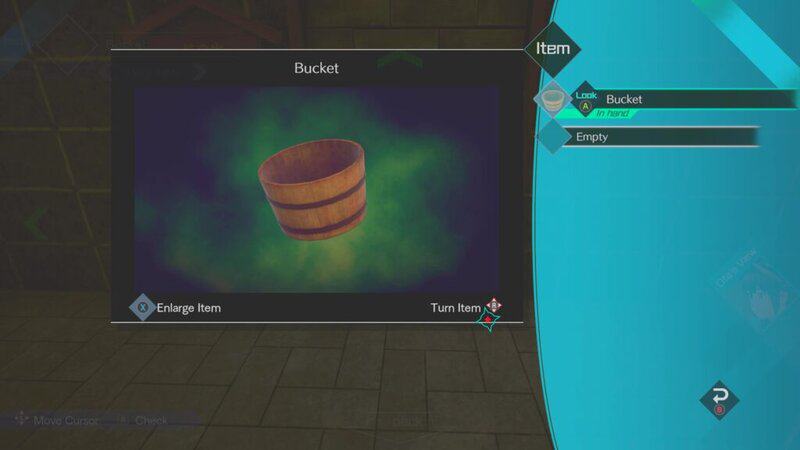
Go to the wall near the purple water to find a bucket on the ground. Interact with it to add it to your inventory.
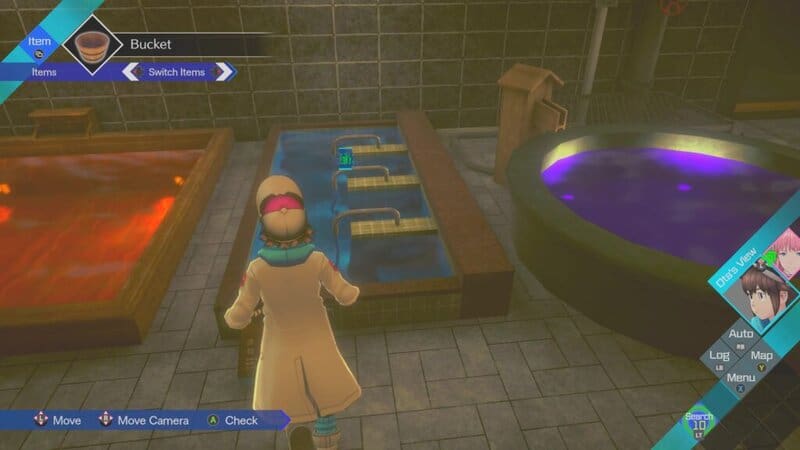
Go to the electric bath and fill the bucket with water to get the Baking Soda Water-filled Bucket.
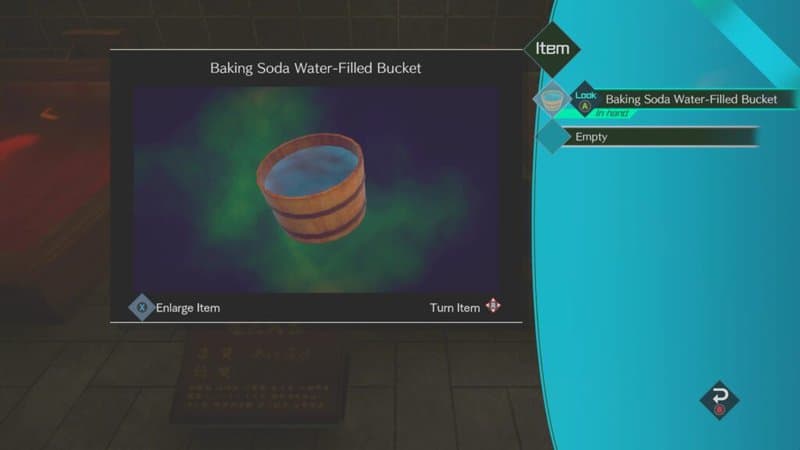
Hanging in the water to the right of the cube is an empty air mattress. Using the information learned about Baking Soda and Lemonade in the Decadent Knell Somnium, you will be able to fill up the mattress. Pour the water and the Citric Acid into the air mattress to fill it up and put it in the water to create a walkway.
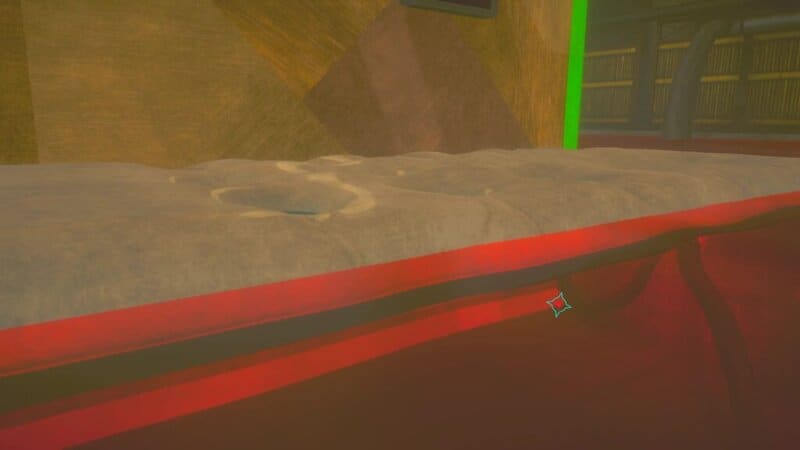
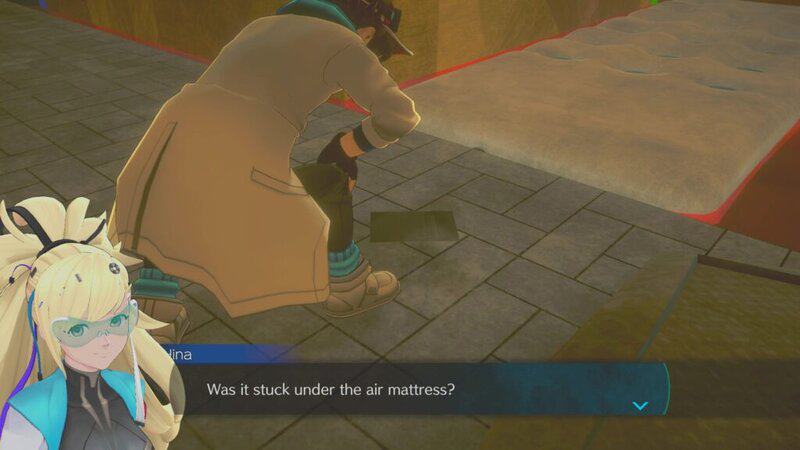
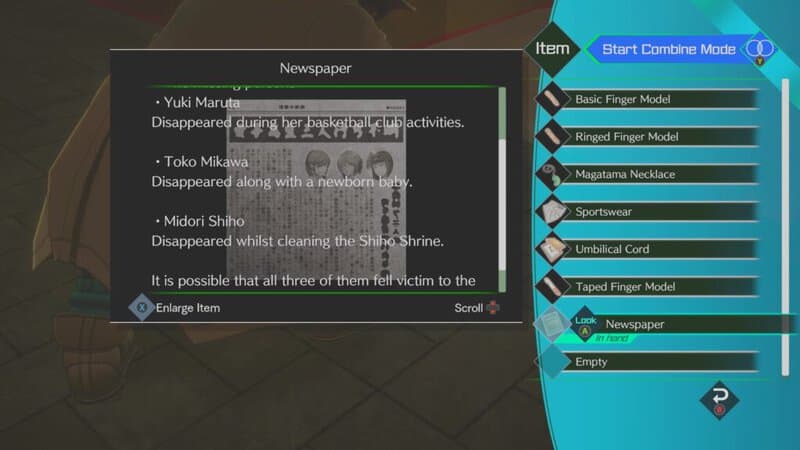
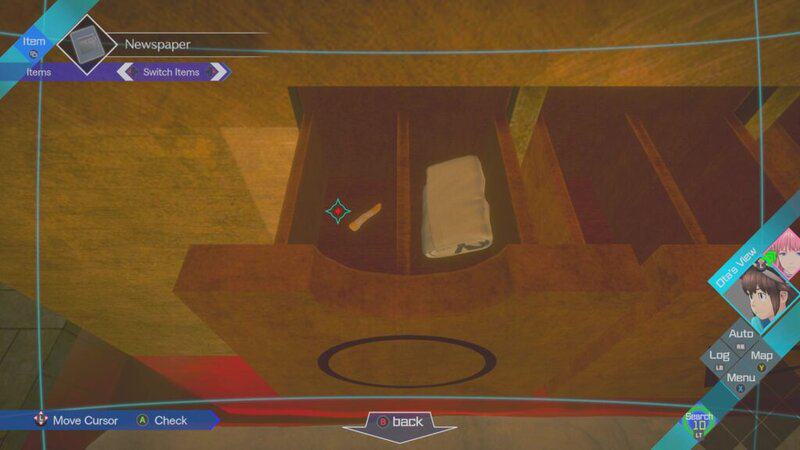
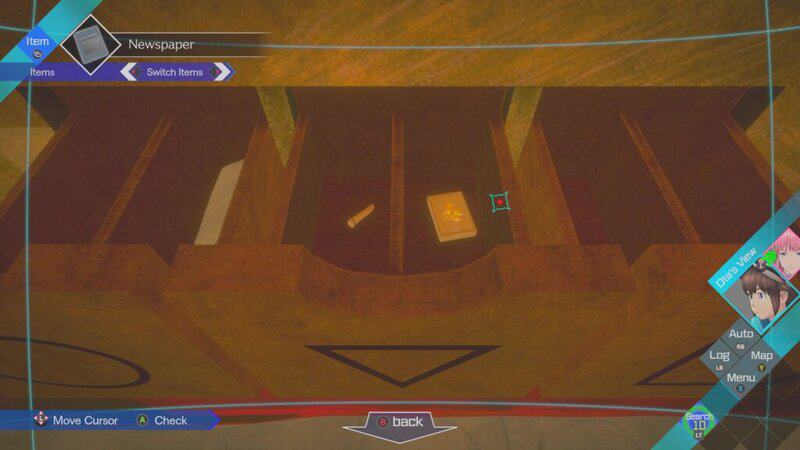
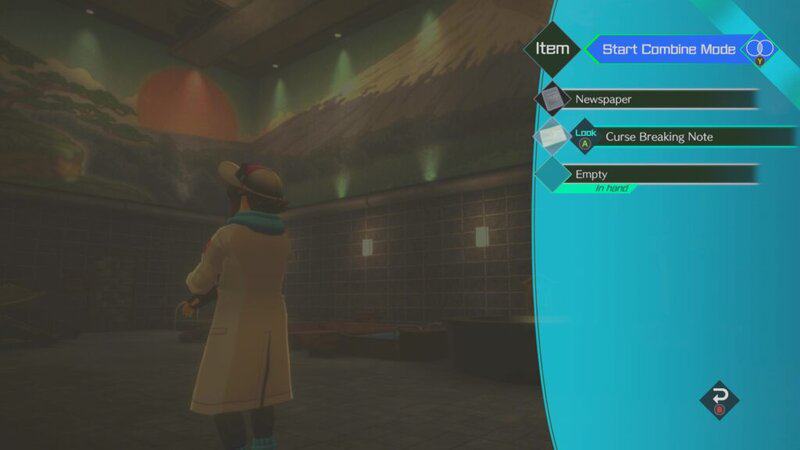
Under the air mattress is a Newspaper that will act as a key to the next step of the puzzle.
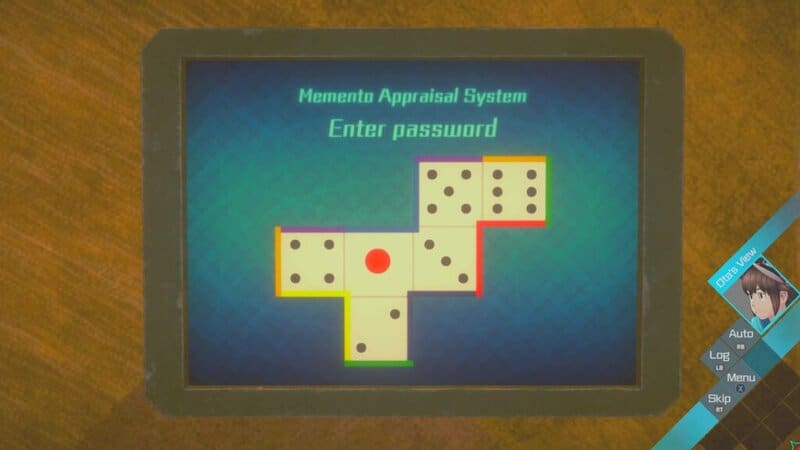
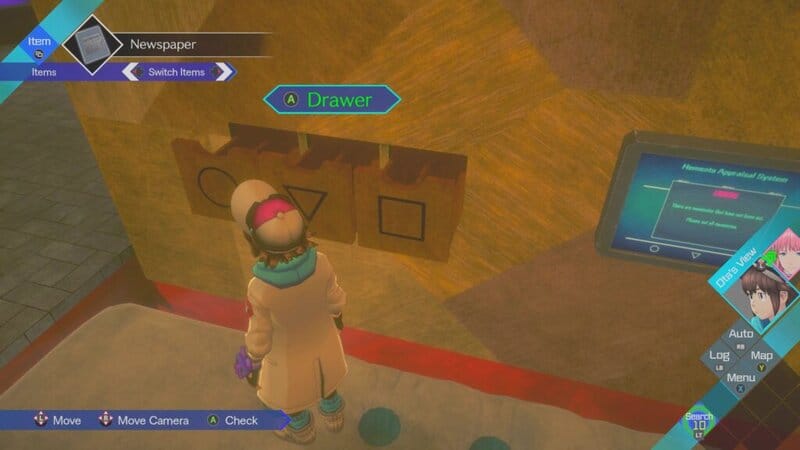
On the side of the massive cube that you can now access on the air mattress are several drawers and a screen. Interact with the screen and enter the correct number on each side of a die. Adjacent sides of the die should add up to 7. You also know the middle square is 1 and the bottom square is 2 since those were drawn inside the lockers.
- The square left of 1 is 4
- The square right of 1 is 3
- The square above 3 is 5
- The last square is 6
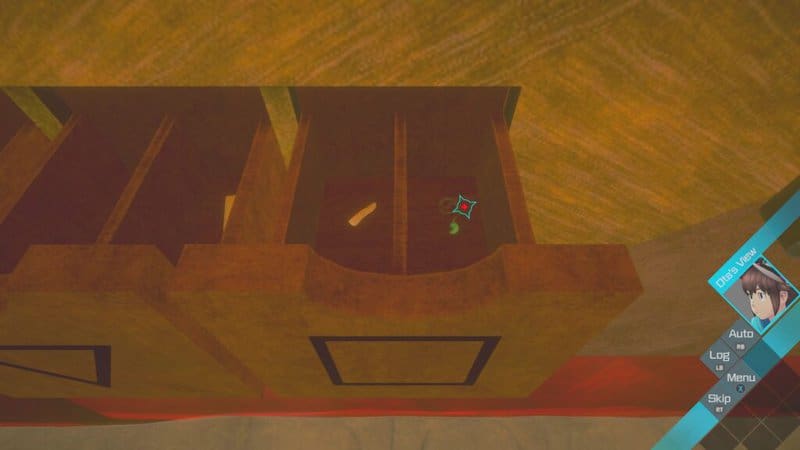
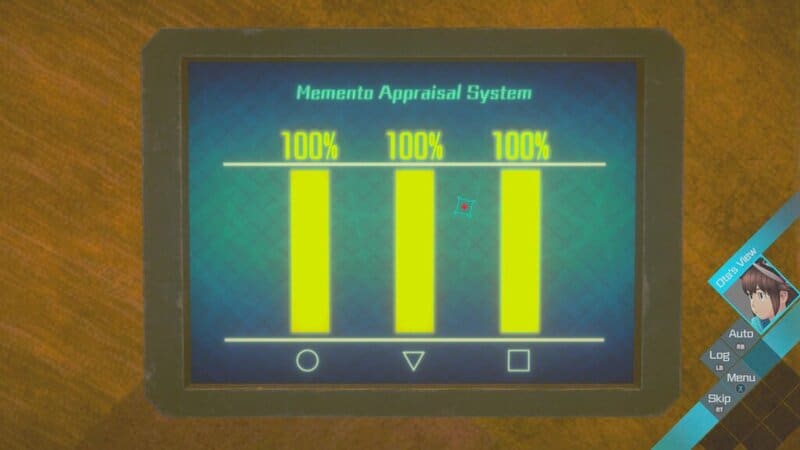
Once this is done correctly, the Memento Appraisal System will be activated, and the drawers will open. You will need to fill each drawer with the matching fingers and items with each drawer corresponding to the missing women in the Newspaper.
- Put the Taped Finger Model and the Sportswear in the left drawer
- Put the Ring Finger Model and Umbilical Cord in the middle drawer
- Put the Basic Finger and the Magatama Necklace in the right drawer
This will complete the Memento Appraisal System.
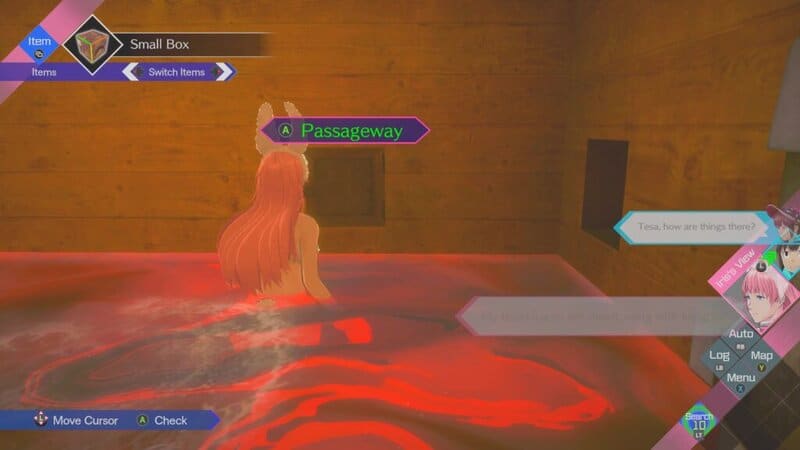
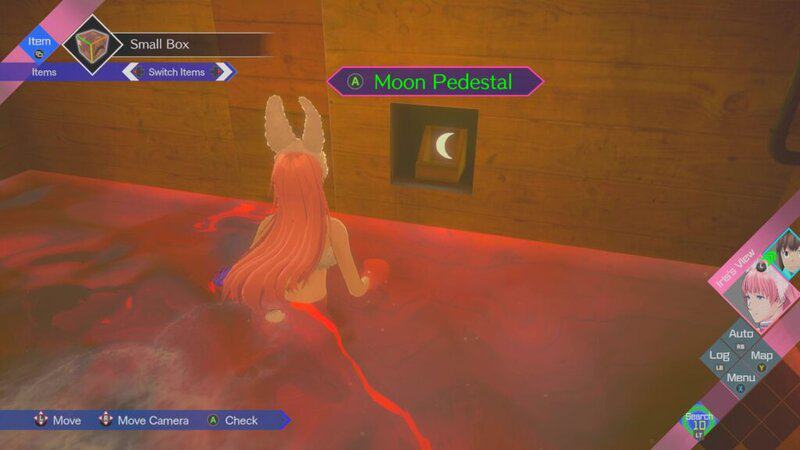
With the system complete, a new opening will appear in the cube. Have Iris put the Small Box in the Moon Pedestal.
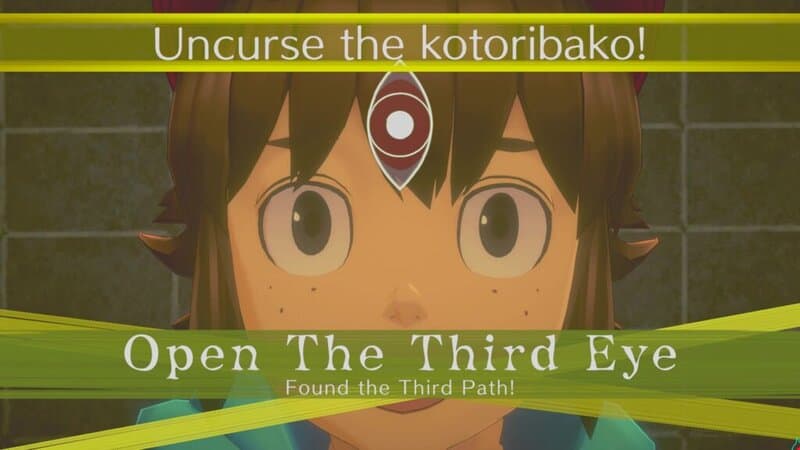
The cube will rotate one last time and you will start the final ritual for this escape room. Ota will realize that the giant cube is actually a Kotoribako, a cursed box that will kill Iris.

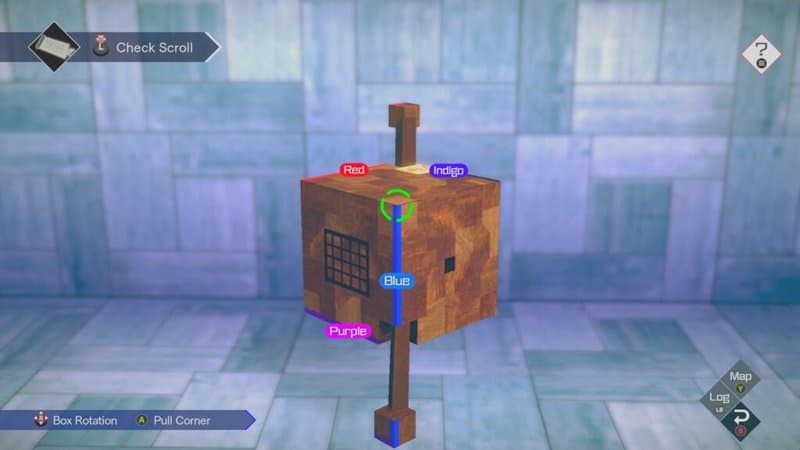
Seal of Uncursing: Open the Kotoribako and Free Iris
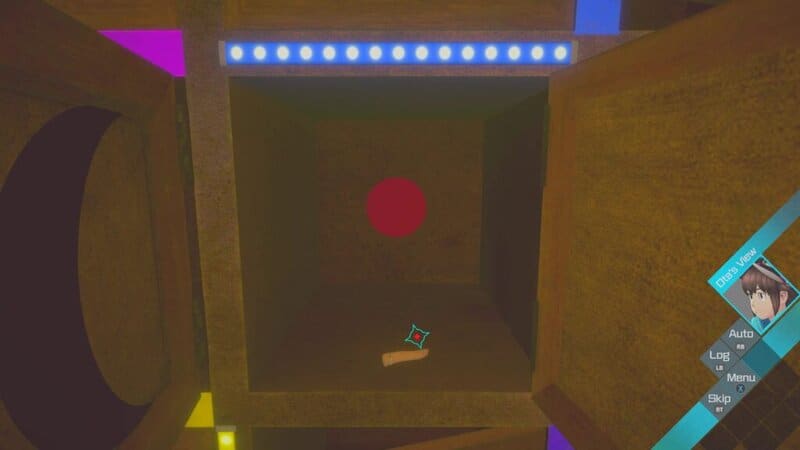
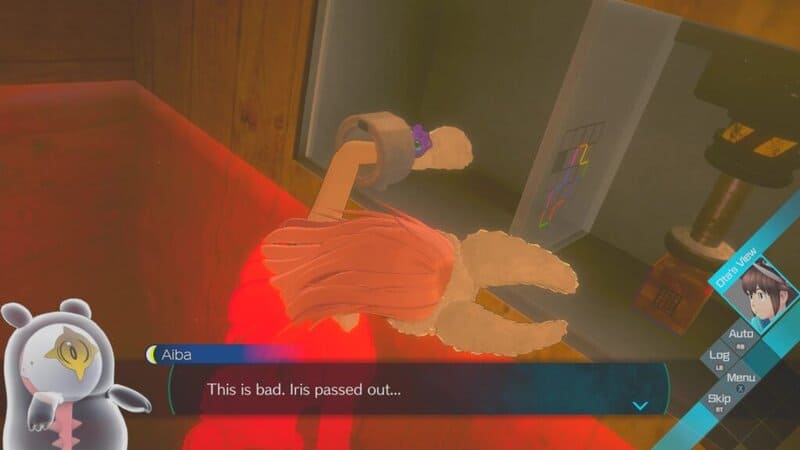
As Iris, swim over to a Glass Case and stick your arm into the opening. She will get stuck, but before you switch back to Ota, take note of the drawing on the glass to the left of the key. It will show the locker wall with one of the squares colored black.
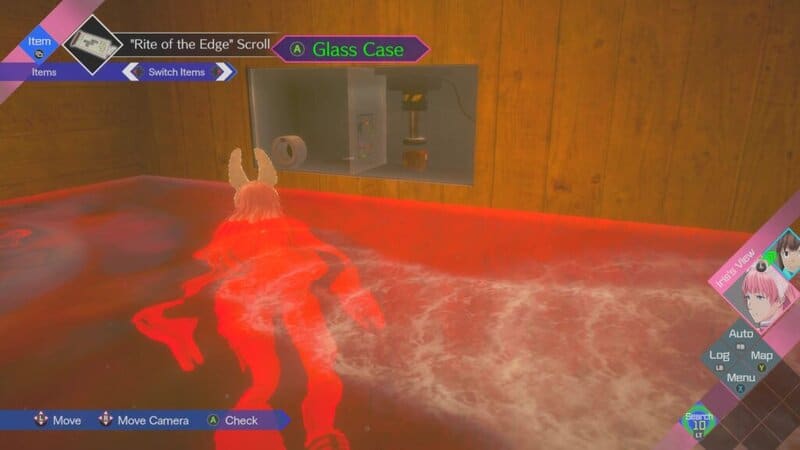
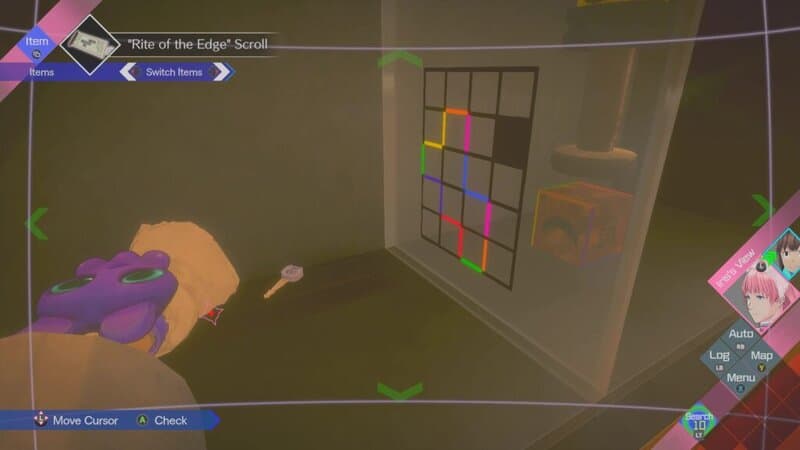
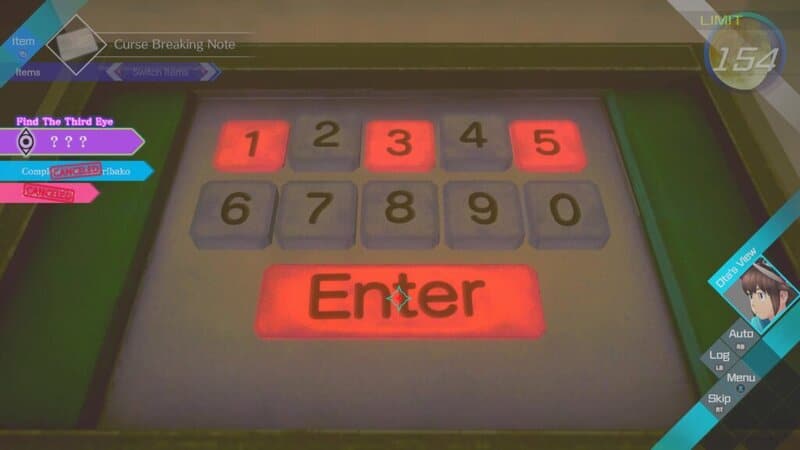
As Ota, go back to the lockers and interact with the locker that lines up with the black square drawn on the glass. The locker will open and reveal the Seal of Death and a keyboard that you will need to enter a number into. Iris will pass out in the cube and you will need to find the Third Eye Path to save her without entering the Seal of Death number. You will have only 3 minutes to figure this out.
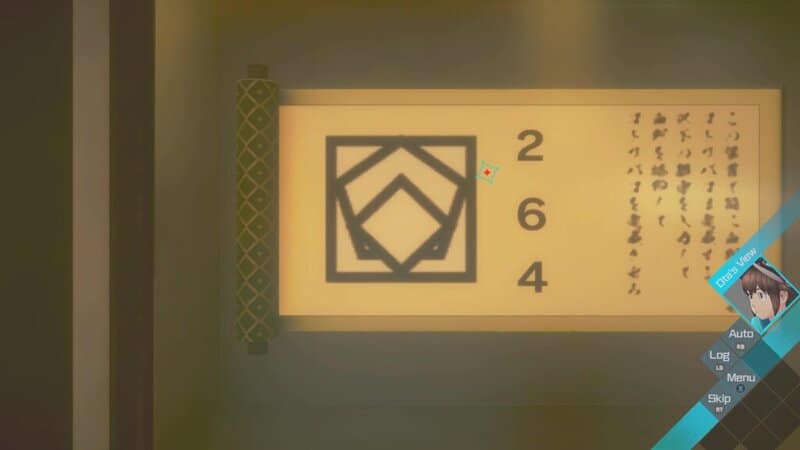
Ota will now have the Curse Breaking Note which has a map of the hot springs room and explains that you need to cross-reference the shapes that make up the Seal of Death seen above the keyboard in the locker and find the 3 numbers in the middle of these numbers to find the new code.
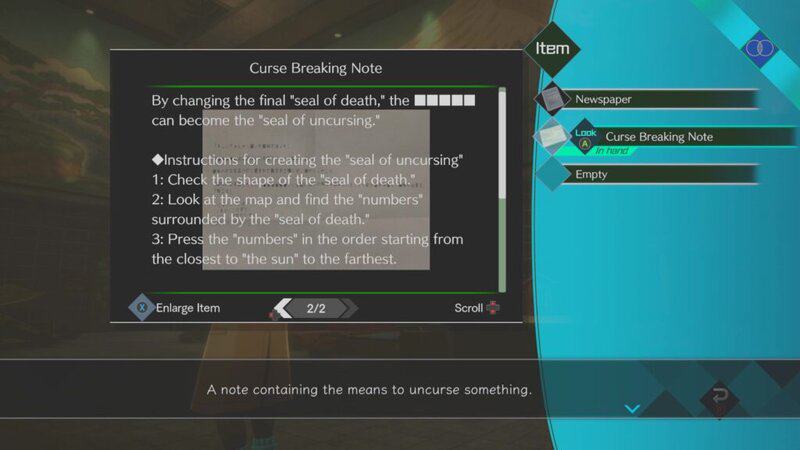
The seal is made up of a square (2), a diamond (4), and a hexagon (6). The numbers between these shapes are 1, 5, and 3. You will need to enter the numbers in the order from closest to the sun on the southern wall to furthest.
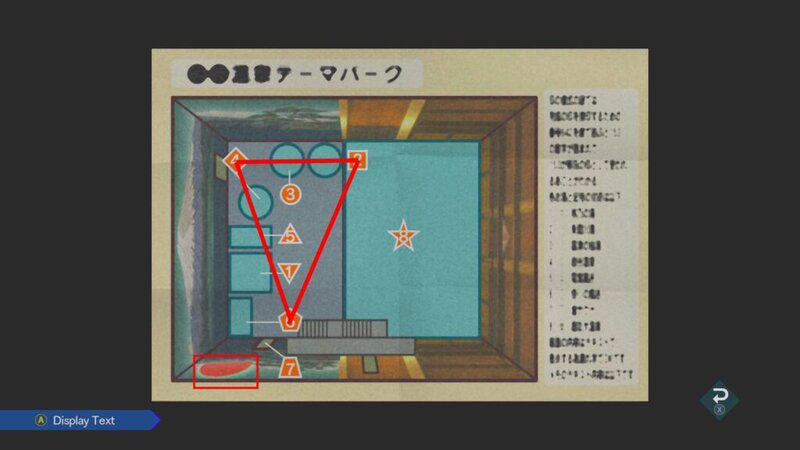
Go back to the keyboard pres 1-5-3 in that order and then press enter. This will create the Seal of Uncursing.
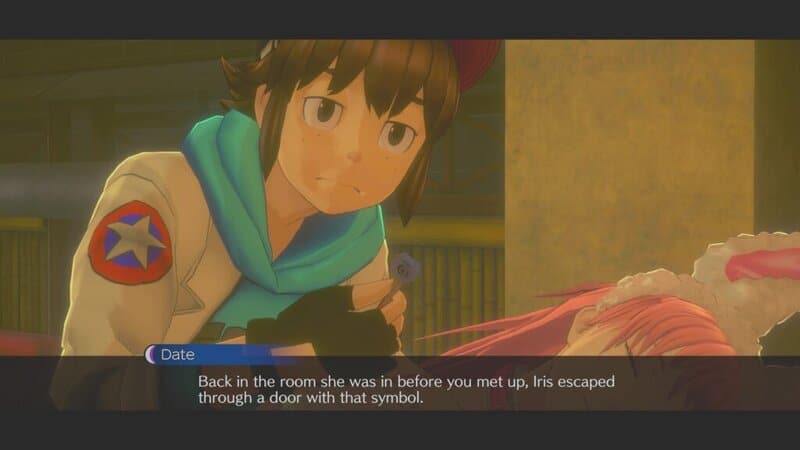
This will complete the puzzle, and the cube will open, allowing Ota to save Iris.
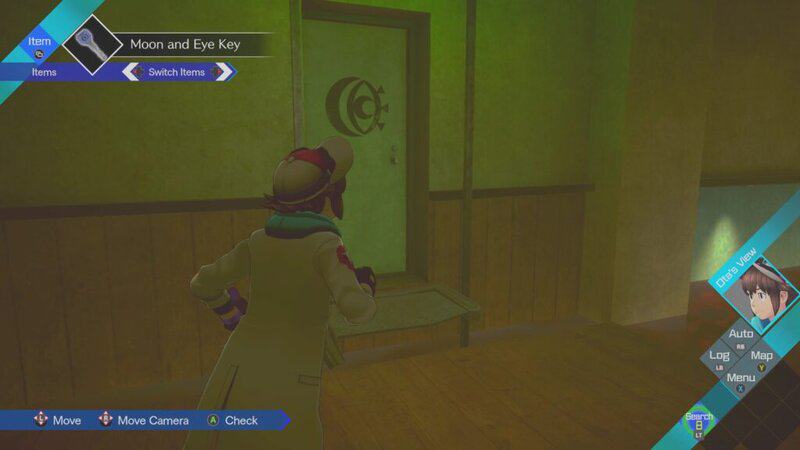
Escape the Flooded Chamber
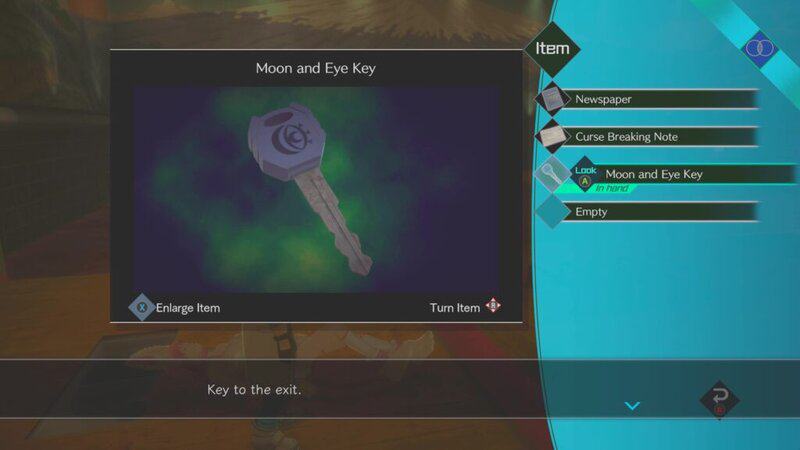
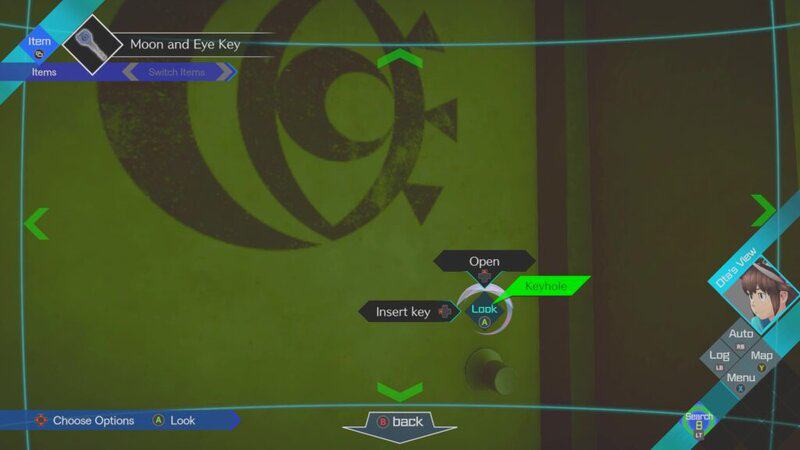
When Ota checks on Iris, he will find the Moon and Eye Key, which you will need to use to open the escape door.
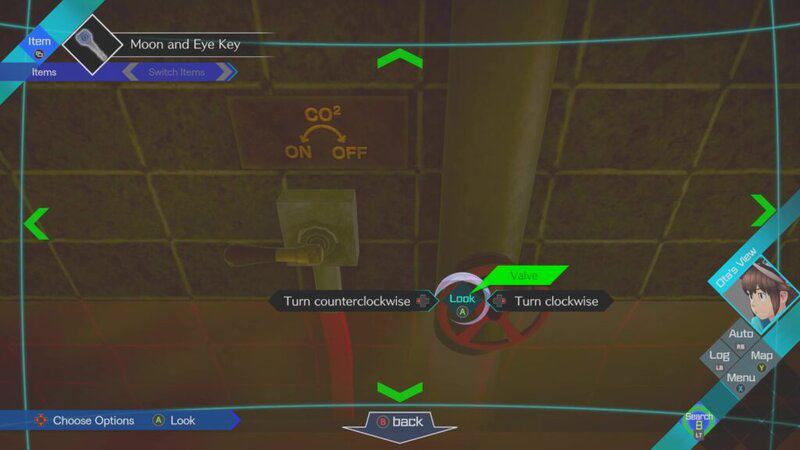
Go to the valve next to the lever used to change the color of the Electric Bath. Turn the valve counterclockwise to raise the water level to reach the door.
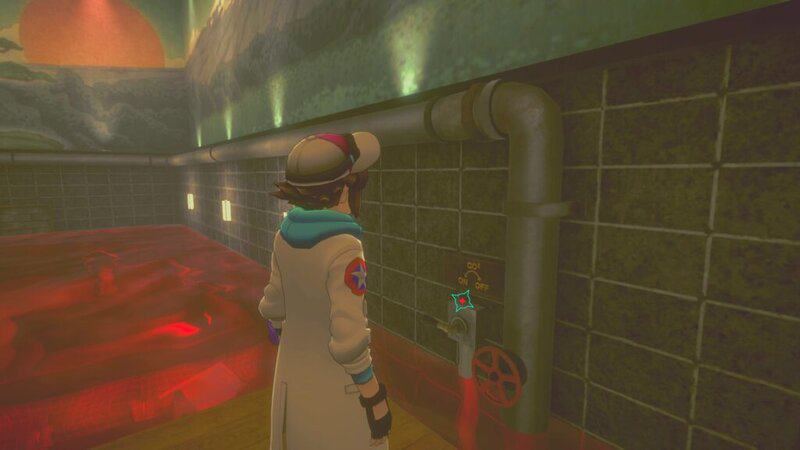
Go back to the door and insert the key to unlock it. This will open the door and allow you to escape the Curse of the Kotoribako!

You now know how to complete the Curse Escape Room in No Sleep for Kaname Date – From AI: THE SOMNIUM FILES. Stay tuned to Gameranx for more news, updates, and guides for No Sleep for Kaname Date – From AI: THE SOMNIUM FILES as well as other great games in the future.