
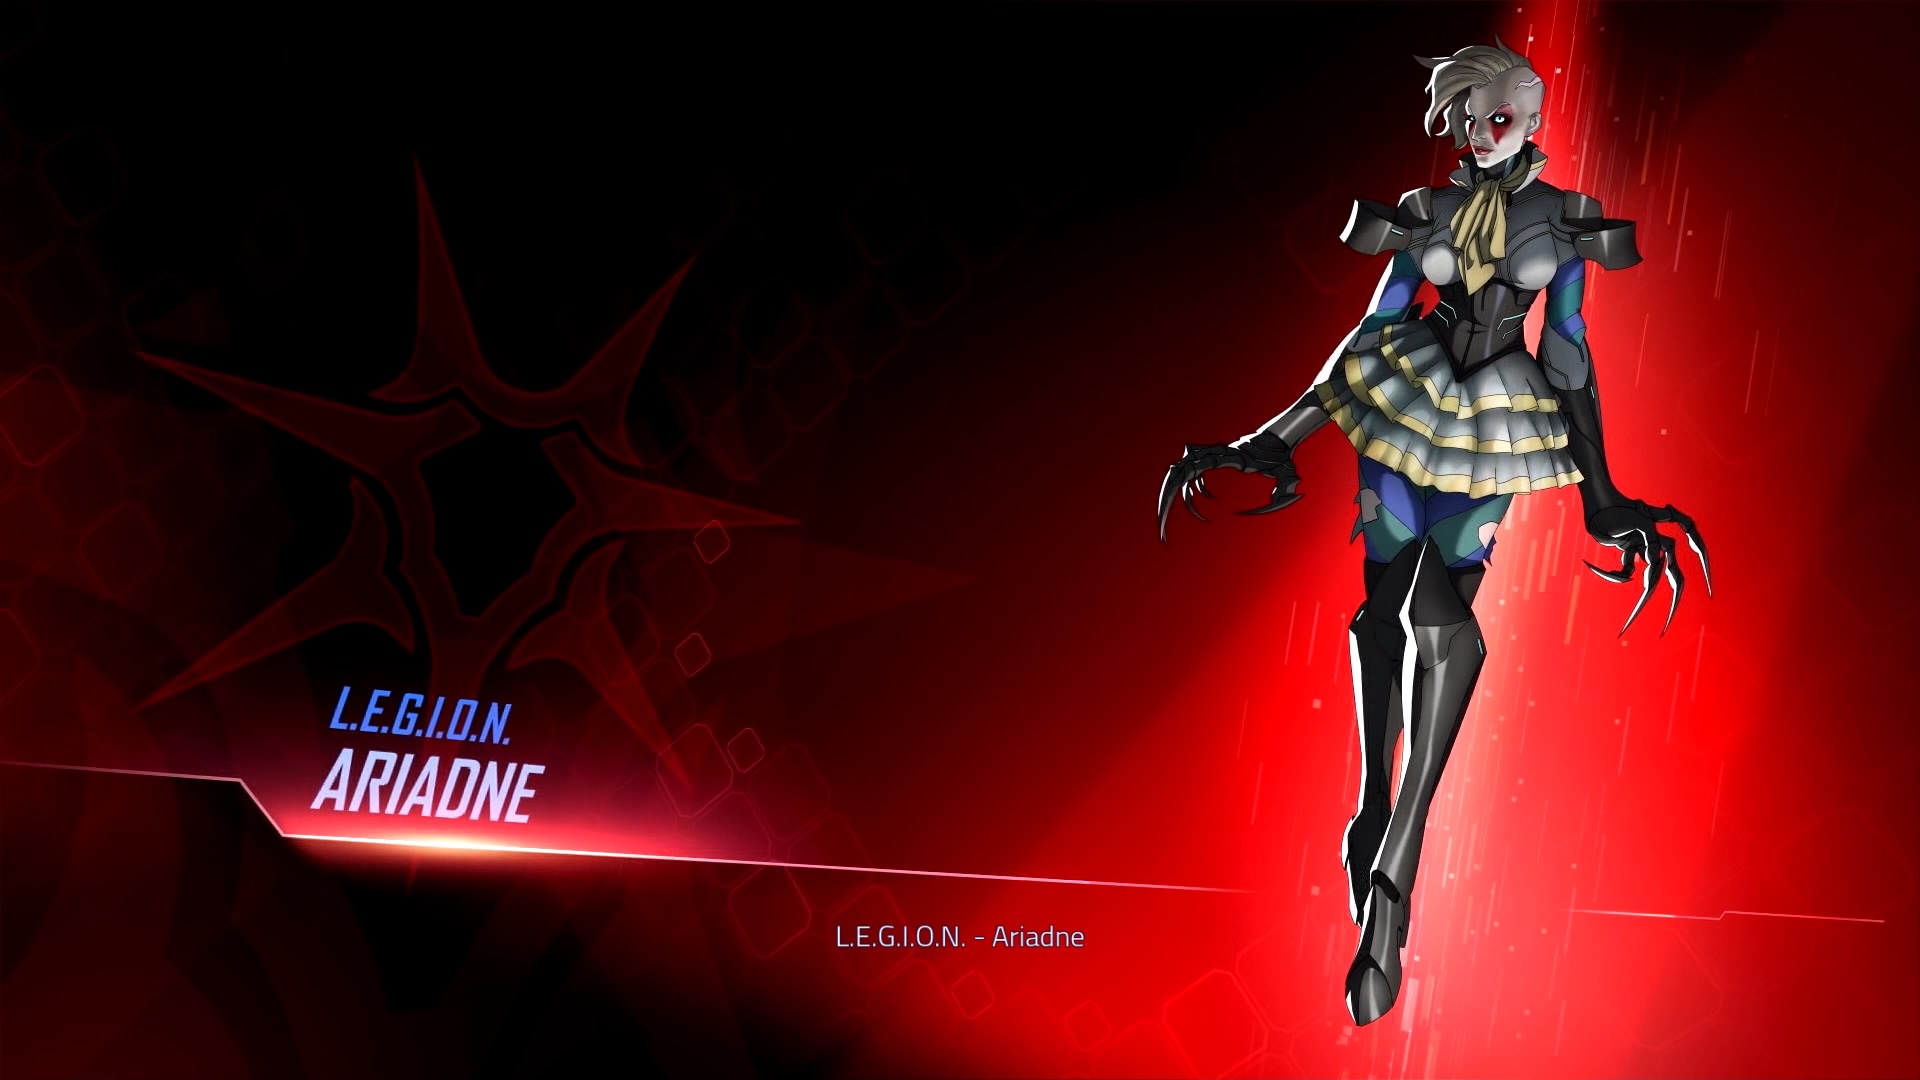
The evil Ariadne is on the prowl, and she’s the most unpredictable of Dr. Babylon’s lieutenants. She’s got a scheme to steal the minds of Seoul’s top scientists, and only the Agents of Mayhem can stop her. Gear up and prepare for a tough fight — these missions don’t start out too tough, but the final battle against Ariadne is one of the most challenging battles to survive in the entire game.
The missions are a stretch longer than the usual fare, too. You’ll encounter new enemies — like suicidal, hacked construction drones and the constant threat of COPs. Regular LEGION forces don’t appear too much here. You’ll have to watch out for mannequin corpse booby-traps, bouncing advertisement mascots, and other bizarreness as you delve into Ariadne’s lair to save a kidnapped friend. Get our tips for each mission below.
Table of Contents
- Episode 1 – Operation: Spin-Off
- Special Episode – Operation: Raging Arrow
- Episode 2 – Operation: Heaven Sent
- Special Episode – Operation: The Morning After
- Episode 3 – Operation: Star Power
- Special Episode – Operation: Dimensions of the Ninja
- Episode 4 – Operation: Machine Man
- Episode 5 – Operation: Red Queen
- Episode 6 – Operation: Madhouse
- Episode 7 – Operation: Damocles
Episode 6 – Operation: Madhouse


A new villain has appeared in Seoul. We don’t know much about her, but she (apparently) has a message from Morningstar, the evil leader of LEGION. Babylon must complete his task, whatever that is. There are still lots of questions, so let’s get some answers.
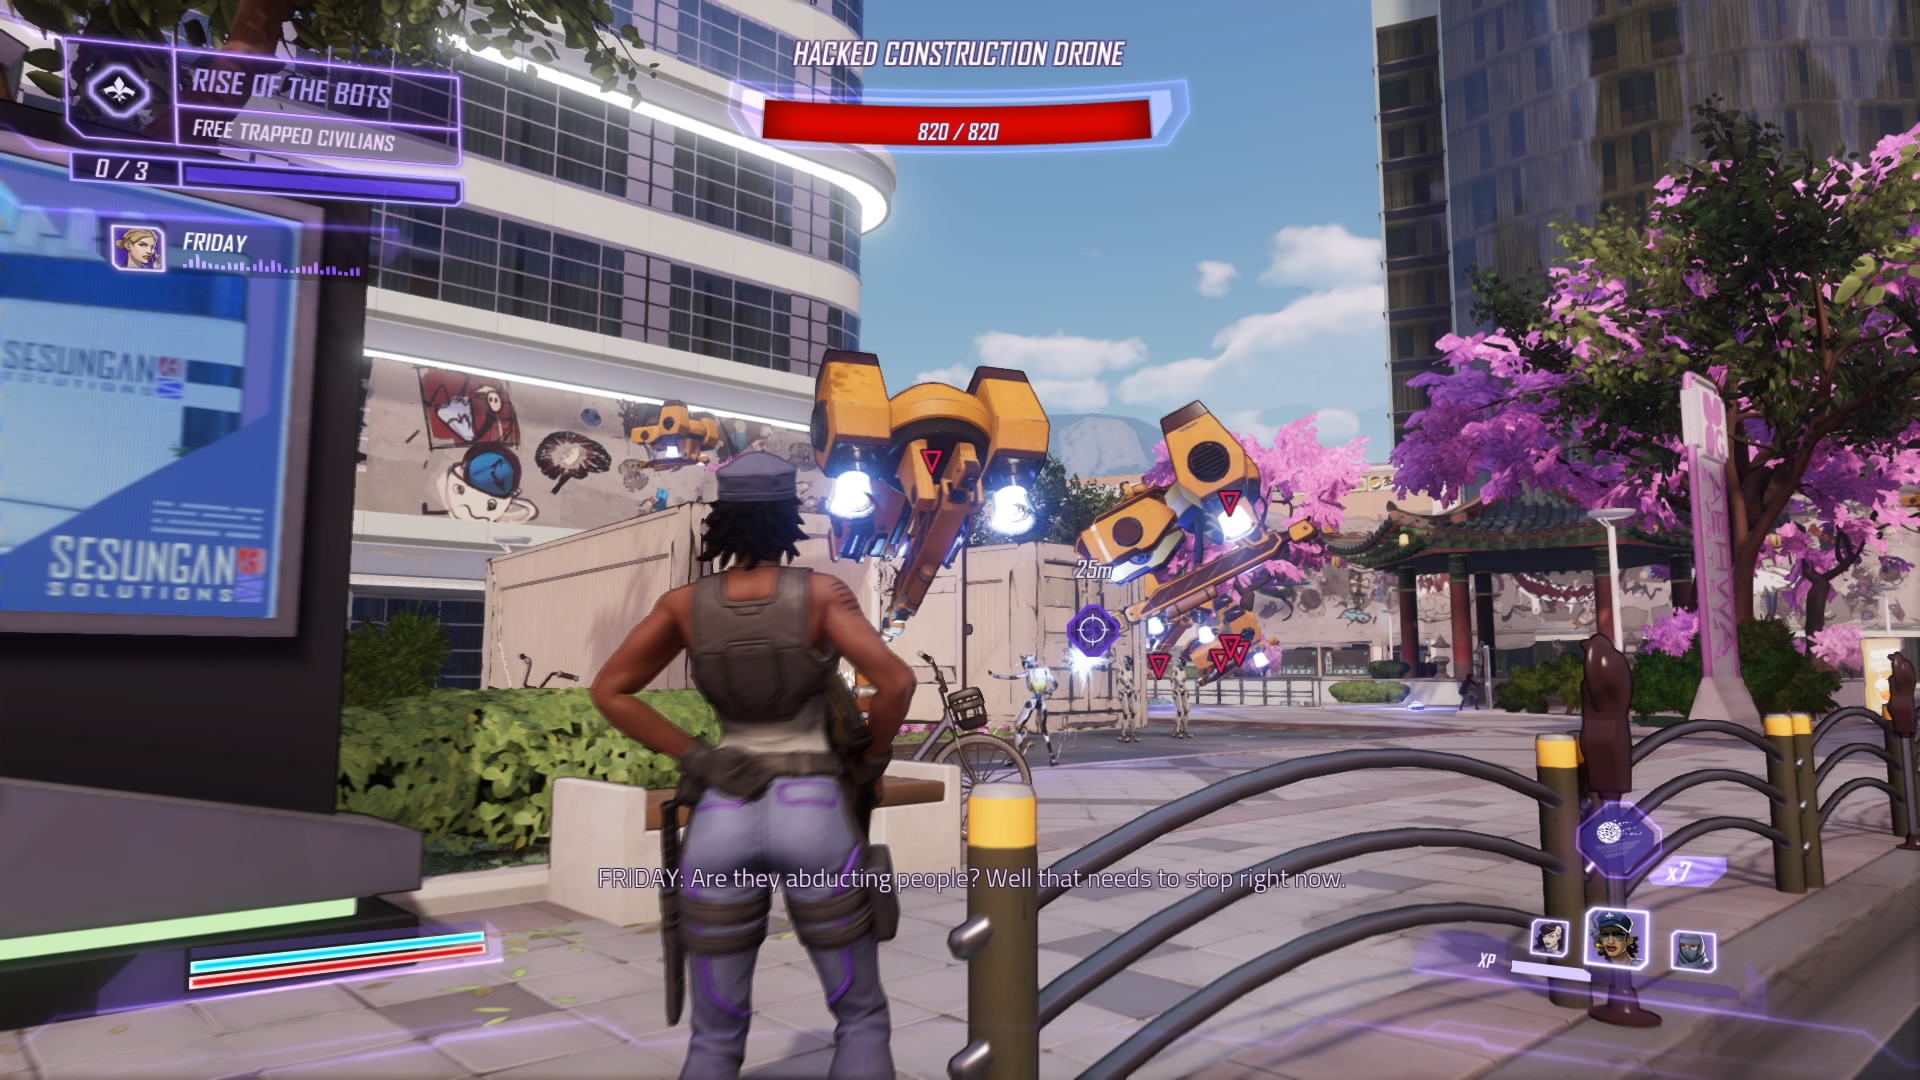
Mission: Rise of the Bots
- Recommended Difficulty: 9 – Agent of Mayhem
- Recommended Team: Daisy, Braddock, Scheherazade
All the bots in Seoul are going haywire. Sprint to the disturbance to find the construction drones and COPs rounding up civilians. Blast the drones (they fly at you and self-destruct) and shoot the lock on the container to free the stuck civilians.
Nearby, track down the transmitter signal to the rooftop. The construction drones are busy – they’re tagging all the nearby buildings with giant murals! Blast the transmitter to destroy them all, then hop into Quartermile’s fancy car down the street.
You’ll need to use this special car to deploy sensors mid-air. The track you follow leads to multiple super-jumps. Save your boost meter for those jumps! Don’t waste it on the streets. Complete this quick race, and you’ll return to the robot-hunting. The first set of coordinates is another tagged area with flying robo-signs.
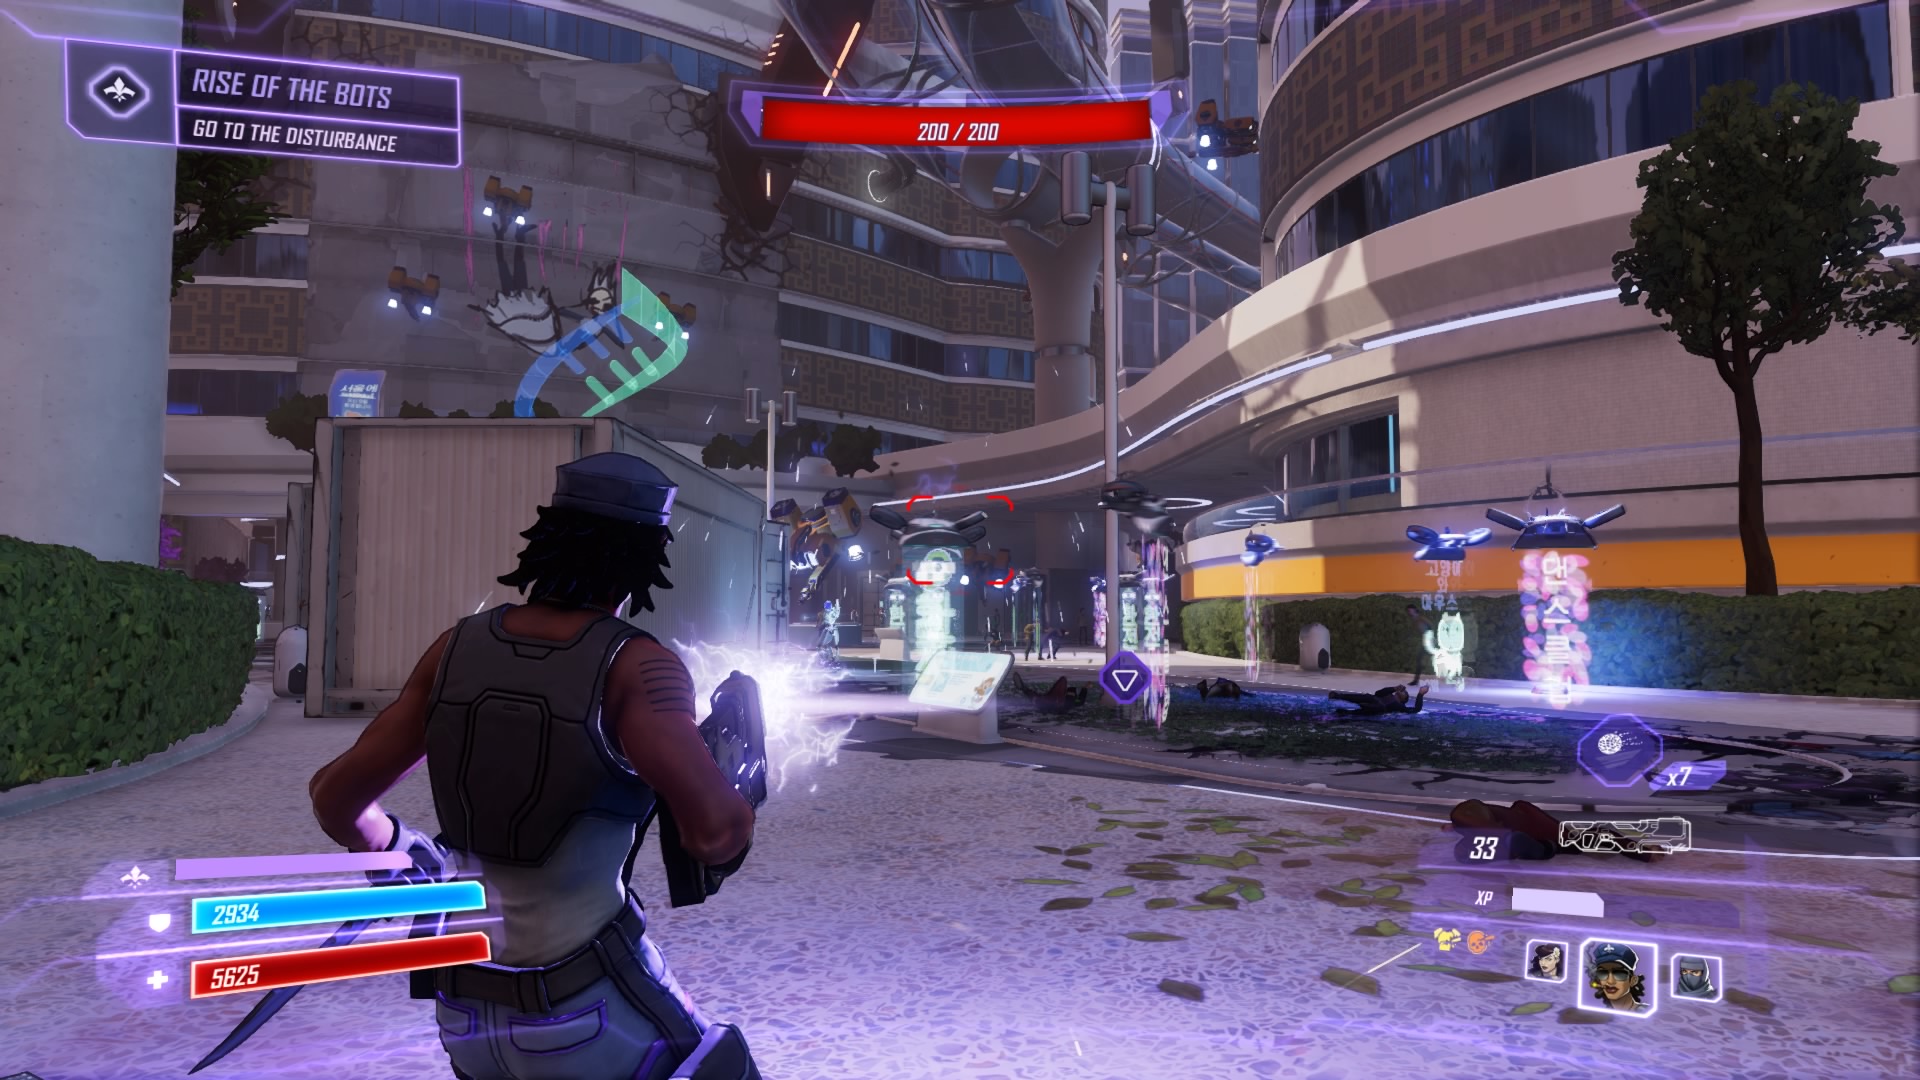
Don’t worry about saving everyone yet. Use the scanner to locate the transmitter and find it in the interior, on the balcony in the back-left of the cafe area. Break it, then shoot the container locks to save the remaining civilians. A few Swarmtroopers will show up, but nothing an Agent of Mayhem can’t deal with.
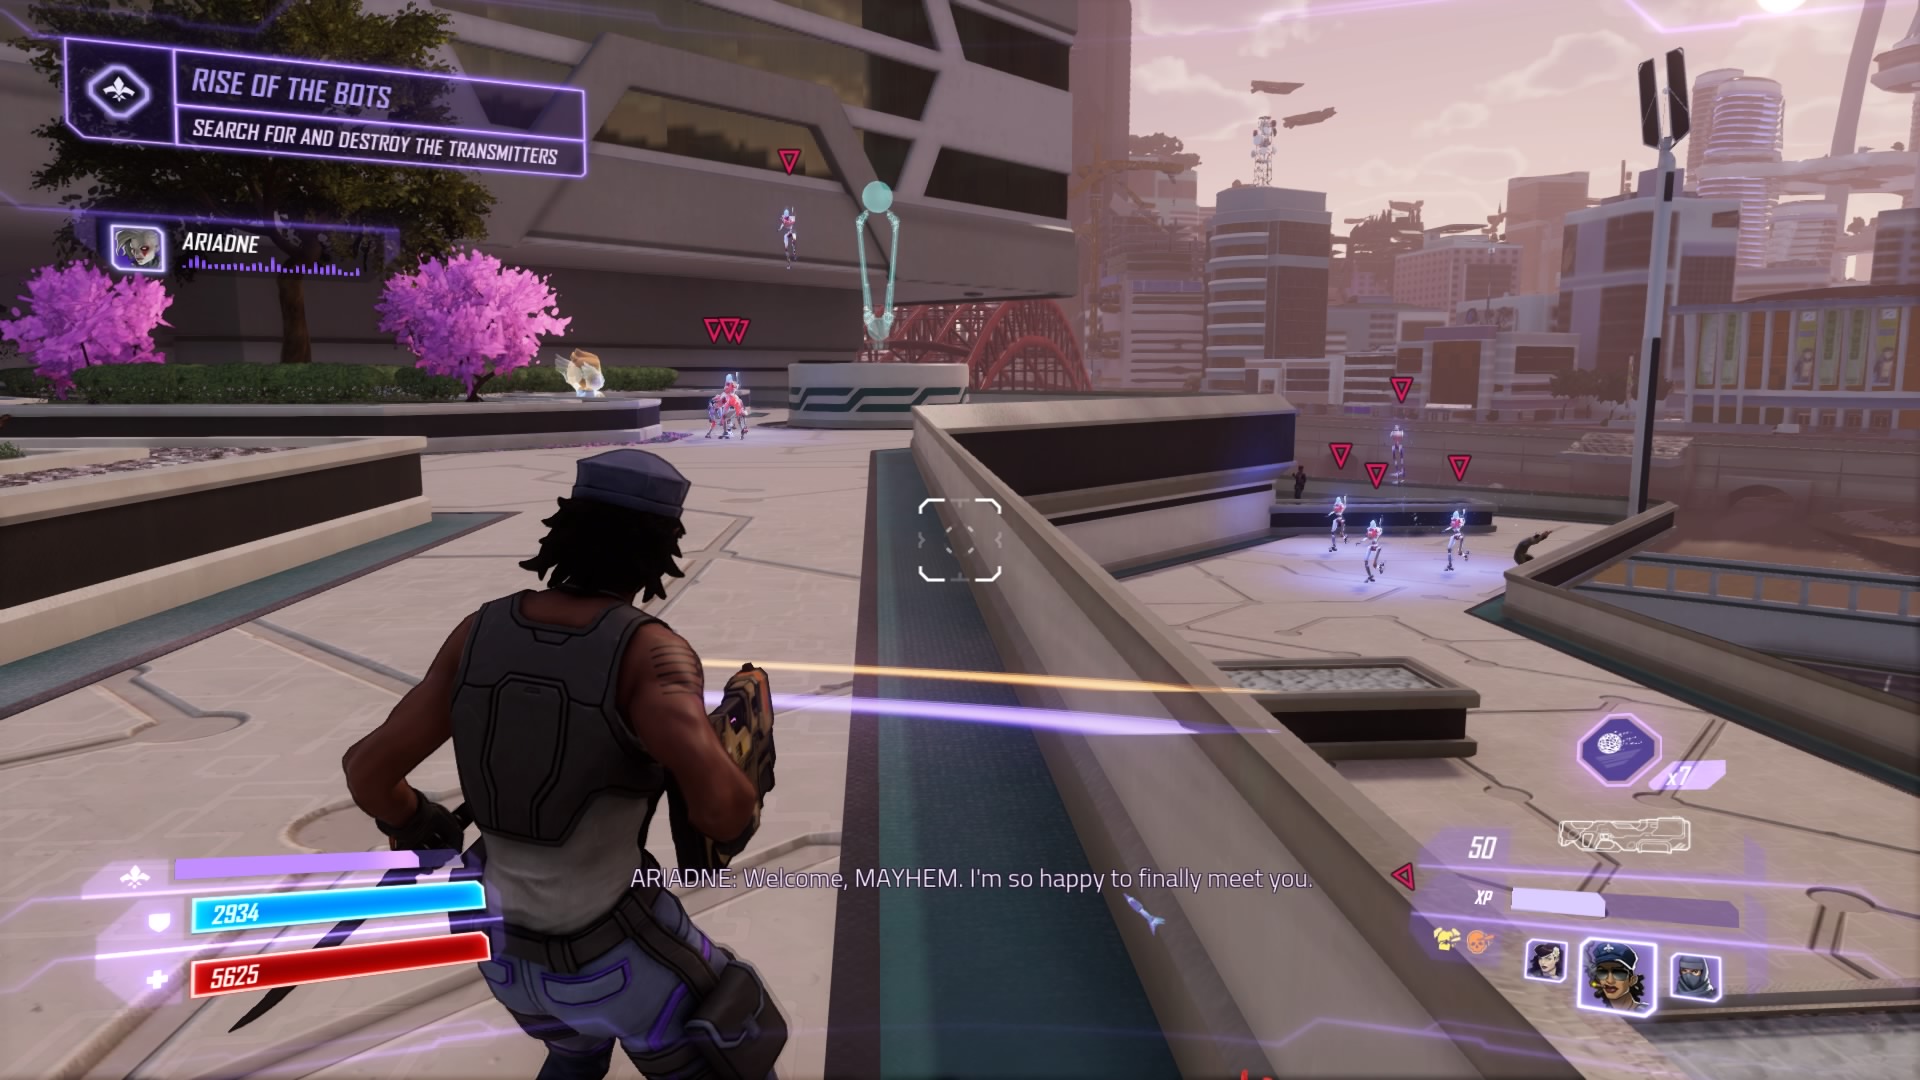
Friday tracks the signal down to a LEGION front called KW Robotics. Hop in your fastest car and take off for the company – at the place, start using your locator and interacting with the holograms. After talking to three, Ariadne reveals herself and unleashes her ambush. Don’t waste your time fighting the swarms of COPs. Scan with your location and drop down to the ground floor to find the first transmitter on the wall. The second is in the corner of the campus, and the third is back on the main pavilion.
An endless supply of suicidal construction drones will fly at the agent, so don’t get bogged down in a fight. Keep moving, smash all three, and be prepared for a Tanktrooper. Clear out the leftover goons to complete the mission. Return to the ARK to learn a little bit more about Ariadne.
Mission: Bubble, Bubble, Toil, And…
- Recommended Difficulty: 9 – Agent of Mayhem
- Recommended Team: Daisy, Braddock, Rama
Ariadne is up to something. At the first disturbance, you’ll find a LEGION patrol guarding a strange bubble. It looks like Ariadne is draining human consciousness! Destroy the bubble (after investigating it) to free the civilian and put a stop to Ariadne’s first experiment. There are many more.
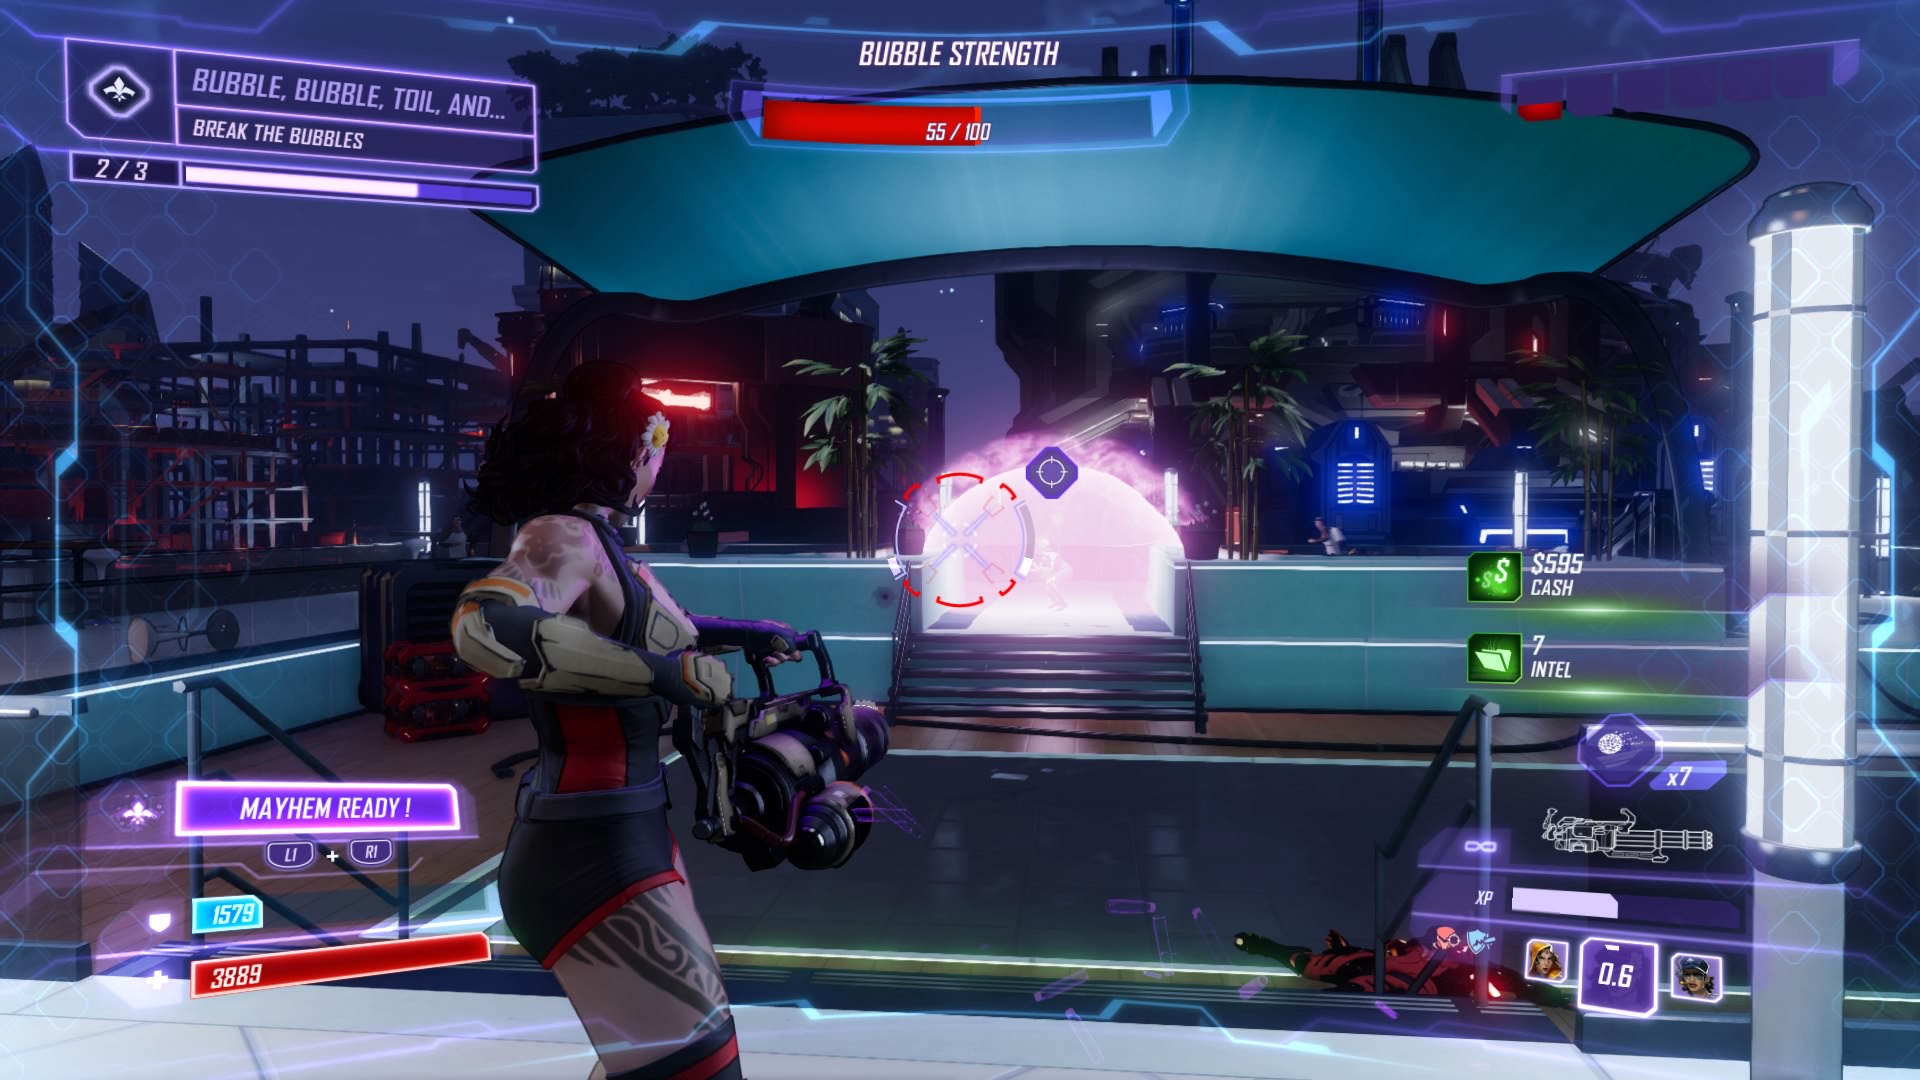
Use the elevator at the second waypoint. On the rooftop, you’ll get swarmed by Swarmtroopers and Bufftroopers. Take them out and destroy all three bubbles – Scheherazade and Daisy are pretty good at smashing Swarmtroopers. Yeti can withstand their attacks, too. Destroy the Shocktrooper, and – Ariadne has a new surprise. She has a giant bubble in the TTX. Rush to the Seoul city center. Use the rooftop barge nearby.
Hack the barge control terminal, then hack the second barge to create a platform bridge. Rush across the platforms, dodging the suicidal robots as they fly by. The path is dangerous one, and you’re short on time. Sprint and air-dash with Daisy to the end point, then place the Power Buster under the bubble. Charge it with an attack – too bad that doesn’t work for long, an army of COPs arrives. Don’t even fight them, just use the locator and destroy the jammer.
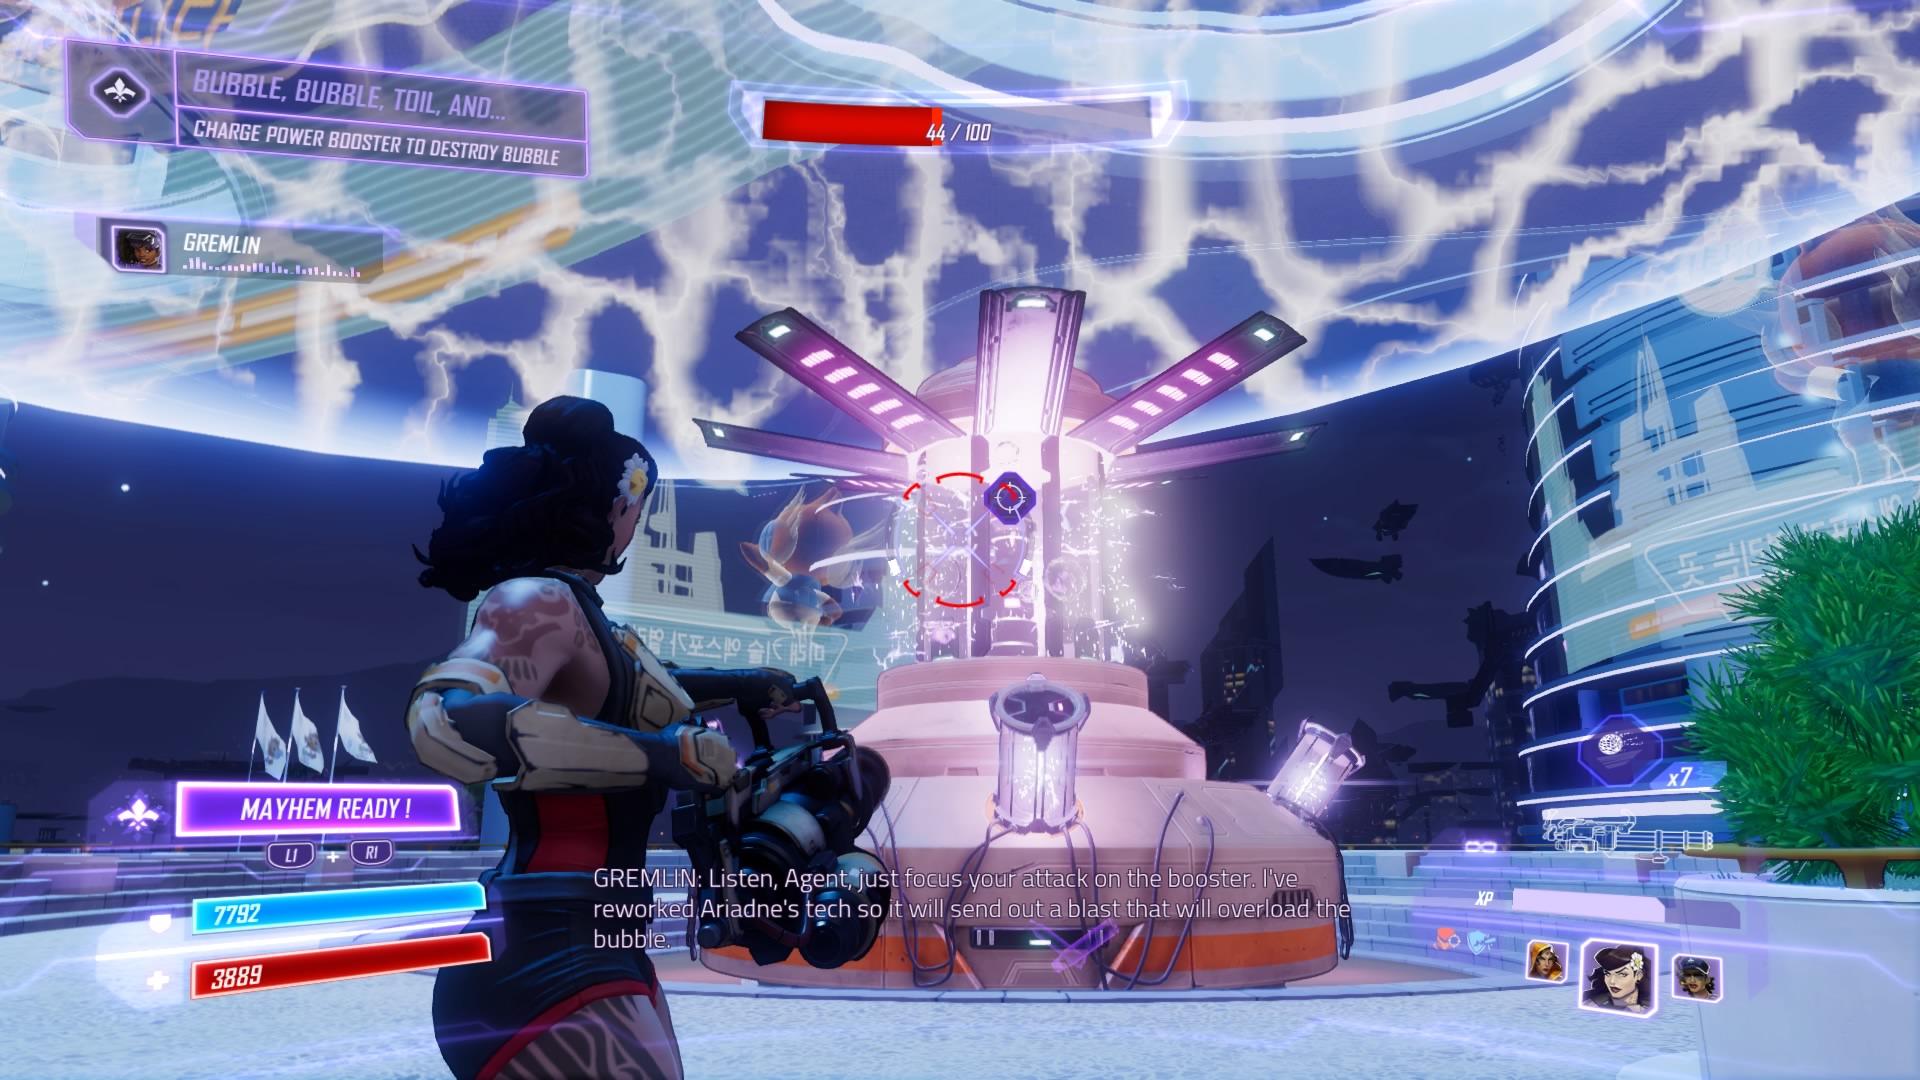
Shoot the power booster one more time. There’s a second transmitter somewhere in the area – you know what to do. Ignore the robots, rush the transmitter using the locator, and smash it. You’ll need to destroy a third jammer too – it’s attached to one of the spinning displays.
Unfortunately, Ariadne was able to complete her upload. She’s stolen all the TTX scientists’ brains! To save them, you’ll need to track down Ariadne and defeat her.
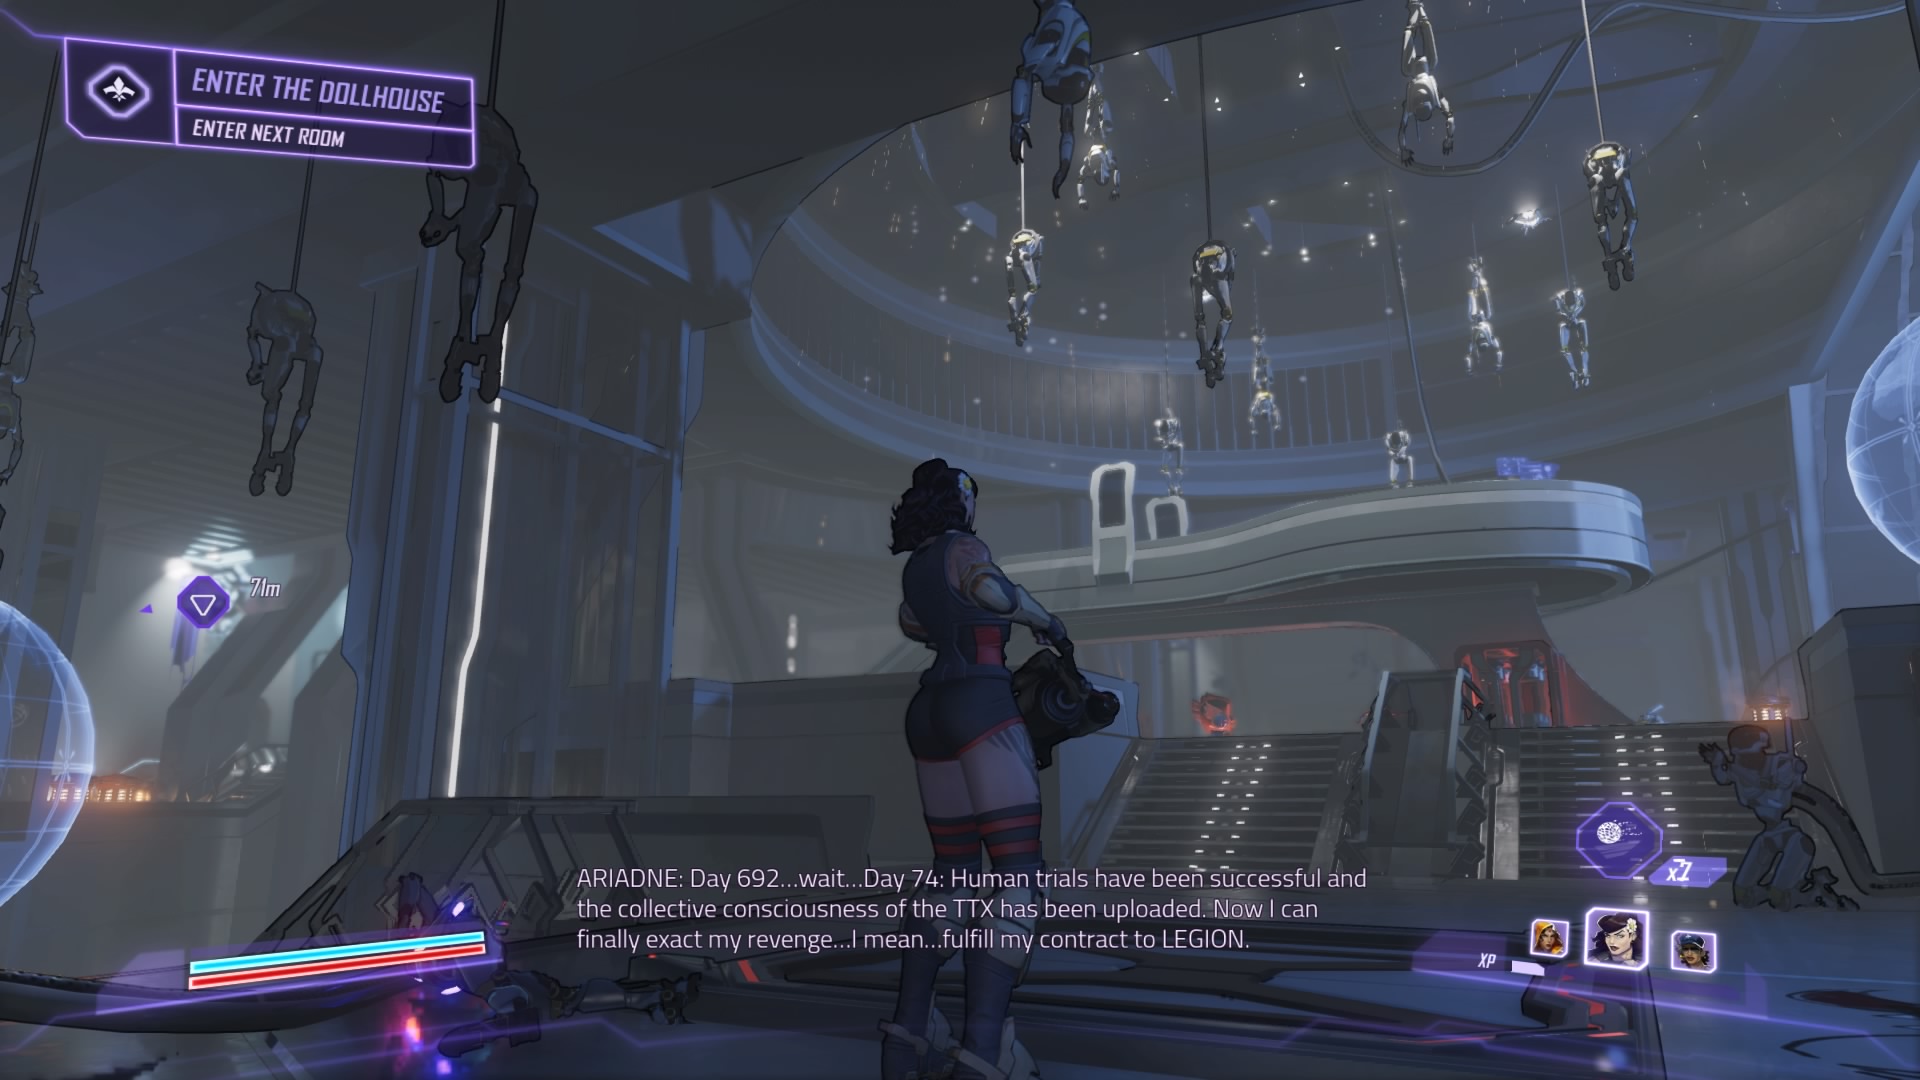
Mission: Enter the Dollhouse
- Recommended Difficulty: 9 – Agent of Mayhem
- Recommended Team: Daisy, Braddock, Rama
Ariadne has Gremlin! Rush to the abandoned LEGION lair at the waypoint and scan the posing robots – the hack isn’t your regular hack. It’s completely impossible. Give it two tries, and you’ll drop into the lair. The rooms ahead are swarming with COPs, but you don’t have to fight them. Just reach each waypoint and go to the next, dashing through the COPs until you hit the lift leading deeper down.
In the next area, you’ll have to destroy another transmitter before rolling explosive sign-heads kill you. Just scan and locate it by the bright blue glow, then skate through the creepy rooms down the hall. It all leads back to the original lift, and another trip down deeper into Ariadne’s lair.
Down below, the rooms are decorated with hanging robot corpses and strange displays. Ignore the creepy stuff, in the control room you’ll find a camera terminal. Activate it to help find Gremlin’s cell – but you’ll need to take care of some jammers first. Use your locator and clear the COPs between each camera terminal check. The second wave is all boombots.
For the third and fourth transmitter, things change – a white cabbit will appear when you use the locator. Follow it and avoid the COP bodies or sign-heads. They’ll explode if you get close, so shoot them all just to be safe. The cabbit will lead you to two transmitters in the first room (after the lift) – break them both, use the console one last time, and drop down to face off against Ariadne.
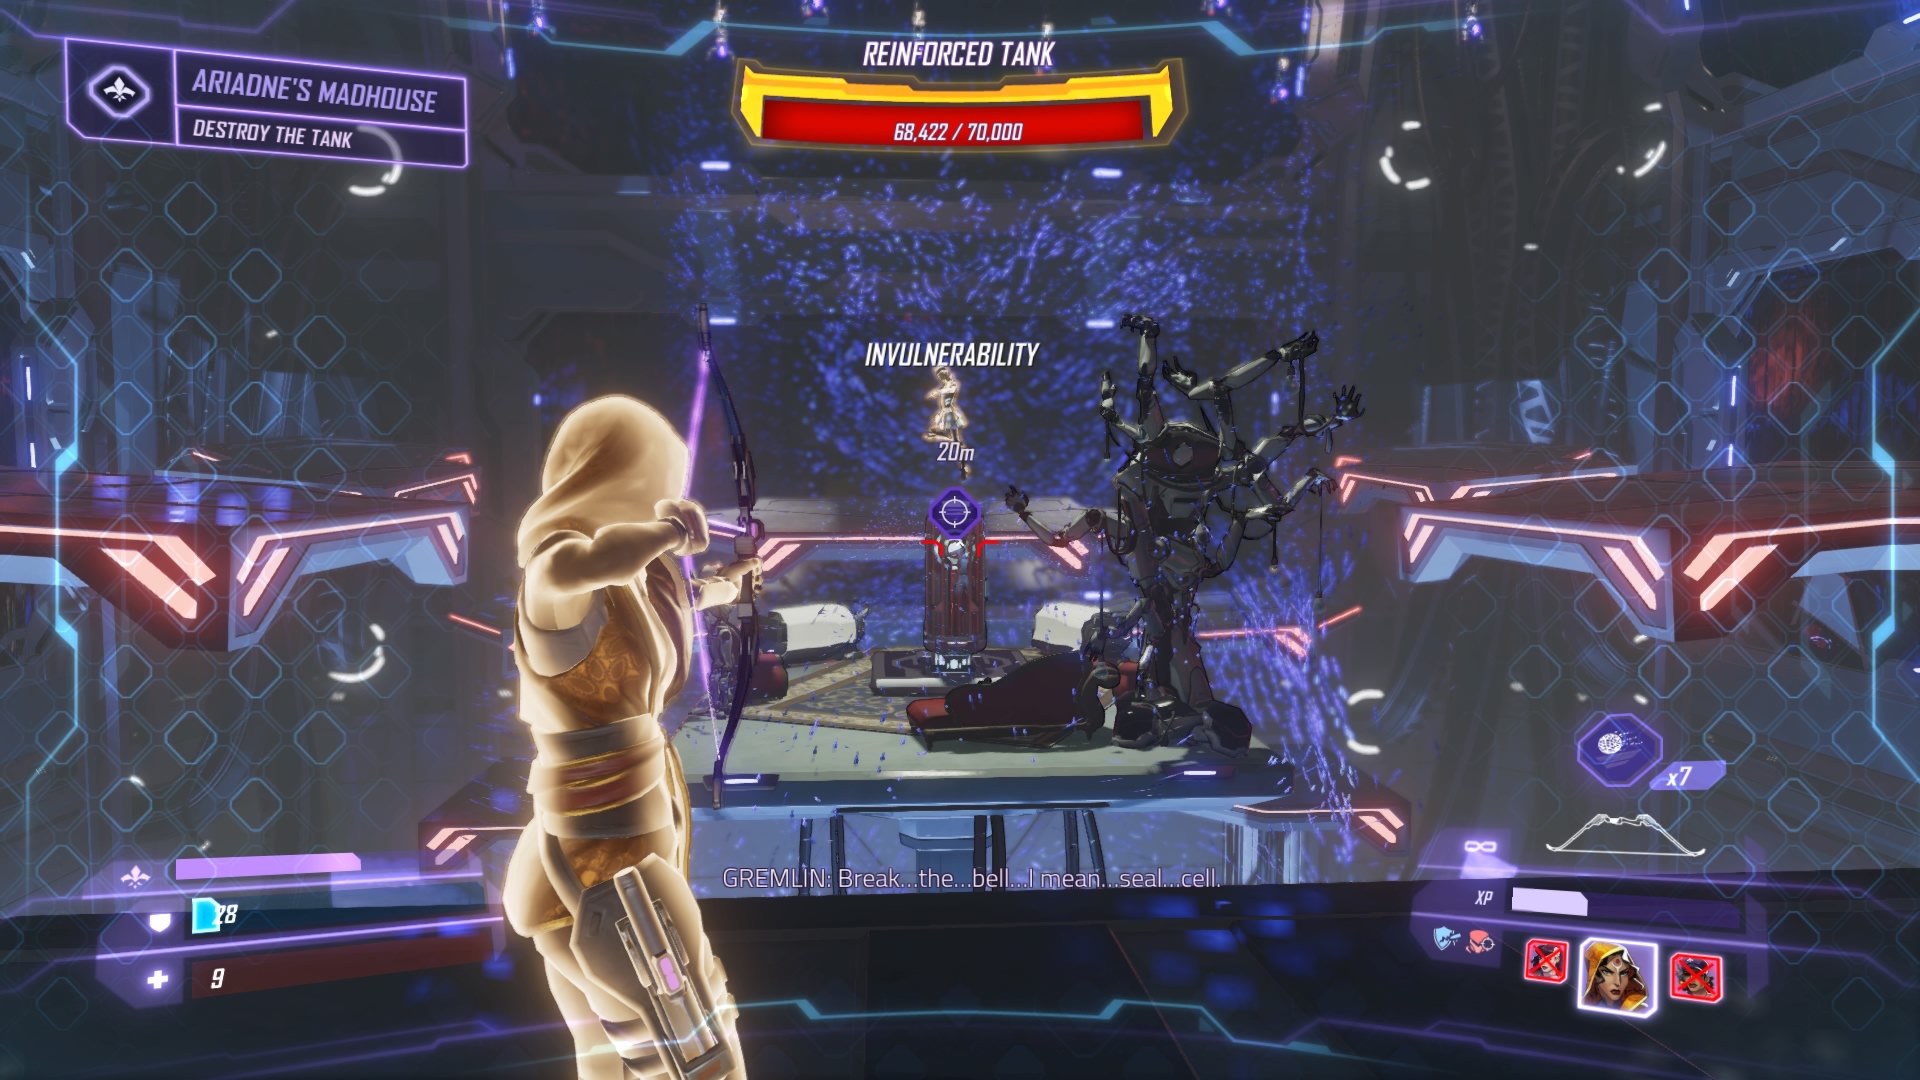
BOSS: Ariadne
The toughest boss battle in the game is here – so be prepared with anti-shield and anti-armor heroes to make this fight a little less challenging. Ariadne has Gremlin in a sealed chamber, and attacks with multiple robotic-clones. You don’t need to destroy the clones, you just need to destroy the blue health bar on the real Ariadne.
You can tell which is the real Ariadne from her blue shield. Use stealth to pinpoint her, but she’ll quickly mix herself up with the robotic copies. Braddock can quickly destroy the armor on the robot fakes, but it’s tough to destroy them. The robotic copies become stunned and invulnerable after taking damage, giving you (some) time to focus on the others. Use the pods for cover and keep circling the arena, stunning robots and blasting the real Ariadne until her health bar is low.
Phase 2: Gremlin is moved to the center, and you’re stuck on floating platforms. Ariadne will attack with ceiling explosions that hurt your agent if they’re jumping, or she’ll launch a beam attack that she spins around the arena. She’s invulnerable, so ignore her and focus on grabbing the weird sparkly energy orbs.
Collect all three to enhance your attacks and target Gremlin’s pod. Enough attacks will destroy it, but your empowerment won’t last long. You may have to collect the orbs a second / third time.
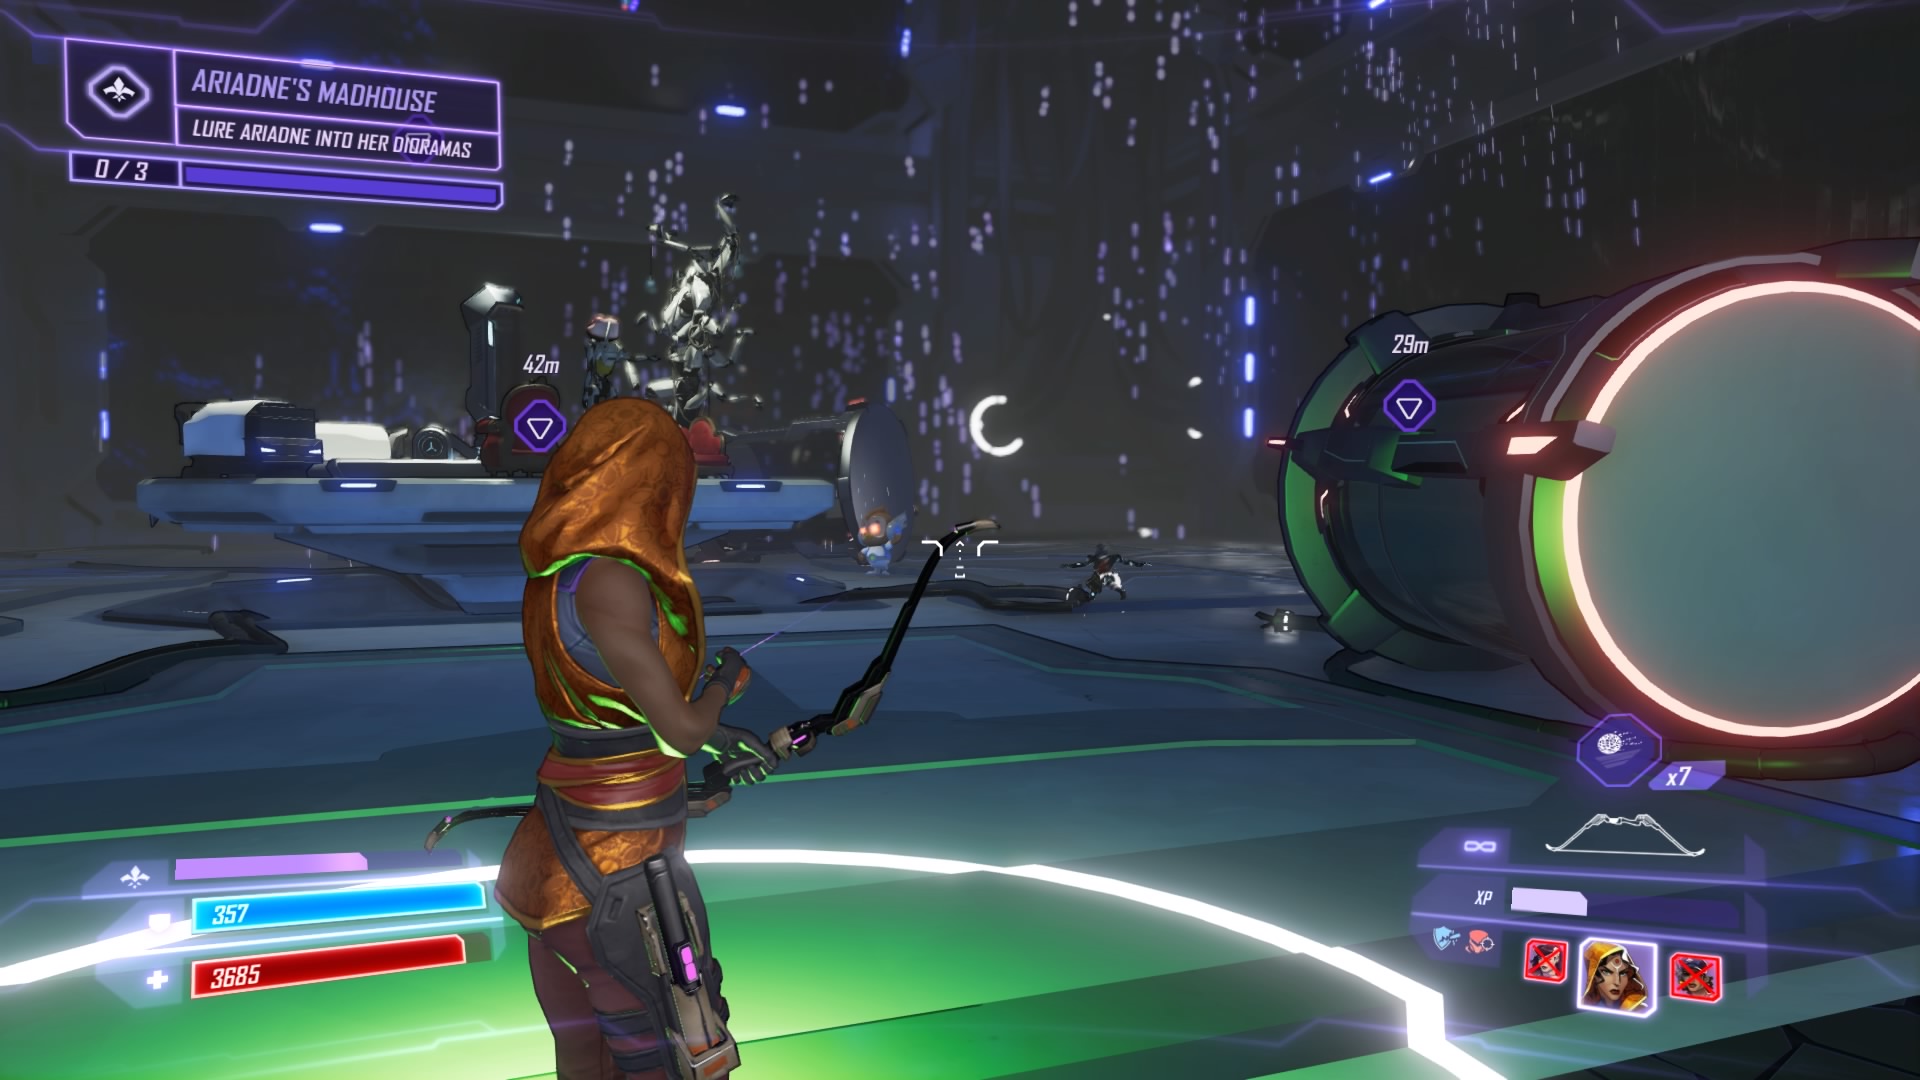
Phase 3: For the last phase, she’ll drop down and attack while summoning more trap bots from the ceiling. Drain her shields, and circles will appear near the dioramas – stand in the circles to trick Ariadne into attacking and stunning herself. Dash just as she attempts to attack, then use everything you’ve got on her.
The trap bots are especially annoying. Don’t destroy them or you’ll lose your shields. When you have to lure her into the dioramas, wait for her to say “Incoming” before dodging away. Use Daisy’s special to protect yourself from the blast. After luring her three times, she’ll be permanently stunned.
More Agents of Mayhem Guides on Gameranx:


