
Table of Contents[Hide][Show]
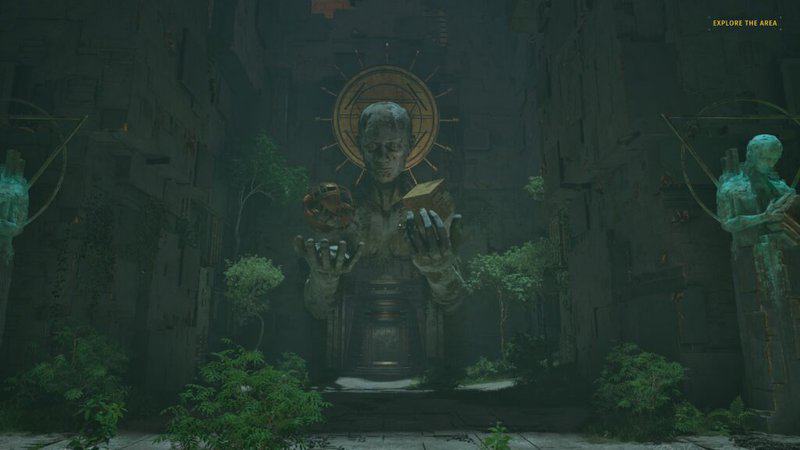
While the solution to what’s in the Megastructure in The Talos Principle 2 might be a smidge disappointing (spoiler: it’s more puzzles), at the very least, these are a bit more breezy and accessible than the previous batches. Still, if you’re having a hard time, as always, we’ve got you covered.
Other The Talos Principle 2 Guides:
How to Solve Booting Process Part 1 – How to Solve Booting Process Part 2 – How to Solve Booting Process Part 3 – How to Solve The Grasslands Part 1 – How to Solve The Grasslands Part 2 – How to Solve the Grasslands Part 3 – How to Solve the Wooded Plateau Part 1 – How to Solve The Wooded Plateau Part 2 – How to Solve the Wooded Plateau Part 3 – How to Solve the Eastern Wetlands Part 1 – How to Solve the Eastern Wetlands Part 2 – How to Solve the Eastern Wetlands Part 3
How to Solve the Megastructure Part 1 in The Talos Principle 2
The Bridges
Starter Bridge
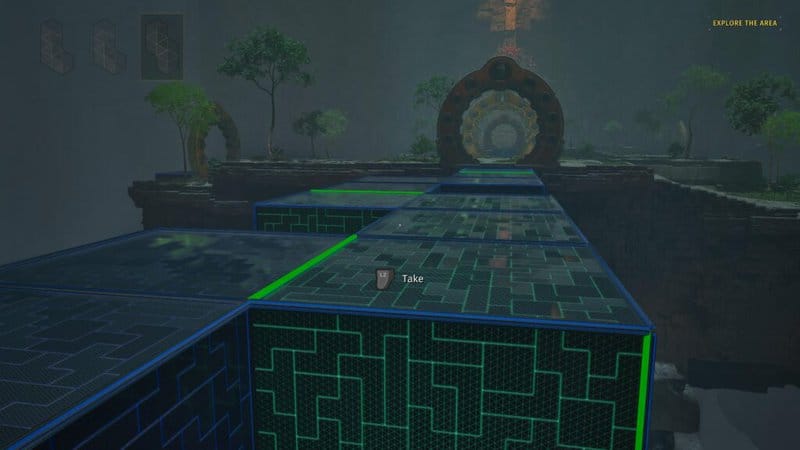
The solution to the first bridge you encounter is an L-shaped piece, another L-piece, and then a jagged piece.
Left Bridge 1
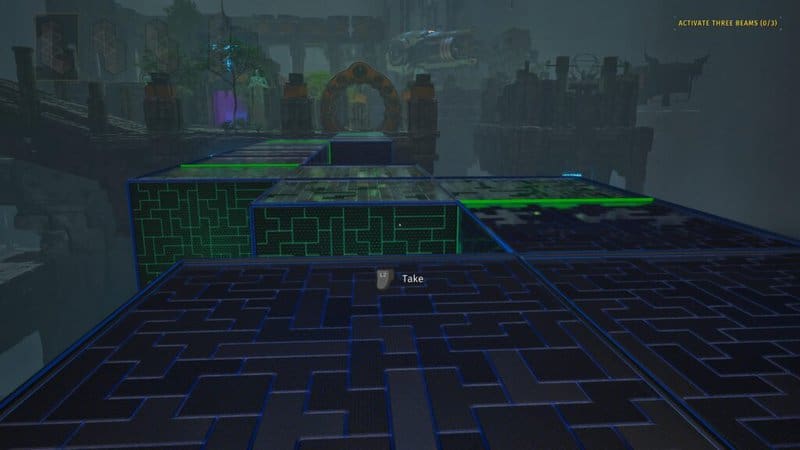
For the first bridge to the left, go jagged piece, jagged piece, long piece, L-shaped piece.
Left Bridge 2
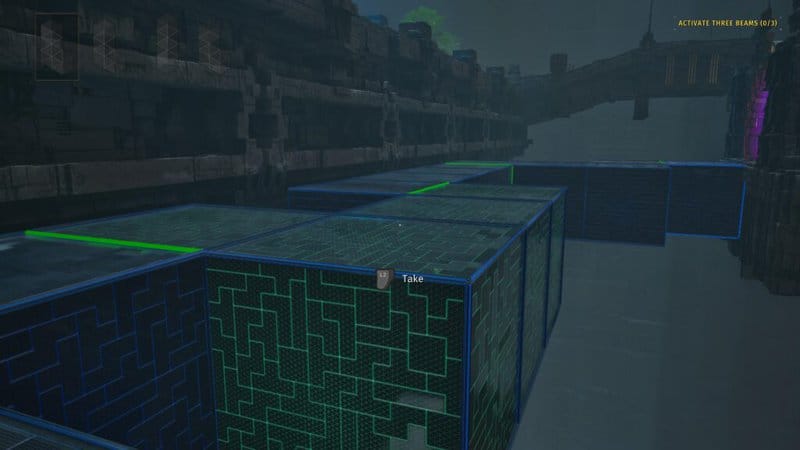
For the second bridge in the left section, go jagged piece, L-shaped piece, long piece, L-shaped piece.
Middle Bridge 1
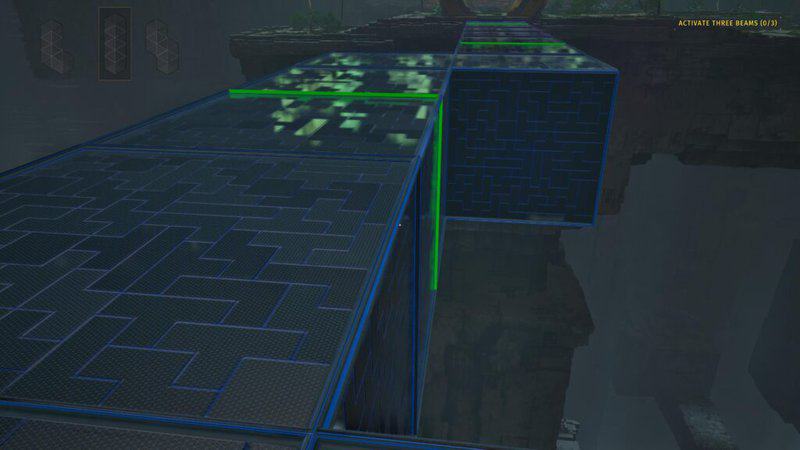
For the first of the middle bridges, use an L-shaped piece, then a jagged piece, and finally a long piece.
Middle Bridge 2
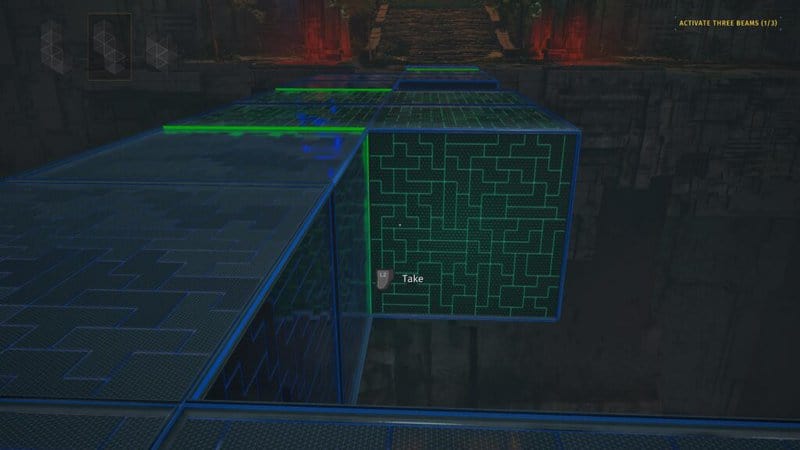
The second middle bridge can be solved by using an L-shaped piece, followed by a square piece, and finishing up with a jagged piece.
Right Bridge 1
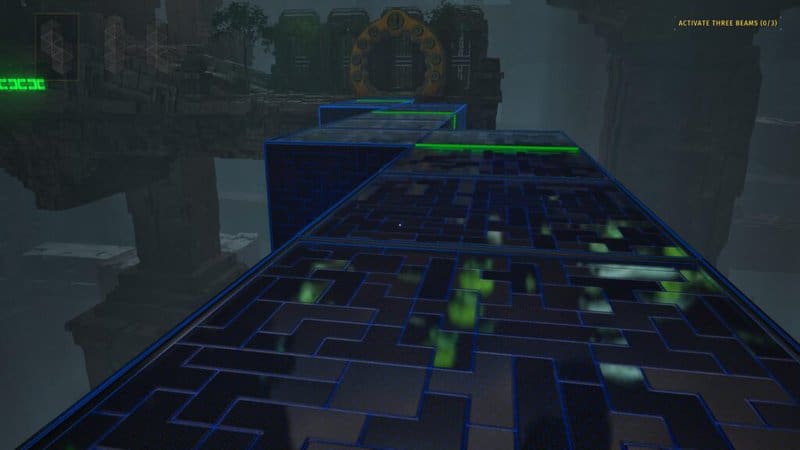
For the first bridge on the right, use the long piece first. Next comes the L-shaped piece and then the jagged piece.
Right Bridge 2
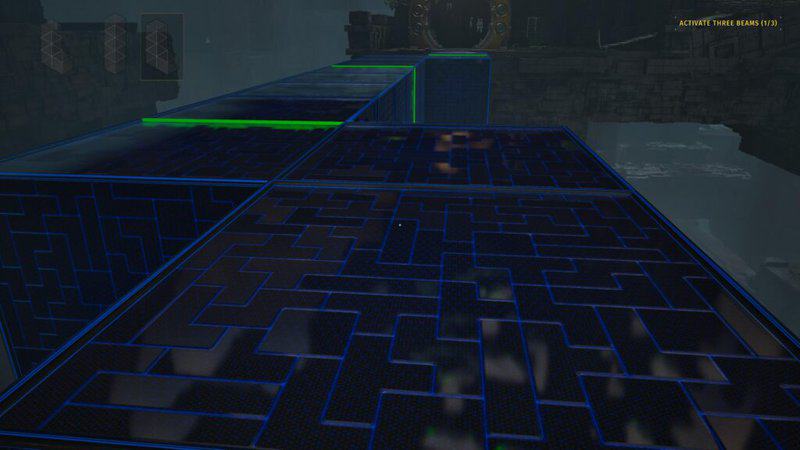
For the second bridge on the right-hand side, start with an L-piece, then use a long piece, and then complete the bridge with the other L-piece.
The Three Beams
Blue Laser
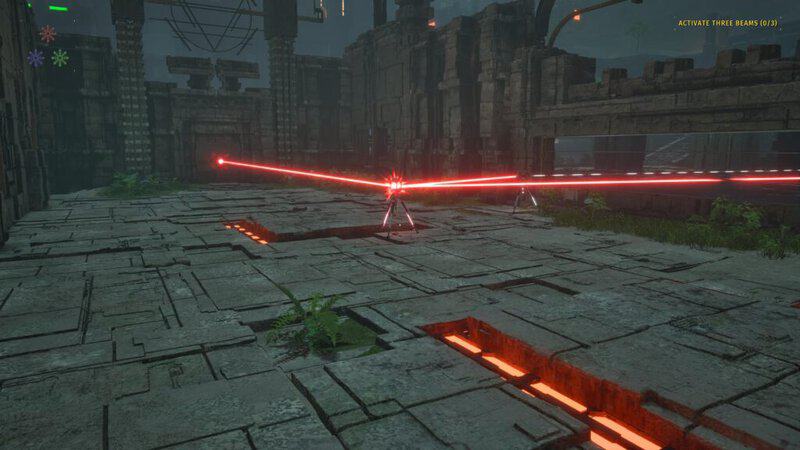
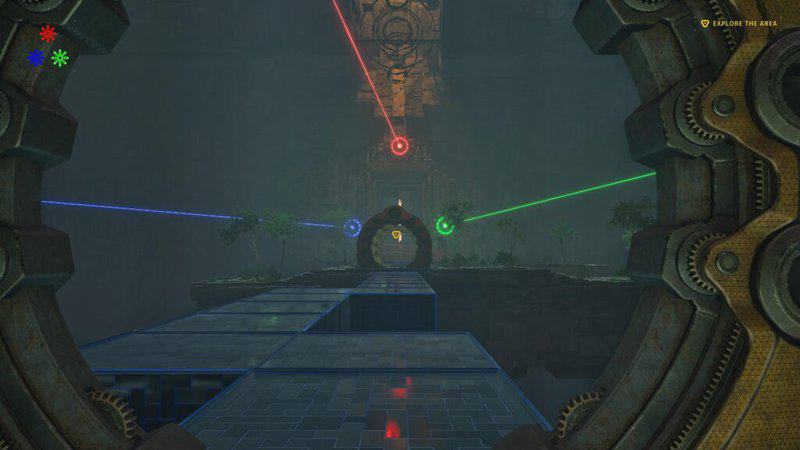
To start with, go across the bridge, take the connector, and connect it between the red laser on your side and the red lock between the bars. This will give you access to an inverter.
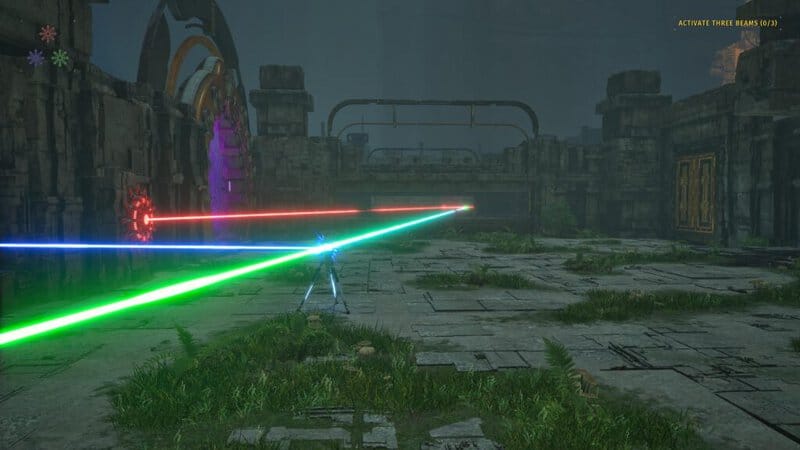
Head back across the bridge and connect your new connector to the blue laser. Now go back across the bridge and place the RGB converter in front of the red laser so it won’t get canceled out. Connect it with the red connector and the green lock across the way to finish off the puzzle.
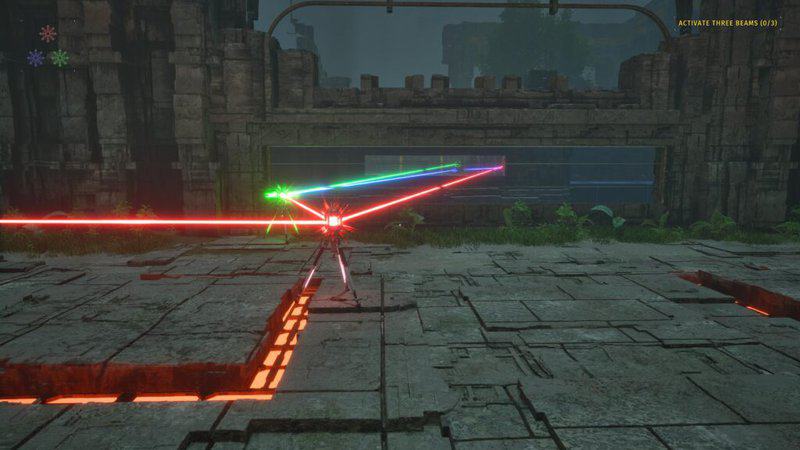
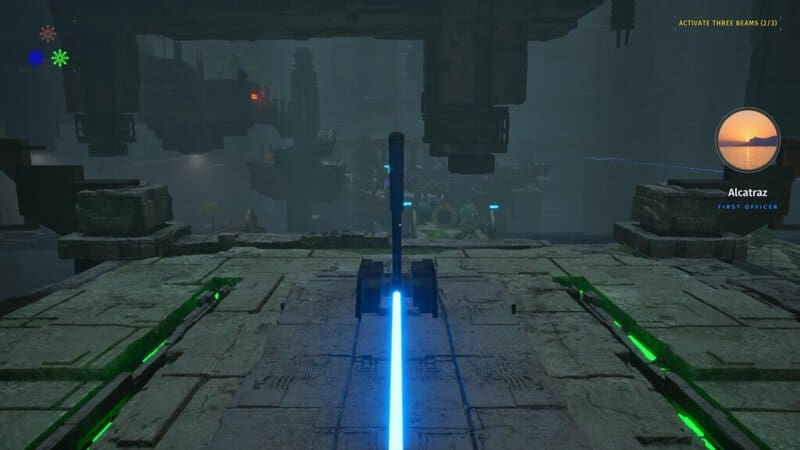
From here, simply head to the giant machine glowing the color blue and look for a switch to pull. The next two lasers will follow the same structure once you solve their respective puzzles.
Green Laser
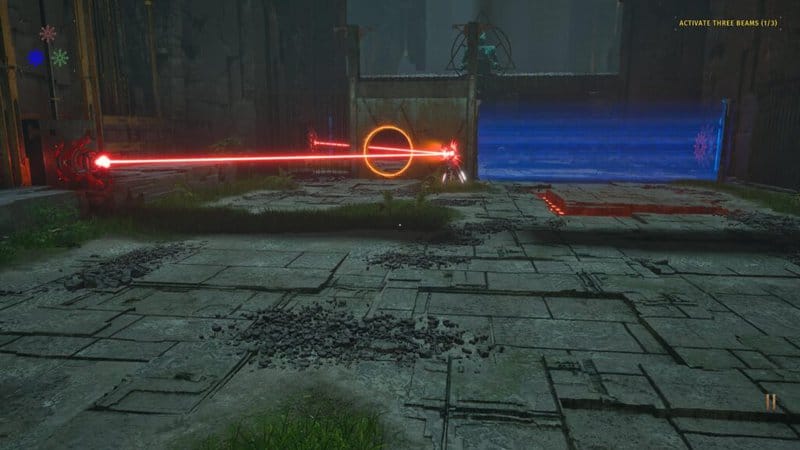
For the green laser, you first need to make a hole in the wall to retrieve the connector. Pull it out and connect it with both red locks behind the blue barrier.
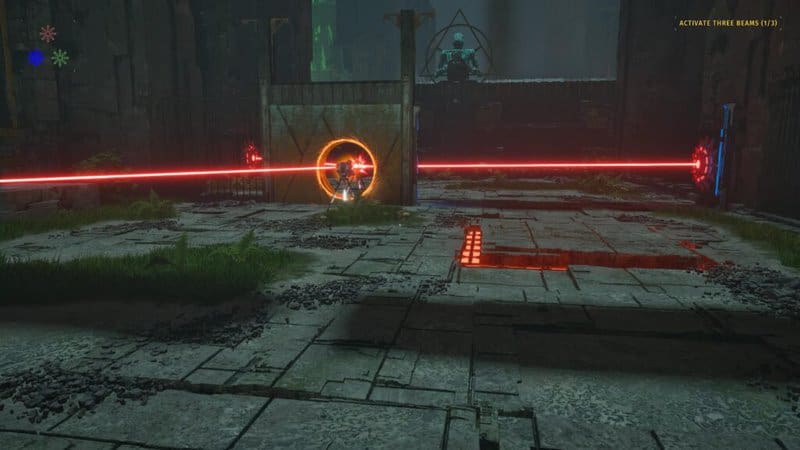
Now comes the clincher. Place it back through the hole to connect to both locks and complete the puzzle. Seek out the green machine and switch before heading to the other newly opened path to solve the red laser.
Red Laser
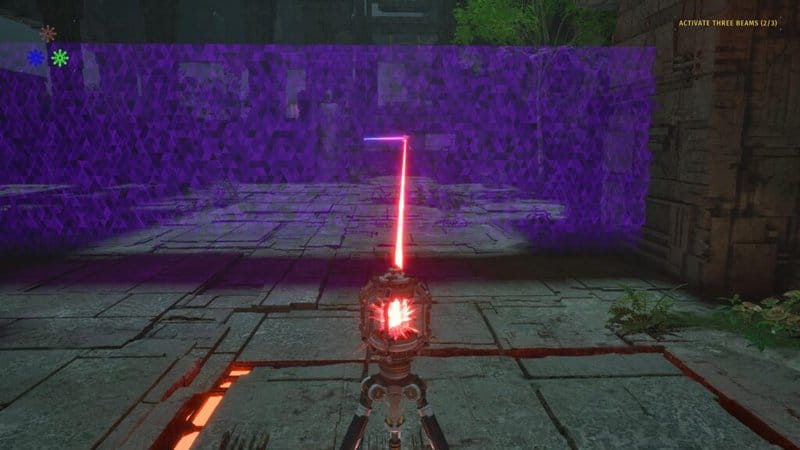
This one is simpler than it seems and is, in fact, deceptively easy. Head to the connector and make it so it only connects to the inverter sitting on the cube.
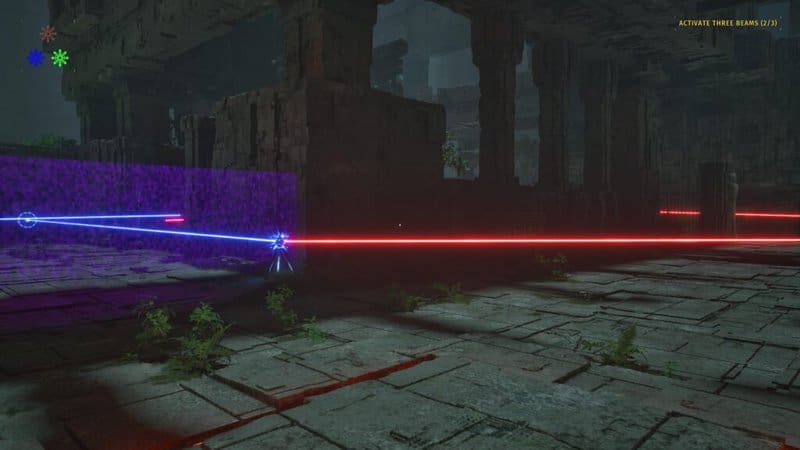
Next, bring your inverter and connect it between the connector and the blue lock. Boom, that’s it, done.
B
Now that you’ve pulled the red switch, you’ll get a bit more plot information and open access to a couple of the other outside locations (a.k.a., more puzzles) that were previously locked.