Reach the “casual” end to Call of Duty: WW2‘s Zombies map with our complete Easter egg quest walkthrough. Every Zombies map in recent memory features a lengthy quest that leads to a climactic boss battle, and ends with a cutscene. Most of us will probably never see either, but Call of Duty: WW2 is trying to change that.
Instead of one, single, almost-impossible Easter egg quest, Call of Duty: WW2 Zombies has two main Easter eggs for you to complete. Most fans split the quests up into two categories; casual, and hardcore. The casual quest is much more straightforward, with the hardcore quest matching what fans usually expect from these maps — a truly mindbending experience filled with insane, obtuse puzzles.
More Call of Duty: WW2 Zombies guides on Gameranx:
- Call of Duty: WW2 Zombies – True Easter Egg Guide | Hardcore Walkthrough
- Call of Duty: WW2 Zombies – How To Turn On The Power | First Step Guide
- Call of Duty: WW2 Zombies – How To Pack-A-Punch | Weapon Upgrade Guide
- Call of Duty: WW2 Zombies – How To Upgrade The Tesla Gun | All Variants Guide
- Call of Duty: WW2 Zombies – Survive Longer With Armor | New Juggernog Guide
- Call of Duty: WW2 Zombies – How To Unlock The Mystery Box | Groesten Haus Guide
- Call of Duty: WW2 Zombies – How To Unlock Secret Playable Characters
Complete Easter Egg Guide | ‘Fireworks’ Walkthrough
The “casual” Easter egg quest is all about uncovering the artifact. There’s an alternate quest where you’ll save Klaus, but we’re focusing on the first quest path here. For completing this Easter egg, you’ll unlock the “Fireworks” achievement / trophy.
Before we get started, there are two prerequisites you’ll need to complete before starting the Easter egg quest.
- Prerequisites:
- Turn the 3 valves and activate the Pilot Light in the Village Square to unlock the Sewers.
- Activate the Generator in the Sewers.
- Unlock the bunker door to Command.
- Activate the strange machine and flip the switches in the Lab / Morgue.
- Activate the Disposal Tube system in the Sewers.
- Go through all three fast-travel tubes and unlock the Weapon Upgrade Station.
- Turn the 3 valves and activate the Pilot Light in the Village Square to unlock the Sewers.
When you’ve completed all of those steps, you’ll be able to begin the main Easter egg. Check out the guides in the links above for more details.


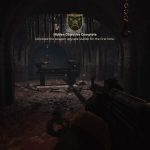


Step #1: Charge The Device
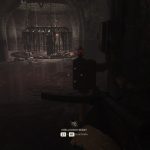
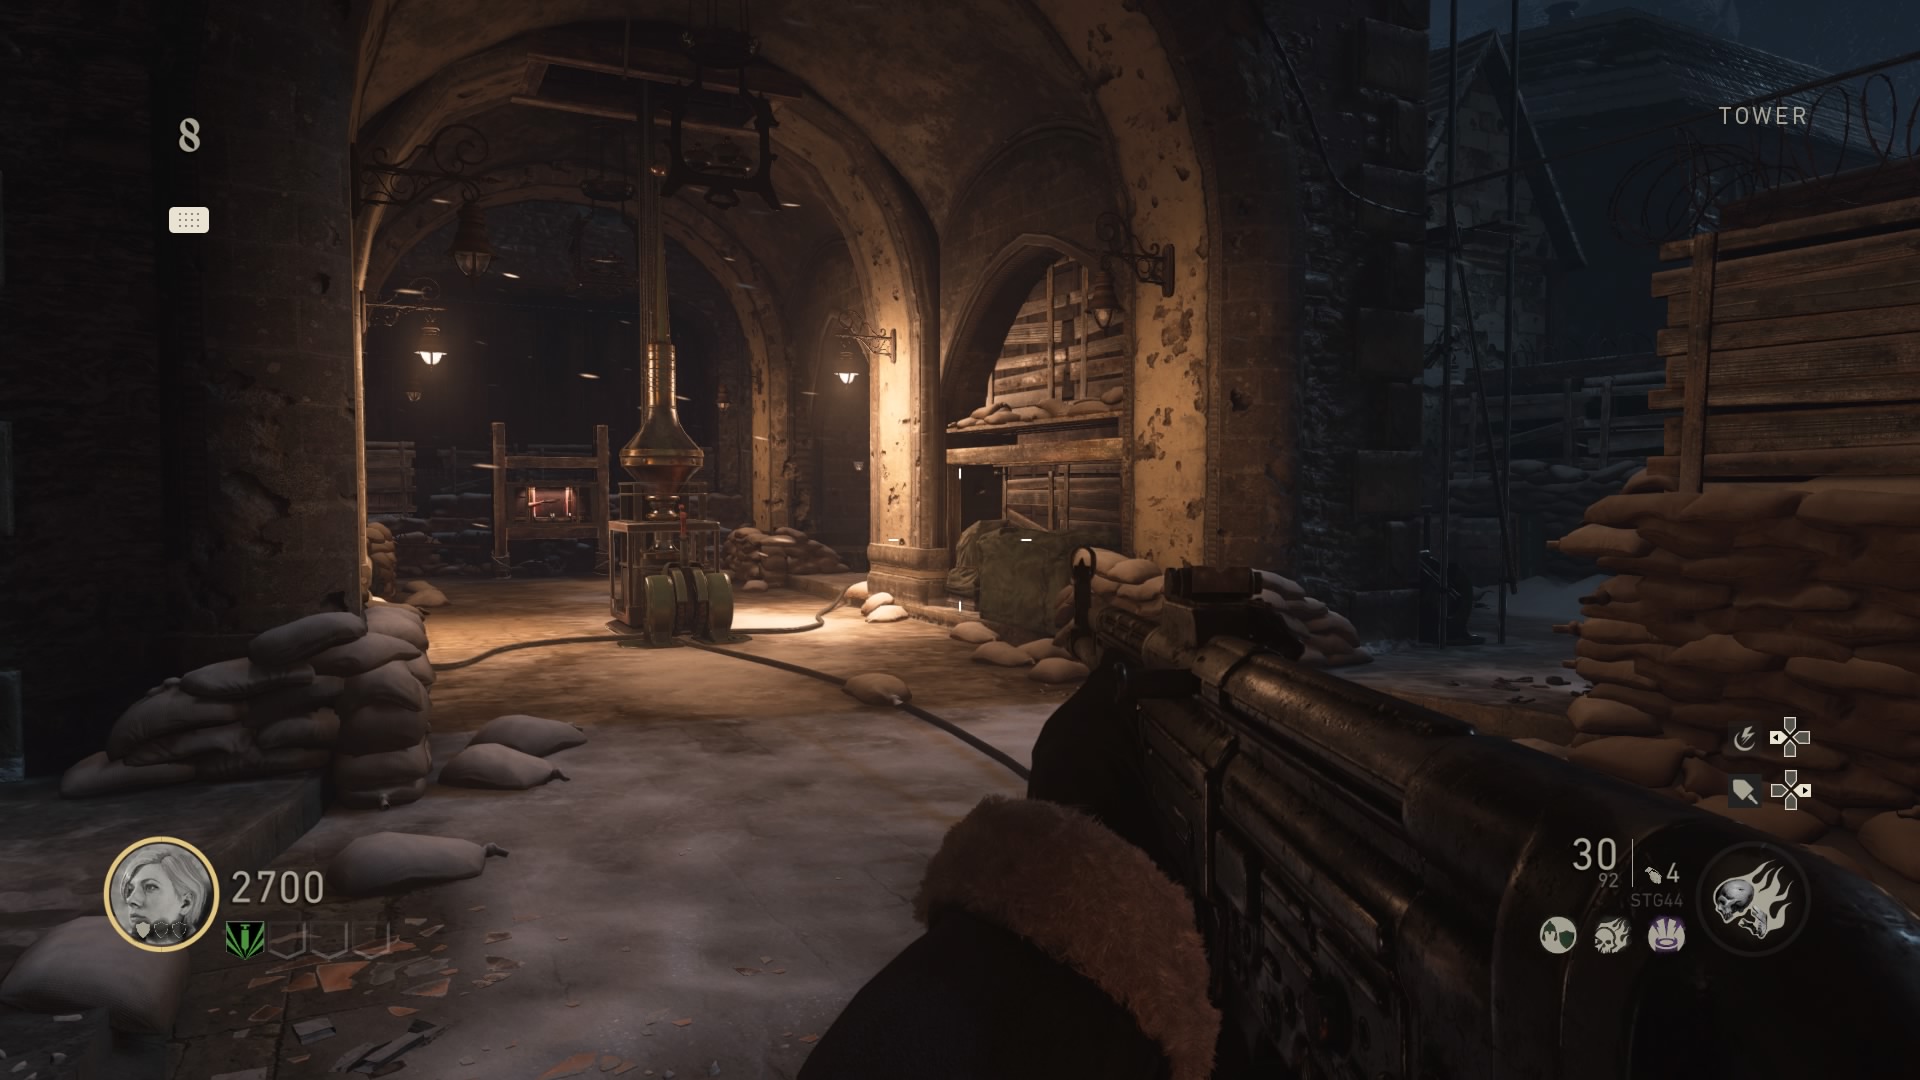
Once the power is activated, you’ll be able to access the Salt Mines. Collect enough points and travel down into the Salt Mines, then unlock the door to the Emperor’s Chamber.
Inside, you’ll see a massive statue and a strange device with a hilt directly in front of the statue. Interact with the hilt, then kill zombies to collect souls — zombies killed in the Emperor’s Chamber will charge the hilt, causing it to levitate up and into the Command room above the Emperor’s Chamber.
- NOTE: You’ll know when you’ve collected enough souls — the room will flood with orange-red light.
Step #2: Escort the Transfer Device
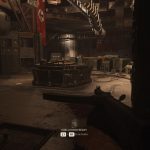
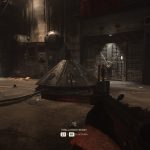
Backtrack to the Command room and turn the crank attached to the strange metal device in the center of the room. This is the “canopy” — you’ll need to stand still and slowly crank for several seconds, so clear the zombies or get friends to help you stay alive.
Now that the transfer device is in the Command room, reach the upper deck control room area and hit the big red button. The transfer device will begin moving on a rail through the side-doors attached to the Control room — follow the transfer device along the rails.
Periodically, the transfer device will stop. Stand in the red zone underneath the device and kill zombies to charge it. Zombie souls will fly into the device, and it will continue on its path. Only zombies inside the red circle will charge the device.

Step #3: Complete the Tesla Gun
The transfer device will eventually reach a generator and stop. When it does, wait about 15-20 seconds until it produces a piece of the Tesla Gun. Collect the weapon piece and the device will move along the tracks to the opposite room / generator to produce a second Tesla Gun part.
After getting two pieces, the trasnfer device will move on the rails back to the Command room. Continue to escort it — once you reach Command, a Burner boss zombie will spawn in the control room.
- NOTE: Watch where you kill the Burner zombie. You’ll need to collect the Burner’s head for a later step in the Easter egg quest.
Defeat the Burner zombie (shoot the gas tanks on its back, then the body) and then go upstairs to the control room. Activate the machine where the transfer device has stopped to begin crafting the Tesla Gun. After 15-20 seconds, the Tesla Gun will be complete. Collect the Tesla Gun and keep it for later steps in the Easter egg.
Step #4: Reroute the Power
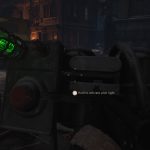
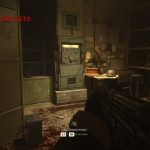
Now that you have the Tesla Gun, go down to the Emperor’s Chamber and examine the “Right Hand of God” — that’s on the right, naturally. Interact with the strange device to the left as you enter. It won’t work, so return to the control room in Command and look at a panel on the wall opposite the Tesla Gun Forge.
- Power Puzzle Solution:
- The wall panel shows 4 numbers, with a different color under each number. The numbers are 1, 2, 3, 4 — with a corresponding color for each — red, blue, or green.
- Take note or screenshot the wall panel.
- Each number refers to a power station on the map. Interact with each power station to match the corresponding color.
- Example: Power Station #1 = Red, Power Station #2 = Red, Power Station #3 = Green, Power Station #4 = Blue.
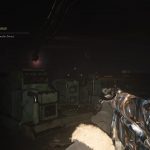
- The power stations are labeled “Rot (Red), Grun (Green), and Blau (Blue)” — turn the switch on each power station to match the first panel.
- The wall panel shows 4 numbers, with a different color under each number. The numbers are 1, 2, 3, 4 — with a corresponding color for each — red, blue, or green.
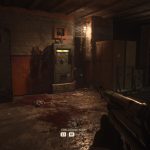
There are four Power Stations you’ll have to change to reroute power.
- Power Station 01: Located just to the right of the colors panel, on the wall opposite the Tesla Gun Forge.
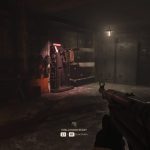
- Power Station 02: In the Sewers, near the Morgue path.
- Power Station 03: Also past the Sewers Upgrade Station, at the Riverside tunnel.
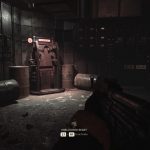
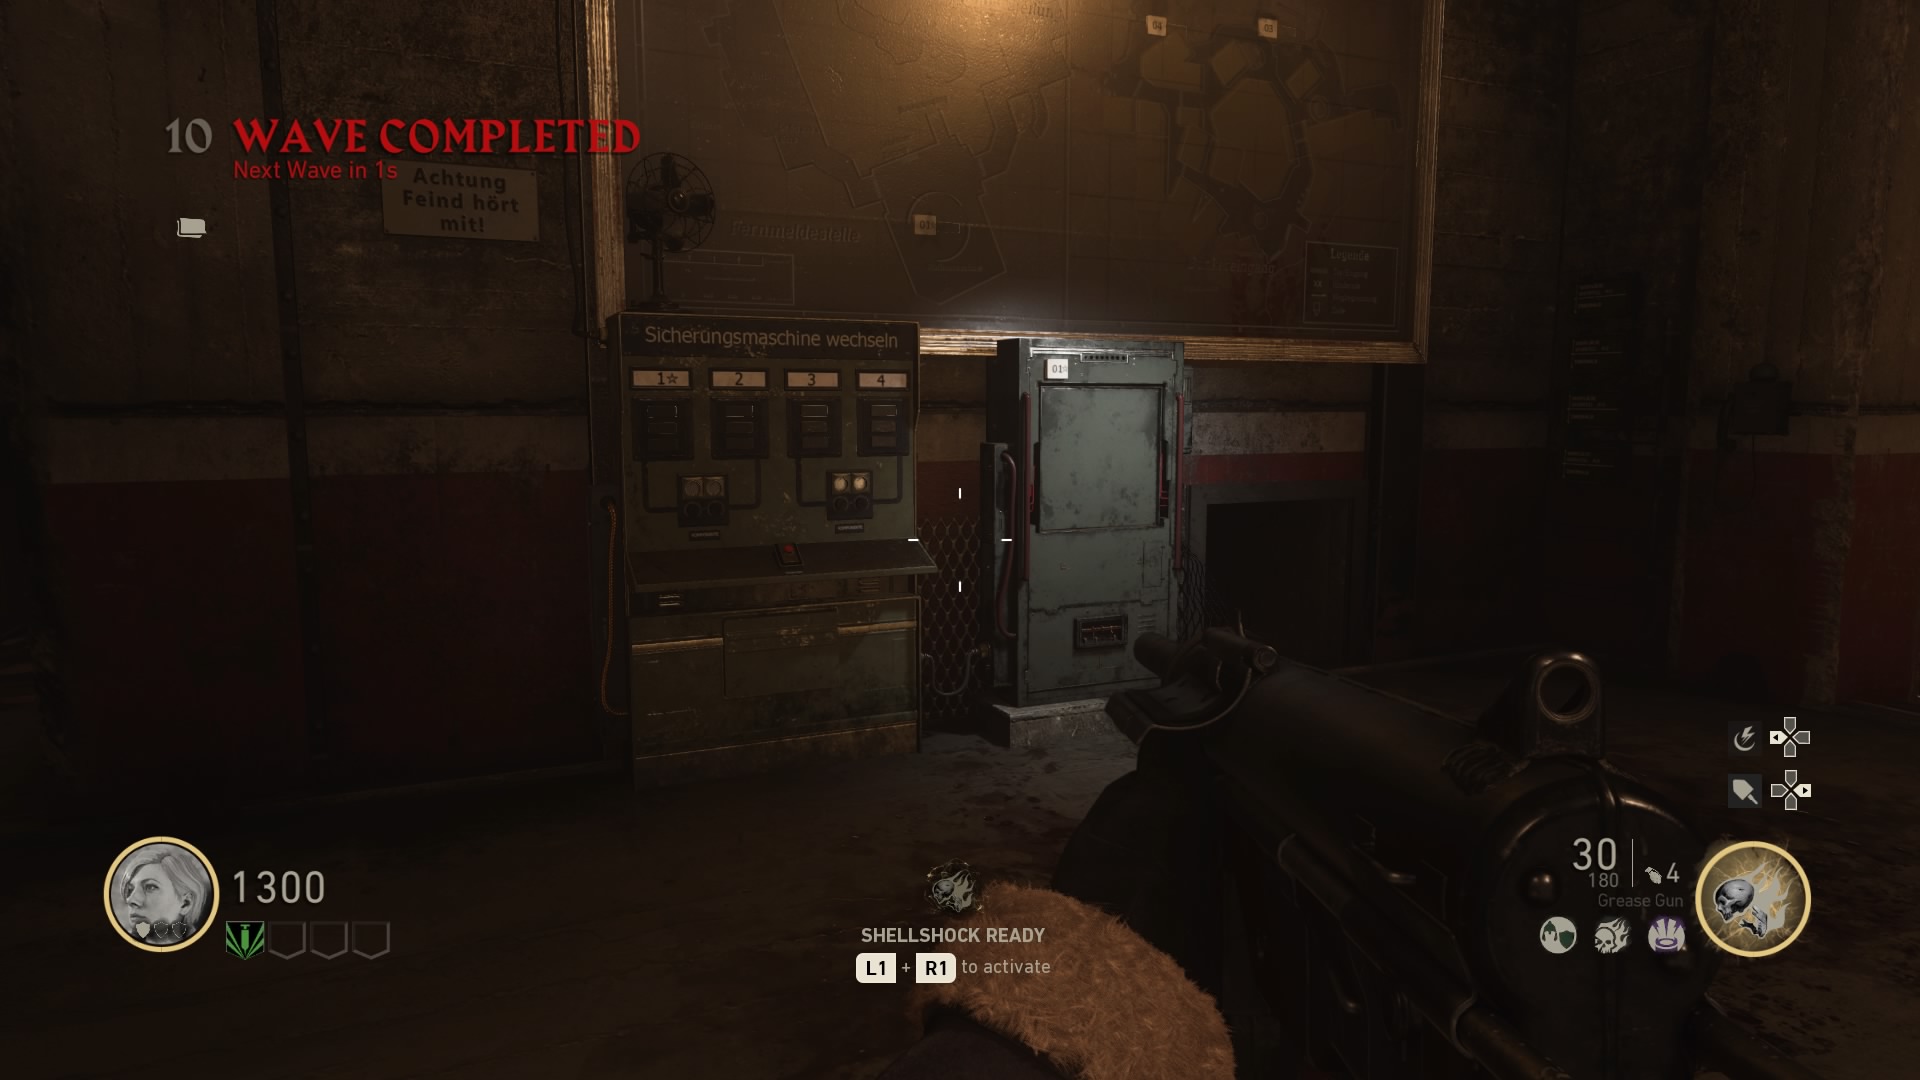
- Power Station 04: In the Pub area, near the Tower gate.
If you’re too slow, the rerouting will reset. Return to the colored power grid panel and interact again to restart. With the power fully re-routed, you’ll next need to activate and defend the Lightning Rod.
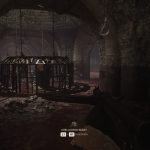
Step #5: Summon the Storm
The Lightning Rod is located at the base of the Tower. Interact with the lever to initiate a new round, and swarms of zombies will attempt to destroy the lever. Defend it — gear up with perks to handle lots of enemies in a tight environment. There isn’t much room to run around here.
- Activate and defend the central rod for 1-2 minutes.
- Activate and defend the front left / right rods for 1-2 minutes.
You’ll also need to defend the second set of rod levers. This one is tough to do solo, but it is possible. When the step is complete, you’ll hear a quote. Backtrack down to the Emperor’s Chamber and examine the “Left Hand of God” — this time, interact with the left hand as you enter the chamber.
Step #6: Charge Three Zeppelin Generators
After interacting with the hand, return to the surface and you’ll see a massive Nazi Zepellin in the sky. It’ll shoot down at you, and you need to shoot back. Target a glowing red spot on the Zeppelin — make sure you and your team are shooting at the same spot.
Damage the spot enough and the Zeppelin will drop a generator. You’ll see it fall into the map. Go to the generator crash site and kill zombies to charge the generator with souls. After about 30 zombie souls fly into the generator, it will explode and leave behind a battery.
- NOTE: While carrying the battery, you’ll move slower and won’t be able to fire a weapon.
Collect the battery and sprint down to the Emperor’s Chamber. Place the battery in the right hand.
Return to the surface and you’ll see that the Zeppelin is back. If the Zeppelin hasn’t returned yet, continue to kill zombies and survive until it does. Shoot another red glowing spot on the Zeppelin until a second generator drops. Charge it, collect it, and place the second battery in the left hand of the Emperor’s Chamber.
For the third and final part of this step, shoot down one more generator. Unfortunately, it’ll fly back to the Zeppelin — like before, wait for the Zeppelin to return, then shoot the red light until it falls. After tricking you once, the generator will stay on the ground. Charge the generator, collect the battery, and place it in the Emperor’s Chamber.
Step #7: Activate “The Voice Of God”
Follow the steps and interact with the hands in the Emperor’s Chamber. They’ll begin sparking, and you’ll get a very vague objective — to activate the Voice of God. Whatever that means.
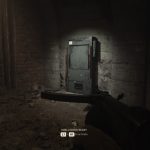
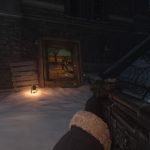
Return to Command and pick-up the Burner zombie’s head from the previous step. The head is like a weapon — aim to activate the head. When you “aim-down-sights” the Burner head at particular paintings, secret writing will appear. Go around the map and use the Burner zombie head on the following painting locations.
- Painting #1: Pub – On the wall next to the bar. It’s a landscape.
- Painting #2: Sewers – Near the Pack-A-Punch Weapon Upgrade Machine. A picture of two older folks.
- Painting #3: Mortuary – In the dark area.
- Painting #4: Courtyard – Near the steps.
When you shine the purple light from the Burner head, take note of an Eagle symbol and a Roman Numeral. Each painting will have a number (1-5) and an Eagle (Facing North, South, East, West) — remember each number, and each direction.
Return to the Emperor’s Chamber and match each eagle symbol on the center hand device with a number. The central hand has all four eagle symbols — interact with each until you hit the number matching each symbol seen on the paintings.
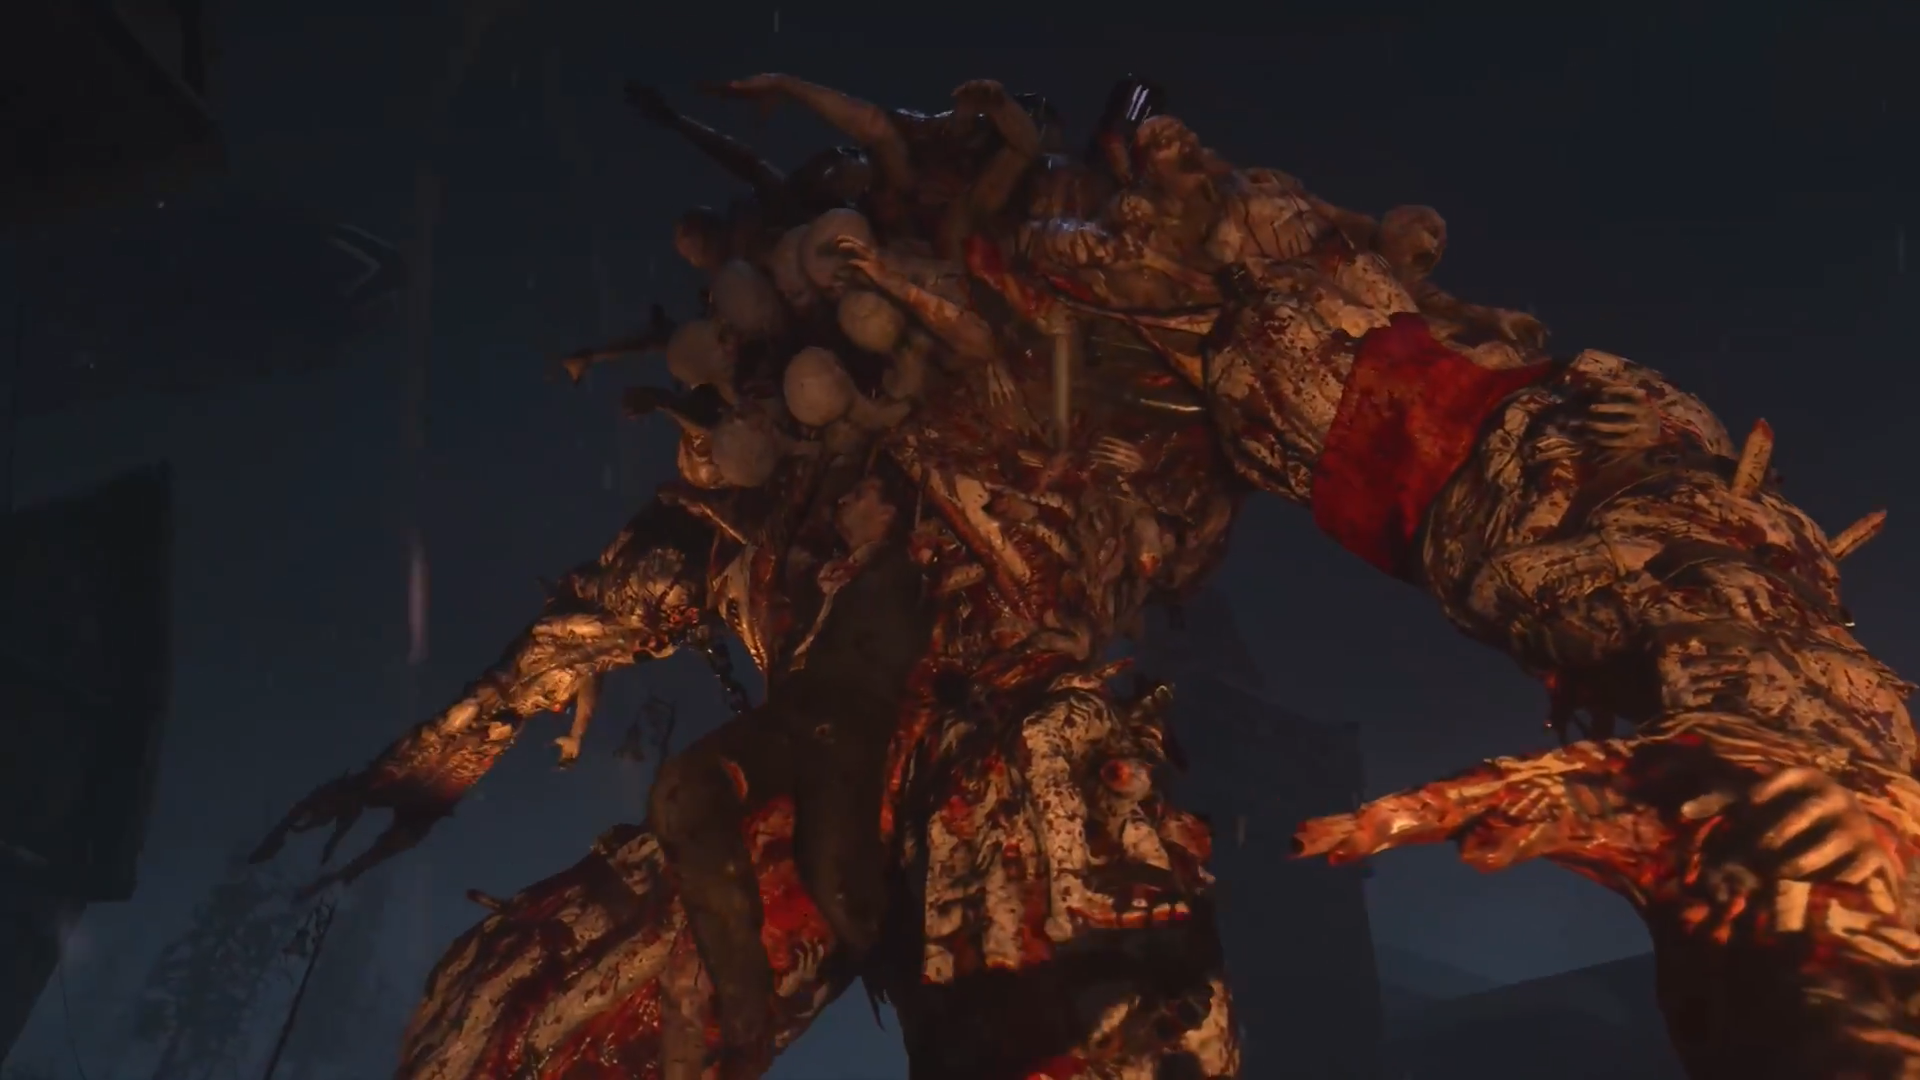
Step #8: Defeat the Final Boss
This is the last step before the final boss against the giant Panzermorder monstrosity. To activate the boss, everyone in your team will need to shoot the hilt in the Emperor’s Chamber with the Tesla Gun at the same time.
Collect the hilt from the pedestal, and the Panzermorder will appear. The Panzermorder is extremely powerful, and can kill you or your allies almost instantly. Don’t get close to him, and just keep running around the surface. You can’t kill it just by shooting it, you’ll need to figure out an alternate way of defeating him.
- How to Beat the Panzermorder:
- Phase 1:
- Shoot the red lights on the Zeppelin until a generator falls to the ground.
- Kill zombies within the red zone to charge the generator until a battery spawns.
- Shoot the Panzermorder until it is stunned.
- While stunned, pickup the battery and quickly interact with the Panzermorder.
- Phase 2:
- The Panzermorder will leave. Kill zombies and survive until the Zeppelin returns.
- Shoot the Zeppelin until a second generator falls down. Once again, charge it.
- Stun the Panzermorder and place the battery on it again.
- Phase 3:
- Rinse and repeat. Survive until the Zeppelin returns, then shoot down a generator.
- Like the last time you had to shoot down generators, the third generator will fly back and return to the Zeppelin. Shoot down another generator and it will stay on the ground.
- Charge the generator, stun the Panzermorder, and place the battery a final time.
- Phase 1:
And that’s it! You’ll unlock the final cutscene, defeat the Panzermorder, and unlock the “Fireworks” achievement / trophy for solving the first Easter egg quest on this map. If you’re eager to just see the final cutscene, check out the embedded video below.
[Watch the full ending cutscene here, recorded by Youtuber MrDalekJD.]
Find More Call of Duty: WW2 Guides On Gameranx: