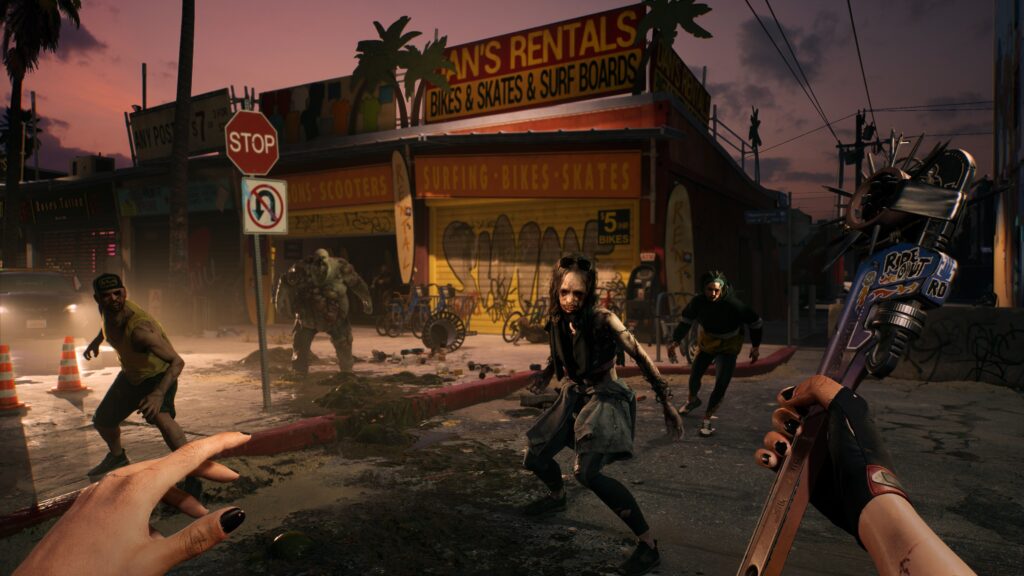
Lost & Found are the trickiest quests in Dead Island 2. Instead of walking you through every step, you’ll have to track down your own clues and follow the breadcrumbs. Lost & Found quests aren’t just the most confounding quests in the game, they’re also the hardest to find. To begin a Lost & Found, often you’ll have to fully explore the large hub maps in search for key collectibles — certain collectibles will put you on-track to search for lost rewards. They’re all worth doing, so here’s a rundown to help you find them all.
Don’t miss out on our guides to find all 8 Legendary Weapons, or if you’re just starting the story, don’t miss these 5 best starting weapons.
How To Begin All Lost & Found Quests
Lost & Found quests are a special side-quest that you have to find yourself. Instead of talking to an NPC, you’ll have to find a key item. These quests are often open-ended, requiring you to read documents to learn where to go next. These are the trickiest quests in the game to complete — and some of the trickiest quests to find.
Bel-Air
My Mailman Was A Zombie: Only available after completing the main story and the #Clickbait side-quest. Travel to the road marked Alpine Drive in the center of the map, between the GOAT Pen and Curtis’s mansion. On the road, there’s an abandoned mail truck. Look for a document on the ground near the gore.
Beverly Hills
The Clean And The Snatch: After defending the safe house in the center of Beverly Hills, check the partially empty pool. There’s a crate with a key item document. Collect it to begin this quest. You’ll need to find phones near different pools in Beverly Hills and Bel-Air.
Venice Beach
Jo’s Rainy Day Stash: There are two Surf Rental shops on Venice Beach, each one is marked on the map. Enter the north-most shop. Break the security device and break the window to get inside. Collect the key item from the back-left counter.
Redacted: Travel to the large military base in Venice Beach. From the main beach entrance, go left until you reach a barracks with the door closed. Open the door and kill the unique soldier zombie inside. He’ll drop a key item. Collect it to begin the quest.
Ocean Avenue
Drunk & Disorderly: After finishing the game, return to the Lotusville Mall safe house. From the safe house, drop down to the bottom floor and check the public bathrooms. A phone is on the ground by an eaten corpse. Collect it to begin the quest.
Missing: Laura: Only available after finishing the game. Return to the Lotusville Mall and take one of the missing photos from the wall. There are many more end-game quests you can take off this wall. Complete them all in order. Each quest appears in order after finishing the previous in the sequence.
- Missing: Davis
- Missing: Jamal
- Missing: Pablo
- Missing: Greg
- Missing: Shane
- Missing: Nadia
- Missing: Rainier
- Missing: Steve
Santa Monica
Fool’s Gold: After finishing the game, travel to Santa Monica Pier and exit the safe house. Outside, you’ll encounter a unique Crusher Zombie called Dante. Kill it to begin this quest.

 Star Trek Resurgence Arrives Next Month