
Table of Contents[Hide][Show]
- How To Complete The You Are Not Authorized Side Mission In Dead Space Remake
- Side Mission Start: Access the Bridge Security Terminal in the Captain’s Nest
- Hangar Overseer Voelkner’s RIG
- First Officer White’s RIG
- Lt. Commander Holt’s RIG
- Mining Supervisor Dallas’ RIG
- Chief Engineering Rosseau’s RIG
- Comms Officer Bailey’s RIG
- Tram Supervisor Benson’s RIG
- Create The Master Override
Dead Space Remake introduces new Side Missions that you can take part in as you attempt to survive the horrors of the USG Ishimura. These Side Missions delve into the backstory of the Necromorph outbreak and the eventual fall of the mining vessel. Each one also comes with an Achievement for completing them. One of these Side Missions is known as You Are Not Authorized and rewards you will a special Security Clearance that allows you open certain locked locations and crates. This guide will provide players with a walkthrough on how to complete the You Are Not Authorized Side Mission in Dead Space Remake.
How To Complete The You Are Not Authorized Side Mission In Dead Space Remake
The You Are Not Authorized Side Mission sees Isaac tracking down RIGs of important members of the crew in order to create the Master Override. Along the way, you will also find some logs detailing the stories of the crew members, but these are not necessary to complete the mission. It is important to note that this mission can be started at any point in the game before the Point of No Return at the end of Chapter 11: Alternate Solution.
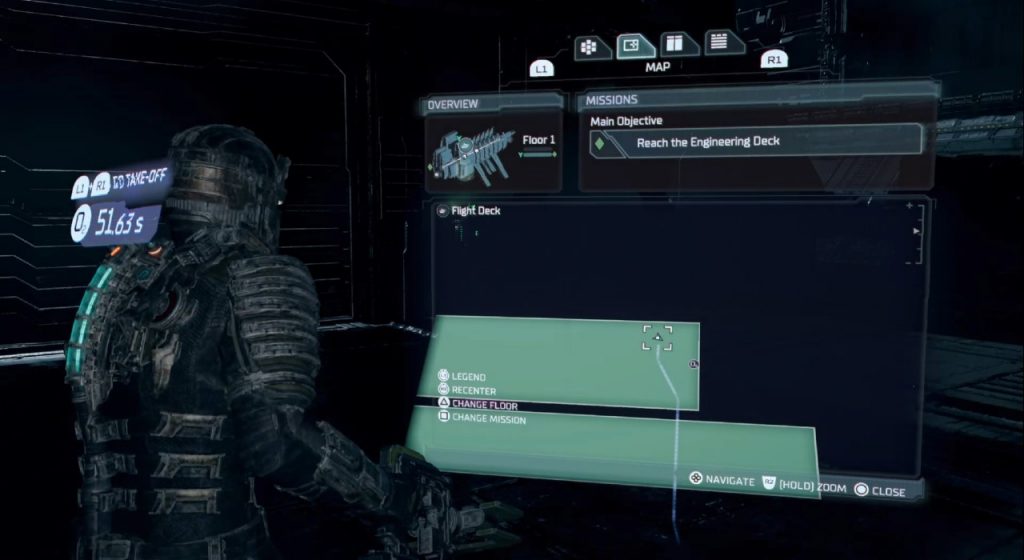
Side Mission Start: Access the Bridge Security Terminal in the Captain’s Nest
To begin this Side Mission, you will need to make your way to Chapter 4: Obliteration Imminent and meet with Hammond in the Captain’s Nest. You will need to interact with the Security Terminal to the right of Hammond to start the Side Mission. You will need to find 7 RIGs all across the Ishimura and then return to this Terminal to create the Master Override. Below is a full breakdown of where to find each one of these RIGs.
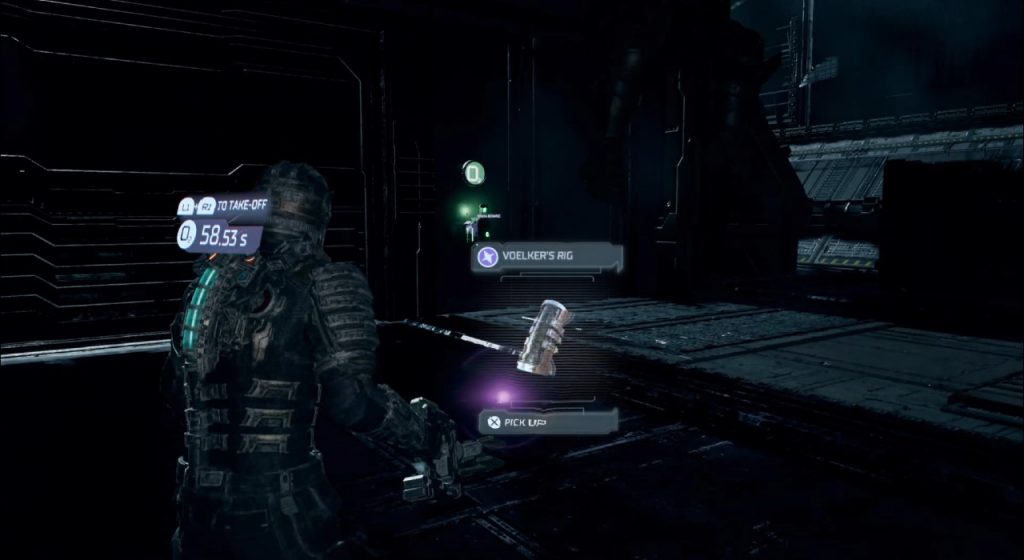
Hangar Overseer Voelkner’s RIG
This is actually a RIG you can get before officially starting the Side Mission as it is first available in Chapter 3: Course Correction. At the start of the mission, Hammond opens up the Landing Bay doors so that you can float over to the Engineering wing of the ship. When you enter the vacuum of space, instead of going to the right towards Engineering, go to the left to find this RIG next to Voewlkner’s body and an O2 station.
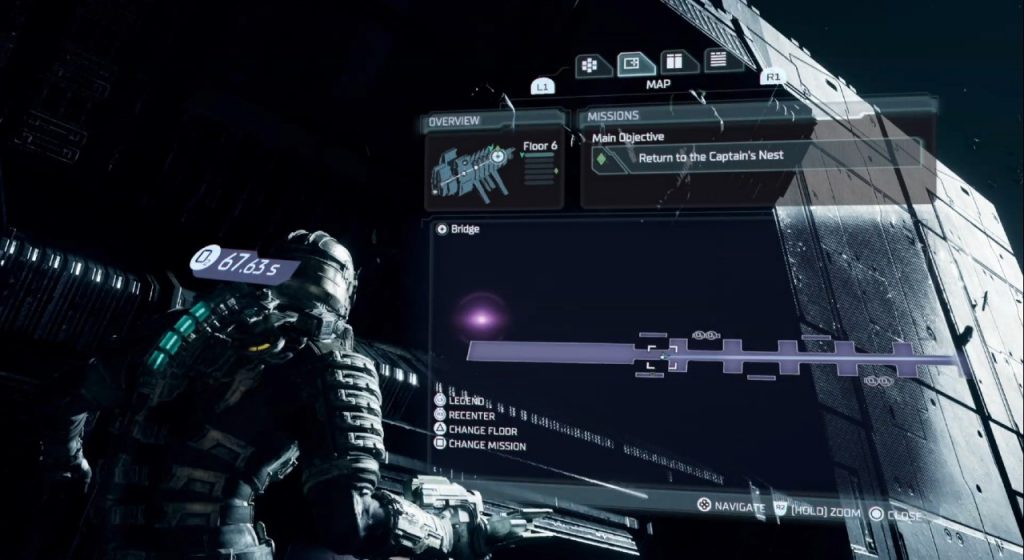
First Officer White’s RIG
When you head to the Bridge of the Ishimura in Chapter 4, you can find the RIG of First Officer White out in the ADS Cannon Trench after rerouting energy to the guns and taking a spacewalk to recalibrate them. Just past the third ADS Cannon on the left side of the trench is where you will find the RIG.
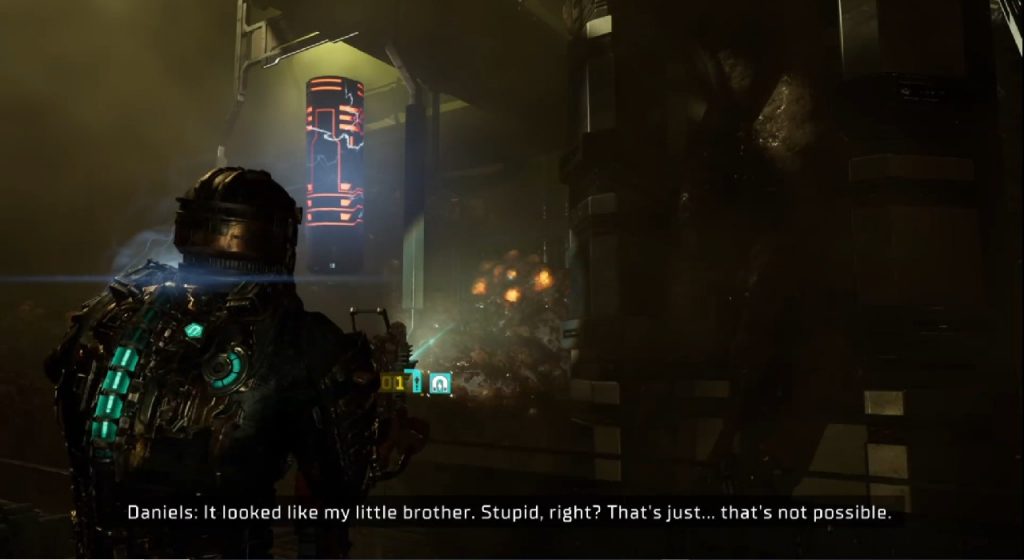
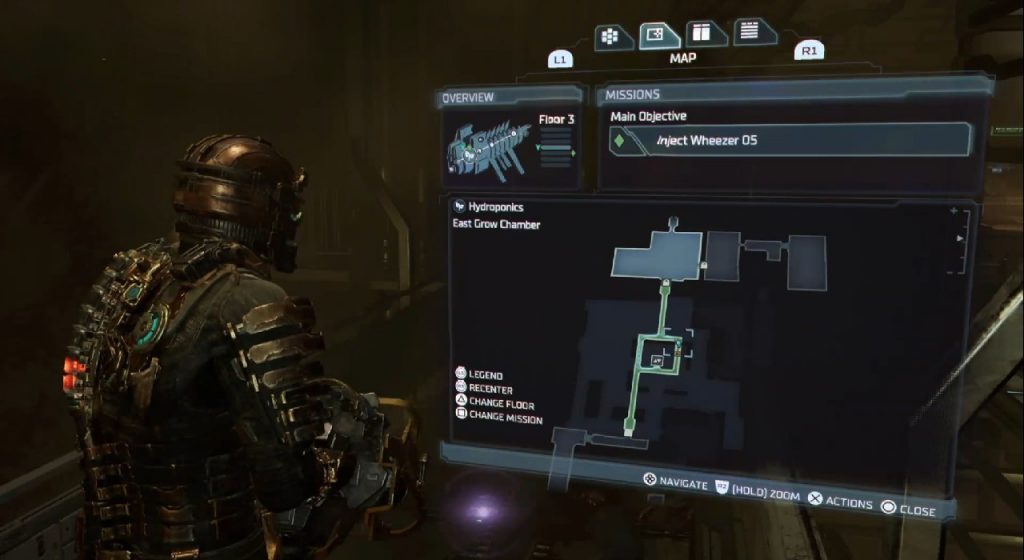
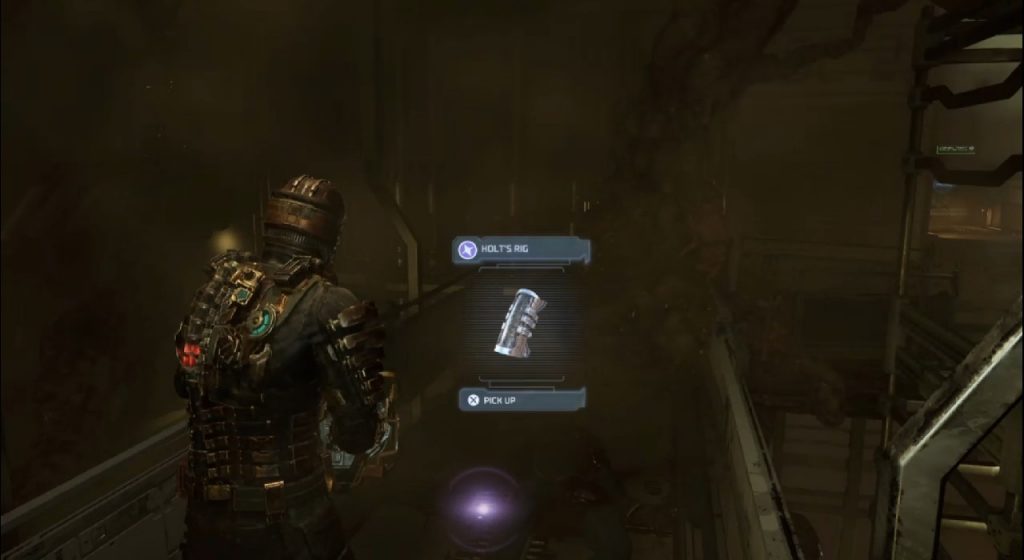
Lt. Commander Holt’s RIG
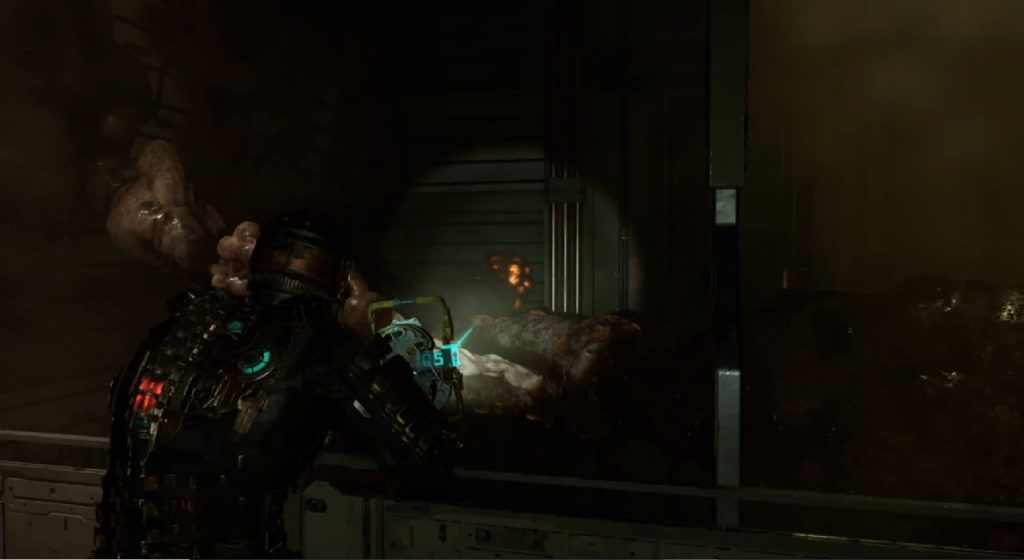
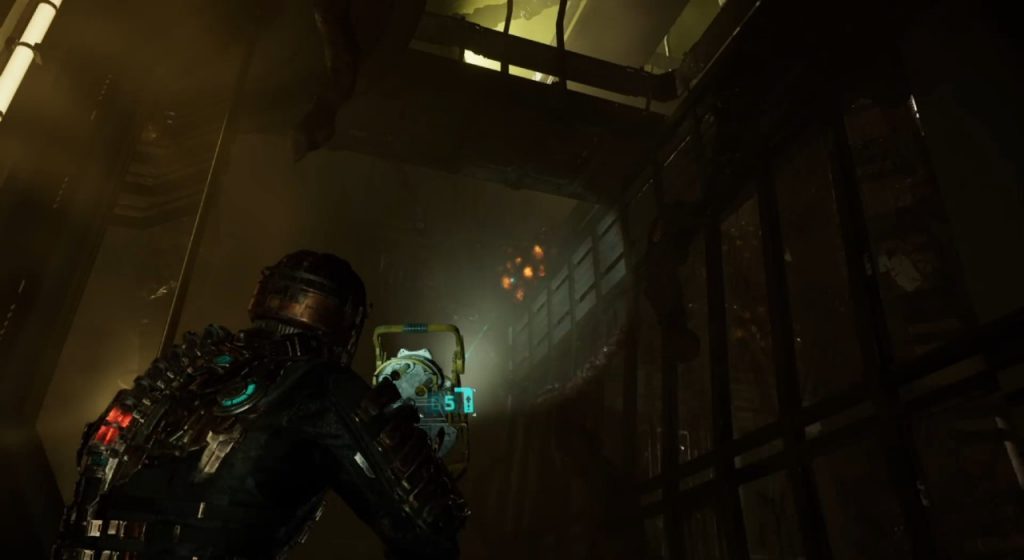
Holt can be found in Hydroponics, which is unlocked during Chapter 6: Environmental Hazard. Progress through the area until you reach the East Grow Chamber on your way to inject the fifth Wheezer in the zone. On the second floor of the platform at the center of the room is a large mass of necromorph tissue that you will need to destroy by shooting four glowing sacs found around the room.
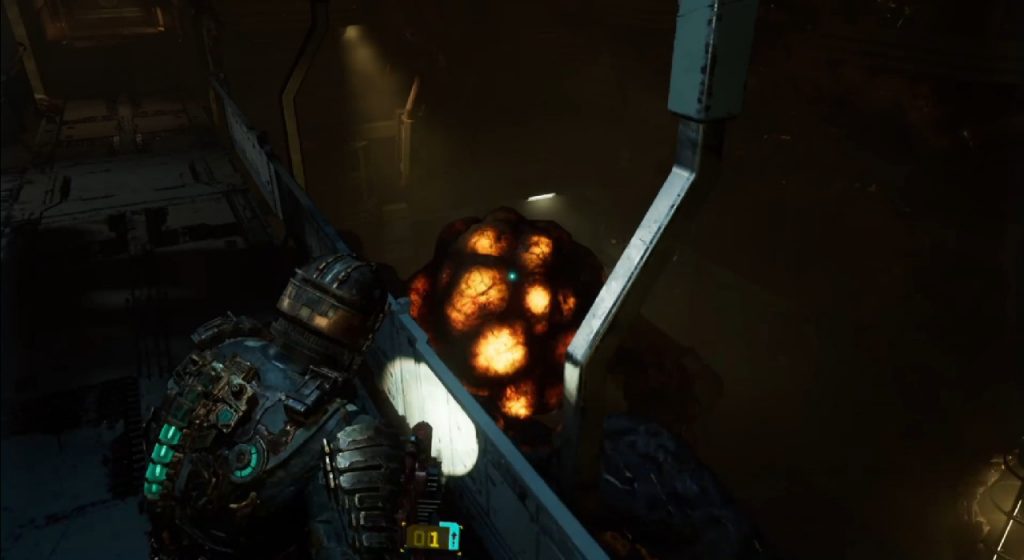
Once all four are destroyed, head back to the area where the tissue used to be to find the RIG of Holt now accessible.
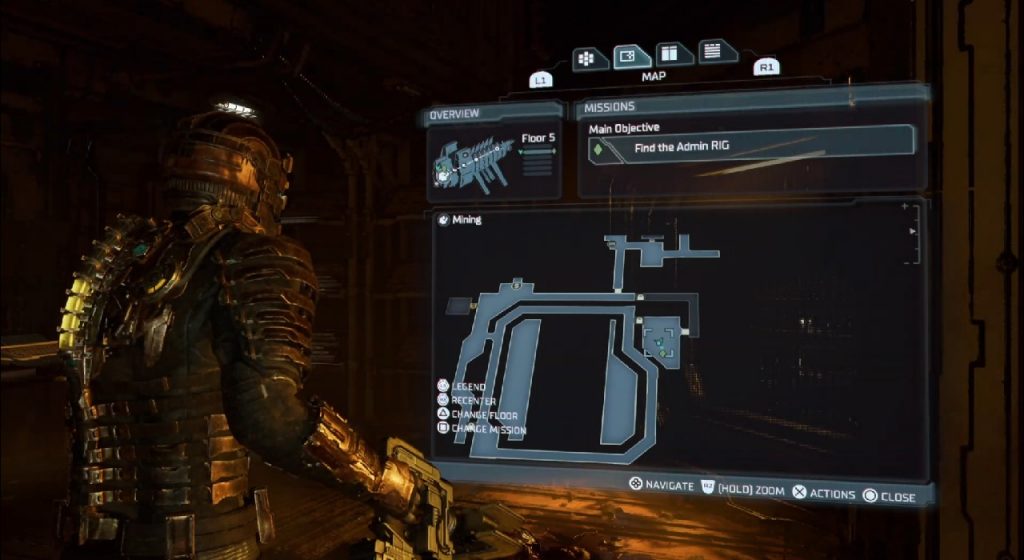
Mining Supervisor Dallas’ RIG
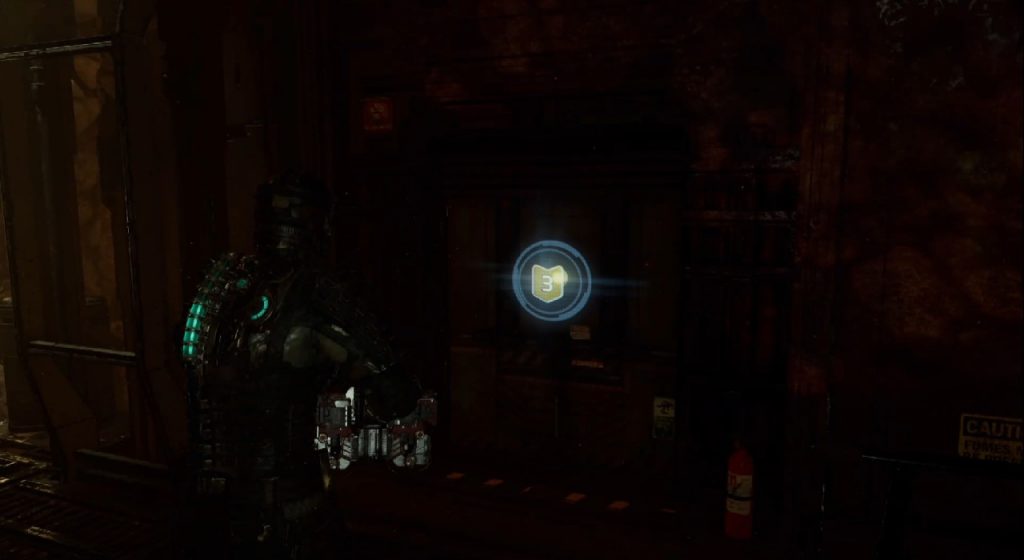
This is actually an unmissable RIG as it is needed for the main story as you will need the Mining Admin’s RIG to reach Security Level 3. Make your way to Chapter 7: Into the Void and follow the main objective until you find this RIG next to Dallas’ body.

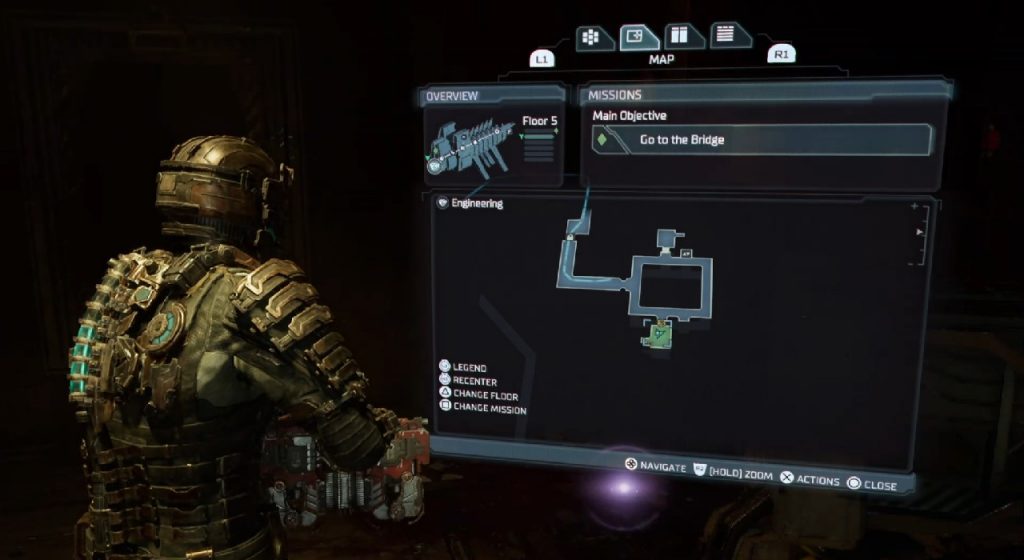
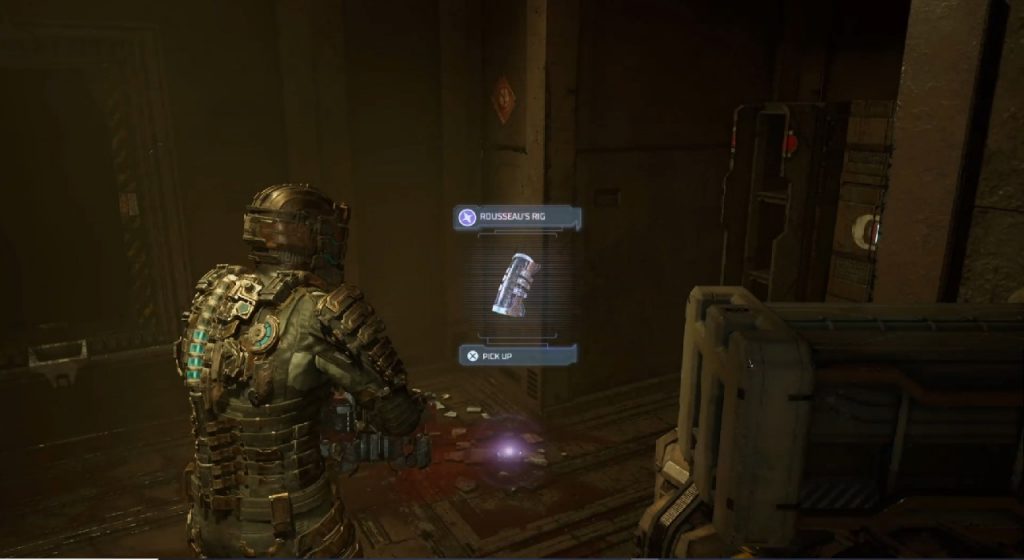
Chief Engineering Rosseau’s RIG
Now that you have Dallas’ RIG and Level 3 Security Clearance, return to Engineering and make your way back to Fuel Storage near where you would have initially found the Flamethrower in Chapter 3. There is a locked door in Fuel Storage that you couldn’t access before since it requires Level 3 Clearance. Return here to find Chief Engineering Rosseau’s RIG on the ground.
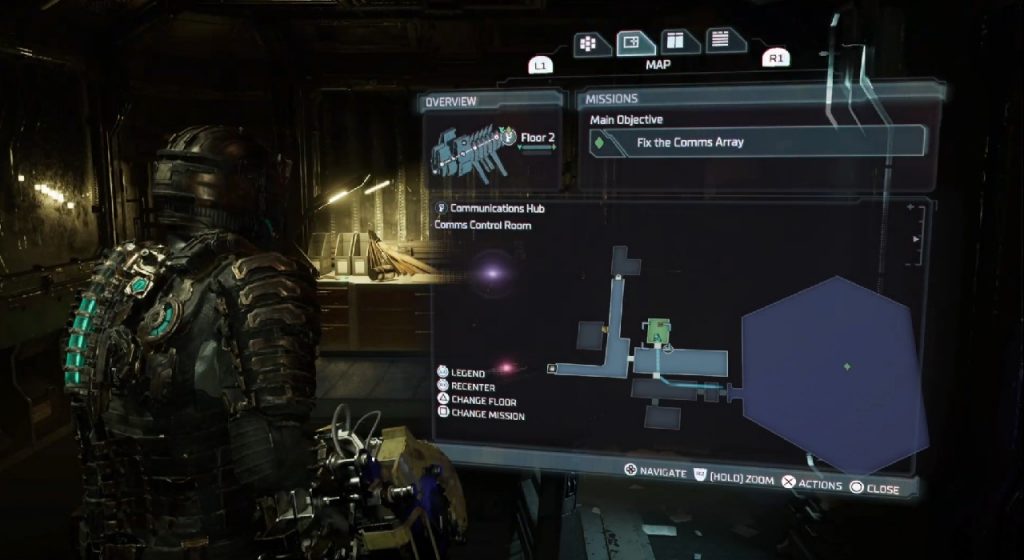
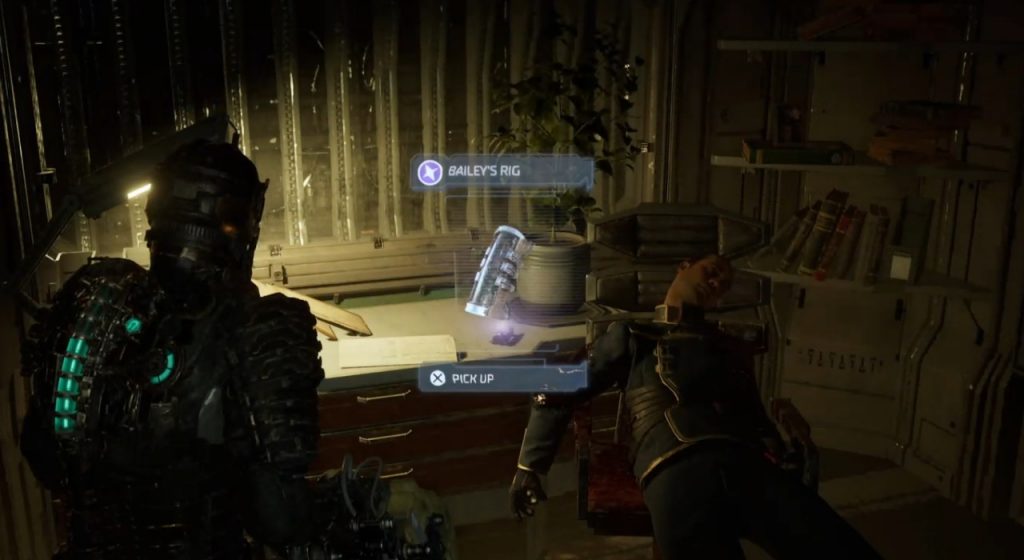
Comms Officer Bailey’s RIG
You can find Bailey’s RIG when you gain access to the Communications area of the ship on the Bridge in Chapter 8: Search and Rescue. When you enter the Comms Control Room, enter the door on the left. This is Bailey’s office which is where you will find both his body and RIG.
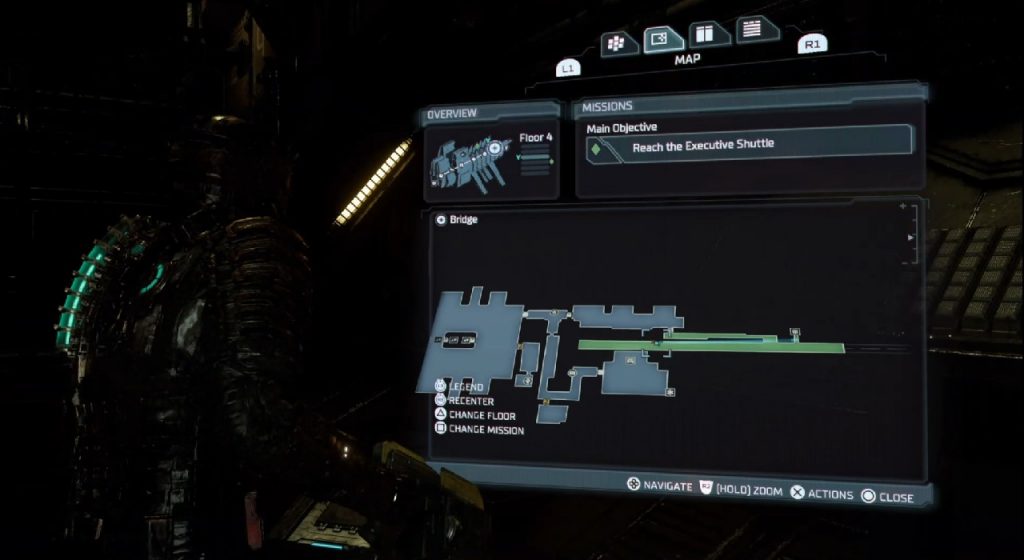
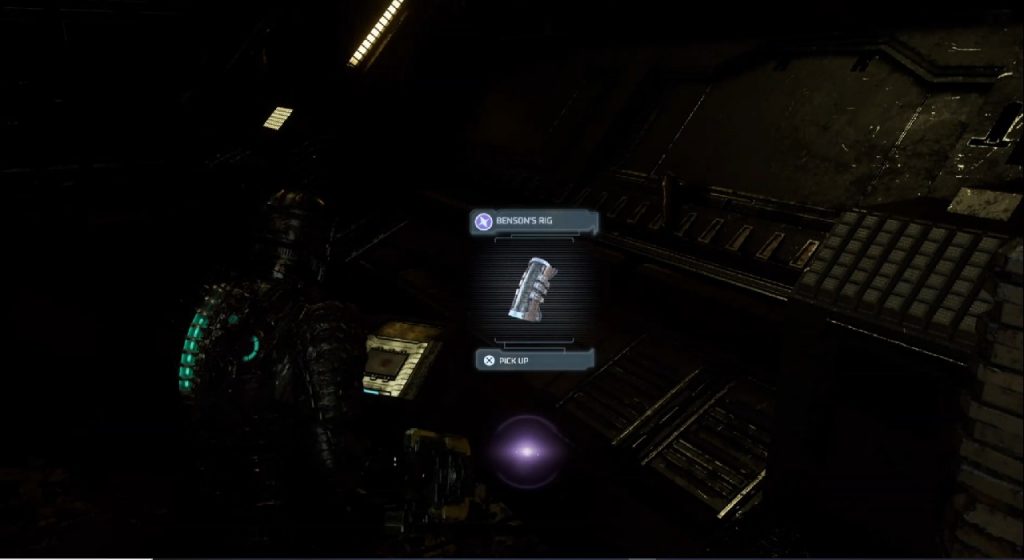
Tram Supervisor Benson’s RIG
You will gain access to the Bridge’s Tram Tunnel in Chapter 10: End of Days. When you go down the ramp after you enter the tunnel, go to the left once you are at the bottom and go down the path while keeping an eye on the right. You will find Benson’s RIG on the ground.
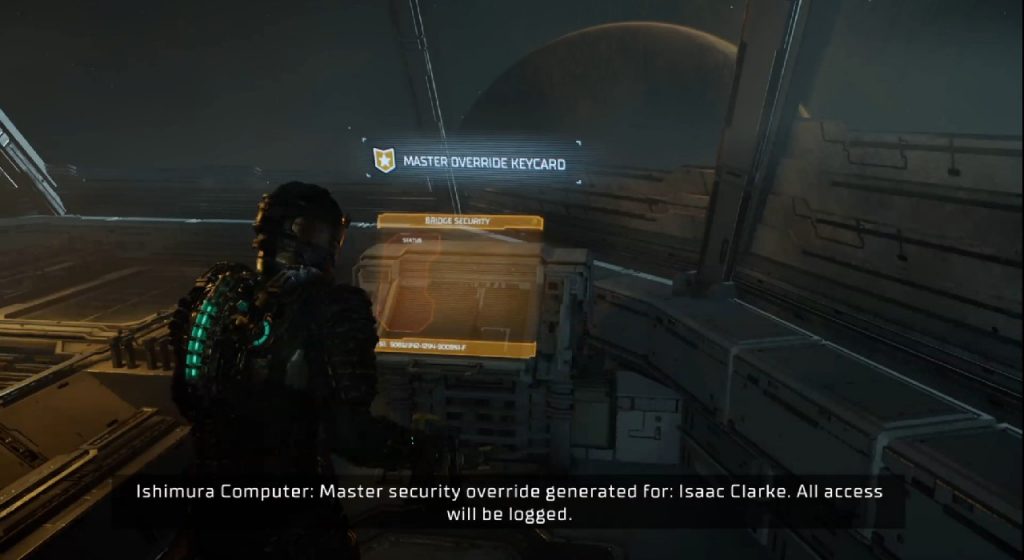
Create The Master Override
With all the RIGs acquired, return to the Security Terminal where you began the Side Mission and interact with it find complete the quest, get the Master Override, and unlock the Full Clearance Achievement. With the Master Override, you can now go back and open the doors and chests that required the item to open, which will provide you with ammo, collectibles, and upgrades for you to use.
Stay tuned to Gameranx for guides, tips, and tricks on the achievements and trophies for the Dead Space Remake.
More Dead Space Remake Guides:
Dead Space Remake: Full Achievement and Trophy List | Dead Space Remake: How to Fast Travel | Dead Space Remake: Is There a Photo Mode? | Dead Space Remake: How To Unlock The New Secret Ending | Marker Fragment Locations Guide | Dead Space Remake: How to Unlock All RIG Suit Upgrades | Dead Space Remake: Scientific Methods Side Mission Walkthrough | Whole Again Achievement Guide | Dead Space Remake: All Weapon Locations | Full Arsenal Achievement


