
An increasingly common trait with Genshin Impact Constellations is adding versatility to characters. For many, the higher the Constellation, the more uses the character gains. Sangonomiya Kokomi represents this perfectly.
Genshin Impact: Best Kokomi Builds | How to Unlock the Sumeru Weapons in Genshin Impact | Genshin Impact: Kokomi Ascension Guide | Everything You Need to Know About Genshin Impact 3.1 | Where to Find the Tree of Dreams in Genshin Impact
Kokomi is a fantastic Healer, even at C0. But if you want to use Kokomi as a Sub-DPS or have her inflict some serious Hydro DMG, you should consider going after her Constellations. Even at C1, Kokomi gains an attack buff that helps get her over the line of Healer into DPS territory.
For the most part, if you want Kokomi to act as a Sub-DPS, you can stop at C1. C1 grants the most significant ATK bonus, with the next best on at C6.
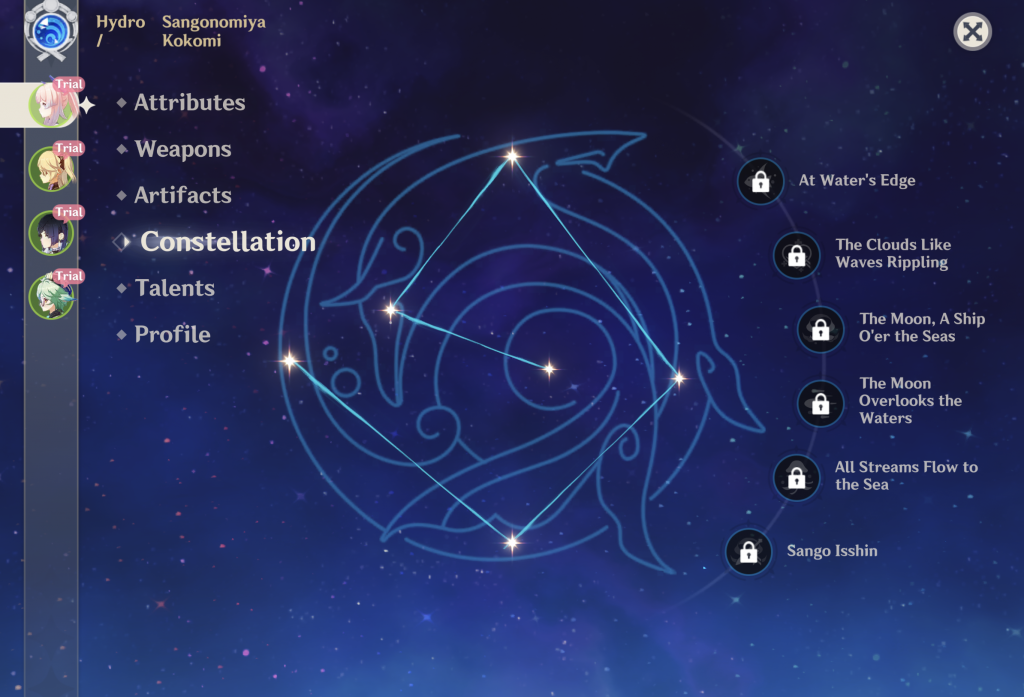
C1 – At Water’s Edge
Kokomi’s Elemental Burst, Nereid’s Ascension, grants her the Ceremonial Garment. In addition to the Ceremonial Garment buffs provided by Kokomi’s Talents, C1 provides an additional bonus. If Kokomi has the Ceremonial Garment, her final Normal Attack in the combo will create a fish that deals 30% of Kokomi’s Max HP as Hydro DMG. The fish’s damage is not considered Normal Attack DMG. Basically, don’t upgrade Kokomi’s first Combat Talent because it won’t affect the C1 fish.
Again, this is the Constellation that makes Kokomi a viable Hydro Sub-DPS. If you’re using her as a Healer, her Max HP should already be as high as you can get it. If you want the C1 fish to do more damage, maybe swap out one HP% Artifact for Hydro Bonus DMG. However, because the C1 fish scales off of Kokomi’s Max HP, there’s no additional farming or building you have to do here.
C2 – The Clouds Like Waves Rippling
C2 generally enhances Kokomi’s healing abilities through her Elemental Skill and Elemental Burst – Kurage’s Oath and Nereid’s Ascension, respectively. The bonus applies to party members or co-op players with characters at 50% HP or less.
The Bake-Kurage, created by Kurage’s Oath, heals characters at 4.5% of Kokomi’s Max HP. During Nereid’s Ascension, Kokomi’s Normal and Charged Attacks restore 0.6% HP, calculated off of Kokomi’s Max HP.
If you want big healing numbers from Kokomi, C2 is a good place to stop. This is the best Constellation for boosting Kokomi’s healing powers. And since you’ll already have C1 at this point, you pretty much have everything you need to swap Kokomi between a fantastic Healer and a great Sub-DPS.
C3 – The Moon, A Ship O’er Seas
Upon activation, C3 increases Nereid’s Ascension Talent Level by 3. Nereid Ascension’s maximum upgrade level becomes 15.
C4 – The Moon Overlooks the Waters
When Kokomi has the Ceremonial Garment, her Normal Attack SPD increases by 10%. Additionally, any Normal Attacks that hit enemies will restore 0.8 Energy for her. This can occur once every 0.2 seconds.
C4 cuts down on Kokomi’s need for Energy Recharge Artifacts. This gives you the freedom to swap out for more HP or Hydro Bonus DMG.
The Ceremonial Garment triggers the effects for C1, C4, and C6. If you get up to C4, you should prioritize upgrading Kokomi’s third Combat Talent. If you’re below C4, upgrade her second Combat Talent first.
C5 – All Streams Flow to the Sea
Upon activation, C4 increases Kurage’s Oath Talent Level by 3. Kurage’s Oath receives a maximum upgrade level of 15.
C6 – Sango Isshin
When Kokomi has the Ceremonial Garment, she gains a 40% Hydro Bonus DMG for 4 seconds when her Normal and Charged Attacks heal, or would heal, any party member with 80% or more HP.
C6 helps make Kokomi a better Sub-DPS. Generally, when there’s a Healer in your party, your characters tend to stay at Max HP. Paired with C4, Kokomi is almost guaranteed to keep your team fully healed, so using the Burst will trigger the C6 effect. At this point, you should focus on boosting Kokomi’s Hydro Bonus DMG.


