The Blight Bomb Stabilizer is your second major goal in Journey To The Savage Planet — even if you don’t already know it. When you reach the second area of the game, the Itching Fields, your primary goal is to climb the tower and solve the mystery of what’s inside. But the game doesn’t tell you how to actually progress. You’ll need to reach the Floopsnoot Queen to reach the top of the tower, and you’ll earn the Blight Bomb Stabilizer while you’re there.
Before you can begin this journey, you’ll need two separate upgrades that can only be found in the Itching Fields — the Launch Thruster and the Advanced Proton Tether. Learn how to get both in one of the guides linked below! They’re not nearly as tough to get as this Blight Bomb, but once you’ve got both unlocked, there’s an straightforward path to the third region that’s also incredibly easy to miss.
More Journey To The Savage Planet guides:
How To Complete The ‘Fixer Upper’ Quest | Alien Alloy Location | How To Get Double-Jump & Grappling Hook Upgrades | How To Get The Bombegranate Stabilizer | Cragdaw Boss Guide | How To Reach Rank 2 Field Explorer | ‘For Science!’ Guide | How To Reach Rank 3: Explorer | ‘For Science!’ Part 2 Guide | How To Get The Launch Thruster & Advanced Proton Tether Upgrades | How To Get The Shock Fruit Stabilizer | Unlocking The Tower Guide | How To Get The Stomp Booster | Final Traversal Power Guide
To get the Blight Bomb Stabilizer, you’ll need to reach the Festering Chasm in the Itching Fields region, and you’ll need two upgrades: the Launch Thruster and the Advanced Proton Tether. If you have both, you can find the special alien material.
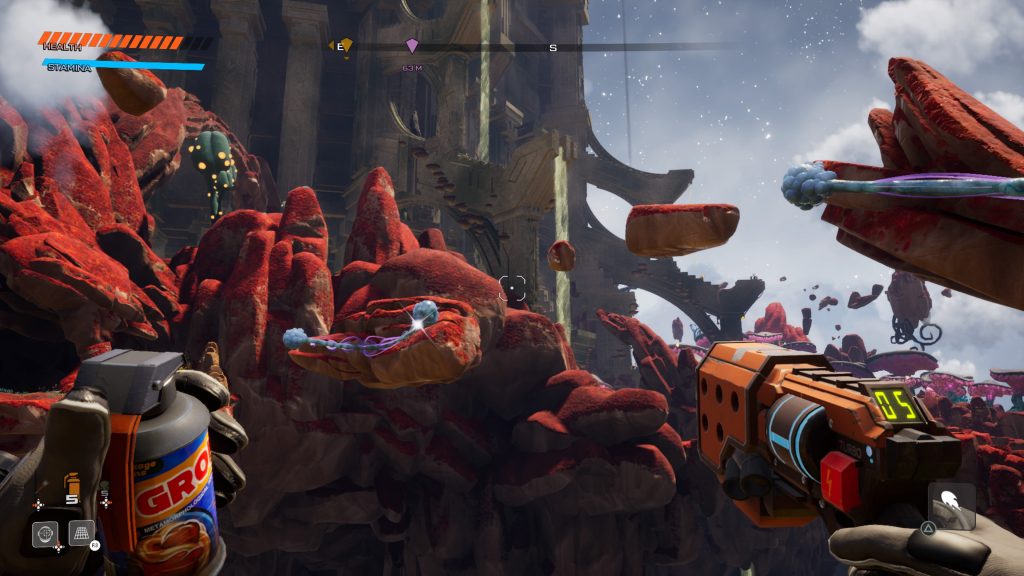
Take the ramp up from the Festering Chasm teleporter and look for an alien marker pointing out a Launch Thruster location — when you get close, the ‘Fun With Corrosives‘ will become available. At the top, you’ll find a magnetic rail. Zip up and follow the path leading directly up — you’ll zip and swing until you reach a Teleporter for the Lair of the Matriarch.
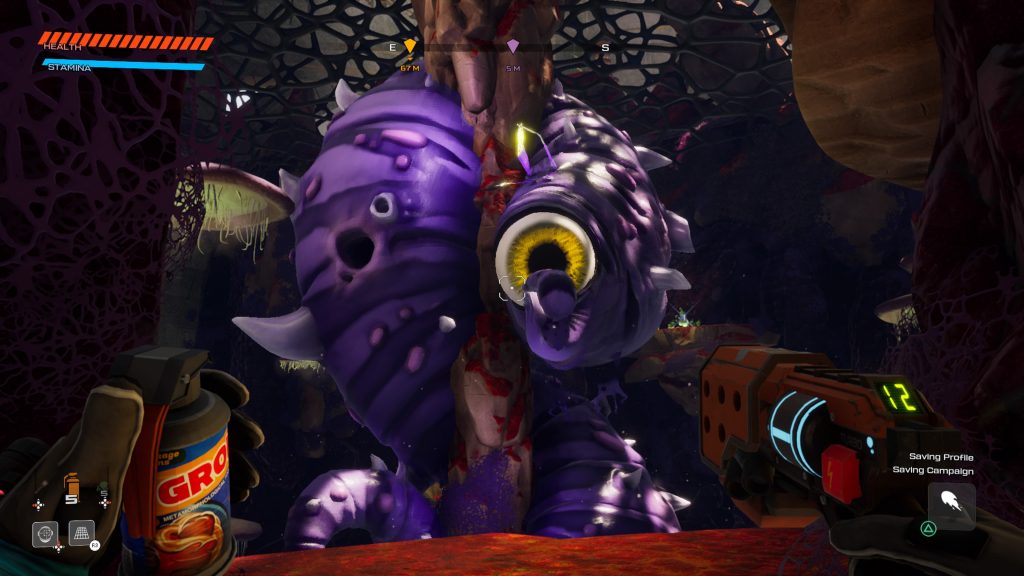
Be prepared for a fight, because you’ll encounter the Floopsnoot Queen boss inside the lair! It’s a big surprise. Just look at that monster’s face when you round the corner.
Journey To The Savage Planet_20200129010751 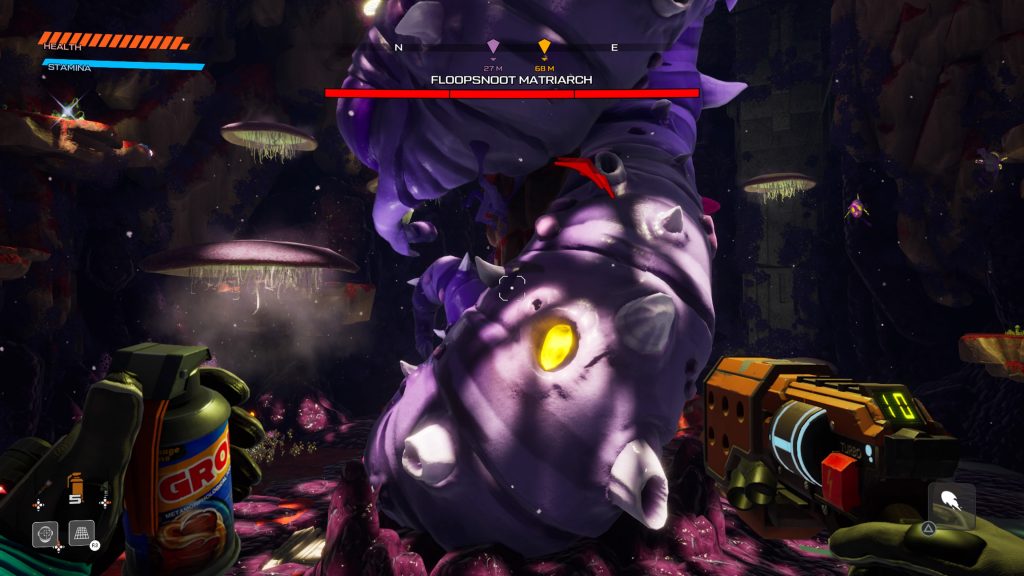
Journey To The Savage Planet_20200129010828 
Journey To The Savage Planet_20200129203416 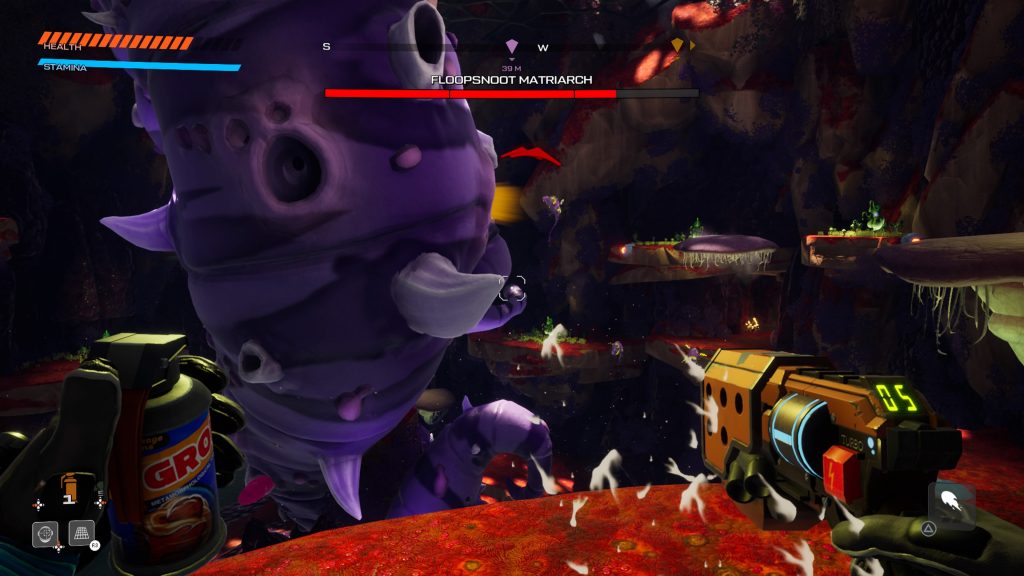
Journey To The Savage Planet_20200129203556 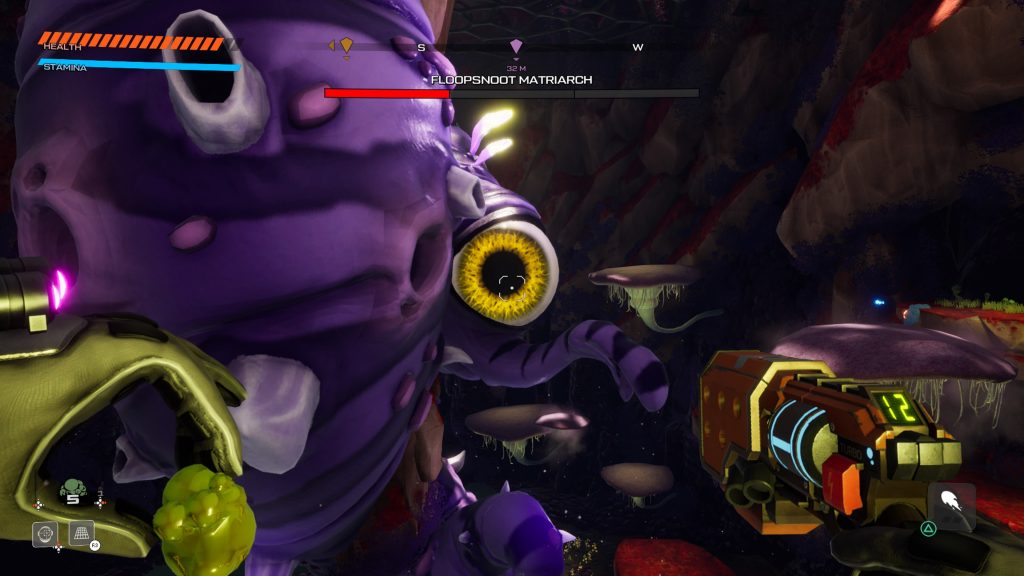
Journey To The Savage Planet_20200129203958
How To Beat The Floopsnoot Queen: This massive monster deals a ton of damage over time, and there’s almost no way to avoid damage. You’ll constantly be under attack by slinging tongues from the matriarch itself and the endlessly respawning babies it produces. To take (less) damage, you’ll need to constantly be on the run!
To initiate the fight, shoot the queen in its big eye. To damage it, you’ll need to search for glowing yellow spots on its body. Use the grapple to climb to the top and work your way down, circling it and looking for weak points to shoot. In the next two waves, the Floopsnoot will use amber to protect its weak points, so you’ll need to grab Blight Bombs (helpfully distributed around the area) to clear the gunk. Then you can shoot the weak points.
The battle gets tougher over time, but the next wave won’t initiate until after you shoot the big eye on the queen. Between waves, you can wait for the three vitality plants to respawn healing. There are three of them, so you can just wait for them if you’re extremely low on health, or just wait until they replenish so you can refill mid-fight.
After defeating the boss, a hole will appear near the matriarch’s (dead) head. Drop down to find the Caustic Altar. That’s where you’ll get the rare extract material so you can now construct the Blight Bomb Stabilizer at the 3D Printer. The nearby teleporter will also take you to the 3rd zone — the Elevated Realm!