
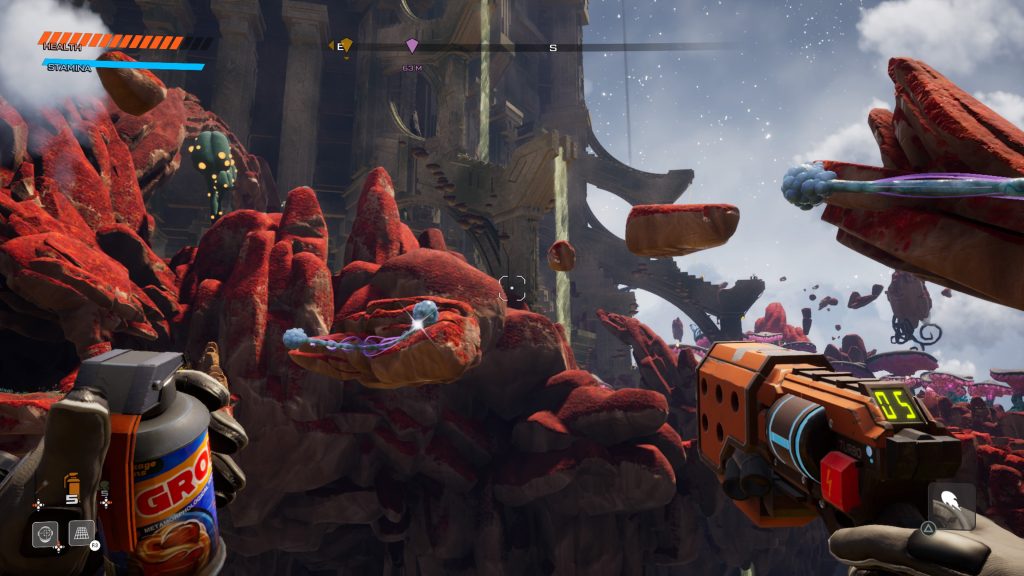
To reach the end of the Itching Fields, the second major region in Journey To The Savage Planet, you’ll need to unlock two ‘optional’ upgrades that are anything but optional — the Launch Thruster and the Advanced Proton Tether. The Launch Thruster unlocks the ability to charge a super vertical jump that can help you reach areas you couldn’t normally jump to, and the Advanced Proton Tether gives you access to magnetic grind rails.
To get them, you’ll need to full explore two of the major areas in the Itching Fields — Zor’s Planetary Flotsam, and the Fungi of Si’ned VII. If you can keep track of all these weird names, you’ll be able to hunt down the pieces you need and finish two tricky quests. Check out our full step-by-step guides for both of these upgrades below.
More Journey To The Savage Planet guides:
How To Complete The ‘Fixer Upper’ Quest | Alien Alloy Location | How To Get Double-Jump & Grappling Hook Upgrades | How To Get The Bombegranate Stabilizer | Cragdaw Boss Guide | How To Reach Rank 2 Field Explorer | ‘For Science!’ Guide
How To Get The Launch Thruster Upgrade | High Jump Guide
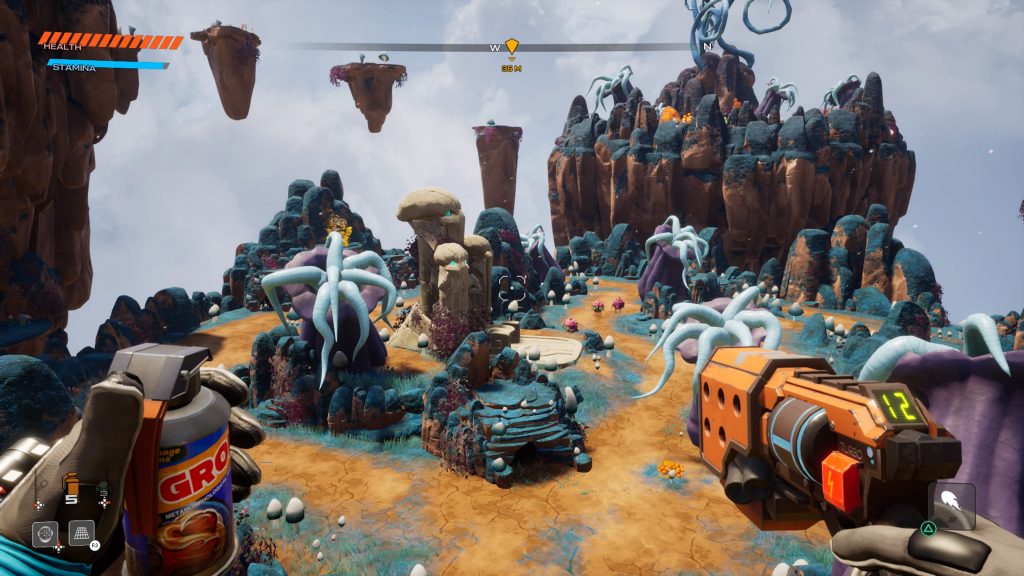
Once you reach the Itching Fields, the Launch Booster high jump ability will be available to you. In the first area, Zor’s Planetary Flotsam, travel left from the alien tablet and continue until you reach a large island with jellywafts. Just below that, there’s another island with the Launch Booster Shrine.
Scan the shrine to truly begin the ‘Up, Up and Away‘ quest — you’ll unlock this quest if you get close to the shrine or scan any of the high jump alien markers.
There are three pumpjacks in the area — two are covered in amber. Travel to the locations marked on your map, and use the Blight Bombs to clear the orange gunk off the pumps. You won’t be able to hold Blight Bombs for long, so look for nearby ones on small islands. A meter will appear showing exactly how much time you have.
Clear all three pumps, and you can return to collect the weird goo at the shrine itself. The Launch Booster is pretty expensive — you’ll need 100 Aluminum and 200 Carbon, so be prepared to save up to unlock this powerful super-jump.
How To Get The Advanced Proton Tether | Magnetic Grind Rail Guide
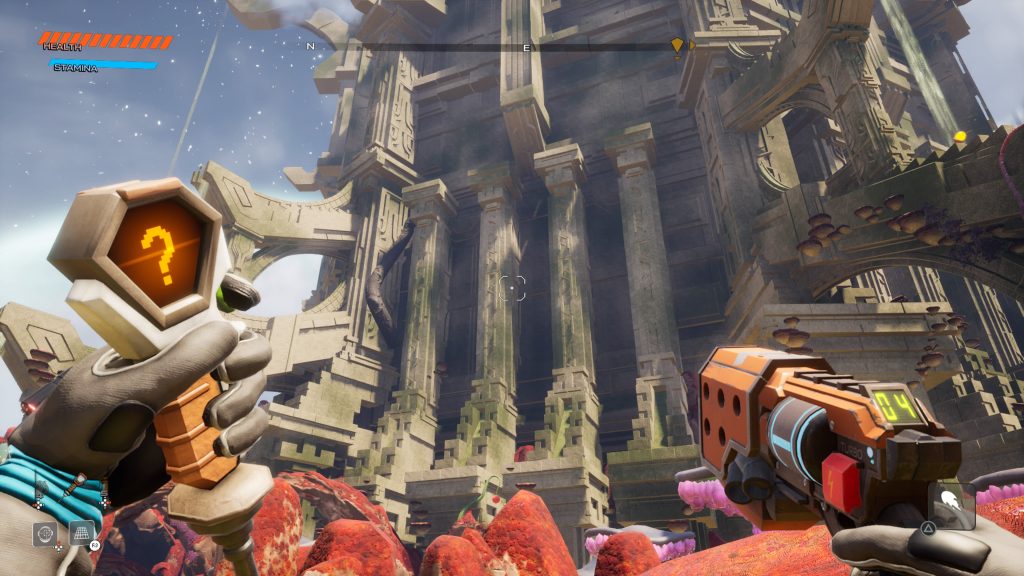
Once you reach the Itching Fields, go onto the floating platforms and stop at the Alien Tablet you can scan — the first one you’re likely to find. Turn right here, then follow the path with the grapple points. Keep going up, using the purple mushroom pads, until you reach an Alien Alloy location with a vaultivore. Continue on, and jump on a very long series of purple pads until you reach a location called the Fungi of Si’ned VII.
From here, look on the giant shrine to begin the ‘4th Best Detective‘ quest. Scan the shrine to discover that the shrine is completely shattered. There are multiple parts of the shrine crystal, so here’s where to find each one.
- Fragment #1: From the entrance, go left until you reach a water basin. Enter the waterfalls, then pick up the Blight Seeds from the plants. Throw them at the amber until you find the right one containing the crystal fragment.
- Fragment #2: Right near the entrance. From the entrance (from the purple mushrooms) turn right, and then look down over an exposed ledge facing the floating islands area below. The crystal is on a single mushroom pad.
- Fragment #3: The last piece is down the path to the right of the shrine. Go down and look in the temple alcove opposite the teleporter guarded by jellywaft. Behind the tall reeds, there’s a crystal fragment.
Return the pieces to the shrine and extract to gain the precious material required to craft the proton tether upgrade.