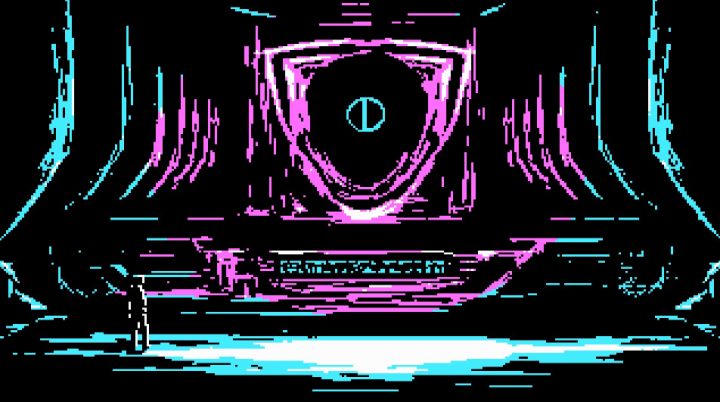
There’s a bonus ending you can earn in The Eternal Castle [REMASTERED] — all you have to do is collect 30 fragments. These hidden collectibles can be tricky, and not all of them are placed in an obvious spot. If you’re lost and need help finding a few of the fragments you’ve missed, we’ve put together a complete list of all 30 fragment locations below.
The Eternal Castle [REMASTERED] is a cinematic action-platformer, sending you on a strobing retro adventure through an apocalyptic, unholy landscape. You’ll have to fight and shoot your way through deadly encounters, or just run and escape. It’s a new version of Out of This World, with touches of Limbo, Inside, and Little Nightmares. And like those newer games, you can hunt down collectibles to find a secret scene.
If you’re new to The Eternal Castle, you might want to check out the full list of keyboard commands.
All Fragment Locations | Collectibles Guide
The game is partially randomized, so you may need to collect the fragments in a different order than what is explained below.
- Area #1: Crash Site
- Fragment #1: To the left of the landing site. After getting out of the parachute, go left and look in the corner, past the tree and hill.
- Fragment #2: After collecting the pistol, the next fragment is found near the computer ahead.
NOTE: At the start of the game, you can also collect a flower in the field. The flower can be used to tame a monster in the Unholy Church.
- Area #2: Ancient Ruins
- Fragment #3: Found beneath the arena. Locate a tortured man that refuses to believe the enemy’s leader is God. The fragment is right next to him.
- Fragment #4: Enter one of the bedrooms in the village to find a man worshipping a fragment.
- Fragment #5: Search the Village area. One room contains an encounter, where the villagers will attack you immediately. The small room contains a fragment.
- Fragment #6: Next to a hiding character. In the village, find electrical wiring and make two tricky running jumps to reach. You’ll meet Trekkie, and locate a fragment.
- Fragment #7: Above the Dragon symbol. Take stairs to reach the area above it.
- Fragment #8: Entering the Citadel, find the first fragment next to the very first checkpoint. At the top of a tower with a ladder.
- Fragment #9: At a future checkpoint. Don’t miss the jump, or you won’t be able to climb back up and get it.
- Fragment #10: Near a campfire, with two people that attack immediately when you get close.
- Fragment #11: Inside a shrine structure.
- Fragment #12: Inside a hidden area. When you encounter enemies at a table. Drop down, and you’ll find a large banquet table. Kill the enemy on the right to collect the fragment. You can also find a pair of [Boots] here.
- Fragment #13: On the table near the Tea Master. Encountered after being attacked by villagers.
- Fragment #14: Near the Tea Master, there’s an alcove just to the lower-right with a fragment. You’ll need to circle back around to find the entrance into this hidden area.
- Fragment #15: In the Temple, reach the room with the [Backpack] equipment. The fragment is located in the lower-left corner of the room.
- Fragment #16: Down a hidden alcove protected by traps. When climbing down a ladder, avoid the spinning blade and the spikes at the bottom.
- Fragment #17: Reach a checkpoint deep in the Temple, and carefully step through a spike trap to the left. From the checkpoint, go down to find a room with a single spike trap. The fragment is on it.
- Area #3: Forgotten City
- Fragment #18: Next to the Sticky Bomb on top of the arch.
- Fragment #19: Inside a ruined house with a person in the basement. The person will give you a shotgun. Don’t miss the fragment in this house, too.
- Fragment #20: Located above a machine gun post manned by two guards. Climb to the platform directly above them, then reach the corner to get the fragment. The platform above will disappear, so move fast.
- Fragment #21: Reach the area with the satellite dish to the upper-left of a door. To the right of the door, there’s a section of ground that will crumble. Drop down, and you’ll find a person with a fragment nearby.
- Fragment #22: Directly above the previous fragment, find this fragment on the roof to the right of the satellite dish. Watch out for the guard.
- Fragment #23: In Fort Casetta, climb into the building with two people sitting at a table. One fragment is there.
- Fragment #24: To the right, also in Fort Casetta, go into the house and climb up to the second floor alcove. There’s a man that explains weapons — there’s also a fragment there.
- Fragment #25: In the Battlefield area, drop down into a trench near the enemy position and crawl through a hidden tunnel. It leads to an optional spot with a fragment, right below the [Bandana].
- Fragment #26: When you’re exploring the dark sewer, reach a tiny alcove in the top-left corner, above the exit switch. You’ll need to make a blind jump to reach it.
- Fragment #27: In the skyscraper, you’ll encounter enemies with hammers. Eventually, you’ll reach a room with piles of trash bags in the right corner. The fragment is in the trash.
- Area #4: Unholy Church
- Fragment #28: The only fragment in this area is located in a bedroom, right before you encounter the monster.
- Area #5: Eternal Castle
- Fragment #29: The first fragment of this area is to the left of the crash site.
- Fragment #30: In the last room of the game, go right past the terminal to find this fragment. It’s before the final boss.
Source: [1]