
Discover the ancient treasures of the after-life in ‘The Curse of the Pharaohs‘, the final DLC for Assassin’s Creed: Origins. To locate special hidden chests, Bayek will have to locate hidden stelae with clues to the chest’s location. Here, we’re going to show you where to actually find these stelae (some are quite hidden), and what the clues mean.
There are four stelae for each of the after-life locations. Stelae only appear in the strange, mystical lands you’ll visit while completing the main story quests. These surreal areas are where you’ll encounter unbelievable architecture, strange creatures, and plenty of treasure — if you know where to look. If you’re lost and need help finding the four stelae in each spot, check out the guide (and gallery) below.
More Assassin’s Creed: Origins – Curse of the Pharaohs DLC guides:
- Assassin’s Creed Origins: Curse of the Pharaohs DLC – All Boss Battles Guide
- Assassin’s Creed Origins: Curse of the Pharaohs DLC – How To Get The Best Armor
- Assassin’s Creed Origins: Curse of the Pharaohs DLC – How To Solve Every Puzzle
- Assassin’s Creed Origins: Curse of the Pharaohs DLC – Pharaoh’s Shadows Combat Guide
- Assassin’s Creed Origins: Curse of the Pharaohs DLC – Cipher Easter Egg Guide


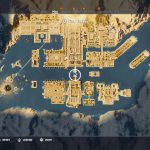

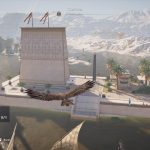
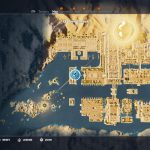


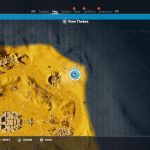


Aten Stelae Locations
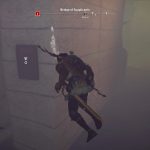
- Stelae #1: Bridge of Supplicants – Underwater, between the two towers
- Stelae #2: East Gate – Inside the small building at the end of the pier. Entrance hidden behind a sheet on the backside.
- Stelae #3: West Gate – Stelae located in the north guard tower behind a bamboo door that can be broken.
Treasure of Akhenaten
The first clue refers to the Chambers of Reflection; look in the northernmost structure. In the interior, look for a crack near the northeast corner to slide through.
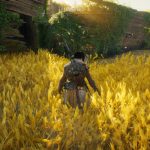
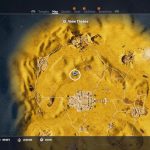
Aaru Stelae Locations
- Stelae #1: Gates of Aaru – Located in the broken boat behind hanging vines.
- Stelae #2: Leaning Statue – Behind some drapes in a nearby cave.
- Stelae #3: House of Libations – Located inside the house, another easy one
- Stelae #4: Nefertiti’s Spring – Just behind the tree, you can’t miss it
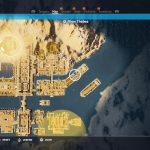
Treasure of Nefertiti
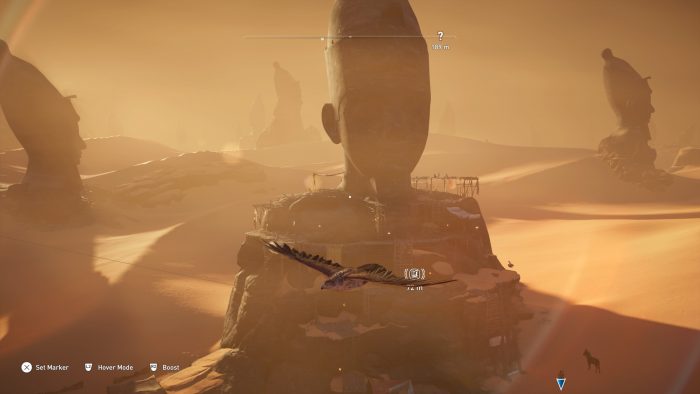
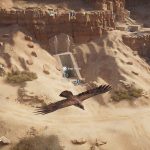
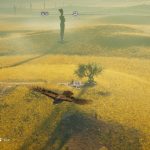
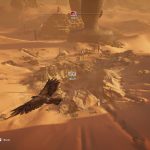
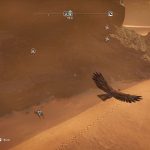
This one is pretty clever. You’ll never solve it without using Senu; the treasure is hidden at the point where the shadow of the tallest tower at the location Tower of the Deathless Feathers. Once you spot it, break the false floor to get a random legendary treasure.
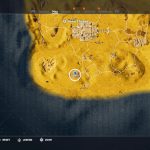
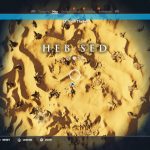
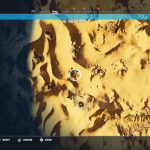
Heb Sed Stelae Locations
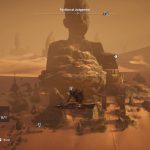
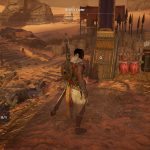
- Stelae #1: Pavilion of Judgement – Can be found under an overhand in the central camp, beside an urn and a chest. Not hidden.
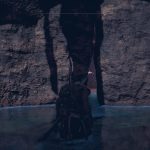
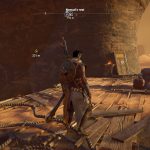
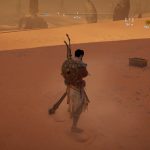
- Stelae #2: Nomad’s Rest – Climb to the top of the scaffolding surrounding the statue. The stelae is on the back of the neck.
- Stelae #3: Royal Guard’s Rest – Inside the small cave under the statue. You’ll have to deal with some guards, but it’s not hard to find.
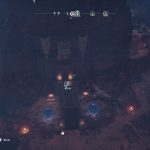
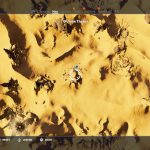
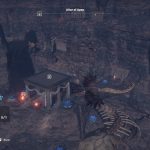
- Stelae #4: Orion’s Chamber – Found in the camp outside the crater. Take a minute to check the crater, as it has a chest with twenty shards of star.
Treasure of Rameses
The obvious clue in the puzzle is the mention of Kadesh; head to the battlefield and look around the eastern side of the statue, you’ll find a trail of footprints leading into a crack on the side of the mountain. Inside you’ll find the treasure and a lot of snakes.
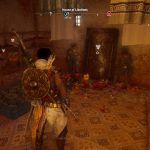
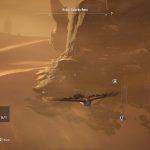
Duat Stelae Locations
- Stelae #1: Funeral Parlor Store – Hidden behind a breakable floor in the interior.
- Stelae #2: Altar of Apep – Right on the altar, not hidden at all.
- Stelae #3: Sanctuary of Anubis – Stelae is hidden behind a crack in the wall in the back left corner of the cave.
- Stelae #4: Hall of Knowing – When entering, look up and to the right and you’ll see an opening. That opening will lead you to the stelae.
Treasure of Tutankhamun
The most obvious part of the riddle is the ‘eternal parlor’, which is referencing the Funeral Parlor location. Go there, go to the back and look for where the pillars create shadows down the cliff. Use Senu if you have trouble seeing them, they’re far down on the rock face where there is shallow water. There you’ll find a crack which leads to the treasure.
More Assassin’s Creed: Origins guides on Gameranx:
- Assassin’s Creed: Origins – All Stone Circle Locations
- Assassin’s Creed: Origins – Where To Find All Ptolemy Statues
- Assassin’s Creed: Origins – Where To Find All Hermit Locations
- Assassin’s Creed: Origins – How To Unlock All Outfits
- Assassin’s Creed: Origins – XP Farming Tips
- Assassin’s Creed: Origins – Mounts Breakdown 101
- Assassin’s Creed: Origins – Beginner Tips & Tricks
- Assassin’s Creed: Origins – How To Take Fire Arrows With You
- Assassin’s Creed: Origins – Farming Money Tips


