
Table of Contents[Hide][Show]

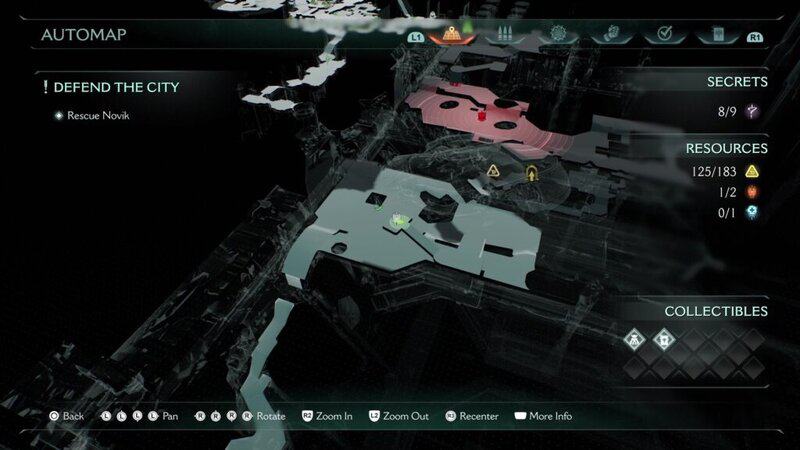
The Doom Slayer is escaping the city in Chapter 7 of Doom: The Dark Ages. The Sentinel city is under attack by a giant demonic army, and only the Doom Slayer can help fight back the hordes to help everyone escape — and you won’t want to miss out on all the valuable secrets, collectibles and hidden gold caches as you progress. There’s a lot to find in this level and it’s much more linear than the previous chapter. Here’s where to find everything you need to 100%.
Challenges | Chapter 7
- Roundhouse: Hit demons 10 times with a fully charged Chainshot.
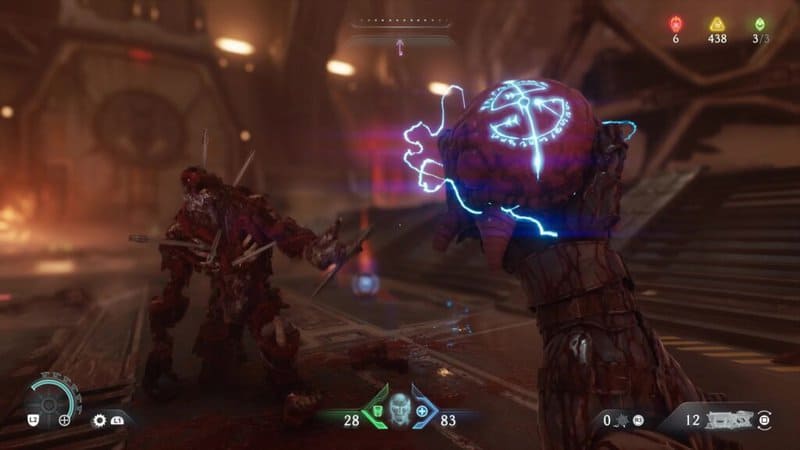
You found the Chainshot on the previous level. By holding down the fire button, you can charge the shot — it’ll glow when its fully charged. Simply do this 10 times to complete the challenge. This works on fodder demons but large demons are the easiest targets.
- Exterminator: Kill 3 or more fodder demons with a single Shield Throw 5 times.
This one is trickier. You need to line up your Shield Throw to destroy three fodder demons in a single throw — and you need to do that five times. Make this easier by upgrading the Shield — there’s an upgrade that makes the shield attack area larger when slicing through fodder demons like Zombies or Soldiers.
All Collectibles & Secrets Locations | Chapter 7
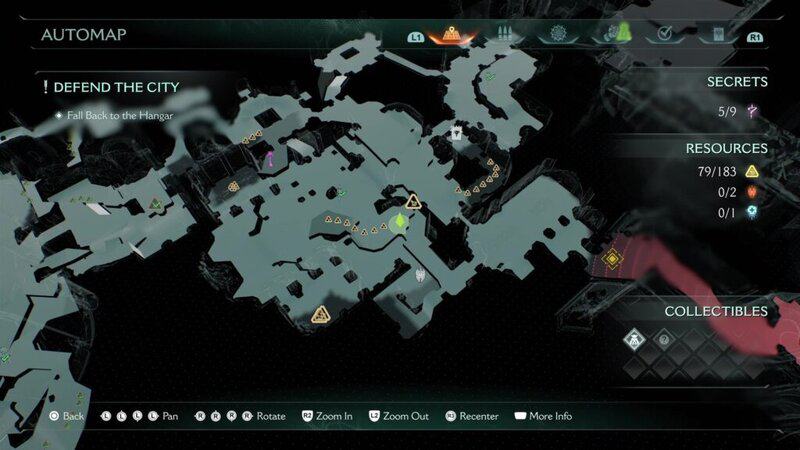
Secret #1 (Life Sigil): In the starting area, after completing the turret sequence, follow the objective marker up the climbable wall and into a room with a Mancubus. Use Shield Charge on a crate — but don’t follow it yet. Moving the crate reveals a breakable wall. Use Shield Charge to smash through to your first secret.
Secret #2 (Gold x50): Right after the previous secret, climb the crate and the climbable wall then immediately turn around to find another climbable wall that leads to a large gold chest.
Secret #3 + Collectible #1 (Toy): Progressing to the opposite side of the turret courtyard, you’ll reach a large, ruined ballroom. Get to the scaffolding at the top, then jump across to a ledge to the left — there’s a wall you can smash through with Shield Charge. Climb up to reach a path of gold leading to a Toy.
Secret #4 (Life Sigil): Past the courtyard with the raised metal gates, you’ll enter a smokey interior guarded by demons. Near the end of this path you’ll spot a Life Sigil behind a locked door. Go around to the right of the door to find a blue marker. Use Shield Charge to smash through.
Secret #5 (Secret Key): From the smokey room, you’ll go upstairs to the upper level of the courtyard. The Secret Key is visible to the right, but you can’t reach it. Enter the dining hall in the next room and turn right — smash through the wall with Shield Charge, then use the blue launcher to reach the Secret Key.
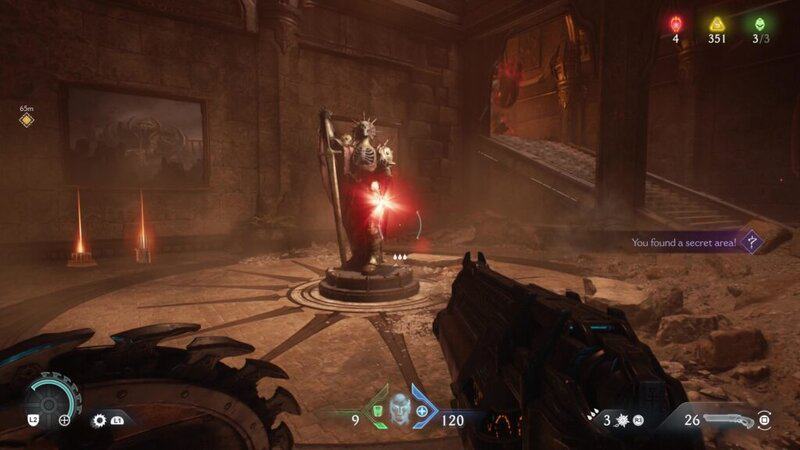
Secret #6 (Ruby): Drop down to the ground floor of the courtyard and enter the locked Secret Key Door to uncover a ruby. There are also stairs leading back to the upper level, creating a shortcut.
Secret #7 + Collectible #2 (Codex): Near the smokey room entrance, there’s a second Secret Key Door. Unlock it to get a secret, then destroy the two Chaingunners to get the Codex.
Gold x20: There’s a set of tricky gold on the first floor of the courtyard behind the raised gates. To reach it, drop down from the upper floor, right next to where you collected the Secret Key. There’s an optional ledge that leads into one of the gated room — dropping down will lower all the gates.
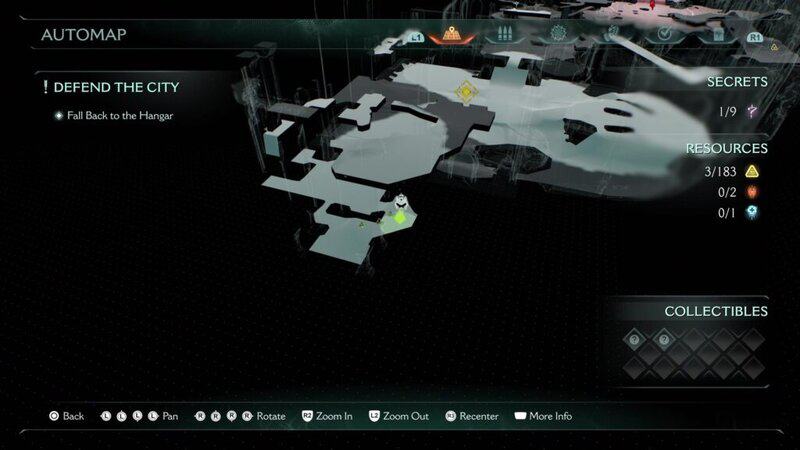
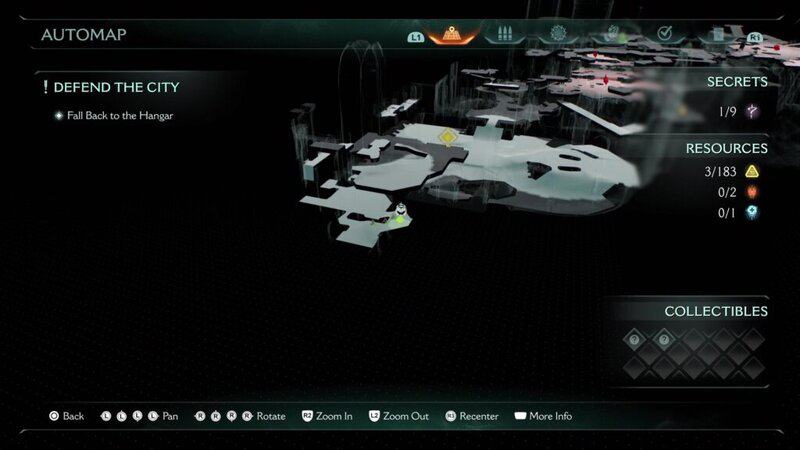
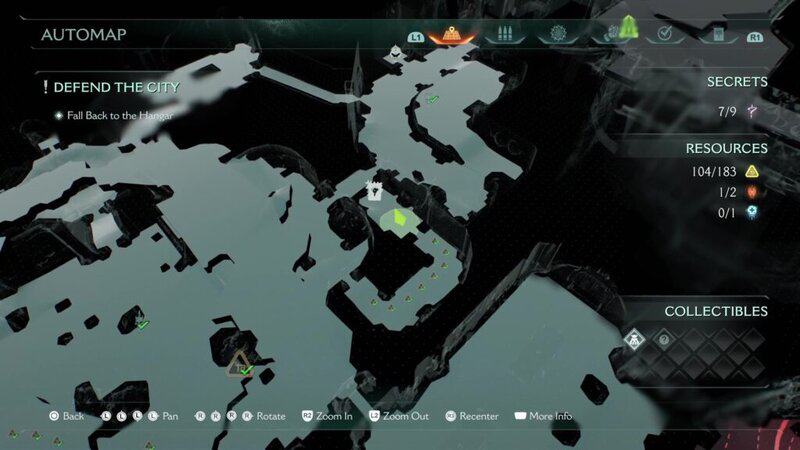
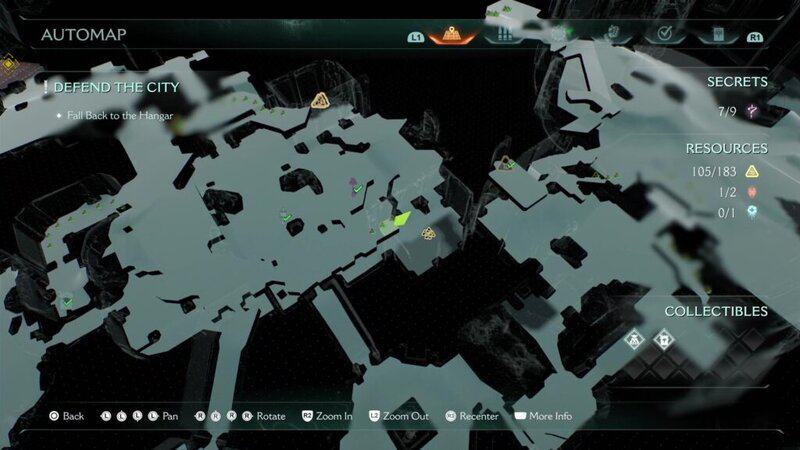
Secret #8 (Ruby): Past the Point-of-No-Return, you’ll enter a besieged hangar full of giant Sentinel ships. Reach the combat arena with the crashed ship — then circle around the crates near the crane. Behind the crates you’ll find climbable scratches that lead to a platform with this ruby.
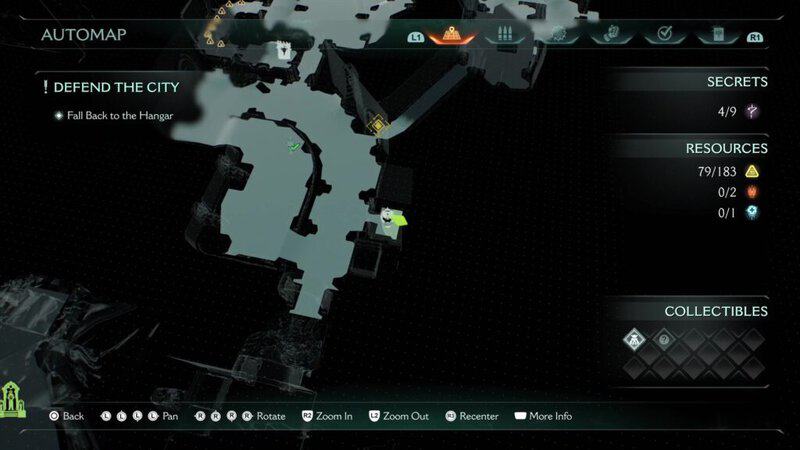
Gold x50: After dropping down onto a catwalk, you’ll need to solve a puzzle by throwing your shield at a heated chain to lower a climbable wall. Instead of climbing up, drop down and look behind the lowest set of scratches — there’s a passage that leads to a large gold chest.
Secret #9 (Life Sigil): In the same area as the large chest, look on your map for a nearby Life Sigil. After breaking the heated chain, it should now be open and available to collect.
Demonic Essence: Defeat the Battleknight Leader at the end of the chapter to earn +10 maximum armor.


