Table of Contents[Hide][Show]

There aren’t many collectibles in the traditional sense in The Callisto Protocol. The closest thing it has are the in-character biographies that can be found throughout the game, either by picking up audio logs or yanking out dead people’s CORE implants.
These are hard to find, often out of your way, and can be quite difficult to track down. Here’s where to find all the audio logs and implant bios in The Callisto Protocol‘s first two chapters.
The Callisto Protocol, Chapters 1 & 2: All Audio Logs/Implant Bios
Over the course of TCP‘s 8-chapter run, you’ll find numerous dossiers, audio logs, and gently-used cybernetic implants that tell the stories of the people who worked, lived, and statistically, have already died in and around Black Iron Prison.
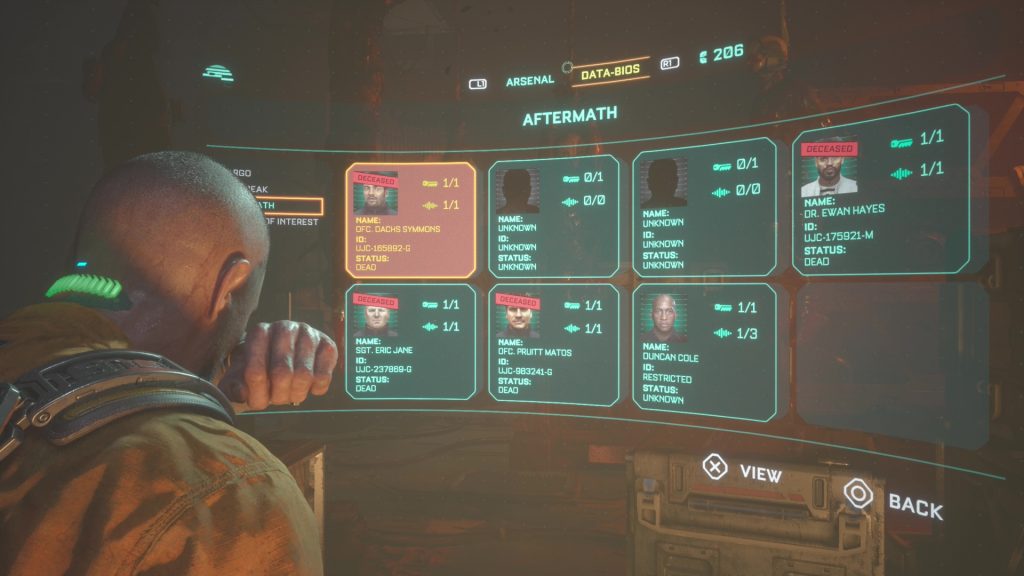
If you’re able to fully populate your in-game Data-Bios screen, you unlock the gold trophy/100-point achievement Grim Reaper. This requires you to find an audio log, implant, or some other evidence of the existence of every character that’s listed on your Data-Bios screen, which ranges from our protagonist Jacob to redshirt guards who don’t even get a line.
As TCP at time of writing does not have a New Game+ mode (it’s currently planned for February 2023) or any kind of chapter select, any bio or audio log you miss in any level is permanently gone. However, the criteria for Grim Reaper is not “collect everything”: it’s specifically “harvest and read all implant bios.”
This means you don’t have to find every audio log to fulfill the unlock conditions, so several important characters like Warden Cole or Dr. Mahler will give you multiple opportunities to collect them for your set. Conversely, however, it does mean there are several notable characters, such as Jacob himself, where you only get one shot at their bio.
This guide will unavoidably involve significant spoilers for The Callisto Protocol.
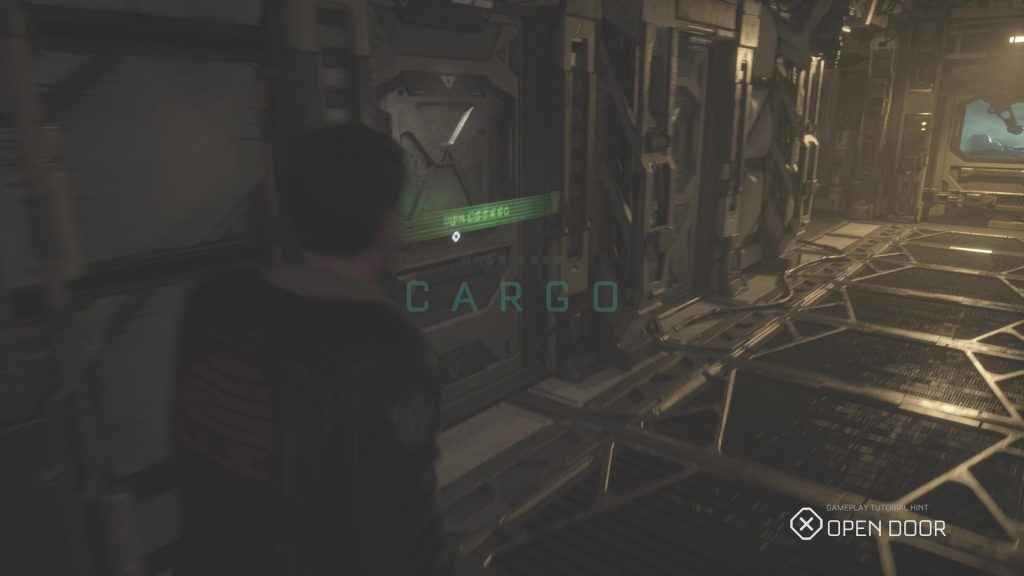
Chapter 1: Cargo
There’s exactly one collectible of any kind here, and as a bonus, you get to annoy Max while you search for it.
Jacob Lee #1: Jacob’s Job
The first time you’re able to control Jacob, ignore Max’s complaining and go poke around the cargo ship. As you leave the seating area, open the unlocked door on your left to find Jacob’s quarters.
Open the locker by the bed to reveal Jacob’s single audio log.
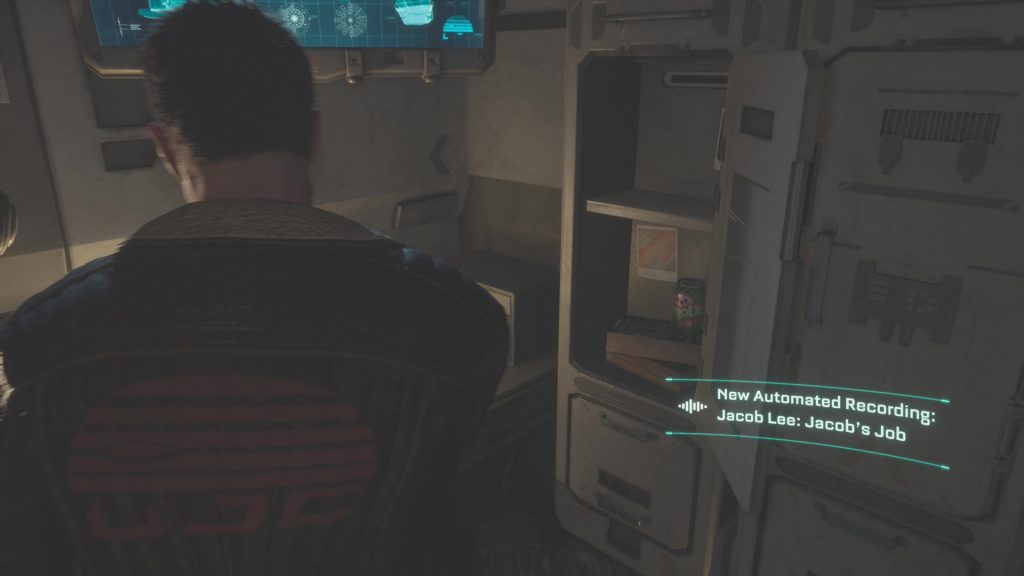
Untested: This audio log will not still be here when you revisit the ship in Chapter 5.
Chapter 2: Outbreak
All three audio logs in Chapter 2 are easily missed if you aren’t careful, but they also aren’t particularly well-hidden. It’s just a question of knowing there’s something you should be looking for, as there are a lot of empty corners and dead ends at this point in the game. You’re sort of being disincentivized to search around, although that won’t last.
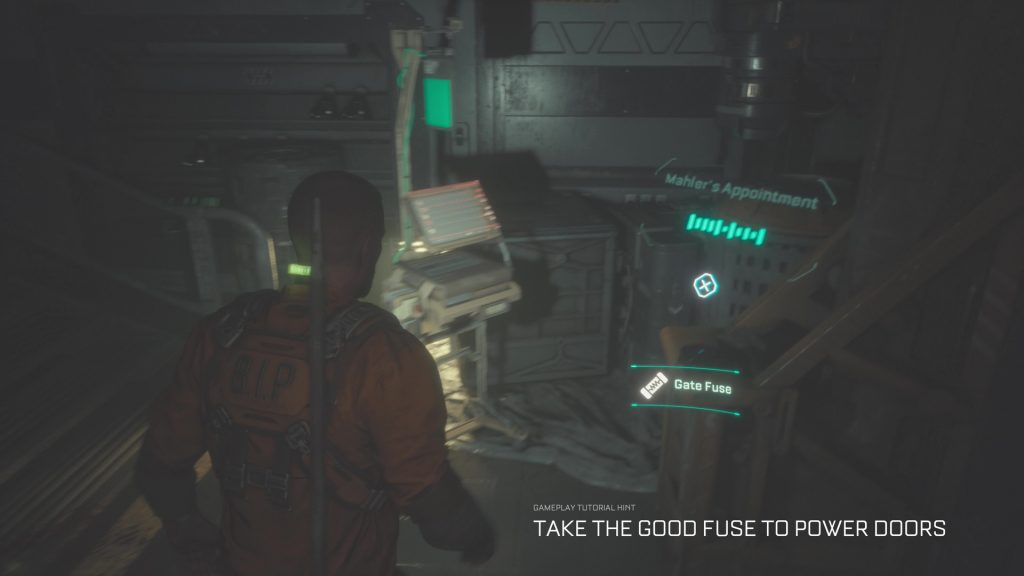
Dr. Caitlyn Mahler #3: Mahler’s Appointment
After you sneak past the security robot, you’ll end up in Surgery M112, where you’ll find the replacement gate fuse you need to escape the medical complex.
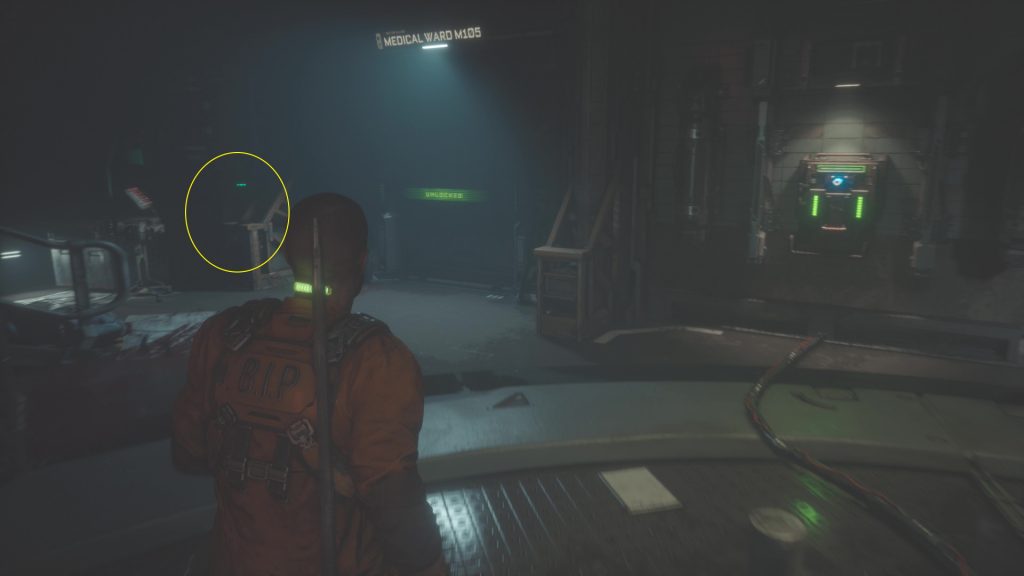
Mahler’s first audio log—which is listed in the Data-Bios screen as her third, hence the above numbering—can be found next to that replacement fuse, on one of the metal supports next to the door to Medical Ward M105 (above).
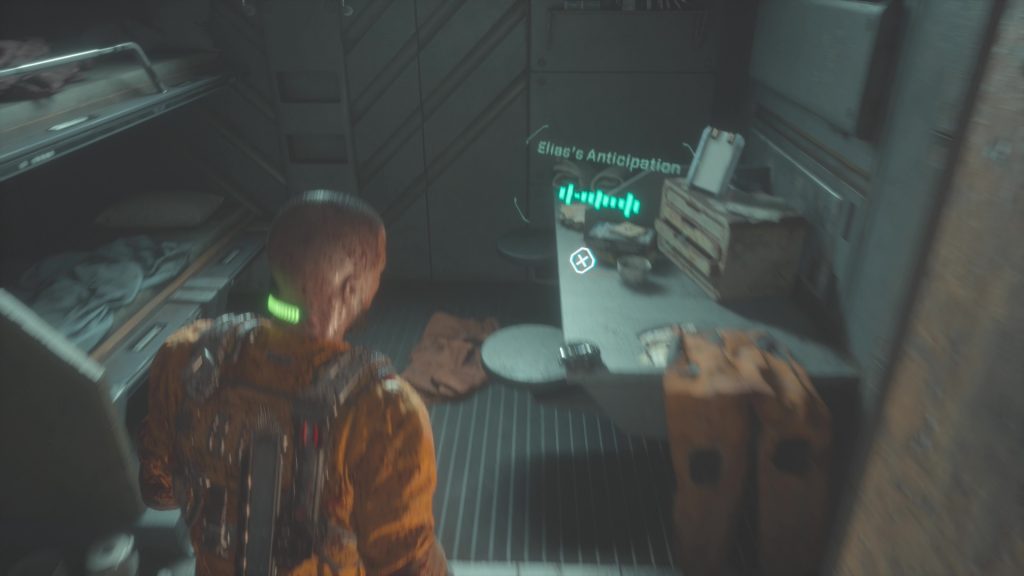
Elias Porter #1: Elias’s Anticipation
Right before the end of the stage, before you climb the stairs to the watchtower, revisit Elias’s cell. He’s left this audio log on the bench inside.
Cpt. Leon Ferris #1: Ferris’s Lament
When you reach the watchtower and try to leave, you’ll end up in a short-lived cutscene fight with Captain Ferris. Afterward, grab his audio log off the control console.
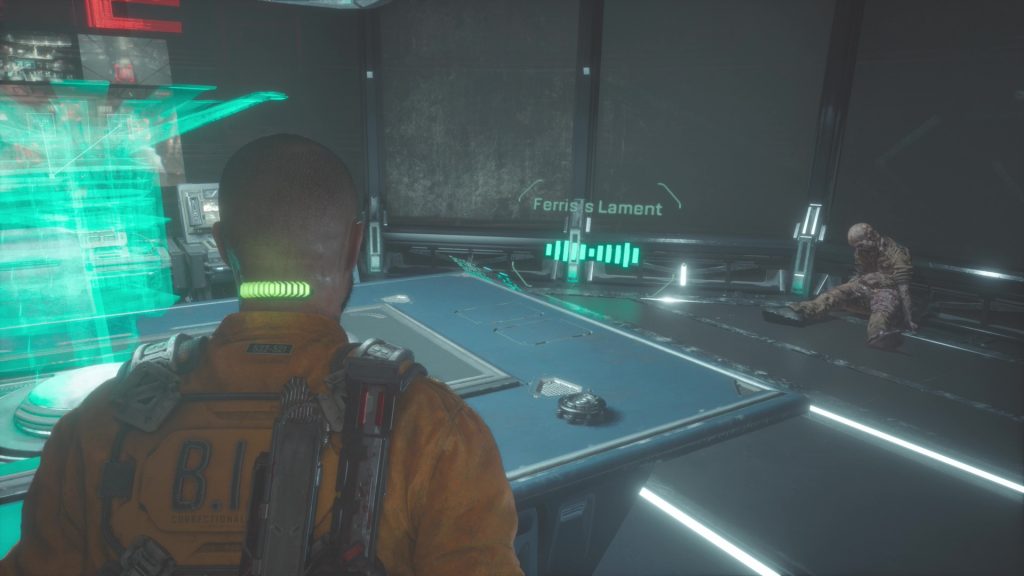
It can be remarkably difficult to spot from your initial angle, as the giant hologram of the prison can drown out the contextual icon floating above the audio log.
For audio logs and other items that show up right at the end of a chapter like this, it’s useful to keep in mind that, by default, TCP holds onto your last 10 auto-saves. If you ducked out of Chapter 2 before you grabbed either or both of the preceding audio logs and you’re still right at the start of Chapter 3, you can probably go back a few saves and return to a point before you entered the watchtower.