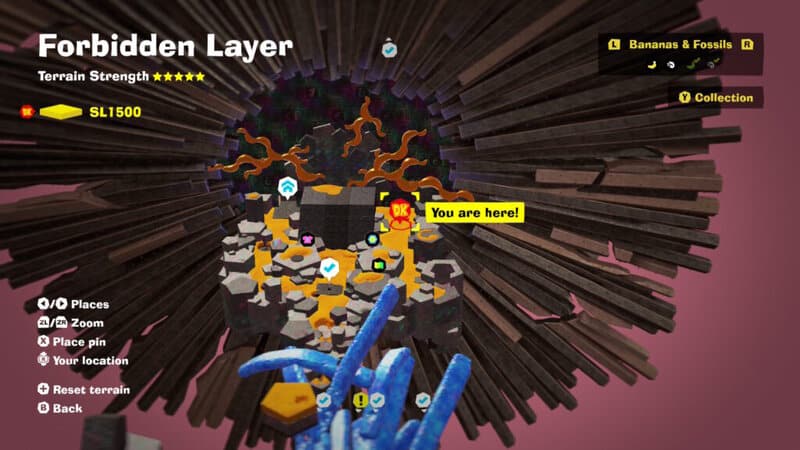
The Forbidden Layer is one of the strangest in Donkey Kong Bananza — this weird underground world is floating above the core, and DK must throw turf into special fields to generate something called Passenger Stone. That’s the main gimmick of the level and why it can be so difficult to find every banana. You’ll need to search carefully to get everything, and some of these bananas are very well-hidden. Here’s how to get them all.
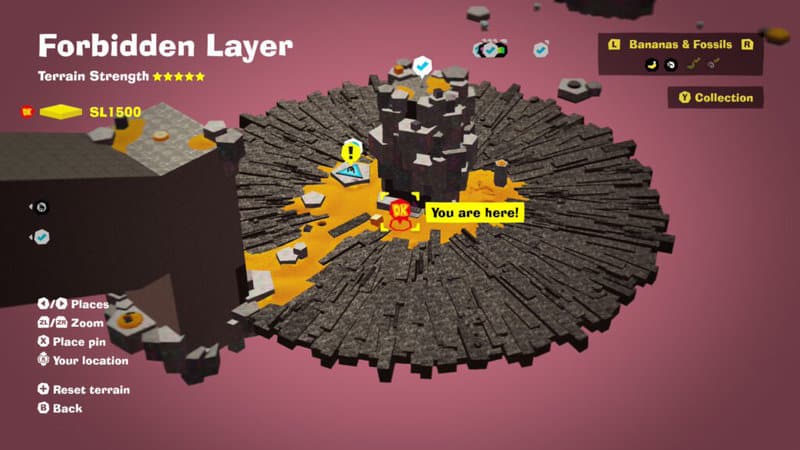
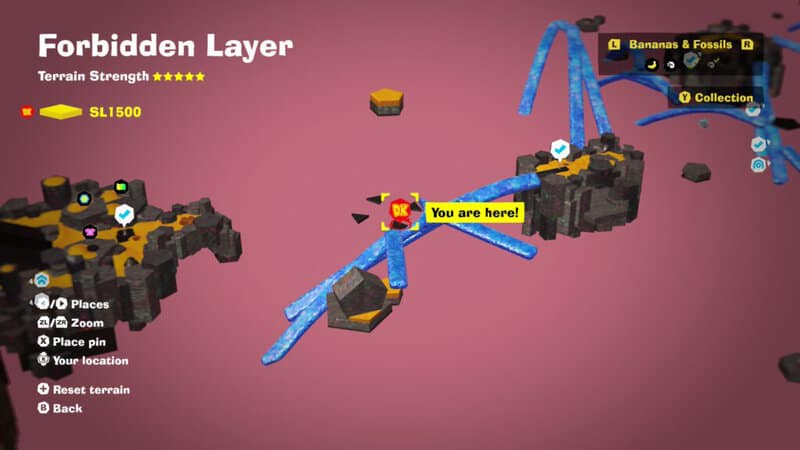
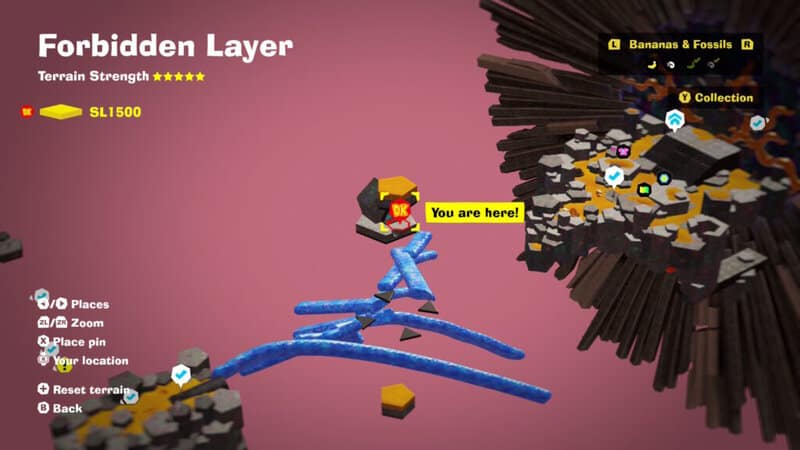
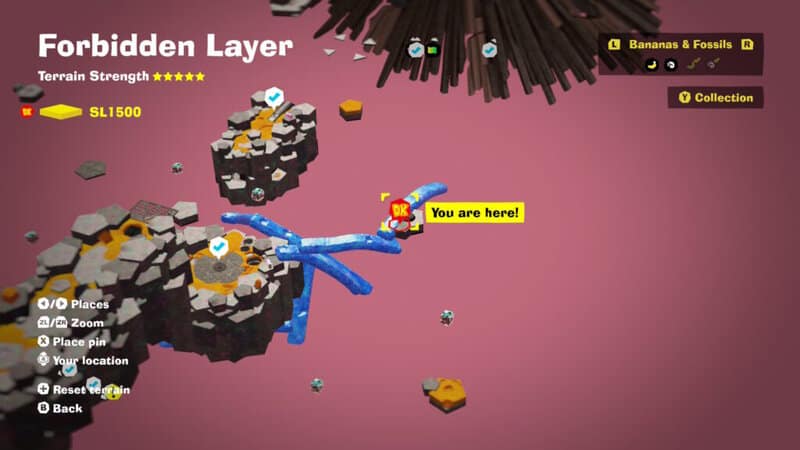
Banana Locations | Forbidden Layer SL1500
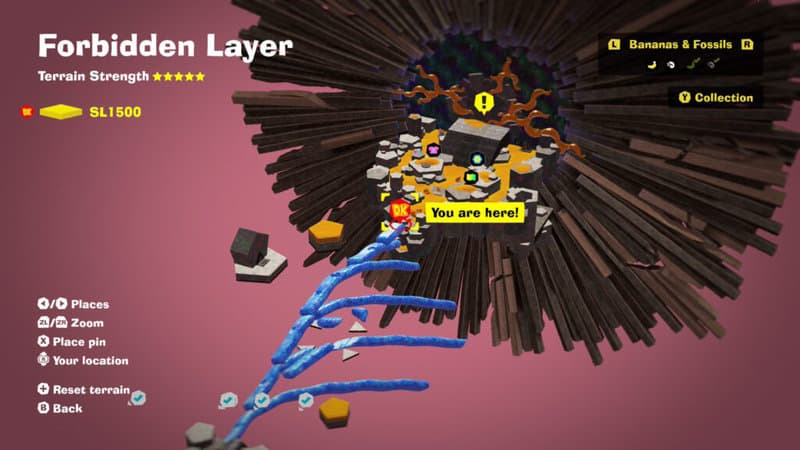
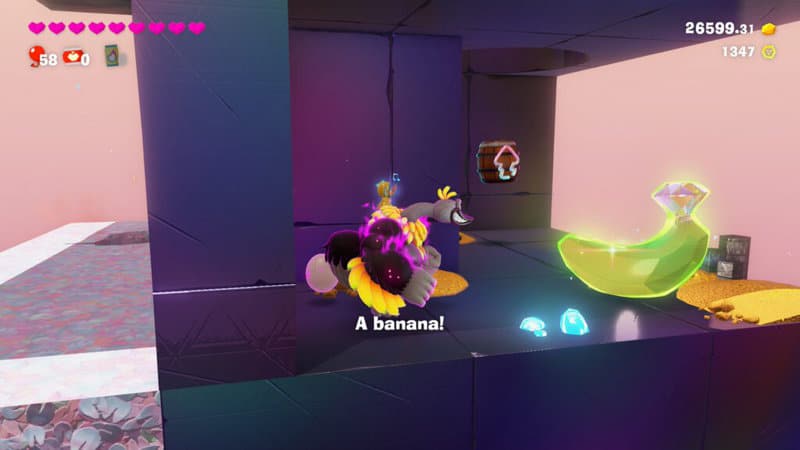
Scrubbed Muckety-Muck – Defeat the boss of the Feast Layer to unlock the path down to the Forbidden Layer. Like every other layer, there’s a banana right at the start.
Unwelcome at Go-No-Further Gate – Pay the Securitones at all three Concrete Towers to reach the giant barrier at the back of SL1500. You’ll need to pay 2,000 / 5,000 / 9,999 gold to generate strange fields that make turf appear when you throw chunks of any material. The banana is right before the Go-No-Further Gate checkpoint.
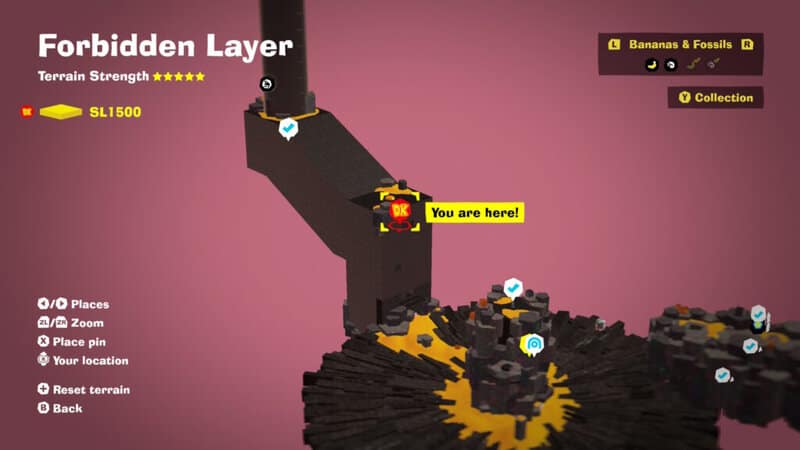
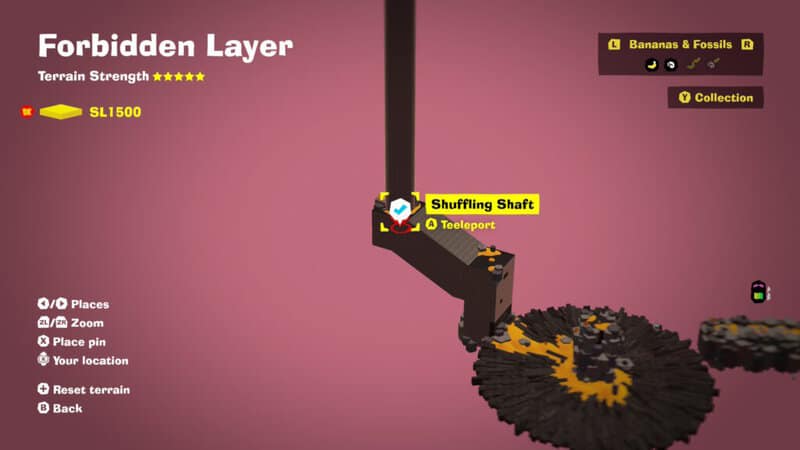
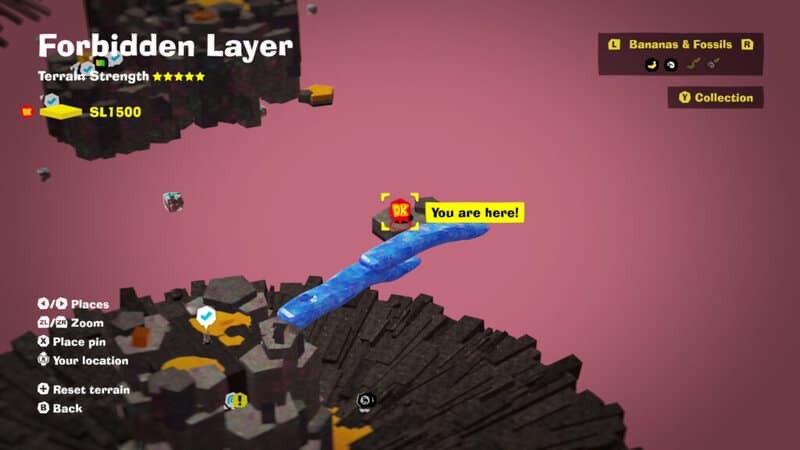
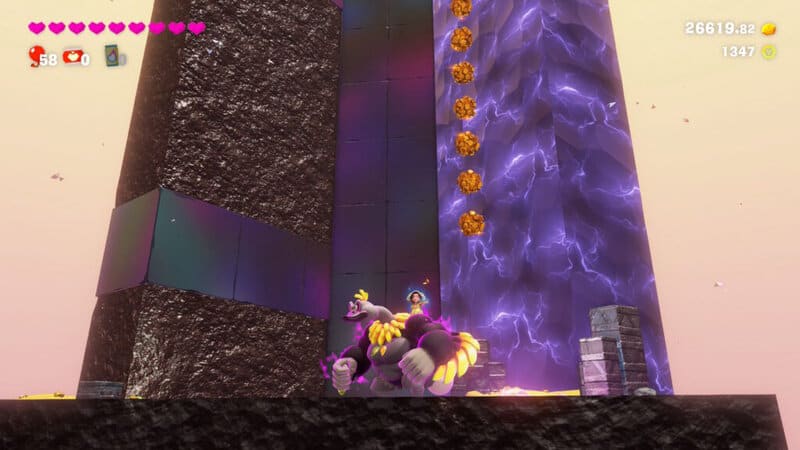
Secret in the Shaft – At the start of SL1500, there’s all shaft that shifts materials. You’ll normally climb down. From the top bridge, climb up when the materials shift to find a hidden alcove with a banana.
Soggy First Steps – At the base of the First Concrete Tower, there’s a challenge course portal. For this course, DK needs to navigate a path while it flips between two material types. Reach the halfway point to get your first banana.
No Swimming, No Slipping – Reach the end of the course to find the second banana. The last collectible is nearby — don’t exit yet!
Swift Sideways Shuffle – To reach the third banana, continue onto the optional third challenge path of the course. It’s right past the second banana and the normal exit. DK needs to quickly cross the dirt wall before it transforms.
Battle: Nighty Night, Nemesis – At the top of the First Concrete Tower, throw a chunk of turf to the right to create a bridge to the floating island with a combat arena. To win this arena, throw turf to block the light. The enemies here are only vulnerable in shadow.
Pitching for Passage – From the First Concrete Tower area, throw turf to reach the large floating island between it and the Second Concrete Tower. Reach the island to get this banana. It’s basically directly in your path.
Past the Shuffling Ceiling – Right near the previous banana, there’s a square of turf that transforms into breakable rock. Smash through and drop down to find a ceiling DK can climb on. Cross the ceiling and avoid the transforming material to reach the banana.
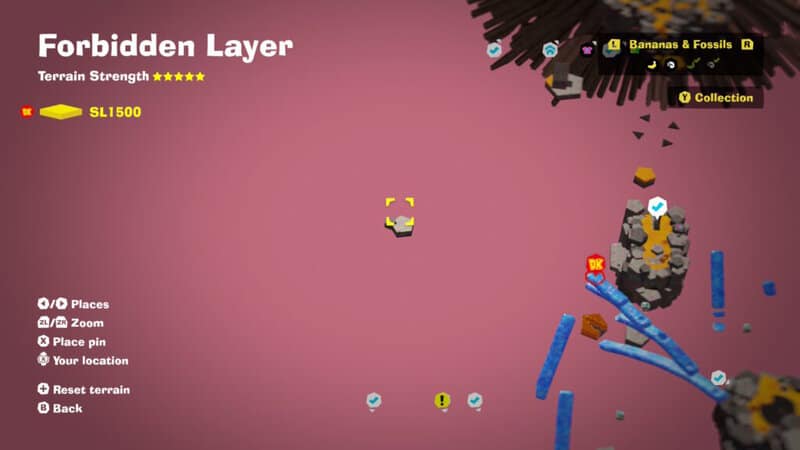
Passage to the Lonely Island – From the Second Concrete Tower, look far to the left for a distant tiny rock island. To each it, DK needs to create chunk bridges and then glide across the bottomless pit using the Ostrich Bananza. You can also pay the Securitone 1,000 gold beneath the checkpoint for a path to the island.
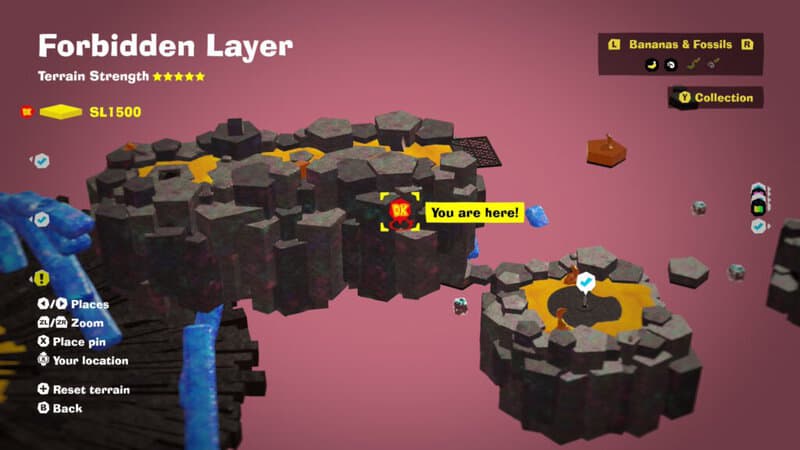
Perilous Passage – After the Third Concrete Tower, there are four triangle platforms spinning mid-air guarding by an auto-turret. There’s a banana on one of these triangles.
Halfway Shuffled – On the path to the village at the end of the level, there’s a second challenge course on an island to the left. In this course, DK needs to dig and use the boom bomb turf to blast through concrete on the path. Reach the halfway point to collect a banana.
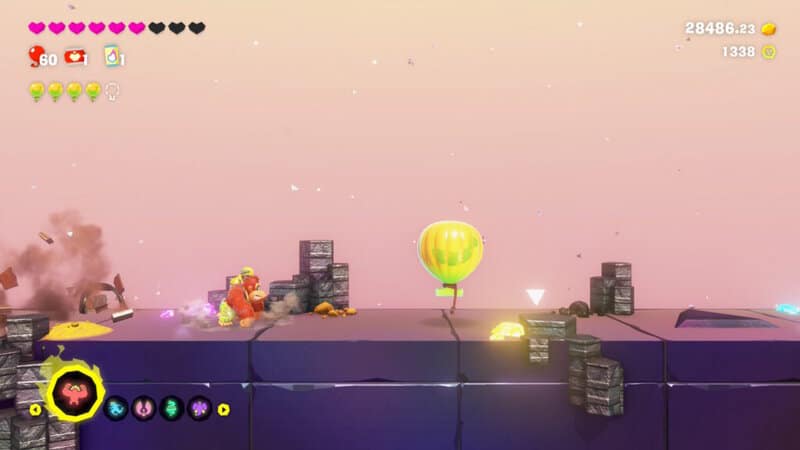
Balloons in the Shuffle – Collect all five balloons during the minecart sequence to earn a bonus banana.
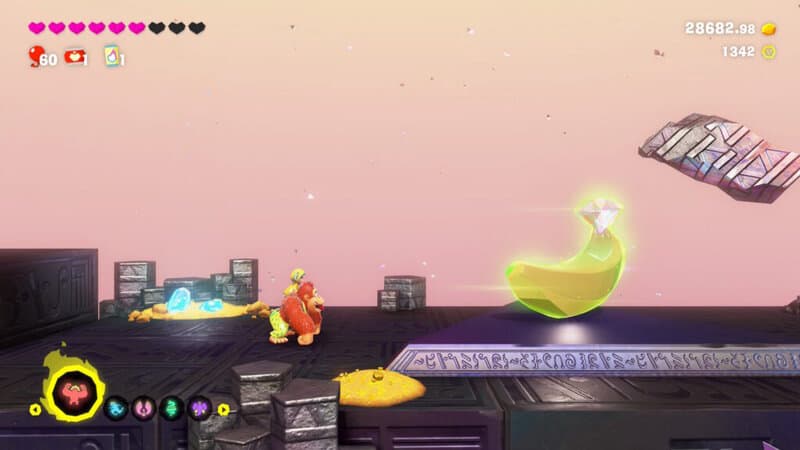
Survived the Shuffle – Reach the end of the gauntlet to collect the last banana. Remember to use the boom bombs to blast through tough concrete surfaces.
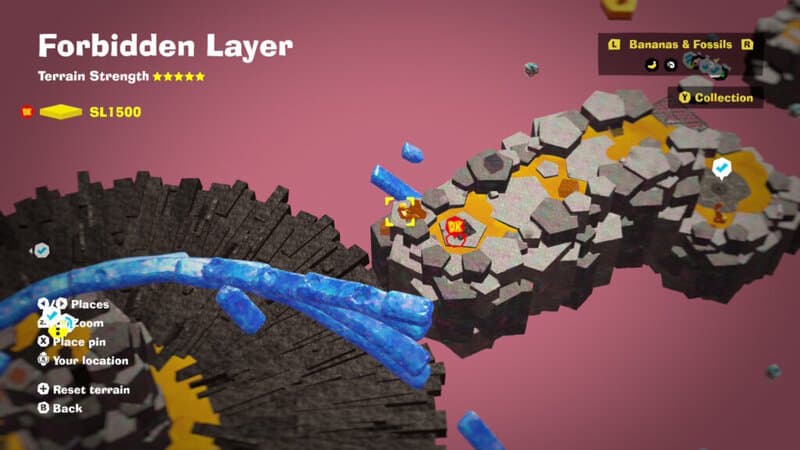
Cranky’s Forbidden Rant – After the Third Concrete Tower checkpoint, there’s a small island high above the area where thrown turf generates blue crystals. Reach this high island by throwing the blue turf you generate. Kranky is up here, and he’ll give DK a banana for listening to him rant.
Battle: Shuffling Walls – Left of Go-No-Further Gate, there’s a Constructone beside a covered combat arena portal. Pay the NPC 600 gold to clear the debris and enter this challenge room.
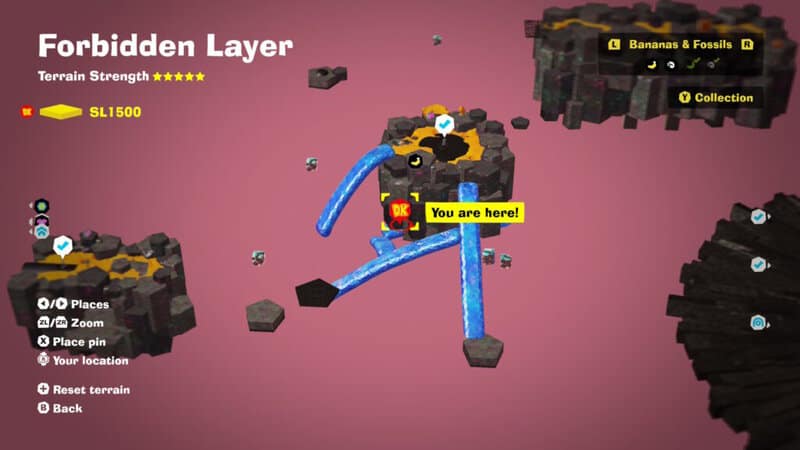
Passage Through Lava! – On the right side of Go-No-Further Gate, there’s a hole leading down to lava and a Securitone. Pay the NPC 1,000 gold to create an area that spawns blue passage stone.
Fobidden Smashin’ Stats – Near the gate, talk to Smashintone. That’s a Fractone with three small rocks on his head. You’ll need to smash through 30,000 square meters of Passage Stone. Not easy, because that’s the blue stuff that spawns when DK throws turf.
Shuffling Ascent – Directly to the right of the giant gate, there’s Fractone NPC that will clear the debris from a Challenge Course portal for 1,000 gold. Pay up and use Ostrich Bananaza to get inside. For this course, DK must climb a series of shuffling turf walls to reach the top of a tall tower. Use the Ostrich glide so you don’t fall too far when swapping walls to reach the middle of the course.
Behind the Shuffle – After the first banana, DK will bounce up a series of shuffling floors that change into bounce pads or lava. On the right side as you climb, there’s a hidden alcove with a banana.
Atop the Shuffle – Climb the last ascent to reach the third banana. Like before, DK needs to swap walls. The trick here is that only one wall can be climbed, the other is slippery. So climb as high as you can, then glide to swap walls. Hold on and press up to avoid sliding too far, then swap walls again. Repeat until you’re at the top.
Under, Up And Inside – Under the Second Concrete Tower, there’s a hatch that’s reachable by generating Passage Stone. Create a path below the island, then use Snake Bananza to launch DK through the hatch and into a hidden chamber. Smash the shifting turf to find a banana.
Battle: Forged Path Upwards – Back at the Second Concrete Tower, throw turf to the right to reach another small island with a Battle Arena portal, just like at the First Concrete Tower. Defeat the Buzzoids by throwing Passage Stone that DK generates.
A Gift from Grumpy – Return to the Zoid Kong boss arena at the end of the Forbidden Layer. There’s a floating island at the very top of the arena where you’ll find Grumpy Kong after you’ve finished this level. Talk to him to earn a banana.
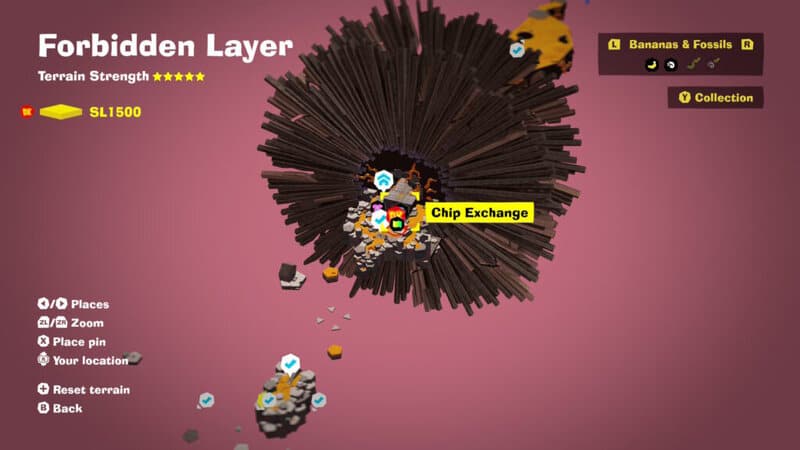
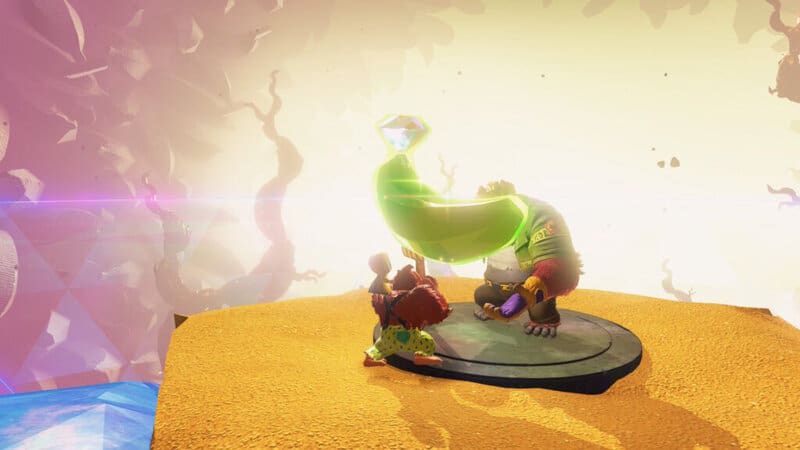
Forbidden Chip Exchange – At Go-No-Further Gate, use the Chip Exchange to collect the last banana for this layer. It costs 100 chips and 280 gold for one banana — you can collect more, but only the first banana counts toward completion.