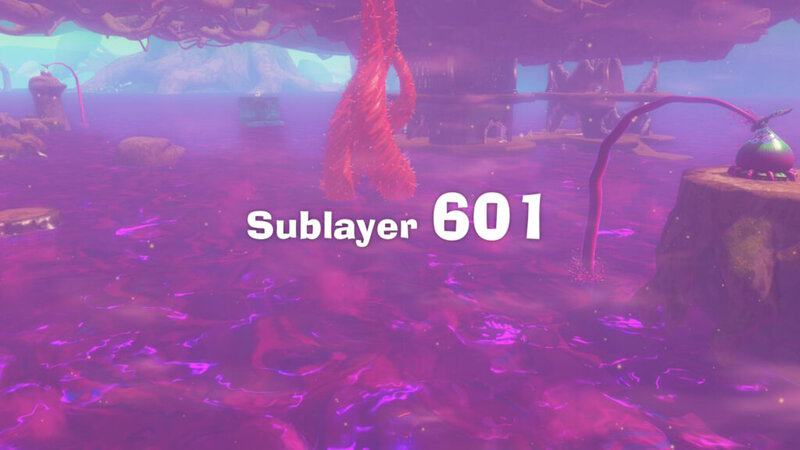
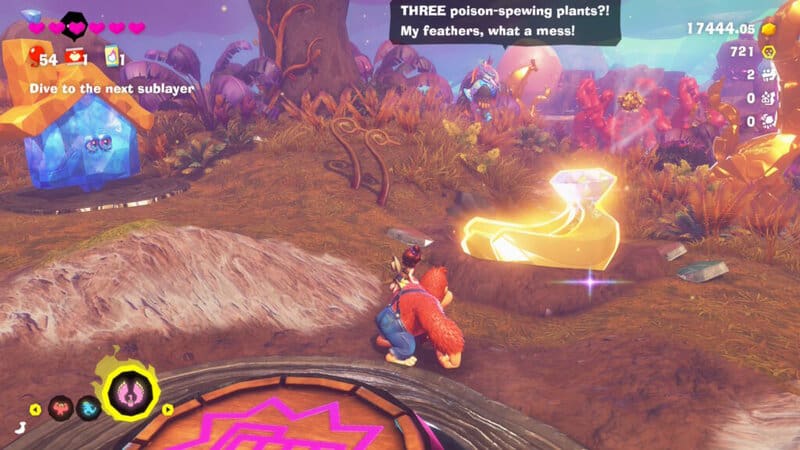
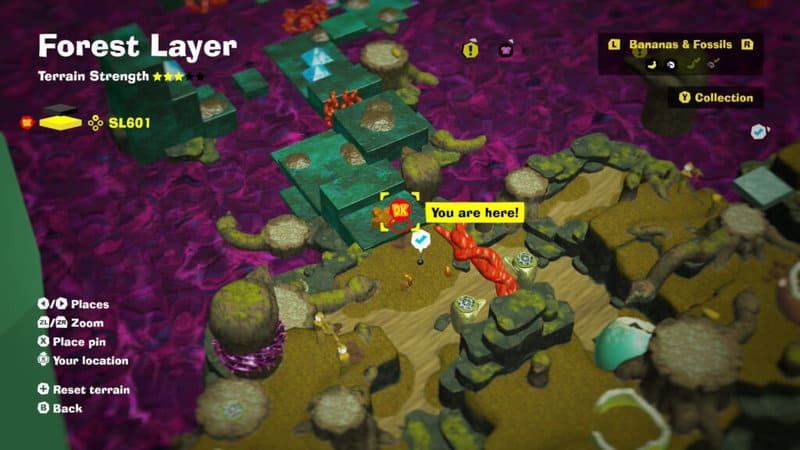
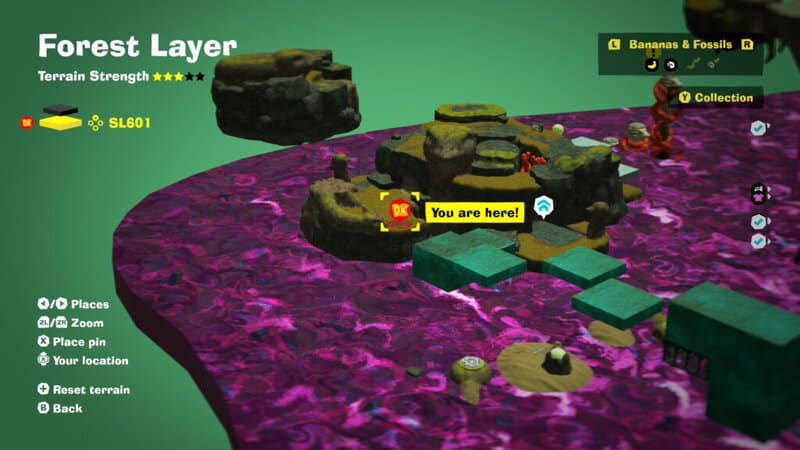
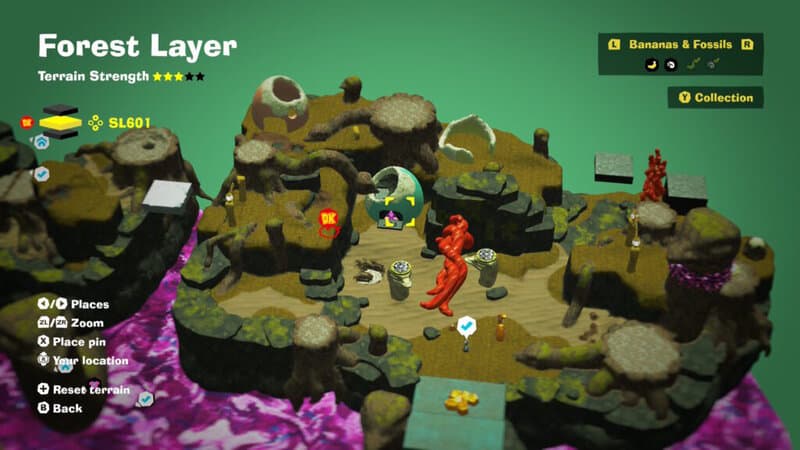
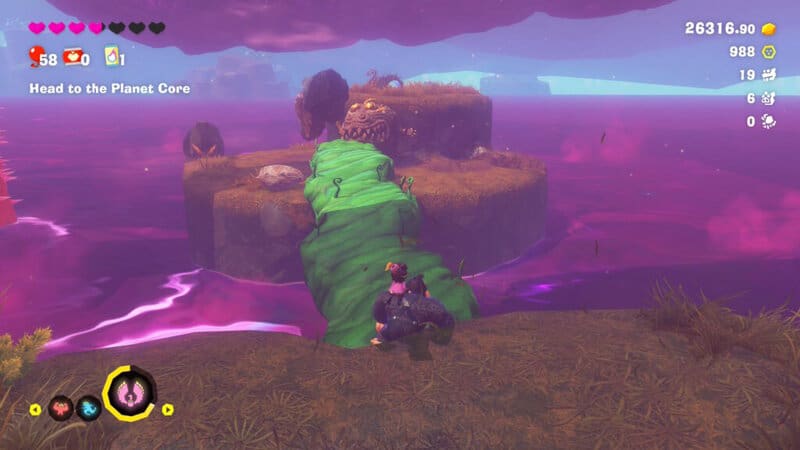
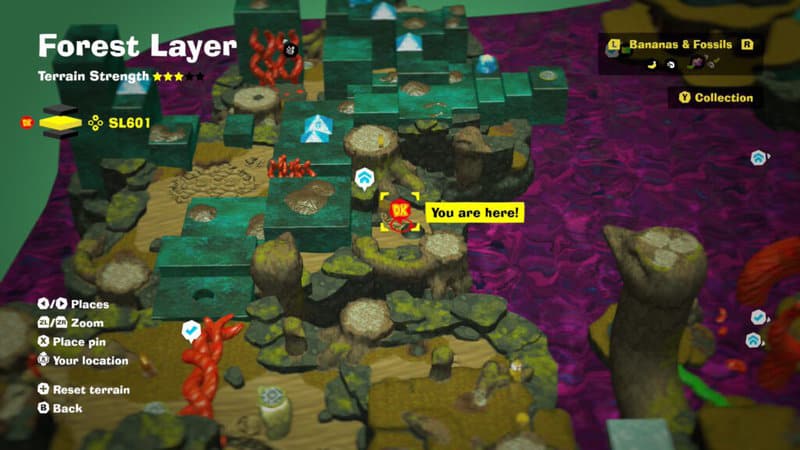
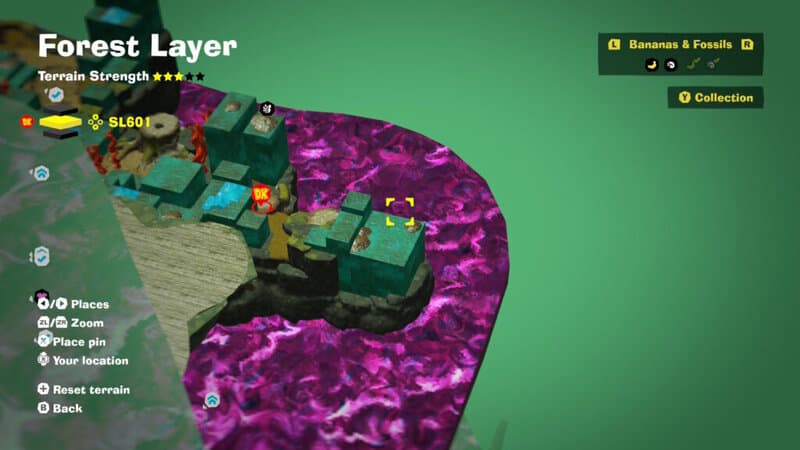
It’s all about poison in SL601, the second level of the Forest Layer in Donkey Kong Bananza. You’ll absolutely want to complete SL601 before going back to hunt for bananas — because most of the map is flooded in purple poison, blocking the explorable map and giving you very little real estate to work with. To fully explore the map, you’ll need to destroy all the poison-spewing plants and lower the poison level — once you’ve lowered the poison and unlocked the next layer, then it’s time to go back and start hunting for bananas.
Banana Locations | Forest Layer SL601
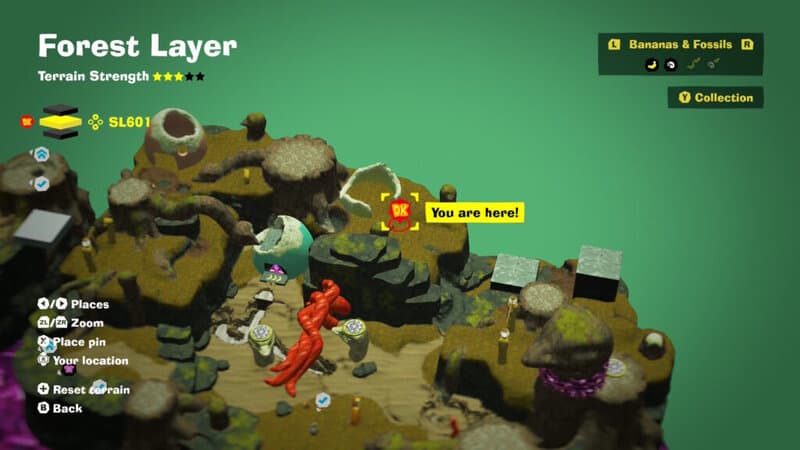
Plummeted To Mossplume Marsh – After completing Eggshell Hotel and unlocking the Ostrich Banaza, you’ll reach the next VoidCo Stake. Smash it and drop down to SL601 to find a fresh bushel of bananas waiting for DK. This is the first banana for this level.
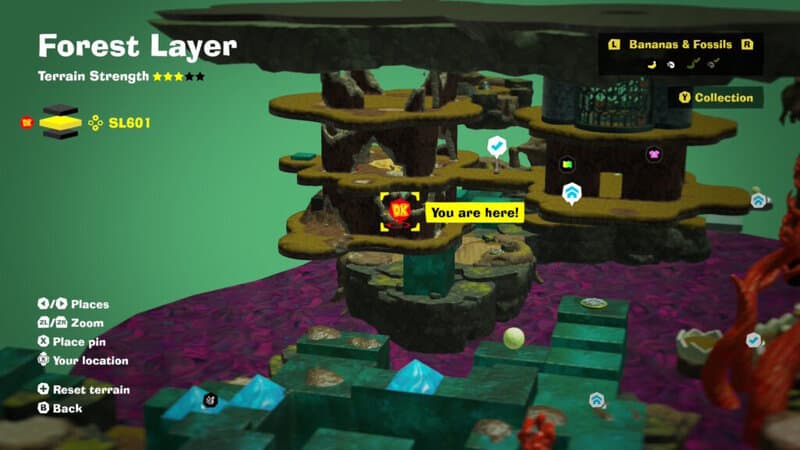
Bounced Into Rubbery Roost – Destroy the plant spewing poison into SL 601 and DK will lower the poison level for the entire level, revealing a bouncy area called Rubbery Roost. Drop down to the checkpoint and you’ll find a banandium gem stuck in gold.
Beyond Rubbery Roost – Destroy the second poison plant and DK will gain access to th Eggshell Hotel Annex area with a few shops. Keep going across the bouncy platforms toward the third poison plant and you’ll encounter this banana near another construction NPC that will build you a getaway.
A View of Mossplum Marsh – In the back-right of Bellhop Burb, there’s a egg home with brambles over the door. Destroy the thorns and dig down inside to find a secret stake guarded by enemies. Defeat the enemies to break the stake and drop down into SL601, directly above the Eggshell Hotel Annex room.
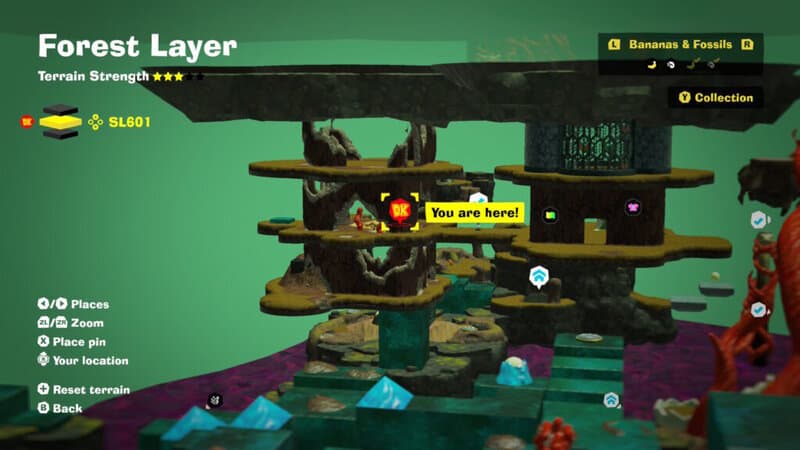
Stuck in the Stump – DK starts SL601 at Mossplume Marsh. Turn around and smash through the large tree trunk directly behind where you’ll land or appear after using a Teeleport.
Secret in the Marsh – On the same island as the previous banana, look for a sandy spot below the Mossplume Marsh checkpoint marker. Dig into the sand to reveal a hidden cavern.
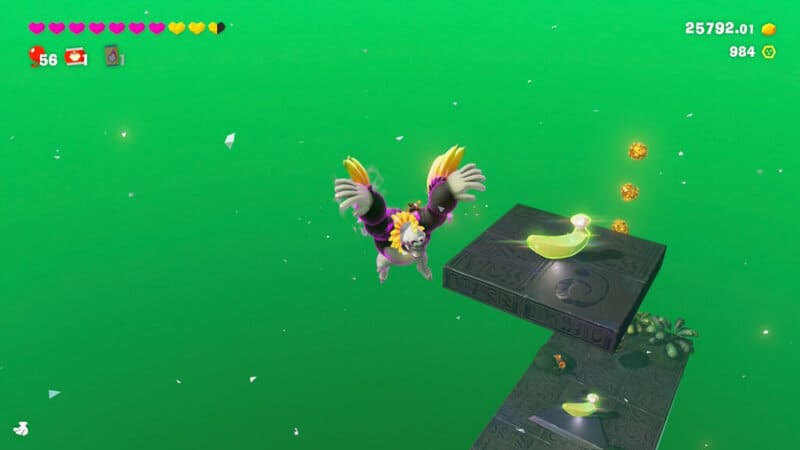
Flying Through the Sky – Later, you’ll reach the Rubbery Roost checkpoint after lowering the poison level in the area. When the poison is low enough, a challenge course portal will become available in a submerged egg hut. Transform into an Ostrich Bananza to complete this challenge — like usual, the first banana is at the halfway point of the challenge.
Soaring Through Space – Before reaching the end, there’s a concrete block covering a wind pipe right before the last banana. Lure a chomping enemy to destroy the concrete, then ride the wind up to reach a hidden banana.
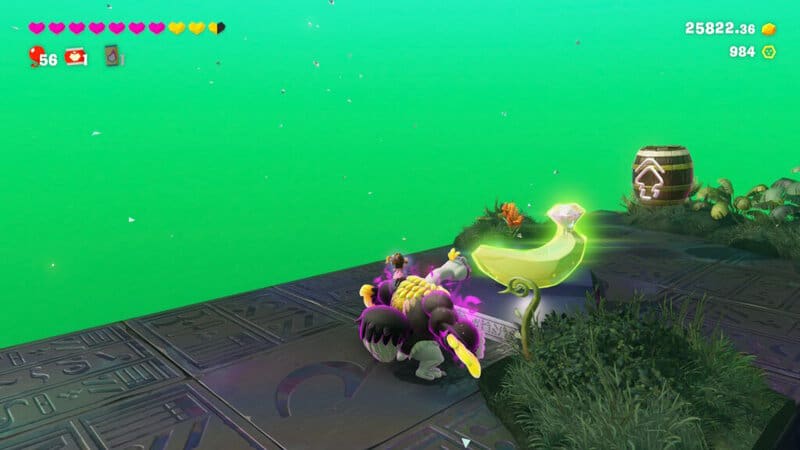
Gliding Through the Heavens – The last banana is your reward for reaching the end of the course. It’s located right after the hidden banana.
Beneath the Moving Bridge – In the area before the Rubbery Roost marker, there’s a large moving unbreakable platform. The banana is attached to the underside. To reach it, lure the chomper enemies to extend toward it and use their bodies like a bridge. Or just jump at it when it moves closer to the raised sand.
Shifty Smash: Thwart the Thorns – On the ledge above the previous banana, near the challenge course portal, there’s a broken egg hut with a Shifty Smash mini-game inside. Break the thorns near the moving platform first to make this challenge easy.
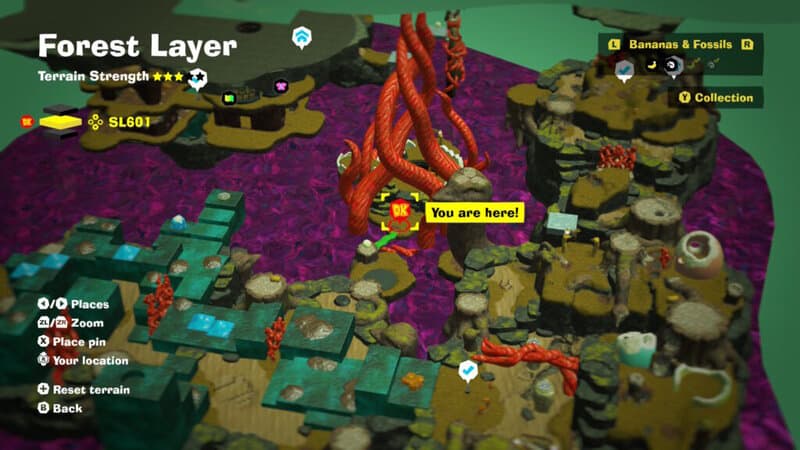
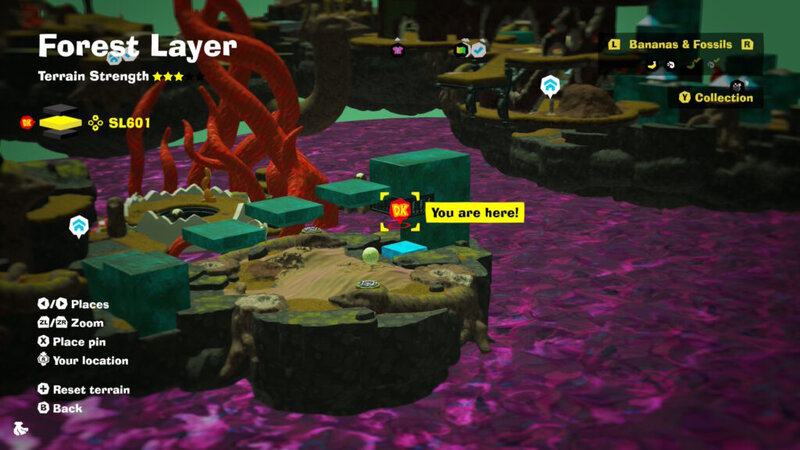
Forest Fragmentone Recovery – At the end of the level, in the center of the map where the pit leading to SL602 is located, there’s a Fractone with three missing pieces. Use the nearby seed to bring back the first piece and earn one reward.
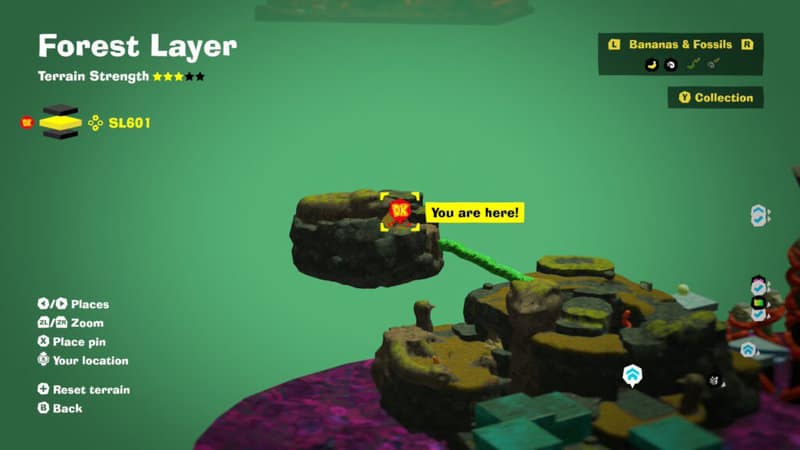
Forest Fragmentone Restoration – DK will earn a second reward for bringing back all three pieces. The other two pieces are on a small island nearby. Grab a seed and use it to create a bridge to the Fragmentone to reunite all three pieces. You’ll need to throw the seed at the wooden enemy!

Bouncing to the Top – On the left side of Rubbery Roost, there’s a tall tower of rubber material. TO reach the top, hold jump to bounce higher and perform a Dive Punch to launch DK even higher — enough to get this banana.

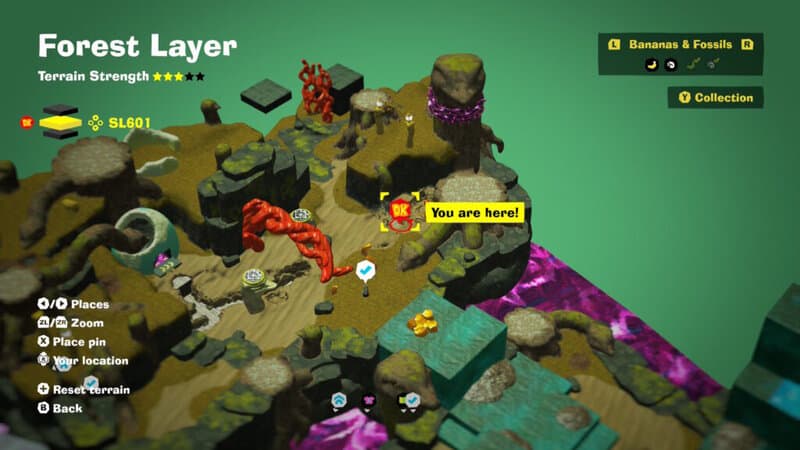
Forest Hide-and-Seek – Go to the location marked on the map to find Seekertone once the poison level has lowered in the Rubbery Roost area. Once the Seekertone NPC is free, talk to him to begin a scavenger hunt. Find all four of him nearby. They’re all hidden in the lower level that was previously covered in poison.
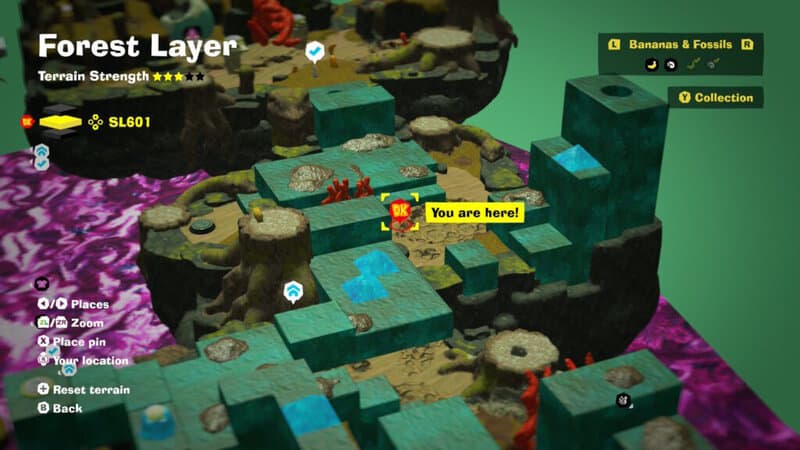
Beneath the Bounce – Near the Rubbery Roost Getaway, in the cave that’s only accessible after lowering the poison level in the area, there’s a buried banana at the end of the cave.
Battle: Bouncing Bites – From the Rubbery Roost checkpoint, look to the right side while progressing to find a combat challenge portal. In this challenge, DK needs to defeat four chompoids. Lure them out then use a Dive Punch to destroy each one. Aim for the snakey turf that appears behind the chomping head.
Shifty Smash: Rubbery Roost – At the far end of Rubbery Roost, there’s a Shifty Smash mini game icon. Bounce over and use Dive Punch to smash all the target turf before the time runs out.
Bouncy Ballet – Reach the Eggshell Hotel Annex and drop down to the lower floor on the adjoining hanging building. There’s a challenge course portal with three more bananas. The first banana is halfway through, in the center of many spinning bouncy cylinders.
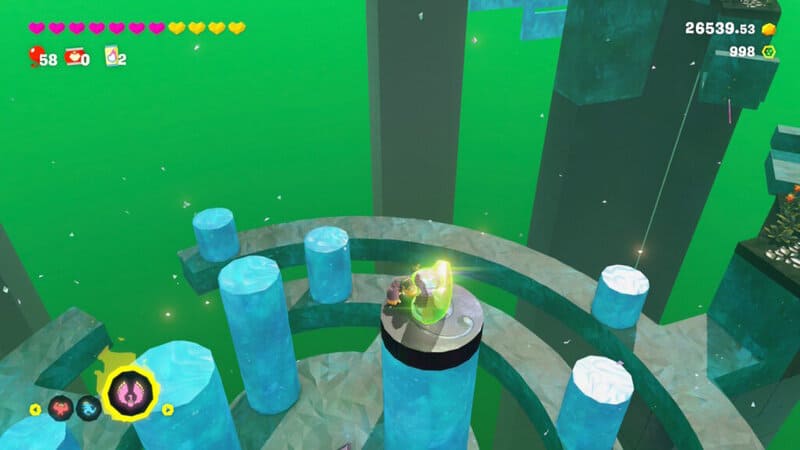
Bouncy Bravado – The hidden banana is directly above the first in the challenge course. Use the cylinders to bounce up to the upper platform in the center of the area.
Bouncy Barriers – Reach the end of the challenge course to claim this banana.
Hangin’ in the Annex – In the same area as the challenge course portal, reach the middle floor. Behind the wall there’s a bouncy rubber pad that can get DK up to a ceiling mesh. Grab on and follow the mesh to this banana.
Under the Rubber Pillar – Past the Eggshell Hotel Annex, go to the area with three floating rubber platforms after draining the poison. Beneath the first rubber pillar, you’ll find a hanging banana. Grab the rubber Fractone nearby and throw it at the cloudy block below to create a rubber bounce pad.
Battle: Three Across the Chasm – In the back-left of the rubber bounce pad area after the hotel annex, there’s a floating island in the back. Use a seed to reach it, then talk to the NPC to remove the rubble from the combat arena. For this challenge, throw a seed at the Crockoid made of wood to cross the gap.