

Elden Ring: Nightreign is a very different experience. The cooperative multiplayer rogue-like is unlike any other Fromsoft game, forcing your trio to work together or die trying against immense bosses and a very tight time limit. You’ll need to spend each three-day cycle farming for runes and other upgrades to prepare for the Nightlord raid boss. These Nightlords are truly legendary opponents, and unless you’re fully prepared, your team can get wiped out early. If you’re like us and have no idea what to think of Nightreign and its unique gameplay cycle, here’s what you need to know — at least, here are 12 things we wish we knew a whole lot earlier.
Beginner’s Guide
#1. Each run in Nightreign consists of three days. At the end of each day, you’ll fight a boss. The boss of Day 1 is easier, the boss of Day 2 is harder, and the boss of Day 3 is always a large-scale raid boss that’s totally new. You must defeat the first Day 3 boss to unlock a full roster of alternate boss targets.
#2. Always go toward churches at the start of each day to increase healing flasks by +1 permanently for the rest of your run. You can find up to four churches each run for a total of 7 healing flasks.
#3. The churches are usually on the edges of the map. Aim for getting two on Day 1, then get the other on Day 2. Look for useful pit-stops on the way to each church, and you’re free to get more if you’re in a good position to do so. Always check the map for nearby churches, they appear on the map by default.
#4. Don’t worry about healing items for mini-bosses on the field — rest spots will appear nearby after clearing any boss, so you can quickly level up and restock healing items after any fight. You’ll need to be more careful with healing during major boss fights. The more your teammates are downed, the more effort it takes to revive them.
#5. The Archer is one of the best characters for solo and triples play. Their long-range attack is ideal for reviving downed allies — target them and shoot them with arrows from a safe distance and they’ll be revived. The archer is called the Ironeye and he’s incredibly good for support because of his long-range attacks.
#6. Another very strong character for reviving allies is the Guardian. His Ultimate, the Wings of Salvation, briefly makes him invulnerable as he flies into the sky and slams down. This is an incredibly useful ability when your team is down, as it is guaranteed to hit and can be used to revive allies by targeting them instead of the boss.
#7. Target easy bosses on Day 1. Your goal is to level up and get useful upgrades. Go to military camps, ruins, castles or caves to find easier bosses. Ignore world bosses unless you’re very confident you can win — these bosses can typically kill you in a single hit at the start of a run.
#8. Never play duos! The game is only balanced around solo, or triples play — solo is difficult, but it is possible to defeat SOME of the bosses solo with the right characters and right techniques. Solo is also very good for practicing and getting your bearings, so you better understand the map.
#9. Once you’ve unlocked the full roster of bosses by defeating the first Day 3 boss, you’ll need to clear four total (or three more) to unlock the final boss of the game. Defeating the final boss will get you the ending credits. It’s the goal of the game, and certain Day 3 bosses are MUCH easier than others.
#10. The Day 3 bosses are the biggest challenge of every run, and where most runs will end. To prepare for them, check the map for locations marked with elemental powers. Your goal is to power up and select elemental upgrades that match the Day 3 Boss’s weakness. Targeting their weakness makes a huge difference. You can deal up to triple the normal damage when you focus on weaknesses.
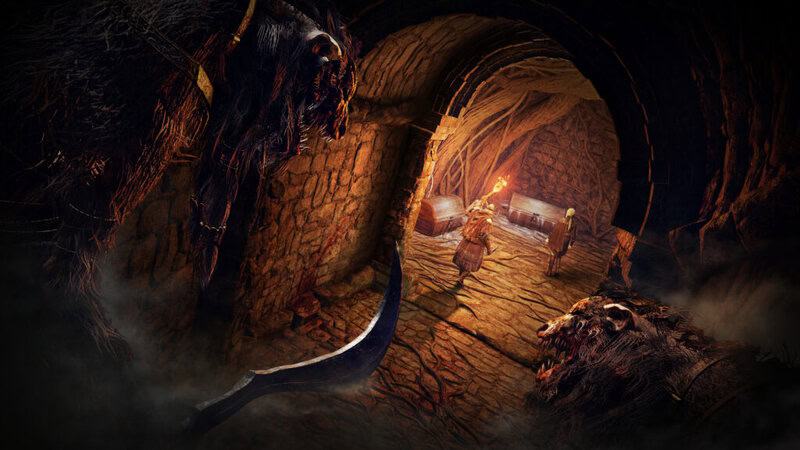
#11. Look for Smithing Stones and Glintstones in Mines. Mines are marked on your map as small caves with glowing gold light flowing into the cave entrance. Each mine cave has a minor boss guarding a storage room full of containers. Those containers always have Smithing Stones and Glintstones to collect. You can often find multiple of each, giving your fully party a chance to upgrade at the nearest smithing stations. Upgrading your weapon is one of the most important steps for dealing more damage on Day 1.
#12. Look for Wending Grace items — they allow you to raise yourself after defeat a single time. It is a consumable that is often found for sale from vendors in Triples matches but is always available when solo. You can find them every single time from random vendors when playing solo. Always buy one if you see them.


