
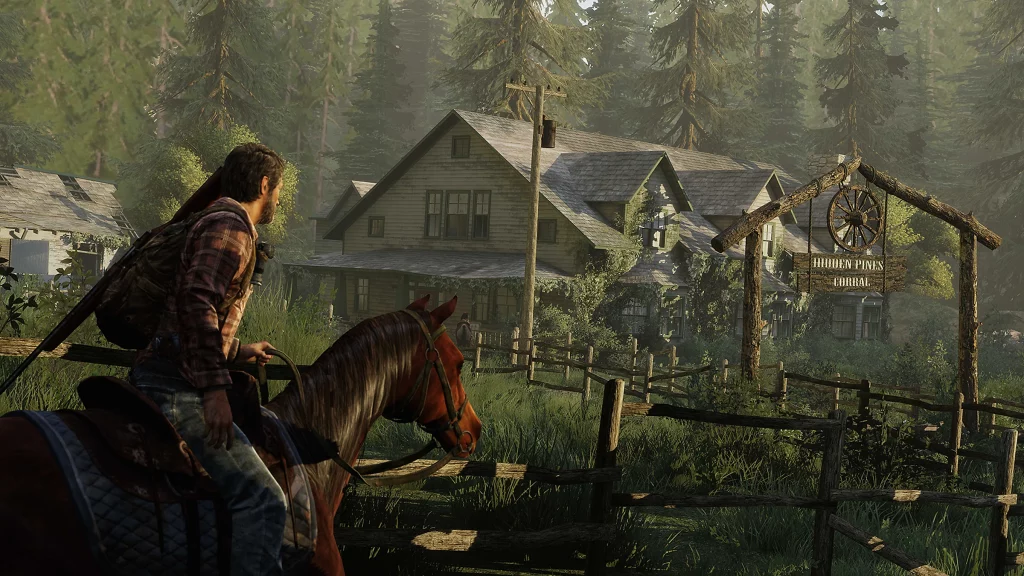
Workbenches are what you need to upgrade your gear in The Last of Us Part 1. They’re a brief respite in a terrifying world filled with killers and creatures that want to rip you apart. The only way to even the odds is with workbenches — and while these aren’t exactly collectibles, they will earn you a trophy for finding them all. Get all the workbenches to unlock the “Prepare For The Worst” trophy. Put on your working gloves and let’s dig in.
There are actually far fewer workbenches than you might imagine in The Last of Us Part 1. They seem like an essential tool, but there are only 11 in the entire game. Before starting this guide, I assumed we’d see the workbench as often as the merchant from Resident Evil 4. Not quite as many appearances here or in the sequel, where workbenches are littered across the 20+ hour story like candy.
More Last of Us Part 1 guides:
All Training Manual Locations | All Toolbox Locations
All Workbench Locations | Collectibles Guide
Workbenches are tables where you can upgrade your weapons. Weapons can only be upgraded to a certain level before you need to acquire more tools. Tools are rare collectibles you’ll find as you progress further in the game. For all tool locations, check the guides in the links above.
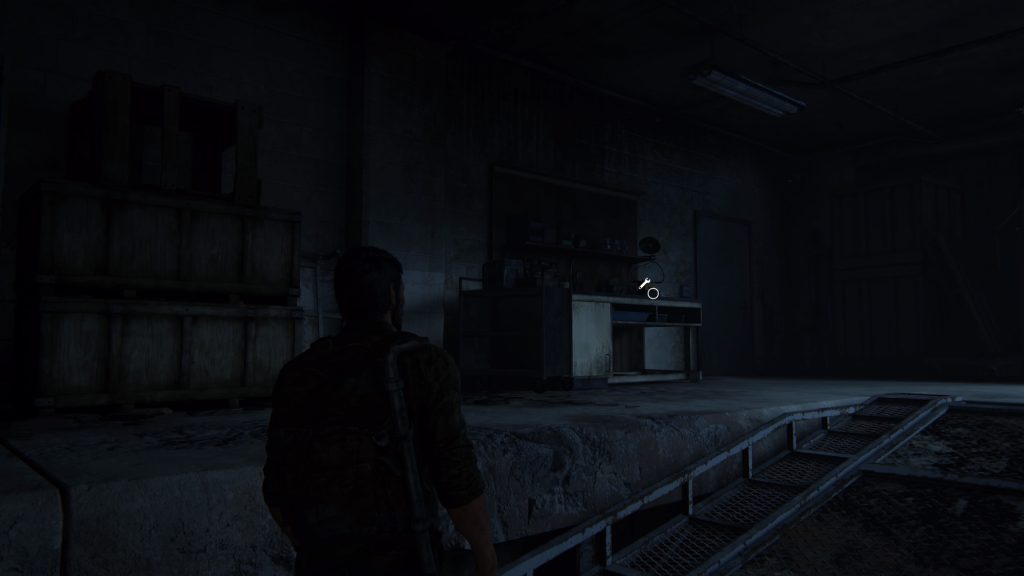
- Workbench #1: The Outskirts (Museum) – In the museum with Tess, find the first workbench up the ramp in the loading dock. Right at the start of the level, after escaping the horde through the garage door.
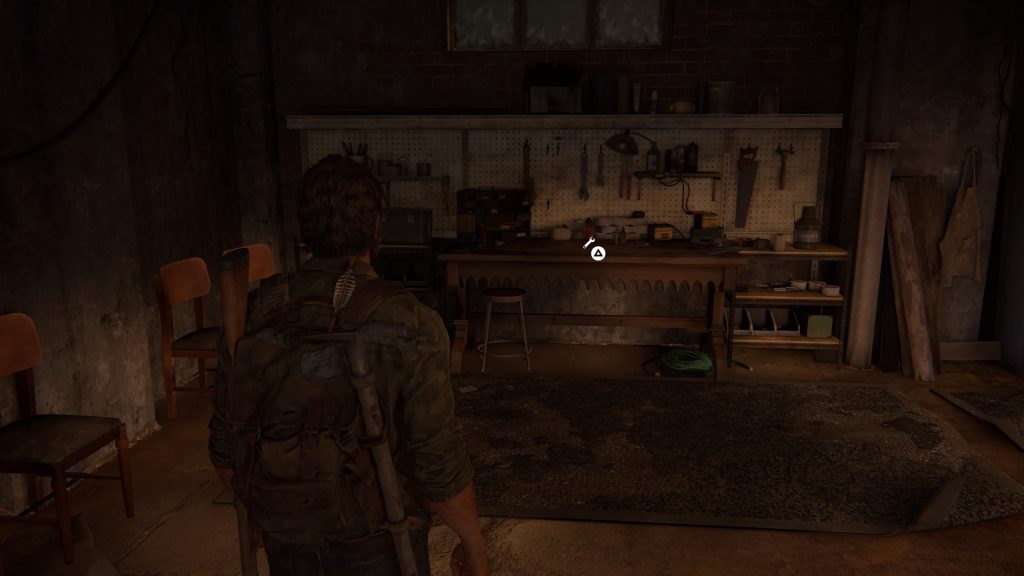
- Workbench #2: Bill’s Town (Graveyard) – On the back wall of Bill’s basement safehouse. Found right at the start of the chapter.
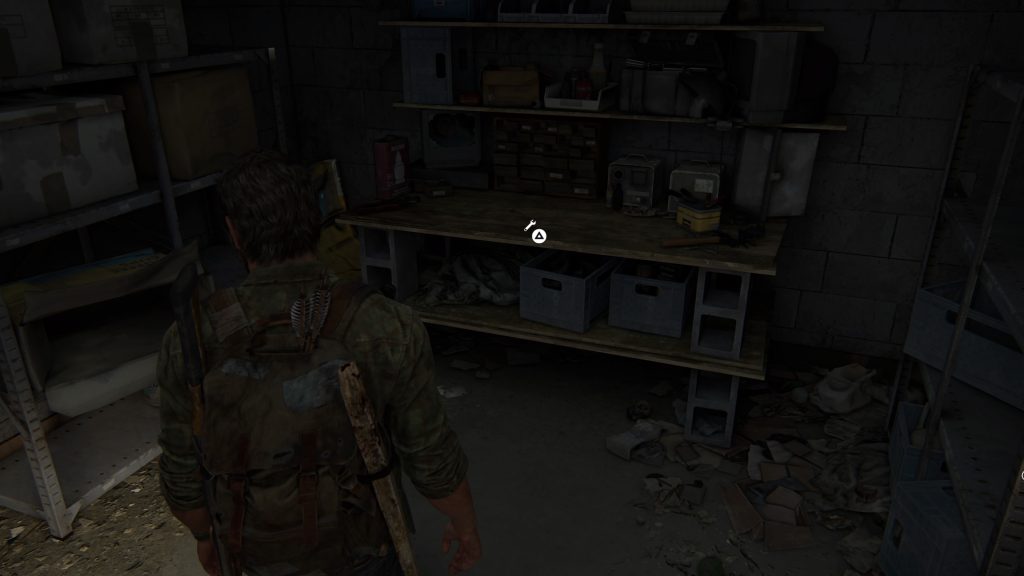
- Workbench #3: Pittsburgh (Alone and Forsaken) – In the room with the stripped corpses on metal tables, go upstairs and enter the room through the door at the end of the hallway. This is past the sleeping room where Ellie is exploring with a Training Manual.
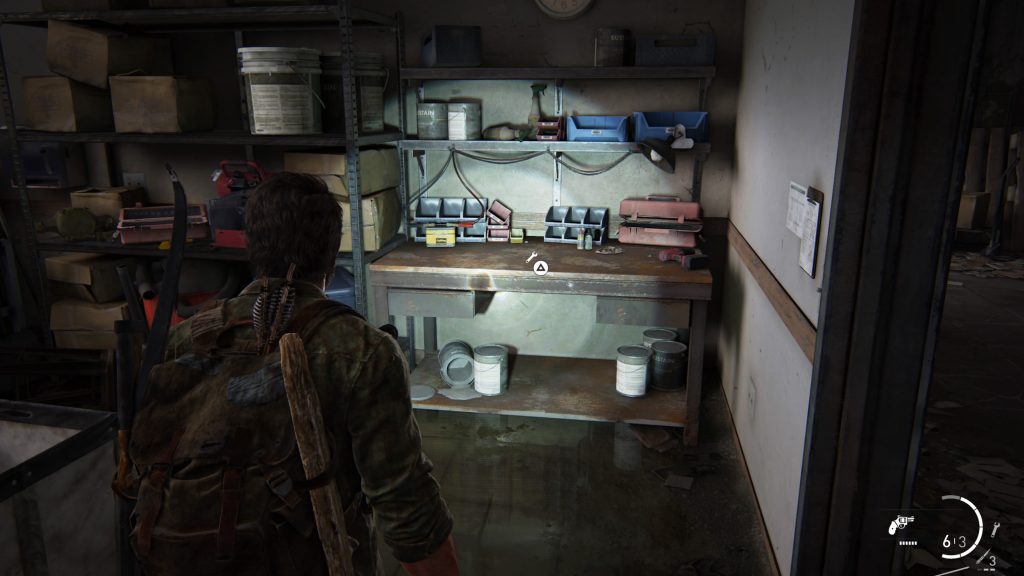
- Workbench #4: Pittsburgh (Hotel Lobby) – After escaping the basement filled with lurkers by turning on the power generator, you’ll reach stairs. Going up the stairwell, into the maintenance hallway, you’ll find a supply room on the right with a workbench.
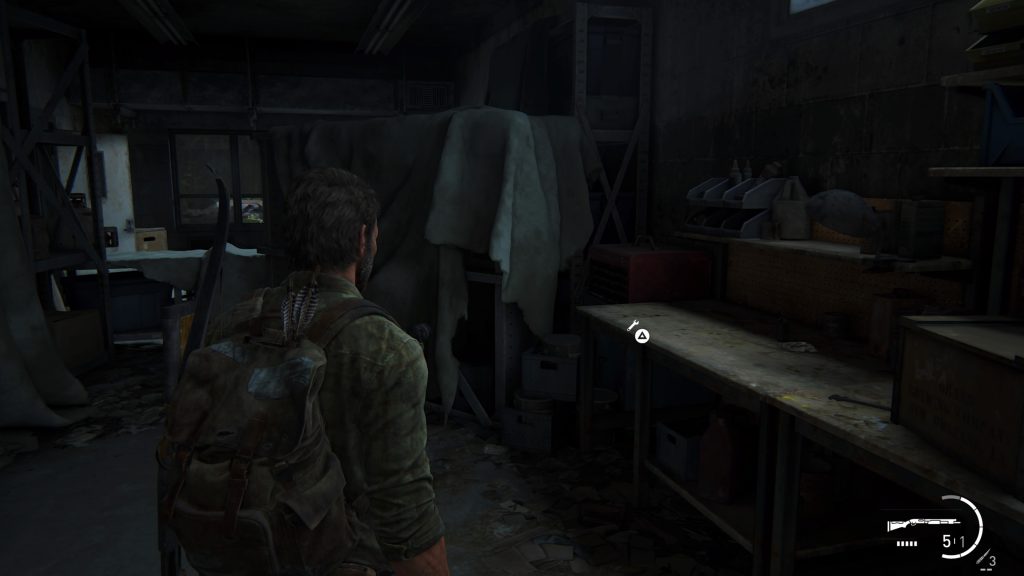
- Workbench #5: Pittsburgh (Financial District) – Complete the first encounter and enter the garage door in the back-left of the arena. You’ll need to move a cart to climb up through a busted interior window. After climbing up and through the window, you’ll find the workbench directly to your right.
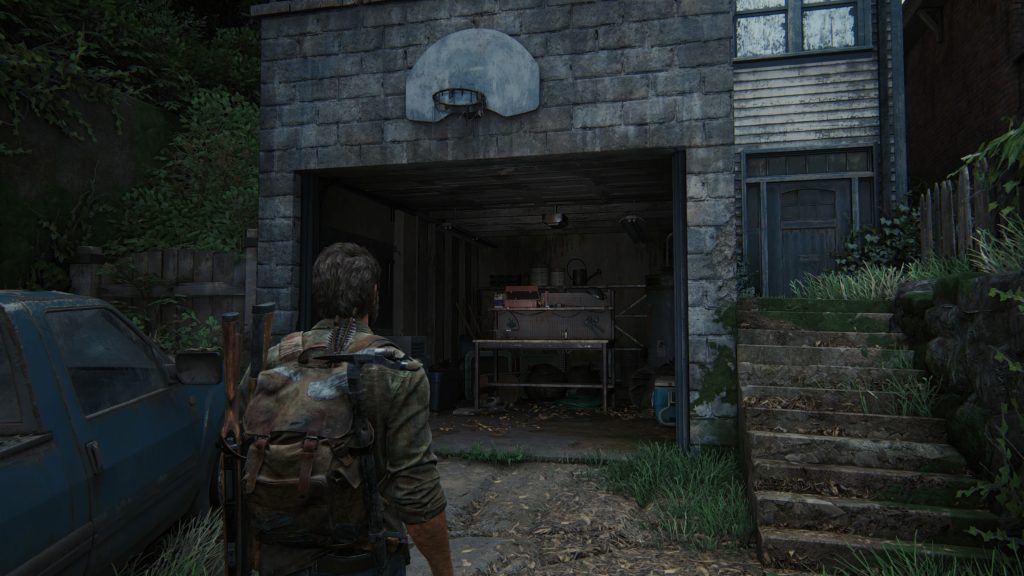
- Workbench #6: Suburbs (Suburbs) – On the street with the ice cream truck, enter the garage of the blue brick house. This is the house to the left of the red brick house with a training manual in the attic.
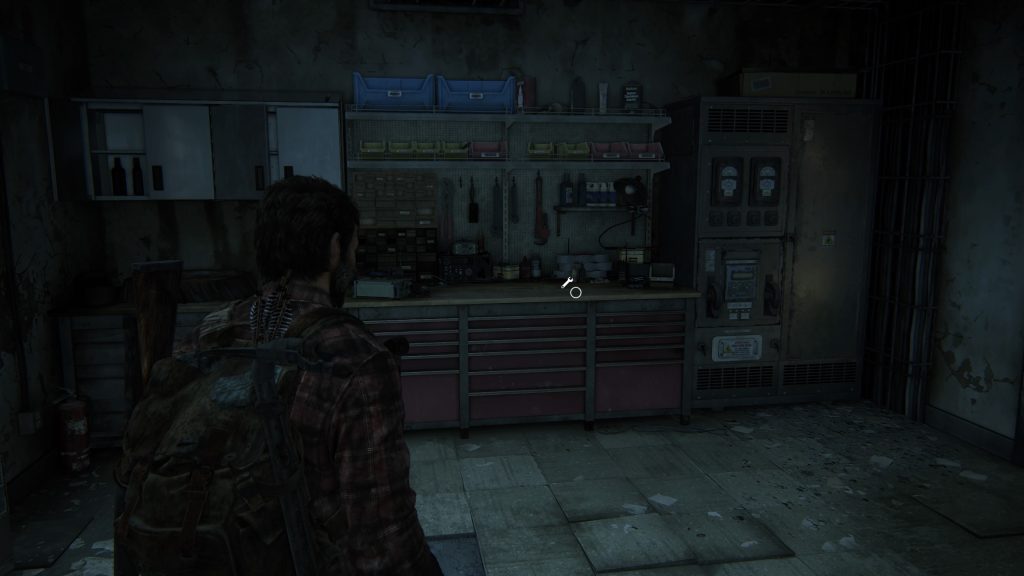
- Workbench #7: Tommy’s Dam (Hydroelectric Dam) – In the dam that’s full of people, enter the office where workers are planning at a large table in the center. Go left to find a workbench. There’s also a toolbox directly left of the workbench.
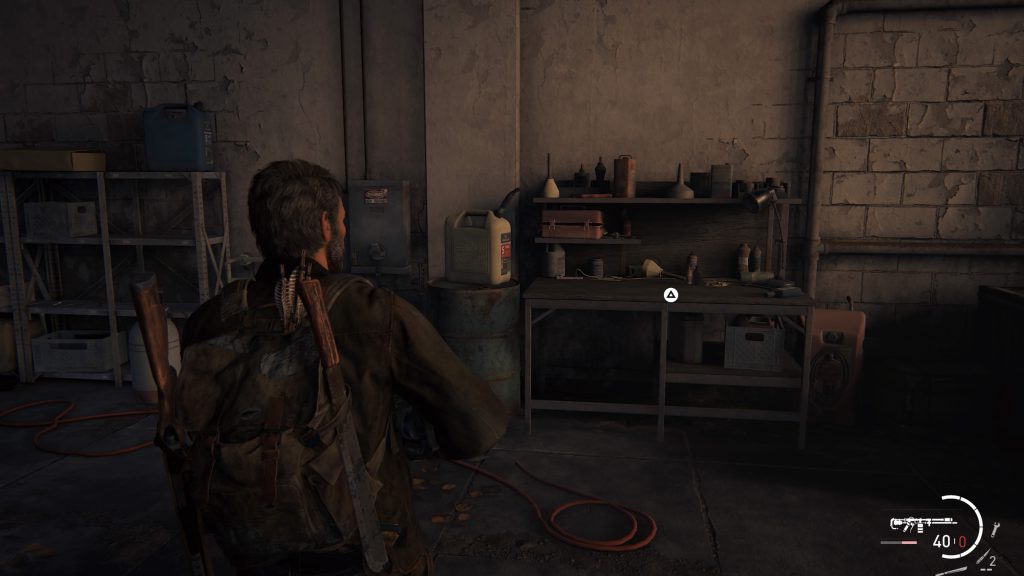
- Workbench #8: University (Go Bighorns) – Early in the level, near the blue barrier you can jump over, there’s an open garage with a forklift inside. Enter the loading dock to find a workbench on the left wall.
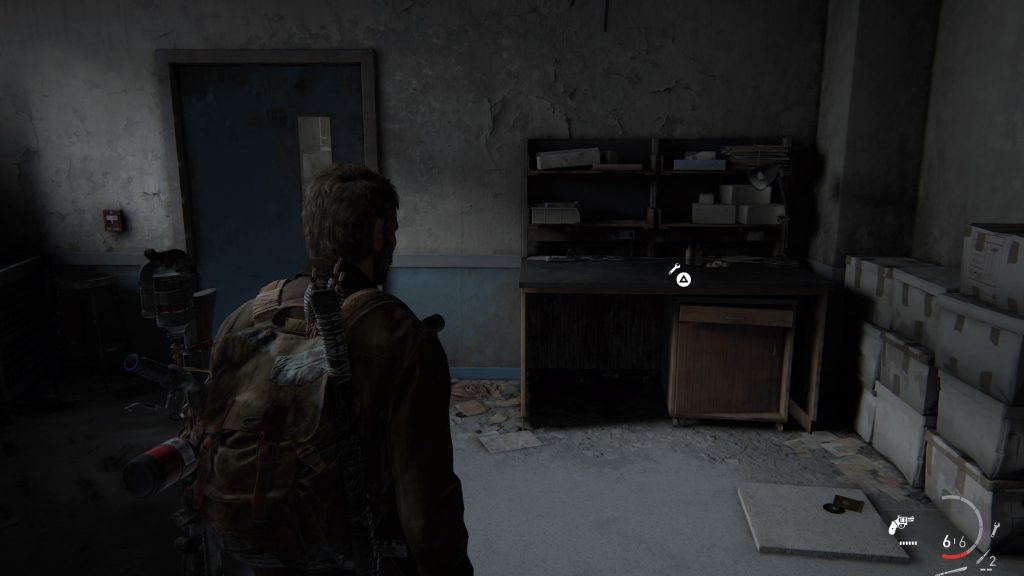
- Workbench #9: University (Science Building) – Climbing into the science building after pushing the dumpster through the gate, you’ll enter a lab room. Enter the door to the left to find the workbench.
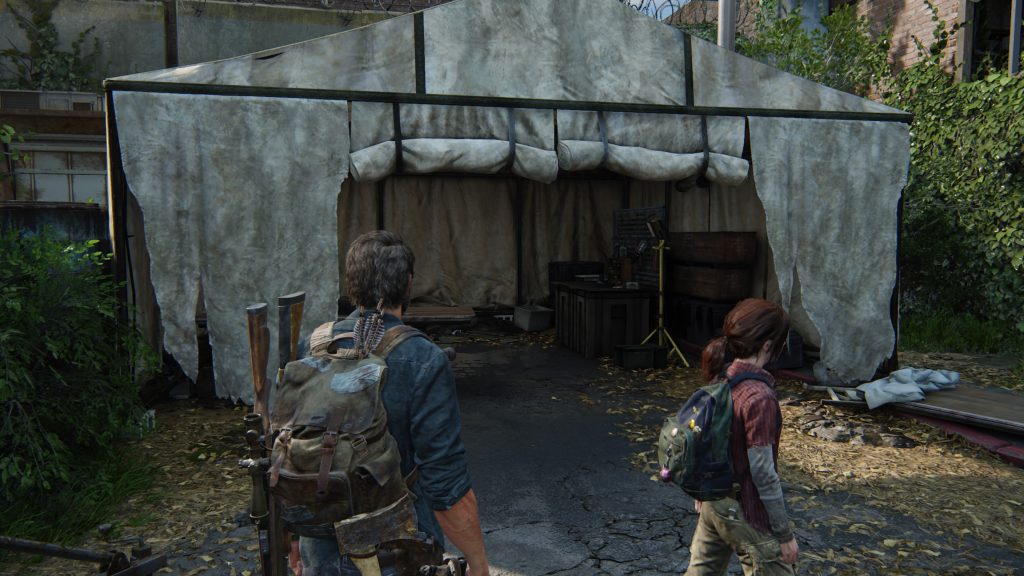
- Workbench #10: Bus Depot (Highway Exit) – Meet the giraffes, then leave the bus depot to reach a FEDRA camp. To the right, you’ll find a small FEDRA white tent near the watchtower. There’s a workbench inside.
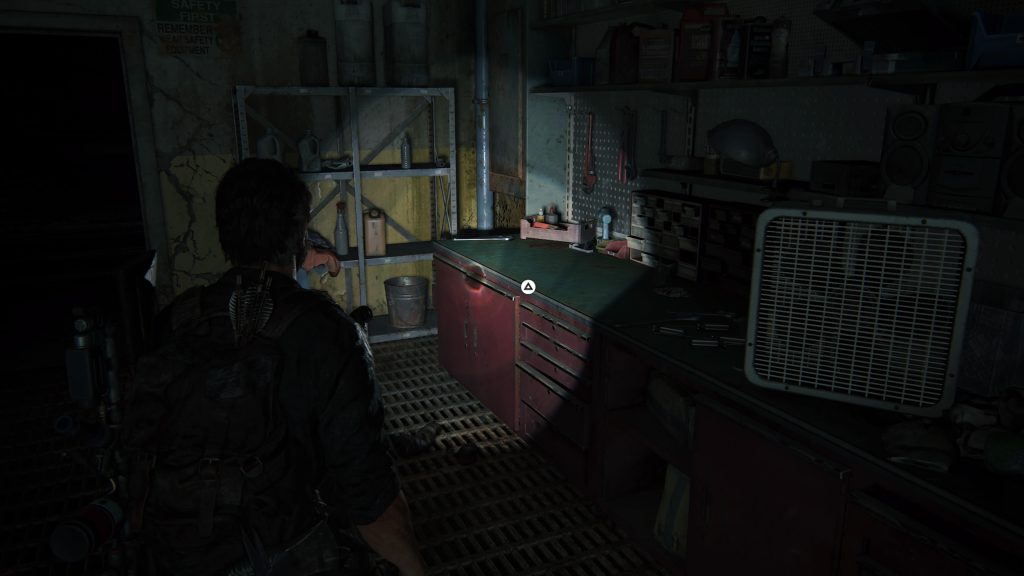
- Workbench #11: Bus Depot (Underground Tunnel) – As you progress through the tunnel, Joel and Ellie will enter a maintenance room. The workbench is on the right before reaching the exit door.
That’s all the workbenches. Find them all to unlock “Prepare For The Worst” trophy. And don’t forget to look for toolboxes! They’re often located right next to the workbenches. Only a few are hidden away. You’re meant to find most of them.