You’ve done it! Crash has made it to the final level, and if you’ve completed the color gem gauntlet from the penultimate level, this one is going to feel like a cool breeze.
It’s still pretty tough — that last part of the level is a pure obstacle course jam-packed with cruel rapid fire challenges — but in general, this is a pretty manageable challenge. The checkpoints are common, so you won’t have to go long before you can keep your progress. Don’t even worry about all those deaths. This is all about getting the Hidden Gem, stocking up on fruit, and finishing your crate collectibles.
More Crash Bandicoot 4 guides:
How To 100% Every Level | All Hidden Gems & Crates Locations Guide | How To Find The Ridiculous WOAH! Meme | WOAH YEAH! Easter Egg Guide | How To Beat All Bosses | Neo Cortex, N. Tropy & More | How To Get All 4 Colored Gems | Blue, Yellow, Green & Red Locations
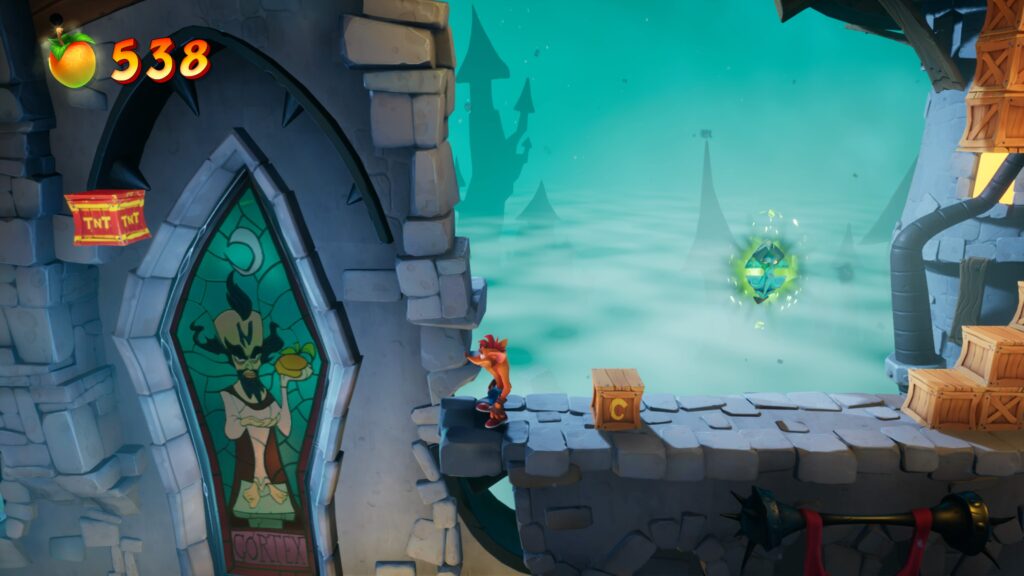
10-3: Castle Cortex | All Crates & Hidden Gems
To earn 100% on a level, you need to find 80% of all Wumpa Fruit, die no more than 3 times, find the Hidden Gem, and find all crates. These challenges can be completed in any order. If you die more than 3 times while finding all the crates, you can return and earn the last gem later. All gems you’ve unlocked in a level stay unlocked in future replays.
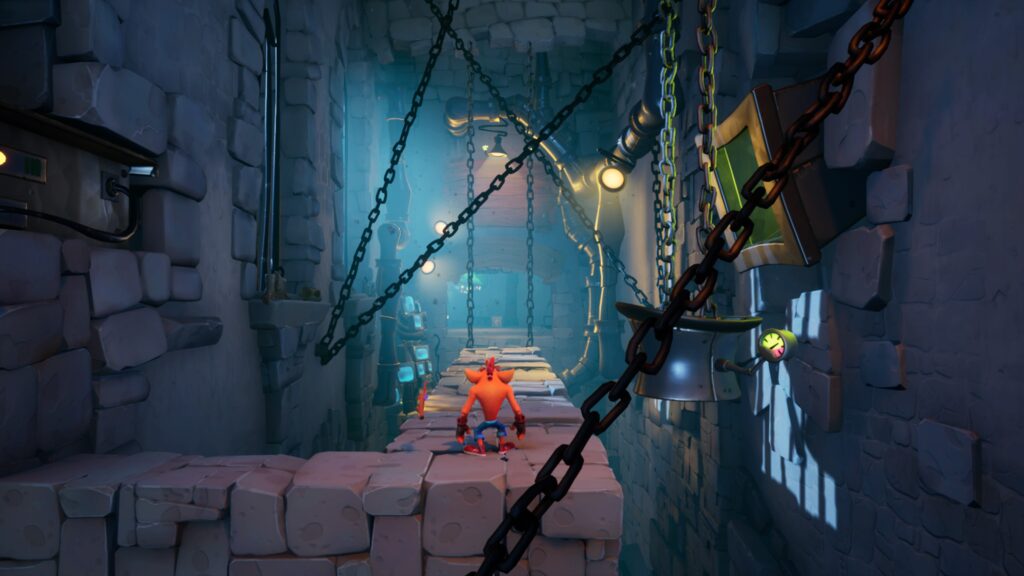
8/170: Lots of crates right at the start with the phase-shift power-up. Continue to the first checkpoint.
13/170: Collect all the crates on the laser / platform area with phase-shift. There’s a lot of crates that are very tricky here — especially the two crates on the far right. Get the crate at the top of the vertical platform.
15/170: Destroy the 2 crates at start of the slow-mo power-up area.
[Easy-To-Miss] 16/170: At the first area with the launching spiked platforms, slow-mo and slide-jump to reach the high crate.
20/170: Ahead, there’s 4 crates including a Nitro crate. Use slow-mo to bounce off the Nitro and get the crate above it.
24/170: Smash the crates up to the bonus room platform.
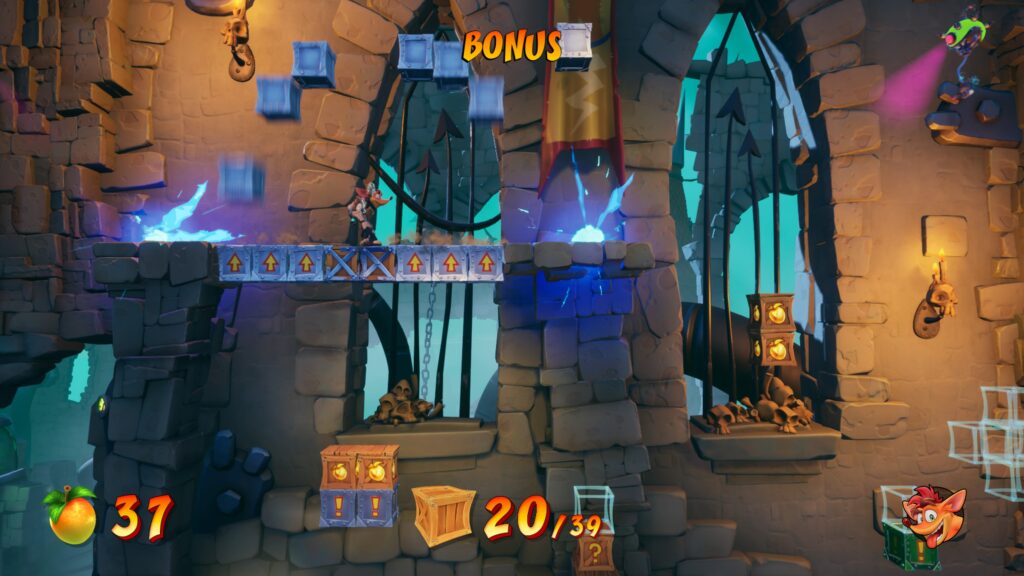
[Bonus Room] 63/170: Complete the bonus room for 39 more crates. Very tricky — use slow-mo to set off the Nitro slowly until you reach the bouncing blocks.
- On the raised Nitro, bounce off and reach the gold fruit crate. Disable slow-mo and bounce of it to escape the explosions.
- Make sure to destroy the two floating crates before butt-stomping the two strong crates.
- Quickly bounce off the Nitro crates so you can reach the end before the slow-mo runs out.
64/170: Jump past the last slow-mo section and reach the checkpoint.
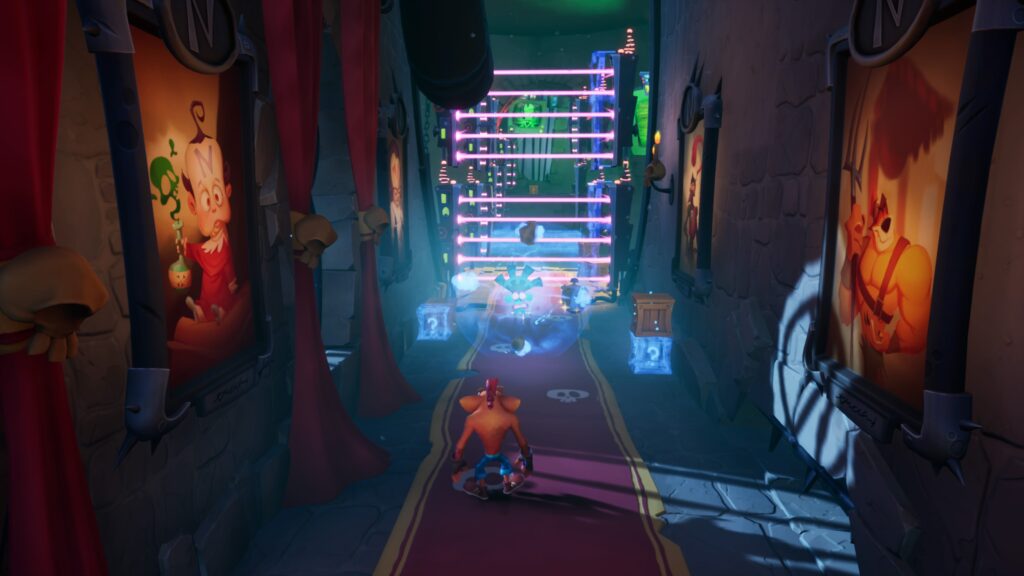
85/170: Use the whirlwind power to fight through the knights and destroy all the crates on the path. Stop before breaking the checkpoint before the gravity power-up.
[Easy-To-Miss] 92/170: See the TNT crate to the left of the checkpoint? Use it to bounce up to a line of crates. Jump on all of them then return to the checkpoint.
93/170: Then destroy the checkpoint and grab the gravity power-up.
123/170: Smash all the crates ahead of the gravity power-up. Don’t miss the crates to the left while the lift platform is rising up. Stop at the crate before the spike shield launchers.

130/170: Smash the TNT and floating crates to the left of the checkpoint. And the checkpoint too!
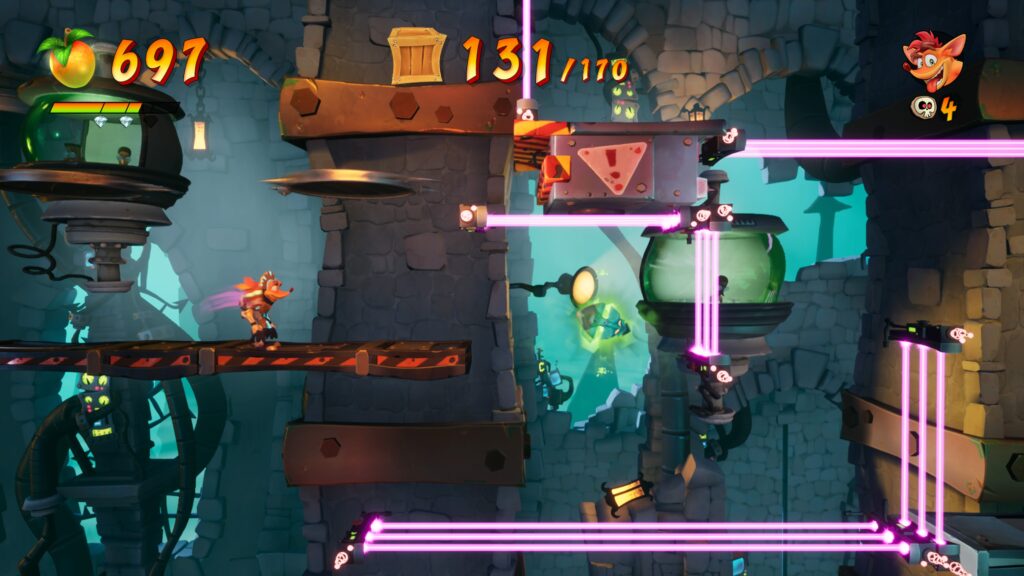
131/170: After gaining slow-mo on the final obstacle course, get this crate before the gravity mask.
132/170: Hit the checkpoint next between the slow-mo and whirlwind masks.
138/170: Get the whirlwind and destroy the TNT, then the Nitro when you gain the slow-mo mask. You’ll get the phase-shift mask next. There are two TNT crates — stop on one, then slide-jump onto the moving lasers so you can reach another TNT.
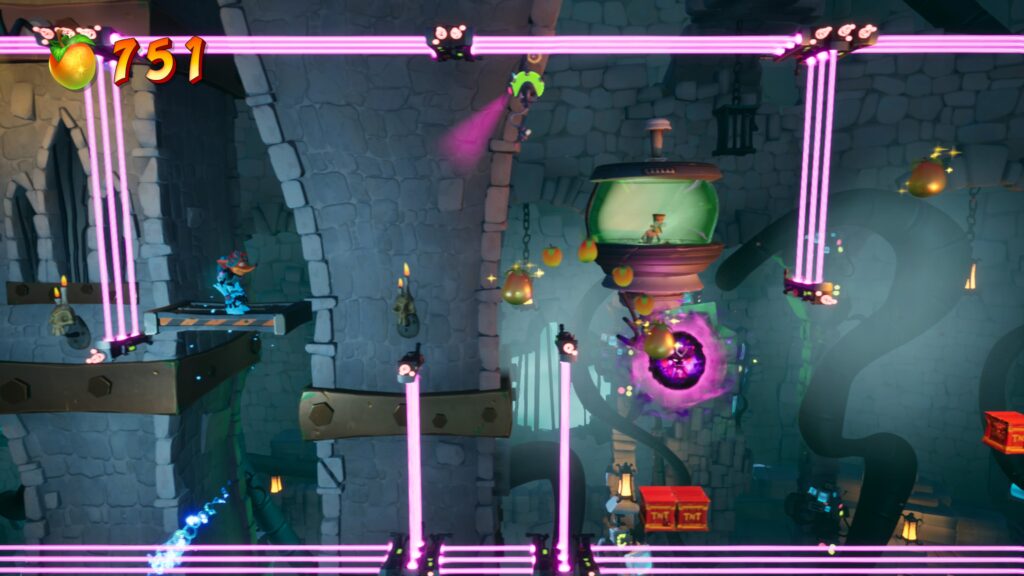
[Easy-To-Miss] 139/170: Slide-jump off the TNT to reach a floating crate near the hidden gem.
Hidden Gem: Found right next to the crate in the previous entry. Very trick.
140/170: Collect the checkpoint before the phase-shift mask.
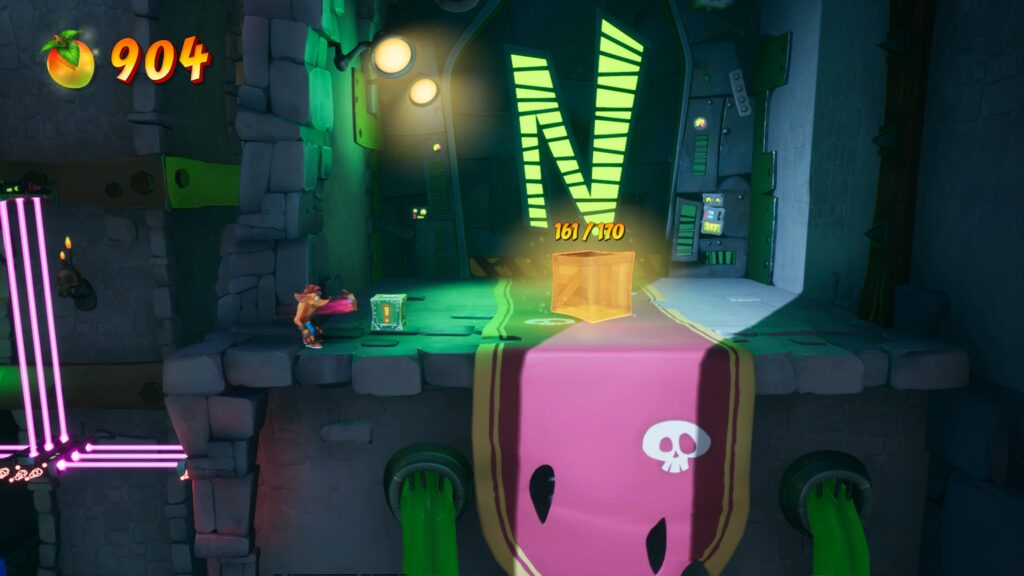
161/170: You basically have to collect the next 21 Nitro / TNT crates along the final path.
170/170: Hit the Nitro detonator to complete your collection. And complete the game!