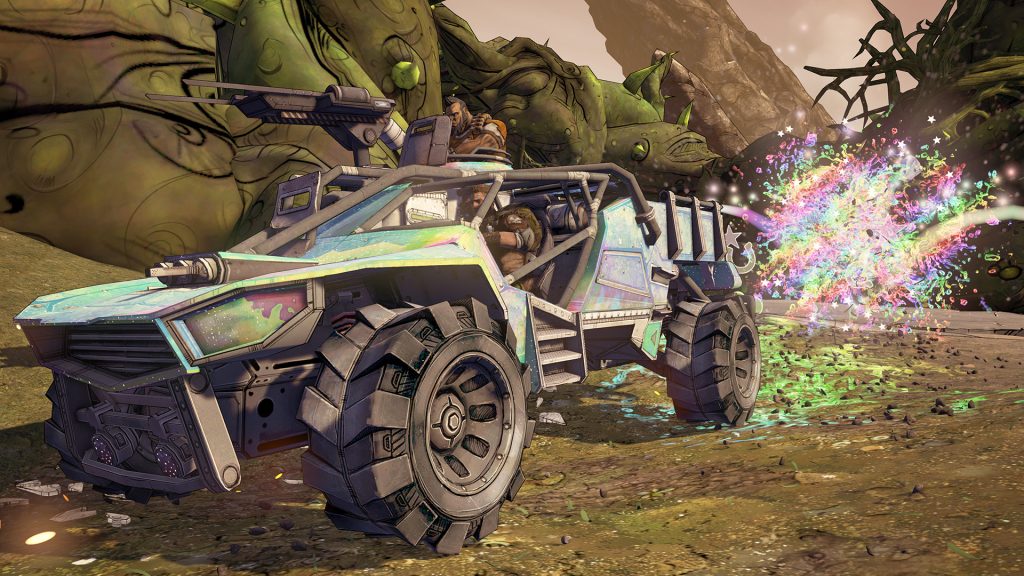
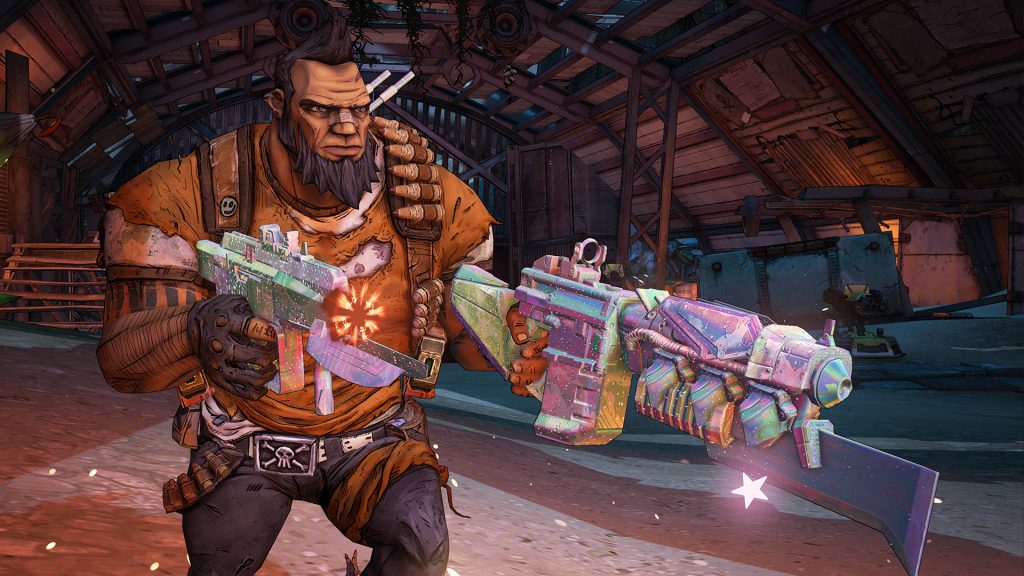
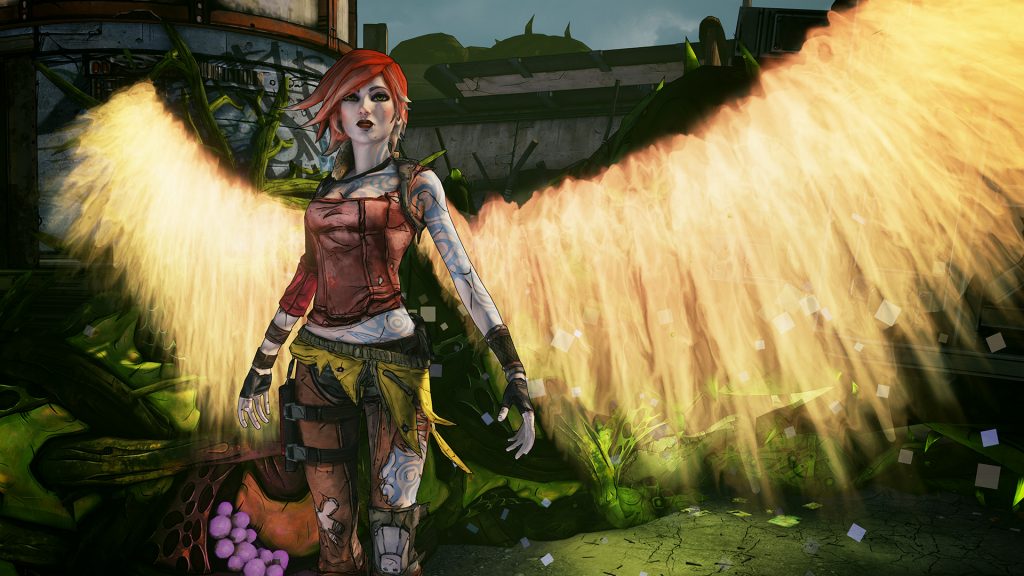
The ‘Commander Lilith and the Fight for Sanctuary’ DLC is brand new, and that means fresh grinding spots for Borderlands 2 fans. Loot has a new, even more powerful tier and you can grind levels all the way up to 80. That gives you even more opportunities to farm — and this new DLC includes two great ways to endlessly farm for powerful loot, even if you’re solo.
Both of these grinding methods, which players say are the best spots for farming loot in the game currently, can be accessed after you’ve completed the ‘Commander Lilith’ DLC. It isn’t too long, and both involve returning to areas you’ve already cleared before to endlessly fight respawning bosses. Each of the end-of-level bosses will respawn, and with the right equipment, you can devastate these guys. Learn all about the farming locations below.
Don’t miss out — the new ‘Commander Lilith’ E3 DLC is currently free. Here’s how to download it.
More Borderlands 3 guides on Gameranx:
- Borderlands 3 Trailers Secretly Include New Borderlands 2 SHiFT Codes | 100+ Keys, Zer0 Skin & More
- Borderlands 3: Zane the Operative’s Complete Skill List | Under Cover, Hitman & Double Agent
- Borderlands 3: Amara the Siren’s Complete Skill List | Brawl, Mystical Assault & Fist of the Eleents
Best Methods For Grinding In The Game | Loot Farming Locations
Both of these methods are only available in the ‘Commander Lilith and the Fight for Sanctuary’ DLC. Once you reach (almost) the end, you’ll be able to start farming. The trick is all about triggering one-way-teleporter checkpoints. These checkpoints save your location, so when you exit and reload, you’ll appear right next to one of these special porters.
Method #1: This method only works if you’ve completed the Helios Fallen mission and defeated the Uranus robot at least once. After that, you can farm him endlessly. Go to Helios Fallen, and then trigger the one-way travel beacon to Fire Control Alpha. When you restart, you can reset from that beacon instead of replaying the entire area — go down the elevator in the hallway outside Munitions Loading.
Step through the open doorway, and the Uranus boss will spawn. Now you can simply run back down the hall and shoot the boss from safety. Take him down, and you’ll find effervescent drops, legendary drops, and lots of Eridium. If you used the one-way teleporter, you’ll respawn there after saving and quitting, making it even easier to complete fast runs.
Method #2: This method isn’t quite as good as the other method, but it should work forever — this one probably won’t get patched. Travel to Mt. Scarab Research Center and travel to the end of the mission. Defeat the boss Cassius, and find the Research Center – Paradise Bio-Lab one-way teleporter. Trigger the checkpoint, then save and quick. You’ll reload at the porter, and you can farm the chests nearby endlessly.

