Table of Contents[Hide][Show]
There’s a mystery to solve in Kingdom Come: Deliverance 2 and it isn’t just about finding the murderer. During the main story quest ‘The Lion’s Den‘ Henry will need to infiltrate Sigismund’s Army Camp in a plot to steal the Finger of God Cannon. But there’s a big problem holding the caravan up — one of the three leaders of the camp has been murdered. You’ll have two days to investigate and solve the murder, and there are multiple outcomes. Here we’ll talk about the actual killer and the person you’re going to want to frame for the best possible outcome. Let’s get started.
How To Solve The Lion’s Den Murder
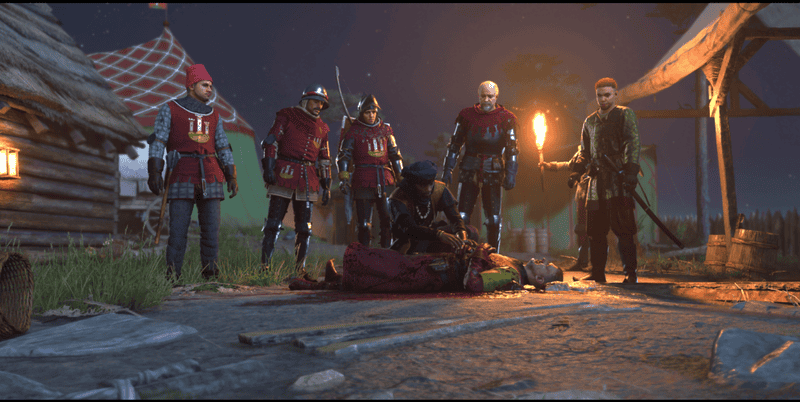
Partway through the main quest ‘The Lion’s Den‘ you’ll be interrupted by the murder of the Cuman Captain in Sigismund’s Army Camp — Chertan has been stabbed, and you’ll need to investigate. Before checking on Chertan in the hospital, search the area for clues first.
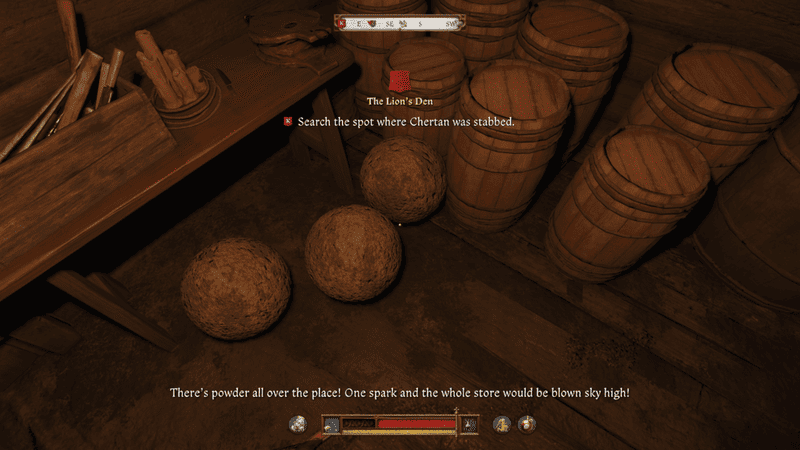
- Examine the blood on the ground and follow the trail. It leads to the Gunpowder Storage cabin nearby. Examine the lock on the ground.
- Next, examine the inside of where the cannon is kept. You’ll notice there’s gunpowder all over the ground.
- After that, follow the trail behind the cart near the storage building. There’s a discarded lockpick.
- Finally, follow the trail to the water trough. You’ll see that the killer cleaned up there.
Finish your investigation and talk to Katz. You can tell him what you learned or lie — either way, go to the triage area to learn that Chertan is dead and Musa is being held responsible, even if you pass a Speech Check and realize that the wine used to prepare for surgery has been poisoned.
To learn more, talk to Guard Radovan at the front of the triage. If you pass a Speech Check, you’ll learn that Radovan didn’t see anything. You won’t learn anything useful. Instead, travel to Musa’s tent. He’s guarded by a soldier at the front entrance. Use the path behind the triage tent and wait for the guard to patrol before entering Musa’s tent and talking to him.
Talk to Musa to learn that Katherine delivered the wine, but that the wine must’ve been poisoned at the infirmary. Musa will explain to examine Chertan and then check the symptoms with a poison almanac in a locked chest.
Discovering The Poison
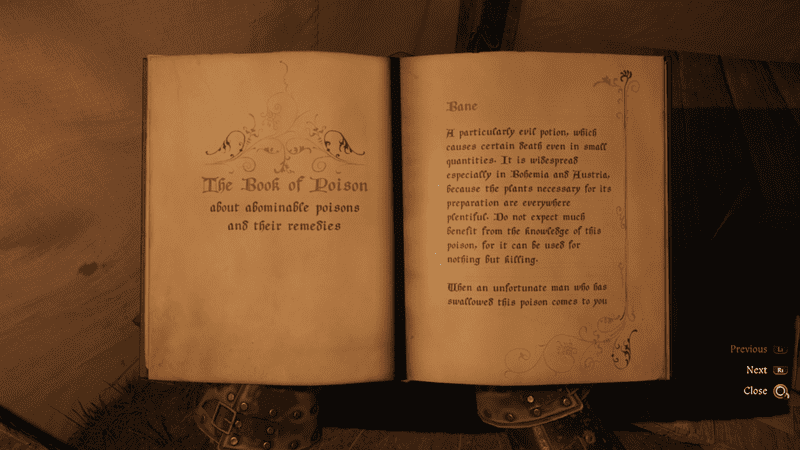
Return to Chertan in the infirmary. First, collect Musa’s Key from the shelf with the rows of bandages, then open the [Easy] difficult chest near the table. Collect The Book of Poison and read it. There are five poisons in the book, each with different notable qualities.
- Bane: Causes certain death. Plentiful in Bohemia. Eyes turn black, dryness of body. Made with Wine, x1 Wormwood, x2 Belladonna and Fly Agaric. Tasteless.
- Pitohui Bird Poison: A rare poison from bird feather. Causes tingling when touched.
- Dollmaker Poison: Soothes and relieves pain. Drinking causes numbness. Body rejects unless already weakened. Made from Liquor, x1 Valerian, x2 Herb Paris.
- Kiss of Death: Gives a pleasant aroma. Makes skin red and blistered. Causes spasms makes the victim eject their bowels from both ends. Made with a Clay Pot, Red Copper, arsenic, oak bark and rose water.
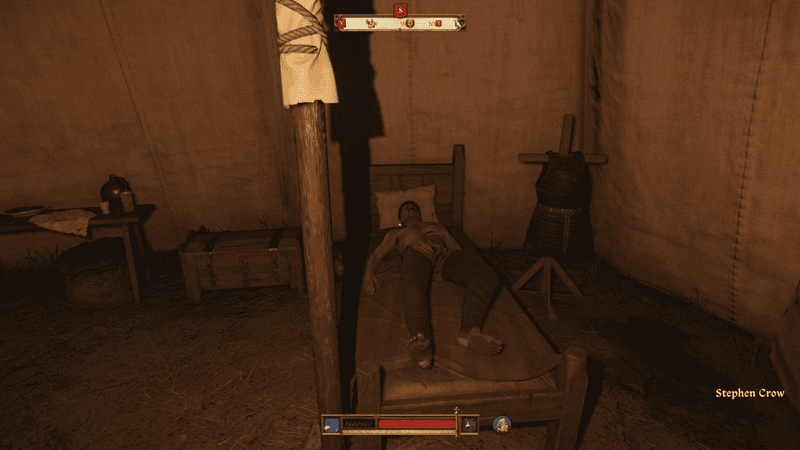
- Lullaby: Causes the victim to sleep soundly. Once you’ve read the book, examine the dead body on the table.
Follow every choice to learn that the victim vomited. He died while experiencing powerful spasms. He also has broken nails, and his body evacuated itself before death — these are all symptoms of the Kiss of Death poison.
Return to Musa and talk to him. Select ‘Kiss of Death‘ — and tell him it was absolutely that poison. After talking to Musa, you’ll also learn that there are three suspects. The suspects are Stephen Crow, the guard and the commander of the camp. Musa will also ask you about your role in the camp. You can tell him without changing the outcome of anything — if you tell the truth, Musa will keep your secret.
Next, Henry must search the tents before night is over.
Solving The Murder
At this point, for markers will appear. You can question all the NPCs involved or start searching tents of the accused. There’s only one tent you need to search for now.
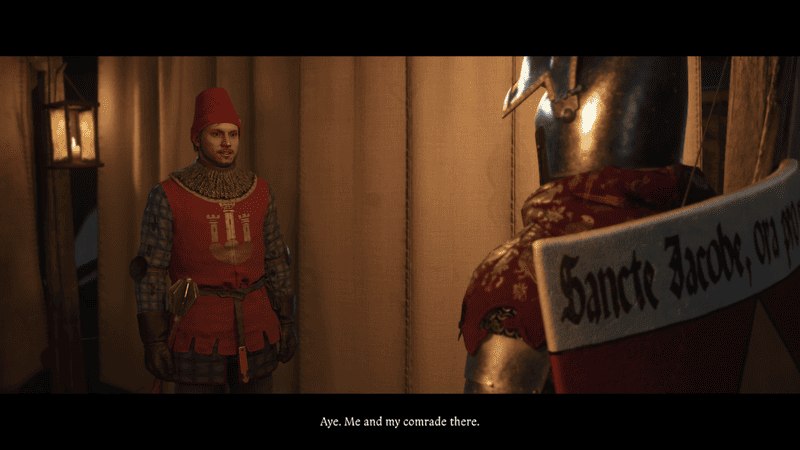
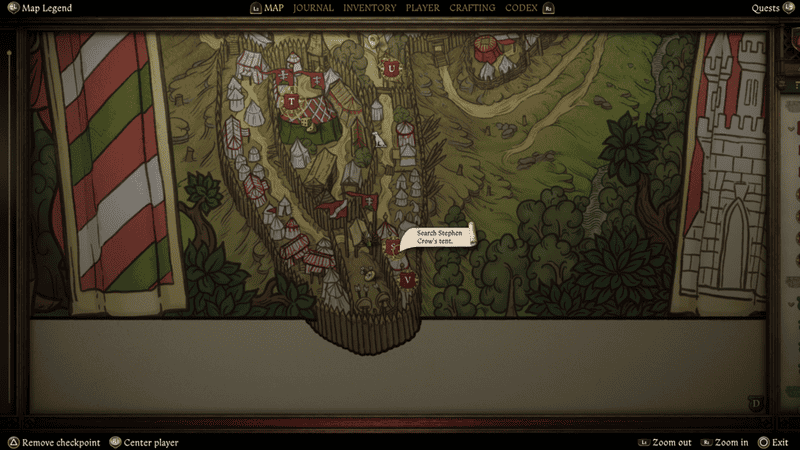
- Go south to Stephen Crow’s Tent. It is located in the upper camp next to the marksmanship range.
- If it’s night, Crow will be sleeping in his bed. Search the tent for clues — you’ll find nails on the left, a basket of oak, and a bowl with rose water. All used for creating Kiss of Death poison.
If you open his chest, you’ll also find 1,000+ Groschen. A lot for a commoner. Stephen Crow is the killer. But we don’t want to pin the murder on him. Instead, we can blame someone else that will sow more discord in the camp.
Finding Evidence Against Grozav
Go to Commander Grozav’s tent at night and examine the table to find Valerian — an ingredient of Dollmaker Poison. Grozav looks poor for a nobleman, giving us another reason to suspect him.
That’s all we need for now. Return to Musa and complete your investigation. Search Musa and the guard’s tent. You won’t find any useful evidence unless you want to pin the murder on Musa with the Book of Poisons — for the best result, we’re going to instead blame Grozav for the murder.
Now, we’ll need to wait for the trial. It will occur in two days after the murder. You’re free to leave the camp and complete any side-quests here.
The Trial | Accusing Grozav
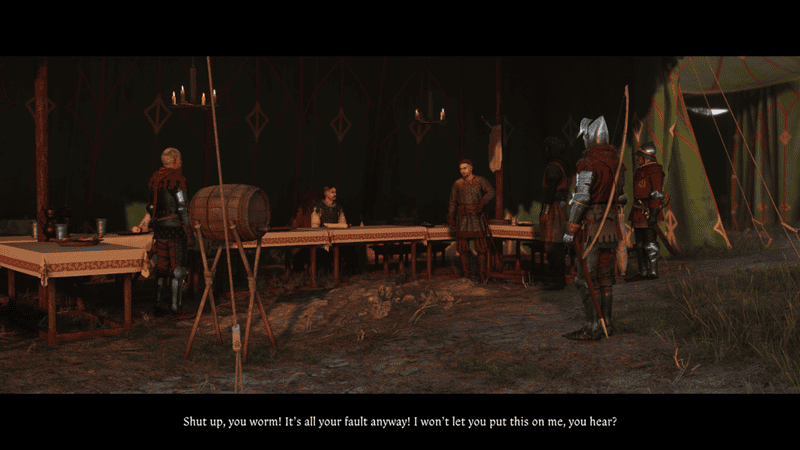
At the trial, speak up for Musa and present evidence — if you searched his tent, you’ll know he had no materials for poison. Once you add doubt to the prosecution, you’ll be able to accuse either Grozav or Crow. While Crow is the true culprit, he is fighting against Sigismund and could be a worthy ally. For the best ending, we’re going to frame Grozav.
- At the trial, accuse Grozav of the murder.
- Say that Grozav caught Chertan stealing black powder.
- Explain this with the black powder that was spread all over the floor.
- Next, say that Chertan poisoned the wine. Don’t say he used a poison blade.
- Reveal the herbs you found in his tent.
This will be enough to convict Grozav. Instead of being taken away, Grozav will fight to the death. With his death, the trial will be over, and all questions cleared up. Musa is safe and Crow will join you in the coming battle. During the ambush, Crow will fight alongside you. Clear out the enemies and you’ll escape Sigismund’s Camp with a load of free gear and the Finger of God cannon.