There’s an unexpected twist in the second level of Map 3 — instead of playing Crash in Crash Bandicoot 4, you change the reigns and play as a surprise new character. Tawna, Crash’s old girlfriend, is playable this time around! Tawna plays differently than Crash, and gains a special hookshot attack that gives her extra range and a stunning ability for tougher enemies.
She can’t slide or slide-jump, and that hook can be a real hindrance for once reason. It means you need to watch out for floating crates way off in the distance of the level. Whenever there are floating or hard-to-see crates far away from the main path, I’ll mark them on the locations guide below.
More Crash Bandicoot 4 guides:
How To Find The Ridiculous WOAH! Meme | WOAH YEAH! Easter Egg Guide | How To Beat All Bosses | Neo Cortex, N. Tropy & More | How To Get All 4 Colored Gems | Blue, Yellow, Green & Red Locations
3-1: Hook, Line, And Sinker | All Crates & Hidden Gems
To earn 100% on a level, you need to find 80% of all Wumpa Fruit, die no more than 3 times, find the Hidden Gem, and find all crates. These challenges can be completed in any order. If you die more than 3 times while finding all the crates, you can return and earn the last gem later. All gems you’ve unlocked in a level stay unlocked in future replays.
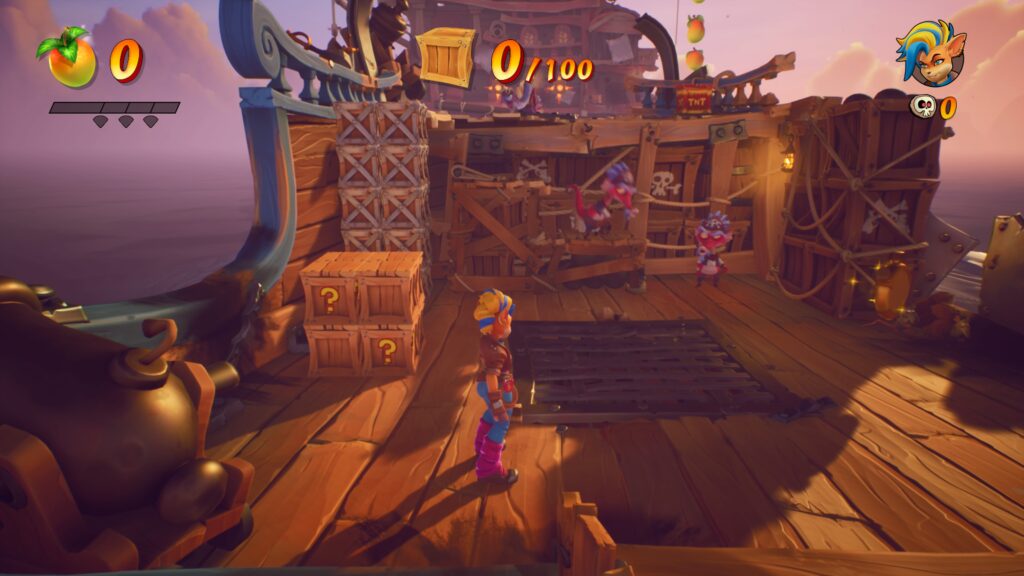
30/100: In this level, you play as Tawna. Make sure to ground-pound the strong crates and destroy the fruit crate hidden behind them. This covers all the crates on the initial ship.
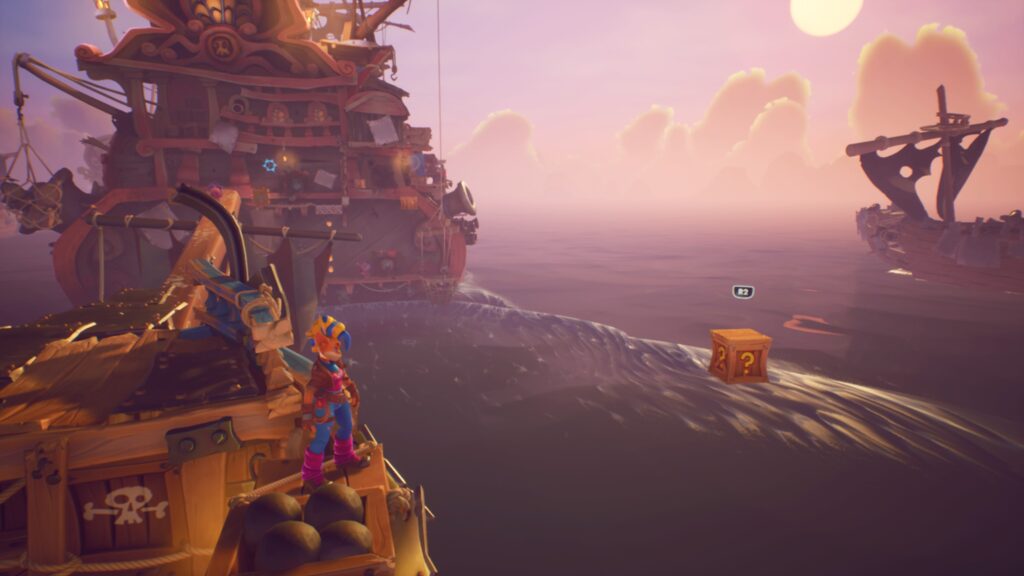
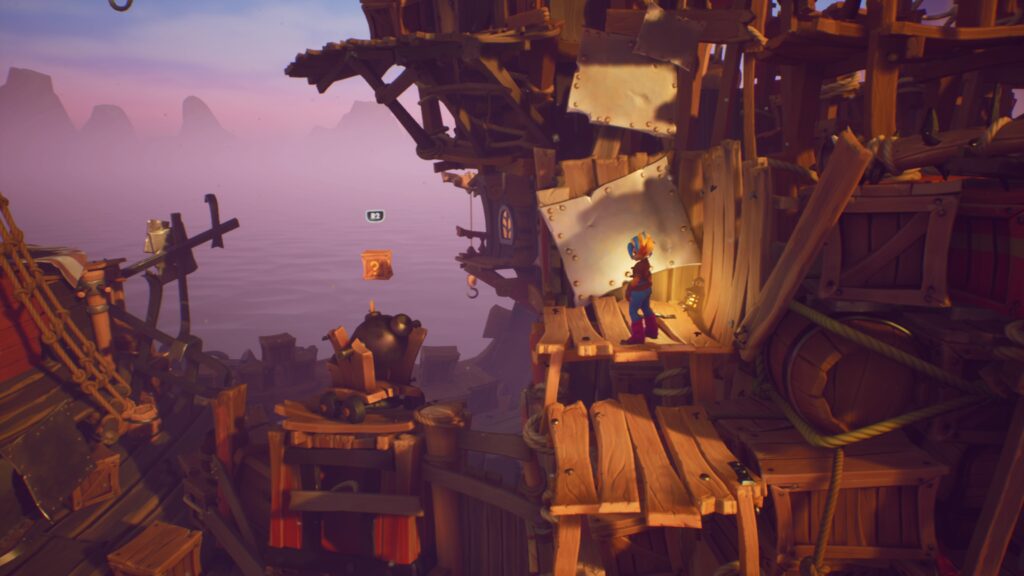
[Floating Crate] 31/100: One crate is floating to the right of the initial ship. Somewhat easy-to-miss. Use [R2] to throw a hook at this floating crate.
34/100: There are two fire crates and an easy-to-spot floating crate that can only be reached with your hookshot.
44/100: After using the first hookshot anchor, fight through the ship to the wall-jumps.
[Floating Crate] 45/100: Don’t miss the floating crate at the top of the first lift platform.
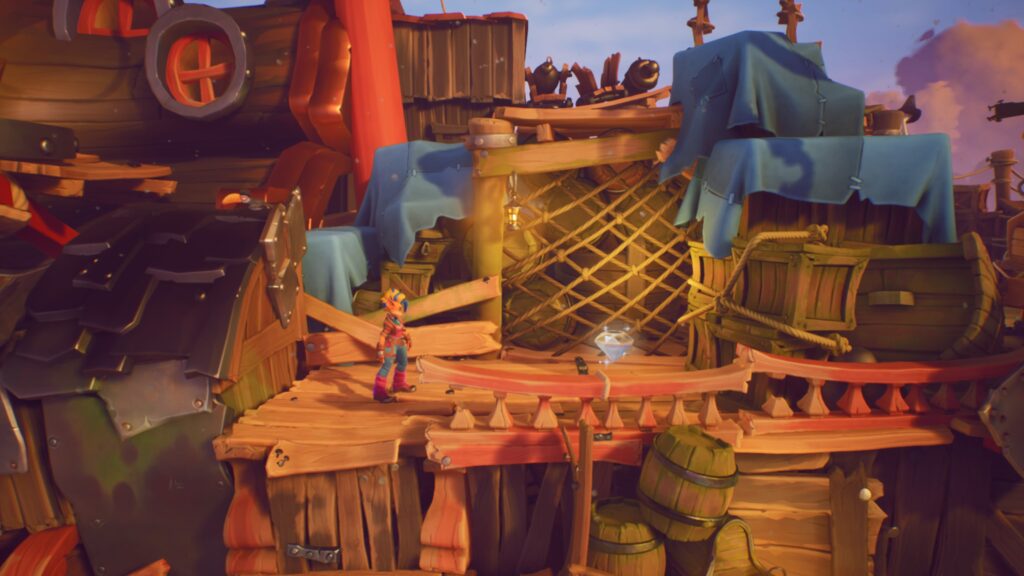
Hidden Gem: Incredibly easy to get. After the wall-jumps, just jump onto the background deck behind the spike trap.
56/100: After the Hidden Gem, use your hook to hit the “!” crate. Pound through the strong crates and hookshot the Aku-Aku Crate.
[Floating Crate] 57/100: Use the swinging rope and hookshot to reach another deck. To the left, there’s a floating crate.
61/100: Hit the checkpoint and the two crates on the first crow’s nest tower.
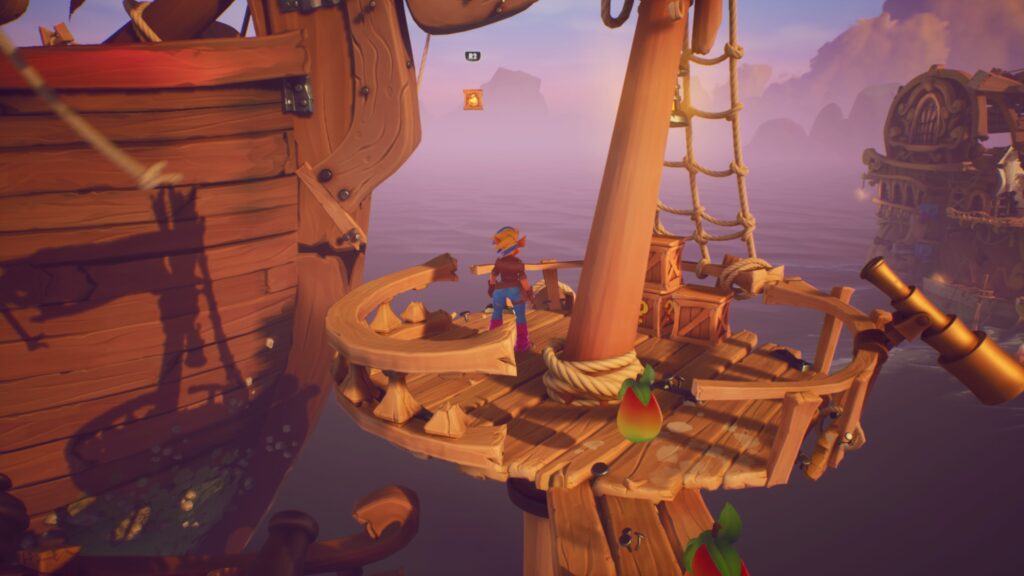
[Floating Crate] 62/100: There’s a floating crate in the far background that you can hookshot from the same crow’s nest.
67/100: 5 more can be found on the path to the flotsam gauntlet, where you’ll have to jump across rafts and dodge sharks.
[Floating Crate] 68/100: On flotsam path, there’s a floating crate in the background, behind the biting shark.
82/100: More crates are on your path to another lift, taking you up to the ship sails. Up top, grab the checkpoint. Don’t forget to detonate the TNT crates.
[Floating Crate] 83/100: Floating to the right, right where you got off the lift platform.
86/100: 3 more crates on the center of the large sail gangway.

[Floating Crates] 95/100: Before jumping onto the swinging rope, make sure to go all the way left on the first sail walkway. There are 8 crates and a distant crate. Make sure to only break one crate in each pair to reach the floating crate (hookshot) so you have enough crates to jump back.
98/100: Smash the 3 crates on the crow’s nest before the final rope grind challenge.
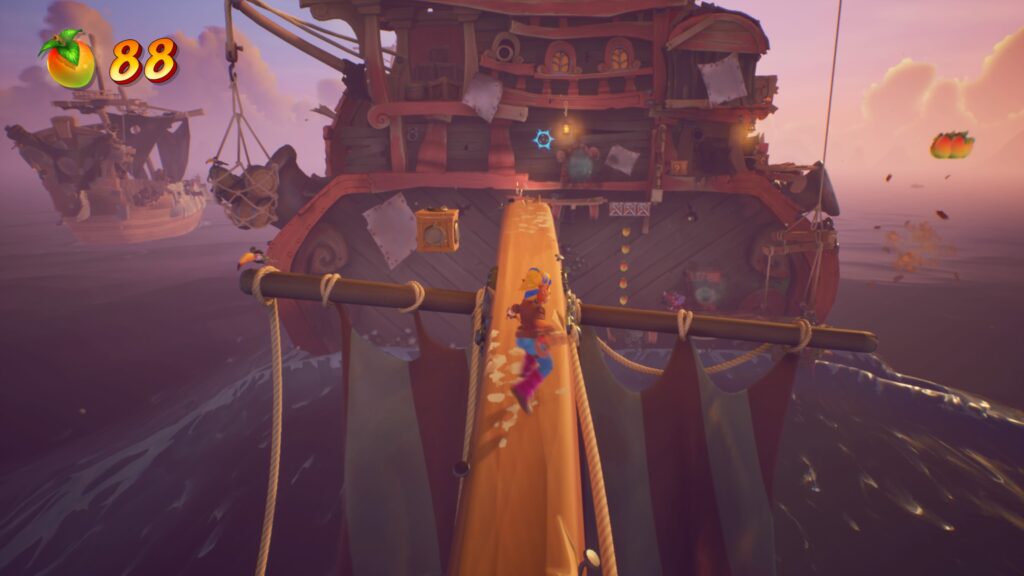
[Floating Crate] 100/100: There are two floating crates on the final rope grind challenge. One is above the wall-jump, and one is above the level exit. Make sure to jump and use your hook to get them.