
Table of Contents[Hide][Show]
The Medieval Chapter is one of the last in Live A Live — and that means it is one of the hardest by default. There are two major bosses you’ll fight in this chapter, and both can absolutely rumble your party in a single turn if you’re not prepared. To make overcoming the challenges easier, we’ve got strategies for both bosses below. The final boss of the chapter is the true challenge here — and you can beat him without taking a single hit. Use your powers wisely and nothing can touch you.
The Medieval Chapter of Live A Live is unlocked after completing all 7 available chapters unlocked by default. This (and the final chapter) are the only stories locked behind progression. And they’re saving some of the best content for last. The Dark Lord and the true boss can kick your butt sideways with the wrong approach. Here’s how to use your powers for maximum efficiency. No need for healing. Just plink away and you’ll overcome this nightmare.
More Live A Live guides:
Endings Guide | Best Chapters To Start | O. Dio Boss Guide | Wild West Chapter | Odie O’Bright Boss Guide | Present Chapter | Secret Mimic Party Member | Edo Period Chapter | Lord Iwama Boss Guide | Edo Period Chapter | All Item Combinations | Prehistory Chapter
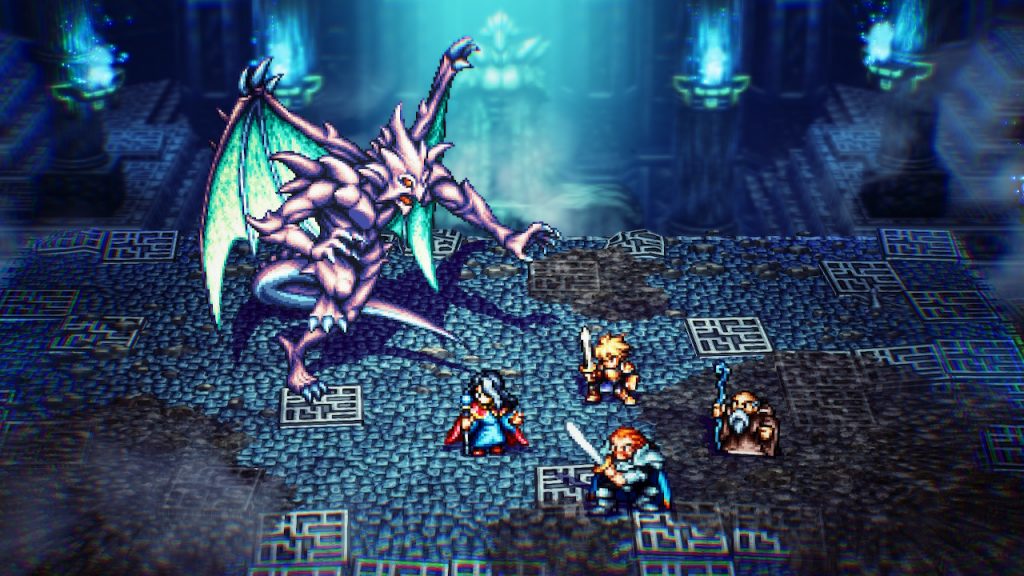
Lord of Darkness Boss Guide
The Lord of Darkness is located in the deepest chamber of Archon’s Roost. You’ll need to battle after recruiting Uranus and Hasshe to your party.
Recommended Level: 8-10
- The Lord of Darkness has a powerful [Thunderclap] attack if you’re standing above / below him and in melee range. Whenever possible, keep your characters pulled back and separated at least one space to avoid [Thunderclap] and molten damage.
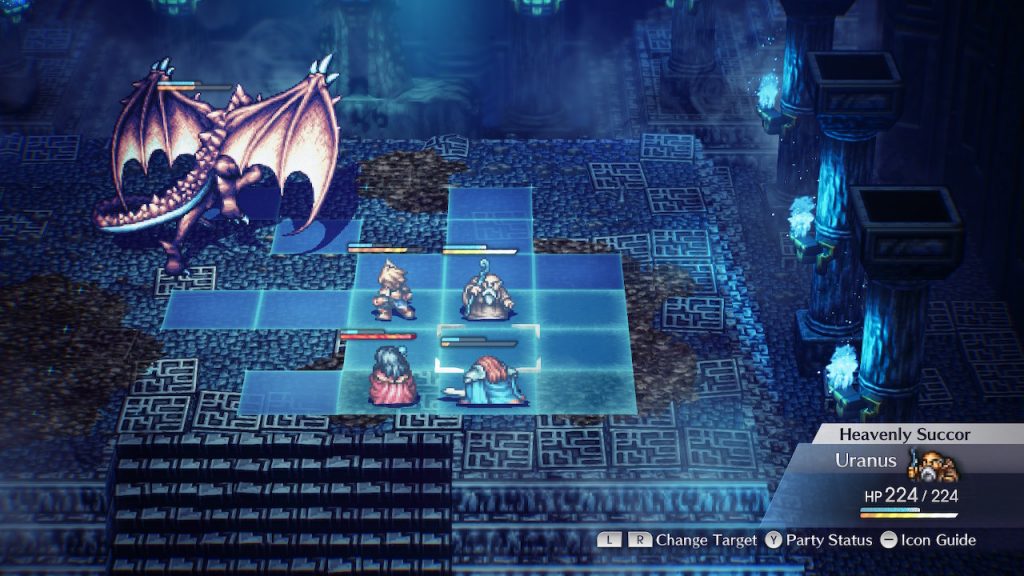
- Uranus is your healer. He should focus on using [Heavenly Succor] and [Prayer of Healing] if a character has a status ailment. Just keep healing! Try to move into position so you can heal multiple characters at the same time.
- Oersted can stay in close range — use [Crushing Blow] to interrupt The Lord of Darkness’s attacks as they’re charging. You can tell he’s charging if his meter is red.
- Use Oersted’s [Flourish] to deal damage and knock the Lord of Darkness back one space. Very good for keeping him from overwhelming your party.
- And finally, use [Dragonsoul] — if you haven’t unlocked it level up! You’ll have it if you’re Level 9.
- With Streibough, stand far back and use [Gale Force]. If you’re lucky, you’ll briefly stun the boss
- Hasshe has the most powerful attack of the party. Use his [Archon’s Mark] ability — this deals extreme damage, but causes the boss to counterattack, basically guaranteeing that Hasshe will die permanently in battle. Save the attack for the second half. The boss will also debuff itself after its counterattack against Hasshe.
Don’t forget to equip Brion to Oersted after the battle!
Streibough Boss Guide
The true final boss of the chapter. He awaits after talking to Uranus in the dungeon. Once you escape, you can travel back to the Archon’s Roost.

Recommended Level: 12-14
- Streibough is an incredibly deadly boss. To beat him, we’ll want to completely avoid all of his attacks. There’s an easy way to do that — stay out of his attack range.
- Use [Shardfall] to damage Streibough while you’re standing in his blind spot. Just keep moving and using [Shardfall] and you’ll win without taking a single hit.
- Streibough’s blind-spot is: 2 spots away, and just outside his diagonal range. Stay out of his diagonal and horizontal / vertical sight line. If you do that, he will always move instead of using an attack.
If his Charge Meter is almost full, just retreat and stand in one of his blind spots until he moves. Then you can sprint past him — he’ll constantly move to try and hit you. He can’t as long as you stay out of his attack range.
Why avoid his attacks? Streibough has attacks that can stun you and freeze you. An unfortunate combo of two attacks and it is game over. Better to avoid all of his attacks and take him down slowly and safely with [Shardfall].


