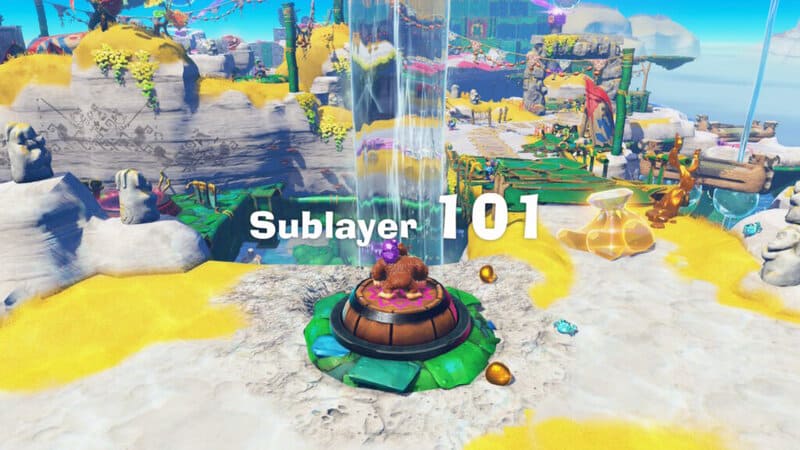
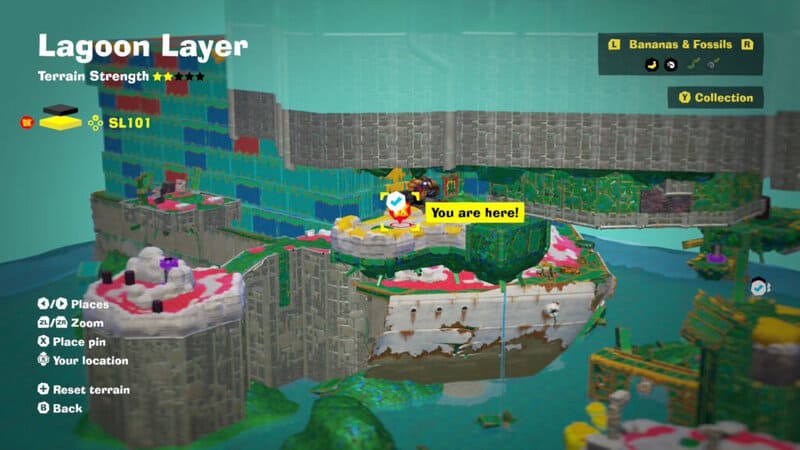
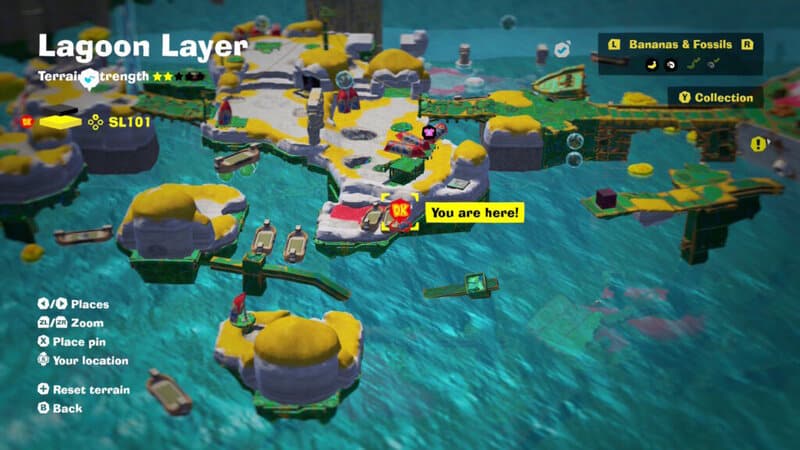
The second area of Lagoon Layer is Sublayer 101 — and collecting bananas is getting more complicated in Donkey Kong Bananza. To fully explore this level, you’ll need to find stakes on SL100 that lead to optional entrances into SL101. There are floating sections that can only be reached from the top, and other bananas are only available for hunting after the water level as been raised. This level gets complicated, so check the map locations below to get every banana in SL101.
Banana Locations | Lagoon Layer SL101
Landed In Salvager’s Landing – Earned after smashing the Stake guarded by a concrete Crockoid in the Reservoir Bank area of SL100. Drop into the basin and destroy the stake to create a path own to SL101. You’ll find another banana down there.
Hangin’ On Orangu-Hang Highway – Go to the far back of SL100 and climb the big tower with a second stake. Reach the top by throwing bombs to destroy the concrete blocking DK’s path, then smash the stake to reveal an alternate path to SL101. There’s another banana at this new entrance.
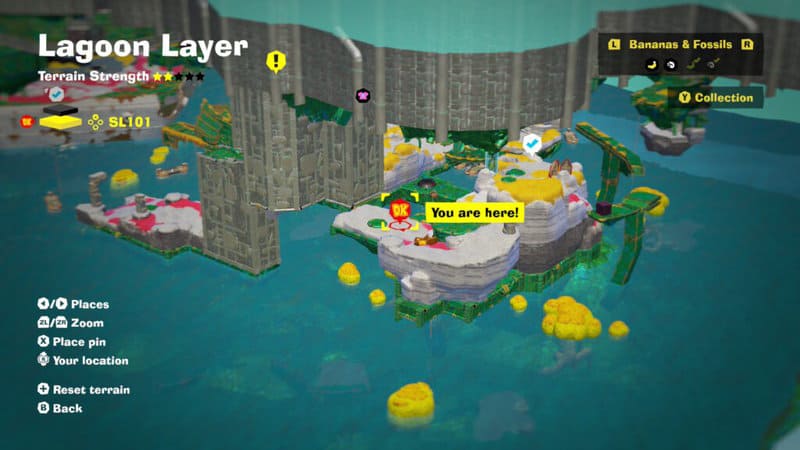
Up, Over And Across – In the Salvager’s Landing area, go down and left to reach the area with red grass in the water. Climb the green wall and cross the mesh to reach a floating island with this banana.
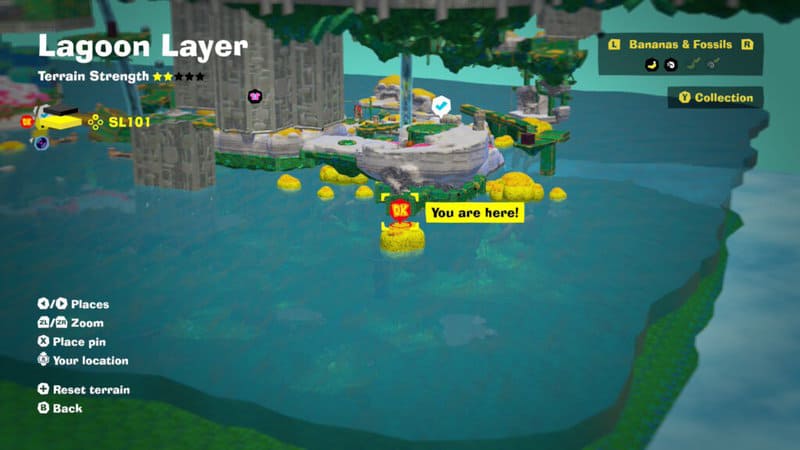
Battle: Concrete Wall Clash – Right at the start of SL101, at the teleport marker for Salvager’s Landing, there’s a battle arena portal to the left.
Shifty Smash: A Wall Hanging In Air – Also right next to the Salvager’s Landing marker, turn around to see a green platform with a triangle Shifty Smash marker. Use the bomb blocks to destroy the floating wall.
Over The Thorny Path – On the same island as the fashion shop, you’ll find a bonus area door nearby. Punch it to enter the portal. The bonus area is full of paths with thorny surfaces — use rocks and bombs to break through. This is the first banana you’ll find.
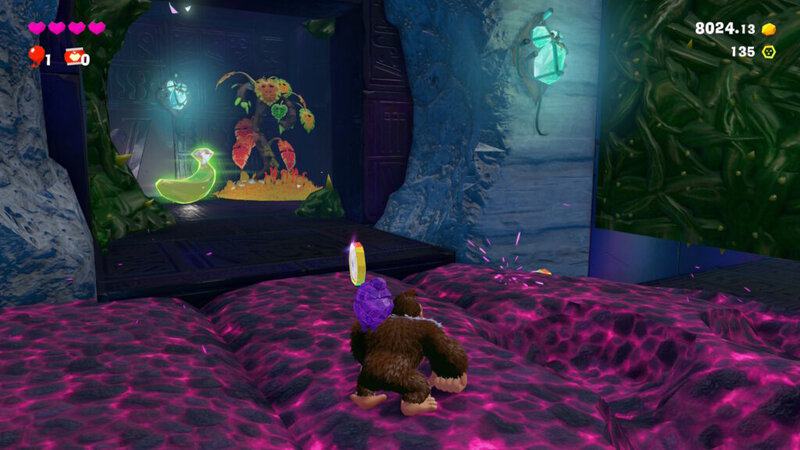
Into The Thorny Nook – On the conveyor of bomb material, continue until you find a thorny wall to your left. Throw bombs to blast through to find a hidden banana.

Through the Thorny Walls – At the end of the bonus area, you’ll find this third banana.
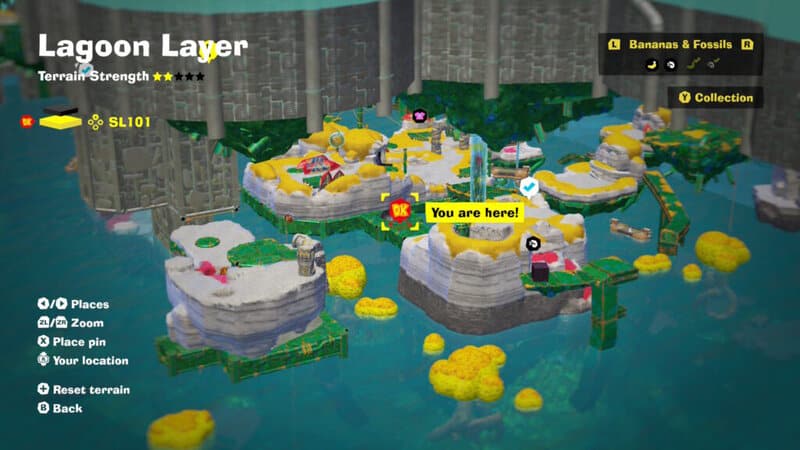
The Salvager’s Stash – At the Style Shop, look at the building to the right. There’s a hole you can drop down that leads to this banana.
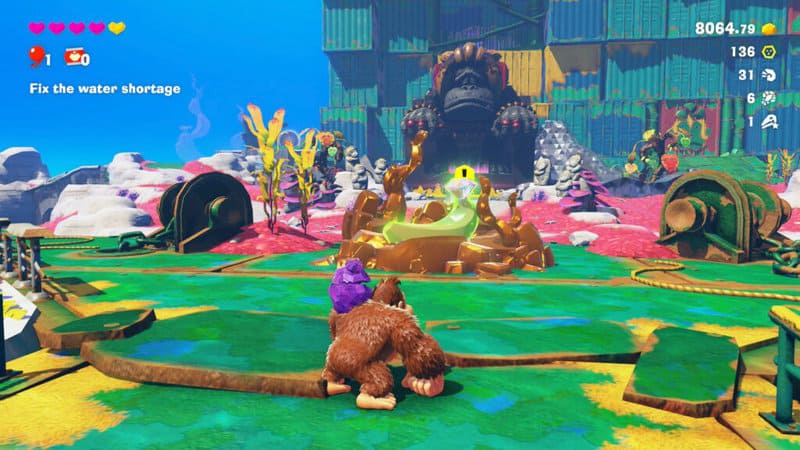
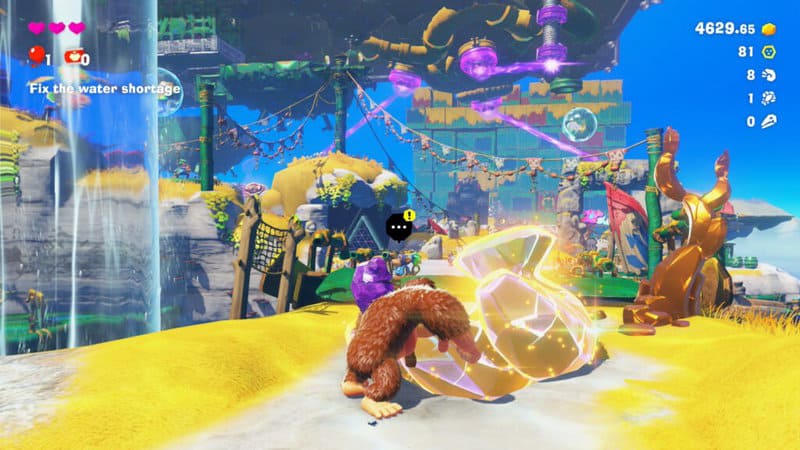
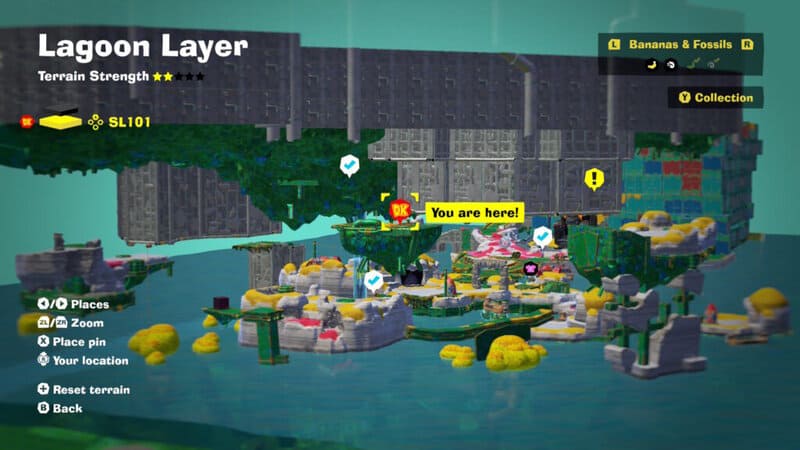
Crossed To The Kong Elder’s Court – Destroy two of the three pillars blocking the water flow in SL101. This raises the water level and creates a bridge to the far side of SL101. Cross the bridge to find this easy banana.
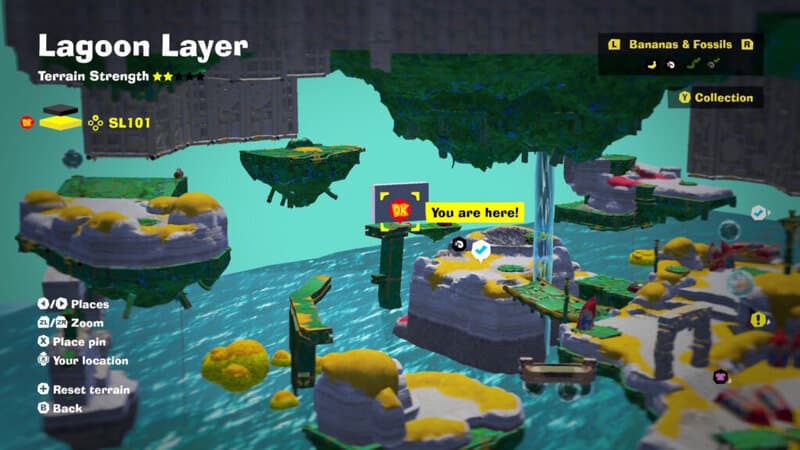
On The Ceiling of the Floor – Raise the water level to maximum by destroying the three plugs. Then return to the Style Shop. Jump in the water to find a hidden banana on the roof — it’s only reachable when the water is at its highest.
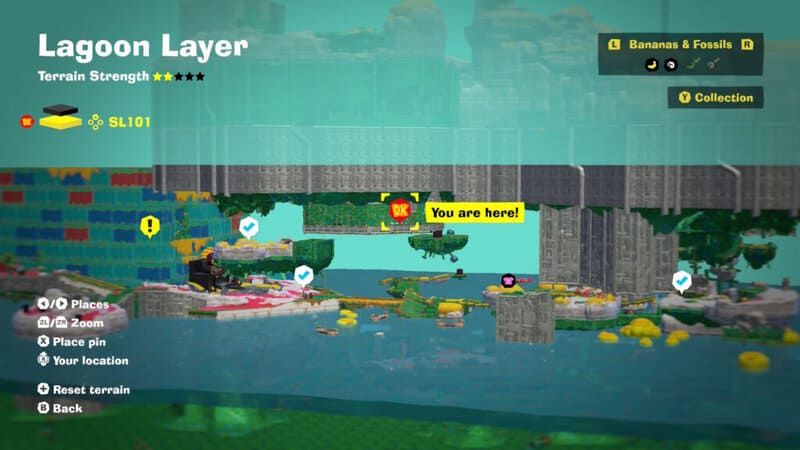
Within The Fast Growing Grass – Left of the start of SL101, there’s a floating platform. Once the water level is at its highest, use the floating platform to reach the mesh underside of the larger flying island. Punch through the grass to reach the banana.
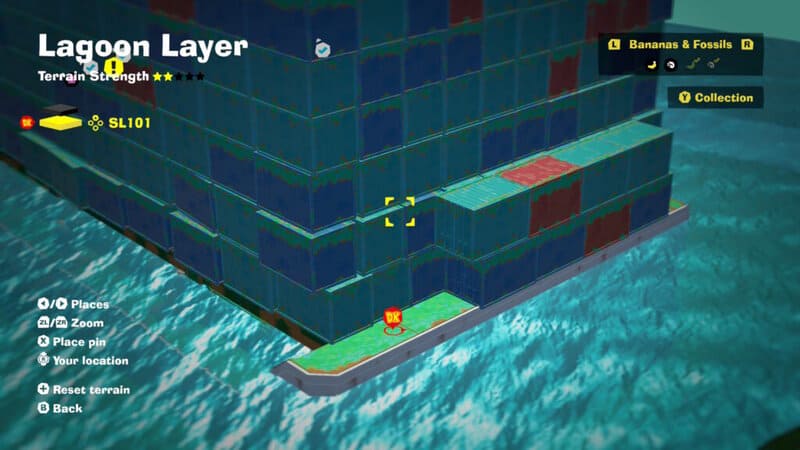
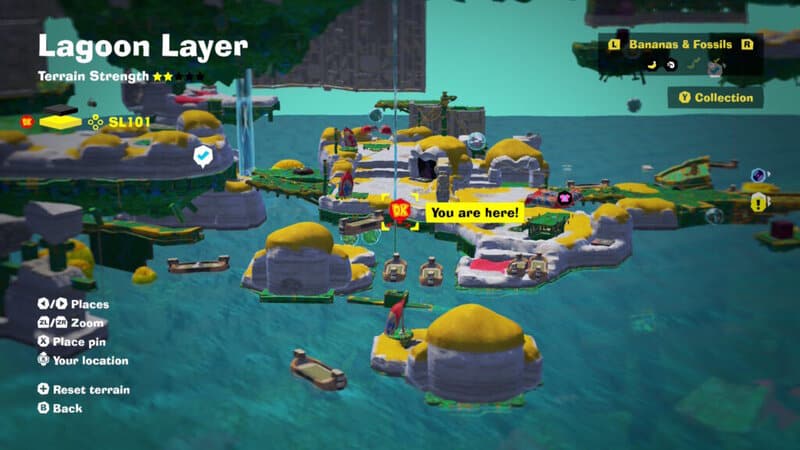
The Ship Stern’s Snack – Once you reach the Elder Kong’s Court, go to the far back corner of the ship covered in containers. In the back-right, there’s a small area with a banana. Check the map to immediately spot it.
Outskirts of the Fishing Village – Near the Reservoir Banks checkpoint, there’s a visible crater on the edge of the map. Perform a Dive Punch through the crater to reach an optional section of SL101. Drop down and use the mesh to reach this banana.
Concrete Wall On The Moving Floor – From Orangu-Hang Highway, cross the mesh ceiling to reach the enemy made of bomb material. Grab a bomb and blow up the concrete wall above the mesh, then climb the bomb enemy. Perform a roll then jump to reach this upper area. In the center, there’s another concrete wall. Destroy it above the moving platform to find the trickiest banana.


![20 BEST Games of 2026 [FIRST HALF]](https://i.ytimg.com/vi/y52qPEY6fVY/mqdefault.jpg)
![10 Most DISAPPOINTING Games of 2026 [First Half]](https://i.ytimg.com/vi/RE0VNFNEV9g/mqdefault.jpg)