
Put on your typing gloves, because we’re going into the Computer Lab for Level 7 of Escape Academy. The Lab Rat challenge pits you against Quanty, the Quantum Computer that’s also incredibly good at generating puzzles for you to solve. The Computer Lab is a sprawling room full of hacking-themed puzzles. You’ll be unravelling cyphers, solving passwords, and flipping switches in specific sequences. If you need help, we’ve got all the solutions available below.
More Escape Academy guides:
Introductions | Part 1 | Entrance Exam | Part 2 | Escape Artist | Part 3 | Under Pressure | Part 4 | The Breakout | Part 5 | Trial By Taste | Part 6 | The Tea Kettle | Part 8 | The Rival Room | Part 9 | Where There’s Smoke | Part 10 | Tea ‘N Tea | Part 11 | The Confrontation | Part 12 | What Lies Below | Part 13
Lab Rat | Part 7
To avoid expulsion, we have to hack Quanty the Quantum Computer. You have 25:00 minutes to complete the pop-quiz.
Hack Quanty
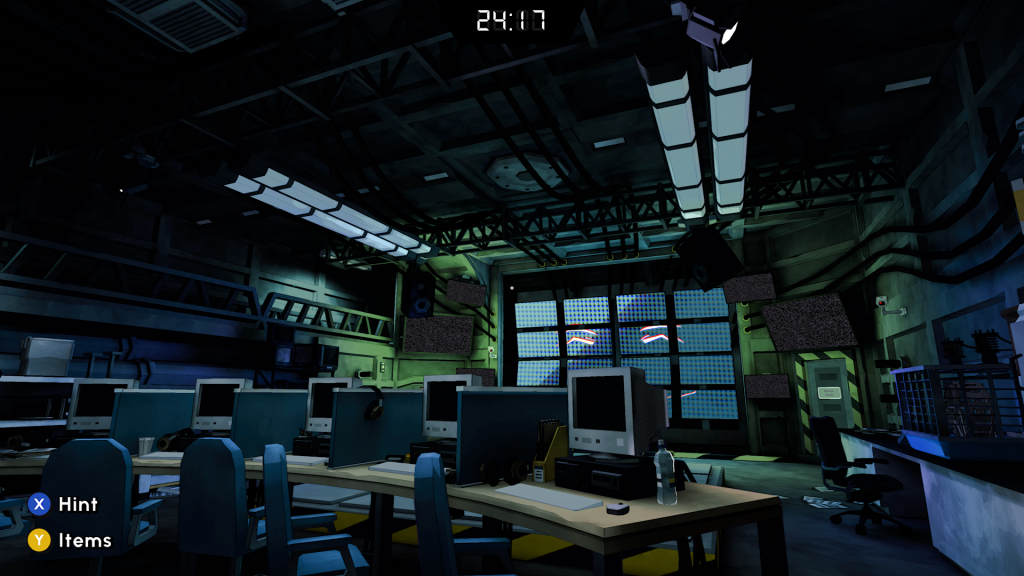
- We’re in a large computer lab that is currently without power.
- To power on the computers, check the mouse wheel near the broken power tube. Place all three [Power Tubes] on the missing links.
- POWER TUBE LOCATIONS:
- [Power Tube]: Mounted on the wall at the work desk in the corner with the Sudoko rules.
- [Power Tube]: On the table to the right of the previous tube.
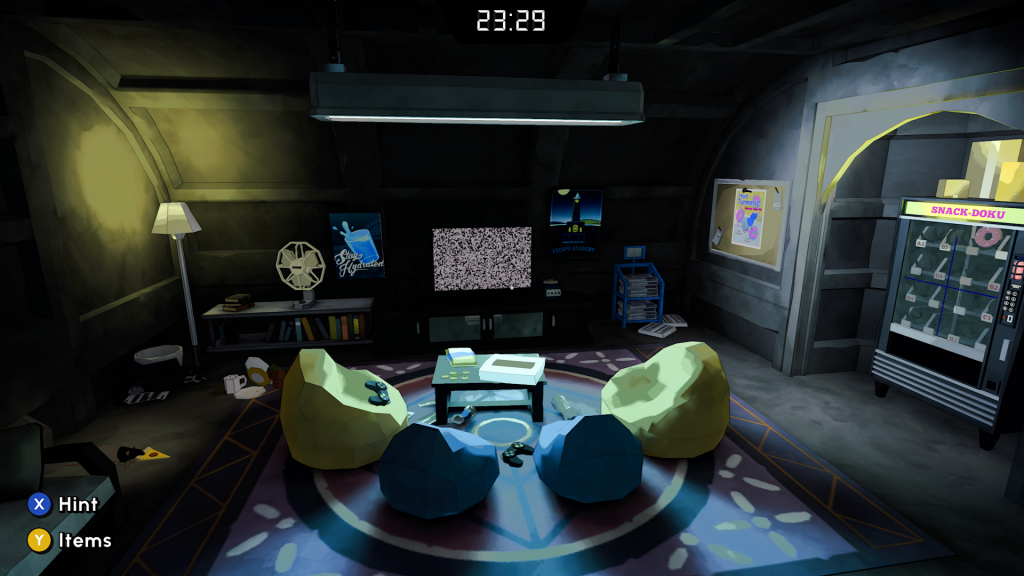
- [Power Tube]: In the Breakroom, on the sofa.
- To restore power, we need a [Mouse]. One is located in the Breakroom, but it will run away. We need a better treat to lure it.
- Grab [Spare Change] from the Breakroom coffee table. Use it on the Vending Machine — insert the coins and solve the input puzzle. Check the Sudoko Rules sheet for a clue.
- VENDING MACHINE CODE: [C-4]
- Place the [Donut] on the dirty plate near the Mousehole in the Breakroom to lure out the [Rat]. Grab [Turmeric the Rat].
- Place [Turmeric the Rat] on the Mouse wheel and connect all three [Power Tubes] to restore power to the computers. Now all five computers will light up.
- The five computers will light up. You need to input a five-shape code. Look at the computer screensavers carefully.
- COMPUTER PASSCODE: [Square – Circle – Square – Triangle – Circle]
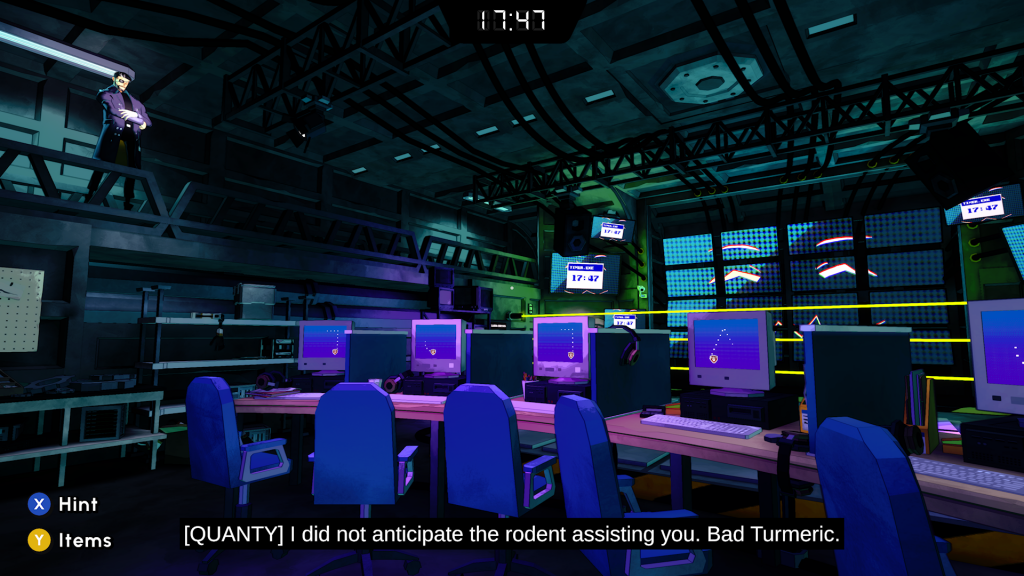
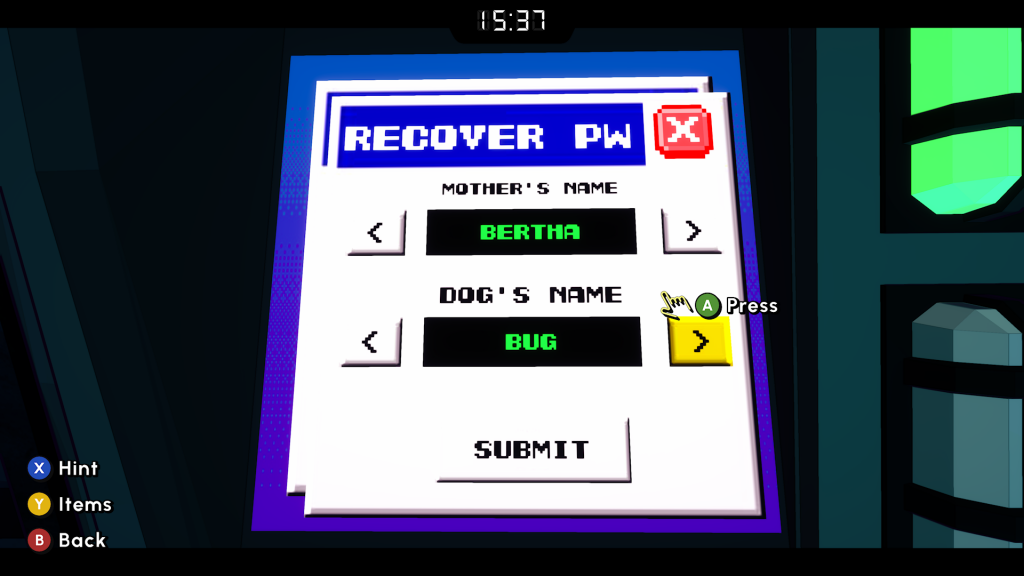
- Next, we need to disable the Laser Grid. Use the computer and check the [Files]. Remember the name [Dell-ilah] and [Sprocket].
- Use the terminal near the Laser Grid. Select [Forgot Password?] and input the following names.
- LASER TERMINAL PASS RECOVERY: [Dell-ilah] & [Sprocket]
- You’ll get the password [SAFER]. Input the password to disable the Laser Grid.
- Next, we need to create a [Virus] to insert into the Persona Terminal near the giant Quanty display. To do that, select [Viruses] from the main computers.
- We need to set the number to the correct model number. Use the small device on the worktable for help.
- VIRUS CODE: [1-1-0-1]
- Collect [Virus #13] and insert it into the Persona Terminal. This triggers Disco Fever!

Disco Fever
- The Computer Lab floods with a disco groove. Look at the front screen carefully, then look at the dance floor. They match!
- Step on the areas marked with a [Foot Icon] on the main screen. Walk to the areas with the [Foot Icon] — and avoid the [Skull Icons]. When you walk on the Dance Floor, another icon will show your current location.
- Use the [Current Location] to make navigation easier. The main screen will glitch and not show a perfect 1-to-1 image. The [Current Location] icon will help you judge where to walk and where not to walk.
- Complete all steps to unlock the door to the Server Room.
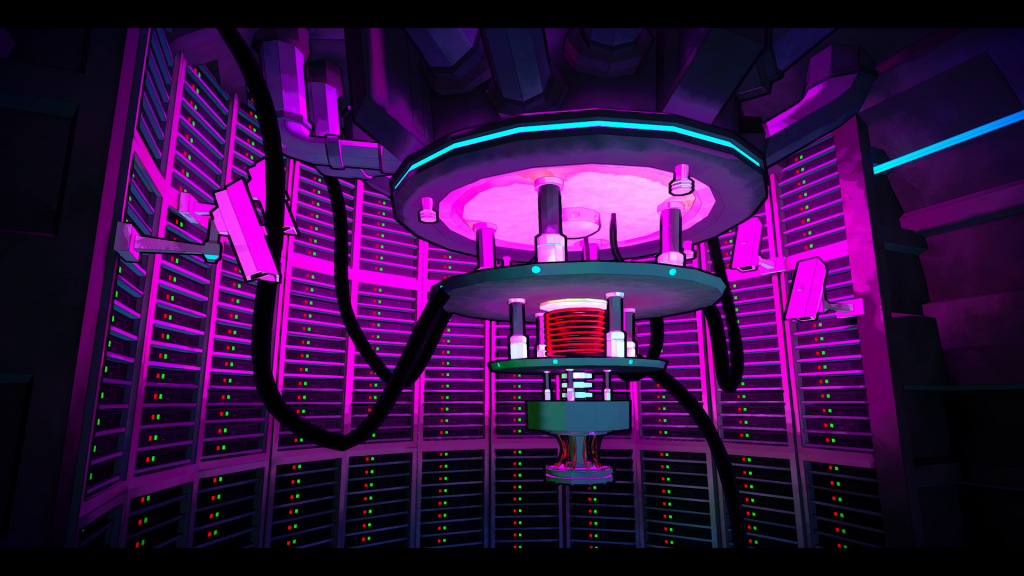
Server Room
- Go to the Main Server Terminal and select [Hack] on the screen. To complete the procedure, we need to initiate the Manual Override Protocol. Check the poster near the entrance door for more information.
- Manual Override Protocol
- 1 Point: Red Square – Blue Triangle – White Circle
- 2 Point: Yellow Square – White Triangle – Blue Circle
- 3 Point: Blue Square – Red Triangle – Yellow Circle
- 4 Point: White Square – Yellow Triangle – Red Circle
- To complete the procedure, you need to disable the correct nodes from the lowest number value to the highest. The M.O.P poster shows you how much each shape / color is worth.
- MANUAL OVERRIDE PROTOCOL SOLUTION: Flip the following nodes — [E – B – D – H – F – G – C – A]
- Switch E: Value 3
- Switch B: Value 4
- Switch D: Value 5
- Switch H: Value 6
- Switch F: Value 7
- Switch G: Value 8
- Switch C: Value 9
- Switch A: Value 10
Complete the hack to defeat Quanty and stop your expulsion.


