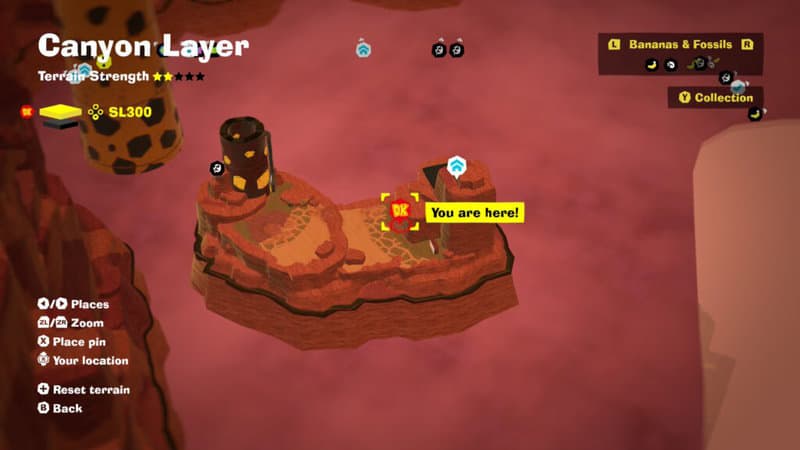
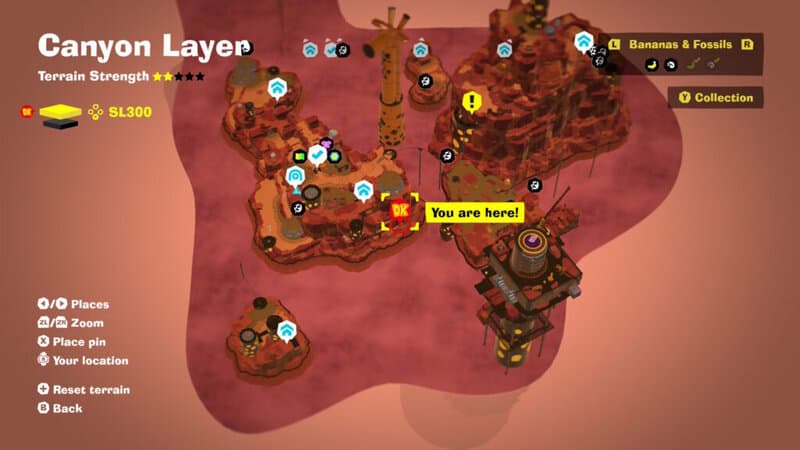
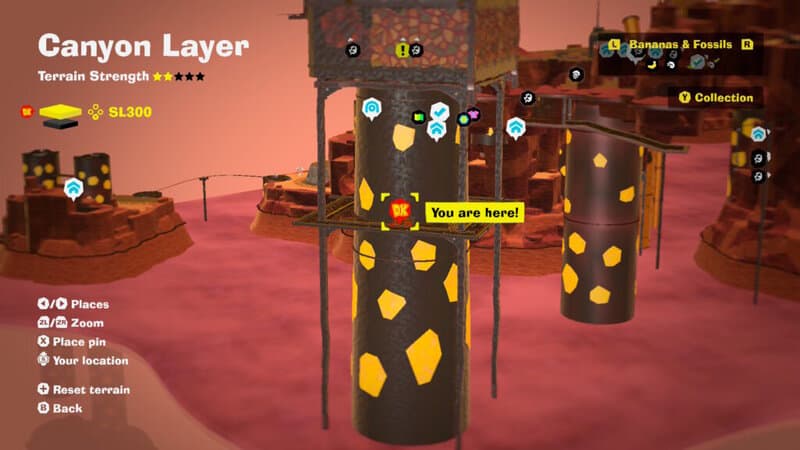
The Canyon Layer is the biggest level of Donkey Kong Bananza so far. Like SL100, it’s split into multiple large sections — in this case, two levels that you’ll swap between as you progress to the end. There are multiple bosses and lots of big challenges, but we’re hunting bananas. There are 60 bananas to find in SL300 alone. We’re not even talking about SL301. This is just the top layer of the Canyon, and there are so many bananas to find. We’ll cover how to get them all with the huge guide below.
Banana Locations | Canyon Layer SL300
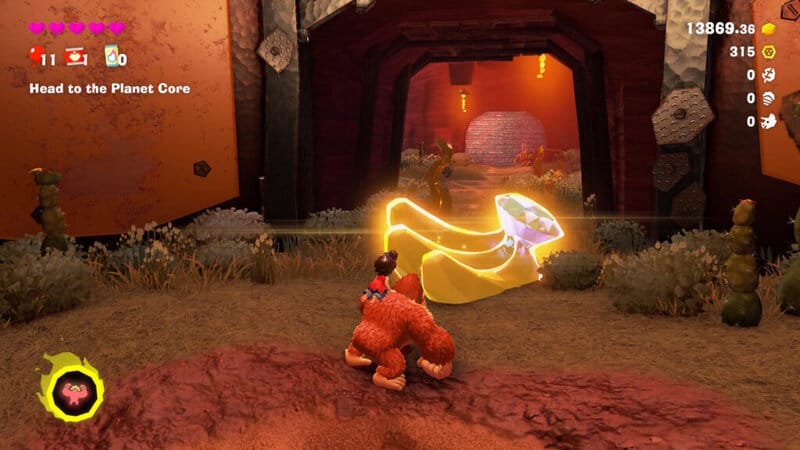
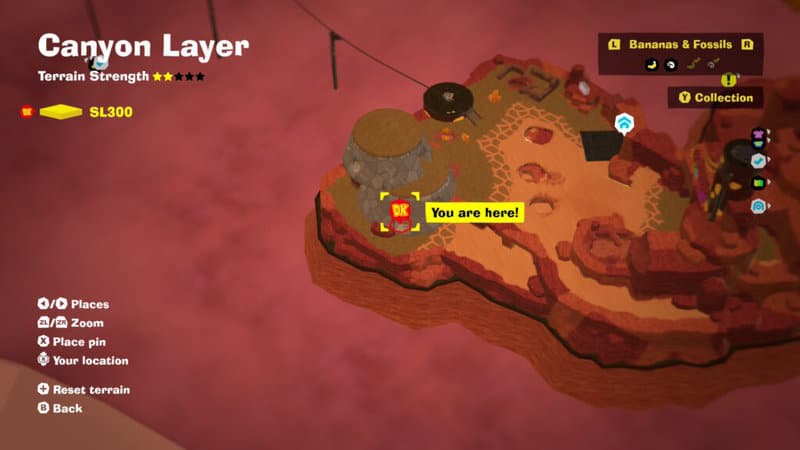
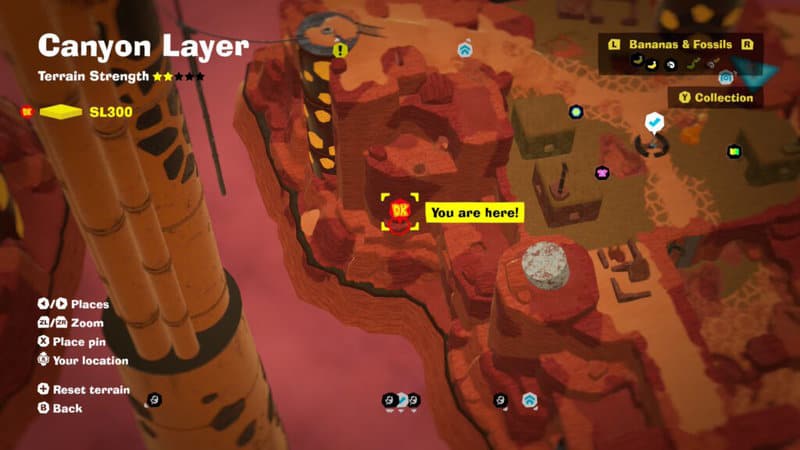
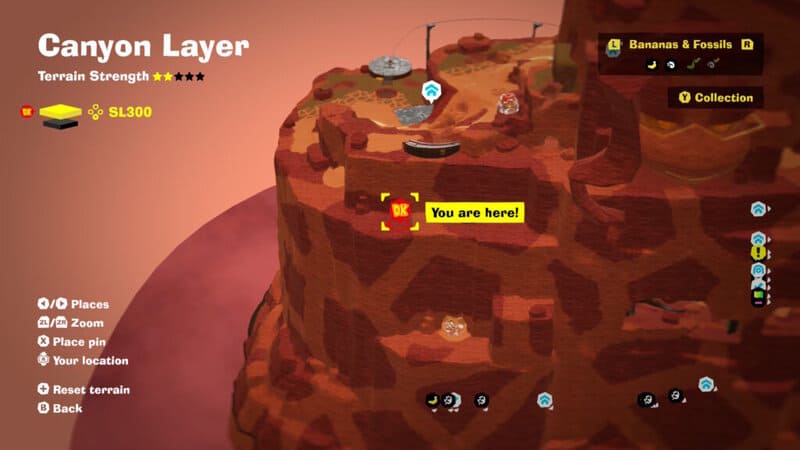
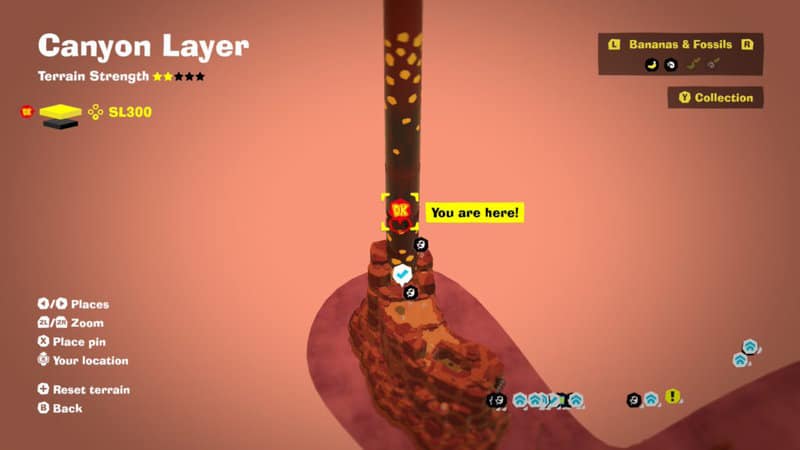
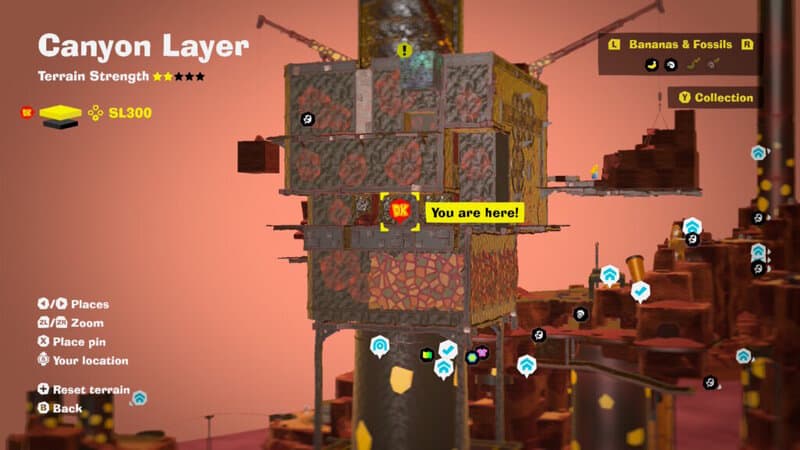
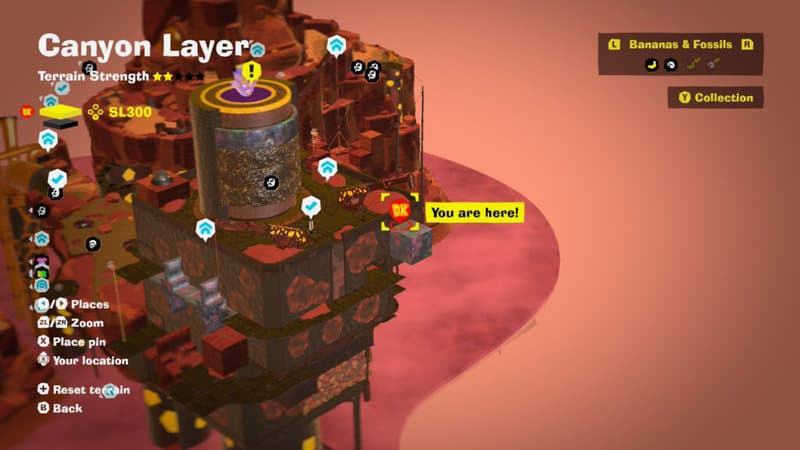
Tumbled Into The Canyon Layer – The first bunch of bananas you’ll earn at the start of the Canyon Layer in SL300.
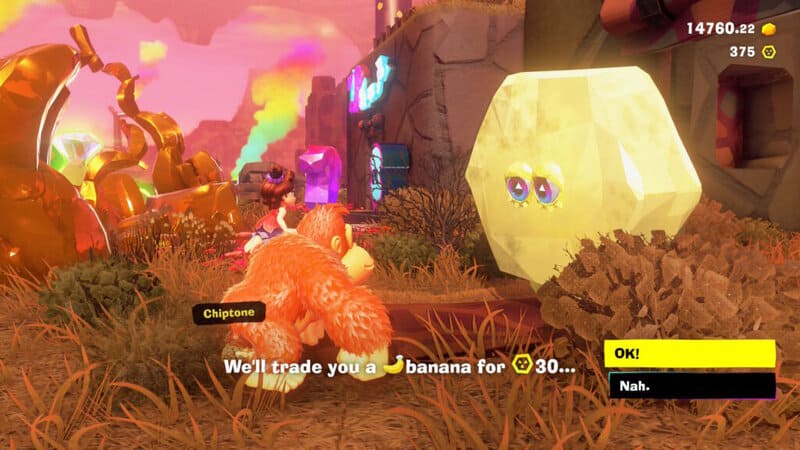
Canyon Chip Exchange – Trade Banana Chips with the NPC in Longneck Plateau Village to earn a banana. You can continue to trade Banana Chips but you’ll need to collect one for completion.

Moseyed Into the Village – Found right next to the checkpoint metronome in Longneck Plateau Village.
Unpilfered Potassium – After riding the minecart at the start of SL300, look right for a two-story rock house. There’s a banana on the bottom floor. Smash through the walls with DK to find it!
Stuck In A Side Cave – On the path to Longneck Plateau Village, there’s a tunnel path with rolly enemies. Smash into the underground of this tunnel to find a cave below with a banana.
Battle: Exploding Pork Platoon – Right before reaching Longneck Plateau Village, smash through the wall beneath the village to find a battle arena portal. Defeat 10 of the rolly pig enemies before the time limit expires to earn a banana gem.
Wrecked By Kong Bananza – Enter the “Kong Bananza: City Smash” mini-game area by talking to the construction NPC at the back of Longneck Plateau Village. He charges 1,000 gold to clear the rubble and make this mini-game area available. Transform into DK’s super form to enter — smash the building before the time limit reaches zero to earn a banana.

Quickly With Kong Bananza – Smash the building with 20 seconds left on the timer to earn this banana. To do it, focus on the concrete and smash up all the walls as you climb the tower. Follow the route from one barrel to the next and you’ll finish in time.
Beneath the Central Pillar – After destroying the building, dig up the dirt in the center of the foundation to find the third hidden banana.
Unstuck the Mine Cart – On the edge of Longneck Plateau Village, follow the Voided surface to the house to the right of the blocked minecart. Destroy the core / source to free the minecart. There’s also a banana next to it.

Banandium Gem in the House – After destroying the core, smash the exposed wall beneath the house once the voided material is removed. You can now reach an easy second banana right next to the previous one.
Sunken and Soaking – Dig under the Longneck Plateau Village to find a large cavern warehouse. Next to the flat blue NPC, there’s a pool of water with a banana inside. Perform a dive punch to break it underwater.
An Underground Guide – In the underground area with the previous banana, look for a sleeping eel on a pipe. When DK gets close, it will wake up and create a winding path through the dirt. Follow it until it stops, then dig a little further ahead. There’s a hidden banana at the end of the path.
Traversing the Cliff – And yet another banana is ahead if you continue to smash through rocks. There’s a chamber with a barrel — break through to the next chamber for another barrel and another banana.
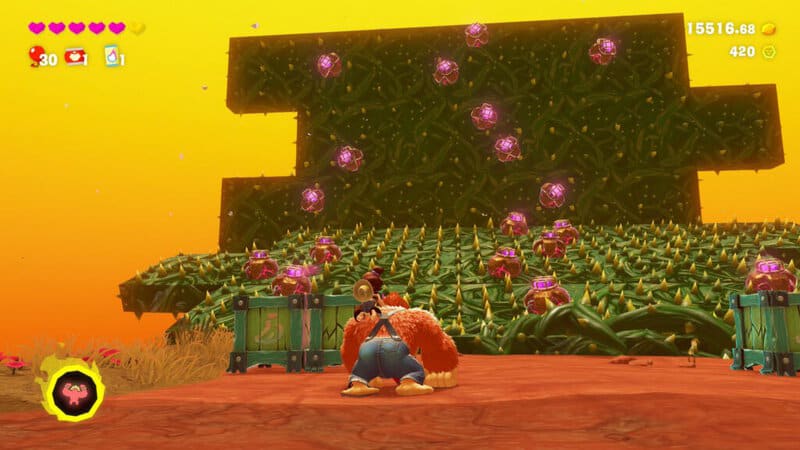
Mine Your Step – Back in the main underground warehouse, find the concrete wall with a timed bomb enemy. Set it off, then go through the tunnel. On the side, there’s a path leading to a bonus stage portal. This takes DK to “Thorny Blast Cave” — reach the hallway point to earn the first banana.

Kaboom the Hidden Room – After navigating the second tunnel digging section, you’ll drop down to the end of the stage. Turn around and throw a block at the mines, setting them off a revealing a hidden banana. Use the walls to climb to this collectible.
Mine the Gaps – Reach the end of the bonus stage to earn the third banana. Easy!
High Shelf Down Below – Back at the cave under the village, start from the top and dig down from the large unbreakable cylinder. Digging downward, you’ll drop onto a high shelf with this banana. That’s the easiest way to reach it.
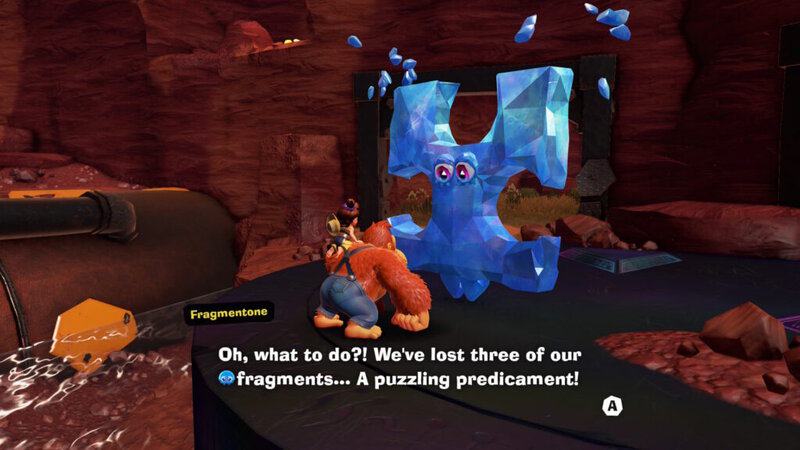
Canyon Fragmentone Recovery – Beneath the village, you’ll find a jigsaw-shaped NPC. Talk to him and find his fragments to fix him. One is in the nearby cave with the grated wall. Go around to collect the first fragment. Returning one will earn you a banana.
Canyon Fragmentone Restoration – Find all three fragments to earn a second banana. The fragments are in a nearby alcove, but they can’t enter water. Smash through the cave to the left of the fragments to create a dry path back to the NPC.
Unplundered Produce – Beneath the village, there’s a small, abandoned house with a large turnip inside. Pull it out with DK to reveal a hole with a banana at the bottom. This is near where DK can buy the construction worker to build a minecart for 1,000 gold.
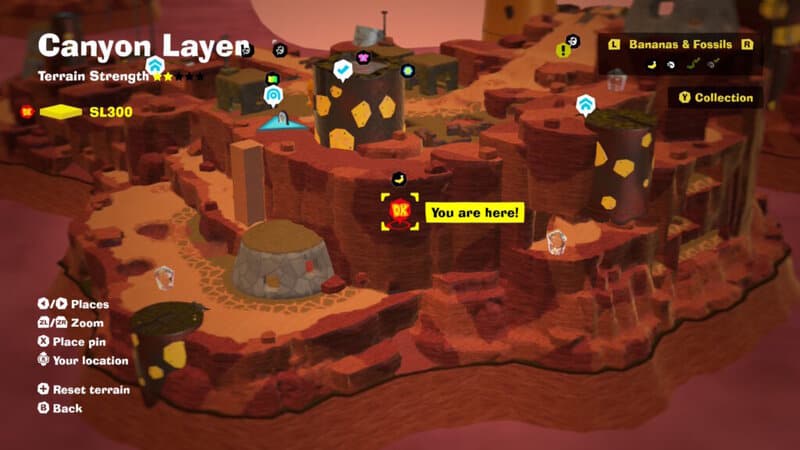
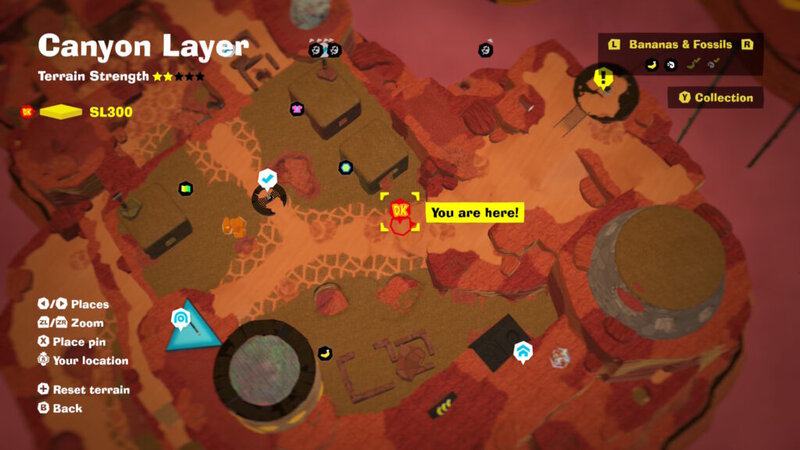
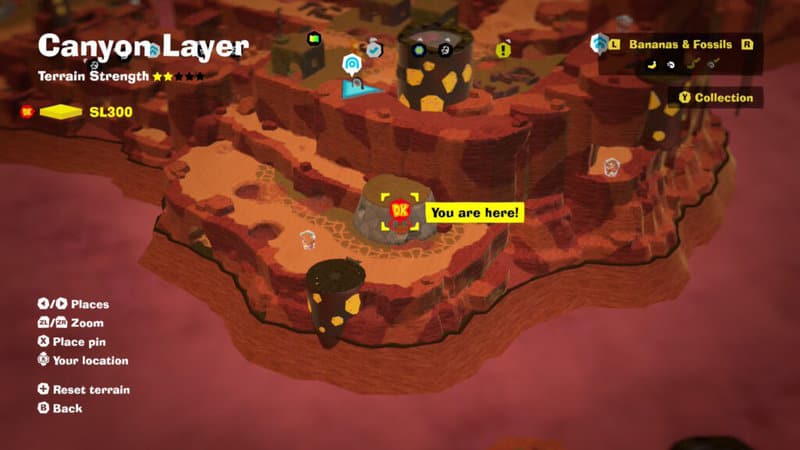
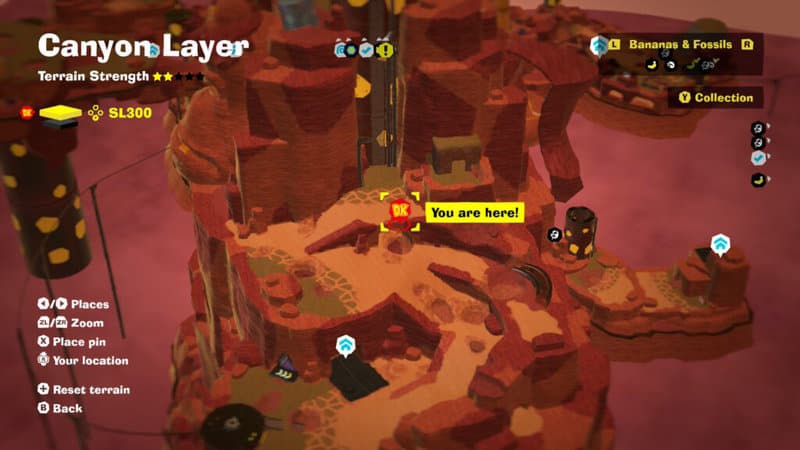
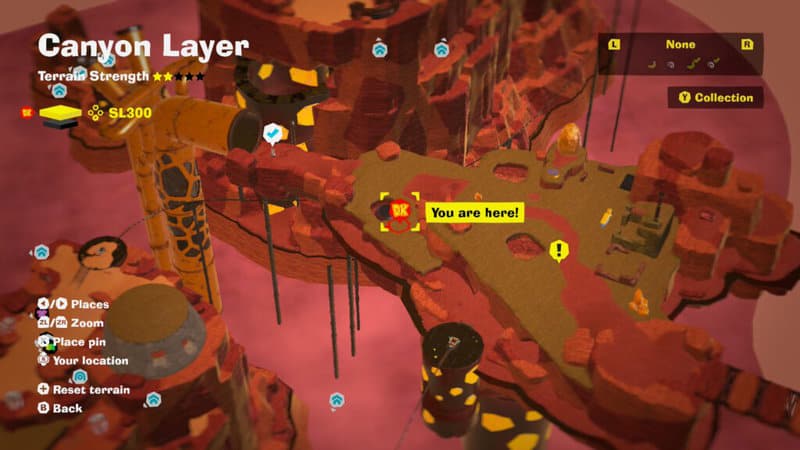
Pay Dirt Under the Plateau – On the path to the village, there’s a large visible VoidCo stake in an underground chamber. Near this chamber, there’s a banana buried in the rocks. Use the map location above to easily find it.
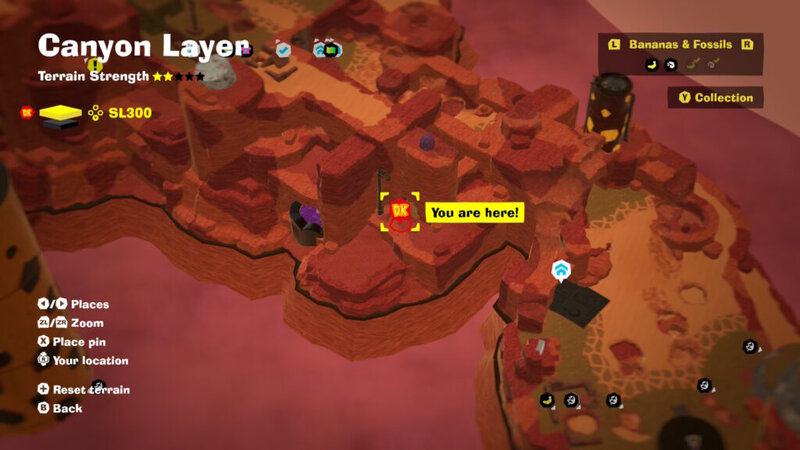
Foreman’s Secret Stash – Use the VoidCo stake under the village — check the map location for details — to reach a hidden path down to SL301. It takes you to a metal hallway with an exit back to SL300 that leads to a small island with a construction NPC. Smash though the wall at the base of the hill to get this rare banana.
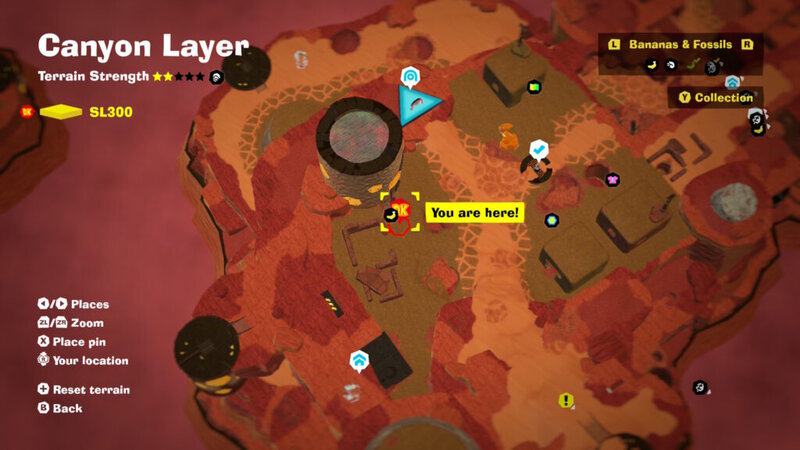
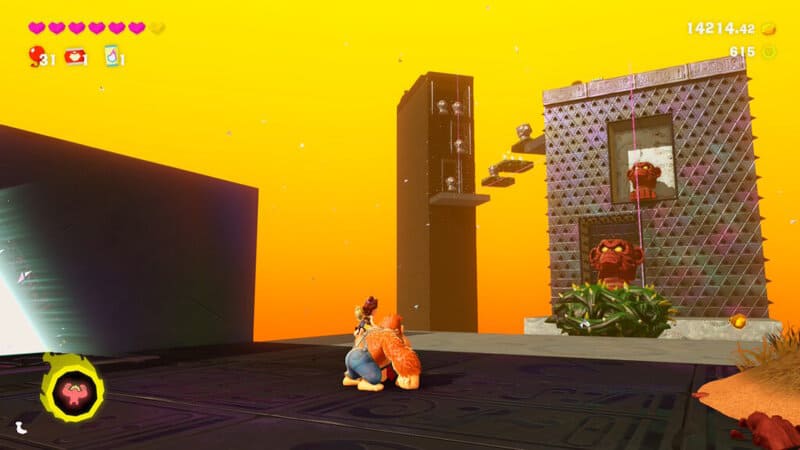
Spinning in the Stone Pillar – Near the Longneck Plateau Village entrance, there’s a spinning pillar. Smash into the center to find a hidden banana.
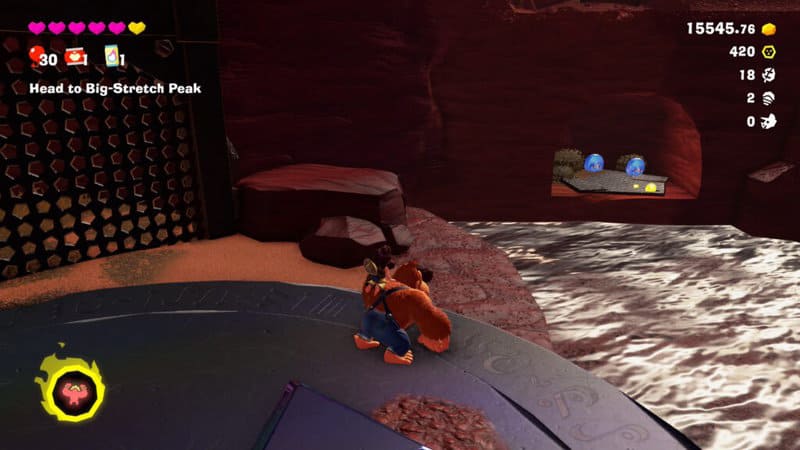
Big-Wheel Balloons – Right after landing in Big-Stretch Peak via minecart, there’s a bonus stage portal directly to DK’s left. This leads to “Big-Wheel Balloon Hunt” — collect all five balloons to earn the first banana.
Big-Wheel Backroom – Climb around the right side of the big-wheel structure. There’s a climbable surface you can use to reach a hidden room.
Big-Wheel Basement – Smash through the base of the big-wheel to reach a hidden basement below. There’s a breakable surface under the wheel DK can punch through.
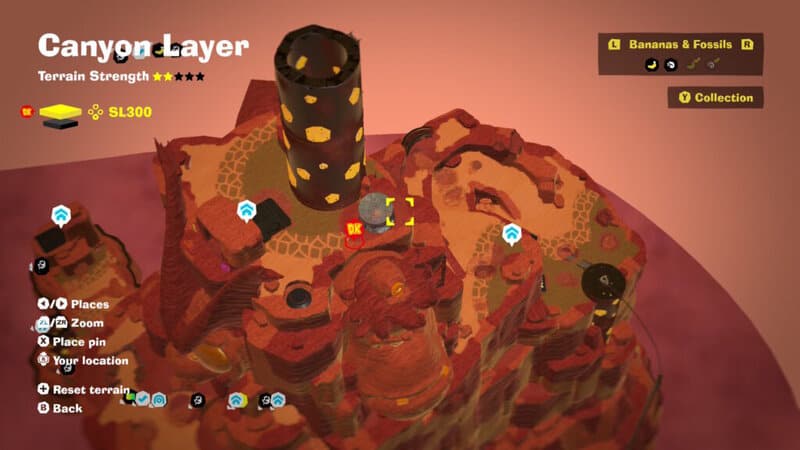
Sleeping By the Smokestack – Found at the base of the smokestack at Big-Stretch Peak. There’s a concrete Crockoid on the main path, look beneath it or check the map location to find this buried collectible.
Canyon Smashin’ Stats – Smash 3,000 cubic meters of stone in SL300, then talk to the blue NPC at the house on Big-Stretch Peak. You’ll be rewarded with a banana for breaking so much stuff.
Circling in the Concrete Pillar – Located at the top of Big-Stretch Peak, there’s a rotating concrete cylinder that contains a banana. This is located next to one of the getaways you can build at the top of the peak.

Battle: Sturdy Pork Platoon – The battle arena portal is right next to the getaway at the top of Big-Stretch Peak. To defeat the pig enemies, grab rocky turf and swing away. Your regular punch won’t be enough to break them usually.
Shifty Smash: Cliff’s Edge – On the right side of Big-Stretch Peak, on the exterior cliffs, there’s a Shifty Smash mini-game triangle. Perform three Dive Punches to break the cubes before the time limit is up.
Hidden Beneath Scoundrels – At Big-Stretch Peak, look under the giant sculpted head of the Void King. Smash though the concrete wall and defeat the enemies to reach a second concrete wall. Smash it to find your treasure.
Hanging in the Cliffs – Return to Tallfall Cliffs checkpoint. It’s the first fast-travel marker in the layer. Teeleport, then go straight forward and dig down at the nearby concrete wall. It leads to a chamber with a mesh ceiling DK can climb on with a hanging banana.
Behind Tallfall Cliffs – Exactly what it sounds like. Look behind the Tallfall Cliffs checkpoint at the start of the layer. There’s a ledge on the cliff behind the starting spawn with a banana gem.
Scenic Smokestack View – At the front of the smokestack entrance to the Canyon Layer, there’s a metal grate with this banana. Climb the exterior and go to the location marked in the screenshot to get it.
Growing from the Stone Wall – Directly above the minecart tracks of Tallfall Cliffs, the start of SL300, there’s a banana stone statue. Above that, there’s a banana gem to collect.
Buried In Tallfall Cliffs – Another easy one. From the minecart tracks at the end of Tallfall Cliffs, dig directly down to find a hidden cave with an easy-to-miss banana.
Shifty Smash: Cliff Valley – Next to the Tallfall Cliffs Getaway / builder NPC, there’s a Shifty Smash triangle. Complete the minigame to earn a banana — this one is really straightforward, just smash your way through the blocks.
Sparkling in the Secret Storeroom – Beneath the Plateau Village Getaway, near the village minecart leading to Big-Streak Peak, drop down to the outer cliffs. There are caves dug into the rock walls, and one leads to a banana. Check out the map for details.
Banana Up The Nose – Back on Big-Streak Peak, look on the giant carved of Grumpy Kong. There’s a Banandium Gem stuck in the giant face’s stone nose. Climb up there to get it.
Finally Within Reach – After climbing out of SL301 back to SL300, following the Mad Mixer boss, you’ll reach the top of the giant giraffe-shaped smokestack. Before progressing, climb onto the smokestack and check the left ear. There’s a secret banana to grab.

Canyon Hide-and-Seek – Right next to the minecart at Neckreach Smokestack Exit, punch through the wall to reach a cave with a blue Fractone. It wants DK to find four hidden NPCs. Look for surfaces in the shape of the Fractone nearby and break them to earn this banana.
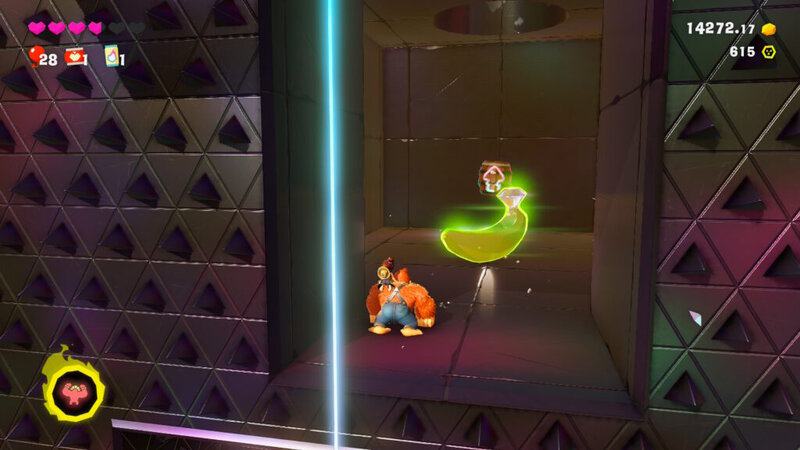
Proximity Punching – To the right of the previous banana cave entrance, there’s another cave leading to a small hole in the ground. Dig to drop below the entire plateau and onto a metal grating. Punch the blue balloon to move the ceiling tile with the banana close enough for DK to grab it.
Battle: Explosive Laps – Right next to the Neckreach Smokestack Exit checkpoint, there’s a battle arena portal on the ground. You can’t miss it with a handslap. In this battle, DK throws boom bombs while riding a minecart. Destroy all five stompoids to earn your prize.
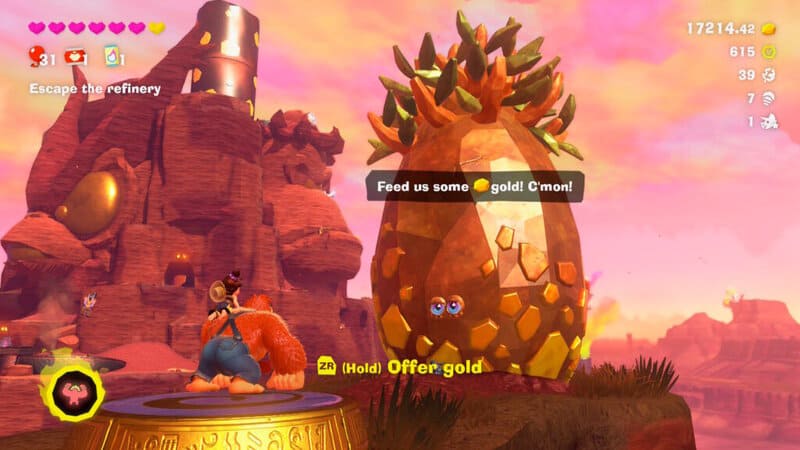
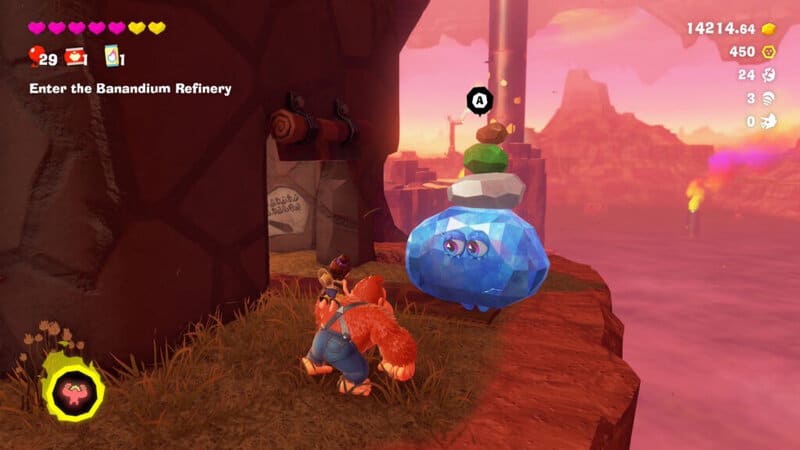
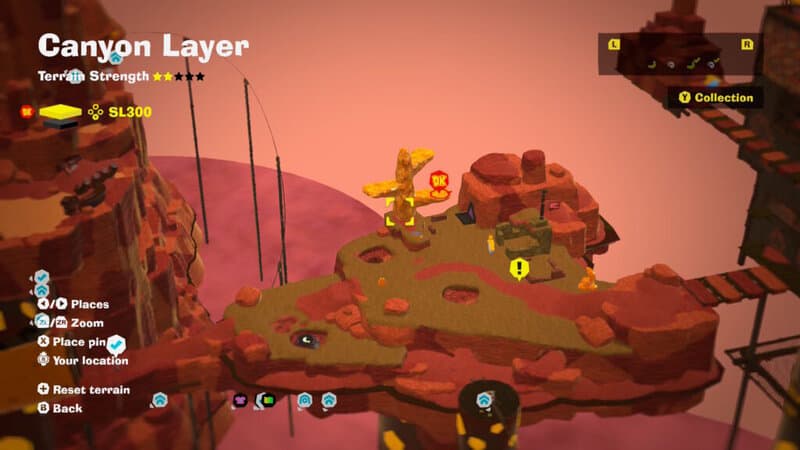
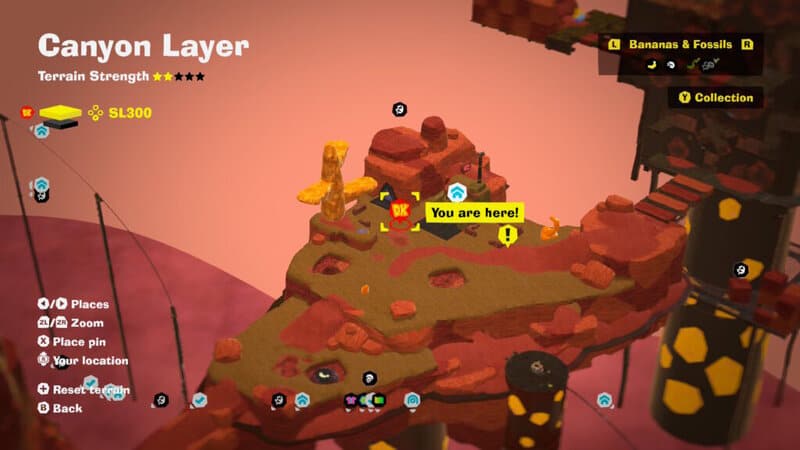
The Canyon Growtone – Straight ahead from the Smokestack Exit checkpoint, look for the big yellow Fractone called Growtone. It wants gold — feed it gold and it will grow. Feed it until one branch grows enough to reveal this banana.
The Hungry Canyon Growtone – Keep feeding the Growtone and a second branch will appear.

The Sated Canyon Growtone – Continue to feed the Growtone gold until it can’t eat anymore. At that point, a third branch will grow at the very top of the tree.
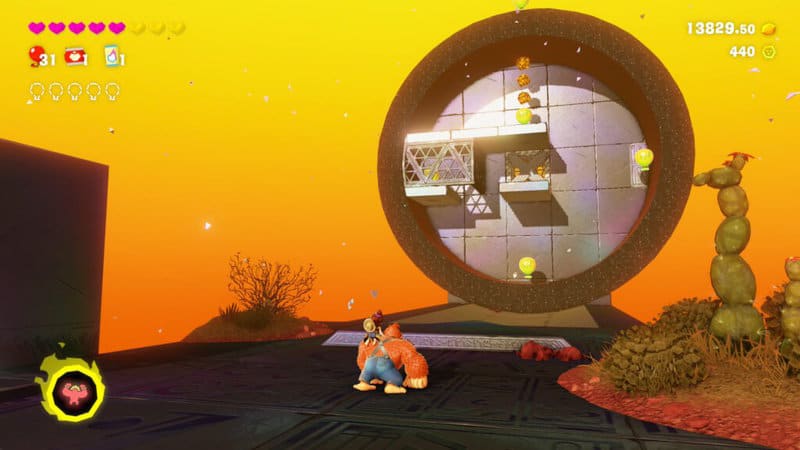
Going Up! – Directly past the Growtone and left of the Canyon Getaway, there’s a Challenge Course bonus stage portal. Enter it to reach the “Stompy Ascent” and progress halfway to get your first banana prize.
Going Way, Way Up! – Reach the end of the “Stompy Ascent” to earn the second banana of this challenge course.
The Lift’s Secret Stop – The hidden banana is located early in the challenge course. While riding the first platform up, look behind the top Stompoid. There’s a breakable wall behind the enemy that leads to this banana.
Cranky’s Canyon Rant – For once, Cranky’s easy to find. On the last plateau, you’ll find him to the right of the “Stompy Ascent” and the Getaway. Talk to Cranky Kong to earn a banana.
Bust Through the Giraffe’s Spot – Drop down to the bottom of Click-Clack Smokestack, the large metal structure at the end of SL300 — check the map, there’s a metal grate far down at the base of the smokestack. After dropping down, check the back of the smokestack to find a rock wall hiding a banana. Exit with the barrel launcher.
Behind the Moving Walls – Progress on Click-Clack Smokestack until DK reaches moving walls that push you off the ledge. Smash the walls to find a hidden alcove behind with a banana.
Slip into the Secret Room – Ahead, there are three spinning wall-mounted discs. Reach the third one, and move down to slide into a hidden room you can only reach from above. Slide into the room, then follow the hallways to the banana.
Hanging From the Crane – Next, DK will reach a big block of dirt hanging from a giant crane. Reach the back of the dirt, or purchase the Getaway, to find a banana on the back side.
Above the Moving Walls – Backtrack back to the moving walls. Behind the four moving walls, there’s a rock wall directly above you can reach by climbing the fourth moving wall. If you destroyed it, reset the terrain in the level to get up there and get an easy-to-miss banana.
The Crane’s Precious Cargo – At the top of Click-Clack Smokestack, there’s a hanging bit of glittery tough turf. Transform and bash through the block to get this banana — just don’t dig too deep or you’ll fall.
Battle: Knotted-Thorn Knockout – Also at the top of Click-Clack Smokestack, there’s a battle arena portal blocked up with rubble. Talk to the construction NPC and pay 600 gold to remove it.
An Edible Earring – Back at Big-Stretch Peak, the final banana is to the right of the third evil Kong. Look just right of the female Kong’s glasses to find a buried banana.